# SimpleBackups — Full Content
> Full text of all 304 SimpleBackups guides, tutorials and articles. SimpleBackups (https://simplebackups.com) automates backups and recovery for servers, databases, cloud storage, SaaS apps, cloud snapshots and Kubernetes. A curated index is available at https://simplebackups.com/llms.txt.
---
# SimpleBackups at Supabase Select 2026 in San Francisco
Source: https://simplebackups.com/blog/simplebackups-at-supabase-select-2026
Published: 2026-09-28
Author: Laurent
Summary: We'll be at Supabase Select 2026 on October 2 in San Francisco, and in the Bay Area around it. What the conference is, and how to meet our team.
[Supabase Select 2026](https://select.supabase.com/) is this Friday, October 2, in San Francisco. We'll be there. We're also staying in the Bay Area around it, to meet the teams who back up their Supabase projects with us and the partners we build with.
We made a short video to say so. It's 45 seconds, sound on.
## What Supabase Select is
Select is Supabase's own conference: one curated day of talks by the Supabase team and the builders they invite.
- **When:** Friday, October 2, 2026
- **Where:** 555 20th Street, San Francisco
- **Format:** in person only, and you attend by application
- **Tickets:** sold out, with [a waitlist on Luma](https://luma.com/supabase-select-2026)
The day is split across two stages. The Main Stage hosts fireside chats with well-known builders. The Build Stage is for feature deep dives, which is where Supabase shows what's coming next.
The speaker list is long and varied. Steve Wozniak, Andrew Ng and Garry Tan share it with Paul Copplestone and Ant Wilson, Supabase's CEO and CTO, and with product and engineering leads from OpenAI, Anthropic, Stripe, Vercel and Replit. Deepthi Sigireddi, Supabase's Head of Databases, and Sugu Sougoumarane, Head of Multigres, are on it too. That's the part a backup company reads twice.
There's also an Ask Supabase booth, where you can take your hardest questions straight to the engineers who build it.
## Why we're going
A lot of our recent work has gone into Supabase. What started as Postgres backups for Supabase projects now covers the rest of the project too: [storage buckets, auth configuration, edge functions and project settings](/platform/supabase).
Conferences are where we hear what never shows up in a support ticket: how teams actually run Supabase in production, what they'd hate to lose, and which parts of their project they assume native backups already cover.
That last one matters most to us. We wrote up [every gap in Supabase's native backup](/blog/what-supabase-native-backup-doesnt-cover), and we'd like to hear which of them you've run into.
## Meet us in the Bay Area
If you're at Select on Friday, come say hi. We'll be the ones asking everyone how they back up their Supabase project.
If you're not going but you're in the Bay Area, we'd still like to meet. That goes for SimpleBackups customers, partners, and anyone building on Supabase who wants to talk backups and restores. [Get in touch through our contact page](/contact-us) and we'll find a time that week.
I'll take a day of hallway conversations over a month of video calls. See you in San Francisco.
---
# Back up to Sliplane: European object storage, now on SimpleBackups
Source: https://simplebackups.com/blog/sliplane-integration-european-backup-storage
Published: 2026-09-16
Author: Laurent
Summary: SimpleBackups now connects to Sliplane. Store backups on its European object storage, and back up your Sliplane PostgreSQL and buckets to any provider.
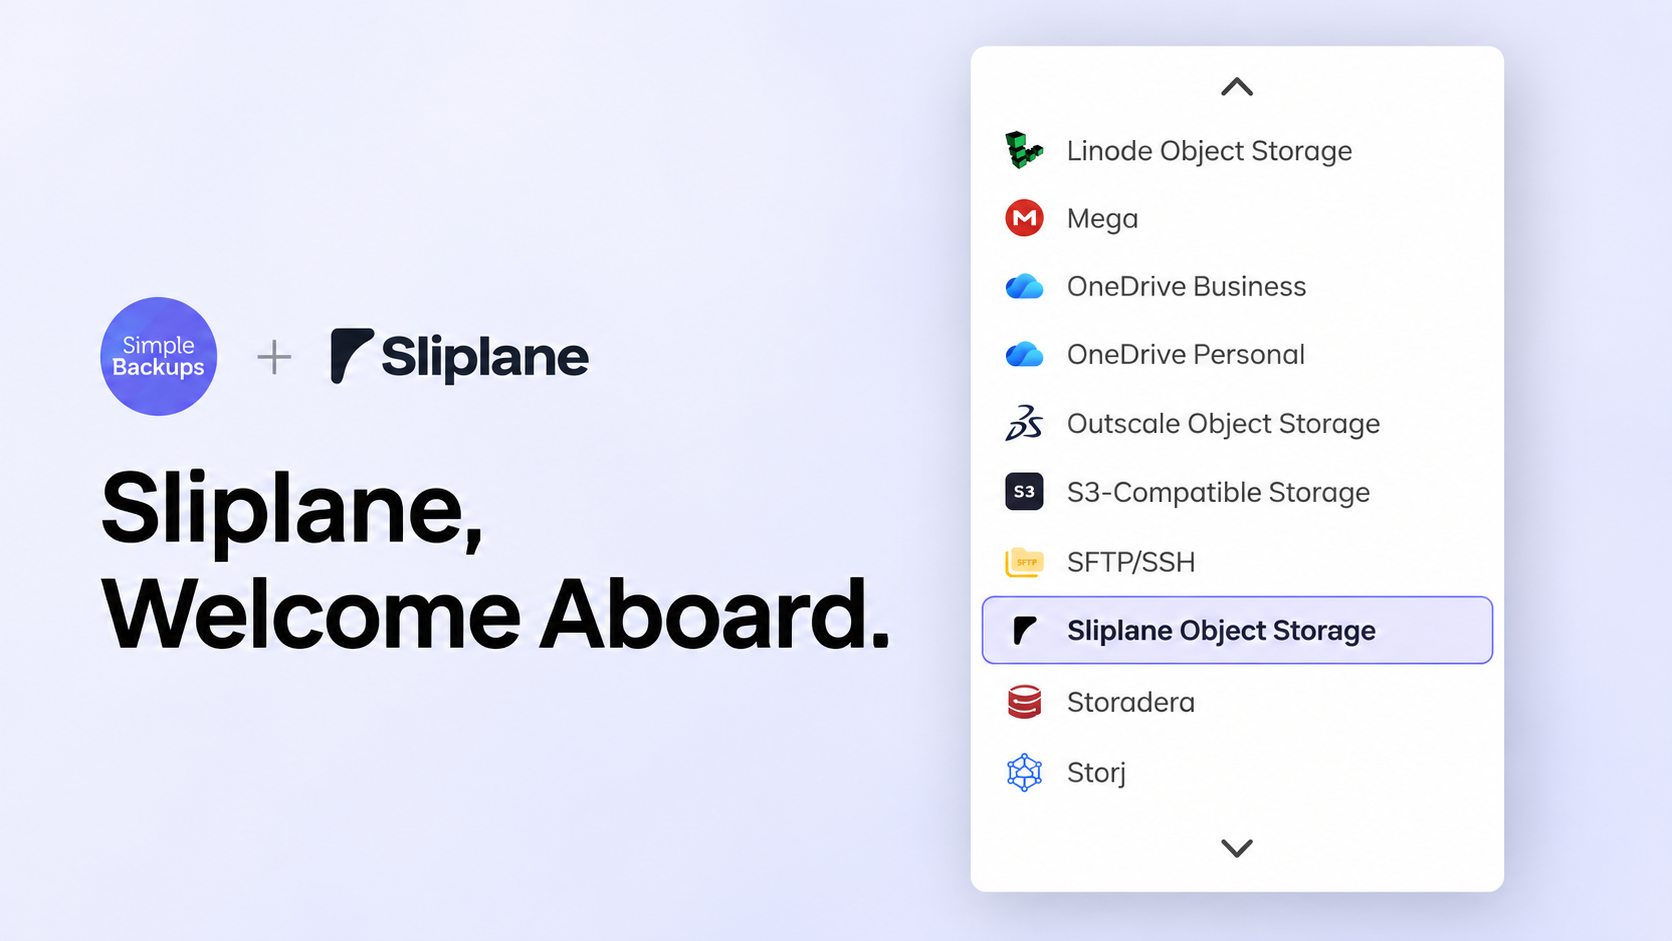
You can now store your backups on [Sliplane](https://sliplane.io/object-storage). Connect it once, pick it as the destination for any server, database or file backup, and your copies land on European infrastructure, operated from Berlin under European law.
We noticed a growing number of SimpleBackups customers running their apps on Sliplane, and we wanted a first-class integration rather than a generic S3 entry. We are also glad to partner with a European provider that is not a hyperscaler. Independent European infrastructure is something we want to see more of, and supporting it properly is part of how we help.
## Who Sliplane is
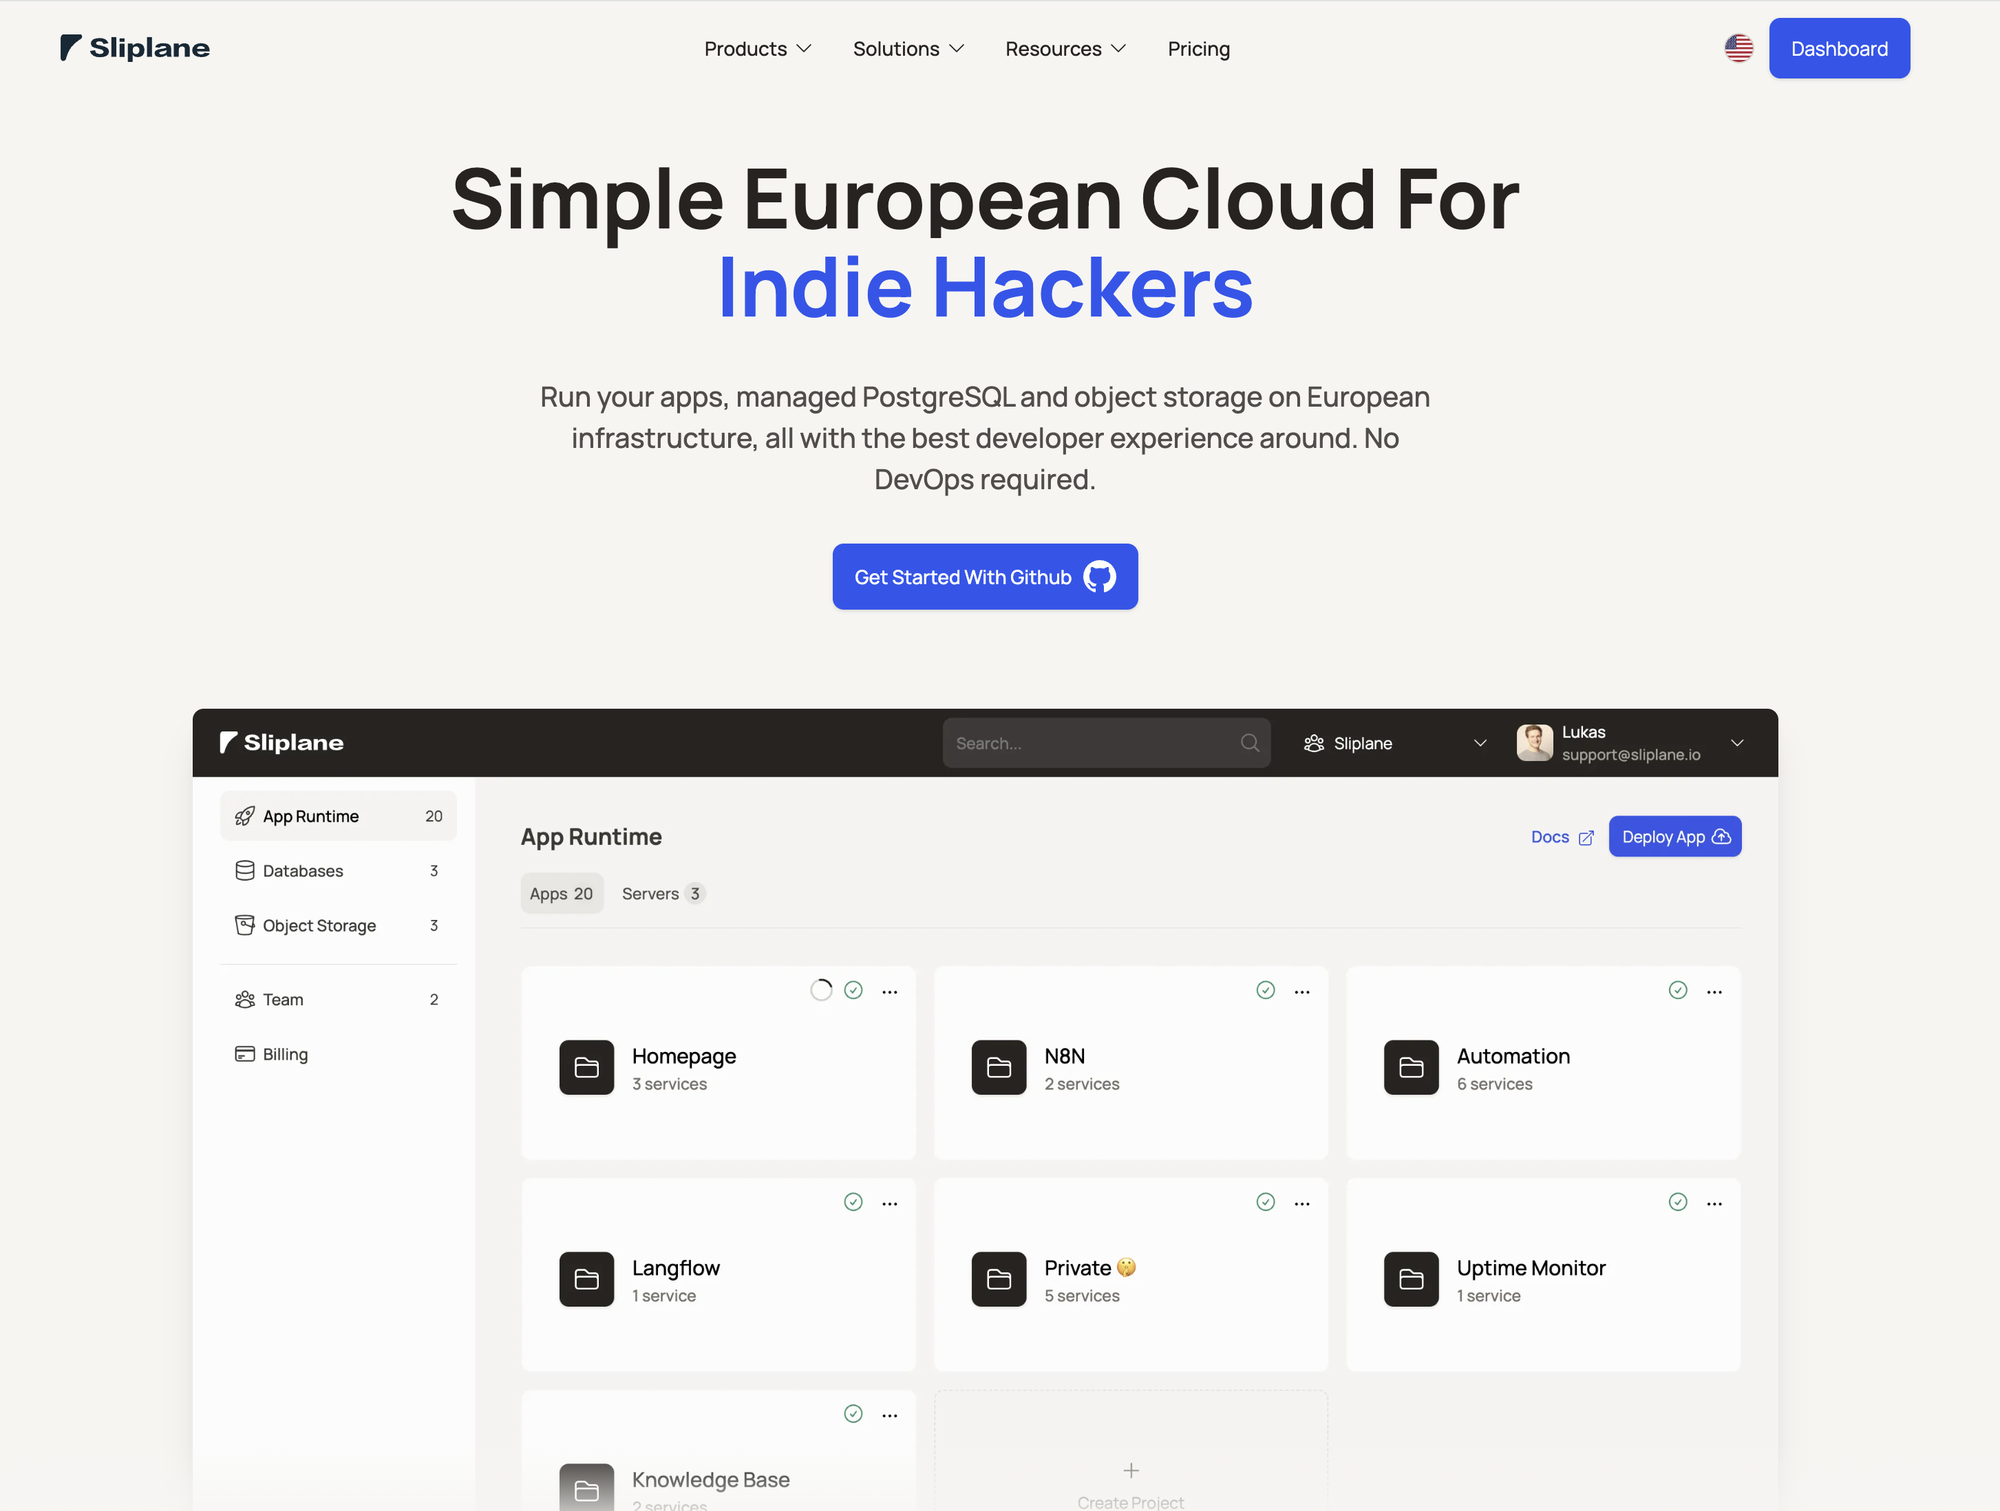
Sliplane calls itself "the simple European cloud for indie hackers". It was started by [two freelance web developers, Lukas and Jonas](https://sliplane.io/about), who spent more than ten years running hosting for clients before building the platform they wished they had. The company is headquartered in Berlin, Germany.
The product has three parts:
- **App runtime.** Push a container from git and it runs. No YAML, no cluster to manage.
- **Managed PostgreSQL.** A database you don't have to patch.
- **Object storage.** S3-compatible buckets, which is the piece we have integrated.
The pitch is "no DevOps required", and that is also why we like it as a backup target.
## Why a European destination matters for backups
A backup is a copy of everything sensitive you hold: customer records, credentials, sometimes health or financial data. Where that copy lives is a compliance question, not just a technical one.
If you run on Hetzner, Scaleway, or a European Kubernetes provider, sending backups to a bucket in Virginia undoes part of the work you did choosing a European host. Sliplane's German region keeps the whole chain on the same side of the Atlantic, and Sliplane makes a DPA available on request from your dashboard, so the paperwork side is covered too.
We have offered European regions from the large providers for years. What was missing was an independent European company you could point at, with a team you can email and a legal entity in Berlin. That is the gap this integration fills.
## What you get
Sliplane's object storage is built for exactly the kind of workload a backup tool generates: large objects, written once, read rarely. The figures below are from [Sliplane's object storage page](https://sliplane.io/object-storage) as of today.
| | Sliplane object storage |
|---|---|
| Regions | Germany, US East (same price) |
| Pricing | First 1 GB free, then €5 per 250 GB per month |
| Egress fees | None |
| Per-request charges | None |
| Max object size | 50 TiB |
| Buckets per team | Up to 100 |
| Versioning and object locking | Supported |
Two of those rows matter more than the others.
Sliplane bills on average storage held over the month, in 250 GB blocks. Thirty daily copies of a 10 GB database is one block. Your retention policy has a cost you can work out on a napkin.
**No egress fees.** Most providers charge you to download. That cost shows up on the worst possible day, when you are restoring a 200 GB database at 3am and the bill is the last thing you want to think about. On Sliplane, a restore costs nothing extra, and so does a restore test. We push every customer to run restore tests, and a destination that makes them free removes the usual excuse.
**Object locking.** Backups are the first thing ransomware goes after. A locked object cannot be deleted or overwritten until the lock expires, even by someone holding your access key. Enable it on the bucket, and your retention window becomes something an attacker cannot shorten.
## Setting it up
The whole thing takes about five minutes.
**In Sliplane:**
1. Open Object Storage in your dashboard and create a bucket. Pick the Germany region if data residency is the reason you are here.
2. Create an access key for that bucket. Sliplane scopes each key to exactly one bucket with read and write access, which is the right shape for a backup credential: if it leaks, only that bucket is exposed.
3. Copy the endpoint URL shown in the dashboard, along with the key and secret.
**In SimpleBackups:**
1. Go to Storage and click **Connect a new storage**.
2. Choose **Sliplane Object Storage** from the provider list, then paste the endpoint, bucket name, access key and secret.
3. Save. We validate the connection before accepting it, so a typo shows up here rather than on your first backup run.
From then on, Sliplane appears as a destination in every backup you create or edit. Point an existing PostgreSQL, MySQL, MongoDB, Redis, or file backup at it, or use storage replication to mirror a bucket you already have somewhere else into Sliplane.
## Already running on Sliplane? Back up the other way too
This integration works in both directions. Sliplane is not only a place to put backups. If your app already lives there, we can protect what you keep on Sliplane as well.
**Your Sliplane managed PostgreSQL.** Sliplane's database service is standard PostgreSQL, which we have supported for years. Add it as a [PostgreSQL backup](/postgresql-backup) with the connection details from your Sliplane dashboard, set a schedule, and pick where the dumps go. That can be your own Sliplane bucket, so everything stays in Germany, or any of the other destinations we support, if you want the copy held by a different company.
**Your Sliplane object storage.** Files you keep in a Sliplane bucket, such as uploads, exports or generated assets, can be synced to another provider with [storage replication](/blog/how-to-create-a-storage-replication-with-simplebackups). Point the replication at your Sliplane bucket as the source and choose any other storage as the target. It runs on a schedule and copies what changed.
The setup we expect to see most: a Sliplane PostgreSQL backup landing in a Sliplane bucket for fast restores, plus a replication of that bucket to a second provider for the copy that lives somewhere else.
## Where it fits in a backup plan
The rule we care about most is simple: keep at least one copy of your backups outside the place where your source data is hosted. A backup sitting next to production shares its failure modes, from a billing lockout to a region outage to a compromised account.
If your production runs elsewhere, Sliplane is a good destination for that outside copy, and a good second copy if you already back up to a hyperscaler and want one that is not under US jurisdiction. If your production runs on Sliplane, do not make its object storage your only destination. Add a second storage and send every backup to both. It is one extra click per backup.
Sliplane is live for every SimpleBackups account today. See the details on [backing up to Sliplane](/storage-backup/sliplane), or connect it from your dashboard and tell us how it goes.
## FAQ
---
# SimpleBackups MCP: Your Backups in Your AI Assistant
Source: https://simplebackups.com/blog/introducing-the-simplebackups-mcp-server
Published: 2026-08-14
Author: Laurent
Summary: The SimpleBackups MCP server is now in Claude's Connector Directory. Connect Claude, Cursor, or Codex to check backup health and read real failure errors.
A backup fails at 03:00. The alert reaches Slack, and the person who reads it first opens the dashboard, finds the job, opens the run history, reads the error, decides whether it is the database or the tunnel, and then goes looking for the last run that worked. That sequence takes ten minutes on a good day, and most of it is navigation rather than thinking. The SimpleBackups MCP server collapses it into one question, asked in the tool you already have open.
It came out of private beta in August and is open to every SimpleBackups account. Since 26 August 2026 it is also listed in [Claude's official Connector Directory](https://claude.ai/new#directory/connectors), which means adding it takes one click and nothing to configure.
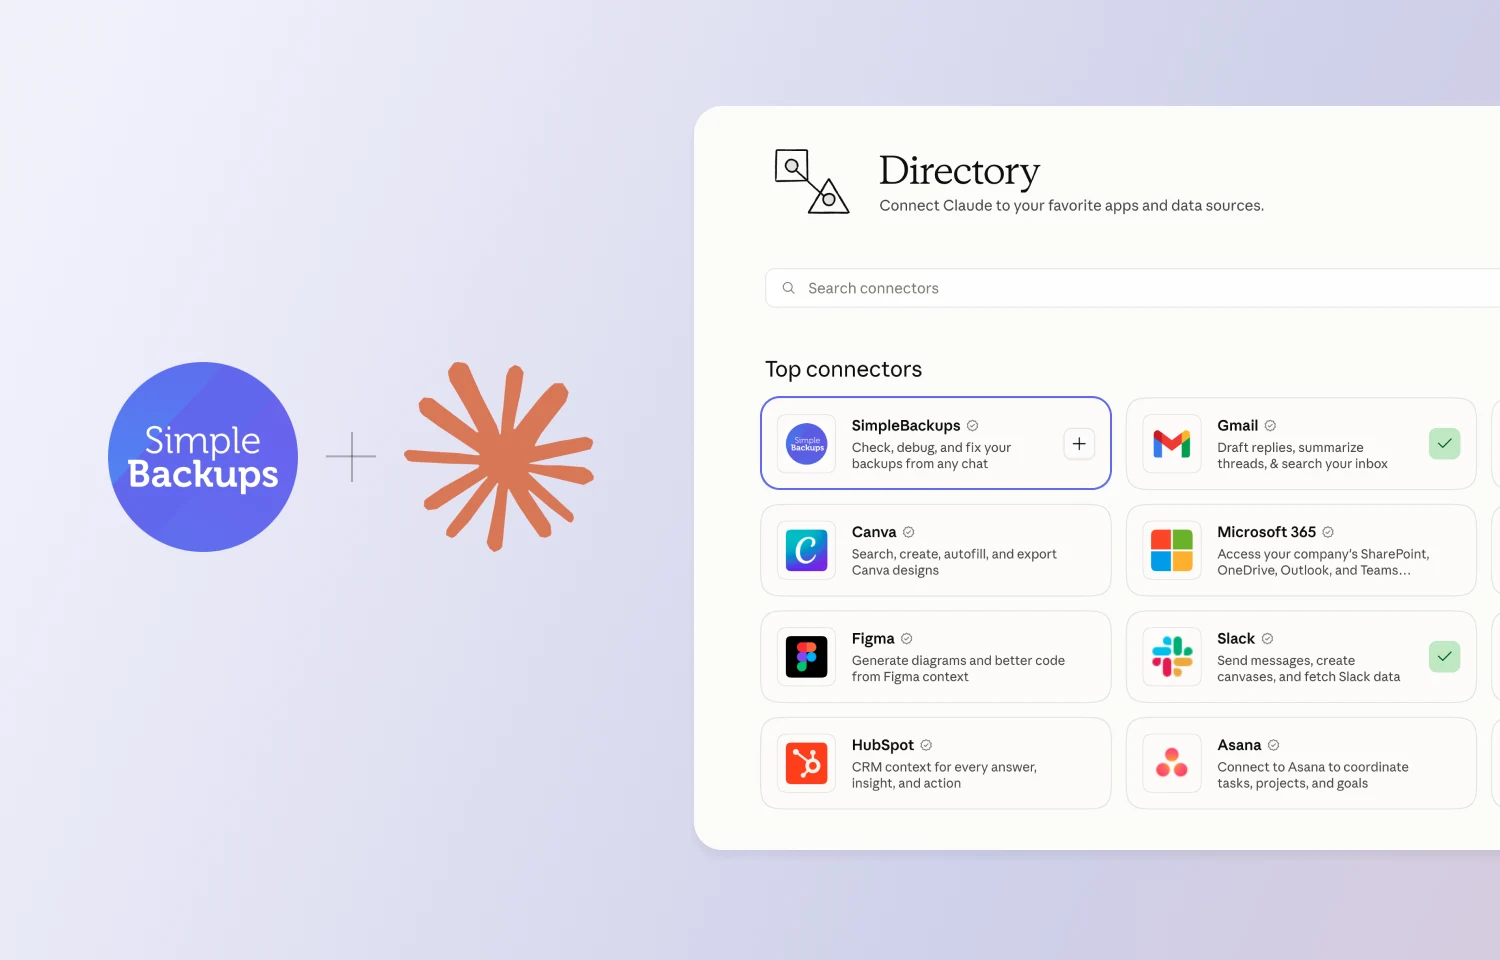
A connector directory is mostly productivity software, where the work is writing and planning and talking. Backup infrastructure is not obvious company for it. We think it should be. The industry has treated AI assistants and operations tooling as two separate problems, one about drafting and one about uptime, and the 03:00 sequence above is why we think they are the same problem. The work is reading state, forming a judgement, and acting on it. That is what an assistant is for.
## What is the SimpleBackups MCP server?
The SimpleBackups MCP server is a remote server that lets an AI assistant read and act on your SimpleBackups account. It publishes a set of tools covering four jobs: seeing the state of your backups, understanding why one failed, controlling when runs happen, and preparing a restore.
The [Model Context Protocol](https://modelcontextprotocol.io/) is an open standard for letting AI assistants call tools in external systems. An MCP server publishes the tools; a client such as Claude, Cursor, or Codex discovers them and calls them on your behalf.
Ours is remote, so there is nothing to install and nothing to keep updated. You point your client at `https://mcp.simplebackups.ai/mcp`, approve an OAuth prompt in your browser, and your assistant gains a set of tools scoped to one team in your account. Authentication is OAuth 2.1 with Dynamic Client Registration, so there are no API keys to paste into a config file and no tokens sitting in your dotfiles.
## What can you do with it?
You ask, in words, for the thing you would otherwise click through five screens to find. The tools cover four jobs: seeing the state of your backups, investigating why one failed, controlling when runs happen, and preparing a restore.
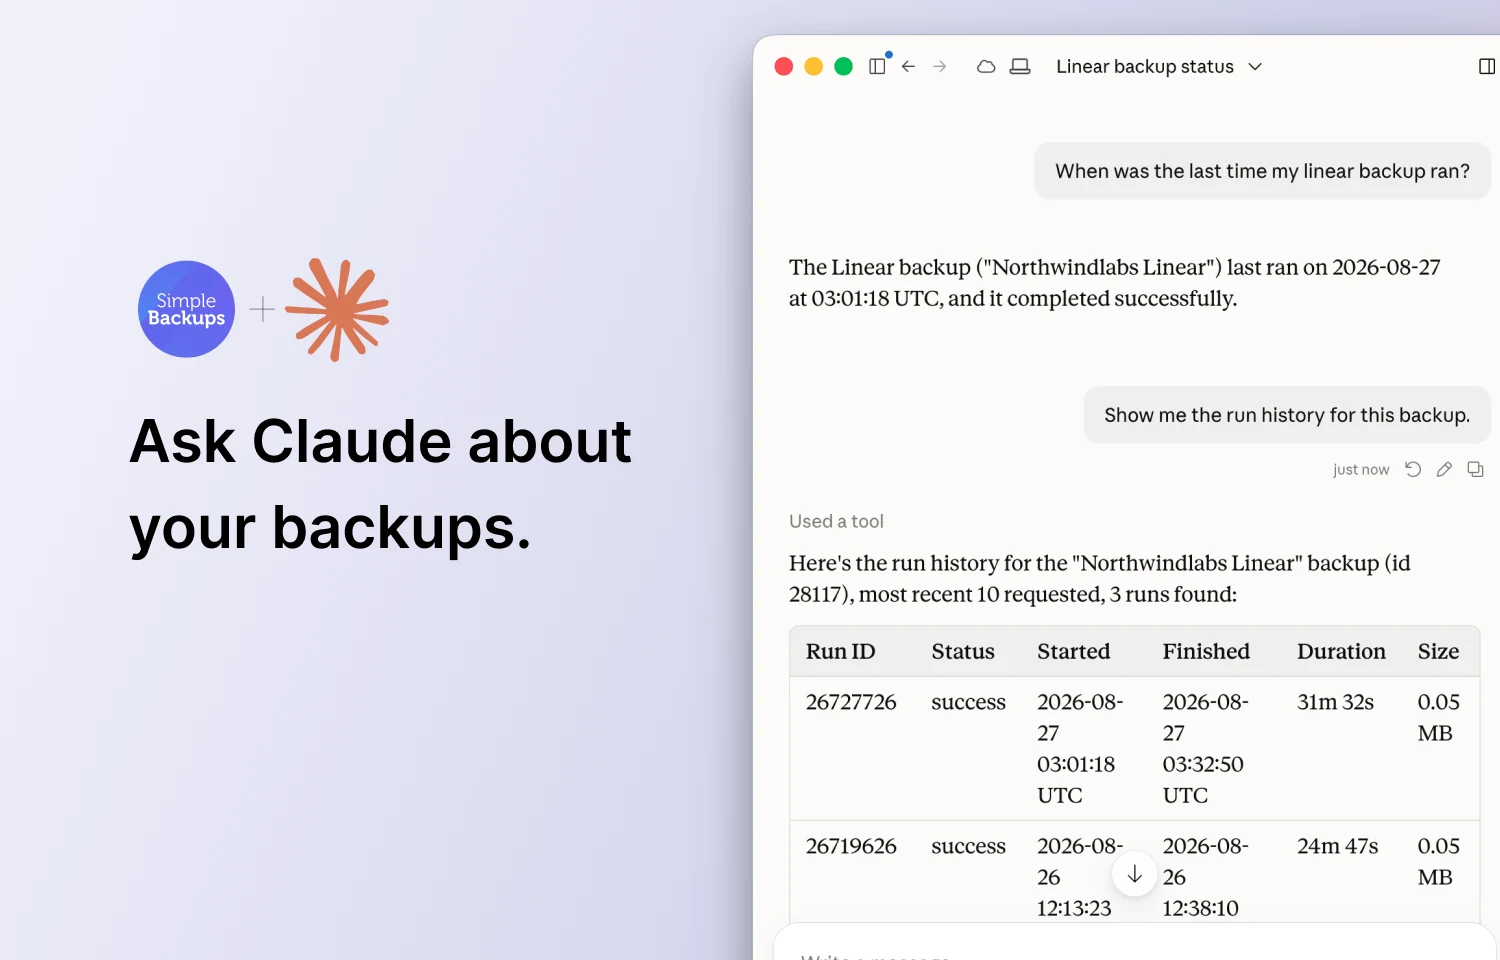
The difference shows up as step count. Three real jobs, counted as the navigation steps each one takes in the dashboard, against the question you would ask instead:
| The job | In the dashboard | What you ask instead |
|---|---|---|
| Triage a failed backup | 14 steps | *"Why did mysql-orders-staging fail?"* |
| Restore last night's database locally | 11 steps | *"Pull the latest postgres-xyz backup and restore it locally."* |
| Produce SOC2 evidence across 23 backups | 47 steps | *"Prove every prod backup ran in the last 30 days, as JSON."* |
## How do I connect Claude to SimpleBackups?
The shortest path is Claude's Connector Directory. Open [claude.ai/directory/simplebackups](https://claude.ai/directory/simplebackups), add the connector, and approve the OAuth prompt. Nothing to paste, nothing to configure. That covers claude.ai and Claude Desktop.
If you work in a terminal, or your client is not Claude, add the server URL yourself. Claude Code takes one command:
```bash
claude mcp add --transport http simplebackups https://mcp.simplebackups.ai/mcp
```
Then start Claude Code, type `/mcp`, and approve the browser prompt.
Cursor and Codex take the same URL, as does any client supporting the `streamable-http` transport. The per-client steps are in the [MCP server documentation](/docs/mcp/overview), and the full tool reference is in the [API docs](/api-docs/mcp).
## Is it safe to let an AI assistant touch my backups?
Yes, because the server is built so that the destructive things are not reachable. Backups are what you fall back on when everything else went wrong, so an AI assistant with a connection to them needs clear limits rather than good intentions. Ours are:
- **No credentials leave SimpleBackups.** Not to the client, not to the model, not in any tool response.
- **No delete tool exists.** Nothing exposed over MCP can remove a backup, a run, or a stored archive.
- **No unattended writes to your data.** Restores are prepared and handed to you as instructions. The server never runs them against your database.
- **Actions confirm first.** Triggering, pausing, and resuming all prompt you before they execute.
- **One team per connection.** A token is scoped to a single team, and you revoke any connection from Settings, MCP in your dashboard.
## MCP server or REST API: which should you use?
Use the REST API for work you write down once and repeat forever, and the MCP server for the investigative work in between. We already have [a REST API](/blog/simplebackups-api-automate-backups-programmatically), and the MCP server does not replace it. They answer different kinds of question.
| | REST API | MCP server |
|---|---|---|
| **Shape of the work** | Deterministic, repeated, written once | Conversational, exploratory, different every time |
| **Who calls it** | Your CI pipeline, your onboarding script, your cron | You, through an AI assistant |
| **Typical use** | Trigger a backup before every deploy | Work out why last night's backup broke |
| **Auth** | Bearer token you manage | OAuth 2.1, no keys to store |
| **Failure mode you care about** | A 500 in a pipeline | A wrong answer in a chat window |
A rule of thumb that has held up: if you would write it down as a runbook step, use the API. If the runbook step is "investigate", use the MCP.
The two also compose. Your pipeline triggers backups through the API on every deploy, and when one of those runs goes red, you ask your assistant what happened.
## The beta users who shaped it
We ran the MCP server as a private beta for several months, and the reason was straightforward: we wanted the people who would actually use it to tell us what it still needed before everyone got it. They did, and the server is better for it.
Nicolai at Peanut App gave us the single most useful piece of feedback we received. When a backup failed, his assistant could tell him **that** it had failed, but the error excerpt it returned was an internal bookkeeping string rather than the error the backup process itself had produced. He pointed out that this still meant opening the dashboard to find out what happened.
We shipped `get-run-output` within days. It fetches the real stdout and stderr from the run. In Nicolai's case the answer turned out to be a typo in a Postgres pre-script:
```text
ERROR: column "pg_wal_replay_pause" does not exist
```
One line, sitting in the output the whole time. An assistant that says "this backup is failing because your pre-script calls a column that does not exist" is a different tool from one that says "this backup is failing." That tool exists because somebody took the time to tell us what to build.
Two of our beta users offered to say something publicly:
> "We used the Simple Backups MCP to troubleshoot a pesky backup that kept failing. It helped uncover a configuration issue that we made. It would have taken way more time to troubleshoot this issue without the MCP."
>
> Jason Siffring, Owner, Surprise Highway
> "The SimpleBackups MCP integration makes debugging failed backups incredibly fast. Getting the exact error reason directly within the AI assistant saves us a lot of time when troubleshooting."
>
> Nicolai Dalsgaard, Peanut App
Both describe the same job, and it is the one we optimized for: shortening the distance between a failed run and the reason it failed. Our thanks to everyone who spent time in the beta and told us what was missing.
## Try it
If you already run backups with us, connecting takes about a minute, and the first question worth asking is the boring one: *anything failing right now?* You will either get a reassuring answer or find something you did not know about, and both are useful.
We are still shaping this. `get-run-output` exists because one person told us what was missing, and the same door is open now that everyone can use it.
## FAQ
---
# pgBackRest: how to back up, restore and recover PostgreSQL
Source: https://simplebackups.com/blog/pgbackrest-postgresql-backup-guide
Published: 2026-08-13
Author: Laurent
Summary: How to set up pgBackRest for PostgreSQL: install, stanza config, full and incremental backups, restore, point-in-time recovery and S3 repositories.
A 400 GB PostgreSQL cluster and a nightly `pg_dump` is a combination that works right up until the moment it doesn't. The dump takes four hours. The restore takes longer, because rebuilding indexes is slower than reading them. And whatever happened at 14:32 this afternoon, you are going back to 03:00 this morning, because that is the only state you have.
Both of those problems have the same root. A logical dump reconstructs your database by replaying SQL, and it captures exactly one moment: the one it started at.
pgBackRest solves both, and it is the reason most large self-hosted PostgreSQL installations end up running it. This guide covers what it does, how to configure it from a blank server, and the parts where it stops.
## What pgBackRest does that pg_dump cannot
PostgreSQL has two kinds of backup, and nearly every decision downstream follows from which one you are taking.
A **logical backup** is what [`pg_dump` and `pg_restore`](/blog/postgresql-pgdump-and-pgrestore-guide-examples) produce: your schema and data expressed as SQL and data streams. It is portable, so you can restore it into a newer major version or a different provider entirely, and you can pull back a single table from it. It is also slow to restore on large databases, and it captures a single instant.
A **physical backup** is a byte-level copy of the PostgreSQL data directory. It restores by putting files back where they were, so it is fast, and it is tied to the same major version and platform. On its own, a physical backup is still a single instant.
What turns a physical backup into something better is the **Write-Ahead Log**. PostgreSQL writes every change into the WAL before applying it to the data files. Archive that log continuously alongside a base backup, and you can restore the base backup and then replay the log forward to any moment you choose. That is point-in-time recovery, and it is the only native route to a recovery point measured in seconds rather than hours.
{/* FIGURE: fig-01 */}
pgBackRest is the tool that manages all of this: it takes the base backups, it receives the archived WAL, it stores both in a repository you configure, it expires old backups on a schedule, and it drives the restore. PostgreSQL supplies the primitives, documented in the [continuous archiving chapter](https://www.postgresql.org/docs/current/continuous-archiving.html) of the manual, and pgBackRest is the layer that makes them practical to operate.
We run PostgreSQL backups every day. The pattern we see most often is a team whose backups are fine and whose restores have never been attempted, which is a different thing from being backed up. Everything below is written to be run, not skimmed.
Two things are worth settling before you invest a day in this.
**The project is current.** Version 2.59.0 was released on 20 July 2026 and added PostgreSQL 19 support, and the project supports ten PostgreSQL versions at a time. There has been public discussion about the project's leadership; releases have continued through it.
**It does not replace your logical dumps.** A pgBackRest backup cannot be restored into a different major version, which is exactly the job `pg_dump` exists for. Most clusters we see running pgBackRest also run a periodic logical dump, for major-version upgrades, for moving to another provider, and for the table-level recovery that physical backups cannot do.
## Installation, and the permissions that trip people up
pgBackRest is packaged in the PostgreSQL Global Development Group repositories, which is the route to prefer over building from source. If you already installed PostgreSQL from PGDG, the repository is configured.
On Debian and Ubuntu:
```bash
sudo apt update
sudo apt install pgbackrest
```
On RHEL, Rocky and AlmaLinux:
```bash
sudo dnf install pgbackrest
```
Confirm the version, because the configuration options below assume a recent one:
```bash
pgbackrest version
```
One decision belongs here rather than later, because changing it afterwards means moving a repository. pgBackRest can run in two shapes. In the simple one, it runs on the database host and writes to a repository it can reach directly, whether that is local disk or object storage. In the other, it runs on a **dedicated repository host** and connects to the database servers over TLS or SSH, pulling backups to a machine the database has no write access to.
The second shape costs an extra server and buys something specific: a database host that is compromised cannot delete the backups, because it never had permission to. If ransomware is in your threat model rather than only hardware failure, that separation is the point. Everything in this guide works in either shape; the examples use the simpler one.
pgBackRest runs as the `postgres` user, the same account that owns the data directory. It needs a configuration file and somewhere to write logs, and both need the right ownership:
```bash
sudo mkdir -p -m 770 /var/log/pgbackrest
sudo chown postgres:postgres /var/log/pgbackrest
sudo mkdir -p /etc/pgbackrest
sudo touch /etc/pgbackrest/pgbackrest.conf
sudo chmod 640 /etc/pgbackrest/pgbackrest.conf
sudo chown postgres:postgres /etc/pgbackrest/pgbackrest.conf
```
Permissions are the single most common reason a first pgBackRest run fails, and the error messages point at the symptom rather than the cause. Every path pgBackRest touches, the config file, the log directory and the repository, has to be readable and writable by `postgres`. If a command fails with a permission error, check ownership before you check your configuration.
## The stanza, and why configuration starts there
Most tutorials skip past the word "stanza" as though it were jargon for "config section." It is worth ten seconds of attention, because it is the concept the rest of the tool is organised around.
A **stanza** binds one PostgreSQL cluster to one repository. It carries the path to the data directory, the connection details, and where the backups and WAL for that cluster are stored. Every pgBackRest command takes a `--stanza` argument, and running several clusters means running several stanzas.
Name it after the cluster rather than the environment or the hostname. A stanza called `prod-db-01` becomes misleading the day you fail over to `prod-db-02` and restore the same backups there; a stanza called `billing` does not.
Here is a minimal configuration with a local repository:
```ini
[global]
repo1-path=/var/lib/pgbackrest
repo1-retention-full=2
start-fast=y
log-level-console=info
log-level-file=detail
[billing]
pg1-path=/var/lib/postgresql/17/main
```
`[global]` holds settings that apply everywhere, `[billing]` is the stanza. `start-fast=y` tells PostgreSQL to force a checkpoint immediately rather than waiting for one, so the backup starts now instead of in a few minutes.
Next, tell PostgreSQL to archive its WAL to pgBackRest. In `postgresql.conf`:
```ini
wal_level = replica
archive_mode = on
archive_command = 'pgbackrest --stanza=billing archive-push %p'
max_wal_senders = 3
```
`archive_mode` and `wal_level` both require a restart, not a reload. Plan for that, because it is the one step in this guide that costs you downtime.
```bash
sudo systemctl restart postgresql
```
Now create the stanza and verify the whole path works:
```bash
sudo -u postgres pgbackrest --stanza=billing stanza-create
sudo -u postgres pgbackrest --stanza=billing check
```
`check` is the step to care about. It confirms that pgBackRest can reach the cluster, that the repository is writable, and that WAL archiving actually completes end to end by forcing a segment switch. A green `check` means the configuration is real. Do not take your first backup until it passes.
If `check` hangs rather than failing, the usual cause is `archive_command` succeeding at the shell level while pgBackRest cannot write to the repository, so PostgreSQL retries forever and the WAL directory grows. Watch `pg_wal` during your first run. A steadily growing `pg_wal` on a cluster with archiving enabled is an incident in slow motion, because a full disk stops the database.
## Configuring the repository: local, NFS and S3
The repository is where backups and archived WAL live. Where you put it determines what the backup actually protects you against.
A repository on the same host as the database protects you against a dropped table and nothing else. Not disk failure, not a deleted instance, not a compromised host. It is a reasonable place to start while you are learning the tool and a poor place to stay.
| Repository | Protects against | Does not protect against |
|---|---|---|
| Local disk | Accidental data loss, bad migrations | Host loss, disk failure, ransomware |
| NFS or separate volume | The above, plus disk failure | Loss of the site or the account |
| Object storage (S3, Azure, GCS) | The above, plus site loss | Nothing material, if credentials are scoped correctly |
For object storage, replace the repository block:
```ini
[global]
repo1-type=s3
repo1-path=/billing
repo1-s3-bucket=acme-pg-backups
repo1-s3-endpoint=s3.eu-west-1.amazonaws.com
repo1-s3-region=eu-west-1
repo1-s3-key=AKIAEXAMPLEKEYID
repo1-s3-key-secret=examplesecretkeyvalue
repo1-retention-full=4
```
The same shape works for any S3-compatible provider by pointing `repo1-s3-endpoint` at it, which is how you would target Cloudflare R2, Backblaze B2 or Wasabi. Azure Blob Storage and Google Cloud Storage have their own `repo1-type` values. Our walkthrough of [getting Postgres backups into S3](/blog/how-to-backup-postgres-to-s3) covers the bucket and credential side in more detail.
Two settings belong here rather than in a later hardening pass.
**Encrypt the repository.** pgBackRest encrypts client-side, so the provider never sees plaintext:
```ini
repo1-cipher-type=aes-256-cbc
repo1-cipher-pass=a-long-random-passphrase-you-store-elsewhere
```
Set this before the first backup. Changing the cipher passphrase later means starting a new repository, because existing backups were encrypted with the old one.
**Store the passphrase somewhere other than the server.** If the only copy of `repo1-cipher-pass` is in `pgbackrest.conf` on the host you are protecting, an encrypted off-site backup and no backup at all are the same thing on the day the host is gone.
You can also define `repo2-*` alongside `repo1-*` to write the same backups to two repositories, which is the straightforward way to satisfy the off-site half of a 3-2-1 policy without a second tool.
## Full, differential and incremental backups
pgBackRest takes three types of backup, and the difference is what each one depends on.
```bash
sudo -u postgres pgbackrest --stanza=billing --type=full backup
sudo -u postgres pgbackrest --stanza=billing --type=diff backup
sudo -u postgres pgbackrest --stanza=billing --type=incr backup
```
| Type | Contains | Restore needs | Typical use |
|---|---|---|---|
| Full | Every file in the cluster | Itself only | Weekly baseline |
| Differential | Changes since the last **full** | The full, plus this one | Daily |
| Incremental | Changes since the **previous backup of any type** | The full, plus every incremental since | Hourly |
{/* FIGURE: fig-02 */}
The trade is straightforward. Incrementals are the cheapest to take and the most fragile to restore, because they form a chain and every link has to be present. Differentials grow larger as the week goes on but depend on one other backup. Fulls are expensive and depend on nothing.
Recent versions also support **block-level incremental backup**, which stores only the changed blocks within a file rather than the whole file. On a large database where a few rows change in a big table, the difference is substantial. `[verify]` the exact option name and minimum version against the release notes for the version you install before documenting it internally.
Check what you have with:
```bash
sudo -u postgres pgbackrest --stanza=billing info
```
That output lists every backup, its type, its timestamp, its size, and the WAL range it covers. It is the command to reach for first when something looks wrong, and the one to put in front of an auditor who asks what your retention actually looks like in practice.
Expiring a full backup expires everything that depends on it. If your retention keeps two fulls and you take hourly incrementals, the moment the older full is expired, every incremental chained to it becomes unrestorable. This is not a bug, but it does surprise people who reason about retention as "we keep 30 days of backups" without accounting for the dependency chain.
## Restoring a cluster
A backup you have not restored is an assumption. This is the section to rehearse on a scratch server before you need it.
The basic restore stops PostgreSQL and puts files back:
```bash
sudo systemctl stop postgresql
sudo -u postgres pgbackrest --stanza=billing restore
sudo systemctl start postgresql
```
pgBackRest expects the data directory to be empty. When it is not, the restore fails rather than overwriting, which is deliberate.
For a data directory that already has files, `--delta` compares checksums and replaces only what differs:
```bash
sudo -u postgres pgbackrest --stanza=billing --delta restore
```
On a large cluster where most files are unchanged, a delta restore is dramatically faster than a full one, and it is the option to reach for when you are recovering a replica or rolling back a failed upgrade. It is also the one worth practising, because it is the one you will want under time pressure.
To restore onto a different server, install pgBackRest there, give it a configuration pointing at the same repository and stanza, and run the restore. Nothing about the backup is tied to the original host. This is the property that makes physical backups useful for standing up replicas, and it is also why repository credentials deserve the same care as database credentials.
To restore a specific backup rather than the latest:
```bash
sudo -u postgres pgbackrest --stanza=billing --set=20260812-030014F --delta restore
```
Take the set label from `info` output.
Whatever the restore path, the step most people skip is checking the result. A restore that returns exit code zero has told you the files were written, not that the database is correct. Three checks take a minute and are worth building into the runbook.
First, confirm the cluster actually finished recovery and is accepting writes rather than sitting in recovery mode:
```bash
sudo -u postgres psql -c "SELECT pg_is_in_recovery();"
```
Second, confirm the data is the shape you expect. Row counts on two or three tables you know well will catch a restore that landed at the wrong point in time, which is the failure mode that otherwise goes unnoticed for days:
```bash
sudo -u postgres psql -d billing -c \
"SELECT count(*) FROM invoices; SELECT max(created_at) FROM invoices;"
```
That `max(created_at)` is the useful one. It tells you, in one number, roughly where in time the restored database actually stopped.
Third, check the PostgreSQL log for the recovery messages. A restore that quietly ran out of archived WAL and stopped earlier than you asked reports it there and nowhere else.
Restoring the whole cluster is the normal case. Restoring one database out of several is possible with `--db-include`, and the caveat is significant: the databases you exclude are replaced with stubs, so the cluster starts but those databases are unusable and have to be dropped. If what you actually need is one table back, that is a job for a [logical dump and `pg_restore`](/blog/how-to-restore-a-postgresql-backup), not for pgBackRest.
## Point-in-time recovery, step by step
This is what the WAL archiving was for. Someone ran a `DELETE` without a `WHERE` clause at 14:32, and you want the cluster as it was at 14:31.
{/* FIGURE: fig-03 */}
```bash
sudo systemctl stop postgresql
sudo -u postgres pgbackrest --stanza=billing \
--type=time \
--target="2026-08-13 14:31:00+00" \
--delta \
restore
sudo systemctl start postgresql
```
pgBackRest selects a base backup taken before your target, restores it, and writes the recovery settings PostgreSQL needs so that on startup it replays archived WAL forward and stops at the target. Watch the PostgreSQL log during startup; recovery progress and the point where it stops are reported there.
Other target types are available: `--type=xid` to stop at a transaction ID, `--type=lsn` for a log sequence number, `--type=name` for a named restore point you created earlier with `pg_create_restore_point()`, and `--type=immediate` to stop as soon as the cluster is consistent.
Three things determine whether this works when you need it.
**Your recovery window is bounded by retention.** You can recover to any moment covered by a backup you still hold plus its WAL. Expire the WAL and the window closes, no matter how much disk you have.
**Timezones are a real hazard.** Specify an offset in the target, as above. A target interpreted in the server's local time when you meant UTC recovers to the wrong hour, and you will not notice until you check the data.
**By default the cluster is promoted and a new timeline begins.** Once you promote, the recovered cluster diverges from the original. If you are unsure whether 14:31 is the right target, restore to a scratch server first and look at the data before you promote anything in production.
Practise this once, on a copy, before you need it. The command is short, and the parts that go wrong are the parts you cannot see: an ambiguous timezone, a WAL segment that was never archived, a repository the standby cannot reach. None of those show up in a backup report, and all of them show up during a recovery.
## Retention, expiration and verifying a backup
Retention in pgBackRest is expressed in counts of full backups, not in days, which trips people up when they translate a policy written as "90 days."
```ini
[global]
repo1-retention-full=4
repo1-retention-diff=6
repo1-retention-archive-type=full
repo1-retention-archive=4
```
| Setting | Controls |
|---|---|
| `repo1-retention-full` | How many full backups to keep. Everything depending on an expired full expires with it. |
| `repo1-retention-full-type` | Whether the number above means a count of backups or a number of days |
| `repo1-retention-diff` | How many differentials to keep |
| `repo1-retention-archive` | How much archived WAL to keep, which is what bounds your PITR window |
| `repo1-retention-archive-type` | Which backup type the WAL retention is anchored to |
Expiration runs automatically after a backup, and you can run it directly:
```bash
sudo -u postgres pgbackrest --stanza=billing expire
```
`[verify]` these option names against the user guide for your installed version before committing them to a runbook; retention options have gained members over time.
Then there is the command most setups never run:
```bash
sudo -u postgres pgbackrest --stanza=billing verify
```
`verify` walks the repository and checks that backups and WAL are internally consistent and match their recorded checksums. It catches silent corruption and truncated uploads, which is exactly the class of problem that stays invisible until a restore.
Worth being precise about what it does and does not prove. `verify` tells you the files in the repository are intact. It does not tell you that PostgreSQL will start from them, that your application will work against the result, or that the database contains what you think it does. Only an actual restore tells you that, which is why a periodic restore to a scratch server belongs on the calendar rather than on the wish list.
## Scheduling backups, and noticing when they stop
pgBackRest has no scheduler. You supply one, and the usual choice is cron or a systemd timer running as `postgres`.
A schedule that matches the retention example above is a weekly full and a daily differential:
```bash
# /etc/cron.d/pgbackrest
0 2 * * 0 postgres pgbackrest --stanza=billing --type=full backup
0 2 * * 1-6 postgres pgbackrest --stanza=billing --type=diff backup
```
Add hourly incrementals if your recovery point objective calls for them:
```bash
0 * * * * postgres pgbackrest --stanza=billing --type=incr backup
```
A systemd timer is the better choice on a modern host, because failures land in the journal with an exit status rather than in an email nobody reads, and `systemctl list-timers` shows you when the next run is due.
That covers taking the backup. It does not cover finding out when one stops happening, and those are genuinely separate problems. Cron reports a failure by sending mail to a local mailbox, which on most servers goes nowhere.
The cheapest thing that works is to alert on **backup age** rather than on job failure. A job that fails loudly is easy; a job that silently stops being scheduled, or succeeds while writing nothing, is the one that hurts. `info` reports timestamps in a machine-readable form:
```bash
sudo -u postgres pgbackrest --stanza=billing info --output=json
```
Parse the newest backup's timestamp, compare it against your expected interval, and page if it drifts. Whatever you already run for monitoring can do this. The important part is that something outside the backup host is asking the question, because a check that runs on the machine that died cannot tell you the machine died.
Set the alert threshold from your recovery point objective, not from the schedule. If you take hourly incrementals but can tolerate losing a day, alerting at 90 minutes generates noise nobody acts on, and an alert nobody acts on is worse than no alert because it teaches the team to ignore the channel.
## Where pgBackRest stops
pgBackRest is very good at the thing it does. It is worth being clear about the boundary, because a tool doing its job well is often mistaken for a complete backup system.
**It does not schedule itself.** As the previous section covered, you supply cron or a systemd timer, and from that point your schedule has the same properties as [any other cron-driven backup](/blog/pg-dump-cron-replacement-postgresql-backup): it runs, and it does not tell you when it stops running.
**It does not alert.** A failed backup writes to a log file. If nobody reads the log, the failure is silent, and the most expensive backup failures are the silent ones. The age check above is the minimum, and it is work you have to do and maintain.
**It does not verify restores.** `verify` checks file integrity, which is not the same as a tested restore.
**It covers one engine.** If your estate is only PostgreSQL, that is fine. If it also includes MySQL, MongoDB, Redis and a set of servers, pgBackRest solves one part and you build or buy the rest.
**It has an operational cost.** Repository credentials, cipher passphrases, retention tuning, upgrades, and a runbook someone can follow at 3am. That cost is worth paying on a large self-hosted cluster and is disproportionate on a 20 GB database where a nightly dump to object storage would do.
On that last point, it is worth knowing what the alternatives are for. Barman and WAL-G occupy similar ground with different trade-offs, and [our comparison of PostgreSQL backup tools](/blog/top-5-postgresql-backup-tools) covers where each one fits. If you are choosing between writing [a backup script of your own](/blog/the-ultimate-postgresql-database-backup-script) and adopting a tool, the honest question is whether your problem is capability or operations. pgBackRest answers the first. It does not answer the second.
## What to do next
If you are starting from nothing, the order that works is: install, write a minimal stanza with a local repository, get `check` passing, take one full backup, and restore it onto a scratch server the same afternoon. Only then move the repository to object storage and add encryption, retention and a schedule. Teams that configure everything at once and take their first restore months later are the ones who discover a problem at the worst moment.
Then put two things in the calendar rather than the backlog: an alert on backup age, and a restore rehearsal every quarter.
If the scheduling, alerting and restore-verification layer around your backups sounds like a second job, that is the part [SimpleBackups](/postgresql-backup) handles: backups on a schedule, sent to storage you control, with an alert when a run fails, across PostgreSQL, MySQL, MongoDB, Redis and your servers.
## Keep learning
- [Choosing a backup format](/blog/postgresql-backup-formats), because if you keep logical dumps alongside physical backups, `-Fc` is the flag that decides whether selective restore is available to you later.
- [Backing up Postgres in Docker](/blog/docker-postgres-backup-restore-guide-with-examples), if your cluster runs in a container. The data directory lives somewhere different, which changes the `pg1-path` in every example above.
- The [pgBackRest user guide](https://pgbackrest.org/user-guide.html), which is thorough and version-specific, and the reference to trust over any blog post including this one.
## FAQ
---
_This article is part of [The complete guide to PostgreSQL backup](/learn/postgresql-backup#pgbackrest), an honest, practical reference from the team that backs up PostgreSQL every day._
---
# How to Back Up a Linear Workspace (and What Linear's Export Doesn't Cover)
Source: https://simplebackups.com/blog/how-to-back-up-a-linear-workspace
Published: 2026-08-11
Author: Laurent
Summary: Linear's export is manual and admin-only. Here's how to back up a Linear workspace on a schedule, what gets captured, and what recovery can rebuild.
How to back up a Linear workspace has two answers, and the first one is built in. Linear's own data export lives in Settings, under Administration, behind an admin account, and it gives you a file. It does not give you a schedule, an alert when something goes wrong, or a way back into a workspace.
For a lot of teams that is fine. If Linear holds a side project and two open issues, the manual export is the correct answer and you can stop reading. The teams that need more are the ones where Linear *is* the plan of record: sprints, roadmap, every decision written down in a comment thread nobody wrote down anywhere else.
We now back up Linear workspaces every day, and this article is the honest version of what that involves: what Linear's own export covers, where it stops, what a scheduled backup captures, and what recovery can and cannot rebuild.
## Linear backup and restore is now live in SimpleBackups
Before the guide, the announcement: SimpleBackups now backs up Linear workspaces on a schedule to storage you control, and recovers them into a destination workspace you choose. It is [available in Linear's own integration directory](https://linear.app/integrations/simplebackups).
Here is the walkthrough:
## What Linear's native export actually gives you
Linear documents its export in [Exporting Data](https://linear.app/docs/exporting-data). The path is Settings, then Administration, then Import / Export, then Export data. It is designed for building custom reports and keeping records, and it does that job.
Read it as what it is, though, and four gaps show up:
- **It is manual.** Nothing runs it on Friday at 03:00 while you are asleep. Somebody has to remember, and the interval between exports is exactly the amount of work you are exposed to losing.
- **It is admin-only.** The person who notices data is missing is frequently not the person who can produce an export.
- **It has no failure signal.** A backup you never verified is a backup you are guessing about. A manual export has no run history to check.
- **It has no retention.** You get a file. Where that file lives, how many versions of it exist, and whether it is encrypted are all now your problem, solved by hand.
None of that makes the export bad. It makes it a snapshot tool rather than a backup system. The distinction matters at the moment you need data back, which is the worst moment to discover it.
We run Linear backups every day. The failures teams actually hit are rarely dramatic: a project deleted by mistake, an integration or script that bulk-edits hundreds of issues, an offboarding cleanup that removes more than intended. Linear's platform-level backups do not help with any of those, because they exist to recover Linear, not to recover you.
## How to back up a Linear workspace: what gets captured
A backup that captures issue titles and nothing else leaves you with a spreadsheet, not a workspace. So the run pulls the entities your teams would need to reconstruct their work:
| Category | Captured |
|---|---|
| Work items | Issues, sub-issues, comments |
| Planning | Projects, milestones, cycles, initiatives |
| Structure | Teams, workflow states, project statuses, labels |
| Content | Documents, templates, custom views |
| People | Users (as records, for assignment matching) |
Attachment and external-link metadata is requested on every run. When you enable **Embedded files**, SimpleBackups also attempts to download eligible Linear-hosted file bytes.
Each run reports per-entity counts, so you can compare 1,248 issues against what you expect to be there. Anything the run could not capture is listed explicitly rather than skipped quietly. You can also enable a resilient mode that refuses to mark a run as a valid recovery point when part of the core workspace data is missing, which is what stops a half-empty backup from sitting in your history looking healthy.
Archives are compressed JSON Lines, one file per entity type. That matters more than it sounds: your backup is plain structured text, greppable with ordinary tools, readable without our product and without an active Linear subscription.
## How recovery works, and what it cannot rebuild
Pick the point-in-time backup you want, connect a destination Linear workspace with write access, and start the recovery from the Restore tab.
Two design decisions are worth naming:
- **The credential that reads your data is never the credential that can write to it.** The backup connection is read-only OAuth, scoped so it cannot create, modify, or delete anything in the workspace it protects. Recovery uses a second connection you authorize explicitly for the destination.
- **Recovery never writes into the workspace you backed up.** It recreates content as new teams and records in the destination. The original stays untouched. Use a new, empty workspace where you can.
Recovering into your live workspace is possible, and it is almost never what you want during an incident. A fresh destination workspace lets you confirm what actually came back before anyone works against it, and it keeps the workspace you are trying to rescue out of the blast radius.
Now the part most vendors leave out. These things do not come back:
- **People.** SimpleBackups does not create users or recreate workspace and team memberships. Existing people are matched by email for assignments and project memberships.
- **Templates, custom views, and project-status settings.** These are not recreated, though a project can reuse a destination status with the same name or type.
- **Embedded file bytes.** Downloaded files are not re-uploaded yet. Attachments keep their original links, and Linear-hosted source URLs may not resolve in the destination.
What does come back: issues, sub-issue and project relationships, comments, labels, and workflow states. Progress is visible while the recovery runs, and an interrupted restore resumes from where it stopped instead of starting over.
We would rather you read that list now than find it at restore time.
## Encryption, and who holds the key
Your archive is encrypted with AES-256 as it streams, so an unencrypted copy is never written anywhere. You choose how you hold the key: bring one generated on your end, or generate a passphrase and have the key derived from it at backup time. Either way, the key never reaches our servers.
The consequence is exactly what you would want, and exactly what you should think about before your first run. What lands in your storage can only be opened by you: not by your storage provider, and not by us. It also cannot be reissued by anyone. Lose the key and the archive is gone. Store it somewhere safe first.
Destination is your call too: your own storage provider or SimpleStorage, with region selection when data residency is a requirement.
## Where compliance comes in
"Do you hold an independent, restorable copy of the data in your project-tracking system?" is a question auditors ask, and Linear's platform-level backups are not an answer to it. They live with the vendor, you cannot restore from them, and you cannot produce evidence that they ran.
Three things typically close that gap:
1. **An off-site copy under your control**, in a region you chose, held separately from the SaaS vendor.
2. **Evidence the backups ran.** Run history with per-entity counts is the difference between asserting a control and demonstrating one.
3. **Encryption with a key you hold**, which is what makes "the data is ours" a technical statement instead of a contractual one.
A framework does not ask whether Linear backs up its own platform. It asks whether you can produce a recoverable copy of the data you put there, and evidence that recovery works. That obligation is yours. "Linear handles it" is not an answer an auditor accepts.
If your company carries SOC 2, ISO 27001, or HIPAA obligations, those frameworks expect you to identify the systems holding operational data, protect them with backups, and demonstrate recovery. Linear becomes one of those systems the moment your roadmap, incident history, and customer-reported issues live in it.
That is why most teams arrive here: not because we hold a certificate, but because they hold one and need a control they can evidence. It helps that SimpleBackups is itself ISO 27001 certified and audited annually, is based in Belgium and GDPR-aligned, and lets you pick your storage region including EU-only options. Working with a certified provider shortens your own audit. It does not transfer the obligation.
We wrote up the same reasoning for source control in [GitHub vs compliance](/blog/github-vs-compliance-why-you-need-independent-backups-for-iso-27001-and-soc-2/), and the argument transfers cleanly to the system where your roadmap lives.
## Where to start tonight
Connect your Linear workspace with read-only access, set a daily schedule, pick a destination you control, enable encryption, and store the key somewhere that is not the workspace you just backed up. Then do the step almost nobody does: run one recovery into a throwaway workspace and look at what came back. Twenty minutes now, against a very bad afternoon later.
If you would rather not build and babysit that yourself, [SimpleBackups backs up Linear](/saas-backup/linear) on a schedule, to storage you own, with run reports that tell you what each backup actually captured.
## Keep learning
- [How to set up SaaS backups](/blog/how-to-set-up-saas-backups/), the practical setup pattern once you are protecting more than one tool.
- [Disaster recovery plan testing and backup metrics](/blog/disaster-recovery-plan-testing-and-backup-metrics/), for the step in this article almost nobody actually does: proving the restore works.
- [Linear backup documentation](https://simplebackups.com/docs/saas-app-backup/apps/linear), for the setup detail and the current recovery limitations.
## FAQ
---
# How to Restore a Notion Workspace or Recover Deleted Notion Pages
Source: https://simplebackups.com/blog/restore-notion-workspace-recover-deleted-pages
Published: 2026-07-10
Author: Laurent
Summary: Restore deleted Notion pages from Trash and Page History, Notion's version history. When native recovery runs out, SimpleBackups automates off-site exports.
Someone deletes a page. A workspace turns up empty on a Monday morning. You go looking for the undo button, and what you find next depends entirely on one thing: timing. Notion has real recovery tools, but each one has a clock attached, and once the clock runs out, the tools stop working. This article walks through what those tools cover, how to use them, and what to do when the window has already closed.
We run Notion backups every day for thousands of workspaces. The pattern we see is consistent: teams learn where Notion's recovery ends at the exact moment they need it to keep going. The point of this article is to move that discovery to now, when it costs nothing.
## The direct answer
Restoring a deleted Notion page or workspace depends on timing.
- **Deleted a page?** It sits in Notion's Trash. Find Trash in the left sidebar, locate the page, and click Restore.
- **Page still exists but the content changed?** Use Page History: open the page, click the ··· menu, choose Page History, pick a version, and restore it. How far back you can go depends on your plan.
- **Lost the entire workspace, or lost access to it?** This is the case native tools cannot fix. If the workspace is wiped, or the account is compromised or suspended, Trash and Page History go with it. The only reliable way back is a proper off-site backup you took beforehand, one you can restore from independently of your Notion account.
Beyond those windows, recovery depends on copies you control. SimpleBackups automates off-site Notion workspace exports on a schedule you set, with retention you define, storage you own, and monitoring that tells you when a backup fails.
## What Notion's built-in recovery actually covers
Notion gives you two real recovery tools, plus a hard limit past them.
### Trash: for deleted pages
When you delete a page, database, or block, it goes to Trash rather than disappearing. From Trash you can restore it, and child pages come back with their parent.
Trash retention is not tiered by plan, which surprises most teams. Notion keeps deleted pages for **30 days on every plan**, Free through Business. Only Enterprise workspace owners can change the window:
| Plan | Trash retention |
| ---------- | ---------------------- |
| Free | 30 days |
| Plus | 30 days |
| Business | 30 days |
| Enterprise | 30 days, customizable |
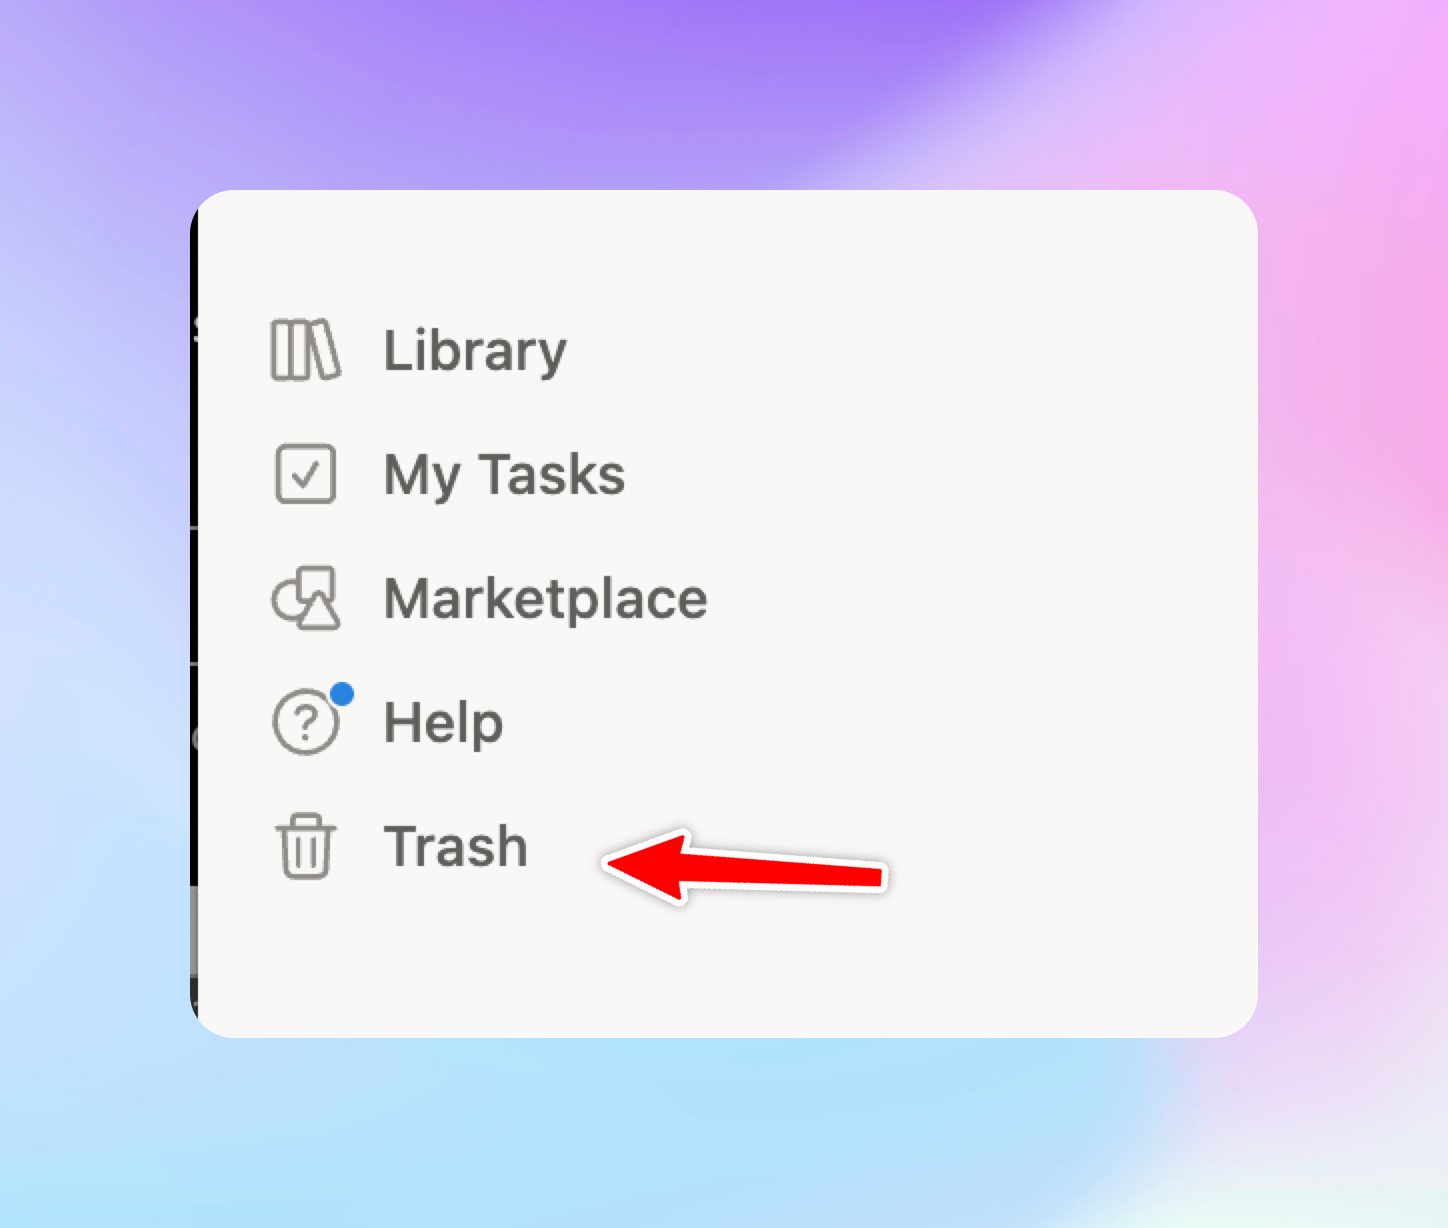
Two details matter. Trash operates at the page level, so a bulk-cleared workspace section may not surface as individual entries. And Trash is workspace-specific: if the account itself is compromised and the workspace is deleted, Trash goes with it.
### Notion version history (Page History): for changed content
Notion's version history is called **Page History** in the product, which is why searching for "Notion version history" in the help centre can come up short. Same feature, two names, and Notion documents both under [Delete & restore content](https://www.notion.com/help/duplicate-delete-and-restore-content) rather than on a page of their own.
Page History captures earlier versions of a page that still exists. It is the fix for "someone overwrote this document" or "I edited this and made it worse." Open the page, click ···, choose Page History, select a version, and restore. Retention again varies by plan:
| Plan | Page History |
| ---------- | ------------ |
| Free | 7 days |
| Plus | 30 days |
| Business | 90 days |
| Enterprise | Unlimited |
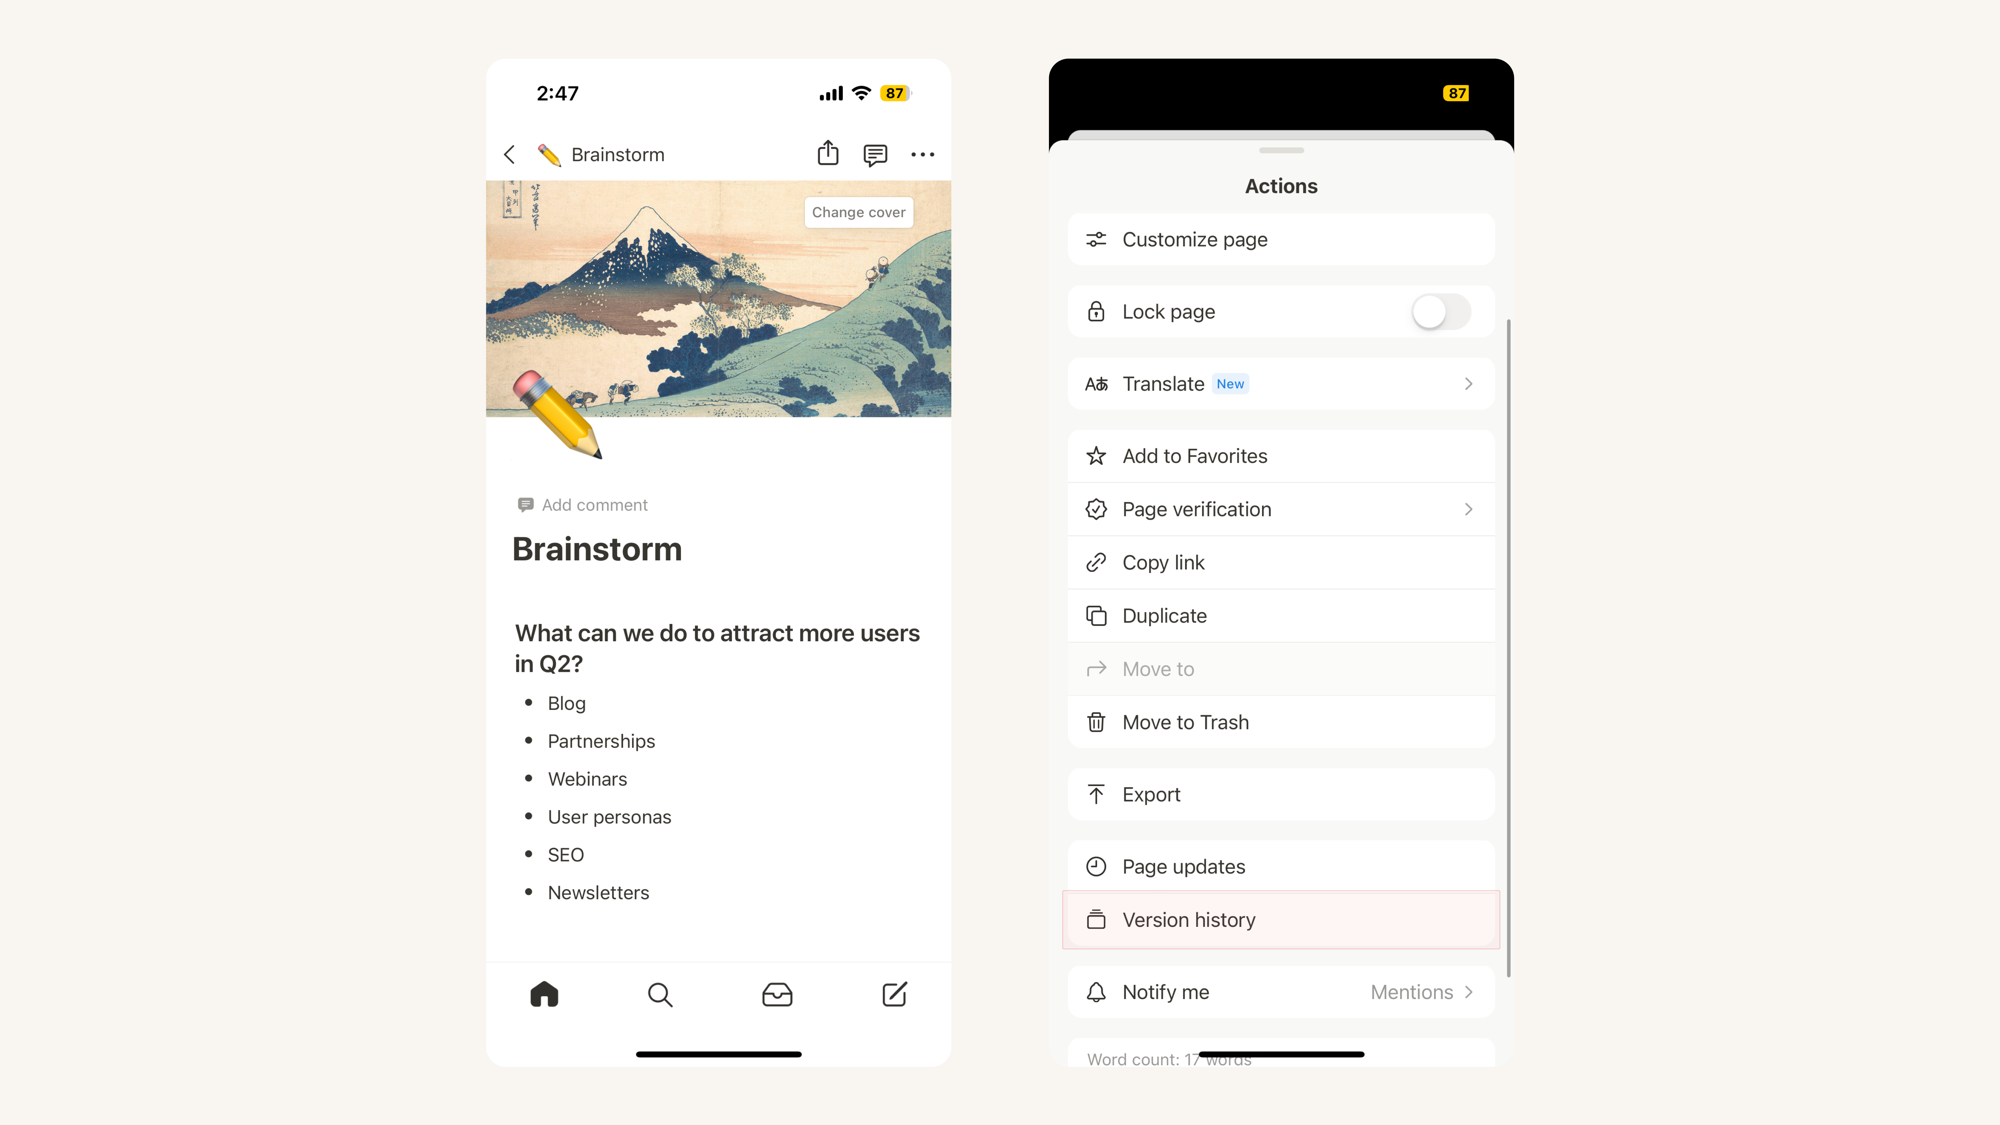
Page History is per-page. It does not help if the page itself was deleted (that is Trash), if you need to recover across many pages at once, or if you need to restore into a different workspace.
### Where native recovery ends
Trash and Page History are the only real self-service tools. Everything past them, expired retention windows, a bulk-wiped workspace, or a lost account, has no recovery button. You can try reaching out to Notion support, but there is no SLA, no guarantee, and no dedicated team standing by to restore a lost workspace. Once the data is gone past its window, native recovery is over.
What both tools share is the important part: they are Notion-controlled limits you cannot extend. Off-site backups you control are a separate layer entirely.
## Who needs more than Notion's native recovery
For solo users and small teams who catch deletions quickly and have no compliance obligations, native recovery is probably enough. Say that plainly, because most content in this space skips straight to selling you something.
You need more than native recovery if:
- Notion holds business-critical production data you cannot afford to lose, and you need a way to get it back no matter the cause: human error, an outage or issue on Notion's end, an account compromise, or a breach. If losing this data would hurt the business, you need a recovery path that does not depend on Notion.
- Multiple people have write or delete access to workspaces your team depends on
- Notion holds production documentation, customer data, internal runbooks, or intellectual property
- You are subject to ISO 27001, GDPR, SOC 2, or HIPAA and need documented backup procedures with audit trails
- You are on Free or Plus, where 7 to 30 days of history is too narrow for how your team actually works
- You have hit a provider-level problem: account suspension, credential loss, or a migration away from Notion
SimpleBackups fits technical founders, CTOs, and DevOps teams running workspaces where Notion holds operational data, not just notes.
## 5 things to evaluate before choosing a Notion backup approach
- **A retention window you control.** Notion's windows are fixed by plan. Check whether that window matches your real exposure, not your ideal one.
- **Storage independence.** Are copies stored somewhere other than your Notion account? A same-platform copy cannot help you if the account itself is inaccessible.
- **Monitoring and alerting.** Do you know when a backup job fails? Silent failures are how teams discover the gap at restore time, not setup time.
- **Point-in-time restore.** Can you restore to a specific snapshot, or only to the latest version? Point-in-time matters for slow disasters that degrade over days.
- **Compliance evidence.** Under ISO 27001, GDPR, SOC 2, or HIPAA, can the tool produce retention policies, encryption-at-rest evidence, and audit-ready logs?
## How SimpleBackups covers the gap
SimpleBackups covers the space between Notion's native recovery and what teams actually need when recovery matters.
**A real backup, not just an export.** Notion's manual export gives you a folder of Markdown and HTML files. It is limited, it struggles on large workspaces, and there is no way to load it back in: you get files, not a restore. SimpleBackups captures the raw Notion data itself. Because the backup holds that underlying data, it can be restored through a proprietary restore mechanism straight back into a live Notion workspace, 1:1 with the original. This is the gap in most Notion backup tools: they let you export your data in some format and stop there, leaving the actual restore to you. SimpleBackups puts the data back into Notion, into your existing workspace or a fresh one, so you end up where you started instead of with a pile of files to rebuild by hand.
**Off-site storage you own.** Backup data flows from Notion directly to your chosen destination: Backblaze B2, AWS S3, Wasabi, Leviia, or any S3-compatible target. SimpleBackups never sees or stores it, with AES-256 end-to-end encryption using your own private key (BYOK).
**Retention on your terms.** Set the policy to match your requirements, not a fixed default. Rolling retention, point-in-time copies, and archival windows you define.
**Monitoring that tells you when something breaks.** The pattern is consistent: teams with native-only setups find out what is missing at restore time. SimpleBackups monitors every job and alerts on failure.
**Compliance-ready.** ISO 27001 certified since 2023, audited annually. Audit exports covering retention, encryption and restore history, which is what ISO 27001 and SOC 2 reviewers ask for. Belgium-based, EU/GDPR jurisdiction with a customer-chosen storage region.
**One control plane.** If your stack includes databases, servers, GitHub, and Notion, you do not need separate tools. SimpleBackups covers all of them.
## Native recovery vs. automated off-site backups: an honest comparison
| | Native Notion | SimpleBackups |
| ------------------- | -------------------- | ------------------------------- |
| Trash retention | 30 days, most plans | Configurable |
| Page History | 7 to 90 days by plan | Scheduled exports |
| Storage location | Notion's servers | Your chosen destination |
| Monitoring | None | Alerting on failure |
| Compliance evidence | None | Audit exports available |
| Account dependency | Yes | No, copies stored independently |
Native recovery is zero-effort for the scenarios it covers, and it works within its windows. It falls short for anything outside them: documented retention for auditors, off-site copies independent of the Notion account, or recovery when the account itself is inaccessible.
Automated off-site backups are not the answer for every Notion user. If your workspace is notes and light project tracking, native tools are probably fine. If it is operational infrastructure, customer data, or anything that touches a compliance framework, the trade-off shifts. Draw the line clearly for your context.
Every Notion backup tool works within the same API constraints. Custom database views (Kanban, Gallery, Timeline, Calendar), page width settings, and some granular permission settings are not exposed to any tool. The database data is captured; the view configuration is not. Any tool that does not mention this is not doing something technically better. It is just not telling you what you will find at restore time.
## Why teams trust SimpleBackups for Notion
- **ISO 27001 certified since 2023, audited annually.** Backup, encryption, and retention practices are independently reviewed, not self-declared.
- **AES-256 end-to-end encryption with a customer-owned private key (BYOK).** Backup data flows server-to-storage; SimpleBackups never sees or stores it.
- **Protecting data for 3,200+ teams, from indie SaaS to Fortune 500.** From single-workspace setups to multi-environment production stacks.
- **One-command restore from the CLI, REST API, and [native MCP server](/docs/mcp/overview).** Restore paths are documented and testable before you need them, not improvised under pressure.
- **Belgium-based, EU/GDPR jurisdiction with a customer-chosen storage region,** including EU-only destinations (Leviia, Storadera, OVH) for data residency requirements.
## Set up automated backups before you need to restore
If Notion holds anything you cannot afford to lose (team documentation, customer-facing content, operational runbooks) then the Trash window is not a backup policy. [Our automated Notion backup service](/saas-backup/notion) handles off-site workspace exports with monitoring, AES-256 encryption, and retention you set, on one control plane alongside your databases and servers. Set it up once.
For a deeper look at where native tools help and where they stop, read our full guide on [how to back up a Notion workspace](/blog/how-to-back-up-notion-workspace).
## Keep learning
- [The three types of data backup, and which one you need](/blog/3-types-of-data-backup-solutions-which-one-do-you-need): why Trash and Page History are recovery features rather than backups, in the general case.
- [What the 3-2-1 backup strategy actually asks of you](/blog/what-is-the-3-2-1-backup-strategy): the rule that explains why a copy living inside the same account it protects does not count.
- [How to back up a Linear workspace](/blog/how-to-back-up-a-linear-workspace): Notion is rarely the only place a team keeps something it cannot rebuild.
## FAQ
---
# Best Alternatives to a pg_dump + Cron Script for PostgreSQL Backups
Source: https://simplebackups.com/blog/pg-dump-cron-replacement-postgresql-backup
Published: 2026-07-06
Author: Laurent
Summary: Replacing pg_dump + cron? SimpleBackups automates PostgreSQL backup scheduling, alerting, and restore verification. Zero overhead. Compare your options.
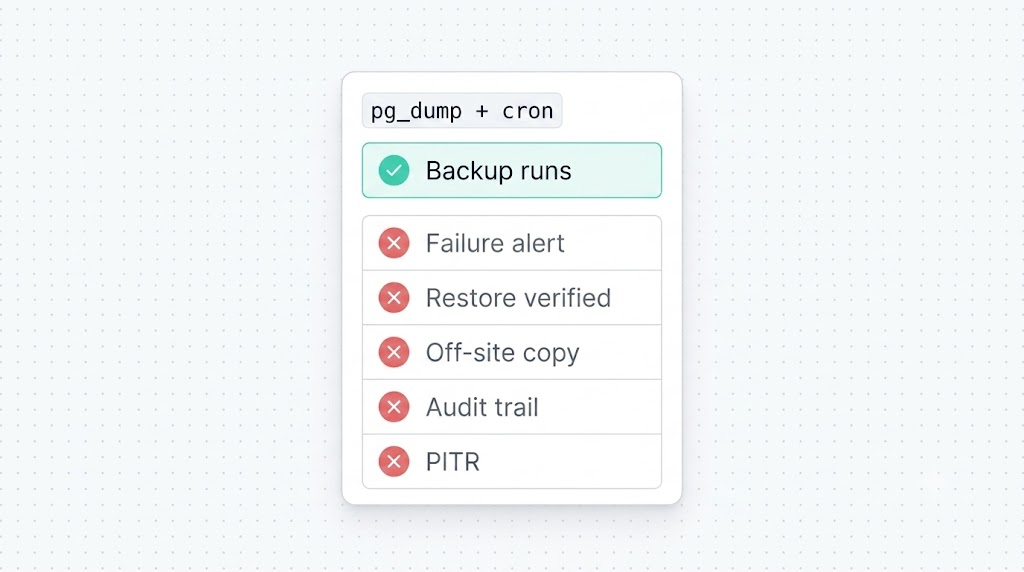
Most pg_dump + cron scripts pass exactly one test: does the command run without erroring. That is the wrong test. The one that matters, does the backup restore, usually goes unanswered until the day you need it. This guide walks through what to replace that script with, and when each option is actually the right call.
## The Best pg_dump + Cron Replacement, Honestly
The best replacement for a pg_dump + cron script depends on what the script actually fails at. For most teams, the failure is operational: no alert when the backup breaks, no off-site copy, no proof the last backup restores.
The off-site gap is the one worth closing first, because it is the cheapest and it is the only one that survives losing the database host. [Sending PostgreSQL backups to S3](/blog/how-to-backup-postgres-to-s3) is the short version if you want to fix that today and leave the rest of this article for later.
For that failure mode, a managed Backup-as-a-Service is the practical answer. SimpleBackups triggers, schedules, automates, and monitors PostgreSQL backups for 3,200+ teams with zero overhead.
If the problem is specifically capability, meaning point-in-time recovery on a large self-hosted cluster, physical tools like pgBackRest or WAL-G are the right layer, though you'll own the operational complexity.
Worth knowing before you decide: those are different categories, not competing options.
## What Is Backup-as-a-Service for PostgreSQL?
[Backup-as-a-Service (BaaS)](/blog/backup-as-a-service-how-it-works-benefits-and-challenges) is the operational layer that automates, monitors, and proves the restorability of PostgreSQL backups without you writing or maintaining scripts. A managed BaaS replaces the cron-and-dump pattern with a control plane that handles scheduling, compression, encryption, off-site storage, retention policies, and failure alerts. It surfaces all of it from one place, not a separate script per database engine.
Here's the distinction worth knowing. `pg_dump` produces logical backups: a portable export of a database's objects and data. It's the right tool for migrations, selective restores, and small databases. What it can't do is point-in-time recovery (PITR), because that requires [WAL archiving and physical backups](https://www.postgresql.org/docs/current/continuous-archiving.html).
If your scenario requires PITR, that's a separate decision from whether to replace your cron script. Physical backup tools (pgBackRest, WAL-G, Barman) address that requirement, at the cost of operational complexity you own.
## Who Should Replace Their pg_dump + Cron Script?
This guide is for DevOps engineers, SREs, and technical founders running production PostgreSQL, whether on Linux servers, managed instances, or private VPCs, whose current backup setup is a pg_dump script that hasn't been tested in production.
You're likely in the audience if any of these are true:
- The last backup ran with no error but you haven't verified a restore.
- Backups land on the same cloud account as production.
- A cron failure sends no alert.
- You're facing an [ISO 27001, SOC 2, or HIPAA audit](/blog/backup-policy-the-livesaver-for-modern-businesses) that asks for documented backup procedures.
- You're adding a new database engine or SaaS app and the script doesn't cover it.
If you need PITR on a 100GB+ self-hosted cluster and have the engineering capacity to operate a physical backup system, the comparison section below starts with that scenario.
## 5 Things to Evaluate Before Replacing Your Backup Script
- **Failure alerting.** When a backup fails silently, you find out at restore time. Any replacement needs to notify you before an incident does.
- **[Restore verification](https://www.enterprisedb.com/blog/postgresql-backup-best-practice).** The question isn't whether the backup ran, it's whether it restores. These are different tests. Your replacement should answer both.
- **Off-site storage.** Backups stored on the same provider as production are not protected against account suspension, breach, or provider migration. Off-site is the point.
- **Encryption with key ownership.** Who encrypts the backup and who holds the keys? Third-party tools that see backup data in transit are a non-starter for most security reviews.
- **Point-in-time recovery.** `pg_dump` can't do PITR. If your scenario requires it, you need WAL archiving and a physical backup tool. That's a different evaluation from this one.
- **Audit trail.** ISO 27001, SOC 2, and HIPAA auditors ask for [documented backup procedures](https://csrc.nist.gov/pubs/sp/800/34/r1/upd1/final), retention logs, and encryption evidence. A cron script produces none of this.
## Where SimpleBackups Fits in the PostgreSQL Backup Stack
SimpleBackups is the managed BaaS layer. It is the right answer when the problem with your pg_dump + cron setup is operational, not architectural.
Here's what it covers that a pg_dump + cron script doesn't:
- **Backup failure alerts**, so you know before an incident does.
- **One control plane** for PostgreSQL, MySQL, MongoDB, Redis, servers, and SaaS, not a separate script per engine.
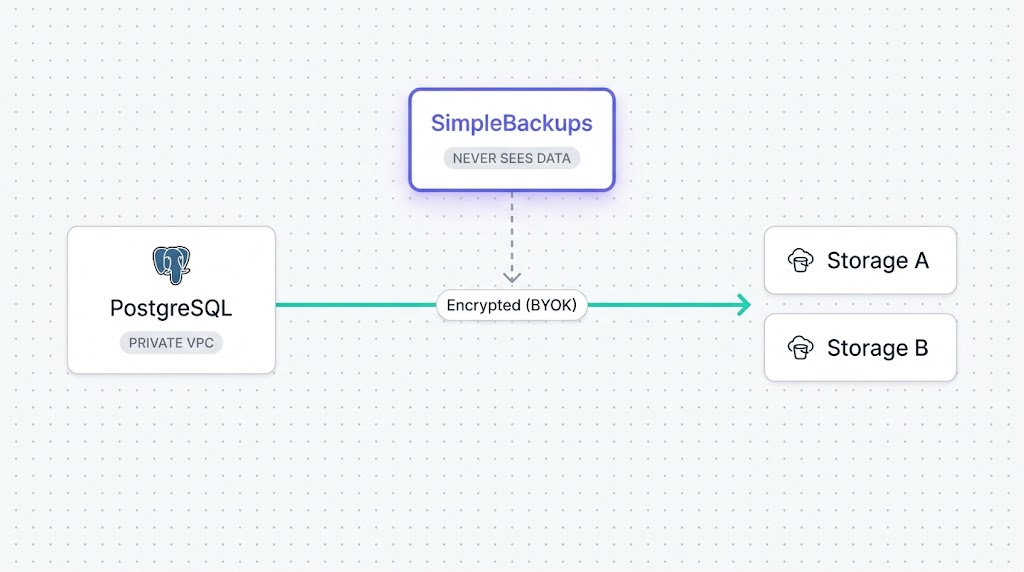
- **End-to-end encryption.** Backup data flows server-to-storage directly. SimpleBackups never sees or stores it. AES-256 encryption with your own private key (BYOK).
- **[3-2-1 enforced across providers](/blog/3-types-of-data-backup-solutions-which-one-do-you-need)** with off-site replication, so backups survive provider account issues.
- **ISO 27001 certified since 2023**, audited annually. Audit exports covering retention, encryption and restore history, which is what ISO 27001 and SOC 2 reviewers ask for.
- **One-command restore** from the CLI, REST API, and [native MCP server](/docs/mcp/overview).
- **Firewall and private VPC support**, with no inbound ports required.
Worth saying plainly: SimpleBackups uses logical backups. If your scenario specifically requires physical backups and PITR on a large self-hosted PostgreSQL cluster, pgBackRest or WAL-G are the appropriate tool. The comparison section below draws that line clearly.
## Managed BaaS vs Self-Managed Tools: Drawing the Line
The tools that come up most when people replace pg_dump + cron are pgBackRest, WAL-G, and Barman. Here's the honest framing.
pgBackRest, WAL-G, and Barman are self-managed physical backup tools for PostgreSQL. They give you things `pg_dump` can't: incremental backups, WAL archiving, and true point-in-time recovery. They're production-grade for large clusters.
The trade-off is real. You install, configure, monitor, and maintain them. [pgBackRest has no built-in scheduler](https://pgbackrest.org/user-guide.html), so cron or systemd timers are still how you trigger it. Adding a new database engine, storage provider, or compliance requirement is maintenance you own.
SimpleBackups is a different category: a managed service where scheduling, monitoring, alerting, encryption, retention, and restore verification are the product, not things you configure. Backup data flows server-to-storage directly, and SimpleBackups never sees it. One control plane covers PostgreSQL, MySQL, MongoDB, Redis, servers, and SaaS.
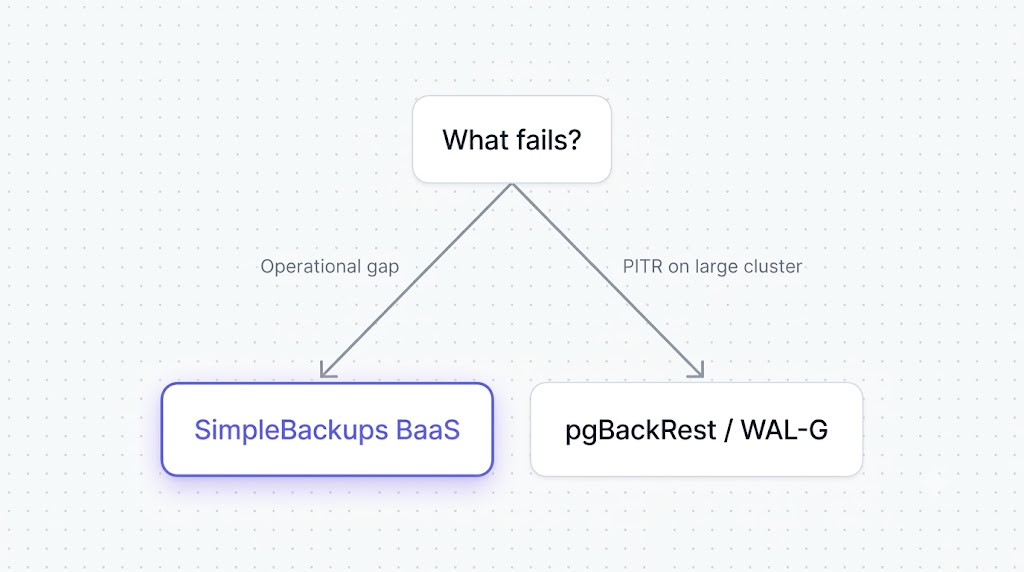
The decision, drawn plainly:
| Situation | Better fit |
| --------------------------------------------------------------------------------- | ------------------- |
| Need PITR on a large self-hosted cluster; have engineering capacity to operate it | pgBackRest or WAL-G |
| Need monitored backups with an audit trail; no maintenance budget | SimpleBackups BaaS |
| Multiple databases and environments; need one view of all backup status | SimpleBackups BaaS |
| ISO 27001 / SOC 2 audit requiring documented procedures and encryption evidence | SimpleBackups BaaS |
## Why 3,200+ Teams Trust SimpleBackups Over DIY Scripts
SimpleBackups protects data for 3,200+ teams, from Indie SaaS to Fortune 500, running the same production PostgreSQL stacks this guide describes.
- **ISO 27001 certified since 2023**, audited annually. Backup procedures, encryption at rest, and retention policies are documented and audit-exportable, the kind of evidence a cron script cannot produce for an ISO 27001 or SOC 2 reviewer.
- **Your keys, your data.** Backup data flows server-to-storage, and SimpleBackups never sees or stores it. AES-256 end-to-end encryption with a customer-owned private key (BYOK). This satisfies security reviews that flag third-party data access as a non-starter.
- **Compliance-ready exports.** Audit exports covering retention, encryption and restore history, which is what ISO 27001 and SOC 2 reviewers ask for, relevant for teams whose DIY backup script triggered a compliance gap.
- **One-command restore** from the CLI, REST API, and native MCP server. Restores are documented, accessible, and drivable by an AI agent via the SimpleBackups MCP server.
- **EU jurisdiction.** Belgium-based, EU/GDPR jurisdiction with a customer-chosen storage region, for EU teams with data residency requirements.
## Replacing pg_dump + Cron: Frequently Asked Questions
## See How SimpleBackups Handles This for You
If you're running a pg_dump + cron script and haven't tested a restore recently, that's the question to answer first. SimpleBackups triggers, schedules, automates, and monitors backups across your PostgreSQL databases with zero overhead, from setup through restore. You can see the whole picture on the [managed PostgreSQL backup](/postgresql-backup) page.
If you want to see the DIY version in full before you decide, [the ultimate PostgreSQL backup script](/blog/the-ultimate-postgresql-database-backup-script) is the script this article is arguing about, and the [pg_dump and pg_restore guide](/blog/postgresql-pgdump-and-pgrestore-guide-examples) covers the commands underneath it. For the wider landscape, including pgBackRest, Barman and WAL-G, see [PostgreSQL backup tools compared](/blog/top-5-postgresql-backup-tools).
---
*This article is part of [The complete guide to PostgreSQL backup](/learn/postgresql-backup#replace-pg-dump-cron), an honest, practical reference from the team that backs up PostgreSQL every day.*
---
# The Docker Backup Setup I Actually Trust - Video Tutorial
Source: https://simplebackups.com/blog/the-docker-backup-setup-i-actually-trust-video
Published: 2026-06-01
Author: Nour
Summary: A backup is only real if you can get your data back. This video walks through a simple, automated Docker backup system built with a bash script, cron, and Backblaze B2 via rclone - including the restore process.
I wanted a backup system for Docker that was simple, automated, and easy to restore - so I built one with a bash script, cron, and Backblaze B2 via rclone. In this video tutorial we look at the architecture, the tradeoffs, and the restore process, because a backup is only real if you can get your data back.
---
# How to Backup a MySQL Database - The Right Way - Video Tutorial
Source: https://simplebackups.com/blog/how-to-backup-mysql-database-the-right-way-video
Published: 2026-05-18
Author: Nour
Summary: One bad DELETE query and your data is gone. In this video we go from a manual mysqldump, to cron automation, to fully automated MySQL backups with SimpleBackups - the right way, end to end.
One bad DELETE query and 147 orders are gone. In this video tutorial we go from a manual `mysqldump`, to cron automation, to fully automated backups with SimpleBackups - the right way to back up your MySQL database, end to end.
---
# How to Back Up Your Notion Workspace, and When to Go Further
Source: https://simplebackups.com/blog/how-to-back-up-notion-workspace
Published: 2026-05-07
Author: Laurent
Summary: Notion's export covers personal use. Trash holds deleted pages 7 to 90 days by plan, and the API hides custom views. Here is where each one stops.
For many people, the Notion backup question has a simple answer: the native export is probably enough. That's not a hedge. It's the honest answer for anyone using Notion as a personal notes app, a light project tracker, or a solo knowledge base. The question worth asking is which side of that line you're on.
We run Notion backups every day for thousands of workspaces. The pattern we see is consistent: teams don't think about whether their protection is sufficient until they need data back. The discovery usually costs something. This article moves that question to now, when it costs nothing.
After reading this, you'll know exactly what Notion's native features cover, when they're enough, when they aren't, and how to evaluate any tool if you decide you need more.
We run Notion backups every day. We've also tested every major Notion backup tool on the market. The gap between what those tools advertise and what they actually deliver is significant. It's the kind of thing you find out at restore time, not setup time. We're writing this because we'd rather you know it now.
## Quick answer: how to back up a Notion workspace
The direct answer: use Notion's built-in export. Go to **Settings → Workspace → General → Export all workspace content**, choose **Markdown & CSV**, and Notion emails you a download link. The link expires in 7 days, so download the ZIP and store it somewhere you control, not only inside Notion. That covers a real set of scenarios.
The fuller answer goes further. If your workspace is shared, changes daily, or sits inside a compliance boundary, the manual export has gaps: no scheduling, no alerting, no rolling retention, and no automatic off-site delivery. That's the case for automated, off-site backup, and it's what the rest of this article helps you decide.
One principle underpins the whole thing: the **3-2-1 rule**. Three copies of your data, on two different media, with one copy off-site. A monthly ZIP sitting on your laptop is one copy, one medium, and not off-site. Worth knowing before you need it.
## Is the Notion export enough?
For many Notion users, yes. It's worth saying plainly, because most content in this space skips straight to selling you a solution.
Notion lets you export your entire workspace as Markdown, CSV, or HTML. You do it manually from Settings. You get a zip file with your pages, databases, and content. You store it somewhere. If your workspace were ever lost, you'd re-import it.
That covers a real set of scenarios. If you're using Notion alone, editing occasionally, and storing content you could reconstruct in a day or two if you had to: the export is probably a defensible position. Do it monthly. Keep the file somewhere you control.
Where it starts to fail is predictable: the more people who have access, the more complex the data structure, and the faster the workspace changes, the more the export's limitations become relevant. The rest of this article is about drawing that line clearly, so you can make the call yourself.
## What Notion's native features actually cover
Notion gives you three mechanisms for recovering data. Understanding what each one actually does makes the line much easier to draw.
### Autosave
Notion saves continuously as you work. Content is synced to Notion's servers in real time. In practice: you won't lose unsaved work to a browser crash or a power cut. That's worth something.
What autosave doesn't cover: it records the current state of the workspace, including deletions. If you delete a page, autosave has captured the deleted state. If a team member drops an entire database section, autosave records that too. You're protected against accidental session loss. You're not protected against intentional or accidental deletion.
### Trash
Deleted pages, databases, and blocks go to Trash rather than disappearing immediately. From Trash, you can restore them. How long they stay depends on your plan.
| Plan | Trash retention |
| ---------- | --------------- |
| Free | 7 days |
| Plus | 30 days |
| Business | 90 days |
| Enterprise | 90 days |

After the window expires, Notion permanently deletes the content. Notion's [help article on Trash and deletion](https://www.notion.com/help/duplicate-delete-and-restore-content) confirms there is no recovery path once the window closes. At that point, Notion's support team cannot recover it, and no third-party tool can either. The data is gone.
A few practical details about Trash that matter. It operates at the page level: individual pages, databases, and blocks appear in Trash when deleted. But if a workspace section is cleared in bulk, or if content is modified rather than deleted, Trash doesn't apply. Also, Trash is workspace-specific: if your account is compromised and the workspace is deleted at the account level, Trash goes with it.
If you are here because something is already missing, stop reading this and go to [recovering deleted Notion pages](/blog/restore-notion-workspace-recover-deleted-pages) instead. It walks Trash and Page History in order, and the Trash clock is running while you read.
### Version history
Notion keeps a history of changes to individual pages. You can view previous versions and restore an earlier state. The depth of that history depends on your plan.
| Plan | Version history |
| ---------- | --------------- |
| Free | 7 days |
| Plus | 90 days |
| Business | 90 days |
| Enterprise | Custom |

Version history is per-page. It lets you recover from "I edited this page and made it worse" or "someone changed this document and I need the original." It doesn't help if the page itself was deleted (that's Trash), if you need to recover across multiple pages simultaneously, or if you need to restore to a different workspace. It's also plan-limited in a way that's easy to forget: on the Free plan, a change from 8 days ago is unrecoverable, even if you know it exists.
### Exporting your entire Notion workspace
Settings → Export lets you download your workspace as a zip archive. You choose the format: Markdown and CSV, or HTML. The export captures your pages and databases. It's the one Notion mechanism where you end up with something you own, stored somewhere you control, independent of Notion's servers.
The limitations are worth knowing. Databases come out as CSV files, which means relational links between databases don't survive intact. File attachments may or may not be included depending on your export settings. The download link Notion emails you expires after 7 days, so an export you forget to download is no backup at all. And it's manual: there's no schedule, no alert when you forget to do it, and no way to automate it through Notion's interface.
### The terms of service point
Notion's terms of service are clear that they're not responsible for data loss. This is standard SaaS practice, not a sign that Notion is unreliable. But it means the question of protecting your data is your question, not theirs. They provide the tools described above. What you do with them is up to you.
## Version history, trash, and export: what's actually different
The three mechanisms do different things. The confusion comes from treating them as equivalent when they're not.
| | Version history | Trash | Export |
| ------------------------------------- | ----------------------- | ----------------------- | ------------------------------ |
| Scope | Per-page | Workspace-level | Full workspace |
| Duration | 7–90 days, plan-limited | 7–90 days, plan-limited | Indefinite (you keep the file) |
| Recoverable after permanent deletion? | No | No | Yes, from your copy |
| Restorable to a different workspace? | No | No | Yes |
| Covers database relationships? | No | Partial | Partial (CSV only) |
| Automated? | Yes | Implicit | Manual only |
The export is the only mechanism that produces something you own. Version history and Trash exist only within Notion: if your account is inaccessible, they're inaccessible. If your workspace is deleted, they're gone with it. A local copy of your export is the one copy that survives anything happening to your Notion account.
That's the clearest reason to export regularly, even if you never expect to need it: it's the only copy that's actually yours.
## When native Notion is sufficient
Here are the cases where the export, combined with Trash and version history, is genuinely adequate.
**Personal workspaces with low edit frequency.** Solo use, occasional changes, content you'd rate as recoverable if you had to rebuild it. A monthly export covers you. If something goes wrong, you lose at most a month of notes. For most personal use cases, that's an acceptable risk.
**Content that's low-stakes if lost.** Reading lists, draft ideas, bookmarks, temporary project boards: if losing it would be inconvenient but not damaging, the native tools and a periodic export are proportionate.
**7-day Trash is enough if you notice fast.** If your edit pace is low enough that a deleted page would surface within a week, Free plan Trash retention covers you. The assumption is that you, or someone on your team, would catch a destructive change before the window expires.
**Small teams with controlled access.** Fewer editors means fewer accidental deletions. If everyone in the workspace is careful and accountable, the risk profile is lower than a large shared workspace where any editor can make changes you don't see for weeks.
**No compliance requirements.** If you're not subject to GDPR, HIPAA, ISO 27001, SOC 2, or similar frameworks, there's no external pressure to maintain documented retention schedules, off-site storage, or auditable backup logs. The native tools plus an export give you practical protection without meeting any particular formal standard.
If all of these describe your situation, the native export is the right answer. Export your workspace monthly, store it somewhere you own (a cloud drive or your local machine, not only in Notion), and you have a defensible position. You don't need anything else.
The export option is at Settings → Export in your Notion workspace. Choose "Markdown & CSV" to get the most portable format. Turn on "Include subpages" to capture nested pages. Store the resulting zip somewhere independent of your Notion account.
## When it isn't
The same characteristics, inverted, mark the point where native Notion stops being enough.
**Databases with relational structure you can't easily reconstruct.** If you have a Projects database linked to a Tasks database linked to a Clients database, with months of entries built on top of each other, losing it to accidental deletion is not a "rebuild this afternoon" situation. It might not be fully reconstructable, because the relationships were built incrementally over time and can't be recreated from memory.
**Shared workspaces with multiple editors.** Every person with editor access can delete pages, databases, or entire workspace sections. This isn't a criticism of your team. It's a statistical reality. The larger the workspace and the more active the editing, the higher the likelihood that something gets deleted or corrupted without immediate notice. The 30-day Trash window helps, but only if someone spots the problem within 30 days.
**Slow-burn problems that outlast your retention window.** This is the failure mode that catches teams most off-guard. A relational link that broke silently two months ago. A database that's been accumulating incorrect data since a formula was changed. A page that was modified by someone and has been wrong since then. By the time you notice, version history and Trash have both expired. You need a point-in-time copy from before the damage started, which means you need backups older than your retention window.
**Any compliance requirement.** GDPR, HIPAA, ISO 27001, SOC 2: each has specific things to say about backup. Manual exports don't satisfy requirements for documented retention schedules, audit trails, or off-site storage under separate access control. If your organization is pursuing or maintaining any of these certifications, a manual export process isn't auditable.
**Single admin accounts.** If one person holds admin access to the workspace and that account is compromised, your data is one delete operation away from gone. Trash and version history are also inaccessible without account access. The off-site copy you own independently is the only protection against this class of failure.
Here's what this looks like in practice.
You open Notion on a Monday morning. A team workspace that your operations team has been building and maintaining for three months is empty. A team member cleared it on Friday. You check Trash: nothing. The workspace was wiped, not individual pages, so individual page Trash entries don't exist. Version history on individual pages doesn't help if the pages themselves are gone. Your last export is from six weeks ago. You're missing six weeks of operational data: processes documented, decisions recorded, running logs updated.
That's not a disaster scenario. It's a plausible Monday for any team that assumed native Notion was sufficient.
{/* VIDEO: promotional, embed here, after the Monday scenario. Lead-in: "Here's a quick look at what recovery looks like when you have a backup in place." URL: [promotional video URL, insert before publish] */}
## Three ways to back up Notion off-site
If the manual export isn't enough for your situation, you have three real options for getting a copy of your workspace off-site. They differ mostly in how much of the operational work you own.
**Notion's manual export.** Free. Takes five minutes. You get a ZIP with your pages, databases, and files. The gap: it only runs when you remember, doesn't alert on failure, gives you one snapshot with no version history, and is only off-site if you physically move the file somewhere independent. Fine for a solo, slow-moving workspace. Thin for anything production-grade.
**DIY automation with scripts.** You can script Notion's API with a cron job or a GitHub Actions workflow and push exports to your own storage. The script is the easy part. The harder parts are monitoring whether it actually ran, alerting when it didn't, rotating API credentials, managing retention, and producing evidence when an auditor asks for it. This path works. You just own all of that maintenance indefinitely, and it tends to rot quietly the moment nobody's watching it.
**A managed backup service.** Handles scheduling, alerting, retention, off-site replication, encryption, and audit trails out of the box. You connect a storage destination once. The trade-off is a subscription. Worth it when the workspace is a team system of record and compliance-relevant. Probably not worth it for a personal notes setup.
## What to look for if you decide you need more
If the sections above moved you into "I need more than the export" territory, here's how to evaluate any backup tool. These questions apply to any service you consider, not just SimpleBackups.
**Can you test a restore before you need it?** The most important question on this list. A backup that's never been tested is a file that might work. Any tool worth using should let you trigger a restore to a test workspace and confirm the result before you're in an emergency. If testing a restore is awkward, or locked to a higher plan tier, that's a signal worth noting.
**Do you control the schedule and retention?** Some tools lock backup frequency and retention periods to plan tiers. One daily backup on a starter plan, no configuration. If your data changes faster than the allowed schedule, or your risk profile requires longer retention than the tier provides, these limits become constraints you'll feel. Know what you're getting before you commit.
**Can you store the backup somewhere you own?** There's a meaningful difference between a tool that stores your Notion data on its own infrastructure and one that writes to your own S3 bucket, Google Drive, Dropbox, or SFTP destination. Storing to your own destination means you control access independently of the backup tool, you control the retention policy, and you retain the data even if the backup service closes or your account lapses.
**Is the backup encrypted, and who holds the key?** Off-site copies live outside Notion's walls, so encryption stops being optional. AES-256 is the baseline. The question underneath it is who can read the backup. A tool that encrypts with a key it controls can technically read your data. A tool that supports a customer-owned key (BYOK) cannot. For anything sensitive or regulated, key ownership is the line that matters.
**Does it alert you when a backup fails?** Silent failures are the second most common problem in backup systems, after having no backup at all. If a tool can't notify you that last night's backup didn't run, you'll find out at the moment you try to restore. By then, the window you thought was protected isn't.
**Is it honest about what Notion's API can and can't do?** Every Notion backup tool works within the same API constraints. Tools that don't mention those constraints aren't doing something technically better. They're not telling you what you'll discover when you need the data back. A tool that's upfront about what it can't do is more trustworthy than one making broad "full backup" claims.
**Does it handle databases, not just pages?** Pages are the easy case for any backup tool. Databases with structured content, properties, and relational links are harder. Ask specifically whether database content is backed up and whether relational links between databases are preserved. "We back up your workspace" sometimes means "we back up your pages."
**Can it restore to a different workspace?** Some tools restrict restoration to the same workspace. This matters if you want to run test restores without touching your live workspace, or if you ever need to migrate content between Notion accounts.
{/* VIDEO: product walkthrough, embed here, after the evaluation checklist. Lead-in: "Here's how SimpleBackups handles each of these." URL: [product walkthrough video URL, insert before publish] */}
## What most backup tools get wrong (and what to watch out for)
We've tested the major Notion backup tools available. Three patterns came up consistently. These are worth knowing when you're evaluating any tool, because they're not always visible from the landing page.
### Restore is advertised, but it's manual or broken
One tool we evaluated has no restore button. Backups are downloaded as `.zip` files. Recovery means opening the file, locating the content, and copying it back into Notion by hand. The landing page prominently advertises restore and recovery capabilities.
Another tool's automated restore failed silently when the target "Restore" page hadn't been manually pre-created in the workspace. There was no error message. The restore appeared to succeed. The content didn't come back. We found this only by checking the workspace directly.
A third pattern: restores succeed for simple page content and fail for complex structures, producing no clear feedback about what came back and what didn't.
The practical test: before committing to any tool, run a real restore to a test workspace, not just a setup walkthrough. That's the only way to know what you actually have.
### Databases and relational content fail quietly
Complex Notion structures expose the limits of most backup tools quickly. Relational database links (a Projects database linked to a Tasks database linked to a Clients database) fail to parse in most tools we tested. The individual databases come back; the links between them don't. Callout blocks lose formatting. Custom database views can't be restored as views.
The subtler version of this problem: one tool we tested showed database columns in its preview UI, giving the impression the database was fully backed up. The actual backup file contained no database row content at all. The structure was there; the data wasn't.
The raw text of most page content is generally preserved. The structure around it often isn't. For a personal notes archive, that's probably fine. For a team's operational database where the relationships between records are as important as the records themselves, it may not be.
### You can't tell if it worked until you need it
Rate limiting during basic backup operations. No progress indicator while a backup runs. Backup status that requires a manual page refresh to update. Restore errors exported to a spreadsheet file rather than surfaced in the app's interface. Unexplained redirects to unrelated pages during setup.
These are UX problems, but they have a practical consequence: if your tool doesn't clearly tell you whether a backup ran and whether it succeeded, you can't verify it without running a restore. Most people don't run restore tests regularly. Which means most people using these tools don't actually know if their backups work.
Whatever tool you use, including SimpleBackups, test a restore quarterly. Set a calendar reminder. A backup system you haven't tested is a system you're trusting on reputation, not evidence.
## What Notion's API actually exposes (and what no tool can back up)
Every Notion backup tool works within the same API constraints. These aren't implementation choices that distinguish one tool from another. They're ceiling constraints that every tool hits, including SimpleBackups.
What any tool can capture via Notion's API:
- Page content and block structure
- Database schemas and row content
- Nested page hierarchy
- File attachments and images hosted in Notion's CDN
- Page properties and tags
What Notion's API doesn't make available to any backup tool:
- Custom database views: Kanban board layout, Gallery layout, Timeline, Calendar views. The data in the database is captured; the view configuration isn't. On restore, you get a default table view. The Kanban board you built is gone.
- Page width settings (full-width vs. narrow) and cover image position
- Some granular user-permission configurations
Every tool in this space hits the same ceiling. The ones that don't mention it aren't doing something technically better. They're not telling you what you'll discover when you need the data back. We back up what Notion's API exposes, and we're explicit about what it doesn't. That's the honest version of what any tool can claim.
For most teams, losing view configuration on restore is an acceptable tradeoff. You lose the layout, not the data. For teams whose workflows depend heavily on specific Kanban or Timeline views, it's worth knowing before you need a restore, not at the moment of one.
## How SimpleBackups handles Notion
Everything above applies to any tool. Here's specifically how we approach it, and why it's built the way it is.
SimpleBackups is a Backup-as-a-Service platform that triggers, schedules, automates, and monitors backups across servers, databases, cloud storage, and SaaS, including Notion. It's the same control plane you'd use for PostgreSQL, MySQL, MongoDB, Linux servers, and GitHub repositories. Notion backups sit alongside the rest of your infrastructure, so you monitor everything in one place instead of stitching together a separate tool per data source.
A few things are worth naming plainly, because they map directly to the evaluation questions above.
**Your data flows to storage you own, and we never hold it.** Backup data moves from Notion's API to the storage destination you configure: your own S3 bucket, Google Drive, Dropbox, SFTP, or one of the supported providers. SimpleBackups orchestrates the process but never sees or stores your workspace content. If your account ever lapses, the backups are still yours, sitting in your storage.
**AES-256 encryption with a customer-owned key (BYOK).** You can bring your own private key, which means the backup is readable only by you. SimpleBackups cannot decrypt it. For sensitive or regulated workspaces, that's the difference between "encrypted" and "encrypted, and only I hold the key."
**Rolling retention, not latest-only.** You set the schedule and how many point-in-time copies to keep. That's what covers the slow-burn failure mode from earlier: the corruption you notice two months late, where you need a copy from before the damage started, not just last night's snapshot.
**Alerting when a run fails.** You get notified when a backup fails or produces an unexpected result. That's the operational difference from a manual export: you learn about the failure before you need the restore, not during it.
**Compliance evidence when someone asks for it.** SimpleBackups is ISO 27001 certified (since 2023, audited annually). Audit exports cover retention, encryption and restore history, which is what a compliance reviewer for ISO 27001 or SOC 2 actually wants: documented proof that backups run on a schedule and are retained. We're Belgium-based and GDPR-aligned, you choose your own storage region, and there are EU-only storage options including Leviia, Storadera, and OVH for data-residency requirements.
We protect data for 3,200+ teams, from indie SaaS builders to Fortune 500. The same platform, whether you're backing up one Notion workspace or a fleet of production databases.
## How often should you back up Notion?
The right answer depends on how much data loss you can accept between backups and how fast your workspace changes.
| Use case | Recommended frequency | Notes |
| -------------------------------------------- | ------------------------------------------- | ------------------------------------------------------------------ |
| Personal workspace, infrequent editing | Manual export, monthly | Native export is probably sufficient; the key is actually doing it |
| Personal workspace, daily editing | Weekly automated backup or bi-weekly export | Limits loss to one week of work |
| Small team, active editing | Daily automated backup | Recovery point under 24 hours |
| Business-critical team workspace | Every 6–12 hours | Limits at-risk data to one working session |
| Compliance requirements (GDPR, HIPAA, SOC 2) | Daily minimum, with documented retention | Specific requirements depend on the framework |
The general rule: backup frequency should be shorter than the amount of work you're willing to lose. If losing a week of team edits is unacceptable, a weekly backup isn't the right schedule.
For workspaces used as reference stores (documentation, wikis, rarely edited material), lower frequency is fine. For workspaces that are actively changing every day, daily or more frequent backups are the right default.
One thing worth saying directly: there's no universal "you must back up every X hours" rule. The right frequency is the one that fits your actual usage and your actual tolerance for data loss. The table above is a starting point, not a mandate.
## How to verify any backup actually works
This applies equally to manual exports, backup scripts, and managed services. None of them are real backup until they've been tested. Here's a six-step verification process that works for any approach.
**Step 1: Confirm the backup output is accessible.** For a managed service, check that the backup was written to your storage destination. For an export, locate the file. This sounds obvious; it's the step most people skip because they assume it worked.
**Step 2: Open the backup and check the content.** Don't just confirm the file exists. Open it and navigate the structure. A corrupted or incomplete export produces a file that looks intact from the outside. You need to look inside.
**Step 3: Restore a single test page to a separate workspace.** For any automated tool, trigger a restore of one specific page or database to a workspace that isn't your live one. Confirm the content came back correctly.
**Step 4: Verify database content, not just schema.** Check that the rows in a database are actually there, not just the column headers. One tool we tested had a preview UI showing database structure while the backup itself contained no row data.
**Step 5: Check file attachments.** If your Notion workspace contains files or images, confirm that at least one is accessible from the backup. Attachment handling varies across tools.
**Step 6: Schedule the next test.** Set a calendar reminder for 90 days from now. Do this test again. Backup systems change; your workspace changes; the restore test is the only confirmation that the whole chain still works.
A backup you haven't tested is a file that might work. The restore test takes 15 minutes. Do it once a quarter, before you need it, not after.
## What to do next
Most people reading this land in one of two places.
If you're using Notion personally or for light team use, with no compliance requirements and data you could rebuild if you had to: do a manual export now. Put it somewhere you own: a cloud drive or your local machine, somewhere independent of Notion. Do it again in 30 days. That's a reasonable position for your situation.
If you're running Notion as a team system of record, with complex databases, multiple editors, or compliance requirements: the periodic export isn't enough. You need scheduled, automated backups to storage you control, alerts when something fails, encryption with a key you hold, and a restore you've actually tested. The native tools don't get you there.
The reason we built [our automated Notion backup service](/saas-backup/notion) is exactly the gap this article describes: native backup covers the easy part, and none of the hard part. If you want off-site backup without writing any of it yourself, that's what it does.
## Keep learning
- [The three types of data backup, and which one you need](/blog/3-types-of-data-backup-solutions-which-one-do-you-need): start here if the difference between a sync, a snapshot, and a backup is doing any work in your head.
- [What the 3-2-1 backup strategy actually asks of you](/blog/what-is-the-3-2-1-backup-strategy): the rule that explains why a Notion export sitting in your Notion-linked cloud drive is not two copies.
- [Configure your Notion Backup (video)](https://www.youtube.com/watch?v=qoGrlBdE4u0&t=20s)
## FAQ
---
# How Supabase's native backup actually works
Source: https://simplebackups.com/blog/how-supabase-native-backup-works
Published: 2026-04-21
Author: Laurent
Summary: Plain-English walkthrough of Supabase's daily backup. Physical snapshots, retention by plan, PITR, where your backups live, and what you can do with them.
Supabase's "daily backup" doesn't produce a file you can download.
It isn't run by `pg_dump`. It doesn't leave a log anywhere you can inspect. It's a physical snapshot of the disk your Postgres volume sits on, taken nightly by the cloud provider Supabase runs on, and the only thing that can do anything with it is Supabase's own infrastructure.
Once you understand that one sentence, every other decision about Supabase backup makes sense. This article is the long version of how that works: what gets captured, where it lives, how long it stays, what Point-in-Time Recovery actually changes, how a restore happens, and what you can and can't do with the backup.
We run Supabase backups every day for thousands of projects. This piece is the mental model we wish every Supabase developer had before they made their first production-grade backup decision, because the subtle facts about "daily" and "snapshot" and "restore" are where most teams' backup strategies quietly go wrong.
After reading this, you'll be able to describe what Supabase's native backup is, who it's for, and when you need something in addition to it.
## What "daily backup" actually means on Supabase
Three words, three pieces of nuance worth unpacking.
### "Daily"
Supabase takes one backup per day per paid project. That means your recovery granularity without PITR is 24 hours. If something went wrong at 3pm and the snapshot ran at 2am the same day, the snapshot from that morning already contains whatever went wrong earlier that morning too. The snapshot from the day before is the last one that predates your 2am-to-3pm window.
This is fine for most acute disasters and terrible for anything subtle that happens mid-day. It's also why PITR exists as a paid upgrade (§5).
### "Backup"
What Supabase calls a backup is technically a **snapshot** of the underlying storage volume your Postgres database sits on. The cloud provider freezes the volume at a point in time, takes a bit-for-bit copy, and stores the copy somewhere else on the same cloud. This is fast to produce (no query load on your database, no dump format to serialize) and fast to restore back onto a matching Postgres instance. It is not a `pg_dump`. It has no SQL, no row-level logical structure, no way to inspect it with standard Postgres tooling.
We come back to why that distinction matters in §2.
### "Native"
"Native" means Supabase runs it for you, automatically, as part of your plan. You don't configure a schedule. You don't pay per backup. You don't see the commands. The trade-off is that you also can't change any of that: no custom schedule, no custom retention, no download, no portability. You're taking the convenience and accepting the constraints.
If you run [self-hosted Supabase](/blog/backup-self-hosted-supabase), none of this applies. Self-hosted deployments have no native backup mechanism: no daily snapshots, no retention window, no dashboard restore. Every backup decision is yours from scratch.
That's the mental model. The next sections explain each constraint.
## Physical snapshots vs logical backups (and why it matters)
A Postgres database can be backed up in two fundamentally different ways. Supabase's native backup is one of them. Understanding the other makes everything else clear.

### Physical (what Supabase does)
A physical backup copies the raw files that Postgres writes to disk: the data pages, the indexes, the WAL, the control files. The copy is a bit-for-bit image of the database at a point in time.
Pros:
- **Fast to take.** The underlying storage provider (AWS, in Supabase's case) has snapshot primitives that complete in seconds regardless of database size.
- **Fast to restore.** Restoring is essentially mounting the snapshot as a new volume and starting Postgres against it.
- **No query load.** Since it's a storage-level operation, it doesn't compete with your application's reads and writes.
Cons:
- **Not portable.** A physical snapshot can only be restored onto Postgres running against the same storage architecture. You can't take a Supabase snapshot and restore it onto a Postgres instance you run yourself.
- **Not downloadable.** Supabase specifically doesn't expose the snapshot file; it's managed entirely inside their infrastructure.
- **Version-locked.** Restoring a physical snapshot onto a different Postgres major version is generally not supported.
### Logical (what `pg_dump` does)
A logical backup reads the database through Postgres itself and writes out a representation of the data as SQL statements (or the `custom` binary format that `pg_restore` understands). The output is a portable file.
```bash
pg_dump --host="aws-0-eu-central-1.pooler.supabase.com" --port=6543 --username="postgres.${PROJECT_REF}" --format=custom --file="supabase-$(date +%F).dump" postgres
```
Pros:
- **Portable.** The output file can be restored onto any compatible Postgres instance, anywhere.
- **Inspectable.** You can examine the dump, extract specific tables, restore piecemeal.
- **Version-flexible.** Dumps can usually be restored onto a newer Postgres major version.
Cons:
- **Slower.** Large databases take minutes to hours, and the dump runs through Postgres, competing with live queries.
- **You run it.** No automation unless you build it. No retention unless you manage it.
### Why the distinction matters
Supabase's native backup gives you the physical kind, automatically. If you want the logical kind too, you run `pg_dump` yourself (manually, via cron, or via a [managed backup service](/blog/pgdump-vs-managed-supabase-backup) that handles scheduling, monitoring, and off-site upload). Most production-grade strategies use **both**: physical snapshots for fast same-project recovery, logical dumps stored off-site for portability, compliance, and long-term retention.
The rest of this article explains what Supabase gives you on the physical side. For the logical side, [How to back up your Supabase Postgres database](/blog/backup-supabase-postgres) walks through a production-ready `pg_dump` setup. For the foundational reference on `pg_dump` itself, see [our `pg_dump` and `pg_restore` guide](/blog/postgresql-pgdump-and-pgrestore-guide-examples). If your `pg_dump` job is returning errors rather than a backup file, [common Supabase backup failures and fixes](/blog/supabase-backup-failed) covers the most frequent failure modes in the order we see them.
## Retention windows, by plan
How long Supabase keeps your daily snapshots depends entirely on your plan. These are the numbers Supabase publishes clearly and we reuse verbatim across the cluster.
| Plan | Price | Daily backups | Retention | PITR |
| ---------- | ------- | ------------- | --------- | ----------------------------------------------------------------------------- |
| Free | $0 | No | 0 days | No |
| Pro | $25/mo | Yes | 7 days | Paid add-on (usage-based, around $140/mo for 7-day PITR on a typical project) |
| Team | $599/mo | Yes | 14 days | Paid add-on (same usage-based pricing model) |
| Enterprise | Custom | Yes | 30 days | Usually included |
### What "rolling retention" actually means
The retention window is rolling, not cumulative. On a Pro plan you always have the last 7 days of snapshots. Day 8's snapshot pushes out day 1's. Day 9's pushes out day 2's. You never accumulate more than 7 snapshots on Pro, 14 on Team, 30 on Enterprise.
This matters because it changes how you think about recovery. A bug that introduces data corruption 10 days ago is already outside the window on Pro. The oldest snapshot available is already post-corruption. The corrupt state is all you can restore to.
Short retention windows protect you against **fast** disasters (drop table, truncate, bad migration at lunchtime). They don't protect against **slow** disasters (a bug that drifts data over weeks). For the slow kind, you need an archive that lives longer than your retention window.
If you arrived here because data looks wrong or missing right now, [what to do when Supabase data disappears](/blog/supabase-data-disappeared) runs through the most common causes in diagnostic order before assuming the retention window is to blame.
### What Free gets
Free projects don't have automated daily backups at all. The row in the table says "No" for a reason. If you're running on Free, you have no native safety net during normal operation.
There is a separate snapshot-at-pause mechanism that kicks in when a Free project pauses after a period of inactivity, with a one-click restore window and manual download available after that. We cover the pause-specific gaps in [What Supabase's native backup doesn't cover](/blog/what-supabase-native-backup-doesnt-cover). [Supabase free tier paused: what's happening and what to do](/blog/supabase-free-tier-paused) is the panic-mode guide. For the full picture of what's actually recoverable after a pause and what isn't, [Recovering a paused or deleted Supabase project](/blog/recover-paused-supabase-project) covers the complete walkthrough. For operational purposes, treat Free as production-unsafe.
## Where the backups live
This section is short, and all three bullets matter.
- **Same region as your project.** If your Supabase project runs in `aws-eu-central-1`, the snapshots are stored on AWS infrastructure in the same region.
- **Same cloud provider as your project.** Supabase is AWS-hosted, so "where the backup lives" means AWS. There is no option in the Supabase dashboard to send a copy to Google Cloud, Azure, Cloudflare R2, Backblaze, or any non-AWS object store.
- **Under Supabase's AWS account, not yours.** You don't have access keys to the bucket. You can't inspect the object, you can't write your own lifecycle policy, and you can't hand the object to a third-party auditor as a separate artifact.
For everyday recovery, this is fine. Snapshots are close to the database, restores happen entirely within Supabase's infrastructure, and the operational story is simple.
For compliance work it matters more. Auditors asking about geographical separation or multi-cloud posture will not accept "our backup lives in the same region and the same cloud as our primary, and we don't hold the credentials" as a complete answer. Closing that gap means an off-site logical backup you own, typically to a different cloud or at least a different AWS account under separate credentials. [Cross-region Supabase backup for compliance](/blog/cross-region-supabase-backup-compliance) covers the full setup, from picking a destination region to documenting the process for an audit.
## Point-in-Time Recovery: the paid add-on that extends the window
PITR is Supabase's answer to the 24-hour granularity problem.

### What PITR is
Postgres writes every change to a **Write-Ahead Log** (WAL) before applying it to the actual data files. PITR works by streaming that WAL to a backup location continuously, so that at restore time Supabase can:
1. Start from the most recent daily snapshot **before** your target recovery time.
2. Replay WAL entries forward, one change at a time, until it reaches the second you chose.
3. Stop. That's your recovery state.
The result is second-level recovery granularity inside the PITR retention window. Not just "yesterday's snapshot," but "13:47:22 UTC last Thursday."
### What PITR costs
PITR is a paid add-on on Pro and Team plans. The pricing is usage-based, calculated on WAL volume, which means busier databases cost more. For a typical project with a 7-day PITR window, the effective monthly cost is around ~$140. Enterprise plans usually include PITR by default.
For the full decision on whether PITR is worth it for your project, [When you actually need Supabase PITR](/blog/when-supabase-pitr-needed) goes through the RPO math and the scenarios where daily snapshots are genuinely sufficient.
### What PITR doesn't do
PITR extends your **database** recovery granularity. It doesn't:
- Back up Supabase Storage. Storage is architecturally separate from Postgres; [backing up your buckets](/blog/backup-supabase-storage) requires a separate process against the S3-compatible API, and [restoring them](/blog/restore-supabase-storage-objects) is a two-step job: file bytes plus metadata rows, in that order.
- Back up Edge Functions. Those live on Deno Deploy, not on the Postgres volume; [backing up Edge Functions](/blog/backup-supabase-edge-functions) requires its own approach for source code, config, and secrets.
- Back up project configuration (auth provider credentials, custom email templates, JWT secret).
- Survive project deletion. The WAL archive goes with the project.
PITR makes native backup better at what it already does. It doesn't expand what native backup covers.
## How a restore actually works
You trigger a restore from the Supabase dashboard. There is no public API for native restore; the dashboard is the only path.
### The flow
1. Open the Supabase dashboard.
2. Navigate to **Database > Backups**.
3. Find the snapshot you want (or, with PITR, pick the second you want).
4. Click **Restore**.
5. Supabase provisions a fresh Postgres instance from the snapshot, optionally replays WAL forward to your chosen second, and either replaces your current project's database or spins up a new project from the snapshot.
The whole process is Supabase's internal machinery. You don't log in to a server. You don't run `pg_restore`. You don't move files. You click a button and wait.
This is the only restore path for native snapshots. If your backup is a `pg_dump` file or a Supabase CLI dump, the Dashboard can't read it: those use `pg_restore` or `psql` directly. [How to restore a Supabase database from backup](/blog/restore-supabase-database) walks through all three paths with the exact commands and the gotchas for each.
### What you should know before clicking it
- **The restore may replace your live database.** Depending on the option you pick, the restore targets either your current project (destructive to whatever is currently there) or a new project (safer, but costs a new project).
- **Applications break during the restore.** Connections drop while Supabase swaps the database volume.
- **Roles and permissions come back with the restore.** These are inside the physical snapshot.
- **Storage and Edge Functions do not.** See [What Supabase's native backup doesn't cover](/blog/what-supabase-native-backup-doesnt-cover) for why.
### Why no API
Supabase has not published a public API for triggering or scripting native restores at time of writing. The implication: if your disaster-recovery plan assumes you can programmatically trigger a restore (say, from a runbook or a CI job), native backup doesn't support that workflow. You need a human in the dashboard.
For teams where automation matters, this is usually the tipping point that pushes them toward logical backups they own and can automate end to end.
## What you can and can't do with the backup file
This is the section most teams miss.
### You cannot
- **Download the snapshot.** Supabase does not expose the file.
- **Mount it on another server.** Physical snapshots are tied to the storage architecture they were taken on.
- **Run `pg_restore` against it.** The snapshot isn't a logical dump; `pg_restore` has nothing to read.
- **Inspect the snapshot before restoring.** You can't open it in a SQL tool to verify specific rows or tables made it in.
- **Archive it outside Supabase.** No long-term export, no cold-storage tier, no copy-to-your-own-S3.
- **Verify integrity yourself.** You trust that the snapshot is consistent because Supabase takes it as a volume-level operation and those are atomic.
- **Prove the backup's existence to an auditor as an independent artifact.** The backup is a Supabase-managed object inside Supabase's AWS account.
### You can
- Trigger a restore, from the dashboard, into the same project or a new project.
- Use PITR (paid) to choose the exact second.
- Trust the snapshot is physically consistent.
- Restore quickly, within the operational limits of Supabase's infrastructure.
Everything in the "cannot" list matters the moment you have a requirement native didn't anticipate: a different cloud, an audit, a migration off Supabase, a long-term archive, a self-serve restore runbook, a pre-restore inspection. Each of those requires a **logical backup you own**, running in parallel to native.
## When native is enough (and when it isn't)
Here's the honest assessment.
### Native is enough when
- Your project is on a paid plan (Pro or above).
- Your recovery posture is "if something goes wrong, I have up to 24 hours to notice" (or seconds with PITR).
- You're protected against fast, acute failures: accidental deletes, bad migrations, single-table corruption.
- You don't use Supabase Storage or Edge Functions, or you do and you accept that the daily backup doesn't cover them.
- Your compliance posture doesn't require multi-cloud, multi-region, or off-site-under-separate-credentials backups.
- Your disaster recovery runbook involves a human in the Supabase dashboard, not an automated pipeline.
Plenty of projects sit in that box. Native is genuinely sufficient for them, and adding off-site machinery would be overengineering.
### Native is not enough when
- Your compliance framework (SOC 2, ISO 27001, [GDPR](/blog/gdpr-compliant-supabase-backup)) requires geographical separation of primary and backup.
- Your recovery plan assumes you can stand up the application on another cloud if Supabase itself is unavailable.
- You need backups older than 30 days, for audit trails, chargebacks, or legal retention.
- You use Supabase Storage or Edge Functions and those objects matter.
- Your team has experienced (or wants to rule out) the "compromised account deletes project, backups go with it" scenario.
- You want to inspect or verify a backup before restoring. [How to automate Supabase backup verification](/blog/automating-supabase-backup-verification) walks through the file checks, test restores, and data comparisons that make that possible for logical backups you own.
- You want a scripted, automated restore path.
- You're about to run a schema migration. The 24-hour RPO means your last clean restore point can be many hours stale by the time the migration runs. [How to back up Supabase before a migration](/blog/backup-supabase-before-migration) covers the full pre-migration procedure: a timed pg_dump, a Storage sync, and a rollback path you've tested before the migration starts.
If any of those apply, native backup is part of your strategy, not the whole of it.
The full list of gaps and what to do about each is in [What Supabase's native backup doesn't cover](/blog/what-supabase-native-backup-doesnt-cover). For a broader look at the backup tool landscape, including where DIY scripting fits relative to native and managed services, see [the Supabase backup tools comparison](/blog/best-supabase-backup-tools). For the detailed side-by-side on native versus a managed off-site backup, see [Supabase native backup vs. SimpleBackups](/blog/supabase-native-vs-simplebackups).
## What to do next
Open your Supabase dashboard. Go to Database > Backups. Note the date of the oldest snapshot and the date of the newest. That's your current recovery window. Compare it to the longest period of silent drift you could reasonably imagine going unnoticed in your data. If the first number is shorter than the second, you have a concrete backup gap, and you now know exactly what shape it has.
The reason we built [SimpleBackups for Supabase](/platform/supabase) is exactly the hardest parts of the "cannot" list above: off-site logical backups under your own credentials, multi-cloud destinations, automated scheduling and verification, compliance-friendly audit trails. Native handles the easy 80%. If you want the other 20% without writing it yourself, that's what we do.
If you'd rather script it yourself, every gap has its own article in [the complete guide](/learn/supabase-backup) with the `pg_dump` command, the cron setup, and the verification step to match.
## Keep learning
This article is part of a cluster we're shipping over the coming weeks. Follow [the hub](/learn/supabase-backup) to see what's published.
- [What Supabase's native backup doesn't cover](/blog/what-supabase-native-backup-doesnt-cover), the paired piece on every gap native has. Read this next if you decided native isn't enough.
- [How to back up your Supabase Postgres database](/blog/backup-supabase-postgres), the practical `pg_dump` how-to that gives you a logical backup you own.
- [When you actually need Supabase PITR](/blog/when-supabase-pitr-needed), the RPO-vs-cost decision guide for the PITR add-on.
- [Supabase native backup vs. SimpleBackups](/blog/supabase-native-vs-simplebackups), honest side-by-side including when native is genuinely enough.
- [How to back up your Supabase Postgres database](/blog/backup-supabase-postgres), the deep-dive on `pg_dump` against a Supabase project.
## FAQ
---
_This article is part of [The complete guide to Supabase backup](/learn/supabase-backup#how-native-works), an honest, practical reference from the team that backs up Supabase every day._
---
# Best DigitalOcean backup tools in 2026 (honest list)
Source: https://simplebackups.com/blog/best-digitalocean-backup-tools
Published: 2026-04-21
Author: Laurent
Summary: An honest roundup of DigitalOcean backup tools, including competitors. What each covers, what each misses, and which fits your stack.
DigitalOcean's native backup system covers five products across its platform. Of those five, two have no native backup at all, and the three that do have backups produce copies that sit inside the same account they're protecting. We back up DigitalOcean every day. The pattern we see consistently: teams discover what's missing from native backup at the worst possible moment, not during planning.
This list covers every serious tool in the category, including the ones that are better fits than SimpleBackups for certain setups. It covers what each tool protects, what it misses, what it costs, and which setup it actually suits.
## What to look for in a DO backup tool
Before listing tools, a word on the criteria that matter. Not all of them are obvious.
### Coverage across the full DO stack
DigitalOcean is not one product; it's five:
- **Droplets** (virtual machines)
- **Block Storage Volumes** (attached disks, not included in Droplet backups)
- **Managed Databases** (Postgres, MySQL, MongoDB, Redis, Kafka)
- **Spaces** (S3-compatible object storage)
- **DOKS** (DigitalOcean Kubernetes Service)
A tool that protects Droplets but ignores Spaces and Managed DBs leaves gaps you won't notice until they matter. Before choosing, list which DO products you actually run. A mismatch on one product can mean starting over.
### Off-site destination
The most important feature in any backup tool isn't the schedule or the UI. It's whether the backup ends up somewhere that isn't DigitalOcean.
Every native DigitalOcean backup, including [Droplet backups](https://docs.digitalocean.com/products/droplets/how-to/enable-backups/), snapshots, and Managed Database backups, lives inside the same DigitalOcean account as the resource it's protecting. Account compromise, suspension, a billing dispute, or a region-level outage takes the backup down with everything else.
For a deeper look at what the native system does and doesn't do, the article on [how DigitalOcean native backup works](/blog/how-digitalocean-native-backup-works) has the full picture. The short version: native backup is not a substitute for off-site.
### Scheduling and automation
Manual backups are better than nothing. Automated backups are what you actually rely on at 2am. Any tool worth using runs on a schedule without you touching it.
### Restore speed and testability
A backup you can't restore quickly is a slower disaster. Check whether the tool lets you test a restore before you need one, and whether it takes minutes or hours.
### Alerting on failure
Silent failures are the category's most common problem. If a backup fails at 3am and nobody gets an alert, you may not know for weeks.
Evaluate based on which DO products you actually use. A tool that covers everything is wasted money if you only run Droplets.
---
{/* FIGURE: fig-01 */}
## SimpleBackups
SimpleBackups is the tool we built, so we'll be direct about what it does and doesn't do.
### What it covers
SimpleBackups covers the full DO stack: Droplets (file-level backups), Managed Databases (Postgres, MySQL, MongoDB, Redis), Spaces (bucket backup and replication), and Block Storage Volumes. DOKS coverage is available via database and volume backup, though Kubernetes manifest backup is handled separately.
Backups go off-site: AWS S3, Backblaze B2, Wasabi, Google Cloud Storage, DigitalOcean Spaces (as a destination from a different account), SFTP, or any S3-compatible target. That off-site step is the point. Your backup sitting on the same platform as your data is not a backup in any meaningful sense for disaster scenarios.
### Scheduling and automation
Scheduling runs from a simple UI: hourly, daily, weekly, monthly. No cron syntax required, but cron expressions are supported if you prefer them. Alerts on failure go to email or Slack. You can configure restore-test runs and get notified on those too.
### Restore
Restore is available through the UI or via the API. For database backups, you download the dump directly and restore from there. Droplet file-level backups restore via rsync or archive extraction to the target.
### What it misses
SimpleBackups does not generate Droplet snapshots (the DigitalOcean-native snapshot format). If you need point-in-time snapshots integrated with the DO snapshot API, you'll want to supplement with a script or use the DO native snapshot feature alongside SimpleBackups.
For Kubernetes: SimpleBackups handles the data layer (databases, volumes), but if you need full cluster-state backup including manifests and secrets, Velero is the more complete answer for DOKS.
### Pricing
SimpleBackups starts at $9/month. The entry plan covers a small number of backup sources with daily scheduling and off-site storage. Higher tiers unlock more sources, shorter schedules, and retention depth. There is a free trial; no credit card required to start.
### Who it suits
Teams running a mixed DO stack (Droplets plus databases plus Spaces) who want coverage without writing and maintaining scripts. Compliance-driven setups that need SOC 2, GDPR, or ISO 27001 alignment. Teams who have gotten burned by silent native-backup gaps and want failure alerts.
## SnapShooter (Acquired by DigitalOcean)
SnapShooter started as an independent backup tool for DigitalOcean and was acquired by DigitalOcean in 2022. Its current standalone status is worth clarifying.
### What it was
SnapShooter specialized in automating DigitalOcean's own snapshot and backup mechanisms. It could schedule Droplet snapshot creation and deletion, enforce retention policies, and send notifications when snapshots completed or failed. It also added database backup on top of native DO functionality.
### Status after acquisition
Post-acquisition, DigitalOcean has integrated SnapShooter's core scheduling capabilities into the DO control panel (specifically, automated backups on Premium Droplets gained daily scheduling). Whether SnapShooter remains a separately purchasable product with its original feature set is something you should verify directly at DigitalOcean's current pricing page, as the offering has evolved.
### What it still doesn't do (if available)
SnapShooter, even at its peak, kept backup copies inside the DigitalOcean ecosystem. Snapshots created through SnapShooter or the native DO API are not downloadable and not transferable to a different provider. The same-host risk that applies to native DO backup applies equally here.
For more on how native-vs-SimpleBackups stacks up across every product, the [DigitalOcean native vs. SimpleBackups comparison](/blog/digitalocean-native-vs-simplebackups) has the full breakdown.
### Who it suits
Teams already using DigitalOcean Premium Droplets who need more control over snapshot scheduling than the base control panel offers, and who are comfortable with all backups staying on DigitalOcean.
## Restic + scripts (DIY path)
Restic is an open-source backup tool, command-line based, with no UI. It's fast, deduplicates across snapshots, encrypts everything before upload, and supports a wide range of backends including S3, B2, SFTP, and DigitalOcean Spaces.
### What it covers
Restic backs up files and directories. If you can mount it or read it as a filesystem path, Restic can back it up. That covers Droplet files, Volume mount points, and database dumps (if you run `pg_dump` or `mysqldump` first and pipe the output into a Restic backup command).
```bash
# Example: back up a Postgres dump to Restic on Backblaze B2
export RESTIC_PASSWORD="your-encryption-key"
export B2_ACCOUNT_ID="your-b2-account-id"
export B2_ACCOUNT_KEY="your-b2-application-key"
pg_dump
--host=localhost
--username=postgres
--format=custom
postgres | restic backup
--repo b2:your-bucket-name:/postgres
--stdin
--stdin-filename postgres-$(date +%F).dump
```
For automated Droplet and Volume snapshot workflows built on top of the DO API (as distinct from file-level Restic backups), the existing guide on [how to automate DigitalOcean server and volume snapshots](/blog/how-to-automate-digitalocean-server-and-volume-snapshots) walks through the scripting approach in detail.
### What it misses
Restic has no concept of Managed Database backup natively. You write the dump step yourself, schedule it yourself, test it yourself, and handle failure alerting yourself. Same story for Spaces: backing up Spaces bucket contents with Restic requires a sync step (typically rclone) before Restic sees the files.
Restic also has no UI, no alert system, and no retention management beyond what you wire up in cron or systemd. For teams with a strong scripting culture, that's fine. For everyone else, it means backup maintenance becomes a recurring engineering task.
Restic is genuinely excellent at what it does. The risk isn't the tool itself. It's the scaffolding around the tool: the cron job nobody monitors, the alert that never got added, the script that worked for six months and broke silently after a Droplet resize.
### Pricing
Restic is free. You pay for the storage backend (Backblaze B2 is ~$0.006/GB/month, AWS S3 standard at ~$0.023/GB, DigitalOcean Spaces at $5/month for 250 GB). Engineering time to build and maintain the scaffolding is not free.
### Who it suits
Teams with a devops engineer who enjoys this kind of work, small budgets, and a stack limited to Droplets and file-level backups. If your team reaches for custom scripts before SaaS tools by default, Restic is the best open-source engine to build on.
## Velero (Kubernetes only)
Velero is the standard open-source tool for backing up Kubernetes clusters. It was built by Heptio (acquired by VMware) and is now a CNCF project. If you run DOKS, Velero is the reference implementation for cluster backup.
### What it covers
Velero backs up Kubernetes resources: namespaces, deployments, services, configmaps, secrets, PersistentVolumeClaims, and PersistentVolumes. It uses the Kubernetes API for resource snapshots and the cloud provider's volume snapshot API (in DO's case, the CSI driver) for PV data. Backups go to an object store, typically AWS S3, Wasabi, or DigitalOcean Spaces.
A schedule like this runs a full cluster backup every day:
```bash
velero schedule create daily-full
--schedule="0 3 * * *"
--ttl 720h
```
For a complete walkthrough of Velero on DOKS including PVC snapshot setup and restore testing, the guide on [backing up DigitalOcean Kubernetes](/blog/backup-digitalocean-kubernetes) goes through every step.
### What it misses
Velero is Kubernetes-only. It does not back up Droplets, Managed Databases, Spaces buckets, or Block Storage Volumes outside of PVCs. If your DOKS workloads write to a DigitalOcean Managed Database (common for stateful apps), Velero does not protect the database itself. You need a separate database backup solution alongside it.
Velero also requires familiarity with Kubernetes to install and maintain. The Helm chart is straightforward, but debugging a failed PVC snapshot restore takes Kubernetes-level knowledge.
### Pricing
Velero is free. You pay for storage (Spaces, S3, etc.) and, optionally, for enterprise Velero support from vendors like Kasten (now Veeam).
### Who it suits
Teams who run DOKS and need cluster-state backup: manifests, secrets, PVCs, and PV data. Not useful for non-Kubernetes workloads.
## Duplicati (open source)
Duplicati is an open-source backup tool with a web UI, AES-256 encryption, deduplication, and support for a long list of backends including S3, Backblaze, Google Drive, SFTP, and DigitalOcean Spaces. It runs as a background service with a local web UI on Windows, Linux, and macOS.
### What it covers
Duplicati backs up files and directories, similar to Restic but with a point-and-click interface. Install it on a Droplet, point it at the directories you want to protect, configure a Spaces (or any S3) destination, and it handles scheduling, encryption, deduplication, and retention.
### What it misses
Duplicati has no native database backup. Like Restic, you need a pre-backup dump script if you want the database contents rather than just the raw data directory. Backing up Postgres by pointing Duplicati at `/var/lib/postgresql/` without stopping the database first will produce a corrupt backup.
Duplicati's web UI is also known to be slow and resource-heavy on small Droplets. On a $6/month Droplet, the backup UI alone can spike CPU noticeably.
Duplicati is a reasonable choice if you're already running a server that can host the UI, you back up files only, and you want a free tool that doesn't require shell expertise. It is not the right choice if you need database-native backups or a SaaS-grade alerting experience. We'd rather you pick the right tool for your stack than over-sell what any single option does.
### Pricing
Duplicati is free and open source. No paid tiers.
### Who it suits
Self-hosters comfortable with Linux server management who want a file-level backup tool with a UI and don't want to write cron scripts. Teams with simple stacks (one Droplet, files only).
## The comparison table
### Feature coverage by DO product
| Tool | Droplets | Volumes | Managed DBs | Spaces | DOKS | Off-site | Scheduling | Failure alerts |
|------|----------|---------|-------------|--------|------|----------|------------|----------------|
| SimpleBackups | Yes | Yes | Yes (native) | Yes | Partial (data layer) | Yes | Automated | Yes |
| SnapShooter | Snapshots | Via DO API | Limited | No | No | No (DO only) | Yes | Yes |
| Restic + scripts | Files | Files | Via dump | Via rclone | Via dump | Yes (any) | DIY (cron) | DIY |
| Velero | No | No | No | No | Yes (full) | Yes | Yes | Limited |
| Duplicati | Files | Files | Via dump | As destination | No | Yes (any) | Yes | Limited |
| DO Native | Backups/snapshots | Snapshots | Daily backups | None | None | No | Limited | Limited |
### Pricing comparison
| Tool | Free tier | Entry price | What's included | Per-resource pricing |
|------|-----------|-------------|-----------------|---------------------|
| SimpleBackups | Trial only | ~$9/month | Multiple sources, daily, off-site alerts | By plan tier |
| SnapShooter | Unknown | Unknown | Snapshot scheduling, notifications | Unknown |
| Restic | Free (OSS) | Storage cost only | File backup, encryption, dedup | None (pay storage) |
| Velero | Free (OSS) | Storage cost only | K8s backup, PVC snapshots | None (pay storage) |
| Duplicati | Free (OSS) | Storage cost only | File backup, UI, encryption | None (pay storage) |
| DO Native (Droplet backups) | No | 20% of Droplet price | Weekly (standard), daily (Premium), 4-week retention | Per-Droplet add-on |
## Our recommendation (honest version)
There is no single "best" tool. The right answer depends on your stack and your team.
**If you run a mixed DO stack** (Droplets, Managed Databases, and/or Spaces), you need a tool with native database backup support and off-site storage. SimpleBackups and a Restic-based DIY setup are the two realistic options. SimpleBackups is faster to set up and ships with alerting. Restic is cheaper if someone on your team will maintain the scripting.
**If you run DOKS**, add Velero. It's not optional if you care about cluster state. Whether you combine it with SimpleBackups or handle the database layer separately is up to you.
**If you only run Droplets with file-level backups**, Restic or Duplicati both work. Restic is faster and has better deduplication. Duplicati has a UI if you prefer that.
**If you're currently using DigitalOcean native backup only**, the gap is off-site coverage. Native backup is useful as a fast rollback mechanism (a Droplet restore from a DO snapshot takes minutes). It is not a substitute for an independent copy on a different provider.
For a fuller picture of what native backup leaves uncovered, the article on [what DigitalOcean native backup doesn't cover](/blog/what-digitalocean-native-backup-doesnt-cover) goes through the gaps product by product.
For teams that need to satisfy compliance requirements, SOC 2 Type II, GDPR, and ISO 27001 all require off-site backup storage. Native DO backups alone don't satisfy that requirement. The [DigitalOcean off-site compliance guide](/blog/digitalocean-off-site-compliance) covers how to structure your backup stack for audit readiness.
### The combination most teams end up with
Most teams running a real production stack on DigitalOcean end up with something like:
1. DigitalOcean native backups or snapshots enabled on critical Droplets (fast rollback, stays on platform, easy to use from the DO control panel).
2. A separate off-site backup tool running database dumps and file-level backups to a different provider.
3. Velero, if they run DOKS.
The native backup layer and the off-site backup layer serve different purposes. The native layer gives you a fast, same-region rollback. The off-site layer protects you from account-level and platform-level failures.
## What to do tonight
If you don't currently have any off-site backup running: pick one tool from this list and set it up for your most important resource. One database. One Droplet's files. Test a restore.
Don't start with the full migration. Start with one resource, run a restore test, and confirm you can actually get data back. That test run teaches you more about your backup posture than any planning document.
The reason we built [SimpleBackups for DigitalOcean](/platform/digitalocean) is exactly the gap this article describes: native backup covers the easy part, and none of the hard part. If you want off-site Droplet, database, and Spaces backup without writing any of it yourself, that's what it does.
## Keep learning
- [How DigitalOcean native backup works](/blog/how-digitalocean-native-backup-works)
- [What DigitalOcean native backup doesn't cover](/blog/what-digitalocean-native-backup-doesnt-cover)
- [How to automate DigitalOcean server and volume snapshots](/blog/how-to-automate-digitalocean-server-and-volume-snapshots)
- [Backing up DigitalOcean Kubernetes](/blog/backup-digitalocean-kubernetes)
- [The complete guide to DigitalOcean backup](/digitalocean-backup#digitalocean-backup-tools)
## FAQ
---
_This article is part of [The complete guide to DigitalOcean backup](/digitalocean-backup#digitalocean-backup-tools), an honest, practical reference from the team that backs up DigitalOcean every day._
---
# GDPR-compliant DigitalOcean backup
Source: https://simplebackups.com/blog/digitalocean-gdpr-compliant
Published: 2026-04-19
Author: Laurent
Summary: What GDPR actually requires for backup, what it doesn't, and how to document your DigitalOcean backup process for an audit.
Most teams treating GDPR compliance as a backup checkbox are solving the wrong problem. GDPR doesn't say "have a backup." It says you must be able to restore availability and access to personal data in a timely manner after an incident — and separately, it says you must not keep data longer than necessary. Those two requirements pull in opposite directions, and how you resolve that tension is exactly what an auditor will ask about.
This article walks through what GDPR actually requires, maps those requirements to DigitalOcean's native backup capabilities, and gives you the documentation structure you need to survive an audit. It won't give you legal advice. It will give you clarity on the technical side.
## What GDPR actually says about backup
GDPR doesn't have a section called "backup." The word doesn't appear in the regulation. What it has are three articles that, taken together, define the backup-adjacent obligations.
**Article 32** requires appropriate technical and organizational measures to ensure security "including as appropriate the ability to restore the availability and access to personal data in a timely manner in the event of a physical or technical incident." That's the closest GDPR gets to mandating backup. The critical phrase is "timely manner" — the regulation doesn't define what timely means, which leaves room for your own documented RTO/RPO targets.
**Article 17** is the right to erasure, sometimes called the right to be forgotten. It requires you to delete personal data when a data subject requests it or when you no longer have a lawful basis to hold it. It does not require you to immediately purge every backup copy the moment a deletion request arrives.
**Article 5(1)(e)** is the storage limitation principle: personal data must be kept "in a form which permits identification of data subjects for no longer than is necessary." This is where retention policy comes in. Long-lived backups containing personal data can conflict with this principle if you haven't documented why the retention period is necessary.
GDPR creates an obligation to protect and restore personal data, an obligation to delete it when required, and an obligation to document how long you keep it. It does not mandate any specific backup technology or architecture.
The practical implication: your backup strategy needs to satisfy Article 32 (you can restore), be reconcilable with Article 17 (you have a documented erasure path), and respect Article 5(1)(e) (you have a written retention policy and your backups honor it).
## The requirements that matter for DigitalOcean
Translating those three articles into concrete requirements for a DigitalOcean-hosted application produces a short list. The table below maps each article to what DigitalOcean's native backup covers, and where the gaps are.
| GDPR requirement | What it demands | DigitalOcean native backup | Gap |
|---|---|---|---|
| Article 32: restore availability | Ability to restore personal data after an incident | Droplet backups (weekly/daily), Managed DB daily backups | Native backups stay in the same account; account-level incident takes backup with resource |
| Article 32: timely manner | Documented RTO/RPO; regular restore testing | Restore is possible but not downloadable or testable off-platform | No off-account restore testing path |
| Article 17: right to erasure | Documented path to eventual deletion from backups | No per-record deletion from native backups | You must document the rotation schedule as the erasure path |
| Article 5(1)(e): storage limitation | Documented retention policy; backups expire | Droplet backups: 4 weeks. Managed DB: 7 days | Snapshots don't expire; no lifecycle policy for Spaces data |
| Data residency | Personal data stays in documented regions | EU regions available (AMS2, AMS3, FRA1, LON1) | You must provision resources in EU regions deliberately |
This isn't an indictment of DigitalOcean's backup system. The gaps are architectural choices that apply to any single-cloud backup setup. What matters is that you know which gaps exist and document how you're addressing them.
For a deeper look at what DigitalOcean's native backup system does and doesn't do, [how DigitalOcean native backup works](/blog/how-digitalocean-native-backup-works) covers the mechanics in detail.
## Data residency: where your backups physically live
GDPR requires that personal data transferred outside the EU has an adequate level of protection. For backups, this means your backup copies need to stay in an EU region or a region covered by an adequacy decision, unless you have explicit data transfer mechanisms in place.
DigitalOcean's datacenter regions and their GDPR status:
| Region | Location | GDPR status |
|---|---|---|
| AMS2, AMS3 | Amsterdam, Netherlands | EU |
| FRA1 | Frankfurt, Germany | EU |
| LON1 | London, United Kingdom | UK adequacy decision |
| NYC1, NYC3 | New York, USA | Non-EU |
| SFO1, SFO3 | San Francisco, USA | Non-EU |
| TOR1 | Toronto, Canada | Non-EU |
| SGP1 | Singapore | Non-EU |
| BLR1 | Bangalore, India | Non-EU |
LON1 operates under the UK's adequacy decision with the EU. The UK government has maintained this status post-Brexit, but it is subject to review. If data residency is a hard requirement for your use case, AMS2, AMS3, or FRA1 give you direct EU jurisdiction with no adequacy dependency.
The residency question has a second layer that most teams miss: native DigitalOcean backups for a Droplet in AMS3 stay in AMS3 — that's fine. But if you create a manual snapshot and transfer it to NYC3 for redundancy, you've moved personal data to a non-EU jurisdiction. That transfer needs documentation or needs to be routed to another EU region instead.
For cross-region backup strategies that stay within GDPR boundaries, [DigitalOcean cross-region backup](/blog/digitalocean-cross-region-backup) covers the region pairing options in detail.
## Right to erasure and backup retention
Article 17 is the one that makes engineers nervous: a user submits a deletion request, and you're sitting on thirty days of backups that contain their data.
The good news is that GDPR does not require immediate deletion from backup systems. The regulation distinguishes between primary systems and backup systems. Supervisory authorities, including guidance from various EU data protection authorities, have consistently acknowledged that immediate backup purging is technically impractical.
What GDPR does require:
1. You have a documented retention policy for backups.
2. You apply the deletion when the backup rotates naturally (the data is gone when the backup expires).
3. You don't restore deleted data to the primary system from backup after an erasure request, unless there's a specific lawful basis for doing so.
4. Your documentation makes all of this legible to an auditor.
Right to erasure doesn't mean you delete backups immediately. GDPR allows reasonable retention periods for backup integrity, as long as you document the policy and apply the deletion when the backup rotates.
In practice, for DigitalOcean:
- **Managed Database backups**: 7-day retention. A deletion request received today means the personal data is gone from backups within 7 days of natural rotation.
- **Droplet backups**: 4-week retention. The same principle applies; document that the 4-week window is your retention limit.
- **Snapshots**: No automatic expiration. This is the problem. A snapshot taken two years ago and never deleted still contains whatever data the system held at that point. You need a written policy and a process to expire snapshots, or they become a GDPR liability.
The snapshot retention gap is the most common oversight we see on DigitalOcean setups. You can see a broader discussion of how snapshots differ from backups in the [DigitalOcean snapshots vs. backups](/blog/digitalocean-snapshots-vs-backups) breakdown.
## Documenting your backup process for an audit
Documentation is where most teams fail a GDPR audit, not the technical setup itself. An auditor isn't inspecting your Droplet configuration — they're reading your policies and asking whether your technical reality matches what you wrote.
The minimum viable GDPR backup documentation covers six things:
**1. What you back up**
List every DigitalOcean resource that contains personal data: Droplets, Managed Databases, Spaces buckets. Be specific. "We back up our production Postgres cluster on db-postgres-ams3-001" is better than "we back up our databases."
**2. Where backups are stored**
Region, account, and provider. "DigitalOcean managed backup, AMS3" or "Spaces bucket sb-backups-ams3 in our DigitalOcean account." If you have off-site backups, include the destination region and provider.
**3. Retention periods and rationale**
How long each backup type is kept, and why that period is necessary. "Managed Database: 7 days (native retention, supports point-in-time recovery within the operational window). Droplet backup: 4 weeks (supports recovery from incidents discovered after the immediate window). Snapshots: 90 days maximum (pre-migration or pre-deployment only; deleted after the deployment window closes)."
**4. Access controls**
Who can access backup data. At minimum, document that backups are restricted to the same access controls as production. For DigitalOcean, that means documenting your team-member roles and any API tokens that have access to backup or snapshot operations.
**5. Erasure path for backups**
How you handle Article 17 requests with respect to backup data. Write this out: "Deletion requests are applied to the primary system immediately. Backup data containing the deleted records will expire naturally within [your retention period]. Deleted records will not be restored from backup following an erasure request."
**6. Restore testing cadence**
Article 32 requires that restores actually work. Document when you last tested a restore, what the result was, and how often you test. Untested backups are not "the ability to restore."
GDPR does not require off-site backup. But Article 32 requires "the ability to restore the availability and access to personal data in a timely manner." If your only backup sits inside the same DigitalOcean account as the compromised resource, an account-level incident takes the backup down with the primary. You can't restore what you can't reach. The off-site question isn't a GDPR box to check — it's what Article 32 actually demands when you follow the logic through.
If you're mapping your current setup against Article 32's restore requirement and finding gaps, [DigitalOcean off-site compliance](/blog/digitalocean-off-site-compliance) covers the architectural options for taking backups outside the primary account.
For a thorough look at what DigitalOcean's native backup leaves uncovered, [what DigitalOcean native backup doesn't cover](/blog/what-digitalocean-native-backup-doesnt-cover) is the right starting point.
## Common GDPR backup mistakes on DigitalOcean
These are the gaps we see most often when teams think they've handled the compliance side.
**Mistake 1: Treating native backup as GDPR-sufficient without documentation.**
DigitalOcean Managed Databases include daily backups with 7-day retention. That's a reasonable RPO for many applications. But an auditor doesn't care that the backup exists — they care that you have a written policy, a documented retention rationale, and evidence that you've tested a restore. The technical feature and the compliance posture are not the same thing.
**Mistake 2: Snapshots with no expiration policy.**
As covered above, snapshots don't expire. A snapshot of a Droplet from three years ago is sitting in your account right now, containing whatever personal data the system held at the time, with no GDPR-compliant retention rationale attached to it. Audit your snapshot inventory and set a written policy.
**Mistake 3: Assuming LON1 is always safe.**
LON1 operates under the UK's adequacy decision. The adequacy decision has been maintained, but it is not permanent EU membership — it's a political determination that can change. Teams with hard EU residency requirements should use AMS2, AMS3, or FRA1 directly. See the DigitalOcean docs on [Managed Databases](https://docs.digitalocean.com/products/databases/) for region availability.
**Mistake 4: No process for restoring selectively after an erasure request.**
If a user requests erasure and you later need to restore from a backup (due to an incident), you need a documented process: restore, then re-apply the deletion. Without that process written down, you're at risk of restoring deleted data without a lawful basis.
**Mistake 5: Confusing same-account redundancy with off-site backup.**
Copying a snapshot to a second DigitalOcean region still leaves both copies inside the same DigitalOcean account. That protects against a region-level outage, but not against account suspension, billing issues, or credential compromise. If Article 32's restore guarantee is your target, same-account redundancy doesn't get you there.
**Mistake 6: No documentation for Spaces.**
Spaces has no native backup. If your application stores personal data in Spaces — user uploads, exports, attachments — that data has no automatic protection at all. It also has no lifecycle policy unless you configure one. GDPR applies to that data exactly as it applies to database records.
## What to do next
Start with the documentation gap, not the technical gap. Write the six-point documentation structure from the previous section before you change anything in your DigitalOcean account. Once you have the policy written, you'll see clearly which technical controls are missing and which ones you already have.
The most common thing that's actually missing isn't a backup — it's the restore test. Pick a non-production time slot, restore a copy of your Managed Database, verify the data, and write down the date and the result. That single step moves you from "we have backups" to "our backups work," which is what Article 32 is actually asking for.
The reason we built [SimpleBackups for DigitalOcean](/platform/digitalocean) is exactly the gap this article describes: native backup covers the easy part, and none of the hard part. If you want off-site backup with documented retention, automated alerting, and a restore you can actually test, that's what it does.
## FAQ
---
_This article is part of [The complete guide to DigitalOcean backup](/digitalocean-backup#gdpr-compliant), an honest, practical reference from the team that backs up DigitalOcean every day._
---
# How to back up Supabase Storage buckets
Source: https://simplebackups.com/blog/backup-supabase-storage
Published: 2026-04-18
Author: Laurent
Summary: Supabase Storage isn't in the native backup. Back up your buckets using the S3-compatible API with a working script, plus how to automate it.
If you've read the Supabase docs on backups, you know your Pro plan includes daily snapshots with 7-day retention. What the docs don't say clearly: those snapshots don't include a single file from your Storage buckets.
Your images, PDFs, user uploads, export archives: none of it is in the native backup. If you restored from that snapshot today, every `supabase.storage.from('avatars').getPublicUrl(...)` call in your app would return a broken URL. The database rows would be there. The files wouldn't.
This is [the largest uncovered surface in Supabase's backup model](/blog/what-supabase-native-backup-doesnt-cover). This article shows you how to fill it: back up your Storage buckets using the S3-compatible API, back up the `storage.objects` metadata table alongside them, automate both on a schedule, and verify the result before you need it.
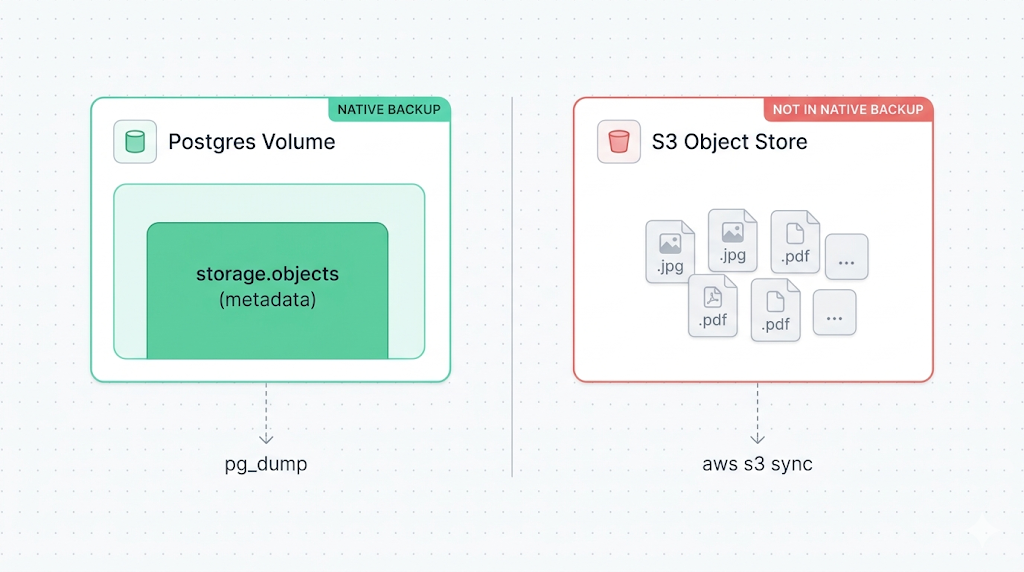
## Why Storage isn't in the native backup
Supabase's native backup is a [physical snapshot of the Postgres volume](/blog/how-supabase-native-backup-works), not a logical `pg_dump`. That matters because your Storage files don't live on the Postgres volume. They live in an S3-compatible object store (on AWS, in the same region as your project), managed by a separate service Supabase calls the Storage server.
The Postgres volume holds a metadata table called `storage.objects`. It records the file name, bucket, owner, size, content type, and RLS policies for every object. But the actual bytes of the file are in S3, not Postgres. When Supabase snapshots your volume, it captures `storage.objects` (the index) but not the referenced files.
This is why a restore from a native backup produces a project where the database is intact, the storage metadata rows exist, and all the public URLs point at files that are gone.
We run Supabase backups every day. The pattern we see consistently is teams discovering the Storage gap at the moment they needed the data back: after a bad migration, after accidental bucket deletion, after a project was paused. This article is the playbook we wish existed when we first hit the problem.
## How Supabase Storage works (the S3 backend and `storage.objects`)
Supabase Storage is [documented as S3-compatible](https://supabase.com/docs/guides/storage), which means you can access your buckets using any tool that speaks the AWS S3 protocol: the AWS CLI, boto3, rclone, or the `@aws-sdk/client-s3` Node.js package.
The endpoint is scoped to your project:
```text
https://.supabase.co/storage/v1/s3
```
The split between the metadata table and the file bytes matters for backup strategy:
| Layer | What it contains | Where it lives | In native backup? |
|-------|-----------------|----------------|-------------------|
| `storage.objects` table | File metadata: name, bucket, owner, size, MIME type, RLS policies | Postgres volume | Yes |
| S3 object store | Actual file bytes | Separate S3 backend | No |
You need to back up **both**. Backing up only the files leaves you with bytes and no database records. Backing up only `storage.objects` leaves you with records pointing at missing files.
If you restore only `storage.objects` without restoring the actual files, every `getPublicUrl()` call returns a URL that resolves to your project's S3 endpoint, and then 404s. The URL pattern is correct. The file just isn't there. This is the "broken image URL" trap, and it's easy to miss in testing if you don't also check that file retrieval works.
## Prerequisites: S3 credentials, AWS CLI or SDK, disk space
Before you can sync your Storage buckets, you need three things.
**1. S3 access credentials for your Supabase project**
In the Supabase dashboard, navigate to **Storage > S3 Access**. Generate an access key and secret. These credentials are scoped to your project and are different from your Supabase service role key.
```text
Access Key ID:
Secret Access Key:
Region:
Endpoint: https://.supabase.co/storage/v1/s3
```
The S3 Access page path may differ by dashboard version. If you don't see it under Storage, check **Project Settings > Storage**.
**2. AWS CLI (or equivalent S3-compatible tool)**
```bash
# macOS
brew install awscli
# Ubuntu / Debian
apt install awscli
# Verify
aws --version
```
You can also use `rclone`, `mc` (MinIO client), or any SDK. The examples here use the AWS CLI because it's the most widely available.
**3. Backup destination with enough capacity**
If you're backing up to a remote object store (recommended), ensure the destination bucket is in a different cloud provider or region than your Supabase project. Supabase runs on AWS in the same region as your project. If that region has an outage, a backup in the same region may be unreachable.
Good destinations: Backblaze B2, Cloudflare R2, or an AWS S3 bucket in a different region from your project. The goal is geographic and provider diversity.
## Backing up a bucket with the S3-compatible API
Configure a named AWS CLI profile for your Supabase project:
```bash
aws configure --profile supabase
# AWS Access Key ID:
# AWS Secret Access Key:
# Default region name:
# Default output format: json
```
Then sync a bucket to your backup destination:
```bash
# Sync a single bucket to a local directory
aws s3 sync s3://your-bucket-name ./backup/storage/your-bucket-name --endpoint-url https://.supabase.co/storage/v1/s3 --profile supabase
```
The `s3 sync` command is incremental: it compares source and destination by size and last-modified timestamp, transferring only objects that are new or changed. For large buckets, subsequent runs are fast.
To back up all buckets in a single pass:
```bash
#!/usr/bin/env bash
set -euo pipefail
PROJECT_REF=""
ENDPOINT="https://${PROJECT_REF}.supabase.co/storage/v1/s3"
BACKUP_ROOT="./backup/storage/$(date +%F)"
PROFILE="supabase"
# List all buckets and sync each one
buckets=$(aws s3 ls --endpoint-url "$ENDPOINT" --profile "$PROFILE" | awk '{print $3}')
for bucket in $buckets; do
echo "Syncing $bucket..."
aws s3 sync "s3://${bucket}" "${BACKUP_ROOT}/${bucket}" --endpoint-url "$ENDPOINT" --profile "$PROFILE"
done
echo "Storage backup complete: $BACKUP_ROOT"
```
Make it executable and test a run before scheduling it:
```bash
chmod +x backup-storage.sh
./backup-storage.sh
```
## Backing up the `storage.objects` metadata table
The file sync above handles the bytes. Now back up the metadata. The `storage.objects` table lives in the `storage` schema of your Supabase Postgres database.
You can dump it as part of a full database backup (see [our guide to backing up Supabase Postgres](/blog/backup-supabase-postgres)), or dump only the storage schema for a lighter, storage-specific snapshot:
```bash
pg_dump --host= --port=6543 --username=postgres --dbname=postgres --schema=storage --format=custom --file="storage-metadata-$(date +%F).dump"
```
Find your database host in **Project Settings > Database > Connection string**.
The `storage` schema contains two tables worth keeping: `storage.buckets` (bucket-level metadata: public/private status, file size limits) and `storage.objects` (per-file metadata). Passing `--schema=storage` to `pg_dump` captures both. You want both, or bucket configurations won't survive the restore.
The resulting dump records which files exist, what their access policies are, and what their public URLs should be. Pair it with the `s3 sync` output and you have a complete, restorable Storage backup.
## Automating Storage backups on a schedule
Run both steps (file sync and metadata dump) from a cron job on a machine outside your Supabase project. Keeping the backup agent off the Supabase infrastructure means it still runs if something goes wrong with your project.
A combined script:
```bash
#!/usr/bin/env bash
set -euo pipefail
# Config
PROJECT_REF=""
DB_HOST=""
DB_USER="postgres"
DB_NAME="postgres"
S3_ENDPOINT="https://${PROJECT_REF}.supabase.co/storage/v1/s3"
BACKUP_DIR="/var/backups/supabase/$(date +%F)"
PROFILE="supabase"
mkdir -p "${BACKUP_DIR}/storage" "${BACKUP_DIR}/metadata"
# 1. Back up all Storage buckets
buckets=$(aws s3 ls --endpoint-url "$S3_ENDPOINT" --profile "$PROFILE" | awk '{print $3}')
for bucket in $buckets; do
echo "Syncing $bucket..."
aws s3 sync "s3://${bucket}" "${BACKUP_DIR}/storage/${bucket}" --endpoint-url "$S3_ENDPOINT" --profile "$PROFILE"
done
# 2. Back up storage.objects metadata
PGPASSWORD="$DB_PASSWORD" pg_dump --host="$DB_HOST" --port=6543 --username="$DB_USER" --dbname="$DB_NAME" --schema=storage --format=custom --file="${BACKUP_DIR}/metadata/storage-$(date +%F).dump"
echo "Backup complete: $BACKUP_DIR"
```
Schedule it with cron. Running at 03:00 UTC daily avoids peak traffic hours for most projects:
```bash
0 3 * * * DB_PASSWORD='' /opt/backup/backup-storage.sh >> /var/log/supabase-storage-backup.log 2>&1
```
Add a failure alert. If the script exits non-zero, send an email or ping a webhook. A silent failure at 03:00 UTC is indistinguishable from a successful run until you need the backup and find it's three weeks stale.
One thing to know about RLS: bucket policies and row-level security on `storage.objects` travel with the `pg_dump`. They're part of the metadata. But if you restore to a different project, the user IDs in those policies will reference users that don't exist in the new project yet. You'll need to remap them or temporarily disable RLS on restored objects before reassigning ownership.
## Verifying your Storage backup
Running a backup script that exits zero is not the same as having a working backup. Verify the result.
**Spot-check the file count:**
```bash
# Objects in the live bucket
aws s3 ls --recursive s3://your-bucket-name --endpoint-url https://.supabase.co/storage/v1/s3 --profile supabase | wc -l
# Objects in the backup
find ./backup/storage/your-bucket-name -type f | wc -l
```
The counts should match after a completed sync. A discrepancy typically means a permissions issue on a subfolder or a bucket that wasn't listed.
**Check backup freshness:**
```bash
ls -lt /var/backups/supabase/ | head -5
```
A fresh directory timestamp means the job ran. Stale metadata means it silently failed.
**Test a restore to a scratch project:**
The most reliable verification is a restore to a separate Supabase project. Upload the synced files to a test bucket, restore the `storage.objects` dump to the test project's database, and verify that file URLs resolve correctly and the files are actually retrievable. [Our guide to restoring Supabase Storage objects](/blog/restore-supabase-storage-objects) walks through that process end to end.
We run a restore test on a sample of backups each month. It's the only check that actually tells you whether the backup works.
## What to do next
If you've run the combined script and confirmed the file count matches, you have a working Storage backup. Schedule it from a cron job on a dedicated server outside your Supabase project, and test a restore to a scratch project once a month.
The other surface not covered by Supabase's native backup is [Edge Functions](/blog/backup-supabase-edge-functions): source code, configuration, and secrets that run on Deno Deploy. If your application depends on Edge Functions, add those to your backup plan as well.
If scripting and scheduling all this yourself sounds like a second job, SimpleBackups handles Supabase Storage backups off-site, with alerts when a run fails. [See how it works →](/platform/supabase)
## Keep learning
- [What Supabase's native backup doesn't cover](/blog/what-supabase-native-backup-doesnt-cover), the full picture of what the Postgres snapshot includes and what it misses
- [How Supabase's native backup works](/blog/how-supabase-native-backup-works), the physical snapshot model and why Storage sits outside it
- [How to back up Supabase Postgres](/blog/backup-supabase-postgres), the companion guide for database-level backup
- [SimpleBackups Storage support announcement](/blog/introducing-supabase-object-storage-support), the announcement of native Storage backup support in SimpleBackups
## FAQ
---
_This article is part of [The complete guide to Supabase backup](/learn/supabase-backup#backup-storage), an honest, practical reference from the team that backs up Supabase every day._
---
# My Supabase backup failed: common errors and fixes
Source: https://simplebackups.com/blog/supabase-backup-failed
Published: 2026-04-17
Author: Laurent
Summary: Common pg_dump and Supabase backup errors, what causes them, and how to fix each one. A diagnostic order for when your backup stops working.
If you just ran `pg_dump` and got back something like:
```text
pg_dump: error: server version: 15.8; pg_dump version: 14.11
pg_dump: error: aborting because of server version mismatch
```
you're in the right place. When a Supabase backup fails, the fix almost always falls into one of five categories: version mismatch, connection error, auth failure, disk/memory exhaustion, or silent truncation. This guide works through them in the order we see them most often in support.
**What you'll leave with**: the specific command to diagnose your failure, the fix, and one change to your backup setup that prevents the same failure from happening again.
## First: which backup method failed?
The fix depends on which backup path broke. There are two distinct ones, and the errors look completely different.
**Supabase native backup** runs entirely on Supabase's side. It's a physical snapshot of your Postgres volume, run automatically on a schedule. If it fails, Supabase logs the failure on their end. You can't trigger it manually, and you can't inspect the snapshot file directly. If you suspect a native backup silently failed, check the [Supabase docs on backups](https://supabase.com/docs/guides/platform/backups) for your plan's retention window, then file a support ticket if a recent recovery point is missing.
If data appears to be missing from your dashboard but you're not sure whether a backup failed or data was actually deleted, [what to do when Supabase data disappears](/blog/supabase-data-disappeared) covers that diagnostic path.
**Logical backup via `pg_dump`** is what most teams run themselves: a script, a cron job, or a managed tool connecting to Supabase over the network and exporting a `.sql` or `.dump` file. Every error in this guide is about this path.
If you're unclear on the difference, [how Supabase native backup works](/blog/how-supabase-native-backup-works) covers both models. The short version: native backup lives inside Supabase and covers Postgres only. Everything else, including Storage and Edge Functions, is not in the snapshot, as covered in [what Supabase's native backup doesn't cover](/blog/what-supabase-native-backup-doesnt-cover).
For the rest of this article, "backup failed" means your `pg_dump`-based job returned an error.
## pg_dump version mismatch errors
This is the most common failure we pick up in support. The error looks like this:
```text
pg_dump: error: server version: 15.8; pg_dump version: 14.11
pg_dump: error: aborting because of server version mismatch
```
`pg_dump` refuses to connect to a server running a newer major version than itself. It doesn't try to degrade gracefully. If your local `pg_dump` is Postgres 14 and your Supabase project is running Postgres 15, it stops immediately.
To check what versions you're dealing with:
```bash
# Check your local pg_dump version
pg_dump --version
# Check your Supabase project's Postgres version
psql "postgres://postgres.@aws-0-.pooler.supabase.com:6543/postgres" -c "SELECT version();"
```
Version mismatch is the most common pg_dump failure we see. Always match your local pg_dump binary to the major version Supabase is running. If you're on 14 and Supabase upgrades your project to 15, your backup script breaks silently on the next run.
The fix: install the matching version of `pg_dump`. On Ubuntu/Debian:
```bash
sudo apt-get install postgresql-client-15
pg_dump --version # confirm: pg_dump (PostgreSQL) 15.x
```
On macOS via Homebrew:
```bash
brew install postgresql@15
export PATH="/opt/homebrew/opt/postgresql@15/bin:$PATH"
```
If you're running backups from a Docker image, pin the image version to match: `postgres:15-alpine`, not `postgres:latest`.
For a full worked example of the correct `pg_dump` connection setup, see our [pg_dump and pg_restore guide](/blog/postgresql-pgdump-and-pgrestore-guide-examples) and the [Supabase-specific backup walkthrough](/blog/backup-supabase-postgres).
## Connection refused and timeout errors
The second-most-common failure. Typical errors:
```text
pg_dump: error: could not connect to server: Connection refused
Is the server running on host "db..supabase.co" and accepting
TCP/IP connections on port 5432?
```
Or a timeout with no output after 30–60 seconds.
The cause: you're connecting to the wrong endpoint for `pg_dump`. Supabase exposes two connection types.
| Mode | Host format | Port | Suitable for pg_dump? |
|------|-------------|------|-----------------------|
| Direct connection | `db..supabase.co` | 5432 | Yes, but requires IPv6 or a network that can reach it |
| Transaction pooler (Supavisor) | `aws-0-.pooler.supabase.com` | 6543 | Yes, preferred |
| Session pooler | `aws-0-.pooler.supabase.com` | 5432 | Yes |
`pg_dump` requires a persistent session, so use the session pooler (port 5432) or the direct connection (port 5432). The transaction pooler (port 6543) works for individual queries but can drop long-running dump sessions on large databases.
Connection string for the session pooler:
```bash
pg_dump "postgres://postgres.@aws-0-.pooler.supabase.com:5432/postgres" --format=custom --file=dump-$(date +%F).dump
```
If you're hitting timeouts on a large database, consider adding `--lock-wait-timeout=30000` and running during off-peak hours.
## Authentication and permission errors
```text
FATAL: password authentication failed for user "postgres"
```
Or:
```text
ERROR: permission denied for table users
```
Authentication failures have three common causes:
1. **Wrong password**: Supabase's database password is different from your API keys. Copy it from Project Settings > Database > Connection string in the Supabase dashboard. It's not your anon key or service role key.
2. **Wrong user**: The `postgres` user has full access. If you're backing up with a restricted role and see permission errors, either use `postgres` or grant the backup role `SELECT` on the schemas you need.
3. **Row-Level Security interfering**: RLS policies apply even to `pg_dump` connections unless you connect as a superuser. The `postgres` user bypasses RLS. Restricted roles do not.
4. **Special characters in the password**: If your password contains `@`, `:`, `/`, `#`, `?`, or `%`, an unescaped connection URL parses wrong and you get a "password authentication failed" or "connection refused" that looks like a wrong password but isn't. Those characters have to be percent-encoded in the URL (`@` becomes `%40`, `:` becomes `%3A`, `/` becomes `%2F`, `#` becomes `%23`). The cleaner fix is to skip the URL form entirely and pass the password out-of-band with `PGPASSWORD`, then give `pg_dump` the host, user, and database as separate flags:
```bash
PGPASSWORD='p@ss:word/with#specials' pg_dump \
--format=custom \
--host=db.[project-ref].supabase.co \
--port=5432 \
--username=postgres \
--dbname=postgres \
--file=dump-$(date +%F).dump
```
## Disk space and memory errors
```text
pg_dump: error: query failed: ERROR: could not write to file "/tmp/pg_dump_XXXX": No space left on device
```
Or a process killed mid-run with no output.
Dump files can be large. A 10 GB Supabase project often produces a 3–5 GB dump after compression (the ratio depends on your data). If your backup host doesn't have enough free disk, `pg_dump` fails mid-stream and leaves a partial file that looks valid but isn't.
Check available space before running:
```bash
df -h /tmp
df -h /your/backup/destination
```
For large projects, stream directly to an S3-compatible destination rather than writing a local file first:
```bash
pg_dump "postgres://postgres.@aws-0-.pooler.supabase.com:5432/postgres" --format=custom | aws s3 cp - s3://your-bucket/backup-$(date +%F).dump
```
Note the pipeline risk: read the next section before piping like this.
## Silent truncation (the dangerous one)
This is the failure mode nobody catches until they try to restore.
Your backup script exits 0. The file is there. The timestamp is recent. The backup "succeeded." Then you try to restore it and get:
```text
pg_restore: error: input file appears to be a text format dump. Please use psql.
```
Or worse: the restore completes but only half your tables exist.
Silent truncation in piped commands (`pg_dump | gzip | aws s3 cp`) is the failure that most backup scripts don't catch. If any command in the pipeline writes a non-zero exit but the last command succeeds, the overall exit code is 0, and your monitoring sees a clean run.
We almost shipped a script that piped `pg_dump` directly to `gzip` into an S3 upload. On small test databases it worked every time. On a 40 GB project it silently truncated, because `gzip` continued writing after `pg_dump` errored and the final `s3 cp` succeeded with a partial file. We only caught it when a restore test failed three weeks later.
The fix: add `set -o pipefail` at the top of any bash script that pipes `pg_dump`:
```bash
#!/usr/bin/env bash
set -euo pipefail
pg_dump "postgres://..." --format=custom | aws s3 cp - s3://your-bucket/backup-$(date +%F).dump
echo "Backup complete: $(date)"
```
With `pipefail`, any non-zero exit in the pipeline fails the whole script. Add that line before trusting any piped backup job.
## How to prevent backup failures
The single highest-leverage change: add an automated verification step that restores the backup and confirms row counts. Most teams never do this until they have a real incident. A backup that has never been tested is a liability, not an asset.
The second change: pin the `pg_dump` version in your CI/CD or container image and alert when Supabase's Postgres version changes. Supabase announces major version upgrades in advance.
For the full prevention playbook, [backup Supabase Postgres correctly from the start](/blog/backup-supabase-postgres) covers the complete setup. And [automating Supabase backup verification](/blog/automating-supabase-backup-verification) covers the restore-and-verify loop that catches silent truncation before it matters.
## What to do next
Run the version check first:
```bash
pg_dump --version && psql "your-connection-string" -c "SELECT version();"
```
If those match, work through the error list above in order: version, connection endpoint, auth, disk, pipefail. Most failures resolve at step one or two.
If you've confirmed the backup file exists but you're not sure it's valid, the safest check is a partial restore to a test project. A file that `pg_restore --list` can read without errors is structurally intact; a file that errors on `--list` is corrupt.
---
If scripting and scheduling all this yourself sounds like a second job, SimpleBackups handles Supabase Postgres backups off-site, with alerts when a run fails. [See how it works →](/platform/supabase)
---
## Keep learning
- [How Supabase native backup works](/blog/how-supabase-native-backup-works): the mental model for which backup types exist and what each one covers.
- [What Supabase's native backup doesn't cover](/blog/what-supabase-native-backup-doesnt-cover): even when your pg_dump succeeds, native backup alone leaves several surfaces unprotected.
- [How to back up your Supabase Postgres database](/blog/backup-supabase-postgres): the correct pg_dump setup to prevent the errors in this article from happening again.
- [Automating Supabase backup verification](/blog/automating-supabase-backup-verification): the next step after fixing your backup, proving it actually restores.
- [pg_dump and pg_restore: a practical guide with examples](/blog/postgresql-pgdump-and-pgrestore-guide-examples): the foundational reference for the commands that appear throughout this article.
---
## FAQ
---
_This article is part of [The complete guide to Supabase backup](/learn/supabase-backup#backup-failed), an honest, practical reference from the team that backs up Supabase every day._
---
# How to restore Supabase Storage objects from backup
Source: https://simplebackups.com/blog/restore-supabase-storage-objects
Published: 2026-04-17
Author: Laurent
Summary: Step-by-step guide to rehydrating Supabase Storage buckets from an off-site backup using the S3-compatible API, with working scripts and gotchas.
You restored your Supabase database. The SQL data is back, the dashboard looks right, the app connects. Then a user reports that every uploaded file is broken: 404s where images should be, empty document slots, missing avatars. The backup "worked," but half your application is gone. To restore Supabase Storage, you need a completely separate step.
This happens because restore supabase storage is a two-part job, not one. The database restore brings back the metadata rows in `storage.objects`. It does not bring back the actual file bytes, which live in a separate S3 backend that native Supabase snapshots never touch.
This guide walks through both parts: rehydrating file bytes into your buckets via the S3-compatible API, and restoring the `storage.objects` metadata so Supabase knows those files exist. By the end, you'll have a working restore path, a reconciliation check, and a verification step you can run from the terminal.
## Why Storage restore is different from database restore
When Supabase runs a native backup, it takes a physical snapshot of your Postgres volume. That snapshot includes the `storage.objects` table: names, sizes, MIME types, bucket IDs, ownership, timestamps. It does not include the file bytes. Those live in a separate S3 backend that Supabase manages independently.
As we explain in [how Supabase's native backup actually works](/blog/how-supabase-native-backup-works), the Storage backend is architecturally decoupled from Postgres. Native snapshots don't cross that boundary. This is a deliberate design choice, not an oversight, but it has a real consequence at restore time.
The result: restore a native Supabase backup and your `storage.objects` rows come back intact, but the files they reference don't exist. Your app generates signed URLs, Storage resolves the metadata row, and returns a 404 from the S3 layer. The metadata exists; the bytes don't.
This is one of the most common gaps we cover in [what Supabase's native backup doesn't cover](/blog/what-supabase-native-backup-doesnt-cover). Storage requires an independent backup to be restorable. If you haven't taken one yet, read [how to back up Supabase Storage buckets](/blog/backup-supabase-storage) before continuing here.
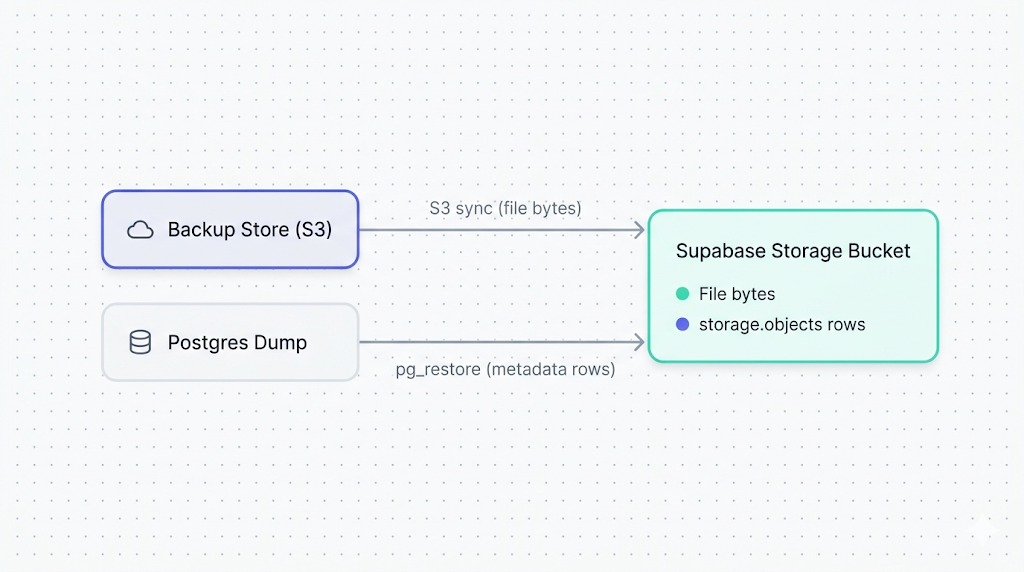
## What you need before you start
Before running any of the commands below, confirm you have:
**A Storage backup in S3-compatible format.** You'll need either a bucket-to-bucket sync (S3 prefix copy) or objects downloaded from your backup target. This guide assumes you're rehydrating from an S3-compatible store: Cloudflare R2, AWS S3, Backblaze B2, or similar.
**A Postgres dump that includes the `storage` schema.** If your backup tool captured the full database or at minimum the `storage` schema, you can restore the metadata table selectively. If you're restoring from a native Supabase backup, the `storage.objects` rows are already there, and you only need the file bytes.
**AWS CLI (or a compatible tool) configured for Supabase's S3 endpoint.** Supabase Storage exposes an [S3-compatible API](https://supabase.com/docs/guides/storage). You'll point the CLI at your project's Storage endpoint with standard S3 operations.
**Your target project credentials.** You'll need the Supabase project URL, the S3 access key and secret (from the Supabase dashboard under Storage settings), and the Postgres connection string.
**A rough sense of bucket size.** Restoring 100 MB is fast. Restoring 500 GB involves real bandwidth costs. Supabase projects live on AWS, so same-region transfers between an AWS S3 bucket and Supabase Storage are close to free. Cross-provider or cross-region transfers are not.
If you're restoring to a different project than the one you backed up, create the target buckets in the new project before running the commands below. Storage restore does not create buckets automatically. Restore operations against a non-existent bucket will silently fail or error depending on the tool.
## Restoring files to a Supabase Storage bucket via the S3 API
This step puts the actual file bytes back into the bucket. Metadata comes after.
### Configure AWS CLI for Supabase Storage
Supabase's S3-compatible endpoint follows this format:
```
https://.supabase.co/storage/v1/s3
```
Find your `project-ref` in the Supabase dashboard URL. The S3 access key and secret are under **Project Settings > Storage > S3 Access Keys**.
Set up a named profile so you don't paste credentials into every command:
```bash
aws configure --profile supabase-restore
# AWS Access Key ID:
# AWS Secret Access Key:
# Default region name: us-east-1 # Supabase ignores this value; any string works
# Default output format: json
```
### Rehydrate the bucket from your backup store
If your backup is in another S3-compatible bucket, sync it directly:
```bash
aws s3 sync s3://your-backup-bucket/supabase-storage-snapshots/2026-04-20/ s3://your-target-bucket/ --endpoint-url https://.supabase.co/storage/v1/s3 --profile supabase-restore
```
Replace:
- `your-backup-bucket` with your off-site backup bucket name.
- `supabase-storage-snapshots/2026-04-20/` with the prefix pointing to the snapshot you want.
- `your-target-bucket` with the Supabase bucket name you're restoring into.
- `` with your Supabase project reference.
If your backup consists of local files downloaded from your backup store:
```bash
aws s3 cp ./local-storage-backup/ s3://your-target-bucket/ --endpoint-url https://.supabase.co/storage/v1/s3 --profile supabase-restore --recursive
```
Add `--dryrun` to preview what will be uploaded before committing. For large buckets, a dry run is worth the extra minute. Once objects land in Storage you can overwrite them, but you can't undo an upload that landed in the wrong bucket.
## Restoring the `storage.objects` metadata table
With file bytes back in Storage, you need the `storage.objects` rows to match. This table tracks every object's name, size, MIME type, bucket ID, and owner. Without it, Supabase doesn't know the files exist.
If you have a full database backup via `pg_dump --format=custom`, restore only `storage.objects`:
```bash
pg_restore --host=aws-0-eu-central-1.pooler.supabase.com --port=6543 --username=postgres --dbname=postgres --schema=storage --table=objects --data-only --no-owner --no-acl dump-2026-04-20.dump
```
Flags explained:
- `--schema=storage --table=objects`: restores only `storage.objects`, not the entire dump.
- `--data-only`: skips DDL. The table already exists in a live Supabase project; you want row inserts, not schema recreation.
- `--no-owner` and `--no-acl`: skips permission statements that fail against Supabase's managed Postgres.
For the general database restore path, including connection string options and common errors with managed Supabase Postgres, see [how to restore a Supabase database](/blog/restore-supabase-database).
The split between the Postgres layer and the S3 backend is what makes Storage restore a two-step job. Here's the breakdown:
| Layer | What lives there | Backed up by |
|-------|-----------------|--------------|
| `storage.objects` table | File name, size, MIME type, bucket ID, owner, timestamps, metadata JSON | pg_dump of the `storage` schema |
| `storage.buckets` table | Bucket name, public/private setting, file size limit | pg_dump of the `storage` schema |
| S3 backend | The actual file bytes | S3-compatible sync to off-site store |
## Reconciling metadata with actual files
After running both restores, you may have a mismatch. The most common forms:
**Orphaned metadata rows:** `storage.objects` has a row, but no file bytes exist in the S3 backend. Users get a 404 on any URL that references that object.
**Orphaned file bytes:** a file landed in the S3 backend but has no corresponding row in `storage.objects`. The file is unreachable via the Supabase API.
The broken-image-URL case (metadata row exists, bytes missing) is the more dangerous one: your app generates signed URLs that look valid but return 404. Users report errors; you see nothing wrong in the database. Always run the reconciliation check after a restore. It is the only way to recover Supabase Storage objects that landed in one layer but not the other.
To surface mismatches, diff the S3 object listing against `storage.objects`:
```bash
# List all keys currently in the Storage bucket (S3 side)
aws s3 ls s3://your-target-bucket/ --endpoint-url https://.supabase.co/storage/v1/s3 --profile supabase-restore --recursive | awk '{print $4}' | sort > s3_objects.txt
# Export object names from storage.objects (Postgres side)
psql "postgres://postgres:@aws-0-eu-central-1.pooler.supabase.com:6543/postgres" -c "COPY (SELECT name FROM storage.objects WHERE bucket_id = 'your-target-bucket') TO STDOUT;" | sort > db_objects.txt
# Find rows in DB with no matching S3 object (broken URLs)
comm -23 db_objects.txt s3_objects.txt
# Find S3 objects with no matching DB row (unreachable files)
comm -13 db_objects.txt s3_objects.txt
```
Any output from the first `comm` command is a broken URL waiting to surface in your app. Reupload those specific files, or delete the orphaned rows from `storage.objects` if you no longer need them.
## Verifying the restore
Don't mark the restore complete until you've confirmed things work from the application layer, not just the database.
**Test a signed URL for a private object.** Pick a private file, generate a signed URL via the Supabase client or REST API, and fetch it:
```bash
curl -I "https://.supabase.co/storage/v1/object/sign/your-bucket/path/to/file.jpg?token=..."
```
You want `HTTP/2 200`. A `404` means the byte is missing. A `400` often means the metadata row exists but is misconfigured.
**Fetch a public object directly.** For public buckets:
```bash
curl -I "https://.supabase.co/storage/v1/object/public/your-bucket/path/to/file.jpg"
```
**Run a row count sanity check:**
```sql
SELECT bucket_id, COUNT(*) AS row_count
FROM storage.objects
GROUP BY bucket_id;
```
Compare against your expected counts from the backup manifest or last-known-good state. A mismatch is a signal, not proof, of a problem, but it's fast to run and worth doing.
## What to do next
If you got here because something went wrong, a working restore is a good place to stop for today. Before the adrenaline fades: schedule a test restore on a staging project for next month.
The common failure we see in support is teams who restored once during an incident and never tested again. A restore that worked in April may not work in October if the backup process drifted: credentials rotated, bucket permissions changed, backup format version bumped. Regular restore tests are the only way to know.
If you're building a backup strategy from scratch, the short version: sync Supabase Storage to an off-site S3 bucket on a schedule, export `pg_dump` output for the `storage` schema separately, and test the Supabase bucket restore on a staging project quarterly.
If scripting and scheduling all this yourself sounds like a second job, SimpleBackups handles Supabase Storage backups off-site, with alerts when a run fails. [See how it works →](/platform/supabase)
SimpleBackups added [native Supabase Storage support](/blog/introducing-supabase-object-storage-support) with direct bucket-to-bucket sync, which removes most of the custom scripting from the backup half of this equation.
---
## Keep learning
- [What Supabase's native backup doesn't cover](/blog/what-supabase-native-backup-doesnt-cover) — the full picture of what native snapshots miss, and why Storage is the largest gap.
- [How to back up Supabase Storage buckets](/blog/backup-supabase-storage): the backup counterpart to this article.
- [How to restore a Supabase database](/blog/restore-supabase-database): the general database restore reference, for when you need to recover Postgres data alongside Storage.
- [How Supabase's native backup works](/blog/how-supabase-native-backup-works) — the architecture behind why this two-step restore is necessary.
---
## FAQ
---
_This article is part of [The complete guide to Supabase backup](/learn/supabase-backup#restore-from-pgdump), an honest, practical reference from the team that backs up Supabase every day._
---
# GDPR-compliant Supabase backup: what the regulation actually requires
Source: https://simplebackups.com/blog/gdpr-compliant-supabase-backup
Published: 2026-04-16
Author: Laurent
Summary: What GDPR actually requires for Supabase backups, what it doesn't, and how to document your backup process for an audit. No legal theater here.
GDPR doesn't mention backups. Not once. That's the source of most of the confusion: teams assume there's a regulation that says "back up your data this way," spend hours reading the text looking for it, and come up empty.
What GDPR does say is that you must protect personal data from accidental loss, destruction, or damage (Article 32). How you do that is largely up to you. The regulation sets the outcome; your technical choices are the implementation.
This article covers what GDPR actually requires from a backup standpoint, what an auditor will look for when they review your systems, and how to build a gdpr compliant supabase backup setup with documentation that survives scrutiny. It's written as technical guidance; for binding legal decisions, consult your Data Protection Officer or legal counsel.
This is technical guidance, not legal advice. GDPR compliance depends on your specific data processing activities, business context, and jurisdiction. Consult your DPO or legal counsel for binding compliance decisions.
## What GDPR actually says about backups (less than you think)
Three articles matter for backup:
**Article 5(1)(f)**: Personal data must be "processed in a manner that ensures appropriate security of the personal data, including protection against unauthorised or unlawful processing and against accidental loss, destruction or damage, using appropriate technical or organisational measures."
**Article 32**: Controllers and processors must implement "appropriate technical and organisational measures" to ensure security appropriate to the risk, including "the ability to restore the availability and access to personal data in a timely manner in the event of a physical or technical incident."
**Article 17**: The right to erasure, which creates an obligation that intersects awkwardly with backup retention.
Notice what's not there: no specific backup frequency, no EU-only storage requirement, no minimum retention window. GDPR is outcome-based. It asks "can you restore data after an incident, and can you protect it?" It doesn't prescribe how.
GDPR doesn't require you to store backups in the EU. Transfers of personal data outside the EU do require documented adequacy decisions or Standard Contractual Clauses (SCCs), but "backup stored in the EU" is not itself a GDPR requirement. Many teams conflate the two.
The practical implication: you need a backup that can restore data after an incident, you need to prove it works, and you need to have documented the whole process. That's the compliance bar.
| GDPR requirement | Technical implementation |
|------------------|--------------------------|
| Protect against accidental loss (Art. 5) | Off-site copy in a separate region or provider |
| Ability to restore in a timely manner (Art. 32) | Regular tested restores with a logged result |
| Appropriate security measures (Art. 32) | Encryption at rest and in transit |
| Data transfer basis if outside EU (Art. 44–46) | Adequacy decision or SCCs on file |
| Right to erasure (Art. 17) | Documented retention policy with enforced expiry |
## The three questions an auditor will ask about your backup
When a GDPR audit covers backup, the questions cluster around three areas.
**Do you have an off-site copy?** A backup stored in the same region as your primary data can be lost in the same incident that destroys the primary. For personal data that must be restorable "in a timely manner," a single-region backup often doesn't satisfy the risk assessment auditors perform under Article 32.
This is where native backup alone often falls short for compliance scenarios. As covered in [what Supabase's native backup doesn't cover](/blog/what-supabase-native-backup-doesnt-cover), native backups are managed inside Supabase's platform, so an independent copy is something you add yourself.
**Do you test your restores?** A backup you've never restored is not a backup; it's a promise. Auditors know this. They will ask for evidence of tested restores, usually in the form of a test log or written procedure showing restore frequency and outcome.
**Is data residency and transfer documented?** If your backup lands outside the EU, you need a legal basis for that transfer. If it stays in the EU, you document that. Either way, you document it.
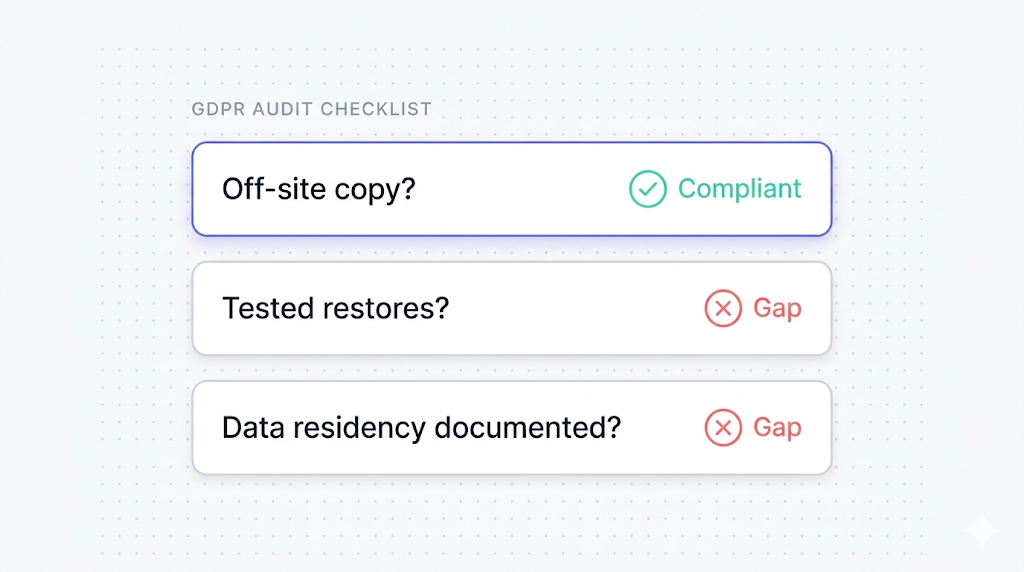
## Where Supabase stores your data and backups
Supabase projects run on AWS. The region you pick when creating the project (e.g., `eu-central-1` for Frankfurt, `eu-west-1` for Ireland) determines where your project data lives.
The key facts, as documented in the [Supabase backups guide](https://supabase.com/docs/guides/platform/backups):
- Native backups are physical snapshots of the Postgres volume.
- They are managed inside Supabase's platform.
- They are not downloadable.
- Supabase Storage (file objects) is not included in the native snapshot.
- Edge Function source is not included either.
We cover the full architecture in [how Supabase native backup works](/blog/how-supabase-native-backup-works), but the GDPR-relevant summary is this: if your project is in an EU region, your primary data is in the EU. Where your backup copies live is a separate question you answer and document.
Your project's region covers residency for the primary data. An independent off-site copy and documented restore tests are what you add.
| What Supabase provides natively | What you need to add for GDPR readiness |
|---------------------------------|------------------------------------------|
| Daily Postgres snapshots (Pro+) | Off-site copy in a separate region or provider |
| 7–30 day retention (plan-dependent) | Documented restore tests at regular intervals |
| AES-256 encryption at rest (AWS-managed) | SCCs or adequacy documentation if backup leaves the EU |
| Backups managed by Supabase | Cross-region or cross-provider redundancy |
| Storage backup: none | Separate Storage backup pipeline |
## Setting up a GDPR-compliant backup pipeline
A GDPR-compliant Supabase backup setup has three components: an off-site copy of Postgres data, a documented restore test cadence, and (if applicable) a legal basis for any cross-border transfer.
### Off-site Postgres backup
The backup needs to land somewhere that isn't the same region as your primary. For GDPR, the simplest path is an EU-based object store: an S3 bucket in `eu-central-1`, Backblaze B2 in Amsterdam, or Cloudflare R2 with a jurisdiction lock on EU.
The `pg_dump` route, covered in detail in [how to back up Supabase Postgres](/blog/backup-supabase-postgres), gives you a logical backup you can ship to any destination:
```bash
pg_dump --host=aws-0-eu-central-1.pooler.supabase.com --port=6543 --username=postgres --format=custom --file=dump-$(date +%F).dump postgres
```
Pipe that to an S3-compatible upload command and you have an off-site copy. The full guide covers scheduling, encryption flags, and error handling.
For the destination choice and how to document cross-region transfers, [cross-region Supabase backup for compliance](/blog/cross-region-supabase-backup-compliance) covers region selection and SCCs in more detail.
### Restore test cadence
Article 32 asks for the "ability to restore" in a "timely manner." Auditors interpret this as: have you tested it? Monthly restore tests are the industry-standard cadence. Quarterly is a common minimum. Annual tests are generally not accepted as evidence of a working restore capability.
A test restore doesn't need to be a full production restoration. Restoring a logical dump to a fresh Supabase project and verifying row counts is sufficient evidence.
Keep a test restore log: date, source dump, target project, what was verified, who ran it, and how long the restore took. That log is your audit evidence. A three-row spreadsheet you maintain consistently is more valuable than an elaborate monitoring system you don't use.
## Encryption at rest and in transit
Supabase handles encryption at the infrastructure layer:
- **At rest**: AWS manages AES-256 disk encryption for all Supabase project storage, including native backups.
- **In transit**: All Supabase connections use TLS. The pooler connections enforce this.
For your off-site backup:
- If you're using `pg_dump --format=custom`, the dump file itself is not encrypted by default. Encrypt it before upload. Most object stores support server-side encryption; you can also encrypt locally with `gpg` before shipping.
- If you're writing to S3, enable bucket-level SSE-S3 or SSE-KMS and restrict access with IAM policies.
GDPR doesn't mandate a specific encryption standard. It requires "appropriate" measures. AES-256 at rest plus TLS in transit is the accepted baseline; for most use cases, this satisfies the encryption bar under Article 32.
Encrypting your backups satisfies part of the security requirement. It doesn't replace the off-site copy or restore testing. A well-encrypted backup you can't restore is not a compliant backup.
| Layer | What Supabase provides | What you add |
|-------|----------------------|--------------|
| Primary data at rest | AES-256 (AWS-managed) | Nothing required |
| Native backup at rest | AES-256 (AWS-managed) | Nothing required |
| Off-site backup at rest | Depends on destination | SSE at object store, or local `gpg` encryption |
| Connections in transit | TLS enforced | Nothing required for the connection |
| Off-site backup transfer | TLS on upload (standard) | Ensure your upload client enforces TLS |
## Right to erasure and backups (the hard problem)
Article 17 gives data subjects the right to request deletion of their personal data. Backups create a practical problem: if you delete a user from your live database, their data still exists in every backup taken before that deletion.
GDPR acknowledges this tension. Article 17(3)(b) creates an exemption when keeping the data is necessary for "the establishment, exercise or defence of legal claims." Most data retention schedules for backup fall under documented exceptions, but the legal basis has to be documented explicitly.
The practical approach most DPOs accept: maintain a log of erasure requests and the request date. Document that your backup retention policy means backup copies containing that data will expire within your normal retention window (e.g., 30 days for a Pro plan). After that window, the data is gone from backups. This satisfies the spirit of Article 17 without requiring you to scrub individual records from binary dump files.
What you must not do: keep backups indefinitely without a documented retention policy. Indefinite retention with no erasure path is the pattern that creates GDPR exposure. Set a retention window, document it, and enforce it.
## Documenting your backup process for an audit
Documentation is where most teams fail GDPR backup audits. The backup works; the paperwork doesn't exist. Three documents you need:
**Record of Processing Activities (RoPA) entry**: GDPR Article 30 requires a RoPA documenting your data processing activities. Your backup process is a processing activity. The entry should cover: what personal data categories the backup includes, the legal basis for storing them, retention period, storage location with region, and any data processor involved (Supabase, your cloud provider, SimpleBackups if applicable).
**Data Processing Agreement (DPA)**: If a third-party processor stores your backups (Supabase, AWS, any object storage provider), you need a DPA in place. Supabase provides its own DPA. Verify it covers the data you're backing up and the storage locations you're using.
**Restore test log**: Date, source dump, target environment, what was verified, duration. Automate the verification step so the log entry is accurate, as described in [automating Supabase backup verification](/blog/automating-supabase-backup-verification).
| Document | What it covers | Updated when |
|----------|----------------|--------------|
| RoPA entry for backups | Data categories, legal basis, retention, storage location | On any backup configuration change |
| DPA with Supabase | Supabase as data processor | On Supabase plan change or DPA update |
| DPA with backup storage provider | AWS S3, Backblaze, etc. as sub-processor | On provider change |
| Restore test log | Tested restores with date, outcome, duration | After each test (monthly or quarterly) |
| Data transfer basis | SCCs or adequacy decision if backup leaves EU | On destination change |
| Erasure request log | Requests with date and retention window expiry | On each erasure request |
## What to do next
If you don't have a documented backup process at all, start there. Create the RoPA entry for your backup, run a single restore test and log the result, and verify that your Supabase project region matches what your DPAs say.
If you already have a process but it's single-region, set up an off-site copy before your next audit cycle. A `pg_dump` to an EU object store, running on a cron schedule, is a morning's work.
The gap auditors cite most often isn't missing encryption or the wrong storage region. It's missing evidence: no restore test log, no RoPA entry, no DPA with the object storage provider. The backup exists; the paper doesn't. Fix the paper first.
[SimpleBackups for Supabase](/platform/supabase) complements Supabase's native backups. If you want off-site Postgres backups, automated restore verification, and a structured documentation trail without writing any of it yourself, that's what it does.
## Keep learning
- [How Supabase native backup works](/blog/how-supabase-native-backup-works): architecture, retention windows, and what a physical snapshot actually covers
- [What Supabase native backup doesn't cover](/blog/what-supabase-native-backup-doesnt-cover): the gaps that matter for compliance
- [Automating Supabase backup verification](/blog/automating-supabase-backup-verification): building a restore test process you can actually document
- [Cross-region Supabase backup for compliance](/blog/cross-region-supabase-backup-compliance): region selection, SCCs, and the destination decision
- [How to back up Supabase Postgres](/blog/backup-supabase-postgres): the manual path with `pg_dump`, scheduling, and off-site upload
## FAQ
---
_This article is part of [The complete guide to Supabase backup](/learn/supabase-backup#gdpr-compliant), an honest, practical reference from the team that backs up Supabase every day._
---
# pg_dump vs. managed Supabase backup: real tradeoffs
Source: https://simplebackups.com/blog/pgdump-vs-managed-supabase-backup
Published: 2026-04-15
Author: Laurent
Summary: DIY pg_dump scripts vs. a managed backup service for Supabase: real developer time costs, failure modes, and when each approach makes sense for your stack.
The pg_dump vs. managed Supabase backup question usually starts with the three-line command. That part takes five minutes. The real comparison lives in everything around it: scheduling, monitoring, alerting, retention, restore testing, and what happens the first time the script fails at 3am without telling you.
This article breaks down what each approach actually requires, where each one wins, and how to decide for your situation. Before diving into either alternative, it helps to understand [how Supabase's native backup works](/blog/how-supabase-native-backup-works) and what it already covers: the gap between native and DIY is narrower than some assume, and the gap between DIY and managed is larger.
## What DIY pg_dump actually involves
The base command is short:
```bash
pg_dump --host=aws-0-eu-central-1.pooler.supabase.com --port=6543 --username=postgres --format=custom --file=dump-$(date +%F).dump postgres
```
That's the start. A production-ready pg_dump pipeline for Supabase involves several more layers.
**Off-site upload.** A dump file sitting on the same server as your database doesn't protect you from the scenarios that matter: corrupted volume, runaway migration, accidental table drop. Off-site means a different region and ideally a different provider. You need to pipe the dump to S3, Cloudflare R2, Backblaze B2, or equivalent, handle credentials, compression, and upload error handling.
**Scheduling.** Cron works. Until the server is migrated, the crontab disappears, and nobody notices because nobody was watching.
**Monitoring.** This is the expensive part. If your shell pipeline swallows a non-zero exit code, a common pattern in `pg_dump | gzip | aws s3 cp` chains — your cron job reports success and your dump is empty. You find out when you need the restore.
We ran into this exact pattern: a script piping `pg_dump` through `gzip` into an S3 upload worked fine on small databases. On a larger project, one step in the chain swallowed a failed exit and the dump landed empty. We caught it only because a restore test failed three weeks later. That's what backup monitoring exists to catch.
**Alerting.** Monitoring tells you something went wrong. Alerting wakes someone up. Wiring monitoring output to Slack, email, or PagerDuty is straightforward in theory and fiddly in practice, especially when you need to handle flapping and escalation.
**Retention management.** Backups accumulate. A rotation policy and a cleanup script are both necessary, or storage costs grow without bound.
**Restore testing.** A backup you've never restored from is not a backup. A monthly restore test against a throwaway Supabase project is the only verification that matters. The [Supabase documentation on backups](https://supabase.com/docs/guides/platform/backups) covers the native restore path; for pg_dump restores, the process is different and project-specific.
For a complete step-by-step walkthrough of the pg_dump workflow for Supabase, including connection string format, `pg_restore` flags, and schedule recommendations, see [how to back up Supabase Postgres](/blog/backup-supabase-postgres).
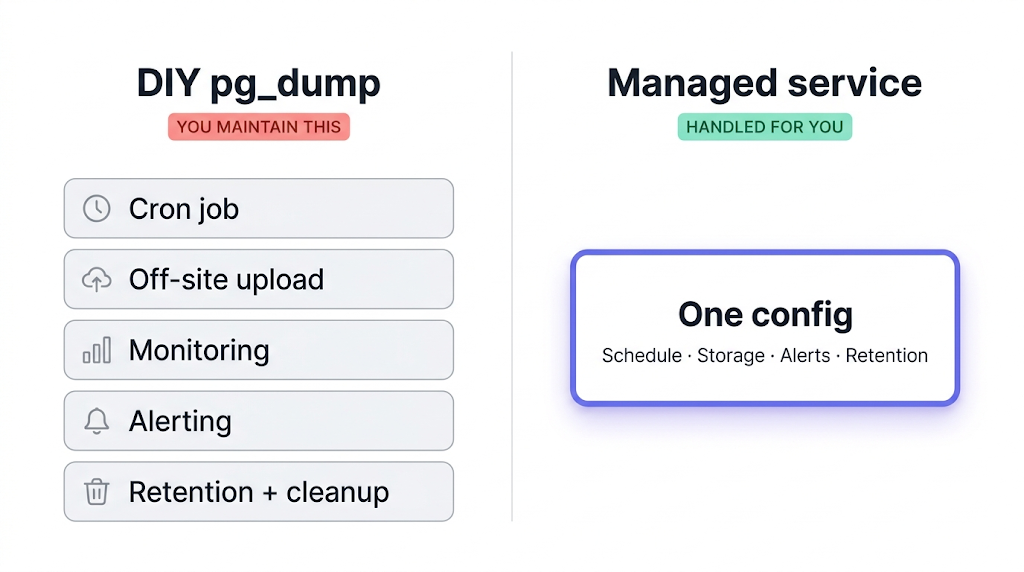
## What a managed backup service handles for you
A managed service replaces the infrastructure layer: scheduling, upload, monitoring, alerts, retention, and the storage account. You provide a connection string, pick a destination, set the schedule, and it runs. When a run fails, an alert fires. When a run succeeds, you get a log entry with duration and size.
The operational difference that matters most: managed services alert on failure by default. Not "the cron job ran," but "the backup completed and the dump is non-empty." That distinction is what the monitoring section above is about.
There's also a coverage difference. [What Supabase's native backup doesn't cover](/blog/what-supabase-native-backup-doesnt-cover) goes into this in detail, but the short version is: your `storage.objects` metadata table is in the Postgres snapshot, but the actual file bytes in Supabase Storage are in a separate S3-compatible backend and are not covered. A managed service that supports Supabase Storage backs up both in one job.
Restore path is simpler too. Instead of running `pg_restore` with the right flags against a fresh Supabase project, a good managed service gives you a UI flow or a direct download. For teams who don't run restores frequently, that difference compounds.
For a fuller look at how the landscape breaks down, [top 5 PostgreSQL backup tools](/blog/top-5-postgresql-backup-tools) covers the broader options for managed database backup beyond Supabase specifically. And for a direct feature comparison between native Supabase backup and SimpleBackups, [Supabase native vs. SimpleBackups](/blog/supabase-native-vs-simplebackups) covers the full breakdown.
## Feature comparison: DIY vs. managed
| Feature | DIY pg_dump | Managed service |
|---------|-------------|-----------------|
| Setup time | 4–12 hours | 15–30 minutes |
| Scheduling | Manual cron | UI + API |
| Failure alerts | Manual wiring | Built-in |
| Storage coverage | Postgres only | Postgres + Storage (with SimpleBackups) |
| Off-site storage | Your S3/R2 setup | Configured destination |
| Restore path | `pg_restore` + CLI | UI flow or file download |
| Backup verification | Manual restore test | Automated (depends on service) |
| Ongoing maintenance | Yes | Minimal |
| Cost | Infrastructure + developer time | Subscription |
| Compliance documentation | DIY | Usually provided |
One row worth unpacking: restore path. The CLI version works, but requires knowing the right `pg_restore` flags, the right target connection string, and what to do if the restore fails partway through. The managed path hands you a file or a one-click restore. Teams that run restores infrequently tend to forget the details between incidents.
## The real cost of DIY (it's not just the server)
Infrastructure cost for a self-hosted pg_dump setup is low. A cron job on a cheap VPS, uploads to R2 or Backblaze, a few dozen gigabytes of retained dumps: under $10/month in hard costs for most Supabase projects.
It's not what the script costs to run. It's what happens when it silently fails at 3am and you find out at 9am when a rollback is the only path forward.
The actual cost is time:
| Cost category | Rough estimate | Notes |
|---------------|----------------|-------|
| Initial setup | 4–12 hours | Script, upload, monitoring, restore test |
| Monitoring + alerting wiring | 2–6 hours | Depends on your existing stack |
| First incident response | 4–8 hours | Diagnosing a silent failure you've never seen |
| Monthly restore tests | 30–60 min/month | Essential but often skipped |
| Ongoing maintenance | 1–3 hours/month | Credential rotation, dependency updates, cron audits |
For most early-stage teams, the first two rows of that table represent more developer time than one month of a managed service subscription costs, before the script is even running reliably. The [ultimate PostgreSQL backup script](/blog/the-ultimate-postgresql-database-backup-script) handles many of the scripting details, but the infrastructure around it still needs to be built and maintained.
## When pg_dump scripts are the right call
pg_dump is the right tool when the backup is also the output: database exports for staging refreshes, pre-migration snapshots, or schema-only dumps for version control. Use it when control over the output format matters more than automation.
There are real scenarios where writing the script yourself is the better answer.
**You're building something small or learning.** A side project with no paying users doesn't need the operational overhead of a managed service. A cron job dumping to S3 every night costs nothing extra and gives you hands-on experience with the recovery path.
**You already have the infrastructure.** Teams with mature DevOps pipelines, existing monitoring stacks, and cloud accounts already in place aren't starting from zero. The integration cost drops significantly when the pieces exist.
**You need specific backup formats or transformations.** Schema-only exports, per-table dumps, PII-masked copies for staging: these require scripting. Managed services back up the whole database in one format. If your workflow depends on the shape of the output, DIY gives you control.
**Your compliance requirements mandate direct chain-of-custody.** Some certification frameworks require documented control over every step of the backup chain: key management, access control, retention proof. DIY lets you document the whole chain. Managed services vary; SimpleBackups is ISO 27001 certified and GDPR compliant, and provides the retention, encryption and restore documentation a SOC 2 auditor asks you to produce.
**It's already working.** If your scripts run reliably, are monitored, and your team knows how to operate them, there's no reason to change. Don't migrate a working system to solve a problem you don't have.
## When a managed service is worth it
The managed service case is clearest when the team lacks the time or bandwidth to own the pipeline.
**Production apps with real users.** When a backup failure means lost data or a delayed rollback, "probably worked" is not a posture you can defend. The built-in monitoring and alerting are why you pay for the subscription.
**Small teams without dedicated infrastructure ownership.** A startup where the same person writes features and manages the servers is not going to audit backup logs on a Friday afternoon. The managed service runs whether or not anyone is thinking about it.
**You need Storage covered.** If your Supabase app uses Storage for file uploads, avatars, or documents, a Postgres-only backup leaves those files unprotected. Getting both covered in one job, with one alert channel, is simpler than running two separate pipelines.
**You want verifiable restore evidence.** Some regulated industries require you to demonstrate that backups restore successfully, with logs. A managed service that records restore results provides that evidence without additional tooling.
For a broader look at what's available in the market, [best Supabase backup tools](/blog/best-supabase-backup-tools) covers the landscape with specifics on each option.
## What to do next
If you're on a Free plan with no production users: write the script (see [how to backup Supabase](/blog/backup-supabase-postgres) for the exact command and connection string format), point it at R2 or Backblaze, and wire a dead-man's-switch alert so you know when it stops running. That's the minimum viable version.
If you're on a Pro plan or above with real users: the managed service pays for itself the first time it catches a failure you would have missed. Decide whether Postgres-only coverage is enough, or whether Storage needs to be in scope.
If you've read this far, you probably already know whether the DIY path is the right call. If it isn't, [SimpleBackups](/platform/supabase) handles Supabase Postgres and Storage backups off-site, with alerts when a run fails and a restore path that doesn't require memorizing flags.
## Keep learning
- [pg_dump and pg_restore guide with examples](/blog/postgresql-pgdump-and-pgrestore-guide-examples): foundational reference for flags, formats, and restore options
- [How to restore a PostgreSQL backup](/blog/how-to-restore-a-postgresql-backup): restore-focused companion covering common failure modes
- [Supabase backup and recovery video tutorial](/blog/supabase-backup-recovery-guide-video-tutorial): visual walkthrough of the backup and restore workflow
## FAQ
---
_This article is part of [The complete guide to Supabase backup](/learn/supabase-backup#pgdump-vs-managed), an honest, practical reference from the team that backs up Supabase every day._
---
# How to back up self-hosted Supabase
Source: https://simplebackups.com/blog/backup-self-hosted-supabase
Published: 2026-04-14
Author: Laurent
Summary: Back up every layer of self-hosted Supabase: Postgres, Storage, configs, and secrets. Docker Compose and Kubernetes setups, with working scripts.
Cloud-hosted Supabase gives you daily snapshots on paid plans. Self-hosted Supabase gives you nothing. No dashboard toggle, no retention window, no automated restore point. If you run Supabase via Docker Compose or Kubernetes, every backup decision is yours.
This guide walks through backing up every layer of a self-hosted Supabase stack: the Postgres database, Storage volumes, `.env` files, service configs, and secrets. You will get working commands for each layer and a cron-based script that ties them together.
## What's different about self-hosted Supabase backup
When you run Supabase on their cloud platform, you get [native daily backups with plan-based retention](/blog/how-supabase-native-backup-works). Free gets nothing, Pro gets 7 days, Team gets 14 days. The backup is a physical snapshot of the Postgres volume, and restoring it is a one-click operation in the dashboard.
Self-hosted Supabase has none of that. The [official self-hosting docs](https://supabase.com/docs/guides/self-hosting) cover spinning up the Docker Compose stack, but backup is entirely your responsibility. There is no built-in scheduler, no snapshot mechanism, and no retention policy.
This gap is bigger than it sounds. Cloud-hosted Supabase already [leaves Storage, Edge Functions, and certain metadata out of the native snapshot](/blog/what-supabase-native-backup-doesnt-cover). Self-hosted leaves everything out, because there is no snapshot at all.
If you're evaluating whether self-hosted Supabase is worth the operational overhead, backup is one of the highest-effort items. Cloud-hosted at least gives you a baseline. Self-hosted gives you a blank slate.
## The backup surface: database, Storage, configs, secrets, and Docker volumes
A self-hosted Supabase stack runs 10+ containers. Not all of them carry state. The table below maps the components that do, and the backup method for each.
| Component | What it holds | Backup method |
|-----------|---------------|---------------|
| Postgres (`supabase-db`) | All application data, auth tables, `storage.objects` metadata | `pg_dump` from inside or against the container |
| Storage volume | Actual file bytes (images, uploads, documents) | File-level copy of the Docker volume or bind mount |
| GoTrue (`supabase-auth`) | JWT secrets, auth provider configs | Back up `.env` and `docker-compose.yml` |
| PostgREST (`supabase-rest`) | API schema cache config | Back up `docker-compose.yml` environment variables |
| Realtime | Ephemeral (WebSocket state) | No backup needed |
| Kong / API gateway | Routing rules | Back up `kong.yml` or equivalent config file |
| `.env` file | Database passwords, JWT secret, API keys, SMTP credentials | File copy, encrypted at rest |
| `docker-compose.yml` | Service topology, volume mappings, resource limits | Version control (git) |
| Custom migrations | SQL files applied via `supabase db push` or manually | Version control (git) |
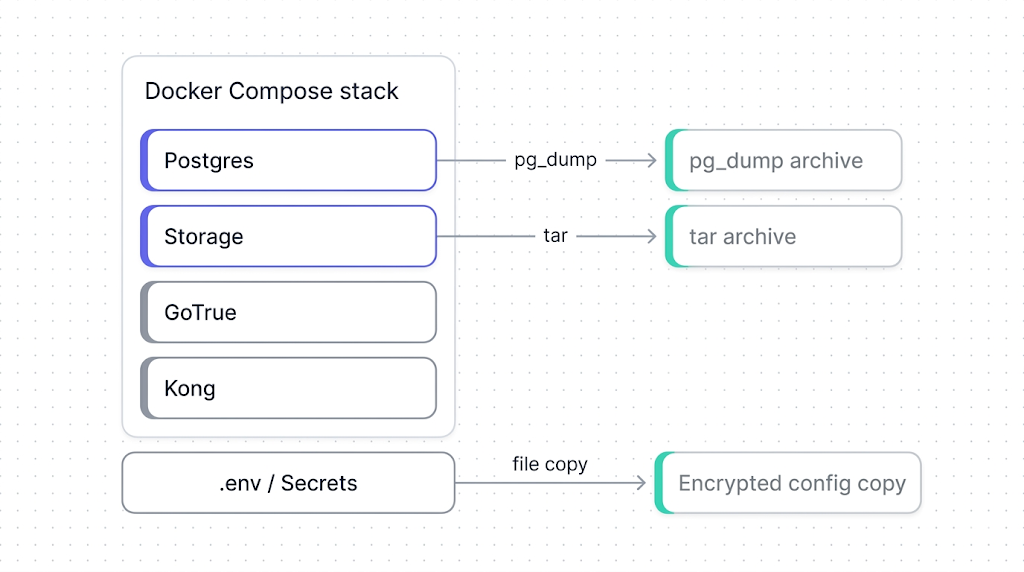
The `storage.objects` table in Postgres holds file metadata (paths, MIME types, ownership). The actual file bytes live in a separate volume. If you restore only the database, you get metadata pointing to files that no longer exist: broken image URLs, 404s on downloads.
## Backing up Postgres in a Docker/Compose setup
The database is the most critical layer. Self-hosted Supabase runs Postgres in a container typically named `supabase-db`. You back it up with `pg_dump`, the same tool you would use for any Postgres instance.
Run `pg_dump` inside the container:
```bash
docker exec -t supabase-db pg_dump -U supabase_admin -d postgres --format=custom --file=/tmp/supabase-db-$(date +%F).dump
```
Then copy the dump out of the container:
```bash
docker cp supabase-db:/tmp/supabase-db-$(date +%F).dump ./backups/supabase-db-$(date +%F).dump
```
`--format=custom` gives you a compressed, restorable archive. Avoid `--format=plain` for anything but debugging: plain-text dumps can't do selective restores and are significantly larger.
For a deeper walkthrough of Postgres backup and restore inside Docker, see the [Docker Postgres backup guide](/blog/docker-postgres-backup-restore-guide-with-examples). The same patterns apply here. The Supabase-specific detail is the username (`supabase_admin` by default) and the fact that the database name is `postgres` unless you changed it in your `.env`.
If you want the standalone pg_dump guide for Supabase's Postgres specifically, see [backing up Supabase Postgres](/blog/backup-supabase-postgres).
Docker volume mounts and named volumes have different backup approaches. If your `docker-compose.yml` uses a named volume (`supabase-db-data:`), you back it up with `docker run --rm -v` (shown below). If it uses a bind mount (`./volumes/db/data:/var/lib/postgresql/data`), you copy the directory directly.
Alternatively, if your Postgres data lives in a named Docker volume, you can back up the volume directly:
```bash
docker run --rm -v supabase_supabase-db-data:/source:ro -v $(pwd)/backups:/backup alpine tar czf /backup/pg-volume-$(date +%F).tar.gz -C /source .
```
This is a raw file-level backup. It is faster than `pg_dump` for large databases but requires the container to be stopped for consistency. For most self-hosted setups, `pg_dump` while the container is running is the safer default.
## Backing up Storage volumes
Supabase Storage in a self-hosted setup stores file bytes on disk, either in a named Docker volume or a bind-mounted directory. The approach depends on which your `docker-compose.yml` uses.
For a bind mount (e.g., `./volumes/storage:/var/lib/storage`):
```bash
tar czf ./backups/storage-$(date +%F).tar.gz -C ./volumes/storage .
```
For a named volume:
```bash
docker run --rm -v supabase_storage-data:/source:ro -v $(pwd)/backups:/backup alpine tar czf /backup/storage-$(date +%F).tar.gz -C /source .
```
For the S3-compatible API approach to backing up Supabase Storage, see [backing up Supabase Storage](/blog/backup-supabase-storage).
The key thing to verify after a Storage backup: check that the file count in the archive matches what `storage.objects` reports in Postgres. A mismatch means either the backup missed files written during the archive operation, or orphaned metadata exists in the database.
```bash
tar tzf ./backups/storage-$(date +%F).tar.gz | wc -l
docker exec supabase-db psql -U supabase_admin -d postgres -c "SELECT count(*) FROM storage.objects;"
```
If the counts diverge significantly, stop the Storage container before archiving for a consistent snapshot.
## Backing up `.env`, configs, and secrets
This is the layer people forget. The database and Storage volumes contain your data. The `.env` file and config files contain the keys to unlock it.
A self-hosted Supabase stack typically has these config files worth backing up:
```bash
tar czf ./backups/configs-$(date +%F).tar.gz .env docker-compose.yml volumes/api/kong.yml volumes/functions/ volumes/db/init/
```
GoTrue's JWT secret and the `ANON_KEY` / `SERVICE_ROLE_KEY` live in your `.env` file. If you lose these and restore your database to a new instance with freshly generated keys, every existing JWT token becomes invalid and every client-side API call breaks. Back up `.env` and encrypt it at rest.
For Edge Functions and custom server-side logic, back up the `volumes/functions/` directory. This is where Deno-based functions live in a self-hosted setup. See [backing up Supabase Edge Functions](/blog/backup-supabase-edge-functions) for the cloud-hosted equivalent.
These config files should also live in version control. But version control is not a backup: if someone force-pushes, rebases, or the repo host has an outage, your config history could be gone. A file-level backup alongside your data backups closes that gap.
## Automating self-hosted Supabase backups
Running these commands manually is fine for a one-off. For production, you want a script that runs on a schedule, covers all layers, and fails loudly if something goes wrong.
Here is a minimal backup script that ties the previous sections together:
```bash
#!/usr/bin/env bash
set -euo pipefail
BACKUP_DIR="/opt/supabase-backups/$(date +%F)"
COMPOSE_DIR="/opt/supabase"
RETENTION_DAYS=30
mkdir -p "$BACKUP_DIR"
# 1. Postgres
docker exec -t supabase-db pg_dump -U supabase_admin -d postgres --format=custom --file=/tmp/supabase-db.dump
docker cp supabase-db:/tmp/supabase-db.dump "$BACKUP_DIR/supabase-db.dump"
# 2. Storage volume
tar czf "$BACKUP_DIR/storage.tar.gz" -C "$COMPOSE_DIR/volumes/storage" .
# 3. Configs and secrets
tar czf "$BACKUP_DIR/configs.tar.gz" -C "$COMPOSE_DIR" .env docker-compose.yml volumes/api/kong.yml volumes/functions/
# 4. Upload to off-site storage (replace with your target)
aws s3 cp "$BACKUP_DIR" "s3://my-backups/supabase/$(date +%F)/" --recursive --storage-class STANDARD_IA
# 5. Prune old local backups
find /opt/supabase-backups -maxdepth 1 -type d -mtime +$RETENTION_DAYS -exec rm -rf {} +
echo "Backup completed: $BACKUP_DIR"
```
Schedule it with cron:
```bash
0 3 * * * /opt/supabase/backup.sh >> /var/log/supabase-backup.log 2>&1
```
The script runs at 03:00 UTC daily, uploads to S3, and prunes local copies older than 30 days. Adjust `RETENTION_DAYS` and the S3 path to match your environment.
Two things this script does not do: it does not verify the backup is restorable, and it does not alert you when it fails. For verification, you need a separate restore-test step. For alerting, pipe failures to your monitoring system, or use a tool that handles both.
A backup sitting on the same server as your Supabase stack is not a backup. It is a copy. If the disk fails, the VM is terminated, or the host is compromised, both your data and your "backup" disappear together. Always push at least one copy to a different region or provider.
## Restoring a self-hosted Supabase instance
Backing up is the easy part. The real test is whether you can restore. Here is the sequence for bringing a self-hosted Supabase stack back from a backup.
**1. Stop the stack:**
```bash
cd /opt/supabase && docker compose down
```
**2. Restore configs:**
```bash
tar xzf /path/to/backup/configs.tar.gz -C /opt/supabase
```
**3. Restore Storage volumes:**
```bash
tar xzf /path/to/backup/storage.tar.gz -C /opt/supabase/volumes/storage
```
**4. Start Postgres only:**
```bash
docker compose up -d supabase-db
```
**5. Restore the database:**
```bash
docker cp /path/to/backup/supabase-db.dump supabase-db:/tmp/supabase-db.dump
docker exec -t supabase-db pg_restore -U supabase_admin -d postgres --clean --if-exists /tmp/supabase-db.dump
```
**6. Start the rest of the stack:**
```bash
docker compose up -d
```
**7. Verify:**
Check that the API responds, auth tokens work, and Storage files load. The fastest smoke test:
```bash
curl -s http://localhost:8000/rest/v1/ -H "apikey: $ANON_KEY" | head -c 200
```
If the API returns a schema response, PostgREST connected to Postgres successfully and the core stack is functional.
## What to do next
You have a working backup for every layer of your self-hosted Supabase stack. The next step is to test the restore. Schedule a monthly restore drill to a separate environment. The drill is the only proof that your backups actually work.
If scripting and scheduling all this yourself sounds like a second job, SimpleBackups handles Supabase Postgres and Storage backups off-site, with alerts when a run fails. [See how it works →](/platform/supabase)
### Keep learning
- [How Supabase's native backup works](/blog/how-supabase-native-backup-works): understand what cloud-hosted gives you that self-hosted doesn't.
- [What Supabase's native backup doesn't cover](/blog/what-supabase-native-backup-doesnt-cover): the gaps that apply to cloud-hosted, all of which are worse on self-hosted.
- [Docker Postgres backup and restore guide](/blog/docker-postgres-backup-restore-guide-with-examples): the foundational reference for running pg_dump inside containers.
- [The complete guide to Supabase backup](/learn/supabase-backup#self-hosted-supabase): the hub page for the full Supabase backup cluster.
## FAQ
---
_This article is part of [The complete guide to Supabase backup](/learn/supabase-backup#self-hosted-supabase), an honest, practical reference from the team that backs up Supabase every day._
---
# Supabase free tier paused and data looks missing: what's happening
Source: https://simplebackups.com/blog/supabase-free-tier-paused
Published: 2026-04-14
Author: Laurent
Summary: What actually happens when a free-tier Supabase project gets paused, why some tables come back empty, and how to protect your data next time.
You opened your Supabase free-tier project and it was paused. You clicked restore, waited for it to spin back up, and now some tables look empty or the row counts are wrong. This is the scenario we pick up most often in support: not a bug, not data corruption, just a sequence of events that's easy to misread once you're in it.
Here's what's actually happening, what you can recover, and how to make sure it doesn't happen again.
## What "paused" actually means on the free tier
A paused project is not a deleted project. When Supabase pauses a free-tier project, the database volume is frozen in place: no reads, no writes, no connections accepted until you restore it. Your data is still on disk.
Supabase pauses free-tier projects after a period of inactivity, measured by incoming API requests. The exact threshold can change as Supabase updates its policies. Check the [current figure in the Supabase docs](https://supabase.com/docs/guides/platform/backups).
One detail that matters here: the free tier has zero days of backup retention. There's no snapshot Supabase is keeping of your data while the project sits paused. The backup system that Pro and Team plans use doesn't run on Free. [How Supabase's native backup works](/blog/how-supabase-native-backup-works) explains what's covered at each plan level.
| Plan | Pauses on inactivity? | Backup retention | PITR available? |
| ---------- | --------------------- | ---------------- | ---------------- |
| Free | Yes | 0 days | No |
| Pro | No | 7 days | Paid add-on |
| Team | No | 14 days | Paid add-on |
| Enterprise | No | 30 days | Usually included |
The inactivity threshold Supabase uses to trigger a free-tier pause has changed before and may change again. Don't memorize a specific number of days: check the Supabase dashboard or their documentation for the current policy.
## Why some tables come back empty after unpausing
Most of the time, they don't. If your project was paused (not deleted), the data is intact and comes back with it. The problem is that "paused" and "deleted" look confusingly similar in the dashboard until you read the status closely.
Empty tables after unpausing usually trace to one of two things.
**The project wasn't paused, it was deleted.** Supabase has a second stage: if a free-tier project stays paused long enough without being restored, it transitions from paused to permanently deleted. Exact timing in Supabase docs. At that point, the "Restore project" path no longer exists, and what you're looking at might be a freshly-initialized project schema with no rows.
**The dashboard loaded before the project finished resuming.** When you click restore, the Postgres process takes anywhere from a few seconds to two or three minutes to be fully ready. Queries run in that window can return empty results or connection errors that look exactly like missing data. Wait until the dashboard shows a green "Active" status before running any queries.
A third, rarer case: the client connection is pointing at the wrong project or branch. Check the project reference in your app's connection string before assuming the data is gone.
## What data is recoverable (and what isn't)
If the project is paused and the "Restore project" button is available: all Postgres data is recoverable. Unpause and you're back.
If the project has been deleted, that data is gone for free-tier projects. Supabase does not retain point-in-time copies of free-tier databases. There's no support escalation path that retrieves it.
Two gaps catch people off guard even when Postgres comes back clean.
Storage files are in a separate S3-compatible backend. The `storage.objects` metadata table lives in Postgres and is recoverable, but the actual file bytes are in a different layer that isn't part of the Postgres volume. If you restore the database after a deletion, you'll get table rows pointing to file paths that no longer exist. [What Supabase's native backup doesn't cover](/blog/what-supabase-native-backup-doesnt-cover) covers this gap in detail.
Edge Functions are also separate. Source code, environment variable keys, and deploy history aren't in the database snapshot. If the project was deleted, those are gone independently of the Postgres data.
## Step-by-step: unpausing and checking your data
1. Log in to the [Supabase dashboard](https://supabase.com).
2. Find the project. If the status indicator shows "Paused," the data is still there.
3. Click **Restore project**. The restore process takes between 30 seconds and 3 minutes.
4. Wait for the status to read **Active** before doing anything else. Querying before the process completes is how you get the empty-tables false alarm.
5. Open the SQL editor and run a quick size check across your tables:
```sql
SELECT
table_name,
pg_size_pretty(pg_total_relation_size(quote_ident(table_name))) AS table_size
FROM information_schema.tables
WHERE table_schema = 'public'
ORDER BY pg_total_relation_size(quote_ident(table_name)) DESC;
```
This lists every public-schema table with its on-disk size. A table with real data shows a meaningful size. A genuinely empty table shows 8–16 kB (the page header only). If everything in your schema reads 8 kB, you're likely looking at a deleted-then-recreated project, not a paused one.
6. If the data looks correct, update your app's connection string and re-enable any workers or cron jobs that were pointing at the project.
## The difference between paused, deleted, and expired
These three states look similar but have completely different outcomes.
| State | What it means | Data recoverable? | Path forward |
| -------------- | ------------------------------------ | ----------------------- | ------------------------------------ |
| Paused | Project frozen; data on disk | Yes | Click "Restore project" in dashboard |
| Deleted | Project and data permanently removed | No (free tier) | Restore from your own backup |
| Expired (Pro+) | Subscription lapsed, project on hold | Depends on grace period | Renew subscription, contact support |
The Supabase docs on [project lifecycle and deletion](https://supabase.com/docs/guides/platform/going-into-prod#project-deletion) describe the transitions between these states in detail. If you're in the "deleted" row and have no external backup, there's nothing left to do.
If your project has moved to "deleted" status and you're on a Pro or higher plan, contact Supabase support immediately. Pro plans have backup retention, and support may be able to initiate a restore before the retention window closes.
## How to protect your free-tier project going forward
Three options, in order of effort.
**Keep the project active.** Supabase pauses on inactivity measured by API requests. Any request counts, including a health-check endpoint pinged on a cron schedule. One request a day is enough to prevent a pause. This doesn't protect you if the project is eventually deleted, but it eliminates the pause cycle.
**Upgrade to Pro.** A paused project is a free-tier problem. Pro projects don't pause on inactivity, and Pro adds 7 days of backup retention. If the project matters enough that losing the data would be a real problem, the $25/month answer is clearer than the scripting overhead.
**Take a `pg_dump` before going idle.** Before you know you won't be touching a project for a few weeks, run a manual export. This is the minimum floor of protection:
```bash
pg_dump --host=db.YOUR_PROJECT_REF.supabase.co --port=5432 --username=postgres --format=custom --file=supabase-backup-$(date +%F).dump postgres
```
Replace `YOUR_PROJECT_REF` with your project reference (visible in the Supabase dashboard URL and in **Project Settings → General**). The `--format=custom` flag produces a compressed binary that `pg_restore` can load selectively by table. Store it somewhere off your local machine.
[How to back up Supabase Postgres](/blog/backup-supabase-postgres) covers this process in full, including the connection string format, scheduling, and storage targets.
## What to do next
If your project is currently paused, restore it now and run the SQL in the previous section before doing anything else. That check takes thirty seconds and tells you whether you're dealing with a paused project or a deleted one.
If you're deciding whether to stay on Free: the calculus is simple. If you'd be genuinely distressed to lose this project's data, the free tier is not the right home for it.
For the full walkthrough when things go further wrong, including navigating a project that's moved past "paused" into deletion territory, see [Recover a paused Supabase project](/blog/recover-paused-supabase-project).
If scripting and scheduling all this yourself sounds like a second job, SimpleBackups handles Supabase Postgres and Storage backups off-site, with alerts when a run fails. [See how it works →](/platform/supabase)
---
## Keep learning
- [How Supabase's native backup works](/blog/how-supabase-native-backup-works), the mental model behind what a pause preserves and what it doesn't.
- [What Supabase's native backup doesn't cover](/blog/what-supabase-native-backup-doesnt-cover), because Storage and Edge Functions aren't in the snapshot even when the project is healthy.
- [Recover a paused Supabase project](/blog/recover-paused-supabase-project), the broader walkthrough for projects that have moved past "paused" into harder territory.
- [How to back up Supabase Postgres](/blog/backup-supabase-postgres), the full `pg_dump` setup so the next pause doesn't catch you without a copy.
- [How to back up your Supabase Postgres database](/blog/backup-supabase-postgres), the manual reference for connection strings and backup options.
## FAQ
---
_This article is part of [The complete guide to Supabase backup](/learn/supabase-backup#free-tier-paused), an honest, practical reference from the team that backs up Supabase every day._
---
# Supabase native backup vs. SimpleBackups: what each covers and when to use both
Source: https://simplebackups.com/blog/supabase-native-vs-simplebackups
Published: 2026-04-11
Author: Laurent
Summary: Side-by-side comparison of Supabase native backup and SimpleBackups. What each covers, what each misses, and when native is genuinely enough.
Supabase's dashboard shows backups for your Postgres database. Here's what that covers and what teams often add on top. One example: after a Storage bucket gets wiped, a database restore brings back the file records but not the files themselves.
The native daily backup snapshot covers your Postgres database. It doesn't cover Storage bucket contents, Edge Functions source code, or secrets. It is managed inside Supabase's platform, so an independent off-platform copy is something you add yourself.
This article puts both options side by side: what Supabase's native backup actually covers, what SimpleBackups adds on top, and the honest answer to when native backup is genuinely enough for your situation. We'll work through the supabase native backup vs simplebackups comparison the way you'd make the decision yourself: surface by surface, scenario by scenario.
We run Supabase backups every day. The pattern we see is consistent: teams discover the gaps in native backup when they need data back, not before. The comparison here comes from real restore workflows, not from reading marketing pages.
## What you get with Supabase's native backup
Supabase's native backup is a **physical snapshot** of your Postgres volume. This distinction matters more than it sounds.
A physical snapshot copies the raw storage blocks of the database volume at a point in time. It's faster to take than a logical dump, faster to restore, and doesn't require a running Postgres connection. The tradeoff: it captures exactly what's on that volume. Anything stored elsewhere, including Storage bucket files and Edge Functions code, is simply not part of it.
[Supabase's backup documentation](https://supabase.com/docs/guides/platform/backups) describes the snapshot mechanism and the retention windows by plan. The retention table is worth keeping in mind, because it defines the outer boundary of what native backup can do for you:
| Plan | Price | Daily backups | Retention | PITR |
|------|-------|---------------|-----------|------|
| Free | $0 | No | 0 days | No |
| Pro | $25/mo | Yes | 7 days | Paid add-on |
| Team | $599/mo | Yes | 14 days | Paid add-on |
| Enterprise | Custom | Yes | 30 days | Paid add-on |
A few things that frequently surprise teams:
**Free projects don't include automated backups.** Supabase recommends that Free projects export their data regularly and keep off-site copies. If a table gets corrupted or dropped on a Free project, there is no scheduled backup to restore from. It's documented, but easy to miss when you're moving fast.
**Retention is fixed by plan, not configurable.** You can't pay to extend a Pro project's retention from 7 days to 30. You'd need to upgrade to Enterprise for that. If your compliance policy requires more than 30 days, native backup can't meet it at any plan tier.
**Daily snapshots are checkpoints, not continuous.** Native backup takes one snapshot per day. If you drop a table at 11:45 PM and the snapshot ran at midnight, your most recent usable backup is from yesterday. The gap between the snapshot time and the incident is unrecoverable unless you're running PITR.
**PITR is separate and costs extra on most plans.** Point-in-Time Recovery lets you restore to any timestamp within the retention window, not just the daily checkpoint. On Pro, Team and Enterprise it's a paid add-on. If PITR is what you need, the cost calculus changes. For a clear breakdown of when PITR is actually worth adding, see [when Supabase PITR is needed](/blog/when-supabase-pitr-needed).
**Restores target Supabase projects.** On paid plans you can restore a backup into the same project or into a new project. The new-project restore is database-only: Storage objects and Edge Functions aren't copied, and the new project is billed as its own project. A portable file for a local or non-Supabase Postgres comes from a logical dump.
For a deeper look at how the snapshot mechanism works, the WAL archiving that enables PITR, and what happens during a restore, see [how Supabase's native backup works](/blog/how-supabase-native-backup-works).
## What native backup doesn't cover
This is where the coverage gaps become material for production projects. The misses aren't edge cases: they're the surfaces that most production applications actually rely on.
**Storage file bytes are not included.** Supabase Storage runs on an S3-compatible backend separate from the Postgres volume. The `storage.objects` table in Postgres tracks filenames, bucket paths, sizes, and metadata. That metadata is in the Postgres snapshot. But the actual file bytes sitting in S3 are not.
The practical consequence: if you restore your Postgres database from a native backup, every row in `storage.objects` comes back. The image URLs are valid. The file paths exist. But if the underlying S3 objects were deleted, overwritten, or corrupted after your backup point, those paths now point to nothing. You have broken links, not a restored application.
**Edge Functions source code and secrets are not included.** Edge Functions run on Supabase's Edge Runtime, outside your Postgres volume. Neither the function source code nor the environment variable secrets are stored there. If you delete a function, redeploy the wrong version, or lose access to the code, native backup can't recover it. For the specifics of how to back up Edge Functions properly, see [how to back up Supabase Edge Functions](/blog/backup-supabase-edge-functions).
**Native backups are managed inside Supabase's platform.** Supabase stores and manages them for you, which is the right default for fast recovery. It also means an independent copy, in a storage account and region you choose, is something you add yourself.
This matters for three reasons. First, a copy outside the platform survives an incident that affects the project and its managed backups together. Second, GDPR and similar data residency rules sometimes require that backups sit in a specific jurisdiction you can name and document. Third, SOC 2 Type II and ISO 27001 controls typically ask for evidence of off-site backup storage, which is easier to show with a copy in storage you control.
**Test your restores.** Taking a snapshot is not the same as proving it restores. Whichever backup you use, run a test restore on a schedule so you know the data is complete before you need it.
For the full gap analysis with concrete examples, including the Storage metadata trap and the compliance implications, see [what Supabase native backup doesn't cover](/blog/what-supabase-native-backup-doesnt-cover).
The storage.objects metadata gap is the most commonly misunderstood behavior. Teams assume a database restore puts everything back because the file metadata is in Postgres. It restores the rows in storage.objects, including filenames and paths. But if the S3 file bytes were deleted or overwritten, the filenames point to nothing. You get 200 OK responses on image URLs that return empty content.
## What SimpleBackups adds
SimpleBackups is a backup automation service that runs on top of your Supabase project. It connects to your Supabase instance and covers the surfaces that native backup leaves unprotected.
**Postgres backup via pg_dump.** SimpleBackups exports your Postgres database using `pg_dump`, producing a logical dump rather than a physical snapshot. The key difference: a logical dump is a portable file. You can download it, inspect it, verify it, and restore it to any Postgres instance anywhere, including a different Supabase project, a local database, or a staging environment. The dump gets stored in the cloud storage destination you configure.
**Storage bucket backup.** SimpleBackups uses Supabase Storage's S3-compatible API to copy the actual file bytes from your buckets to your backup destination. This closes the most material gap native backup leaves open: your user-uploaded content, images, documents, and any other bucket files get captured as real data, not just as metadata rows.
**Edge Functions backup.** SimpleBackups backs up your deployed Edge Function bundles via the Supabase Management API. The bundles are captured on your configured schedule and stored off-site. Environment secrets are not included in the function backup (they require separate handling).
**Off-site, cross-region storage.** Your backup files go to the destination you configure: an S3 bucket in a different region, Google Cloud Storage, Backblaze B2, DigitalOcean Spaces, Wasabi, or others. That destination can be in a completely different cloud provider and region from your Supabase project. This makes cross-region redundancy a configuration choice rather than a plan upgrade.
**Backup verification.** SimpleBackups tests each backup for completeness after it runs. You receive an alert when a backup fails. If the backup job produces an incomplete file or errors out, you know the same day. Not when you try to restore months later.
**Flexible scheduling and retention.** You configure how often backups run and how long files are kept. Daily at 3 AM UTC, every 6 hours, twice a week: your call. Retention can be set independently for each backup type, which means you might keep 90 days of daily Postgres dumps while keeping only 30 days of Storage backups, based on your actual storage cost and recovery requirements.
**Downloadable, restorable backup files.** Because SimpleBackups stores standard pg_dump files and raw file copies, you can download any backup and restore it yourself without going through Supabase's interface. This is essential for restore testing, disaster recovery drills, and migrations.
[SimpleBackups for Supabase](/platform/supabase) complements Supabase's native backups. If you want independent off-site copies of Postgres, Storage, and Edge Functions in storage you own, without writing and maintaining the scripts yourself, that's what it does.
## Side-by-side comparison
This table covers everything that matters when choosing between the two options:
| Feature | Supabase native | SimpleBackups |
|---------|-----------------|---------------|
| Postgres backup | Yes (physical snapshot) | Yes (pg_dump logical dump) |
| Storage file backup | No | Yes |
| Edge Functions backup | No | Yes (source code) |
| Backup destination | Managed by Supabase | Your cloud storage, any region |
| Independent off-platform copy | No | Yes |
| Retention control | Plan-fixed (0–30 days) | You configure |
| PITR | Paid add-on | Via backup frequency |
| Backup verification | Not documented | Yes |
| Downloadable backup file | No | Yes |
| Restore to a new Supabase project | Yes, paid plans (database only) | Yes |
| Cost | Included in plan | Paid separately |
| Setup required | None | ~15 minutes |
| Compliance-friendly off-site | No | Yes |
A few cells in that table worth expanding:
**Physical snapshot vs. logical dump.** Supabase's native restore is fast and complete: it replaces your database volume in place. A pg_dump logical dump is portable: it can be restored to any Postgres instance, any version, anywhere. The native path is simpler when you're restoring to the same project. The pg_dump path is more flexible for everything else. Both have their place; the question is which scenarios you need to be prepared for. For a more detailed look at the tradeoffs, see [pg_dump vs. managed Supabase backup](/blog/pgdump-vs-managed-supabase-backup).
**Retention control.** With native backup, you get whatever your plan provides. Pro is 7 days and that's not negotiable. With SimpleBackups, you configure the retention window yourself. You could keep 90 days of daily Postgres dumps and 30 days of hourly Storage backups, or any combination that matches your compliance and cost requirements.
**Restore to a new project.** Native restore can put data back into the same project, or into a new project on paid plans. The new project is billed separately and gets the database only, so Storage files and Edge Functions need separate handling. A pg_dump can be restored to any Postgres instance you already run, which makes validating a restore on staging straightforward.

## When native backup is genuinely enough
Native backup is not a bad option for the right project. If all four of these apply, native coverage is probably sufficient:
**Your data is only Postgres.** No Storage buckets with user-uploaded files. No Edge Functions. The entire state of your application lives in the Postgres database, and nothing else. If a restore brings Postgres back, everything is back.
**You're on Pro or higher.** Free projects don't include automated backups, so a bug, a bad migration, or a dropped table has no scheduled backup to restore from. Pro gives you 7 days of daily checkpoints. For a side project or an internal tool where you could reconstruct recent data from logs or from the source application, that's a reasonable baseline.
**You don't have compliance requirements.** No GDPR data residency rules, no SOC 2 Type II audit trail, no ISO 27001 off-site storage requirement, no contractual or regulatory backup retention mandate. If your application doesn't operate under any framework that specifies what backup must look like, native backup's defaults are at least something.
**The data loss window is acceptable.** You've looked at the gap between your last daily snapshot and a potential incident, and you've decided that losing up to 24 hours of data is tolerable for this project. Not every project has zero tolerance for data loss. Side projects and internal tools often don't.
Free projects don't include automated backups. Run a pg_dump on a schedule or set up SimpleBackups. Even a daily pg_dump shipped to an S3 bucket is a real safety net.
## When you need something more
The threshold for needing more than native coverage is lower than most teams expect going into production.
**You have Storage buckets with files that matter.** If users upload profile photos, documents, videos, or any content that lives in Supabase Storage, native backup doesn't protect those files. One accidental bucket deletion, a runaway migration script, or a permissions misconfiguration that lets users delete each other's files leaves you with a gap native backup can't fill. Your database comes back from a restore; your users' uploaded content does not.
**You need a reliable restore to a staging environment.** The right way to validate a database restore is to run it in a staging environment before you touch production. If you've never tested a restore, you don't actually know whether your backup works: you have a file that runs nightly and a hope that it's valid. Native restore to a new project works on paid plans, but it creates a separately billed project and copies the database only. A pg_dump backup restores into any Postgres instance you already run.
**You have compliance or regulatory requirements.** GDPR requires you to process and delete specific users' data on request while retaining everything else, and you need to be able to demonstrate you can do it. SOC 2 Type II requires documented backup procedures, retention policies, and evidence that you tested the restore process. ISO 27001 requires off-site backup storage. Native backup doesn't provide the control, documentation, or off-site copy these frameworks require.
**You need retention longer than 30 days.** Enterprise provides 30 days of native retention. If your legal, contractual, or compliance policy specifies 90 days, one year, or longer, you need backup files stored in a location where you control the retention independently.
**You run Edge Functions with logic or secrets that took significant effort to develop.** Function source code that isn't in version control is gone when a deployment goes wrong. Native backup never touched it. If your function source lives only in Supabase's managed environment, you have no recovery path from a bad deploy beyond rewriting from memory.
**You want to hear about a failed backup the same day.** Whatever you use, alerting on failed runs means you find out before you need the restore.
## Cost comparison: native vs. SimpleBackups vs. DIY
**Native backup**: included in your Supabase plan. No separate line item. You pay $25/mo for Pro, $599/mo for Team, or a custom Enterprise price, and backup is part of that package. The cost of what's missing (Storage, an off-platform copy, alerting, verification) isn't on your invoice; it shows up in the recovery scenarios native can't handle.
**SimpleBackups**: a paid subscription on top of your Supabase plan. What you get for that cost is the complete coverage picture: off-site Postgres dumps, Storage file backup, Edge Functions backup, backup verification, alerting, and flexible scheduling and retention. The setup time is roughly 15 minutes; ongoing maintenance is minimal.
**DIY**: you can replicate most of SimpleBackups' feature set with scripts and automation. The components are all available:
- A scheduled `pg_dump` piped to an S3 bucket (see [how to back up Supabase Postgres](/blog/backup-supabase-postgres) for a working script with scheduling)
- A Storage export script using the Supabase S3-compatible API
- A cron job running on a server or a CI/CD pipeline you manage
- An alerting webhook that fires on job failure
- A quarterly restore drill you run against a staging database
This works. We've seen it work well when someone owns it explicitly and maintains it over time. The hidden cost isn't cloud storage (a few dollars a month) or server compute (minimal). It's the developer hours to build the system initially, the ongoing maintenance when edge cases surface, the mental overhead of owning one more piece of infrastructure, and the restore drills you need to run to confirm the backup is actually valid.
The pattern we see most often in support: teams build a solid DIY backup solution during initial infrastructure setup, it runs without issues for several months, the original developer moves to a different team or leaves, the system accrues small breakage (a script that stopped running when the server was migrated, an alert that was never re-wired after a Slack channel rename), and the team only discovers the state of things during an incident.
| Option | Direct cost | Developer time | Off-site | Alerts | Verified |
|--------|-------------|----------------|----------|--------|----------|
| Native only | Included in plan | None | No | Not documented | Not documented |
| SimpleBackups | Monthly subscription | ~15 min setup | Yes | Yes | Yes |
| DIY (maintained) | Cloud storage (~$1–5/mo) | 4–8 hrs/yr ongoing | Yes | Depends | Depends |
| DIY (drifted) | Cloud storage | High to rebuild | Yes | Probably not | Unlikely |
The "drifted DIY" row isn't unfair to include. It's the most common outcome when backup tooling isn't someone's explicit ongoing responsibility.
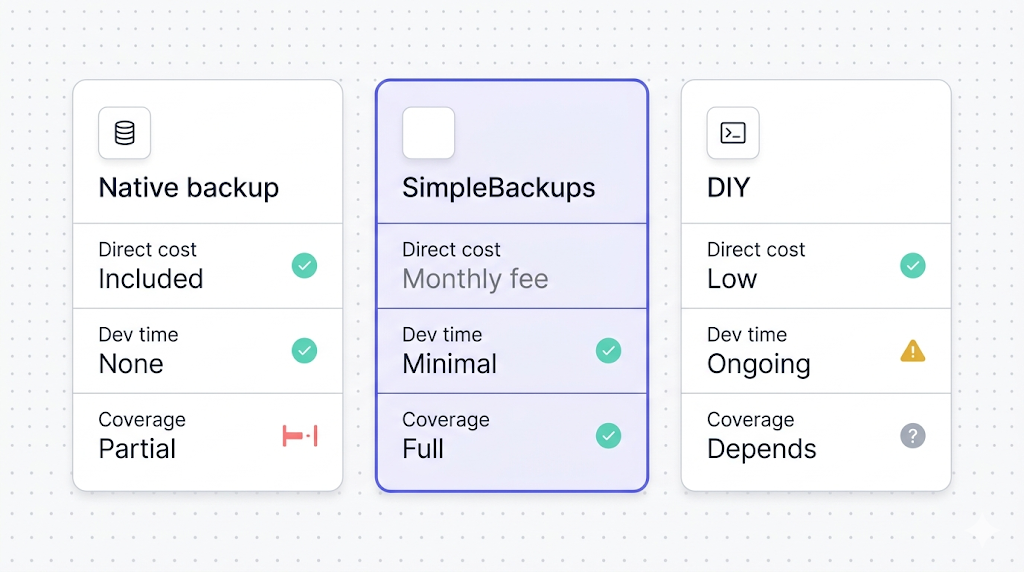
The hidden cost of DIY that most cost comparisons miss: the quarterly restore test. Running a real restore against a staging environment, verifying the data is complete, and documenting the result takes a couple of hours every quarter. If you're not doing it, your backup is hypothetically valid but practically unproven. Factor that time into the cost comparison.
## When native is enough (and when it isn't)
The question isn't "is native backup good?" It's "does native backup cover the scenarios my project needs to be protected against?"
For a hobby project, a personal side project, or an internal tool with no compliance requirements and no user-uploaded content, native backup on a paid plan is a reasonable baseline. The data is Postgres. The retention window matches the realistic recovery scenario. The risk of losing 24 hours of data is acceptable given the project's stakes.
For a production application where users store content in Storage, the answer shifts immediately. You have data that native backup never touches, running the risk of a restore that looks complete but isn't. This isn't a failure of Supabase's backup system; it's a fundamental architectural boundary between Postgres and Storage. No amount of plan upgrading closes it.
For applications under compliance frameworks, the same boundary applies: native backup is managed inside Supabase's platform and doesn't give you configurable retention beyond what the plan provides. These aren't gaps a more expensive plan closes; they're the gaps off-site backup automation is specifically built for.
The how-supabase-native-backup-works article recommends testing your restore path before you need it in production. That recommendation is worth taking seriously regardless of which option you're using. The difference is that testing a native restore requires working within Supabase's restore interface; testing a pg_dump restore means running `pg_restore` against a staging instance with the actual file you'd use in a real incident.
A simple heuristic: if the honest answer to "what happens if I lose everything in Supabase right now" is "I restore the Postgres backup and nothing else is lost," native backup is probably sufficient. If Storage files matter, if Edge Functions represent meaningful work, or if you want to test restores against a Postgres instance you already run, you need something more.
## What to do next
The decision path is shorter than this article may have made it seem.
**Free tier, side project, Postgres only**: set up a scheduled pg_dump and ship the file to an S3 bucket or equivalent. Even weekly is better than zero. Native automated backups don't apply to you.
**Paid tier, Postgres only, no compliance, acceptable data loss window**: native backup probably covers you. Confirm the retention window is enough for your realistic recovery scenario, and consider running a single restore test in a staging environment just to confirm the process works.
**Paid tier, Storage buckets in use**: you need off-site Storage backup. Native backup doesn't cover it. Set up SimpleBackups or a Storage export script you'll maintain over time. The Storage gap is the single biggest real-world blind spot in native backup.
**Paid tier with compliance requirements**: you need off-site backup with configurable retention and evidence of testing. That's not something native backup can provide at any plan tier.
**Production application with user data**: run a restore test. Not in theory. Actually restore from your backup into a staging environment, verify the data is complete, and document that it worked. If your current setup doesn't make that test easy to run, that's the problem to fix first. For a broader comparison of all your tool options, see [the best Supabase backup tools](/blog/best-supabase-backup-tools).
## Keep learning
- [How Supabase's native backup works](/blog/how-supabase-native-backup-works): the mechanics behind the physical snapshot, retention windows, and PITR
- [What Supabase native backup doesn't cover](/blog/what-supabase-native-backup-doesnt-cover): the full gap analysis with real failure scenarios
- [How to back up Supabase Storage](/blog/backup-supabase-storage): the S3-compatible export workflow
- [How to back up Supabase Postgres](/blog/backup-supabase-postgres): a working pg_dump script with scheduling
- [The best Supabase backup tools](/blog/best-supabase-backup-tools): broader comparison if you want more than two options
## FAQ
---
_This article is part of [The complete guide to Supabase backup](/learn/supabase-backup#native-vs-simplebackups), an honest, practical reference from the team that backs up Supabase every day._
---
# When you actually need Supabase PITR (and when you don't)
Source: https://simplebackups.com/blog/when-supabase-pitr-needed
Published: 2026-04-11
Author: Laurent
Summary: Supabase PITR is powerful and paid. When it's worth the cost, when daily backups are enough, and what PITR actually gives you over snapshots.
Supabase PITR narrows your recovery point objective to seconds. Daily snapshots leave up to 24 hours of exposure. On that axis, PITR wins decisively.
But PITR doesn't back up your Storage buckets. It doesn't cover Edge Functions. It doesn't put your data in a different region or region-lock it for GDPR. And it costs extra, on top of the plan you're already paying for.
If you're evaluating whether to enable PITR, the real question isn't "how granular do I need my recovery point?" It's "what problem am I actually trying to solve?" This article walks through the decision end to end.
## What PITR actually is (WAL replay, not a magic button)
PITR stands for Point-in-Time Recovery. On Supabase, it means your database continuously ships Write-Ahead Log segments to object storage. When you need to restore, the recovery process replays those WAL segments from a base snapshot to the exact moment you specify.
That's meaningfully different from a daily snapshot. A daily snapshot captures a single moment and holds it for your retention window. WAL replay captures every transaction, so you can target any moment within your retention window down to the second.
The "not a magic button" part: PITR is a database-level mechanism. It works at the Postgres layer, and only the Postgres layer. Everything outside Postgres, including Storage files, Edge Function code, and Supabase secrets, is not in the WAL.
## How PITR works on Supabase
Supabase's native backups are [physical snapshots of your Postgres volume](/blog/how-supabase-native-backup-works). When PITR is enabled, Supabase also streams WAL segments to object storage in near-real time. Those segments sit on top of the base snapshot.
Recovery works in two stages:
1. Supabase restores the most recent base snapshot taken before your target time.
2. WAL segments are replayed forward from that base to your exact target timestamp.
From [Supabase's PITR documentation](https://supabase.com/docs/guides/platform/backups#point-in-time-recovery-pitr), the recovery point granularity is approximately one second.
A few implementation details worth knowing:
- PITR is enabled per-project in the Supabase dashboard under Database settings.
- WAL archiving begins from the moment you enable it. You cannot retroactively recover to a time before PITR was turned on.
- The retention window for WAL data is separate from your daily backup retention. Check your plan for specifics.
- Restoring via PITR initiates from the Supabase dashboard or support channel, not the CLI.
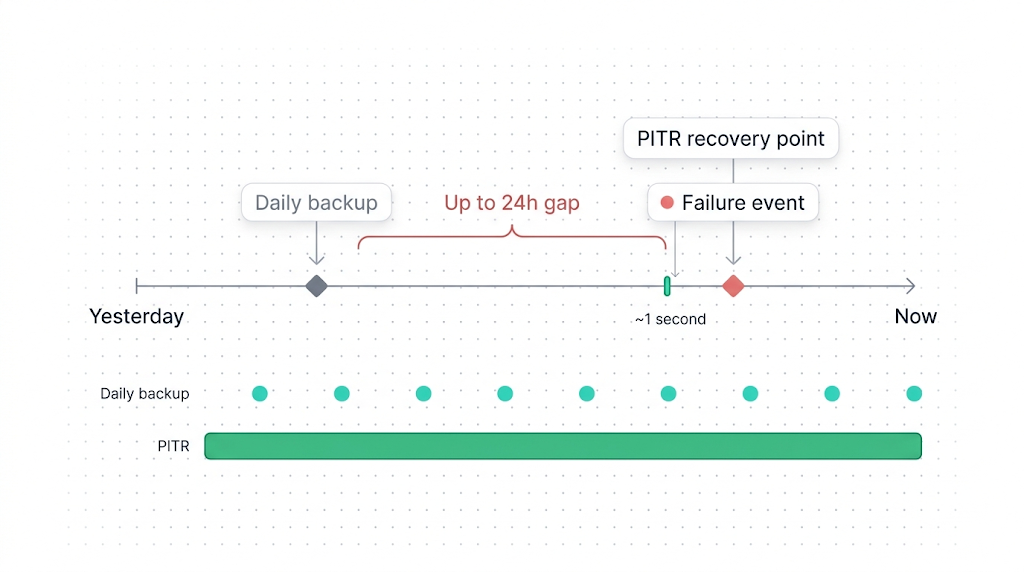
## PITR vs. daily backups: what each gives you
The key difference is the recovery point objective (RPO): the maximum amount of data you can lose in a failure scenario.
With daily backups, your RPO is tied to when the last snapshot ran. If a failure happens at 11:58 PM and your snapshot runs at midnight, you've potentially lost nearly 24 hours of work. If it happens five minutes after the snapshot, you lose five minutes.
With PITR enabled, that ceiling drops to seconds. You can recover to 11:57:43 PM and lose almost nothing.
| Dimension | Daily backups | PITR |
|-----------|--------------|------|
| Recovery point (RPO) | Up to 24 hours | ~1 second |
| Recovery time (RTO) | Minutes to hours | Longer (WAL replay time scales with data volume) |
| Cost | Included in plan | Paid add-on |
| Postgres coverage | Yes | Yes |
| Storage buckets | No | No |
| Edge Functions | No | No |
| Off-site storage | No (same AWS region) | No (same region) |
| Restore mechanism | Dashboard | Dashboard / support |
| Retention window | 7–30 days by plan | Separate WAL window by plan |
The table has one non-obvious row: recovery time. PITR recovery is not necessarily faster than restoring from a daily snapshot. WAL replay takes longer the farther you are from the base snapshot. For a database with high write volume, replaying 18 hours of WAL takes longer than restoring a snapshot. If you need fast recovery (low RTO), PITR may actually be slower than daily backups for some scenarios.
PITR solves RPO. It makes the "how much data can I lose?" question nearly negligible. It does not solve RTO, off-site storage, cross-region compliance, or Storage backup. Those are separate problems.
## When PITR is worth the cost
PITR earns its keep in a specific set of scenarios. The common thread: situations where losing hours of transactions is unacceptable, and the data being lost is Postgres data.
**High-frequency write workloads.** If your application writes hundreds or thousands of rows per minute, 24 hours of snapshot exposure means 24 hours of real user activity you cannot recover. An e-commerce order log, a SaaS activity feed, a financial ledger: any of these make daily snapshots feel too coarse.
**Accidental bulk mutations.** A developer runs an `UPDATE` without a `WHERE` clause. A job runs twice and creates duplicate records. PITR lets you target a recovery point precisely before the operation ran and avoid losing any legitimate data that arrived before or after it.
**Regulatory requirements with strict RPO SLAs.** Some compliance frameworks specify a maximum RPO in hours. If your RPO requirement is under 24 hours, daily backups may not satisfy the audit. PITR closes that gap.
**Production data that's expensive or impossible to recreate.** Some data flows only forward: user-generated content, behavioral events, financial transactions. If losing a day of that data has real business or legal consequences, PITR is the insurance.
PITR is most valuable when your Postgres data is the hard-to-replace part of your application. If you can reconstruct most lost records from a queue, a third-party API, or a partner feed, daily backups may be enough.
## When daily backups (plus off-site) are enough
PITR is the right answer for a specific class of problem. For many projects, it isn't that class.
**Low-write applications.** A documentation site, a CMS with infrequent updates, a read-heavy API: if your database doesn't change much between snapshots, the RPO gap shrinks in practice. Losing up to 24 hours of data means losing a few rows, not a day's revenue.
**Applications where the last-known-good state is the right recovery point.** If you're restoring after a corrupted migration or a bad deployment, you're typically targeting a stable state from hours or days ago, not seconds ago. Daily snapshots serve that scenario well.
**Projects that need off-site or cross-region backup.** This is the one that surprises teams. PITR stores WAL segments in the same AWS region as your project. If your concern is regional availability (a data center going down) or compliance (data residency outside AWS us-east-1), PITR doesn't help. You need an [off-site backup to a separate storage provider](/blog/backup-supabase-postgres).
**Projects with Storage buckets as the primary data surface.** If your application is storage-heavy and the real risk is losing uploaded files, PITR addresses none of it. Supabase Storage is architecturally separate from Postgres. It doesn't appear in the WAL. See [what Supabase's native backup doesn't cover](/blog/what-supabase-native-backup-doesnt-cover) for the full breakdown.
For most early-stage or mid-scale Supabase projects, a combination of daily snapshots and a verified off-site backup of Postgres gives more coverage per dollar than PITR alone.
## What PITR costs on Supabase
Supabase plans and PITR pricing change, so treat the figures below as a starting point and verify against [the current Supabase pricing page](https://supabase.com/pricing) before making a budget decision.
| Plan | Monthly price | Daily backups | Retention | PITR |
|------|--------------|---------------|-----------|------|
| Free | $0 | No | 0 days | No |
| Pro | $25/mo | Yes | 7 days | Paid add-on |
| Team | $599/mo | Yes | 14 days | Usually included |
| Enterprise | Custom | Yes | 30 days | Usually included |
The PITR add-on for the Pro plan is priced on top of the base plan cost. The add-on cost increases with your database size, because larger databases generate more WAL volume.
One practical note: if you're on the Pro plan and evaluating the PITR add-on, run the numbers against what off-site backup via SimpleBackups or a managed alternative would cost. Depending on your database size and write frequency, an off-site approach may give you more coverage (including Storage and cross-region) for similar or lower cost.
## What PITR doesn't cover
PITR is often treated as a complete backup solution. It isn't. Even with PITR fully enabled, these gaps remain:
**Supabase Storage.** File bytes in Storage buckets are not in Postgres. They live in a separate S3-compatible backend. The WAL knows nothing about them. A PITR recovery restores `storage.objects` metadata (the file records in Postgres), but the actual file bytes are unaffected. You recover to a point in time and find broken image URLs for files that no longer match the database records. This is the single most common PITR misconception we see. For complete coverage, you need a separate backup strategy for Storage.
**Edge Functions.** Deno Deploy code, environment variables, and secrets are not in Postgres. PITR doesn't touch them.
**Off-site storage.** WAL segments live in the same AWS region as your project. PITR doesn't give you a copy in a different cloud provider, a different region, or on your own infrastructure.
**Cross-region compliance.** If you need to prove that your backup data doesn't leave the EU (or another jurisdiction), PITR doesn't provide that guarantee. See [cross-region Supabase backup for compliance](/blog/cross-region-supabase-backup-compliance) for how to structure a compliant off-site approach.
PITR is Postgres-only. Storage, Edge Functions, and regional placement are all outside its scope. If your backup plan starts and ends with PITR, you have gaps.
## What to do next
If your project has a strict RPO requirement, high write volume, and you can live with the regional placement and Postgres-only scope: enable PITR. The setup is a toggle in your project's database settings, and the coverage is real.
If your concern is more about Storage backup, cross-region redundancy, or off-site copies you control: PITR isn't the right tool. Start with what Supabase's native backup doesn't cover to map the gaps, then work through the cluster articles for Storage and off-site options.
If you've read this far, you probably already know whether native retention is enough for your project. If it isn't, [SimpleBackups](/platform/supabase) gives you cross-region off-site backup, automated verification, and a restore you can actually test.
## Keep learning
- [How Supabase native backup works](/blog/how-supabase-native-backup-works), the physical snapshot mechanism behind daily backups, before you layer PITR on top.
- [What Supabase's native backup doesn't cover](/blog/what-supabase-native-backup-doesnt-cover), covering Storage, Edge Functions, and the off-site gap that PITR doesn't solve.
- [How to back up Supabase Postgres](/blog/backup-supabase-postgres), manual and managed off-site approaches for Postgres as a complement or alternative to PITR.
- [Cross-region Supabase backup for compliance](/blog/cross-region-supabase-backup-compliance), for when data residency rules require a backup copy outside your primary AWS region.
## FAQ
---
_This article is part of [The complete guide to Supabase backup](/learn/supabase-backup#when-need-pitr), an honest, practical reference from the team that backs up Supabase every day._
---
# How to back up DigitalOcean Kubernetes (DOKS)
Source: https://simplebackups.com/blog/backup-digitalocean-kubernetes
Published: 2026-04-11
Author: Laurent
Summary: DOKS has no native backup. Here's how to back up cluster config, persistent volumes, and app state with Velero, to Spaces or an external bucket.
There is no backup button in the DOKS dashboard. No automatic snapshot of your cluster config, no managed backup of your persistent volumes, no retention policy for your secrets. If you lose the cluster, you lose everything stateful unless you've set up Velero or an equivalent tool pointing somewhere outside your DigitalOcean account.
This article walks you through exactly that setup. You'll learn what DOKS does and doesn't protect, what you actually need to capture, and how to configure Velero to back up your cluster to either DigitalOcean Spaces or an external bucket like S3 or Backblaze B2. You'll also set up a schedule and verify it works before you need it.
## What DOKS doesn't back up
DOKS is a managed Kubernetes service. DigitalOcean manages the control plane: API server, etcd, scheduler, controllers. You don't pay for control plane nodes, and you can't access them directly.
That also means you don't back them up. DigitalOcean handles control plane durability. If the control plane has an issue, DigitalOcean restores it. That's the part they own.
What they don't own is your workload. The worker nodes, the volumes attached to your pods, the Kubernetes manifests that define your deployments, the secrets your applications read at runtime: none of that is covered. See the [DigitalOcean Kubernetes docs](https://docs.digitalocean.com/products/kubernetes/) for what the managed service includes.
As covered in detail in [what DigitalOcean native backup doesn't cover](/blog/what-digitalocean-native-backup-doesnt-cover), every native DO backup mechanism lives inside the same DigitalOcean account as the resource it protects. DOKS is no different. Account compromise, a billing dispute, or a region-level event would take your cluster and any within-account copy of it at the same time.
## What you actually need to protect
Before installing anything, it helps to be precise about what you're trying to capture. DOKS backup is not one problem; it's four.
{/* FIGURE: fig-01 */}
**Cluster config and manifests.** Every Deployment, Service, ConfigMap, Ingress, StatefulSet, and CronJob definition. If you're already using GitOps (ArgoCD, Flux), you may have these in source control already. If you're not, Velero captures them from the live cluster.
**Persistent volumes.** Any `PersistentVolumeClaim` backed by a DigitalOcean Block Storage volume. This is where your database data, uploaded files, and stateful application state live. This is the part most people forget to verify their backup actually covers.
**Secrets.** Kubernetes `Secret` objects: database passwords, API keys, TLS certificates. Velero backs these up, but you should treat them as sensitive artifacts that warrant encryption at rest and tight access controls on the destination bucket.
**Application state and databases.** If your application writes to a persistent volume, the PV backup covers the data at the filesystem level. If it writes to a managed database outside the cluster, that's a separate backup problem covered in [how to back up DigitalOcean managed databases](/blog/backup-digitalocean-managed-databases). If it writes to a database running inside the cluster as a pod (common with StatefulSets), you need the PV backup and ideally a logical backup too. We cover the database-in-pod case in [Kubernetes database backup patterns](/blog/kubernetes-database-backup).
DOKS uses the DigitalOcean CSI driver for persistent volumes. Velero needs the CSI snapshot plugin to capture PV data. Without it, Velero backs up the PV metadata but not the data. You end up with a backup that restores your Deployment spec perfectly while leaving you with an empty volume.
## Setting up Velero on DOKS
Velero is the standard open-source tool for Kubernetes backup and restore. It runs inside your cluster, captures cluster state and PV snapshots, and ships the backup to an object store you control. For a broader look at the tools available for backing up DigitalOcean infrastructure, including managed alternatives to Velero, see the [guide to the best DigitalOcean backup tools](/blog/best-digitalocean-backup-tools).
**Prerequisites:**
- A running DOKS cluster with `kubectl` access
- The Velero CLI installed locally ([install docs](https://velero.io/docs/latest/basic-install/))
- A destination bucket: either a DigitalOcean Spaces bucket or an external bucket (see the next two sections)
- An access key and secret for that bucket
The install command configures Velero in one shot. The next section shows the full command for a Spaces destination; the section after that adapts it for external buckets.
## Backing up to Spaces
DigitalOcean Spaces is S3-compatible, so Velero's `aws` provider plugin works with it. You'll need a Spaces bucket and a Spaces access key (created under API > Spaces Keys in the DigitalOcean control panel).
Create a file named `credentials-velero` with your Spaces credentials:
```text
[default]
aws_access_key_id=YOUR_SPACES_KEY
aws_secret_access_key=YOUR_SPACES_SECRET
```
Then install Velero, pointing it at your Spaces bucket:
```bash
velero install
--provider aws
--plugins velero/velero-plugin-for-aws:v1.10.0,velero/velero-plugin-for-csi:v0.7.1
--bucket YOUR_SPACES_BUCKET_NAME
--secret-file ./credentials-velero
--backup-location-config
region=YOUR_SPACES_REGION,s3ForcePathStyle=true,s3Url=https://YOUR_SPACES_REGION.digitaloceanspaces.com
--snapshot-location-config region=YOUR_SPACES_REGION
--use-node-agent
--default-volumes-to-fs-backup
```
Replace:
- `YOUR_SPACES_BUCKET_NAME` with your Spaces bucket name
- `YOUR_SPACES_REGION` with the region code, for example `nyc3` or `ams3`
The `--plugins` flag installs both the AWS provider (for the S3-compatible Spaces API) and the CSI snapshot plugin. Both are required for persistent volume backup to work. Omitting the CSI plugin is the most common setup mistake.
The `--use-node-agent` and `--default-volumes-to-fs-backup` flags enable file-system-level backup of volumes via Velero's node agent (formerly Restic). This is the fallback path for volumes that don't support CSI snapshots.
Backing up to Spaces keeps your backup inside your DigitalOcean account. DOKS has zero native backup. If you lose the cluster, you lose everything stateful unless you've set up Velero or equivalent pointing somewhere outside your DO account. Spaces is better than nothing and is a reasonable first step, but it doesn't address account-level risk. For full isolation, see the external bucket section below, and the discussion in our [DigitalOcean off-site compliance guide](/blog/digitalocean-off-site-compliance).
Once installed, verify the backup storage location is available:
```bash
velero backup-location get
```
You should see your location listed with `PHASE: Available`. If it shows `Unavailable`, the credentials or endpoint configuration have a typo.
## Backing up to an external bucket (S3, B2)
For off-site isolation, use a bucket outside DigitalOcean entirely. Backblaze B2 and AWS S3 are the two most common choices. The Velero install command is nearly identical; only the endpoint, region, and credentials change.
For Backblaze B2:
```bash
velero install
--provider aws
--plugins velero/velero-plugin-for-aws:v1.10.0,velero/velero-plugin-for-csi:v0.7.1
--bucket YOUR_B2_BUCKET_NAME
--secret-file ./credentials-velero
--backup-location-config
region=us-west-004,s3ForcePathStyle=true,s3Url=https://s3.us-west-004.backblazeb2.com
--snapshot-location-config region=us-west-004
--use-node-agent
--default-volumes-to-fs-backup
```
For AWS S3:
```bash
velero install
--provider aws
--plugins velero/velero-plugin-for-aws:v1.10.0,velero/velero-plugin-for-csi:v0.7.1
--bucket YOUR_S3_BUCKET_NAME
--secret-file ./credentials-velero
--backup-location-config region=eu-west-1
--snapshot-location-config region=eu-west-1
--use-node-agent
--default-volumes-to-fs-backup
```
For S3, drop the `s3ForcePathStyle` and `s3Url` flags. AWS S3 uses virtual-hosted-style addressing by default.
The `credentials-velero` file uses the same format in all cases. Just swap the key and secret for the target provider.
If your workload writes to block storage volumes backed by the DigitalOcean CSI driver, CSI snapshots require the destination to support a compatible VolumeSnapshotLocation. When your backup destination is a non-DO external bucket, Velero falls back to file-system backup via the node agent. This is slightly slower but works reliably for most workloads. For databases inside the cluster, a logical backup alongside the filesystem backup gives you the cleanest restore path.
A note on volume backup with external destinations: [backing up DigitalOcean volumes](/blog/backup-digitalocean-volumes) covers block storage snapshots in detail for standalone volumes. For volumes attached to DOKS pods, the Velero file-system path is the practical route when the destination is outside DigitalOcean.
## Scheduling and verifying Velero backups
A Velero install with no schedule is a one-off tool. The backup only exists if someone remembered to run a command. Add a schedule.
Run a one-off backup first to confirm everything works end to end before automating:
```bash
velero backup create first-backup
--include-namespaces production
--wait
```
Replace `production` with your namespace. The `--wait` flag blocks until the backup completes so you see the result immediately. Check the status:
```bash
velero backup describe first-backup --details
```
Look for `Phase: Completed`. If it shows `PartiallyFailed` or `Failed`, the `--details` output shows which resources failed and why. Persistent volume issues caused by a missing CSI plugin show up here.
Once the one-off succeeds, add a daily schedule:
```bash
velero schedule create daily-cluster-backup
--schedule="0 2 * * *"
--include-namespaces production
--ttl 720h
```
The `--ttl 720h` flag sets a 30-day retention on each backup object. Adjust to match your recovery requirements. The schedule uses standard cron syntax; `0 2 * * *` runs at 02:00 UTC every day.
List active schedules and their last run:
```bash
velero schedule get
```
**Testing restore.** Running backups is half the job. The other half is proving you can restore from them. At least once a month, restore a recent backup to a test namespace:
```bash
velero restore create --from-backup first-backup
--namespace-mappings production:restore-test
--wait
```
This maps the `production` namespace to `restore-test` so the restore doesn't collide with your live workload. Check that your pods come up, your volumes mount, and your data looks correct. A backup you've never restored from is a backup you don't actually have.
Velero backs up whatever is in the cluster at the time the backup runs. If you're running a database as a StatefulSet, the data in the persistent volume is captured at the filesystem level. For a clean restore, quiesce writes before the backup window or use a pre-backup hook to run a database dump first. Velero supports pre and post hooks via backup annotations on the pod.
If scripting and scheduling all this yourself sounds like a second job, SimpleBackups handles DigitalOcean cluster config, persistent volume, and application state backups off-site, with alerts when a run fails. [See how it works →](/platform/digitalocean)
## Keep learning
- [What DigitalOcean native backup doesn't cover](/blog/what-digitalocean-native-backup-doesnt-cover): why account-level risk applies to every native DO mechanism, including DOKS.
- [How DigitalOcean native backup works](/blog/how-digitalocean-native-backup-works): what DigitalOcean does and doesn't manage across Droplets, volumes, databases, and Kubernetes.
- [Backing up DigitalOcean volumes](/blog/backup-digitalocean-volumes): block storage snapshot strategy for standalone volumes, including scheduling and retention.
- [Kubernetes database backup patterns](/blog/kubernetes-database-backup): logical backup approaches for databases running inside a cluster as StatefulSets.
- [DigitalOcean off-site compliance](/blog/digitalocean-off-site-compliance): requirements and options for storing DOKS and other DigitalOcean backups outside your account.
## FAQ
---
_This article is part of [The complete guide to DigitalOcean backup](/digitalocean-backup#backup-kubernetes), an honest, practical reference from the team that backs up DigitalOcean every day._
---
# Recovering a paused or deleted Supabase project
Source: https://simplebackups.com/blog/recover-paused-supabase-project
Published: 2026-04-10
Author: Laurent
Summary: What happens when a Supabase project is paused or deleted, what's recoverable, what isn't, and how to prevent data loss next time.
You logged into the Supabase dashboard and your project is gone. Or it's there, but it says "Paused" and nothing connects. If you're in full panic mode right now and are seeing your free-tier Supabase project paused, the companion piece [Supabase free-tier project paused: what to do](/blog/supabase-free-tier-paused) walks through the immediate steps. This article covers the longer version: what actually happened, what's recoverable, what isn't, and how to make sure this doesn't happen a second time.
By the end you'll know exactly what state your project is in, whether your data is still intact, and what steps to take right now.
## Paused vs. deleted: which one are you?
Before you do anything else, figure out which situation you're in. They look similar on the dashboard but the recovery path is completely different.
| | Paused | Deleted |
|---|---|---|
| Project visible in dashboard? | Yes (with "Paused" badge) | No (or greyed out) |
| Data intact? | Yes | Maybe, if within grace period |
| Can you self-serve recover? | Yes, one click | No, requires support |
| Time to recover | Minutes | Unknown, not guaranteed |
| Storage files intact? | Yes | Same grace period applies |
| Edge Function config intact? | Yes | Same grace period applies |
If you can still see the project in your dashboard with a "Paused" label, you're in the better situation. Your data is there; the project is just offline. Jump to the [restoring a paused project](#step-by-step-restoring-a-paused-project) section.
If the project is gone from your dashboard entirely, read the deletion section first.
## What actually happens when a free-tier project is paused
Supabase pauses free-tier projects after roughly one week of inactivity. "Inactivity" means no API calls, no database connections, and no logins to the dashboard. If nothing touched the project, Supabase takes it offline to reclaim resources.
Pausing is not the same as deleting. The underlying Postgres volume, the Storage bucket, and the Edge Function configuration all remain on disk. The project is frozen, not erased.
The catch: Free tier has zero days of backup retention, as documented in [Supabase's backup overview](https://supabase.com/docs/guides/platform/backups). As we explain in [how Supabase's native backup actually works](/blog/how-supabase-native-backup-works), the daily snapshot that paid plans get doesn't exist on Free. So if you're hoping to roll back to a point before the pause, there's nothing to roll back to. What you get when you restore is whatever state the database was in when it froze.
A paused project restores to the exact moment it was paused. If rows were deleted from a table two weeks ago and the project paused a week ago, those rows are gone. The pause preserved the current state, not a historical one.
## What's recoverable after a pause (and what isn't)
**Recoverable:**
- All Postgres data that existed when the project paused
- Storage bucket metadata (the `storage.objects` table in Postgres)
- Edge Function source code and configuration
- Auth users, API keys, project settings
**Not recoverable after a pause:**
- Any data deleted before the pause (nothing to roll back to on Free tier)
- Any schema changes you made and then reverted before the pause
One important nuance worth reading in detail: [what Supabase's native backup doesn't cover](/blog/what-supabase-native-backup-doesnt-cover) explains that Storage object bytes (the actual file contents) live in a separate S3-compatible backend, separate from the Postgres volume. During a pause, Supabase keeps this backend accessible, so a simple resume restores everything. But if you were ever in a situation where you needed to restore Postgres from a backup to a point before the pause, the `storage.objects` metadata and the actual file bytes would be out of sync. That's the trap. For a basic pause-and-restore, you won't hit it. For anything more complex, know it exists.
The "restore project" button resumes your project from its paused state. It does not roll back anything. If data was lost or changed before the pause, restore does not undo that.
## What happens when a project is deleted
Deleting a project is a different category of problem. You get a confirmation prompt before Supabase deletes anything, and most people who end up here clicked through it.
The good news: Supabase does not immediately erase the underlying data. According to their documentation on [project deletion](https://supabase.com/docs/guides/platform/going-into-prod#project-deletion), there is a grace period after deletion during which support may be able to restore the project. The window is reported at around 90 days, but this is not a published SLA and recovery is not guaranteed.
If you just deleted a project and need it back, open a support ticket immediately. Don't wait. The longer you wait, the lower the chance of recovery, and Supabase support will need the project reference ID, which you should note before the project disappears entirely from the dashboard.
What Supabase support can and cannot do in this situation: they may be able to restore the Postgres volume if it's still within the grace period and the underlying snapshot hasn't been purged. They cannot restore Storage file bytes from before the deletion if those weren't captured in a backup, and they cannot guarantee any particular recovery point. Recovery attempts are best-effort.
After the grace period, data is permanently gone. There is no further escalation path.
## Step-by-step: restoring a paused project
If your project is paused and visible in the dashboard, the restore is straightforward.
**1. Log into your Supabase dashboard** at `app.supabase.com`.
**2. Find your paused project.** It will have a "Paused" badge on the project card. Click into it.
**3. Click "Restore project."** Supabase will show a prompt confirming the restore. Confirm it.
**4. Wait for the restore to complete.** For small projects this usually takes two to five minutes. Larger projects may take longer. The dashboard will show progress.
**5. Verify your data.** Once the project is back online, open the Table Editor or connect via your normal client and confirm your data looks correct. Check a table you know well.
**6. Test your connections.** If your application was connecting with a connection string from the dashboard, verify it still matches. Supabase does not change connection strings on resume.
If the restore fails or the project doesn't come back online within ten minutes, open a support ticket. Include the project reference ID and the timestamp when you started the restore.
## How to prevent this next time
The most direct fix is upgrading to Pro ($25/month). Pro plans don't get paused for inactivity. If budget is the issue, the other options are cheaper but require a bit more setup.
**Keep the project active automatically.** A simple cron job that pings your Supabase API endpoint every few days is enough to keep the inactivity timer from expiring. A lightweight health check from any CI/CD system or monitoring tool works too.
**Take an off-site backup before you hit the limit.** The proactive backup approach, covered in detail in [how to back up Supabase Postgres](/blog/backup-supabase-postgres), comes down to running a `pg_dump` on a schedule and storing the output somewhere you control. Here's the one-liner to run right now, before you do anything else:
```bash
pg_dump "postgresql://postgres.[YOUR-PROJECT-REF]:[YOUR-PASSWORD]@aws-0-[REGION].pooler.supabase.com:6543/postgres" --format=custom --file="supabase-$(date +%F).dump"
```
Replace `[YOUR-PROJECT-REF]`, `[YOUR-PASSWORD]`, and `[REGION]` with the values from your Supabase project settings under "Database" > "Connection string." The `--format=custom` flag produces a binary format that `pg_restore` can handle efficiently. Store the output file in an S3 bucket or anywhere outside your local machine.
The [full manual backup guide on this blog](/blog/backup-supabase-postgres) has the complete script version with error handling and scheduling.
## What to do next
If your project is paused right now: restore it using the steps above, then set a calendar reminder to either upgrade to Pro or set up that activity ping.
If your project was deleted: open a support ticket immediately, include your project reference ID, and don't spin up a new project in the same organization under the same name before they respond (it can complicate the recovery).
If you're reading this before anything went wrong: that's the best time to act. Run the `pg_dump` one-liner above, put the file somewhere safe, and consider whether Free tier is actually the right plan for a project you care about.
---
If scripting and scheduling your own Supabase backups sounds like a second job, SimpleBackups handles Supabase Postgres and Storage backups off-site, with alerts when a run fails. [See how it works →](/platform/supabase)
## Keep learning
- [How Supabase's native backup actually works](/blog/how-supabase-native-backup-works)
- [What Supabase's native backup doesn't cover](/blog/what-supabase-native-backup-doesnt-cover)
- [How to back up Supabase Postgres](/blog/backup-supabase-postgres)
- [The complete Supabase backup guide](/blog/backup-supabase-postgres)
## FAQ
---
_This article is part of [The complete guide to Supabase backup](/learn/supabase-backup#recover-paused-project), an honest, practical reference from the team that backs up Supabase every day._
---
# Stack Discovery: Automated Backup Discovery for Your Entire Infrastructure
Source: https://simplebackups.com/blog/stack-discovery-automated-backup-discovery
Published: 2026-04-10
Author: Laurent
Summary: Stack Discovery connects to your infrastructure, finds every database, server, and SaaS resource that needs backing up, and lets you protect them in clicks.
You have backups. But does everything *actually* have a backup?
That's the question most teams can't answer with confidence. Infrastructure grows. A new database here, a storage bucket there, a Kubernetes volume someone spun up last Tuesday. Each one silently joins your stack without backup coverage. The gap between "I have backups" and "everything is backed up" is exactly where data loss happens.
Stack Discovery closes that gap.
## What is Stack Discovery?
Stack Discovery is SimpleBackups' automated resource detection system. You connect your infrastructure (a VPS, a Kubernetes cluster, DigitalOcean, Supabase) and we scan it to surface every resource that can and should be backed up.
No manual audits. No digging through server configs. You get a clear, selectable list of discovered resources with their sizes and current backup status. Pick what you want protected, and the backup forms come pre-filled with the right settings.
The whole point: **connect once, discover everything, miss nothing.**
## How it works
The process is straightforward:
1. **Connect your provider.** Navigate to Stacks, select your infrastructure type (VPS, Kubernetes, DigitalOcean, Supabase, Proxmox), and provide your credentials.
2. **We scan automatically.** SimpleBackups identifies every database, file directory, storage bucket, container, and persistent volume running on your infrastructure.
3. **Review what we found.** You see a full inventory of discovered resources. Each one shows its type, size, and whether it already has backup coverage.
4. **Select and protect.** Pick the resources you want backed up. Configure shared settings like schedule, storage destination, and retention, then create backups in bulk.
That's it. What used to take an afternoon of manual setup now takes a few clicks.
## Auto-discovery: coverage that keeps up
Here's where things get interesting. Infrastructure doesn't stand still. Your team ships new features, spins up new services, adds new databases weekly. Stack Discovery doesn't just scan once and call it a day.
**Opt into auto-discovery**, and SimpleBackups watches your connected infrastructure on a schedule. When a new resource appears (say a `postgres-analytics` database someone just created in Supabase), you get notified immediately. From there, it's one click to create the backup. Nothing falls through the cracks.
This is the difference between a snapshot and a system. A one-time audit helps today. Auto-discovery helps every day after that.
## You stay in control
We want to be clear about something: **Stack Discovery never creates backups without your approval.** Every backup creation requires your explicit action. We discover and suggest. You decide and confirm.
When a new resource is detected, you get a notification with two options: set up a backup, or dismiss. No automation running loose on your production infrastructure. That's a deliberate design choice.
## Who it's built for
**Agencies managing dozens of client projects.** Connect your VPS once. Every new client project gets detected automatically. No more quarterly audits to figure out what's missing coverage.
**Startups shipping fast.** Your team spins up new services weekly. Stack Discovery keeps pace so your backup coverage scales with your product, not three sprints behind it.
**Solo devs with a constellation of side projects.** You know the feeling: that one database you forgot to back up, on that one server you haven't logged into in months. Stack Discovery makes sure it doesn't happen.
## Supported infrastructure
Stack Discovery currently works with:
- **VPS / SSH servers**: auto-discovers projects, databases, file structures, and WordPress installations (including both the database and file directory for each site)
- **Kubernetes clusters**: discovers workloads and persistent volumes
- **DigitalOcean**: databases, apps, and managed resources
- **Supabase**: databases and storage buckets
- **Proxmox**: virtual machines and containers
We're actively expanding provider support. If your stack isn't covered yet, [let us know](https://simplebackups.com/contact/). That feedback directly shapes our roadmap.
## The backup you never created
We've said it before and it's worth repeating: the biggest risk in backups isn't a failed job. It's the backup you never created in the first place.
Stack Discovery is our answer to that problem. Connect your infrastructure, see everything that's running, protect what matters, and stay covered as your stack grows.
Stack Discovery is available to all SimpleBackups users. No upsell, no separate plan. Head to your dashboard and [connect your first Stack](https://my.simplebackups.com/register).
---
# How to back up your Supabase Postgres database
Source: https://simplebackups.com/blog/backup-supabase-postgres
Published: 2026-04-09
Author: Laurent
Summary: Back up your Supabase Postgres database with pg_dump, the Supabase CLI, or a managed service. Working scripts, cron setup, and verification steps.
Your Supabase Postgres database has daily backups on a Pro plan. They run automatically. You have never had to think about them. Then you need to copy a snapshot to a staging environment, and the dashboard tells you: this backup is not downloadable. It restores to the same project, in the same region, through Supabase's own infrastructure. It isn't a file you can get to.
That's expected behavior, not a bug. [Supabase's native backup is a physical volume snapshot](/blog/how-supabase-native-backup-works), not a `pg_dump`. It doesn't produce a portable file, and you can't access it directly. For portability, cross-region copies, or retention longer than 30 days, you need a logical backup you own.
This guide walks through three paths to backup your Supabase Postgres database: `pg_dump` directly, the Supabase CLI, and an automated scheduled job that ships the dump to off-site storage. You'll also find the verification steps that tell you whether the file is actually usable, before you need it.
## Why you need a logical backup on top of native snapshots
Supabase's Pro plan includes 7-day retention of daily physical snapshots, according to the [Supabase backups documentation](https://supabase.com/docs/guides/platform/backups). Team gets 14 days; Enterprise gets 30; Free gets nothing. Those are the bounds.
The snapshots are physically coupled to your project infrastructure. You can't download them, inspect them, or restore them to a different cloud. If you need to migrate off Supabase, restore to a staging environment, keep an archive beyond 30 days, or store a copy under credentials you control, native backup alone doesn't cover it.
For the full list of what those snapshots miss, [what Supabase's native backup doesn't cover](/blog/what-supabase-native-backup-doesnt-cover) goes through every gap: off-site storage, long-term retention, portability, Storage buckets, Edge Functions, and compliance framing. The short version: a logical backup fills the gaps native was never designed to fill.
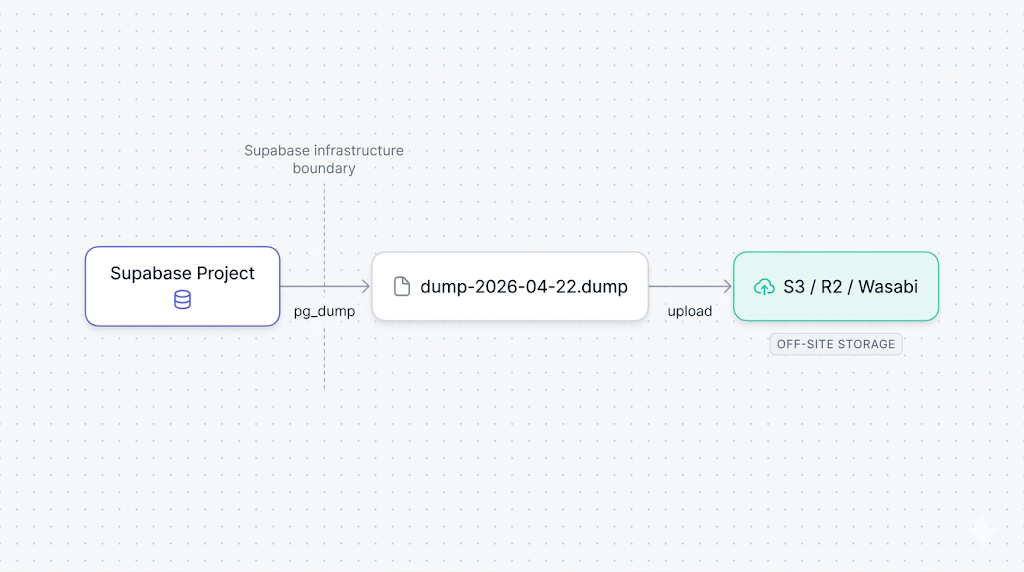
## Prerequisites: connection string, pg_dump version, and disk space
Before you run anything, you need three things in order.
**A database connection URL that works with `pg_dump`.** Supabase gives you three connection strings, and the distinction matters here. The **direct connection** (port 5432 on `db.[project-ref].supabase.co`) works but is IPv6-only, so it fails on IPv4-only CI runners. The **session pooler** (port 5432 on the pooler hostname) also works with `pg_dump` and is reachable over IPv4, which makes it the safer default for automated jobs. The one to avoid is the **transaction pooler** (port 6543): it breaks `pg_dump`'s COPY protocol and will cause a hang or a protocol error.
Find your direct URL in your project settings under **Settings > Database > Connection string**. It follows this format:
```text
postgresql://postgres:[password]@db.[project-ref].supabase.co:5432/postgres
```
If you normally use the transaction pooler string (port 6543) for your application, switch to the session pooler or direct connection (both port 5432) for pg_dump. The 5432/6543 ports are easy to confuse in the Supabase dashboard.
**A matching `pg_dump` version.** The client must be within one major version of the server. Supabase projects run Postgres 15 or 16 (check your project settings under **Settings > Infrastructure**). Running `pg_dump --version` locally tells you what you have. A version mismatch produces: `aborting because of server version mismatch`.
To install the right client on Ubuntu or Debian:
```bash
sudo apt-get install postgresql-client-16
```
On macOS with Homebrew:
```bash
brew install postgresql@16
```
**Enough local disk space.** A `--format=custom` dump compresses to roughly 10-20% of the raw data size. A 10 GB database produces about 1-2 GB on disk. A 100 GB database, roughly 15-20 GB. Check with `df -h` before you start on a large project.
## Backing up with `pg_dump` (manual, one-liner)
The minimal working command to backup Supabase Postgres:
```bash
pg_dump
--format=custom
--file=dump-$(date +%F).dump
"postgresql://postgres:[password]@db.[project-ref].supabase.co:5432/postgres"
```
The flags that matter:
- `--format=custom`: produces a compressed binary file. This format supports parallel restore with `pg_restore -j` and selective restore of individual tables or schemas.
- `--file`: writes to a named file instead of stdout. Writing to stdout on a large database introduces pipe fragility you don't want.
- `$(date +%F)`: stamps the filename with today's date (`dump-2026-04-22.dump`). Without it, the next run overwrites the previous file silently.
If you want to exclude Supabase's internal schemas (`auth`, `storage`, `realtime`) and dump only your application data:
```bash
pg_dump
--format=custom
--exclude-schema=auth
--exclude-schema=storage
--exclude-schema=realtime
--file=dump-$(date +%F).dump
"postgresql://postgres:[password]@db.[project-ref].supabase.co:5432/postgres"
```
Add `--no-owner --no-acl` when you intend to restore into a fresh Supabase project. Without them, the restore will fail on the first `ALTER TABLE ... OWNER TO` statement that references a role the target project doesn't have.
For the foundational reference on every `pg_dump` flag and format, [our pg_dump and pg_restore guide](/blog/postgresql-pgdump-and-pgrestore-guide-examples) covers the full option set. The Supabase-specific wrinkles (pooler vs. direct, schema filtering, role handling) are what this article adds.
| Method | Format | Portable | Selective restore | Relative size |
| -------------------- | -------- | -------- | ---------------------- | -------------- |
| `--format=custom` | Binary | Yes | Yes, with `pg_restore` | ~10-20% of raw |
| `--format=plain` | SQL text | Yes | Manual with `psql` | ~100% of raw |
| `--format=directory` | Folder | Yes | Yes, parallel-ready | ~10-20% of raw |
For most use cases, `--format=custom` is the right choice. `--format=plain` makes sense only when you want a human-readable SQL file to inspect or diff before a migration.
## Backing up with the Supabase CLI
The Supabase CLI's `db dump` subcommand wraps `pg_dump` with Supabase-aware defaults. It handles the schema filtering and outputs a plain SQL file ready to re-import.
Install the CLI if you haven't:
```bash
npm install -g supabase
```
Run the dump:
```bash
supabase db dump
--db-url "postgresql://postgres:[password]@db.[project-ref].supabase.co:5432/postgres" -f dump-$(date +%F).sql
```
The CLI produces a plain SQL file, not the custom binary format. That's intentional: the output is readable, diffable, and loadable with `psql` on any Postgres instance. The tradeoff is size: plain SQL is 5-10x larger than custom format, and it doesn't support `pg_restore`'s parallel restore.
For an archive you plan to inspect or run through a diff tool before a migration, the CLI path is the right one. For a compressed archive you plan to restore at speed, `pg_dump --format=custom` is faster and smaller.
The Supabase CLI defaults to including all schemas. Pass --schema public to filter to your application tables only, excluding auth, storage, and realtime.
You can also connect the CLI to a Supabase project by its reference ID instead of a full connection string, which is convenient when you manage several projects from one machine.
## Automating the backup on a schedule
A manual dump you run once isn't a backup strategy. You need the dump running automatically, writing to a timestamped file, and failing loudly when something goes wrong.
The simplest setup is a cron job on a server or CI runner that is separate from your Supabase project. Running it outside the project matters: if the project has an outage, you want the backup job to still fire and surface a failure, not silently succeed by dumping nothing.
Add this to your crontab (`crontab -e`):
```bash
0 3 * * * PGPASSWORD=[password] pg_dump
--format=custom
--file=/backups/dump-$(date +\%F).dump
"postgresql://postgres@db.[project-ref].supabase.co:5432/postgres"
&& echo "backup ok $(date)" >> /var/log/pg_backup.log
|| echo "backup FAILED $(date)" >> /var/log/pg_backup.log
```
The `&&` and `||` idiom writes a success or failure line to a log file on every run. A zero-byte or missing file is otherwise the only visible signal that something went wrong.
For a production-ready version with error handling, size comparison against the previous run, and automatic retention cleanup, [our PostgreSQL backup script reference](/blog/the-ultimate-postgresql-database-backup-script) has a full script you can drop in.
If you're deciding whether to run this cron pipeline yourself or use a managed tool, [pg_dump vs. managed Supabase backup](/blog/pgdump-vs-managed-supabase-backup) compares the two approaches across setup time, operational overhead, and failure modes.
## Uploading to off-site storage (S3, R2, Wasabi)
A dump file sitting on the same server as your cron job isn't off-site. The upload step ships the file to a separate object store under credentials you control.
With the AWS CLI to S3:
```bash
aws s3 cp /backups/dump-$(date +%F).dump
s3://your-bucket/supabase-backups/
--storage-class STANDARD_IA
```
`STANDARD_IA` (Infrequent Access) cuts storage costs for files you read rarely. For a backup archive, it's almost always the right tier.
For Cloudflare R2 or Wasabi, use rclone, which speaks the S3 protocol against any compatible endpoint:
```bash
rclone copy /backups/dump-$(date +%F).dump r2:your-bucket/supabase-backups/
```
Set up the rclone remote once with `rclone config` and reuse it across all jobs. The config lives in `~/.config/rclone/rclone.conf` and belongs in `.gitignore` if your scripts live in a repo.
We tested a version of this pipeline that piped `pg_dump` directly into an S3 upload, skipping the local file step entirely. On small databases it works cleanly. On databases over about 5 GB, the pipe can silently truncate the dump when one side writes faster than the other side reads, and neither command exits non-zero. We only caught it during a test restore three weeks later. The safer pattern: write the dump file locally first, verify it's non-zero and at least as large as the previous run, then upload.
## Verifying your backup file
A backup file you never tested is a file you don't actually know is usable. Two quick checks catch the most common failure modes before you need the backup.
**Size check.** A valid dump should be non-zero and roughly consistent in size with previous runs. A large drop from one day to the next usually signals a schema change or a data deletion, both worth investigating.
```bash
ls -lh /backups/dump-$(date +%F).dump
```
**Table of contents check.** `pg_restore --list` reads the file's internal manifest without restoring anything. If the file is corrupt or truncated, this command exits non-zero.
```bash
pg_restore --list /backups/dump-$(date +%F).dump | head -20
```
A healthy output lists schemas, tables, sequences, and indexes. An empty output or a non-zero exit code means the file is unreadable.
For the full verification ladder, including checksum comparison, automated size history tracking, and test restores into a disposable database, [how to automate Supabase backup verification](/blog/automating-supabase-backup-verification) covers all four levels in detail. Level 1 (file integrity) and Level 2 (pg_restore dry run) take minutes to add to your existing pipeline.
When you're ready to test the full restore path, [restoring a Supabase database from a pg_dump](/blog/restore-supabase-database) walks through the `pg_restore` command, role handling on a fresh Supabase project, and the schema flags that prevent the common permission errors.
## What to do next
If you want the short version: run `pg_dump --format=custom` on a cron job on a server outside your Supabase project, write the file locally, check that it's non-zero, then upload to an object store in a different region. That's a complete off-site backup pipeline.
If you want the longer version: add the size consistency check, run `pg_restore --list` after each dump, and schedule a monthly test restore into a clean Supabase project. One test restore will tell you more about your recovery posture than months of "backup succeeded" log lines.
Note that this covers Postgres only. [Backing up Supabase Storage buckets](/blog/backup-supabase-storage) covers the actual file bytes that `pg_dump` never touches, which is the gap most teams discover only when they try to restore and find broken image URLs.
If you're deciding between maintaining your own scripts and using a managed service, [the Supabase backup tools comparison](/blog/best-supabase-backup-tools) covers what DIY, native, and SimpleBackups each cover and where each falls short.
If scripting and scheduling all this yourself sounds like a second job, SimpleBackups handles Supabase Postgres backups off-site automatically, with alerts when a run fails. [See how it works →](/platform/supabase)
## Keep learning
- [How Supabase's native backup actually works](/blog/how-supabase-native-backup-works), the physical-snapshot internals, retention windows, and what the dashboard backup button actually triggers.
- [What Supabase's native backup doesn't cover](/blog/what-supabase-native-backup-doesnt-cover), the six gaps that a logical backup closes: off-site storage, long retention, portability, Storage buckets, Edge Functions, and compliance framing.
- [How to automate Supabase backup verification](/blog/automating-supabase-backup-verification), the four-level ladder from a file size check to a full smoke-test restore.
- [How to restore a PostgreSQL backup](/blog/how-to-restore-a-postgresql-backup), for when you need to run the other half of the process and put the data back.
## FAQ
---
_This article is part of [The complete guide to Supabase backup](/learn/supabase-backup#backup-postgres), an honest, practical reference from the team that backs up Supabase every day._
---
# How to back up Supabase before a migration
Source: https://simplebackups.com/blog/backup-supabase-before-migration
Published: 2026-04-08
Author: Laurent
Summary: The pre-migration backup checklist for Supabase: what to capture, how to test the restore, and what to do if the migration breaks production.
If you're here, you already know you should back up Supabase before a migration. The question is what exactly to back up, because the daily native snapshot is not enough and most teams only discover that at the worst possible moment: standing over a half-migrated table at 11:00 PM with no clean restore point from less than 22 hours ago.
This guide covers the complete pre-migration backup procedure for Supabase: which components to capture, how to take each one, how to test the restore before the migration runs, and what to do if the migration breaks production anyway.
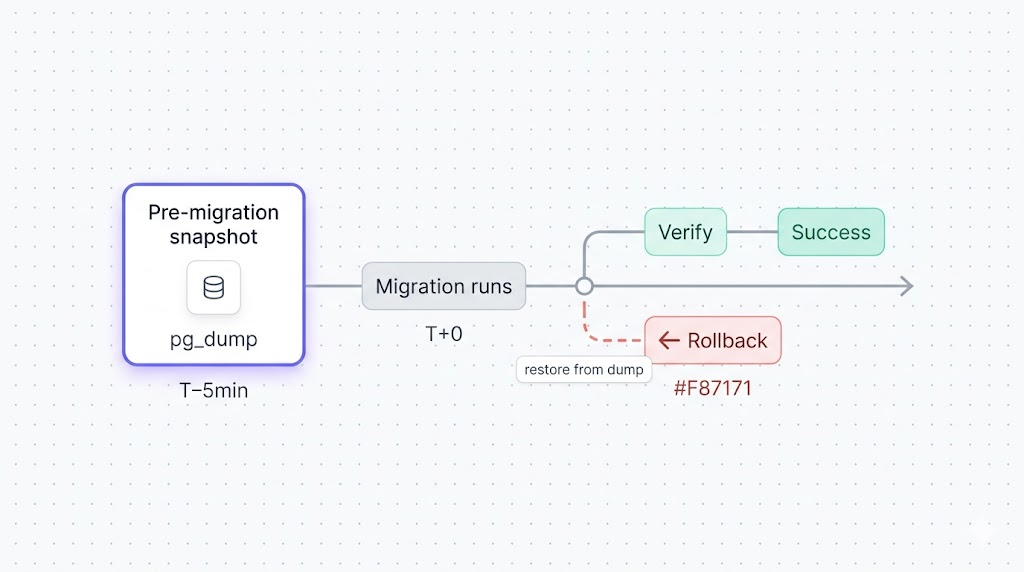
## Why "I have native backups" isn't enough before a migration
Supabase's [daily snapshots](https://supabase.com/docs/guides/platform/backups) are physical backups of the Postgres volume. They're designed for catastrophic recovery: hardware failure, region outage, accidental project deletion. They are not designed for the scenario you actually face before a migration.
Three problems make native backup the wrong tool here.
**The RPO is up to 24 hours.** If the daily backup ran at 03:00 and you run your migration at 14:00, the last clean restore point is 11 hours old. That's 11 hours of writes you'd lose if the migration corrupts the database and you need to roll back.
**Storage is not in the snapshot.** Supabase native backups capture the Postgres volume. The file bytes in your Storage buckets live in a separate S3-compatible backend and are excluded entirely. The `storage.objects` metadata table is in the snapshot, but the actual objects are not. As covered in [what Supabase's native backup doesn't cover](/blog/what-supabase-native-backup-doesnt-cover), a migration that reorganizes Storage references can leave you with broken image URLs and no way to restore the objects themselves.
**You can't test a native restore yourself.** If you want to verify that yesterday's snapshot restores to a staging project, you need to contact Supabase support. That's not a viable pre-migration rehearsal path.
A `pg_dump` taken immediately before the migration solves all three: you control the timing, you restore it yourself, and you can verify it works on staging before you touch production.
For the complete picture of what native backup covers and what it doesn't, [how Supabase native backup works](/blog/how-supabase-native-backup-works) is the full reference.
## The pre-migration backup checklist
Work through every row before running the migration. "How to back up" is the command or procedure. "How to verify" is the check you run before declaring it done.
| Component | How to back up | How to verify |
|-----------|----------------|---------------|
| Postgres database | `pg_dump` via direct connection (port 5432) | `pg_restore --list dump.dump` shows expected tables; spot-check row counts |
| Storage buckets | Sync via S3-compatible API to a separate bucket | Count objects in destination vs. source; download 3–5 files to confirm bytes |
| Edge Functions | `git commit` of functions source, or `supabase functions download` | Confirm commit hash; verify `config.toml` is captured |
| RLS policies | Included in `pg_dump` by default (schema-level objects) | After restore, run `\dp tablename` in psql; verify expected policies |
| Secrets and env vars | Document values manually or export from dashboard | Read each secret back from a test that exercises it |
| Auth data (users, identities) | Included in the `auth` schema in `pg_dump` | After restore, verify `auth.users` row count matches production |
The Storage row is not optional. Supabase's native backup skips the actual file bytes entirely, so if your migration touches any column that stores Storage URLs or references, you need a separate Storage snapshot. The full Storage backup procedure is in [how to back up Supabase Storage](/blog/backup-supabase-storage).
The native backup article has a section on each of these components if you want the full explanation of why they require separate handling.
## Taking a full snapshot: database, Storage, and config
### Connect via the direct connection, not the pooler
This is the mistake we see most often in support. Supabase exposes two connection paths: the pooler (port 6543, via PgBouncer) and the direct connection (port 5432, to Postgres directly).
`pg_dump` must use the direct connection (port 5432), not the pooler. PgBouncer uses transaction-mode pooling, which does not support the extended query protocol that `pg_dump` requires. If you connect via the pooler, pg_dump will either fail partway through or silently produce a corrupt dump.
Find your direct connection string in the Supabase dashboard under Project Settings > Database > Connection string. Select "Session mode" and copy the URI. It looks like:
```text
postgresql://postgres:[password]@db.[project-ref].supabase.co:5432/postgres
```
### Run the pre-migration pg_dump
```bash
pg_dump --host=db.[project-ref].supabase.co --port=5432 --username=postgres --format=custom --file=pre-migration-$(date +%F-%H%M).dump --verbose postgres
```
Flag notes:
- `--format=custom` creates a binary dump that supports selective table restore, parallel restore, and compression. Don't use `--format=plain` for a pre-migration backup; the file is larger and slower to restore from.
- `--file=pre-migration-$(date +%F-%H%M).dump` timestamps the file. If you run multiple migrations in one day, you need to know which dump is which.
- `--verbose` prints each table as it dumps. If the command hangs, this tells you exactly where.
When the dump completes, verify it immediately:
```bash
pg_restore --list pre-migration-2026-04-22-1430.dump | head -50
```
You should see your table names, schema definitions, and extension entries. If the output is empty or shows only system tables, the dump is bad. Do not run the migration until you have a clean dump.
For the full `pg_dump` procedure including SSL flags, credential handling, and cron automation, [how to back up your Supabase Postgres database](/blog/backup-supabase-postgres) walks through the complete setup, including the Supabase CLI path if you prefer that over direct `pg_dump`.
### Back up Storage
The `pg_dump` captures the `storage.objects` metadata table, but not the file bytes. For pre-migration safety, sync your Storage buckets before the migration runs.
A minimal sync using the AWS CLI against Supabase's S3-compatible endpoint:
```bash
aws s3 sync s3://[bucket-name] s3://[backup-bucket]/pre-migration-$(date +%F)/ --endpoint-url=https://[project-ref].supabase.co/storage/v1/s3 --profile supabase
```
You'll need an S3-compatible access key from Supabase Storage settings. The full procedure, including access key setup and verification, is in the Storage backup guide linked in the checklist section above.
### Export Edge Functions and secrets
If your migration changes any database schema that Edge Functions call (function signatures, table columns, RLS policies), export the current function source before the migration. If you already track Edge Functions in git, a commit before the migration is sufficient.
For secrets: Supabase does not expose a secrets export API. The practical approach is to document all environment variable names and their current values in a password manager or secrets manager before the migration. If you need to restore from the dump, you'll re-add secrets manually to the restored project.
## Testing the restore on a staging project
Do not run the migration on production until you have confirmed the dump restores cleanly to a staging project. The test takes under ten minutes.
Test the restore before running the migration, not after. A restore test after a failed migration is damage control. A restore test before is confidence. You want to arrive at migration time already knowing the rollback path works.
Create a separate Supabase project for staging if you don't have one. Then run:
```bash
#!/usr/bin/env bash
# restore-test.sh: verify a dump restores cleanly to staging
# Usage: ./restore-test.sh
set -euo pipefail
DUMP_FILE="${1:?Usage: $0 }"
STAGING_HOST="${2:?Usage: $0 }"
STAGING_USER="postgres"
STAGING_DB="postgres"
echo "==> Restoring $DUMP_FILE to $STAGING_HOST"
pg_restore --host="$STAGING_HOST" --port=5432 --username="$STAGING_USER" --dbname="$STAGING_DB" --no-owner --no-privileges --verbose "$DUMP_FILE"
echo "==> Checking table counts"
psql --host="$STAGING_HOST" --port=5432 --username="$STAGING_USER" --dbname="$STAGING_DB" --command="SELECT schemaname, tablename, n_live_tup FROM pg_stat_user_tables ORDER BY n_live_tup DESC LIMIT 20;"
echo "==> Restore complete. Review table counts above."
```
Compare the row counts to production. If they match, the dump is clean and the restore path works. If counts diverge significantly, investigate before the migration runs.
For the full `pg_restore` reference including version-mismatch errors and partial restore options, [restoring a Supabase database](/blog/restore-supabase-database) covers the common failure modes. The [pg_dump and pg_restore guide with examples](/blog/postgresql-pgdump-and-pgrestore-guide-examples) has a flag-by-flag breakdown if you need it.
## Running the migration with a rollback plan
Once you have a verified dump and a tested restore path, run the migration. The rollback plan is not "figure it out if something breaks." It's a written procedure you execute in under five minutes.
Before the migration starts:
1. Record the exact dump filename and the time it was taken.
2. Write the restore command in a text file so you're not typing under pressure if something goes wrong.
3. If the migration is long-running, consider putting affected tables in read-only mode or notifying users of a maintenance window.
An operator typing pg_restore flags under pressure, against a partially migrated production database, will make mistakes. Two minutes of preparation is worth more than any amount of post-incident heroics: write down the restore command, confirm the dump file, and verify the staging restore before you start.
Then run the migration and watch the output. The two failure modes:
**The migration fails and rolls back automatically.** Most schema changes in Postgres are transactional. If the migration fails mid-run, Postgres reverts the transaction, nothing changes, and you can fix and retry. This is the best outcome.
**The migration completes but produces wrong results.** Row counts change unexpectedly, queries that worked before now error, or foreign key relationships are broken. This is the case where you need the dump.
If either bad outcome occurs: restore first, investigate later. Don't spend twenty minutes diagnosing against a broken production database. Restore to the pre-migration state, confirm production is stable, then examine the failure on a copy of the broken state.
## What to do if the migration breaks production
If you need to roll back:
**Step 1: Restore the database.** Point the restore command at production:
```bash
pg_restore --host=db.[project-ref].supabase.co --port=5432 --username=postgres --dbname=postgres --no-owner --no-privileges --clean --if-exists pre-migration-2026-04-22-1430.dump
```
The `--clean` flag drops existing objects before recreating them from the dump. The `--if-exists` flag prevents errors on objects that don't exist in the target. Together, they let you restore on top of a partially migrated database without manually cleaning up first.
**Step 2: Verify the restore.** Check your most important tables. Compare row counts to what you recorded before the migration. If the numbers match, production is at the pre-migration state.
**Step 3: Restore Storage if needed.** If the migration touched Storage references, sync back from the pre-migration snapshot:
```bash
aws s3 sync s3://[backup-bucket]/pre-migration-2026-04-22/ s3://[bucket-name] --endpoint-url=https://[project-ref].supabase.co/storage/v1/s3 --profile supabase
```
**Step 4: Communicate.** Let your team know production is at the pre-migration state and that you're investigating the failure. Don't retry the migration until you understand what went wrong.
What's recoverable: any data that existed before the migration, if you have the dump. What's not recoverable without the dump: writes that arrived between the dump and the failed migration. This is why the dump must be taken immediately before the migration, not an hour earlier.
## What to do next
Run this checklist every time, not just for migrations you've flagged as risky. The migrations that break production are rarely the ones you expected to cause problems.
The short version of the workflow:
1. `pg_dump` via direct connection immediately before the migration.
2. Sync Storage buckets to a separate location.
3. Verify the dump restores to staging.
4. Write the rollback command before starting the migration.
5. Run the migration and watch the output.
6. If it breaks: restore first, investigate second.
If scripting and scheduling all of this yourself sounds like a second job, SimpleBackups handles Supabase Postgres, Storage, and Edge Functions backups off-site, with alerts when a run fails. [See how it works →](/platform/supabase)
## Keep Learning
- [How Supabase native backup works](/blog/how-supabase-native-backup-works): the full picture of what the daily snapshot covers, what its retention limits are, and when it's sufficient.
- [What Supabase's native backup doesn't cover](/blog/what-supabase-native-backup-doesnt-cover): the components (Storage, Edge Functions, secrets) that need separate handling on migration day.
- [How to back up your Supabase Postgres database](/blog/backup-supabase-postgres): the manual pg_dump walkthrough with Supabase CLI and scheduling options.
- [pg_dump and pg_restore with examples](/blog/postgresql-pgdump-and-pgrestore-guide-examples): every flag you'll need when a restore doesn't go cleanly.
## FAQ
---
_This article is part of [The complete guide to Supabase backup](/learn/supabase-backup#backup-before-migration), an honest, practical reference from the team that backs up Supabase every day._
---
# How to automate Supabase backup verification
Source: https://simplebackups.com/blog/automating-supabase-backup-verification
Published: 2026-04-08
Author: Laurent
Summary: A passed backup job means very little until you verify it. Here's how to automate file checks, test restores, and restore confidence for Supabase.
If you want to automate Supabase backup verification, start by separating "backup finished" from "backup is restorable." Those are not the same event. A cron job can exit `0`, upload a file, and still leave you with a truncated dump, a broken archive, or a restore that dies halfway through.
That gap matters whether you're filling the holes in [what Supabase's native backup doesn't cover](/blog/what-supabase-native-backup-doesnt-cover) or adding an independently testable layer on top of [how Supabase's native backup actually works](/blog/how-supabase-native-backup-works). This article gives you a practical verification ladder you can automate tonight: file checks, archive validation, disposable restores, and data comparisons that prove the backup is worth trusting.
A backup you haven't tested isn't a backup. It's a hope. Verification is the part that turns "we have files" into "we have a recovery path."
After reading this, you'll know which checks to run on every backup, which ones to run daily or weekly, and how to alert on the failures that actually matter.
## Why verification matters more than the backup itself
Supabase's own [backups documentation](https://supabase.com/docs/guides/platform/backups) makes an important distinction: native backups are physical backups, and if you want a logical export you generate it yourself with the CLI or `pg_dump`. That means the moment you leave the platform-managed path and start building your own off-site safety net, verification becomes your job too.
The reason this matters is simple. Physical snapshots inside Supabase are convenient, but they are not independently inspectable in the way a dump file is. Logical backups are the opposite. You can store them anywhere, hash them, parse them, restore them, and compare them. That portability is exactly why teams want them. It is also why teams need to verify them.
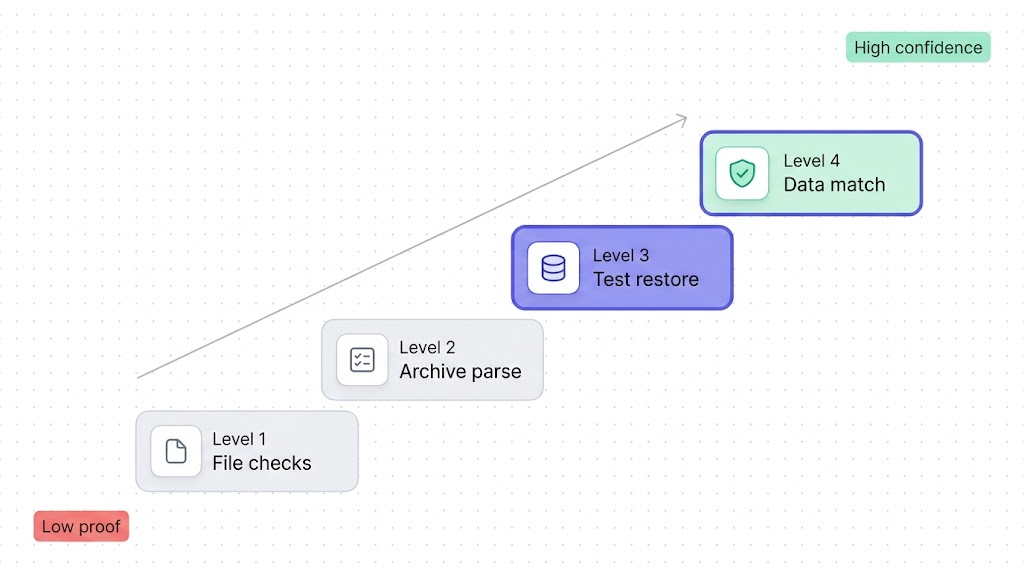
Here's the practical model we use:
| Level | What it proves | Typical cadence | What it does not prove |
| ------------------- | --------------------------------------------------------------- | ---------------------------------------------- | ------------------------------------- |
| 1. File checks | A file exists, is large enough, and matches the expected format | Every run | That it restores |
| 2. Archive parse | The dump can be opened by `pg_restore` | Every run | That data loads cleanly |
| 3. Test restore | A real restore completes in a disposable database | Daily or nightly | That every important table is correct |
| 4. Data consistency | Critical tables and spot checks match the source | Weekly, before migrations, after major changes | Long-term business correctness |
The mistake is stopping at Level 1 because it feels concrete. It is concrete. It is also the weakest possible signal.
## Level 1: File integrity checks (size, checksum, format)
Level 1 is your cheapest filter. It catches the obvious failures early: zero-byte files, partial uploads, wrong extensions, corrupted compression, and sudden size drops after a script change. If you're already following [How to back up your Supabase Postgres database](/blog/backup-supabase-postgres), this is the first verification step that should run immediately after the backup job writes the file.
```bash
#!/usr/bin/env bash
set -euo pipefail
BACKUP_PATH="$1"
MIN_BYTES=$((50 * 1024 * 1024)) # adjust to your project
ACTUAL_BYTES="$(wc -c < "$BACKUP_PATH")"
test -s "$BACKUP_PATH"
if [ "$ACTUAL_BYTES" -lt "$MIN_BYTES" ]; then
echo "Backup is unexpectedly small: $ACTUAL_BYTES bytes"
exit 1
fi
openssl dgst -sha256 "$BACKUP_PATH"
case "$BACKUP_PATH" in
*.gz)
gzip -t "$BACKUP_PATH"
;;
*.dump)
file "$BACKUP_PATH" | grep -qi "PostgreSQL custom database dump"
;;
*.sql)
head -n 5 "$BACKUP_PATH" | grep -Eq "PostgreSQL database dump|SET statement_timeout"
;;
esac
echo "Level 1 checks passed for $BACKUP_PATH"
```
Four rules make Level 1 useful instead of cosmetic:
1. Compare against a minimum size that reflects your real project, not `> 0`.
2. Emit a checksum so you can compare local and off-site copies.
3. Test the container format (`gzip -t`, `file`, or both) instead of trusting the filename.
4. Store the size and checksum in your logs so regressions are visible over time.
A backup that passes Level 1 but fails Level 3 is worse than no backup, because your team starts trusting it. Level 1 is a gate, not a certificate.
## Level 2: Schema validation (can `pg_restore` parse it?)
If your backup format is `custom`, `directory`, or `tar`, PostgreSQL's docs say [`pg_restore --list`](https://www.postgresql.org/docs/current/app-pgrestore.html) reads the archive's table of contents. That's a useful second gate. If `pg_restore` cannot even enumerate the archive, you already know the file is broken before wasting time on a full restore.
```bash
#!/usr/bin/env bash
set -euo pipefail
BACKUP_PATH="$1"
TOC_FILE="$(mktemp)"
pg_restore --list "$BACKUP_PATH" > "$TOC_FILE"
grep -q "TABLE DATA" "$TOC_FILE"
grep -q "SCHEMA" "$TOC_FILE"
echo "Archive parsed successfully"
rm -f "$TOC_FILE"
```
This check is narrow by design. It proves the archive is structured well enough for `pg_restore` to read its contents. It does **not** prove the restore will succeed against a real target, and it does not apply to plain SQL dumps produced by the Supabase CLI split-dump workflow.
For plain SQL, the equivalent move is a parse-only restore into a disposable database with `psql --single-transaction --variable ON_ERROR_STOP=1`. If you want the background on when to use `pg_dump`, `pg_restore`, or the CLI split-dump path, [our `pg_dump` and `pg_restore` guide](/blog/postgresql-pgdump-and-pgrestore-guide-examples) is the right reference.
## Level 3: Test restore to a staging database
This is the level where confidence gets real. A file can be non-empty and parseable and still fail once indexes, triggers, ownership, extensions, or data volume enter the picture. The only honest answer is a restore test. It's also the specific evidence GDPR auditors look for: if you're building a [GDPR-compliant Supabase backup](/blog/gdpr-compliant-supabase-backup) setup, a dated restore test log is one of the three documents that decides whether you pass or fail.
The cheapest repeatable version is a disposable Postgres instance on the same major version as your Supabase project. For a full platform restore workflow, see [How to restore a Supabase database](/blog/restore-supabase-database). For nightly verification, a throwaway container catches most failures fast enough.
```bash
#!/usr/bin/env bash
set -euo pipefail
BACKUP_PATH="$1"
RESTORE_DB="verify_restore"
CONTAINER="supabase-restore-check"
docker run --rm -d \
--name "$CONTAINER" \
-e POSTGRES_PASSWORD=postgres \
-p 55432:5432 \
postgres:15
cleanup() {
docker rm -f "$CONTAINER" >/dev/null 2>&1 || true
}
trap cleanup EXIT
until pg_isready -h 127.0.0.1 -p 55432 -U postgres >/dev/null 2>&1; do
sleep 1
done
createdb -h 127.0.0.1 -p 55432 -U postgres "$RESTORE_DB"
pg_restore \
--exit-on-error \
--no-owner \
--no-privileges \
--dbname="postgresql://postgres:postgres@127.0.0.1:55432/$RESTORE_DB" \
"$BACKUP_PATH"
psql "postgresql://postgres:postgres@127.0.0.1:55432/$RESTORE_DB" -Atc \
"select current_database(), count(*) from pg_tables where schemaname not in ('pg_catalog', 'information_schema')"
echo "Level 3 restore passed"
```
Two practical notes:
- Match the Postgres major version to the source project. Restore bugs caused by version mismatch are noise in a verification job.
- Run a weekly full-dress restore into a real staging Supabase project if your production database depends on platform-specific extensions, auth flows, or storage metadata behaviour. The disposable container is the fast path, not the final word.
## Level 4: Data consistency checks (row counts, checksums)
Once a restore completes, the next question is not "did it crash?" but "did the right data come back?" You don't need to compare every row of every table every night. You do need a short list of critical tables whose counts and spot checks must match.
Good candidates are the tables that would wake you up if they were wrong:
- `public.users` or `auth.users`
- billing and subscription tables
- orders, invoices, or transaction ledgers
- tenant and workspace tables
- any table that powers permissions or customer-visible state
```bash
#!/usr/bin/env bash
set -euo pipefail
SOURCE_DB_URL="$1"
RESTORED_DB_URL="$2"
SOURCE_RESULTS="$(mktemp)"
RESTORED_RESULTS="$(mktemp)"
read -r -d '' SQL <<'EOF' || true
select 'auth.users' as table_name, count(*)::text as value from auth.users
union all
select 'public.accounts', count(*)::text from public.accounts
union all
select 'public.subscriptions', count(*)::text from public.subscriptions
union all
select 'public.accounts_checksum',
md5(string_agg(id::text || ':' || updated_at::text, ',' order by id))
from public.accounts;
EOF
psql "$SOURCE_DB_URL" -Atc "$SQL" > "$SOURCE_RESULTS"
psql "$RESTORED_DB_URL" -Atc "$SQL" > "$RESTORED_RESULTS"
diff -u "$SOURCE_RESULTS" "$RESTORED_RESULTS"
echo "Level 4 consistency checks passed"
```
The checksum pattern above is intentionally narrow. Exact row counts catch gross failures. A deterministic checksum over one or two business-critical tables catches the quieter failures: missing rows, changed ordering, partial data loads, or bad filtering in a custom dump. For large tables, compare a canonical subset instead of the whole table if runtime matters.
## Automating the full verification pipeline
The cleanest automation model is tiered, not monolithic:
- Run Levels 1 and 2 on **every** backup file.
- Run Level 3 on a schedule, usually nightly.
- Run Level 4 weekly, before migrations, and after any backup-script change.
That gives you fast feedback on cheap failures and slower, stronger proof on the failures that actually hurt.
```bash
#!/usr/bin/env bash
set -euo pipefail
BACKUP_PATH="$1"
/opt/backups/verify-level-1.sh "$BACKUP_PATH"
/opt/backups/verify-level-2.sh "$BACKUP_PATH"
/opt/backups/verify-level-3.sh "$BACKUP_PATH"
/opt/backups/verify-level-4.sh "$SOURCE_DB_URL" "$RESTORED_DB_URL"
```
Then schedule it like any other production job:
```bash
# Create the dump
0 2 * * * /opt/backups/backup-supabase.sh >> /var/log/supabase-backup.log 2>&1
# Verify the latest dump
20 2 * * * /opt/backups/verify-supabase-backup.sh /opt/backups/latest.dump >> /var/log/supabase-verify.log 2>&1
# Run the heavier consistency check every Sunday
0 4 * * 0 /opt/backups/verify-supabase-backup-weekly.sh /opt/backups/latest.dump >> /var/log/supabase-verify-weekly.log 2>&1
```
If you prefer CI, Supabase also publishes an [automated backups with GitHub Actions guide](https://supabase.com/docs/guides/deployment/ci/backups). The same verification ladder applies there. The scheduler changes, not the proof.
## Alerting when verification fails
A failed backup job and a failed verification job are not the same severity. Backup failures are loud. Verification failures are the dangerous quiet ones, because the team often assumes the backup exists and moves on. That's why this article should link naturally with [My Supabase backup failed](/blog/supabase-backup-failed). The first piece is about making the backup succeed. This one is about proving success means something.
Alert on these conditions at minimum:
- No backup file produced
- File size below threshold
- `pg_restore --list` fails
- Test restore exits non-zero
- Row-count or checksum diff is non-empty
- Verification runtime suddenly spikes far above normal
A green "backup completed" notification is bookkeeping. A green "backup restored and matched critical tables" notification is evidence.
```bash
#!/usr/bin/env bash
set -euo pipefail
if ! /opt/backups/verify-supabase-backup.sh /opt/backups/latest.dump; then
curl -X POST "$SLACK_WEBHOOK_URL" \
-H "Content-Type: application/json" \
-d "{\"text\":\"Supabase backup verification failed on $(hostname) at $(date -u +%FT%TZ)\"}"
exit 1
fi
```
If you only alert on the backup step and never on the restore step, you're optimizing for the wrong side of the recovery plan.
## What to do next
Pick one dump from the last seven days and run the ladder against it today. If you already create logical backups, add Level 1 and Level 2 immediately. They take minutes. Then schedule one nightly disposable restore. That single job will tell you more about your recovery posture than a month of "backup succeeded" emails.
If you only implement one new control this week, make it the nightly disposable restore. It is the cheapest check that proves your recovery plan is more than logging.
If scripting and scheduling all this yourself sounds like a second job, SimpleBackups handles Supabase Postgres and Storage backups off-site, with alerts when a run fails. [See how it works →](/platform/supabase)
## Keep learning
- [The complete guide to Supabase backup](/learn/supabase-backup), the cluster hub that shows where verification fits relative to backup, restore, comparison, and compliance questions.
- [How to backup Supabase](/blog/backup-supabase-postgres), the older manual walkthrough if you still need the raw `pg_dump` and CLI setup basics.
- [How to restore a PostgreSQL backup](/blog/how-to-restore-a-postgresql-backup), the broader restore reference for when you want more `psql` and `pg_restore` detail.
- [Database backup best practices](/blog/database-backup-best-practices), the broader operating checklist for retention, restore drills, and alerting outside Supabase-specific workflows.
- [What is the 3-2-1 backup strategy](/blog/what-is-the-3-2-1-backup-strategy), the disaster-recovery principle behind keeping a verified copy under separate control.
## FAQ
---
_This article is part of [The complete guide to Supabase backup](/learn/supabase-backup#automating-verification), an honest, practical reference from the team that backs up Supabase every day._
---
# How to back up DigitalOcean Managed Databases
Source: https://simplebackups.com/blog/backup-digitalocean-managed-databases
Published: 2026-04-08
Author: Laurent
Summary: Native backups, pg_dump, mysqldump, mongodump, and PITR: when to use each, a working script, and how to get your DB backup off DigitalOcean.
DigitalOcean's Managed Database backups run every day without you touching a thing. Seven days of retention, automatic, included in the price. That sounds complete until you ask two questions: can you download those backups? And what happens to them if something goes wrong with your account?
The answer to both is: no, and they're gone.
Native managed DB backups sit inside your DO account with 7-day retention. A `pg_dump` to an external bucket is the only way to control your own retention and survive an account-level incident. Link that with [your overall off-site strategy](/blog/digitalocean-off-site-compliance) and you have a defensible backup posture.
This guide covers what native backups do cover (and where they stop), the exact commands for Postgres, MySQL, and MongoDB, when to add PITR, and how to wire up a cron job that dumps, compresses, and ships to an external bucket automatically.
## What native managed DB backups cover
DigitalOcean runs daily automated backups for every [Managed Database cluster](https://docs.digitalocean.com/products/databases/). Here is what you actually get, broken down by engine:
| Engine | Automated backup | Schedule | Retention | PITR available | Downloadable |
|--------|-----------------|----------|-----------|---------------|--------------|
| PostgreSQL | Yes | Daily | 7 days | Yes (higher tiers) | No |
| MySQL | Yes | Daily | 7 days | Yes (higher tiers) | No |
| MongoDB | Yes | Daily | 7 days | No | No |
| Redis | Yes | Daily | 7 days | No | No |
| Kafka | Yes | Daily | 7 days | No | No |
A few things to notice in that table.
**You cannot download native backups.** There is no export button, no API endpoint that hands you a file. If you need a dump you can hold on to, you have to create it yourself.
**PITR is engine-limited.** Point-in-time recovery is available on Postgres and MySQL higher-tier clusters. MongoDB, Redis, and Kafka do not offer PITR under native DO managed backup. If your MongoDB cluster lost data fifteen minutes ago and you only have native backups, your nearest restore point is yesterday.
**Seven days is the hard ceiling.** Native retention does not grow past seven days regardless of cluster size or age. For any compliance framework that requires 30, 60, or 90 days of retention, native backup alone will not get you there.
What native backup does well: it's effortless, it handles the basics for most dev and staging environments, and restore through the DO console is reasonably fast for clusters under 20 GB. For production workloads where you need control over retention or an off-platform copy, keep reading.
We back up DigitalOcean every day. The gaps in native managed DB backup we describe here are the same ones we see teams discover under pressure, usually when they need a restore that's older than seven days or needs to land somewhere DigitalOcean doesn't control.
## pg_dump for Postgres clusters
`pg_dump` is the standard tool for exporting a Postgres database to a portable file. On a DO Managed Postgres cluster, the only wrinkle is the connection string.
Use the direct port (25060 for Postgres), not the connection pooler port. `pg_dump` through the pooler will fail or produce an incomplete dump. When you copy your connection details from the DO console, make sure you're using the **direct connection** string, not the pooling connection string.
Find your connection details in the DO console under your database cluster's **Connection Details** tab. Select the "Connection string" or "Connection parameters" view and confirm you are on the **public network** or **VPC** tab, not the pooler tab.
```bash
pg_dump
--host=your-cluster-do-user-0000000-0.db.ondigitalocean.com
--port=25060
--username=doadmin
--format=custom
--no-acl
--no-owner
--file=dump-$(date +%F).dump
defaultdb
```
Flag notes:
- `--format=custom`: produces a compressed, parallel-restoreable `.dump` file. Prefer this over plain SQL for anything over a few MB.
- `--no-acl`: skips `GRANT`/`REVOKE` statements that reference DO-internal roles. These fail on restore into a different cluster.
- `--no-owner`: skips `ALTER OWNER` statements for the same reason.
- `--file`: writes to a file rather than stdout. Naming with `$(date +%F)` gives you `dump-2026-04-23.dump`.
You'll be prompted for the password unless you set `PGPASSWORD` in your environment or use a `.pgpass` file.
The deeper walkthrough for Postgres to Spaces specifically is at [/blog/how-to-backup-postgres-to-digitalocean-spaces](/blog/how-to-backup-postgres-to-digitalocean-spaces), which covers storage destination setup in more detail.
## mysqldump for MySQL clusters
DO Managed MySQL clusters use port 25060 for direct connections as well. The connection pooler for MySQL is on a different port; check your console to confirm which one you're copying.
```bash
mysqldump
--host=your-cluster-do-user-0000000-0.db.ondigitalocean.com
--port=25060
--user=doadmin
--password
--ssl-mode=REQUIRED
--single-transaction
--routines
--triggers
--hex-blob
defaultdb | gzip > dump-$(date +%F).sql.gz
```
Flag notes:
- `--ssl-mode=REQUIRED`: DO Managed MySQL requires TLS. Without this flag, the connection will be rejected.
- `--single-transaction`: takes a consistent snapshot of InnoDB tables without locking them. Leave this out and you risk a dump with inconsistent state across tables.
- `--routines` and `--triggers`: include stored procedures and triggers. Omitting them produces a dump that restores to a functionally different database.
- `--hex-blob`: avoids encoding issues with binary column data.
- The pipe to `gzip` compresses inline. For a 5 GB database this typically produces a 1–2 GB file.
For a more detailed guide on the MySQL side, [/blog/back-up-your-managed-digitalocean-mysql-database](/blog/back-up-your-managed-digitalocean-mysql-database) walks through the same workflow with storage destination setup included.
## mongodump for MongoDB clusters
MongoDB's `mongodump` connects to your DO Managed MongoDB cluster using the connection URI from the console. The URI includes TLS parameters; copy it exactly rather than reassembling the host and port by hand.
```bash
mongodump
--uri="mongodb+srv://doadmin:YOUR_PASSWORD@your-cluster.mongo.ondigitalocean.com/admin?tls=true&authSource=admin"
--gzip
--archive=dump-$(date +%F).archive
```
Flag notes:
- `--uri`: accepts the full connection string from the DO console. Using URI mode avoids having to specify TLS flags separately.
- `--gzip`: compresses each collection file inside the archive. For text-heavy collections, compression ratios are often 5:1 or better.
- `--archive`: writes a single file instead of a directory tree. Easier to manage and move.
If you're running `mongodump` from outside DigitalOcean's network, make sure you've added your IP to the cluster's trusted sources list in the DO console. The default trusted sources list is empty, which means connections from unknown IPs are silently rejected.
One thing to note about MongoDB specifically: DO does not offer PITR for Managed MongoDB clusters. Daily automated backup with 7-day retention is what you have natively. If you need finer-grained recovery, the `mongodump` approach on a scheduled basis is your primary option.
You can also look at [/blog/how-to-backup-mongodb-to-digitalocean](/blog/how-to-backup-mongodb-to-digitalocean) for an overview of the MongoDB-to-Spaces workflow.
## When to add PITR
Point-in-time recovery lets you restore to any second within the retention window, not just a daily snapshot. For databases where you need to recover from an accidental `DELETE` or a bad migration that ran at 14:37 on a Tuesday, daily snapshots are too coarse.
DO's PITR is available on higher-tier Postgres and MySQL clusters. To check if your cluster supports it, go to the cluster's **Backups** tab in the console. If you see a PITR enable toggle, the cluster tier supports it.
When PITR is worth enabling:
- Your application has continuous writes and a daily restore point would lose meaningful data.
- You've had (or can imagine having) an accidental table truncation or bad migration.
- Your compliance posture requires sub-hour RPO.
When you can skip it:
- The database is a read replica, analytics store, or otherwise reconstructable from another source.
- The application is stateless in practice (logs, metrics, derived data).
- You're already running external dumps frequently enough that PITR wouldn't improve your recovery granularity.
The technical notes on how PITR is handled under the hood, and where it still leaves you exposed, are in [/blog/how-digitalocean-native-backup-works](/blog/how-digitalocean-native-backup-works).
One honest limitation: if your Managed DB retention window expires and you have no external copy, there is nothing to recover. That scenario comes up more often than you'd expect. The full case study is at [/blog/digitalocean-managed-db-retention-expired](/blog/digitalocean-managed-db-retention-expired).
## Getting your database backup off-platform
Native backups and PITR both live inside your DigitalOcean account. If your account is suspended, compromised, or hit by a billing dispute, the backups go down with the cluster. The same is true for a region-level outage.
Getting a copy off-platform means dumping to a file and shipping it to an external object store: AWS S3, Backblaze B2, Cloudflare R2, or any S3-compatible target. If you're planning a cloud migration or provider switch, a portable off-platform dump is also the foundation of a solid handover, and the [pre-migration backup guide](/blog/backup-digitalocean-before-migration) walks through what to lock down before you cut over. Here is a production-ready script that handles the full cycle: dump, compress, upload, and clean up local files.
```bash
#!/usr/bin/env bash
set -euo pipefail
# --- Configuration ---
DB_HOST="your-cluster.db.ondigitalocean.com"
DB_PORT="25060"
DB_USER="doadmin"
DB_NAME="defaultdb"
PGPASSWORD="your_password"
export PGPASSWORD
S3_BUCKET="s3://your-backup-bucket/postgres"
BACKUP_DIR="/tmp/db-backups"
RETENTION_DAYS=30
TIMESTAMP=$(date +%Y-%m-%dT%H-%M-%S)
DUMP_FILE="$BACKUP_DIR/${DB_NAME}-${TIMESTAMP}.dump"
# --- Ensure backup dir exists ---
mkdir -p "$BACKUP_DIR"
# --- Dump ---
echo "[$(date -u +%FT%TZ)] Starting pg_dump..."
pg_dump
--host="$DB_HOST"
--port="$DB_PORT"
--username="$DB_USER"
--format=custom
--no-acl
--no-owner
--file="$DUMP_FILE"
"$DB_NAME"
echo "[$(date -u +%FT%TZ)] Dump complete: $DUMP_FILE ($(du -sh "$DUMP_FILE" | cut -f1))"
# --- Compress ---
gzip "$DUMP_FILE"
DUMP_FILE="${DUMP_FILE}.gz"
# --- Upload to external bucket ---
echo "[$(date -u +%FT%TZ)] Uploading to $S3_BUCKET..."
aws s3 cp "$DUMP_FILE" "$S3_BUCKET/"
--storage-class STANDARD_IA
--only-show-errors
echo "[$(date -u +%FT%TZ)] Upload complete."
# --- Cleanup local file ---
rm -f "$DUMP_FILE"
# --- Prune old backups in bucket beyond retention ---
aws s3 ls "$S3_BUCKET/"
| awk '{print $4}'
| sort
| head -n -"$RETENTION_DAYS"
| xargs -I {} aws s3 rm "$S3_BUCKET/{}" --only-show-errors 2>/dev/null || true
echo "[$(date -u +%FT%TZ)] Done. Retention enforced at ${RETENTION_DAYS} most recent backups."
```
Run this daily with a cron job on a server outside your DO account. The `set -euo pipefail` at the top ensures the script fails loudly if any command fails, rather than uploading an empty or partial dump silently.
Add this to crontab with `crontab -e`:
```bash
0 3 * * * /opt/bin/pg-backup.sh >> /var/log/pg-backup.log 2>&1
```
That runs at 03:00 UTC each day and appends output to a log file you can inspect if something goes wrong.
Every native DigitalOcean backup (managed DB backups, snapshots, PITR) lives inside the same account as the resource it protects. A billing dispute, account suspension, or compromised credential wipes both at the same time. A dump in an external bucket owned by a different provider is the only way to break that dependency. See the full breakdown in the off-site compliance guide.
## Verifying the dump restores
A backup you haven't tested is not a backup. It's a compressed file you hope contains what you think it does.
The minimum bar for a `pg_dump` backup is a restore into a test database:
```bash
# Spin up a local Postgres container for the test restore
docker run -d
--name pg-restore-test
-e POSTGRES_PASSWORD=testpass
-p 5433:5432
postgres:16
# Wait for it to be ready
sleep 3
# Restore from the dump
pg_restore
--host=localhost
--port=5433
--username=postgres
--dbname=postgres
--clean
--if-exists
--no-acl
--no-owner
dump-2026-04-23.dump.gz
# Spot-check row counts
psql
--host=localhost
--port=5433
--username=postgres
--dbname=postgres
-c "SELECT schemaname, tablename, n_live_tup FROM pg_stat_user_tables ORDER BY n_live_tup DESC LIMIT 10;"
# Tear down
docker stop pg-restore-test && docker rm pg-restore-test
```
This is a spot-check, not a full validation. A full validation confirms that your application can actually run against the restored data. But the spot-check catches the two most common silent failures: a truncated dump (the restore exits early) and a version mismatch (the restore rejects the file format).
The detailed restore procedure for DO Managed Postgres and MySQL is in [/blog/restore-digitalocean-managed-database](/blog/restore-digitalocean-managed-database), including how to restore from a native DO backup versus from an external dump file.
Do this test once when you first set up the pipeline. Then run it at least once a month. For a structured approach to scheduling and monitoring these restore checks, see [automating DigitalOcean backup verification](/blog/automating-digitalocean-backup-verification).
## What to do tonight
If your Managed Database cluster is in production and you only have native backups: add the dump script above to a cron job on any server outside your DO account, point it at a bucket you control, and let it run tonight. That's the whole gap closed.
If you also need compliance-grade retention (30 days, 60 days, 90 days), set `RETENTION_DAYS` in the script and add a lifecycle rule to your external bucket to move old dumps to cold storage after 30 days. Most providers offer this in two clicks.
If scripting and scheduling all this yourself sounds like a second job, SimpleBackups handles DigitalOcean Managed Database backups off-site, with alerts when a run fails. [See how it works →](/platform/digitalocean)
## Keep learning
- [How to back up a DigitalOcean Managed MySQL database](/blog/back-up-your-managed-digitalocean-mysql-database)
- [How to back up Postgres to DigitalOcean Spaces](/blog/how-to-backup-postgres-to-digitalocean-spaces)
- [What DigitalOcean native backup doesn't cover](/blog/what-digitalocean-native-backup-doesnt-cover)
- [DigitalOcean off-site compliance](/blog/digitalocean-off-site-compliance)
## FAQ
---
_This article is part of [The complete guide to DigitalOcean backup](/digitalocean-backup#backup-managed-databases), an honest, practical reference from the team that backs up DigitalOcean every day._
---
# Best Supabase backup tools in 2026
Source: https://simplebackups.com/blog/best-supabase-backup-tools
Published: 2026-04-07
Author: Laurent
Summary: An honest roundup of Supabase backup tools: SimpleBackups, DIY pg_dump, and competitors. What each covers, what each misses, and which fits you.
Most Supabase backup tools cover your Postgres database. None of the free ones cover your Storage buckets. One covers both. Understanding that gap is the whole decision.
When teams search for Supabase backup tools, they're often picturing a database backup. But a Supabase project has three things worth protecting: the Postgres database, the Storage buckets holding user-uploaded files, and the Edge Functions that handle business logic. Supabase's [native backup](https://supabase.com/docs/guides/platform/backups) covers Postgres. Storage and Edge Functions are outside the snapshot boundary by design.
This article maps the current Supabase backup solutions landscape honestly. We run Supabase backups every day, and we've seen what teams discover after their first failed restore. The goal here is to help you match a tool to your actual coverage needs, team size, and budget, before you need the backup.
You'll leave with: a clear picture of what each tool covers, a comparison table you can skim in 90 seconds, and a decision framework for choosing between them.
## What to look for in a Supabase backup tool
Before comparing tools, you need to know what you're comparing against. Not every team has the same exposure.
### Coverage: which surfaces does the tool protect?
The most important dimension is what the tool actually backs up. Supabase has three separate data surfaces, and they require different approaches:
- **Postgres**: the relational database. Accessible via `pg_dump` or physical snapshot. All tools in this roundup cover it.
- **Storage buckets**: the S3-compatible object store for user-uploaded files. Architecturally separate from Postgres. Most tools miss it. See our article on [what Supabase native backup doesn't cover](/blog/what-supabase-native-backup-doesnt-cover) for the full breakdown.
- **Edge Functions**: source code, environment variables, and secrets. Some tools back up function code (SimpleBackups does). Secrets belong in a secrets manager, and function source belongs in Git as well.
A tool that only covers Postgres gives you a partial backup. If your app stores images, documents, or any user-uploaded content in [Supabase Storage](/blog/backup-supabase-storage), you need a tool that explicitly covers that surface.
### Retention and off-site storage
Where does the backup go, and for how long can you reach it? Supabase's native snapshots are managed inside the platform. If you need cross-region copies for compliance or disaster recovery, you need a tool that writes to an external destination.
If your compliance framework (SOC 2, GDPR, ISO 27001) requires data residency in a specific geography, check that your backup destination is in that region before anything else. Cross-region backup is a non-negotiable if your project and its snapshots live in the same AWS account.
### Restore reliability
Backups that you haven't tested restoring are guesses, not backups. The practical question is: can you run a restore on demand, in a staging environment, without opening a support ticket? For most teams, this is where DIY solutions fall apart and managed services earn their fee.
### Automation and alerting
A backup you have to remember to check manually will eventually be stale when you need it. Look for tools that alert on failure, not just on success.
### Enterprise requirements
Larger teams should look beyond the feature list. SOC 2 Type II certification, audit logs, SLA commitments, and support response time matter at compliance-sensitive organizations. These aren't checkboxes for hobby projects, but they're the first thing a security review asks for.
## Supabase native backup (the baseline)
Every tool comparison for Supabase starts here. Native backup is what you get on any paid plan, for free, with no configuration.
Supabase takes a physical snapshot of the Postgres volume daily on Pro plans. The snapshot is managed by Supabase inside the platform. You can restore from the Supabase dashboard, no external tools required. For the full mechanism, see our article on [how Supabase native backup works](/blog/how-supabase-native-backup-works).
| Plan | Price | Daily backups | Retention | PITR |
| ---------- | ------- | ------------- | --------- | ---------------- |
| Free | $0 | No | 0 days | No |
| Pro | $25/mo | Yes | 7 days | Paid add-on |
| Team | $599/mo | Yes | 14 days | Paid add-on |
| Enterprise | Custom | Yes | 30 days | Paid add-on |
**What native backup covers:**
- Postgres data (full physical snapshot)
- `storage.objects` metadata table (file paths, sizes, created_at)
**What native backup does NOT cover:**
- Storage bucket file bytes (the actual images, PDFs, and other uploads)
- Edge Functions source code
- Environment variables and secrets
- Point-in-time recovery below the snapshot granularity (unless PITR add-on is enabled)
- Off-site or cross-region copies
**When native backup is enough:**
If your project is on the Pro plan and you have: no user-uploaded files outside the database, no compliance requirement for off-site storage, and a 7-day recovery window that works for your RTO/RPO. That covers a real slice of Supabase projects: internal tools, dashboards, low-sensitivity SaaS at early stage.
**When native backup is not enough:**
As soon as any of these is true: you store files in Storage buckets, you need copies outside AWS us-east-1 (or whatever region your project is in), you need restore testing without Supabase support involvement, or a compliance audit requires off-site backups with defined retention.
The Free plan gets no backups at all. If you're running a hobby project on Free and you care about the data, a monthly manual `pg_dump` to your local machine is better than nothing. It won't cover Storage, but it covers the database.
## SimpleBackups
We built SimpleBackups. That means this section has a conflict of interest, and you should read it knowing that. We've tried to write it as we'd write a competitor review: honest about what it does, honest about what it doesn't, and clear about who it's for.
SimpleBackups is a managed backup service with native Supabase integration. You connect your project once (via connection string or Supabase API token), and it runs automated backups on a schedule you define, writes them to a storage destination you control (S3, GCS, DigitalOcean Spaces, Backblaze B2, and others), and alerts you when a run fails.
**What SimpleBackups covers:**
- Postgres (via `pg_dump` with custom format, or physical backup)
- Storage buckets (full file sync, not just metadata)
- Edge Functions (deployed function code; secrets stay in your secrets manager)
- Multiple retention schedules (daily, weekly, monthly)
- Off-site storage in any region you choose
- Restore testing from the dashboard
- Backup notifications and failure alerts
- ISO 27001 certified, GDPR compliant, with audit exports for your own SOC 2 evidence
**What SimpleBackups does not cover:**
- Real-time PITR at the Postgres WAL level (snapshots, not WAL streaming)
**Pricing:**
SimpleBackups charges per backup source. At the time of writing, the entry plan covers a handful of sources starting around $9/mo. Check `/platform/supabase` for current pricing, since it changes more often than this article.
For a deeper head-to-head between Supabase native and SimpleBackups on the dimensions that actually matter for a restore, see [Supabase native vs. SimpleBackups](/blog/supabase-native-vs-simplebackups).
We run Supabase backups every day across thousands of customer projects. The pattern we see is consistent: teams discover the gap in native backup at the worst moment, usually when a restore doesn't cover Storage and they realize the images are gone. We built coverage for that gap. Whether SimpleBackups is right for your project is a separate question from whether that coverage matters.
## DIY pg_dump + cron scripts
The most widely deployed Supabase backup "tool" isn't a tool at all. It's a shell script running `pg_dump` on a schedule, piping the output to an S3 bucket. This is what most teams reach for first, and it works reasonably well for the Postgres piece.
```bash
#!/bin/bash
# Basic Supabase Postgres backup script
# Run via cron: 0 3 * * * /opt/scripts/supabase-backup.sh
set -euo pipefail
DB_HOST="aws-0-eu-central-1.pooler.supabase.com"
DB_PORT="6543"
DB_USER="postgres"
DB_NAME="postgres"
TIMESTAMP=$(date +%Y%m%d_%H%M%S)
DUMP_FILE="/tmp/supabase_backup_${TIMESTAMP}.dump"
S3_BUCKET="s3://your-bucket/supabase-backups/"
pg_dump --host="${DB_HOST}" --port="${DB_PORT}" --username="${DB_USER}" --format=custom --no-password --file="${DUMP_FILE}" "${DB_NAME}"
aws s3 cp "${DUMP_FILE}" "${S3_BUCKET}"
rm "${DUMP_FILE}"
echo "Backup completed: ${DUMP_FILE}"
```
The `--format=custom` flag is important. It produces a compressed, non-text dump that `pg_restore` can work with selectively (individual tables, schemas, etc.). Plain text dumps are larger and harder to restore partially.
We almost shipped a version of this script at SimpleBackups that piped `pg_dump` directly to `gzip` and then into an S3 upload in a single pipeline. It works on small databases. On a 40 GB project it silently truncated because one of the middle commands swallowed a non-zero exit without failing the pipeline. We only caught it because a restore test failed three weeks later. The lesson: always write to disk first, verify the file size, then upload.
For the full walkthrough including connection pooler vs. direct connection, authentication, and restore steps, see [how to back up your Supabase Postgres database](/blog/backup-supabase-postgres).
**What DIY pg_dump covers:**
- Postgres schema and data
- Flexible: you control what gets dumped (full database, specific schemas, specific tables)
- Destination-agnostic: S3, GCS, local disk, any target your script can write to
**What DIY pg_dump does NOT cover:**
- Storage buckets (requires a separate sync script using the S3-compatible API)
- Edge Functions
- Alerting on failure (unless you build it)
- Restore testing automation
- Off-site storage (unless you explicitly configure it)
**When DIY is the right call:**
You have a database-only Supabase project. You have engineers comfortable with bash and cron. You want full control over what gets backed up and where it goes. You have existing infrastructure for storage (your own S3 bucket) and monitoring.
**When DIY breaks down:**
When you have Storage. When the engineers who wrote the scripts leave. When nobody tests the restore. When the cron job silently stops running and you don't find out for three weeks. For a deeper comparison between scripting it yourself and using a managed service, see [pg_dump vs. managed Supabase backup](/blog/pgdump-vs-managed-supabase-backup).
If you're going the DIY route, the single most valuable thing you can add is a restore test. Once a month, take your latest dump, spin up a local Postgres instance or a Supabase project in a free tier, and run `pg_restore`. Don't assume the dump is valid because the script exited 0. Test the output.
## Other managed backup services
The market for dedicated Supabase backup services is small. Supabase is newer than most of the Postgres ecosystem, and most enterprise backup tools are built for databases they can reach via agent or physical access, neither of which works with Supabase's hosted architecture.
Here's an honest survey of the adjacent tools you might encounter:
### WAL-G and pgBackRest
Both are open-source Postgres backup tools with strong WAL archiving capabilities. They're the right tools for self-hosted Postgres.
For Supabase cloud projects, they're not viable without physical access to the Postgres volume. You can't install agents on Supabase's managed infrastructure. If you're running [self-hosted Supabase](https://supabase.com/docs/guides/self-hosting) on your own servers, both WAL-G and pgBackRest become real options. For cloud Supabase, they're out of scope.
### General SaaS backup services
Services like CloudCasa, Zerto, and similar enterprise backup platforms cover cloud-native workloads, but their Postgres support typically requires direct infrastructure access or agent installation. None of them have published native Supabase integration at the time of writing. They're enterprise-grade for AWS RDS, Aurora, and GCP CloudSQL, not Supabase.
### Snaplet
Snaplet is a developer tool for cloning and seeding databases in development environments. It's not a backup tool. It transforms and sanitizes data for non-production use. If you're looking for production backups, Snaplet isn't the answer, but it's worth knowing what it is so you don't confuse it with one.
### The honest summary
WAL-G and pgBackRest are excellent tools for self-hosted Postgres. For cloud Supabase, they require physical volume access that Supabase doesn't provide. If you find an article recommending them for Supabase Cloud, it's written for a different audience.
For cloud Supabase, the managed backup market has two real options: Supabase's own native backup, and SimpleBackups. Everything else is either a DIY Postgres tool (WAL-G, pgBackRest, pg_dump), a general SaaS platform that requires infrastructure access Supabase doesn't give you, or a tool built for a different job. That's not a product pitch; it's a map of what actually exists today.
## Head-to-head comparison table
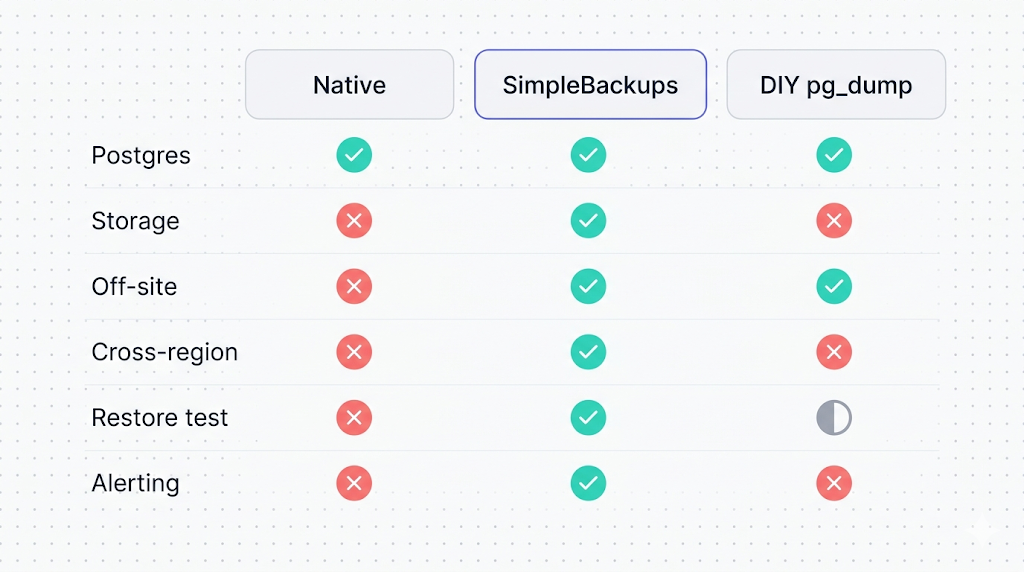
| Dimension | Supabase native | SimpleBackups | DIY pg_dump |
| -------------------------- | ---------------------------- | ------------------------------ | -------------------------------- |
| **Postgres backup** | Yes (physical snapshot) | Yes (logical dump) | Yes (logical dump) |
| **Storage bucket files** | No | Yes | No (manual sync needed) |
| **Edge Functions** | No | Yes (function code) | No |
| **Off-site storage** | No (Supabase-managed) | Yes (your choice of cloud) | Yes (your choice) |
| **Cross-region** | Not documented | Yes | Yes (if configured) |
| **Retention control** | Fixed by plan (7/14/30 days) | Configurable | Configurable |
| **Restore from dashboard** | Yes | Yes | No (manual pg_restore) |
| **Failure alerting** | Not documented | Yes | Only if you build it |
| **PITR** | Paid add-on | No | No (WAL-G on self-hosted only) |
| **Restore testing** | Not documented | Yes | Manual |
| **SOC 2 / compliance** | Supabase's certifications | ISO 27001, GDPR, audit exports | Depends on your infra |
| **Cost** | Included with paid plans | Paid (separate) | Engineering time + storage costs |
| **Setup time** | None | Minutes | Hours to days |
**Pricing comparison**
| Option | Entry cost | What you get |
| --------------- | -------------------------------- | ------------------------------------- |
| Supabase native | $0 (included with Pro at $25/mo) | 7-day Postgres snapshots, Supabase-managed |
| SimpleBackups | $0 for 1 backup, then $10/b | Postgres, Storage, Edge Functions, off-site, alerts |
| DIY pg_dump | $0 tool cost + your S3 costs | Postgres only, full control |
## Which tool fits which team
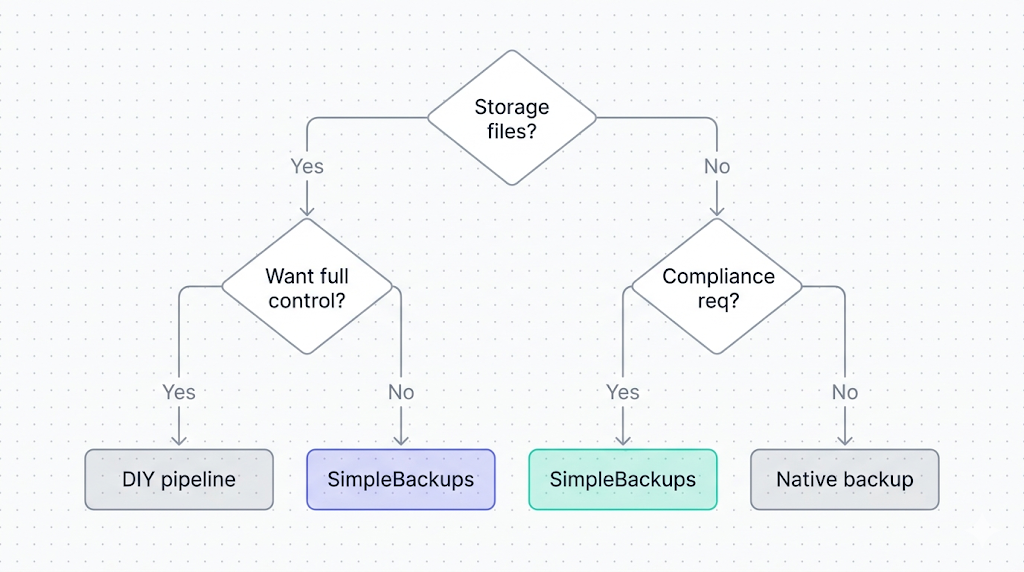
This isn't a one-size-fits-all category. The right answer depends on four variables: what you're backing up, where it needs to go, how much restore confidence you need, and what you're willing to maintain.
### Hobby projects and early-stage prototypes
**Recommendation: Supabase native + one manual pg_dump per month.**
If you're on the Pro plan, native backup covers your database. If you have Storage files, accept that risk or set up a simple sync script. Don't over-engineer backup for a project that hasn't found product-market fit yet. Your time is better spent elsewhere.
For hobby projects on the Free tier: Supabase gives you no backups at all. A cron job running `pg_dump` weekly to your own S3 bucket costs almost nothing and saves you from a data loss event that would otherwise wipe months of work.
### Teams with user-uploaded content
**Recommendation: SimpleBackups (or a custom sync script if you have the bandwidth).**
As soon as you have files in Storage that users depend on, native backup's Storage gap matters. A database restore that doesn't bring back the images, PDFs, or attachments attached to those records is a partial restore at best, and a data loss event at worst. If you don't want to maintain a second backup pipeline yourself, SimpleBackups covers both surfaces in one setup.
### Regulated or compliance-sensitive organizations
**Recommendation: SimpleBackups with cross-region configuration, or a DIY setup you control entirely.**
SOC 2 Type II audits ask two questions about backups: are they tested, and are they off-site? Native backup fails both tests. A compliance audit that asks "show me your backup policy" needs answers about where backups go, who can access them, how restores are tested, and what the retention policy is. That's not a native backup conversation.
### Engineering teams who want control
**Recommendation: DIY pg_dump pipeline if Postgres-only. DIY + Storage sync if you have both.**
If your engineering team is comfortable with bash, cron, and S3, and you have existing infrastructure for monitoring and alerting, rolling your own is completely reasonable. The tradeoffs are real (you own the maintenance, the restore testing, the failure handling) but so are the benefits (full control, no vendor dependency, lower marginal cost at scale).
### Scaling SaaS products
**Recommendation: SimpleBackups for the ops simplicity, or a hybrid where DIY handles Postgres and SimpleBackups handles Storage.**
At scale, the cost of a failed backup incident exceeds the cost of the backup service by orders of magnitude. Most fast-growing SaaS teams reach a point where they want backup handled by something with an SLA, a support team, and compliance certifications, so they can focus engineering on the product.
## Our honest recommendation
If you're on Supabase Pro and your app has zero user-uploaded Storage files: native backup is probably enough for now. Validate that once, make sure your RTO (how long you can be down) and RPO (how much data you can afford to lose) fit within a 24-hour window, and revisit when either changes.
If your app stores files in Storage: native backup is not enough. Choose between setting up your own sync pipeline or using SimpleBackups. The honest version of that choice is: DIY costs engineering time and ongoing maintenance, SimpleBackups costs a monthly fee and takes about ten minutes to set up. Pick based on which cost you prefer.
If compliance matters: go off-site and test your restores. Neither native backup nor an untested DIY script satisfies an audit. A tested, off-site, alerting-enabled backup does.
Most teams spend more time choosing a backup tool than they spend testing a restore. The tool choice is reversible. An untested backup that fails when you need it is not. Whatever you choose, schedule a restore test on the calendar for 30 days from today.
## What to do next
Pick one concrete step from this list and do it today:
1. **Check what plan you're on.** If you're on Free, set up a pg_dump cron job this week. No plan means no backup.
2. **Audit your Storage usage.** Run `SELECT COUNT(*) FROM storage.objects;` in the Supabase SQL editor. If the count is non-zero and you don't have a Storage backup, that's your gap.
3. **Test your existing restore.** If you already have native backup or a DIY script running, restore from the most recent snapshot to a fresh Supabase project. Confirm the data is complete and current.
4. **If you need off-site or Storage coverage:** check the `/platform/supabase` page for current pricing and supported destinations.
[SimpleBackups for Supabase](/platform/supabase) complements Supabase's native backups. If you want off-site Postgres, Storage, and Edge Functions backups without writing or maintaining any of it yourself, that's what it does.
## Keep learning
- [How Supabase's native backup actually works](/blog/how-supabase-native-backup-works), the physical snapshot internals, retention windows, and restore limitations. Read this first if anything in this article felt assumed.
- [What Supabase's native backup doesn't cover](/blog/what-supabase-native-backup-doesnt-cover), the six gaps this roundup addresses: Storage, Edge Functions, off-site storage, long retention, portability, and compliance.
- [How to back up your Supabase Postgres database](/blog/backup-supabase-postgres), the practical pg_dump setup for teams going the DIY route.
- [Top 5 PostgreSQL backup tools](/blog/top-5-postgresql-backup-tools), for readers who want the broader Postgres ecosystem landscape beyond Supabase-specific options.
---
## FAQ
---
_This article is part of [The complete guide to Supabase backup](/learn/supabase-backup#supabase-backup-tools), an honest, practical reference from the team that backs up Supabase every day._
---
# My Supabase data disappeared: what to do
Source: https://simplebackups.com/blog/supabase-data-disappeared
Published: 2026-04-07
Author: Laurent
Summary: Diagnostic walkthrough for missing Supabase data. What to check first, what's recoverable, when to contact support, and how to prevent it.
You opened the Supabase dashboard and the rows are gone. Or the table is there but empty. Or a whole bucket of Storage files has vanished. The backup from last night says "succeeded." The project is still running. Supabase data disappeared and you don't know why.
Stop. Before you escalate to support or assume the data is lost forever, there are three checks that explain the majority of these incidents. Most missing-data reports turn out to be something other than actual data loss. Here is what to look at, in order, and what to do depending on what you find.
## Don't panic yet: check these three things first
Open the **Supabase SQL editor** and run this as the `postgres` user (the SQL editor default):
```sql
SELECT count(*) FROM your_table;
```
If this returns rows but your application shows zero, you have a Row Level Security problem, not a data loss problem. If this also returns zero, keep reading.
The most common causes of apparently missing Supabase data, in rough order of frequency:
| Symptom | What to check | Likely cause | First action |
|---------|---------------|--------------|--------------|
| Table empty in app, rows exist in SQL editor | RLS policy for the requesting role | Policy missing or too restrictive | Add permissive policy or test with service_role |
| Data missing right after a region migration | Wait 15-20 min, then refresh | Stale metadata cache | Usually self-resolves; force session refresh |
| Specific rows gone, rest intact | Application soft-delete columns | App deleted rows, not Supabase | Query without `deleted_at` or `is_deleted` filter |
| Entire project locked or inaccessible | Project status in dashboard | Free-tier project paused | Upgrade plan or follow the paused-project recovery guide |
| Storage files missing, table metadata intact | Query `storage.objects` directly | Storage is not in the native Postgres backup | Restore from off-site backup if one exists |
| All rows gone from a table | Supabase logs, pg_stat_activity | Destructive query run against wrong project | Contact support with a timestamp |
Work through this table from the top. The first row that matches your situation is where to spend the next five minutes.
## Is it a region or migration artifact?
If you recently migrated your Supabase project to a different region, or if a plan upgrade triggered a region change, the dashboard can show stale metadata for a short window.
Migration artifacts can show stale metadata for up to 20 minutes after a region change. If your project was recently moved, wait it out before escalating. Log out and back in to force a full session refresh rather than just reloading the page.
If the metadata is still wrong after 30 minutes, a stale cache is not your problem.
## Is it an RLS policy hiding your data?
Row Level Security is one of the most powerful features in Supabase and one of the most common reasons data appears to vanish.
When RLS is enabled on a table, queries made through the `anon` or `authenticated` roles only see rows that match the active policies. If a policy is missing, too narrow, or incorrectly written, your application returns zero rows even though the data is there and intact.
RLS policies can make data look deleted when it is actually just hidden from the current role. Switch to the service_role key on the server side (never expose it client-side) to query without RLS filters, and confirm whether the rows actually exist.
To diagnose RLS in the SQL editor:
```sql
-- Check if RLS is enabled on your table
SELECT relname, relrowsecurity
FROM pg_class
WHERE relname = 'your_table';
-- List current policies
SELECT policyname, cmd, roles, qual
FROM pg_policies
WHERE tablename = 'your_table';
-- Count rows as the postgres superuser (bypasses RLS)
SET ROLE postgres;
SELECT count(*) FROM your_table;
RESET ROLE;
```
If `relrowsecurity` is `true` and the policy list is empty, that is your answer. No policy means no rows for the `anon` and `authenticated` roles. Add the appropriate policy for your use case and your data comes back immediately.
## Is your Supabase data actually gone?
If RLS is not the issue and you have ruled out a migration artifact, you are dealing with one of two situations: the rows were deleted by your application, or they were deleted by a destructive query against the wrong target.
For application-level deletes: check your application logs for `DELETE` or `UPDATE` queries around the time the data disappeared. Also check whether your schema uses soft deletes. A row with a `deleted_at` timestamp is still in the table:
```sql
-- Find soft-deleted rows
SELECT * FROM your_table
WHERE deleted_at IS NOT NULL
ORDER BY deleted_at DESC
LIMIT 50;
```
For destructive queries: open the Supabase **Logs** panel in your project dashboard, navigate to Postgres logs, and filter by time window. If a `DELETE` or `TRUNCATE` appears there, you have a timestamp to give to support and a window for potential recovery.
If your project is on the free plan, Supabase takes no automatic backups. There may be nothing to recover. If you are on Pro or higher, keep reading.
## What's recoverable (and what isn't)
What Supabase can restore depends entirely on your plan and whether you have external backups.
[Supabase's native backup](https://supabase.com/docs/guides/platform/backups) is a physical Postgres volume snapshot. Pro gives you 7 days of daily snapshots, Team gives 14, Enterprise gives 30. Free gets nothing. Read [how Supabase's native backup works](/blog/how-supabase-native-backup-works) for the full breakdown of what the snapshot covers and what the retention windows actually mean in a recovery scenario.
Two gaps matter here:
**Storage files are not in the native backup.** The `storage.objects` metadata table is backed up (it is a Postgres table), but the actual file bytes in the S3 backend are not. If your Storage files are gone and you have no off-site copy, they are not recoverable from Supabase's own backup. [What Supabase's native backup doesn't cover](/blog/what-supabase-native-backup-doesnt-cover) walks through this in detail.
**PITR is a paid add-on, and it must be enabled before the incident.** If you did not enable Point-in-Time Recovery before the deletion occurred, you cannot recover to an arbitrary timestamp. The native snapshot restores to the last daily backup, not to the moment before the destructive query ran.
If you have an off-site `pg_dump` backup from a tool you control, use that. You can restore it directly without going through Supabase support. The step-by-step process is in [how to restore a Supabase database](/blog/restore-supabase-database).
## When to contact Supabase support
Contact support when:
- Your project is on Pro, Team, or Enterprise, and you need a restore to a previous snapshot.
- You have PITR enabled and want to recover to a specific timestamp.
- You suspect data was deleted outside your application (a security incident, a compromised service_role key, or a mistake by someone on your team).
Before opening a ticket, have these ready: your project reference ID, the approximate timestamp of the deletion, and the names of the affected tables. A narrow time window speeds up the recovery significantly.
Supabase support does not guarantee data recovery for free-tier projects. Their backups documentation is explicit about what each plan includes.
## How to prevent this next time
The gaps here are structural, not accidental. Free tier has no backups. Native backups are in the same AWS region as your project and cannot be downloaded. Storage is not covered. PITR must be proactively enabled. None of these defaults will change on their own.
The short checklist:
- Upgrade to at least Pro if your data has any business value.
- Enable PITR if you need the ability to restore to a specific moment, not just the last daily snapshot.
- Set up off-site Postgres backups independent of Supabase's native system. [How to back up Supabase Postgres](/blog/backup-supabase-postgres) covers the approach: scheduled `pg_dump` exports to a storage bucket in a different region.
- For Storage: build a separate off-site copy pipeline. There is no workaround on the native side.
If your project is on the free tier and was paused rather than deleted, that is a different recovery path. See [how to recover a paused Supabase project](/blog/recover-paused-supabase-project) for those specific steps.
## What to do next
If you are in the middle of an incident right now: run the SQL checks above first, confirm whether RLS is hiding your data, then check your plan's backup coverage before opening a support ticket. Most of the time, data has not disappeared. It is hidden or filtered.
If you are reading this after the fact: the thing to fix is the backup posture, not the incident response. A daily `pg_dump` export to an object store outside of your Supabase project's region means you never have to rely on Supabase support to recover your data.
If scripting and scheduling all this yourself sounds like a second job, SimpleBackups handles Supabase Postgres, Storage, and Edge Functions backups off-site, with alerts when a run fails. [See how it works →](/platform/supabase)
## Keep Learning
- [How Supabase native backup works](/blog/how-supabase-native-backup-works) — to understand what the daily snapshot actually covers and what the retention window means for your recovery options.
- [What Supabase native backup doesn't cover](/blog/what-supabase-native-backup-doesnt-cover) — for the full gap inventory, including why Storage files may not be in any backup.
- [How to restore a Supabase database](/blog/restore-supabase-database): for the step-by-step restore guide once you have confirmed the data is actually gone.
## FAQ
---
_This article is part of [The complete guide to Supabase backup](/learn/supabase-backup#data-disappeared), an honest, practical reference from the team that backs up Supabase every day._
---
# How to back up DigitalOcean before a migration
Source: https://simplebackups.com/blog/backup-digitalocean-before-migration
Published: 2026-04-07
Author: Laurent
Summary: The pre-migration backup checklist for Droplets, databases, and Spaces. What to snapshot, what to dump, and what to test on the restore side first.
Most teams that lose data during a migration didn't forget to back up. They backed up inside the same account they were migrating away from, and then something went wrong with that account.
That's the scenario this article exists to prevent. Before you touch your first resource, you need a verified backup that lives somewhere you can still reach if your DigitalOcean account becomes unreachable, locked, or suspended mid-migration.
This guide gives you a concrete checklist for backing up Droplets, Managed Databases, Volumes, Spaces, and DOKS before a migration. It covers the backup method for each product, how to verify it worked, how to confirm the restore actually runs, and what to do if the migration fails partway through.
## Why migrations are the highest-risk moment
Migrations sit at the intersection of two dangerous conditions: you're making irreversible changes to production, and you're operating across two platforms at once.
Both conditions create exposure. Irreversible changes mean a mistake can't be undone by pressing Ctrl+Z. Operating across two platforms means you might not notice a problem in the source account until after you've already destroyed something in the destination.
The common fallback plan looks reasonable on paper: "We have DigitalOcean backups and snapshots, so we can roll back if anything goes wrong." The gap is that DigitalOcean's native backups are stored inside the same account as the resource they protect. If your DigitalOcean account is the thing that becomes inaccessible, those snapshots go with it.
During a migration, you're operating on two platforms at once. If your only backup is a snapshot inside the DO account you're migrating away from, you have no fallback if that account becomes inaccessible. This is the same-host risk. It's not hypothetical: billing disputes, fraud flags, and accidental lockouts have stranded teams at the worst possible moment. See [off-site compliance for DigitalOcean](/digitalocean-backup#off-site-compliance) for a full treatment.
The other risk is incomplete backup coverage. Teams often remember to snapshot the Droplet and forget about the attached Block Storage volume. Or they have a Managed Database with 7 days of native retention but no portable `pg_dump` they can actually move to the new environment. Each product in your stack needs a separate backup decision.
## The pre-migration backup checklist
Use this table before you begin any migration. Every row should be checked, verified, and confirmed as "off-site" before you issue a single destructive command.
| Product | Backup method | Verified? | Off-site copy? | Restore tested? |
|---|---|---|---|---|
| Droplets | Snapshot via dashboard or doctl | | | |
| Block storage volumes | Volume snapshot (separate from Droplet) | | | |
| Managed Databases | `pg_dump` / `mysqldump` + native backup | | | |
| Spaces | Mirror to separate bucket or provider | | | |
| DOKS | Namespace export + PV snapshot | | | |
"Verified" means you confirmed the backup completed without errors, not just that you started the job.
"Off-site copy" means the backup exists outside the DigitalOcean account you're migrating away from.
"Restore tested" means you spun up a throwaway resource and confirmed the data is actually there and intact.
None of these columns are optional. A backup you haven't verified is a guess. A backup you haven't tested restoring is a superstition.
## Droplets: snapshot plus off-site copy
A Droplet snapshot gives you a point-in-time image of the entire disk. It's the fastest way to get back to exactly where you were if a migration goes wrong. But as noted above, a snapshot inside your DigitalOcean account isn't truly independent of that account.
The backup plan for Droplets before a migration has two parts: take the snapshot, then copy the data off-site independently.
### Take the snapshot
You can snapshot a Droplet from the DigitalOcean dashboard, or via [doctl](https://docs.digitalocean.com/reference/doctl/):
```bash
# Power off the Droplet first for a consistent snapshot (optional but recommended)
doctl compute droplet-action power-off --wait
# Take the snapshot
doctl compute droplet-action snapshot
--snapshot-name "pre-migration-$(date +%Y%m%d)"
--wait
# Confirm the snapshot was created
doctl compute snapshot list --resource-type droplet
```
The `--wait` flag blocks until the action completes. Without it, you get a job ID but no confirmation that it finished. For a pre-migration snapshot, always wait.
Block storage volumes are not included in Droplet snapshots. Snapshot them separately:
```bash
doctl compute volume-action snapshot
--snapshot-name "vol-pre-migration-$(date +%Y%m%d)"
--wait
```
### Verify and script it
For a structured pre-migration snapshot process, the following script takes snapshots for all Droplets and volumes in a project, verifies each one, and logs the result:
```bash
#!/usr/bin/env bash
set -euo pipefail
PROJECT_ID="your-project-id"
SNAP_DATE=$(date +%Y%m%d)
LOG="pre-migration-snapshots-${SNAP_DATE}.log"
echo "Starting pre-migration snapshots: $(date)" | tee "$LOG"
# Snapshot all Droplets in the project
for DROPLET_ID in $(doctl compute droplet list --format ID --no-header); do
echo "Snapshotting Droplet $DROPLET_ID..." | tee -a "$LOG"
doctl compute droplet-action snapshot "$DROPLET_ID"
--snapshot-name "pre-migration-droplet-${DROPLET_ID}-${SNAP_DATE}"
--wait 2>&1 | tee -a "$LOG"
done
# Snapshot all volumes
for VOLUME_ID in $(doctl compute volume list --format ID --no-header); do
echo "Snapshotting volume $VOLUME_ID..." | tee -a "$LOG"
doctl compute volume-action snapshot "$VOLUME_ID"
--snapshot-name "pre-migration-vol-${VOLUME_ID}-${SNAP_DATE}"
--wait 2>&1 | tee -a "$LOG"
done
# Verify snapshots exist
echo "Verifying snapshots..." | tee -a "$LOG"
doctl compute snapshot list --resource-type droplet --format "ID,Name,CreatedAt,Size" | tee -a "$LOG"
doctl compute snapshot list --resource-type volume --format "ID,Name,CreatedAt,Size" | tee -a "$LOG"
echo "Snapshot run complete: $(date)" | tee -a "$LOG"
```
Review the log before proceeding. If any Droplet or volume snapshot is missing, resolve it before continuing.
For a deeper walkthrough of automating Droplet and volume snapshots, see [how to automate DigitalOcean server and volume snapshots](/how-to-automate-digitalocean-server-and-volume-snapshots/).
### The off-site step
The script above creates snapshots inside your DigitalOcean account. That's necessary but not sufficient for a migration backup. You also need the data somewhere independent.
For Droplets, the practical off-site approach is an application-level backup: if your Droplet runs a database, `pg_dump` or `mysqldump` to an external object store. If it runs files, sync the files. If it runs both, do both.
If scripting and scheduling all this yourself sounds like a second job, SimpleBackups handles DigitalOcean Droplet, volume, and database backups off-site, with alerts when a run fails.
For a complete guide to Droplet backup options, see [how to back up DigitalOcean Droplets](/blog/backup-digitalocean-droplets).
## Databases: dump plus native backup
Managed Database backups on DigitalOcean are automatic, daily, and kept for 7 days. PITR is available on higher-tier Postgres and MySQL clusters. That coverage is enough for day-to-day operations, but it has two problems in a migration context.
First, you can't download native Managed Database backups. They're stored inside DigitalOcean's infrastructure, and the only way to use them is to restore to a new DigitalOcean cluster. If you're migrating to a different platform, native backups give you no path forward.
Second, the same-host risk applies here too. If your DigitalOcean account becomes inaccessible during the migration, you can't access the native backups for your databases.
The solution is a portable dump taken before the migration starts.
### Take a pg_dump or mysqldump
For a Postgres Managed Database:
```bash
# Get your connection string from the DO dashboard or via doctl
doctl databases connection --format URI --no-header
# Dump the database to a local file
pg_dump
--host=
--port=25060
--username=doadmin
--format=custom
--file="pre-migration-$(date +%Y%m%d).dump"
defaultdb
```
For MySQL:
```bash
mysqldump
--host=
--port=25060
--user=doadmin
--password
--all-databases
--single-transaction
--result-file="pre-migration-$(date +%Y%m%d).sql"
```
After dumping, upload the file to an object store outside your DigitalOcean account. AWS S3, Backblaze B2, Cloudflare R2, or any S3-compatible target works.
```bash
# Example: upload to AWS S3
aws s3 cp pre-migration-20260423.dump s3://your-off-site-bucket/db-backups/
```
For the complete database backup walkthrough, see [how to back up DigitalOcean Managed Databases](/blog/backup-digitalocean-managed-databases).
### Combine the dump with native backup
The dump and the native backup serve different purposes. The dump gives you a portable file you can restore to any Postgres or MySQL instance anywhere. The native backup gives you fast, in-account rollback if the migration fails early and you stay on DigitalOcean.
Take both. The dump is the migration-safe option. The native backup is the fast rollback if things go sideways early.
## Spaces: full mirror before you touch anything
Spaces is the product with the weakest native backup story in the DigitalOcean lineup. There is no built-in backup feature. Versioning is available but off by default. There is no replication to another region or another provider.
If you delete or overwrite an object in Spaces and versioning was not enabled, it's gone. Period.
For a migration, this makes Spaces the highest-risk product to touch. The correct approach: mirror the entire bucket to an external location before you do anything else.
### Mirror to an off-site bucket
The `rclone` tool handles Spaces-to-external-bucket copies well. Configure it with your Spaces credentials and your destination credentials, then:
```bash
# Sync Spaces bucket to external destination (e.g., AWS S3)
rclone sync
spaces:your-do-bucket
s3:your-external-bucket/pre-migration-mirror
--progress
--transfers 10
# Verify object counts match
DO_COUNT=$(rclone ls spaces:your-do-bucket | wc -l)
EXT_COUNT=$(rclone ls s3:your-external-bucket/pre-migration-mirror | wc -l)
echo "DO objects: $DO_COUNT | External objects: $EXT_COUNT"
```
If the counts don't match, do not proceed with the migration until you've resolved the discrepancy.
For a full walkthrough of Spaces backup options, see [how to back up DigitalOcean Spaces](/blog/backup-digitalocean-spaces). For the native backup coverage gap in detail, see [how DigitalOcean native backup works](/blog/how-digitalocean-native-backup-works).
## Testing the restore before you start
This is the step most teams skip, and it's the one that determines whether your backup is real.
A backup you haven't tested is not a backup. It's a file with unknown contents sitting somewhere you hope is recoverable.
Test the restore on a throwaway resource before you start the migration. If the restore fails after you've already torn down production, you have nothing to fall back to.
### How to test a Droplet snapshot restore
```bash
# Create a new Droplet from your pre-migration snapshot
SNAPSHOT_ID=$(doctl compute snapshot list
--resource-type droplet
--format "ID,Name"
--no-header | grep "pre-migration" | awk '{print $1}' | head -1)
doctl compute droplet create test-restore
--image "$SNAPSHOT_ID"
--size s-1vcpu-1gb
--region nyc3
--wait
# SSH in and verify your application is there and healthy
doctl compute ssh test-restore
```
Run your application's smoke tests inside the restored Droplet. Confirm your files, services, and configuration are intact. Then destroy the test Droplet:
```bash
doctl compute droplet delete test-restore
```
For a detailed guide to Droplet restores, see [how to restore a DigitalOcean Droplet](/blog/restore-digitalocean-droplet).
### How to test a database restore
For the pg_dump you created earlier:
```bash
# Create a test database and restore the dump into it
createdb test_restore_db
pg_restore
--host=
--username=
--dbname=test_restore_db
--verbose
pre-migration-20260423.dump
# Check row counts on critical tables
psql -h -U -d test_restore_db
-c "SELECT schemaname, tablename, n_live_tup FROM pg_stat_user_tables ORDER BY n_live_tup DESC LIMIT 20;"
```
If the row counts look right and your queries return expected results, the backup is good.
### What to verify across all products
Before you consider the pre-migration backup complete, confirm:
- Every Droplet snapshot completed without errors.
- Every volume snapshot completed without errors.
- The database dump file is not empty and not truncated (check its size against what you'd expect, and test the restore as above).
- The Spaces mirror object count matches the source.
- At least one restore test ran successfully.
Only then do you have a real backup.
## What to do if the migration fails
Even with a solid backup, migrations fail. The goal is to fail recoverable.
### If you catch the failure early (source account still intact)
If something goes wrong before you've destroyed or modified anything in the source account, the rollback is straightforward:
1. Stop the migration work.
2. Restore from the snapshot you took pre-migration.
3. Verify the restored environment is working.
4. Diagnose what went wrong before attempting the migration again.
The DigitalOcean dashboard lets you restore a Droplet from a snapshot in a few clicks. The doctl path:
```bash
doctl compute droplet create restored-production
--image
--size
--region
--wait
```
### If the migration fails mid-way (source account modified)
This is the harder scenario. If you've already made changes in the source account (deleted resources, modified configurations, started decommissioning) and something fails in the destination, you need the off-site backup.
This is exactly why the off-site step is not optional. If your only fallback is a snapshot inside the DigitalOcean account you were decommissioning, and decommissioning broke something in that account, you have no fallback.
With an off-site database dump, you can restore to any environment, including your new destination or a new DigitalOcean account entirely.
With a Spaces mirror on external storage, your objects are safe regardless of what happens to the source bucket.
### If you find data integrity problems after completing the migration
Corrupted or incomplete data in the destination is harder to catch. This is where the "restore tested" column in the checklist matters. If you validated the dump before migration and the destination data doesn't match, the problem happened during migration, not during backup.
Compare critical table row counts between source (from your pre-migration log or restore test) and destination. If they differ, restore the affected tables from your dump.
Document what went wrong and when. A timestamped log of migration steps makes post-incident analysis faster, especially if you need to file a support ticket.
---
If you want the short version: snapshot every Droplet and volume, dump every database, mirror every Spaces bucket, verify each backup completed, test at least one restore, then start the migration. That's the whole checklist. Every section above exists for the parts where the short version isn't enough.
If scripting and scheduling all this yourself sounds like a second job, SimpleBackups handles DigitalOcean Droplet, database, and Spaces backups off-site, with alerts when a run fails. [See how it works →](/platform/digitalocean)
## Keep learning
- [The complete guide to DigitalOcean backup](/digitalocean-backup)
- [How to automate DigitalOcean server and volume snapshots](/how-to-automate-digitalocean-server-and-volume-snapshots/)
- [DigitalOcean backups explained](/digitalocean-backups-explained/)
- [How to back up DigitalOcean Droplets](/blog/backup-digitalocean-droplets)
- [How to restore a DigitalOcean Droplet](/blog/restore-digitalocean-droplet)
## FAQ
---
_This article is part of [The complete guide to DigitalOcean backup](/digitalocean-backup#backup-before-migration), an honest, practical reference from the team that backs up DigitalOcean every day._
---
# How to back up DigitalOcean Spaces (no native option)
Source: https://simplebackups.com/blog/backup-digitalocean-spaces
Published: 2026-04-06
Author: Laurent
Summary: Spaces has zero native backup. Here's how to mirror it to another region or provider via the S3 API, with versioning caveats and a working rclone script.
If you're here because you went looking for the "Backup" tab inside DigitalOcean Spaces and couldn't find it, that's because it doesn't exist. DigitalOcean has no native backup for Spaces. No automated copy, no retention window, no built-in cross-region replication. You either build the backup yourself or you don't have one.
This article walks you through what you actually have available, starting with versioning (and why it's not a substitute for backup), then a working `rclone`-based mirror to an external bucket, syncing to AWS S3 or Backblaze B2, scheduling all of it on a cron job, and the edge cases around metadata and ACLs that trip people up on first run.
## Why Spaces has no native backup
DigitalOcean built Spaces as an S3-compatible object store. It handles the infrastructure concerns: redundancy within a datacenter, durability targets, and availability. What it doesn't build is the thing you'd need to protect against accidental deletion, ransomware, account compromise, or a billing dispute that locks you out.
Compare that to what DigitalOcean offers elsewhere: Droplet backups, volume snapshots, managed database backups. Spaces gets none of it. The [DigitalOcean Spaces documentation](https://docs.digitalocean.com/products/spaces/) confirms versioning is available, but that's the entirety of the data-protection surface.
This is a pattern that plays out across the whole DigitalOcean product lineup: native backup covers the easy part for most products and nothing at all for others. See [what DigitalOcean native backup doesn't cover](/blog/what-digitalocean-native-backup-doesnt-cover) for the full picture across every product.
We back up DigitalOcean every day. The gap we see most teams underestimate is Spaces: they assume object storage is inherently durable and stop there. Durability protects against hardware failure. It does nothing for logical deletion, overwrites, or account-level events.
## Versioning: close but not a backup
Spaces supports versioning, and it's genuinely useful. When enabled, every write to an object creates a new version. A delete creates a delete marker, leaving prior versions accessible. You can restore a previous version of a file or recover a deleted object as long as it was versioned before the deletion.
That's not a backup, and the distinction matters.
Versioning is off by default on DigitalOcean Spaces. If you haven't explicitly enabled it, a deleted object is gone immediately with no recovery path.
Here's what versioning doesn't protect you from:
- **Account compromise.** An attacker with your API key can delete all versions, not just current objects. AWS S3 has MFA delete to protect against this. Spaces does not.
- **Accidental bucket deletion.** Deleting the bucket itself removes all versions with it.
- **Regional outage.** If the region hosting your Space goes down, versioned objects are in the same region.
- **Unversioned history.** Any object that existed before you enabled versioning has no prior versions. The protection starts from the moment you enable it, not retroactively.
- **Storage cost.** Every version counts against your usage. A bucket that sees frequent overwrites grows fast.
For a more complete look at what happens when objects are deleted, see [DigitalOcean Spaces accidental deletion](/blog/digitalocean-spaces-accidental-deletion).
Versioning is worth enabling. It's a cheap safety net for the most common mistake (overwriting a file). But it's a safety net, not a backup. Treat it as one layer of several.
## Mirroring a Space with rclone
`rclone` is a command-line tool for cloud storage. It speaks S3 natively, which means it talks to DigitalOcean Spaces directly through the S3-compatible endpoint. Install it from the [rclone documentation](https://rclone.org/install/) for your operating system.
Configure your Spaces source with `rclone config`. You'll need:
- Your Spaces access key and secret key (from the API page in the DO control panel)
- The region endpoint, which follows the pattern `.digitaloceanspaces.com` (for example `nyc3.digitaloceanspaces.com`)
Add a remote named `do-spaces` using the `s3` provider type, with `DigitalOceanSpaces` as the provider, and point it at the endpoint for your region. Then configure a second remote for your destination bucket: a different Spaces region, AWS S3, Backblaze B2, or any S3-compatible store.
Once both remotes are in your `rclone.conf`, the sync command is:
```bash
rclone sync
do-spaces:your-bucket-name
dest-remote:destination-bucket-name
--progress
--transfers 8
--checkers 16
--s3-acl private
```
A few notes on the flags:
- `sync` makes the destination match the source. Files in the destination that no longer exist in the source get deleted. If you want to keep deleted files in the destination, use `copy` instead.
- `--transfers 8` runs 8 file transfers in parallel. Adjust based on your object count and available bandwidth.
- `--checkers 16` runs 16 checksum comparisons in parallel. Useful for large buckets.
- `--s3-acl private` ensures objects at the destination are not publicly accessible unless you explicitly set them otherwise. Check whether your destination requires a different ACL.
For a first sync on a large bucket, add `--dry-run` and review what rclone says it will do before letting it write.
## Syncing to AWS S3 or Backblaze B2
If you want to send your Spaces copy off-platform entirely, AWS S3 and Backblaze B2 are the two most common destinations. Both are S3-compatible, and DigitalOcean's endpoint speaks the same protocol AWS does.
You don't need rclone for this specific case. The AWS CLI's `s3 sync` command works directly against a DigitalOcean Spaces bucket using the `--endpoint-url` flag:
```bash
aws s3 sync
s3://your-do-bucket/
s3://your-aws-destination-bucket/
--source-region us-east-1
--region us-east-1
--endpoint-url https://nyc3.digitaloceanspaces.com
--no-verify-ssl
```
Set `AWS_ACCESS_KEY_ID` and `AWS_SECRET_ACCESS_KEY` to your Spaces credentials before running this. The `--endpoint-url` redirects the CLI from AWS to your Spaces region. Replace `nyc3` with your Space's region code.
For Backblaze B2, rclone is the cleaner path since B2 has its own auth model, though it also supports an S3-compatible API endpoint. Configure a `b2` remote in rclone and use the same `rclone sync` pattern from the previous section, pointing at your B2 bucket.
Before you commit to a destination provider, check where your bucket lands physically. Backblaze B2 has US and EU regions. If you're subject to GDPR, make sure your off-site copy stays in the EU. Off-site doesn't help your compliance posture if you've just moved the data to a jurisdiction you can't use.
Choosing between rclone and the AWS CLI comes down to your environment. The AWS CLI is already installed in most Linux environments and works for AWS or AWS-compatible targets. rclone handles more providers (including Backblaze B2 natively) and gives you more control over transfer parallelism.
## Automating the mirror on a schedule
A manual sync is better than nothing. An automated sync you can rely on is what you actually need.
Put the sync in a shell script on a server that is not inside the same DigitalOcean account as your Spaces bucket. A small VPS on a different provider, a GitHub Actions runner, or a dedicated backup machine all work. The point is that if your DigitalOcean account is compromised or suspended, the machine running your backup job is unaffected. If you're migrating to another provider and need to bring your Spaces data with you, a verified off-site copy is the safest starting point: see the [pre-migration backup guide](/blog/backup-digitalocean-before-migration) for the full checklist before you cut over.
Here's a script you can drop into `/opt/scripts/spaces-backup.sh`:
```bash
#!/usr/bin/env bash
set -euo pipefail
TIMESTAMP=$(date +%Y-%m-%dT%H:%M:%S)
LOG_FILE="/var/log/spaces-backup.log"
SOURCE="do-spaces:your-bucket-name"
DEST="dest-remote:destination-bucket-name"
echo "[$TIMESTAMP] Starting sync: $SOURCE -> $DEST" >> "$LOG_FILE"
rclone sync "$SOURCE" "$DEST"
--transfers 8
--checkers 16
--s3-acl private
--log-file "$LOG_FILE"
--log-level INFO
if [ $? -eq 0 ]; then
echo "[$TIMESTAMP] Sync completed successfully." >> "$LOG_FILE"
else
echo "[$TIMESTAMP] Sync FAILED. Check log above." >> "$LOG_FILE"
exit 1
fi
```
Make it executable:
```bash
chmod +x /opt/scripts/spaces-backup.sh
```
Schedule it with cron. This runs the sync every day at 03:00 UTC and appends stdout/stderr to the log file:
```bash
0 3 * * * /opt/scripts/spaces-backup.sh >> /var/log/spaces-backup-cron.log 2>&1
```
Set `RCLONE_CONFIG` in the cron environment if your `rclone.conf` lives somewhere other than the default path:
```bash
0 3 * * * RCLONE_CONFIG=/home/ubuntu/.config/rclone/rclone.conf /opt/scripts/spaces-backup.sh >> /var/log/spaces-backup-cron.log 2>&1
```
Watch the log file after the first scheduled run. `rclone` exits non-zero on failure, and the script propagates that. Wire up an alerting mechanism (a dead-man's switch, a Slack webhook, a simple email-on-failure cron wrapper) so a failed sync doesn't go unnoticed.
This same pattern applies to the [storage replication approach we've documented for SimpleBackups users](/blog/how-to-create-a-storage-replication-with-simplebackups), which removes the need to manage this script and the schedule yourself.
Spaces has no backup of any kind. If you delete an object and versioning is off, it's gone. If the account is compromised, the entire bucket is exposed. Running your backup job from a separate account or provider closes this gap. See the [off-site compliance guide](/digitalocean-backup#off-site-compliance) for a fuller treatment.
## What to do about metadata and ACLs
Object metadata and ACLs are easy to overlook in a sync operation and annoying to discover missing later.
**Metadata.** Spaces stores per-object metadata (Content-Type, Cache-Control, custom headers) alongside the object itself. `rclone sync` copies metadata by default when the destination supports it. AWS S3 preserves it. Backblaze B2 does too, via the S3-compatible API. Verify this on your first sync by checking a few objects at the destination and confirming their metadata headers match the source. Use `rclone lsjson --metadata your-remote:your-bucket` to inspect metadata on both sides.
**ACLs.** If your Spaces bucket has a mix of public and private objects, be deliberate about what you pass to `--s3-acl`. Setting `--s3-acl private` on sync protects your data at the destination but means publicly accessible objects in the source arrive as private. That's usually what you want for a backup. You don't want your backup bucket to be a publicly accessible mirror of your production storage.
If you need to preserve per-object ACLs exactly, you'll need `--s3-acl bucket-owner-full-control` for cross-account copies, or drop the flag and rely on the destination bucket's default ACL policy, which is safer. Check your destination's default before assuming.
**Lifecycle rules.** Spaces supports lifecycle rules (expiry, transition). These rules do not transfer. If your production bucket automatically expires objects after 90 days, the destination bucket won't replicate that behavior unless you manually configure the same rule there. For a backup destination, you probably want to keep objects longer than the source lifecycle, so this is usually a feature, not a bug. Just be explicit about it.
To verify your restore works, try restoring an object from the destination bucket into a test prefix on a regular basis. A backup you've never tested is an assumption, not a guarantee. For a systematic approach to scheduling and monitoring those checks across your DigitalOcean resources, see [automating DigitalOcean backup verification](/blog/automating-digitalocean-backup-verification). For the full Spaces restore flow, see [how to restore DigitalOcean Spaces](/blog/restore-digitalocean-spaces).
## What to do next
Pick one destination for your off-site copy and run `rclone sync --dry-run` tonight. See what it would transfer. That tells you immediately whether your credentials are correct, whether the destination bucket is reachable, and roughly how long the first sync will take. A dry run costs nothing and surfaces most configuration problems before they matter.
Once you're satisfied, add the cron entry and check the log file the next morning. If the sync completed cleanly, wire up an alert for failures and move on.
If scripting and scheduling all this yourself sounds like a second job, SimpleBackups handles DigitalOcean Spaces backups off-site with alerts when a run fails. [See how it works →](/platform/digitalocean)
## Keep learning
- [How to restore DigitalOcean Spaces](/blog/restore-digitalocean-spaces): the recovery side of this workflow.
- [DigitalOcean Spaces accidental deletion](/blog/digitalocean-spaces-accidental-deletion): what to do when an object is already gone.
- [What DigitalOcean native backup doesn't cover](/blog/what-digitalocean-native-backup-doesnt-cover): Spaces in the context of every other DO product.
- [How to create a storage replication with SimpleBackups](/blog/how-to-create-a-storage-replication-with-simplebackups): the managed alternative to the rclone approach above.
- [How to back up MongoDB to DigitalOcean](/blog/how-to-backup-mongodb-to-digitalocean): if you store documents in Spaces as part of a MongoDB workflow.
## FAQ
---
_This article is part of [The complete guide to DigitalOcean backup](/digitalocean-backup#backup-spaces), an honest, practical reference from the team that backs up DigitalOcean every day._
---
# Cross-region Supabase backup for compliance
Source: https://simplebackups.com/blog/cross-region-supabase-backup-compliance
Published: 2026-04-05
Author: Laurent
Summary: How to keep an independent off-site copy of your Supabase backups in a region you choose, and what auditors expect for data residency and BCDR.
Supabase's native backup is managed inside Supabase's platform. That is the right default for fast recovery, but compliance frameworks usually want something different: an independent copy, in a region and provider you choose, that you can point to when an auditor asks where your backup data physically lives. That answer matters for SOC 2, GDPR, and ISO 27001.
This article explains what auditors actually check about backup location, and how to set up cross-region Supabase backup that satisfies data residency requirements. By the end, you'll have a working off-site replication setup and a clear picture of what to put in your BCDR documentation.
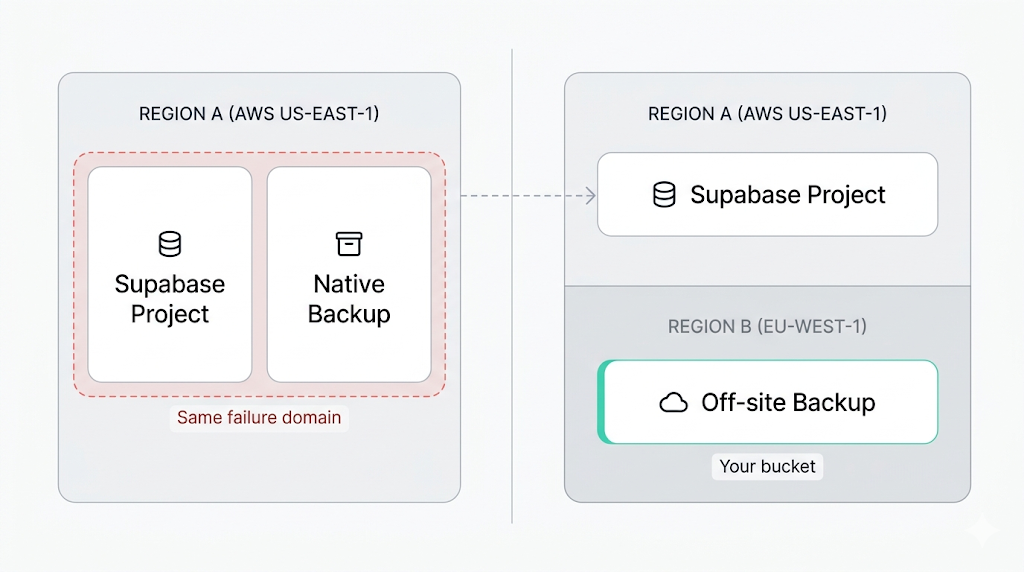
## Why region matters for backup
Keeping backup and production in the same region creates two distinct problems.
- **Reliability.** A regional failure (power, networking, an AWS incident) can affect your live database and your backup simultaneously. Supabase's infrastructure is resilient within a region, but resilient and geographically redundant are not the same thing.
- **Compliance.** Most compliance frameworks treat "same region, same provider" as a single failure domain, not as off-site backup. An auditor reviewing your backup posture will flag a backup that lives in the same blast radius as production.
The [coverage gap in Supabase's native backup](/blog/what-supabase-native-backup-doesnt-cover) is documented in detail elsewhere in this cluster. The short version: native backup covers Postgres (physical snapshot only), and leaves Storage objects and Edge Functions out entirely. Any cross-region strategy needs to account for all three components, not just the database.
## What native backup gives you, and what to add
Supabase's [native backup documentation](https://supabase.com/docs/guides/platform/backups) describes daily snapshots managed by Supabase, with retention set by your plan. Backups are handled for you inside the platform, which suits fast recovery. A copy in a storage account you control, in a region you choose, is something you add yourself.
Native backups are physical volume snapshots managed by Supabase, so an independent, portable copy comes from a logical dump such as `pg_dump`.
The [how Supabase native backup works](/blog/how-supabase-native-backup-works) article goes into detail on the snapshot mechanism and retention windows. For compliance purposes, the relevant question is whether you hold an independent copy: in a region and provider you choose, with its location documented.
Native backup alone is a reasonable baseline for projects that aren't subject to compliance audits. If a framework requires off-site backup or auditable data residency, add an independent copy you control.
## What auditors actually ask about backup location
Three questions surface in almost every backup-related audit section: "Do you have an off-site copy of your data?" "Have you tested a restore from that copy?" "Where does the backup data physically reside, and how is that residency documented?" If you cannot answer all three clearly, the auditor marks a gap.
The table below maps the major compliance frameworks to what they actually require from your backup posture:
| Framework | Off-site backup required? | Geographic requirement | Tested restores required? | Documentation required? |
|-----------|--------------------------|------------------------|--------------------------|------------------------|
| SOC 2 | Yes (CC9.1, A1.2) | None specified | Yes | Yes |
| GDPR | Indirectly (Article 32) | Transfers need adequacy or SCCs | Implied by Article 32 | Yes |
| ISO 27001 | Yes (A.12.3.1, A.17.1.2) | None specified | Yes | Yes |
A few things worth unpacking.
**SOC 2** doesn't specify which region your backup lives in. It cares that the backup is separated from production and that you've verified it restores. A backup in the same region as your database fails on separation.
**GDPR** is frequently misread on this point.
GDPR does not require backups to be stored in the EU. It requires that any transfer of personal data outside the EU (or to countries without an EU adequacy decision) be covered by Standard Contractual Clauses or another approved mechanism. If your Supabase project is in `eu-central-1` and you replicate backups to `eu-west-1`, no SCCs are needed. If you replicate to `us-east-1`, you need to document the legal basis for that transfer. Choose your destination region accordingly, and document whichever path you take.
**ISO 27001** follows a similar pattern to SOC 2: off-site, tested, documented. No geographic mandate beyond what GDPR adds for personal data.
## Setting up cross-region off-site backup
The goal is to move data from Supabase to a storage bucket you control, in a region of your choosing. The two primary components are Postgres and Storage. Edge Functions are backed up separately: SimpleBackups covers function code, and the [manual route](/blog/backup-supabase-edge-functions) uses the Supabase CLI. This section focuses on Postgres and Storage.
### Postgres backup
For Postgres, the standard path is `pg_dump` over the direct connection, followed by uploading the resulting file to your destination bucket. The [full Supabase Postgres backup guide](/blog/backup-supabase-postgres) covers the complete setup. The region that matters for compliance is the destination bucket's region, not where the dump script runs.
A working example:
```bash
# Dump and upload to a cross-region S3 bucket
pg_dump --format=custom --file="/tmp/backup-$(date +%F).dump" "$SUPABASE_DB_URL"
aws s3 cp "/tmp/backup-$(date +%F).dump" "s3://your-backup-bucket/postgres/backup-$(date +%F).dump" --region eu-west-1 --sse AES256
```
Set `$SUPABASE_DB_URL` to your project's direct connection string (not the pooler, for `pg_dump`), found in the Supabase dashboard under Project Settings > Database. It includes your database password, so keep it in a secrets manager or CI secret. Replace `eu-west-1` with your target compliance region.
### Storage backup
Supabase exposes an S3-compatible API for Storage. You can sync Storage bucket contents using `rclone` configured against your project's Storage credentials:
```bash
# Sync Supabase Storage to a cross-region bucket
rclone sync supabase:your-storage-bucket r2:your-backup-bucket/storage/ --progress --transfers 20
```
Configure the `supabase` rclone remote with the endpoint `https://[project-ref].supabase.co/storage/v1/s3`, your Storage access key, and your secret key from the Supabase Storage API settings. The `r2` remote is Cloudflare R2 in this example; substitute your preferred provider. See the [Supabase Storage backup guide](/blog/backup-supabase-storage) for the full rclone configuration.
## Choosing a target region and storage provider
The right backup destination depends on your compliance context and your tolerance for egress costs.
| Provider | Regions | Egress cost | Notes |
|----------|---------|-------------|-------|
| Amazon S3 | 30+ regions globally | ~$0.09/GB | Most auditor-familiar; fine-grained IAM and access logging |
| Cloudflare R2 | Global (no region picker) | $0 | No egress fees; good for high-volume backups |
| Wasabi | US, EU, AP, CA | $0 | S3-compatible; flat monthly storage pricing |
| Backblaze B2 | US East, EU Central | $0.01/GB | S3-compatible; cheapest per-GB option |
Three rules of thumb cover most cases.
- **GDPR, project in an EU region:** keep the backup in the EU. Options include AWS `eu-west-1` or `eu-central-1`, Wasabi `eu-central-1`, or Backblaze B2 EU Central. This sidesteps the SCC question entirely.
- **SOC 2 only:** geographic location doesn't matter for compliance. Pick based on cost and provider separation. Using a different cloud provider than AWS adds a second failure domain that auditors recognize as genuine separation.
- **Both GDPR and SOC 2:** prioritize the GDPR region constraint and document the decision. One paragraph in your BCDR policy explaining why you chose the specific region is usually enough.
## Automating cross-region replication
A one-time backup proves you can do it. A scheduled backup proves your process is reliable. Auditors care about process continuity, not heroics.
The simplest reliable setup is a cron job on a dedicated server outside Supabase's infrastructure:
```bash
# /etc/cron.d/supabase-cross-region-backup
0 3 * * * backup-user /opt/scripts/supabase-backup.sh >> /var/log/supabase-backup.log 2>&1
```
The script should cover four steps: run `pg_dump` and stream the output to the destination bucket; sync Storage objects via rclone; log success or failure with a timestamp; alert on failure via email, Slack webhook, or your on-call tool of choice.
The alert on failure is the step most teams skip. Backups that silently stop running don't surface in monitoring until an audit or an incident.
Run your backup script from a server in the target region rather than from your Supabase project region. This cuts cross-region data transfer costs and keeps egress charges predictable. A small VM in `eu-west-1` running the backup nightly is cheap; paying Supabase outbound bandwidth for 20 GB of database dumps every night adds up across a year.
## Documenting your backup process for an audit
The backup setup is the technical work. The documentation is what passes the audit.
Most backup-related audits ask for a Business Continuity and Disaster Recovery (BCDR) document or equivalent. At minimum, yours should cover:
- Backup schedule (frequency, retention window).
- Backup location (region, provider, bucket name or ARN).
- What is covered (Postgres, Storage, Edge Functions) and what is excluded and why.
- Recovery procedure (step-by-step restore process, not just "restore from backup").
- Most recent tested restore: date, what was restored, how long it took.
The [GDPR-compliant Supabase backup guide](/blog/gdpr-compliant-supabase-backup) goes deeper on the GDPR-specific documentation requirements, including how to document adequacy decisions and SCCs for cross-border replication.
For SOC 2 and ISO 27001, the five points above cover the core ask. The restore test entry is the one most teams leave blank. Schedule one now, document it, and repeat every quarter. A backup you've never tested is not evidence of a working recovery process, and auditors know the difference.
## What to do next
- **Starting from zero:** set up the `pg_dump` pipeline to a bucket in a different region first. That covers your Postgres database and satisfies the off-site copy requirement for SOC 2 and ISO 27001. Layer in Storage replication with rclone next, then write a one-page BCDR doc.
- **Already backing up in the same region as your project:** update the destination bucket to a compliant region, verify the region appears in your audit logs, and update your documentation to reflect the change.
In both cases, the restore test is the step most teams defer indefinitely. Don't. Run it before your next audit, not the week before.
[SimpleBackups for Supabase](/platform/supabase) complements Supabase's native backups. If you want off-site Postgres, Storage, and Edge Functions backups in a region you choose, with scheduling, failure alerts, and logs you can hand an auditor, that's what it does.
## Keep learning
- [How Supabase native backup works](/blog/how-supabase-native-backup-works): the snapshot mechanism, retention windows, and what you can and can't restore.
- [What Supabase's native backup doesn't cover](/blog/what-supabase-native-backup-doesnt-cover): Storage, Edge Functions, and the multi-region gap.
- [How to back up Supabase Postgres](/blog/backup-supabase-postgres): the full pg_dump setup, connection strings, and scheduling.
- [How to back up Supabase Storage](/blog/backup-supabase-storage): backing up Storage objects via the S3-compatible API and rclone.
## FAQ
---
*This article is part of [The complete guide to Supabase backup](/learn/supabase-backup#cross-region-backup), an honest, practical reference from the team that backs up Supabase every day.*
---
# How to back up Supabase Edge Functions
Source: https://simplebackups.com/blog/backup-supabase-edge-functions
Published: 2026-04-04
Author: Laurent
Summary: Edge Functions aren't in Supabase's native backup. Learn how to version your code, export config, handle secrets, and automate the whole thing.
You restore your Supabase project from last night's backup. The database comes back clean. Your Storage objects are another story, but at least the data is there. Then you check your Edge Functions. The list is empty. Every function you deployed over the last six months is gone.
This is not a Supabase bug. It's a gap that the backup docs don't make obvious: **native backup only covers your Postgres volume**. Everything built on top of it — including Edge Functions — is your responsibility.
[What Supabase's native backup doesn't cover](/blog/what-supabase-native-backup-doesnt-cover) names this as the second major blind spot after Storage. This guide is the backup walkthrough for that blind spot. By the end you'll know what to back up, how to do it today without extra tooling, and how to automate it so you don't have to think about it again.
## Why Edge Functions aren't in the native backup
Supabase's native backup is a physical snapshot of your Postgres volume. It captures what lives on that volume: your tables, indexes, schemas, extensions, RLS policies, and the `storage.objects` metadata table.
Edge Functions don't live on the Postgres volume. They run on Deno Deploy, Supabase's serverless Deno runtime. The function source code, the deployment configuration, and the secrets you've attached to those functions all live in a separate infrastructure layer that the physical snapshot never touches.
The [Supabase docs on Edge Functions](https://supabase.com/docs/guides/functions) describe the architecture clearly: you deploy functions via the CLI or Dashboard, they run on Deno Deploy, and their environment is managed separately from your database. For a deeper look at what the physical snapshot actually captures, [how Supabase's native backup works](/blog/how-supabase-native-backup-works) walks through the full picture.
The practical result: restore a backup, and you get your Postgres data back. Your Edge Functions are gone unless you kept them somewhere else.
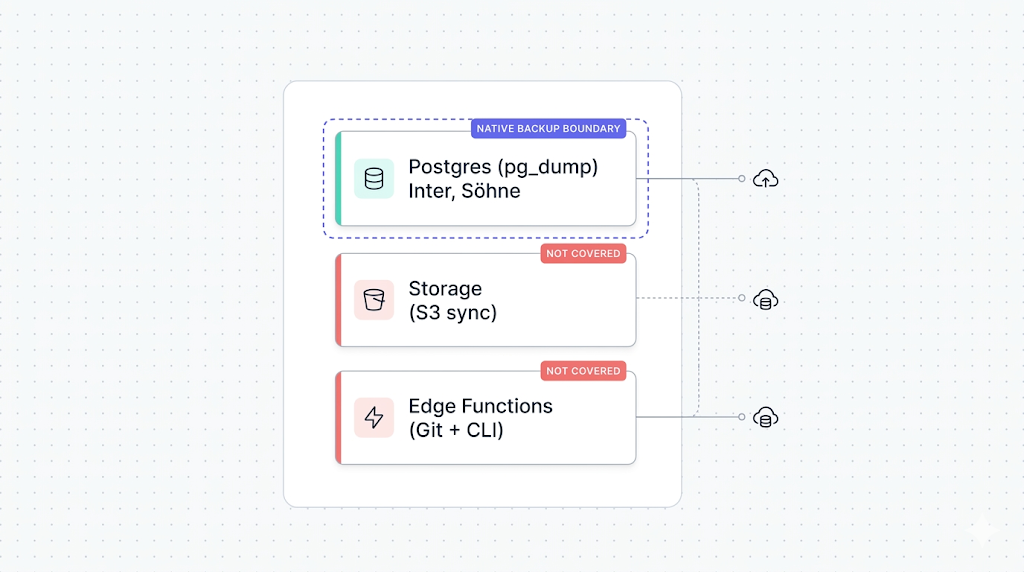
## What to back up: code, config, and secrets
Edge Functions have three distinct backup surfaces. Each one requires a different approach.
| Surface | What it contains | Where it lives | How to back it up |
| ----------- | -------------------------------------------- | ---------------------- | -------------------------------------- |
| Source code | `.ts` / `.js` function files, shared modules | Your filesystem | Git |
| Config | Function names, slugs, deploy settings | Supabase project | `supabase functions list` + CLI export |
| Secrets | Environment variable values | Supabase secrets store | Manual documentation only |
The source code is the easiest surface to protect. Config is more work but automatable. Secrets are the hardest, and the part most teams skip until they lose them.
## Versioning your function code with Git
If your function code is already in a Git repository, you have a backup for this surface. The Supabase CLI convention is to keep functions in a `supabase/functions/` directory at your project root, with one subdirectory per function.
```text
supabase/
functions/
send-welcome-email/
index.ts
process-webhook/
index.ts
_shared/
cors.ts
utils.ts
```
If you initialized your project with the CLI (`supabase init`), this structure is already in place. If you've been creating functions via the Dashboard and haven't pulled them locally, do that now.
Pull your deployed function code with:
```bash
supabase functions download --project-ref
```
Run that for each function, commit everything to a private repository, and push to a hosted remote (GitHub, GitLab, Bitbucket). That's a complete source-code backup.
Pull and commit regularly, not just when you remember. A deployment from the Dashboard won't automatically update your local files. If your team deploys via the Dashboard without committing, your Git history drifts from production within days.
Once the code is in Git, you also get versioned rollback for free: if a bad deploy breaks a function, `git diff` shows you exactly what changed and `git revert` gets you back.
## Exporting function config and environment variables
Your Git repository holds the function code. It doesn't hold the deployment config: which functions exist, what their slugs are, whether they have JWT verification enabled, and which secrets they reference by name.
List your deployed functions with:
```bash
supabase functions list --project-ref
```
The output looks like this:
```text
┌─────────────────────┬───────────────┬───────────────────────────┐
│ Name │ Version │ Created At │
├─────────────────────┼───────────────┼───────────────────────────┤
│ send-welcome-email │ 3 │ 2026-01-14T08:32:11.000Z │
│ process-webhook │ 7 │ 2026-02-03T15:20:44.000Z │
│ generate-pdf │ 1 │ 2026-03-29T10:05:22.000Z │
└─────────────────────┴───────────────┴───────────────────────────┘
```
Capture this in a script that writes to a file you commit alongside your function code. A minimal wrapper:
```bash
#!/bin/bash
# backup-functions-config.sh
# Run from your project root. Requires SUPABASE_PROJECT_REF in env.
set -euo pipefail
OUTPUT_FILE="supabase/functions/functions-manifest.json"
supabase functions list --project-ref "$SUPABASE_PROJECT_REF" --output json > "$OUTPUT_FILE"
echo "Functions manifest written to $OUTPUT_FILE"
```
Commit `functions-manifest.json` to your repository. After a restore, you have a record of exactly which functions existed and when they were last updated.
You can also check the `supabase/config.toml` in your project. It captures function-level settings like `verify_jwt` per function. If you're using the CLI workflow, this file should already be in your repository.
## Backing up secrets (the part most people miss)
This is where most teams have a gap they don't know about.
Supabase secrets are the environment variables you attach to Edge Functions. You set them with `supabase secrets set KEY=value`. You can list them with `supabase secrets list`. What you cannot do is export the values.
```bash
supabase secrets list --project-ref
```
```text
┌─────────────────────┬─────────────────────────┐
│ Name │ Updated At │
├─────────────────────┼─────────────────────────┤
│ RESEND_API_KEY │ 2026-01-14T08:32:11.000Z │
│ STRIPE_WEBHOOK_SECRET│ 2026-02-03T15:20:44.000Z│
│ OPENAI_API_KEY │ 2026-03-29T10:05:22.000Z │
└─────────────────────┴─────────────────────────┘
```
The CLI shows you the names. It does not show you the values.
As of the current Supabase CLI and Management API, there is no way to export secret values programmatically. The values exist only inside Supabase's secrets store. If you lose access to the original sources (your password manager, your CI secrets, your team's shared vault), you cannot recover them from a Supabase backup or export.
The only reliable backup for secrets is to store the values somewhere you control: a secrets manager (AWS Secrets Manager, HashiCorp Vault, Doppler, 1Password), a `.env.production` file in a private encrypted store, or your CI/CD platform's secret storage (GitHub Actions secrets, GitLab CI variables).
A practical step to take today: open `supabase secrets list`, open your secrets manager, and verify that every secret Supabase knows about is documented with its current value somewhere you control. If a name appears in Supabase but you can't find the value, treat that as a missing backup and rotate the secret from its source so you have a fresh known value stored.
Document the secret names in your repository even if you can't store the values:
```text
# supabase/functions/.secrets.example
# This file documents which secrets Edge Functions expect.
# Values are managed in [your-team-vault]. Do not commit actual values.
RESEND_API_KEY=
STRIPE_WEBHOOK_SECRET=
OPENAI_API_KEY=
```
This gives a future you (or a new teammate rebuilding after a restore) a complete checklist of what to restore, even if the values come from outside Supabase.
## Automating Edge Function backups
Source code in Git handles itself if your team has a discipline of committing before deploying. The config export is where automation pays off.
A complete daily backup script:
```bash
#!/bin/bash
# backup-edge-functions.sh
# Run daily via cron or CI. Requires Supabase CLI installed and authenticated.
set -euo pipefail
PROJECT_REF="${SUPABASE_PROJECT_REF:?SUPABASE_PROJECT_REF must be set}"
BACKUP_DIR="supabase/functions"
DATE=$(date -u +%Y-%m-%dT%H:%M:%SZ)
echo "[$DATE] Starting Edge Functions backup for project $PROJECT_REF"
# 1. Pull current function source from Supabase (catches Dashboard-only deploys)
mkdir -p "$BACKUP_DIR"
for fn in $(supabase functions list --project-ref "$PROJECT_REF" --output json | jq -r '.[].name'); do
echo " Downloading function: $fn"
supabase functions download "$fn" --project-ref "$PROJECT_REF" --output "$BACKUP_DIR/$fn" 2>/dev/null || echo " [warn] Could not download $fn — may require manual pull"
done
# 2. Export function manifest
supabase functions list --project-ref "$PROJECT_REF" --output json > "$BACKUP_DIR/functions-manifest.json"
# 3. Export secret names (values must be managed separately)
supabase secrets list --project-ref "$PROJECT_REF" --output json > "$BACKUP_DIR/secrets-manifest.json"
echo "[$DATE] Edge Functions backup complete."
echo " Commit and push $BACKUP_DIR to your remote repository."
```
Run this from a cron job on a server that has the Supabase CLI installed and authenticated via `SUPABASE_ACCESS_TOKEN`. Or run it as a scheduled CI/CD job (GitHub Actions, GitLab CI, CircleCI) that commits the output to a private backup branch.
A weekly GitHub Actions workflow that does this:
```yaml
# .github/workflows/backup-edge-functions.yml
name: Backup Edge Functions
on:
schedule:
- cron: "0 3 * * 0" # Every Sunday at 03:00 UTC
workflow_dispatch:
jobs:
backup:
runs-on: ubuntu-latest
steps:
- uses: actions/checkout@v4
with:
token: ${{ secrets.GH_PAT }}
- name: Install Supabase CLI
run: npm install -g supabase
- name: Run Edge Functions backup
env:
SUPABASE_ACCESS_TOKEN: ${{ secrets.SUPABASE_ACCESS_TOKEN }}
SUPABASE_PROJECT_REF: ${{ secrets.SUPABASE_PROJECT_REF }}
run: bash ./scripts/backup-edge-functions.sh
- name: Commit updated backup
run: |
git config user.name "github-actions[bot]"
git config user.email "github-actions[bot]@users.noreply.github.com"
git add supabase/functions/
git diff --staged --quiet || git commit -m "chore: edge functions backup $(date -u +%Y-%m-%d)"
git push
```
We run Supabase backups every day. The teams that recover cleanly from a project restore are the ones who treat their `supabase/functions/` directory the same way they treat `src/`: committed, reviewed, and deployed from version control. The teams who struggle are the ones who built functions entirely through the Dashboard and never pulled them locally.
## What to do next
If you've read this far, you know the three surfaces. Here's the short version of what to do tonight:
1. Run `supabase functions download` for every function and commit the output to a private repository.
2. Add the config export script as a weekly CI job.
3. Open `supabase secrets list`, cross-reference it with your secrets manager, and fill any gaps.
The database and Storage sides of your Supabase project need the same treatment. [Backing up Supabase Storage](/blog/backup-supabase-storage) covers the S3-sync path for file bytes. [Backing up Supabase Postgres](/blog/backup-supabase-postgres) covers `pg_dump` and off-site storage for the database itself. A complete Supabase backup strategy needs all three.
If you want to see the full picture of what native backup covers versus what a managed service adds, [Supabase native backup vs. SimpleBackups](/blog/supabase-native-vs-simplebackups) puts both options side by side across every surface, including cost.
If scripting and scheduling all this yourself sounds like a second job, SimpleBackups handles Supabase Postgres, Storage, and Edge Functions backups off-site, with alerts when a run fails. [See how it works →](/platform/supabase)
## Keep learning
- [What Supabase's native backup doesn't cover](/blog/what-supabase-native-backup-doesnt-cover) — the full gap map: Postgres, Storage, Edge Functions, secrets
- [How Supabase's native backup works](/blog/how-supabase-native-backup-works) — what's in the physical snapshot and what isn't
- [Supabase Edge Functions docs](https://supabase.com/docs/guides/functions) — deployment, config, and secrets management from the source
- [Backing up Supabase Storage](/blog/backup-supabase-storage) — the S3-sync approach for your file bytes
## FAQ
---
_This article is part of [The complete guide to Supabase backup](/learn/supabase-backup#backup-edge-functions), an honest, practical reference from the team that backs up Supabase every day._
---
# How to restore a Supabase database from backup
Source: https://simplebackups.com/blog/restore-supabase-database
Published: 2026-04-03
Author: Laurent
Summary: Three restore paths for Supabase: Dashboard snapshot, CLI with pg_restore, and raw pg_dump file. Step-by-step with common gotchas for each method.
You need to restore a Supabase database, and you're looking at the Dashboard wondering if the "Restore" button is even what you want. Maybe someone ran a destructive migration. Maybe you're cloning production to staging. Maybe something worse happened. The right move depends on one question you need to answer first: how was the backup created?
Three restore paths exist for Supabase databases. The Dashboard restore works only with native physical snapshots. `pg_restore` works with custom-format `pg_dump` files. A plain SQL dump restores differently still. Pick the wrong path and the operation either fails silently or restores the wrong data.
This article walks through all three paths, with the exact commands, the common errors for each, and how to confirm that what came back is actually what you expected.
## When to use which restore path
The restore method has to match the backup method. That sounds obvious, but it trips people up because Supabase's [native backup system](/blog/how-supabase-native-backup-works) operates entirely behind the scenes. You never see the backup file. It's a physical snapshot of the underlying Postgres volume, not a `pg_dump`, and it can only be restored through the Dashboard.
If you made a manual backup using `pg_dump`, the restore uses `pg_restore` (for custom-format dumps) or `psql` (for plain SQL dumps). The Dashboard has no way to ingest those files.
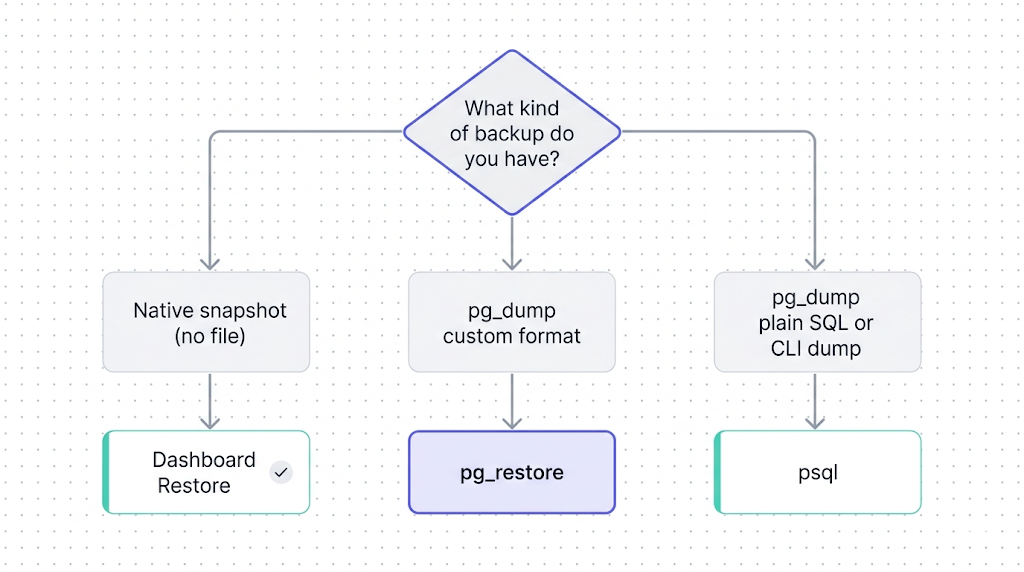
| Backup method | Restore method | Who controls it |
|---|---|---|
| Supabase native snapshot | Dashboard → Restore | Supabase |
| `pg_dump --format=custom` | `pg_restore` | You |
| `pg_dump --format=plain` | `psql` | You |
| Supabase CLI (`supabase db dump`) | `psql` or `pg_restore` | You |
One more constraint worth knowing before you choose: the Dashboard restore **replaces your entire database**. There is no partial restore, no table-level restore, and no preview. If that's too coarse, the manual paths give you more control.
## Restoring from the Supabase Dashboard
The Dashboard restore is the only way to recover from a native physical snapshot. According to [Supabase's backup documentation](https://supabase.com/docs/guides/platform/backups), Daily Backups for Pro plans retain 7 days; Team retains 14; Enterprise retains 30. Free plans have no backups.
**Before you start**: the restore creates a new database cluster from the chosen snapshot. Anything written after that snapshot's timestamp is gone. Confirm that the timestamp is the one you want before you click anything.
Steps:
1. Open your project in the Supabase Dashboard.
2. Go to **Settings** → **Database** → **Backups**.
3. You will see a list of available daily backup snapshots, each labeled with a timestamp.
4. Click **Restore** on the snapshot you want to recover.
5. Confirm the dialog. The operation kicks off immediately.
The dashboard shows progress. Depending on your database size, the process can take anywhere from a few minutes to over an hour for large projects. During this time the database is in a read-only or unavailable state. Do not try to run migrations or write data.
If your project is on the Free plan, there are no native snapshots to restore. Your only option is restoring from a manual pg_dump backup you created yourself, or starting fresh.
After the restore completes, verify your data before you route production traffic back. The "How to verify a restore worked" section below has a quick checklist.
## Restoring with `pg_restore` from a `pg_dump` file
If your backup was created with `pg_dump --format=custom`, the restore tool is `pg_restore`. Plain SQL dumps (no `--format` flag or `--format=plain`) use `psql` instead. For the full background on both formats, see our [PostgreSQL restore guide](/blog/how-to-restore-a-postgresql-backup).
You will need the connection string for your Supabase project. Get it from **Settings** → **Database** → **Connection string** (select the direct connection, not the pooler, for `pg_restore`). It looks like:
```text
postgresql://postgres:[your-password]@db.[project-ref].supabase.co:5432/postgres
```
### Restoring a custom-format dump
```bash
pg_restore --host=db.[project-ref].supabase.co --port=5432 --username=postgres --dbname=postgres --no-owner --no-privileges --verbose dump-2026-04-21.dump
```
Flag notes:
- `--no-owner`: skips `ALTER TABLE ... OWNER TO` statements. Required for Supabase because the role names in your dump probably don't match the Supabase project roles.
- `--no-privileges`: skips `GRANT/REVOKE`. Same reason.
- `--verbose`: logs each object as it's restored so you can see where it fails.
- `-j 4`: add this to parallelize the restore across 4 workers. Speeds up large databases.
### Restoring a plain SQL dump
```bash
psql --host=db.[project-ref].supabase.co --port=5432 --username=postgres --dbname=postgres --file=dump-2026-04-21.sql
```
Postgres version mismatches cause silent failures and subtle data corruption. The pg_restore client must be the same major version as the Supabase project's Postgres version. Run `pg_restore --version` and compare against your project's Postgres version in Settings → Database. If they differ, install the matching client version.
For a step-by-step walkthrough of what each `pg_dump` option produces, the [pg_dump and pg_restore guide with examples](/blog/postgresql-pgdump-and-pgrestore-guide-examples) covers the format differences in detail. For the backup side of this operation, see [how to back up Supabase Postgres](/blog/backup-supabase-postgres).
## Restoring via the Supabase CLI
The Supabase CLI handles the `pg_dump` and restore workflow directly if you prefer a single command surface. It wraps `pg_dump` for backups and feeds `psql` for restores.
**Link your project first** if you haven't already:
```bash
supabase link --project-ref [project-ref]
```
**Dump the source database** (if you haven't already):
```bash
supabase db dump --file dump.sql
```
This produces a plain SQL dump. To restore it to a target Supabase project:
```bash
psql --host=db.[target-project-ref].supabase.co --port=5432 --username=postgres --dbname=postgres --file=dump.sql
```
Note that the CLI's `supabase db dump` produces a plain SQL file, not a custom-format dump. You use `psql` to restore it, not `pg_restore`.
The CLI path is particularly useful when you want to move data between two Supabase projects, for example when promoting a staging database to production or seeding a development environment from a production snapshot.
## What about Storage and Edge Functions?
A database restore, whether through the Dashboard or `pg_restore`, covers **only the Postgres data**. Two critical parts of your Supabase project sit outside Postgres entirely.
**Storage**: Supabase Storage files live in an S3-compatible backend, not in Postgres. The `storage.objects` table in your database contains metadata (filenames, paths, sizes) and those rows come back with a database restore. The actual file bytes do not. After a database restore, your app will have valid records pointing to files that no longer exist. This is the "broken image URL after restore" failure mode we see consistently.
For recovering the actual Storage objects, you need a separate Storage backup and restore process. See [how to restore Supabase Storage objects](/blog/restore-supabase-storage-objects).
**Edge Functions**: Function source code, deployment config, and secrets live on Deno Deploy infrastructure, completely separate from the Postgres cluster. A database restore does not touch them. If you lost Edge Function code, recover it from source control or redeploy from your local copy.
As the [guide to what Supabase's native backup doesn't cover](/blog/what-supabase-native-backup-doesnt-cover) explains, these two gaps are the most common source of confusion after a restore: the database came back, but the application is still broken.
## Common restore errors and how to fix them
### `pg_restore: error: query failed: ERROR: role "supabase_admin" does not exist`
You tried to restore without `--no-owner` or `--no-privileges`. The dump includes role assignments that don't exist in the target project. Re-run with both flags.
### `ERROR: schema "public" already exists`
The target database has existing schema. Either restore to a fresh Supabase project, or add `--clean` to `pg_restore` to drop and recreate objects before restoring. Use `--clean` only when you're certain you want to overwrite what's there.
### `pg_restore: [archive] input file does not appear to be a valid archive`
You're trying to use `pg_restore` on a plain SQL dump. Plain SQL files need `psql`, not `pg_restore`. Check your dump format: if the file starts with `-- PostgreSQL database dump`, use `psql`.
### Dashboard restore fails silently with no progress update
This sometimes happens when the backup snapshot itself is corrupted or when the project is in an inconsistent state due to a recent platform incident. Contact Supabase support directly with your project reference and the timestamp of the snapshot you tried to restore.
### Project is paused and you can't restore
If your project is on the Free tier and it was paused for inactivity, the dashboard restore flow behaves differently from a normal restore. For the paused project recovery path, see [how to recover a paused Supabase project](/blog/recover-paused-supabase-project).
After any restore operation that involved pg_restore or psql, your RLS (Row Level Security) policies and auth.users data need verification. The auth schema is included in native Dashboard restores. For manual pg_dump restores, the auth schema may not be captured depending on how the dump was created. Run `\dt auth.*` in psql to confirm.
## How to verify a restore worked
Don't assume the restore succeeded because no error appeared. Run these checks before routing any traffic back to the restored database.
**Row counts on critical tables**: compare against what you know the state should be.
```sql
SELECT
schemaname,
tablename,
n_live_tup AS estimated_row_count
FROM pg_stat_user_tables
ORDER BY n_live_tup DESC
LIMIT 20;
```
**Check the latest timestamps**: confirm recent data is present at the timestamp you expected.
```sql
SELECT MAX(created_at) FROM your_most_active_table;
```
**Spot-check a known record**: if you have a specific row you know should exist, query it directly.
**Verify RLS policies are intact**:
```sql
SELECT tablename, policyname, cmd, qual
FROM pg_policies
WHERE schemaname = 'public'
ORDER BY tablename;
```
**Check extensions**:
```sql
SELECT name, default_version, installed_version
FROM pg_available_extensions
WHERE installed_version IS NOT NULL;
```
If any of these fail, stop and investigate before going back to production. A partial restore that looks successful at the surface can hide missing data, broken foreign keys, or policies that didn't come back correctly.
## What to do next
If you ran through a manual restore for the first time today, you now know how much of this is muscle memory. The actual restore is four commands. What takes time is the preparation: knowing which backup format you have, having the connection string ready, and running the verification queries afterward.
The part that catches teams off guard is realizing, after the Postgres restore, that their Storage files aren't back. If that happened to you, work through the Storage recovery path next. And if you want a video walkthrough of the full process, the [Supabase backup and recovery guide video tutorial](/blog/supabase-backup-recovery-guide-video-tutorial) covers the end-to-end flow visually.
If scripting and scheduling Supabase Postgres backups off-site yourself sounds like a second job, SimpleBackups handles Supabase backups automatically with off-site storage and alerts when a run fails. [See how it works →](/platform/supabase)
## Keep learning
- [How Supabase native backup works](/blog/how-supabase-native-backup-works) — what the Dashboard actually backs up and what it doesn't
- [What Supabase's native backup doesn't cover](/blog/what-supabase-native-backup-doesnt-cover) — the Storage and Edge Function gaps in full
- [How to restore a PostgreSQL backup](/blog/how-to-restore-a-postgresql-backup) — the foundational pg_restore reference
- [pg_dump and pg_restore guide with examples](/blog/postgresql-pgdump-and-pgrestore-guide-examples) — complete format and flag reference
## FAQ
---
_This article is part of [The complete guide to Supabase backup](/learn/supabase-backup#restore-database), an honest, practical reference from the team that backs up Supabase every day._
---
# I accidentally deleted files from a Space
Source: https://simplebackups.com/blog/digitalocean-spaces-accidental-deletion
Published: 2026-04-02
Author: Laurent
Summary: Versioning is off by default. If you deleted files from a Space, here's what's recoverable, what's gone, and how to prevent this happening again.
You deleted objects from a DigitalOcean Space. Maybe it was a script that ran too broadly, a wrong prefix in an `aws s3 rm` command, or a UI click you can't take back. You're here because you want to know if recovery is possible.
The answer depends entirely on one setting: whether versioning was enabled on that Space before the deletion happened. This article walks you through what to check, what you can recover, and what to do so this can't happen again.
## The short answer: it depends on versioning
DigitalOcean Spaces is S3-compatible, which means it supports object versioning. When versioning is on, deleting an object doesn't erase it. Instead, Spaces places a "delete marker" at the top of the object's version stack, hiding it from normal listings. The actual content sits underneath, accessible via the API.
When versioning is off, deletion is immediate and permanent. The object is gone. There is no trash folder, no soft-delete window, no internal snapshot. Gone means gone.
The critical fact: [versioning is off by default on DigitalOcean Spaces](https://docs.digitalocean.com/products/spaces/). Most people learn this at the worst possible moment.
Start here. Check whether versioning was enabled on your bucket before the deletion:
```bash
aws s3api get-bucket-versioning
--bucket your-space-name
--endpoint-url https://nyc3.digitaloceanspaces.com
```
Replace `nyc3` with your Space's region (e.g., `ams3`, `sgp1`, `sfo3`). If versioning was active, the response looks like this:
```text
{
"Status": "Enabled"
}
```
If the response is empty, or you see `"Status": "Suspended"`, versioning was not protecting your objects at the time of deletion.
Versioning is off by default on DigitalOcean Spaces. If you haven't explicitly enabled it, it's off. Enable it now, before you need it.
## If versioning was on: how to recover
If the command above returned `"Status": "Enabled"`, your deleted objects are still there. You need to list the versions of the object to find the version ID you want to restore, then copy that specific version back into place.
Step one: list all versions of the deleted object (or all objects under a prefix):
```bash
aws s3api list-object-versions
--bucket your-space-name
--prefix path/to/your/object.ext
--endpoint-url https://nyc3.digitaloceanspaces.com
```
The output shows `Versions` (the actual content) and `DeleteMarkers` (the tombstones created by each delete operation). The version you want is the most recent `Version` entry before the `DeleteMarker` at the top.
Step two: restore that version by copying it back to the same key:
```bash
aws s3api copy-object
--bucket your-space-name
--copy-source "your-space-name/path/to/your/object.ext?versionId=PASTE_VERSION_ID_HERE"
--key path/to/your/object.ext
--endpoint-url https://nyc3.digitaloceanspaces.com
```
This creates a new current version of the object using the old content. The delete marker remains in the version history but is no longer the current version, so the object is visible again in normal listings.
For a bulk delete (many objects under one prefix), the same pattern applies at scale: list all delete markers under the prefix, then delete each delete marker by version ID. Deleting a delete marker promotes the previous version back to current. The [full restore workflow for Spaces](/blog/restore-digitalocean-spaces) covers the scripted approach for recovering hundreds or thousands of objects at once.
Versioning protects against accidental deletion of individual objects. It does not protect against someone deleting the entire bucket, or against account-level compromise where an attacker has your credentials. For those scenarios, you need an off-site copy, not just versioning.
## If versioning was off: what's actually gone
If versioning was not enabled, the deleted objects are unrecoverable through any self-service means. DigitalOcean does not maintain shadow copies of unversioned objects after deletion. There is no administrative restore path you can trigger from the DigitalOcean control panel.
This is not a DigitalOcean limitation so much as how S3-compatible object storage works at the infrastructure level. When a write comes in to delete an unversioned object, the content is removed from the backing store. There is no staging area.
What this means practically:
| Scenario | Versioning on | Versioning off |
|---|---|---|
| Single object deleted | Recoverable via delete marker removal | Gone permanently |
| Bulk delete (prefix) | Recoverable via delete marker removal | Gone permanently |
| Object overwritten | Previous version recoverable | Gone permanently |
| Bucket-level deletion | Not recoverable | Not recoverable |
| Account compromise | Not recoverable | Not recoverable |
The bucket-level and account-level rows are the same regardless of versioning status. Versioning operates at the object layer, not the bucket layer. A `DeleteBucket` operation removes the bucket and everything in it, including the version history.
If you are recovering from an accidental bulk delete with versioning off, your options are:
1. Restore from a backup you made to a separate destination (another storage provider, a local server, another cloud account).
2. Accept the data loss and rebuild from source.
That is a painful place to be. The [how DigitalOcean native backup works](/blog/how-digitalocean-native-backup-works) article covers what Spaces does and doesn't include natively, and [what native backup doesn't cover](/blog/what-digitalocean-native-backup-doesnt-cover) goes into why Spaces is the product most commonly left unprotected.
## Can DigitalOcean support recover deleted objects?
No. This is one of the most common questions we see, and the answer is consistent: DigitalOcean support cannot recover objects deleted from a Space without versioning.
When you open a ticket, support will ask for the bucket name, the object keys, and an approximate deletion timestamp. They will verify this internally. The response will confirm that without versioning, the data is not recoverable from their side.
This is not a policy limitation. DigitalOcean does not retain deleted unversioned objects in a recoverable form at the infrastructure layer. There is nothing for support to restore from.
The only exception we've seen flagged in support threads is if DigitalOcean itself experienced a platform-level incident that caused unintended deletion. In that case, they investigate on their own and may have internal recovery paths. Accidental deletion triggered by your account's API calls or UI actions falls entirely outside that path.
## Designing around this failure mode
The time to fix this is before it happens. Two layers of protection, in order of how quickly you should add them.
**Layer 1: Enable versioning on every Space that holds important data.**
You can enable versioning with a single API call:
```bash
aws s3api put-bucket-versioning
--bucket your-space-name
--versioning-configuration Status=Enabled
--endpoint-url https://nyc3.digitaloceanspaces.com
```
Versioning applies to new writes from that point forward. It does not retroactively version existing objects, but it ensures that from the moment you enable it, nothing you write can be silently deleted.
The cost consideration: versioning accumulates multiple copies of each object. For Spaces buckets that receive frequent overwrites (logs, processed output, rotating files), you should pair versioning with a lifecycle rule that expires old versions after a set number of days to avoid unbounded storage growth.
**Layer 2: Maintain an off-site mirror.**
Versioning protects against accidental deletes. It does not protect against account compromise or bucket-level deletion. An off-site mirror is the only full protection.
If an attacker gets your DigitalOcean credentials and deletes your Space, versioning is gone with it. If DigitalOcean suspends your account over a billing dispute, your versioned Space is inaccessible until resolution. The backup for a Space is a copy of that Space's contents sitting in a different cloud account, ideally under a different provider.
For how to set that up, the [off-site compliance for DigitalOcean](/blog/digitalocean-off-site-compliance) article covers the architecture. [Backing up DigitalOcean Spaces](/blog/backup-digitalocean-spaces) covers the practical steps for establishing a continuous backup of a Space to external storage.
**What to do tonight:**
Run the versioning check command from §1 against every Space in your account. For any Space that returns empty or `Suspended`, decide whether the data matters. If it does, enable versioning immediately. Then schedule the off-site mirror work for this week, not next quarter.
---
If you've read this far, you probably already know whether native versioning is enough for your project. If it isn't, [SimpleBackups](/platform/digitalocean) gives you cross-region off-site backup for Spaces, automated verification, and a restore you can actually test.
## Keep learning
- [Backing up DigitalOcean Spaces](/blog/backup-digitalocean-spaces)
- [Restoring from a DigitalOcean Spaces backup](/blog/restore-digitalocean-spaces)
- [What DigitalOcean native backup doesn't cover](/blog/what-digitalocean-native-backup-doesnt-cover)
- [How to create a storage replication with SimpleBackups](/how-to-create-a-storage-replication-with-simplebackups/)
- [DigitalOcean backups explained](/digitalocean-backups-explained/)
## FAQ
---
_This article is part of [The complete guide to DigitalOcean backup](/digitalocean-backup#spaces-accidental-deletion), an honest, practical reference from the team that backs up DigitalOcean every day._
---
# What Supabase's native backup doesn't cover
Source: https://simplebackups.com/blog/what-supabase-native-backup-doesnt-cover
Published: 2026-04-01
Author: Laurent
Summary: Supabase runs daily database backups. It also silently skips Storage, Edge Functions, and more. Every gap in native Supabase backup, and what to do about each.
Pro plans get 7 days of retention. Team gets 14. Enterprise gets 30. Free gets nothing.
Those are the numbers Supabase publishes. The numbers nobody publishes are the ones that matter more: what percentage of your actual project each plan covers. If your project uses Storage, Edge Functions, or anything beyond the Postgres database, the honest answer is somewhere around half.
This article is the long version of that answer, with what's covered, what isn't, and what to do about each gap.
We run Supabase backups every day for thousands of projects. The pattern we see is consistent: teams discover the gaps in native backup the hard way, usually at the moment they needed the data back. The goal here is to move that discovery up, to now, on a Tuesday afternoon when it costs nothing.
After reading this, you'll know exactly what Supabase's daily backup protects, what it silently doesn't, and which of the gaps matter enough to close for your project.
## How Supabase's native backup actually works
Before the gaps, the thing itself. For the full walkthrough of how the native snapshot, retention, and PITR actually work, see [How Supabase's native backup actually works](/blog/how-supabase-native-backup-works). The short version lives below.
### The thing: a physical snapshot
When Supabase says "daily backup" it means a **physical snapshot** of the Postgres volume your project runs on. Not a `pg_dump`. Not a logical export.
A volume-level snapshot of the underlying disk, taken by the cloud provider (AWS under the hood), rotated on a retention schedule that depends on your plan.
That distinction matters, and it's the root of several gaps further down.
A physical snapshot is fast to take and fast to restore, but it's also **not portable**. You can't download it. You can't restore it on another Postgres server you run. Everything about "where does my backup live" and "can I take it with me" flows from that single architectural choice.
### Plans and retention
Here's the plan landscape in one table. This is the part Supabase publishes clearly:
| Plan | Price | Daily backups | Retention | PITR |
| ---------- | ------- | ------------- | --------- | ----------------------------------------------------------------------------- |
| Free | $0 | No | 0 days | No |
| Pro | $25/mo | Yes | 7 days | Paid add-on (usage-based, around $140/mo for 7-day PITR on a typical project) |
| Team | $599/mo | Yes | 14 days | Paid add-on (same usage-based pricing model) |
| Enterprise | Custom | Yes | 30 days | Paid add-on |
Point-in-Time Recovery (PITR) is a separate product. On paid plans you can pay extra to recover to any second inside a recovery window. PITR stores Write-Ahead Logs (WAL) continuously and replays them. We'll come back to PITR's own gaps in the section on retention.
A few other operational facts that matter later:
- Backups are **managed by Supabase** inside the platform.
- You trigger a restore from the Supabase dashboard's Database Backups tab. If you need a step-by-step walkthrough of all three restore paths (Dashboard snapshot, `pg_restore`, and CLI), see [How to restore a Supabase database from backup](/blog/restore-supabase-database).
- Native backups are **included in the plan price**. You don't pay per backup or per GB of retention.
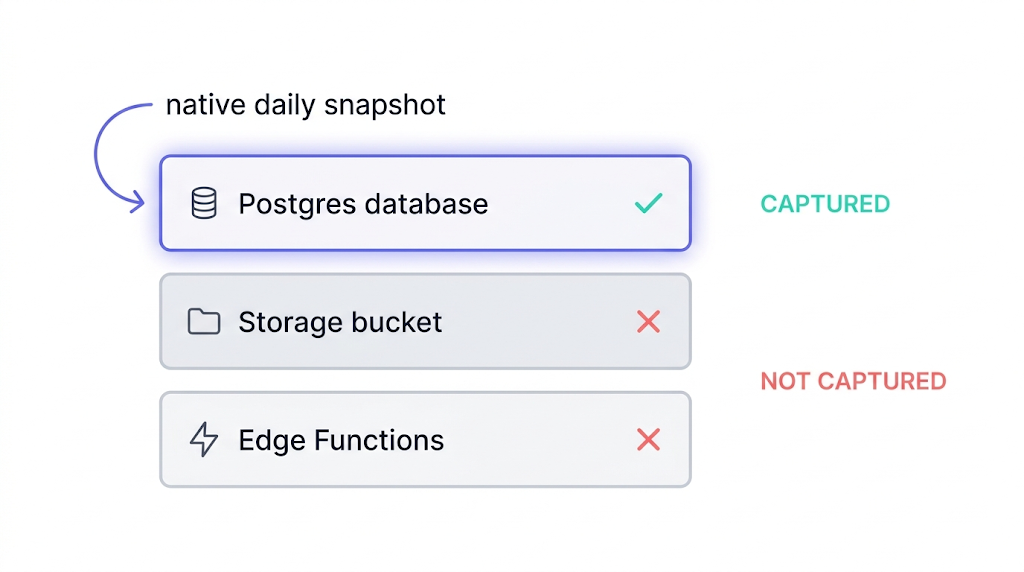
### Scope at a glance
Here's the coverage in one scannable table. The version of this table we wish Supabase's pricing page would publish:
| Part of your project | In the native snapshot? |
| ------------------------------------------------ | -------------------------- |
| Postgres database (tables, rows, indexes) | Yes |
| Postgres roles and privileges | Yes, as part of the volume |
| `storage.objects` table (file metadata) | Yes |
| Storage bucket **contents** (the actual files) | **No** |
| Edge Functions source code | No |
| Edge Functions secrets | No |
| `supabase/config.toml` | No |
| Auth provider credentials (Google, GitHub OAuth) | No |
| Custom auth email templates | No |
| Webhook signing secrets | No |
| JWT secret | No |
| Custom SMTP configuration | No |
| Site URL, CORS, rate limits | No |
| Backup itself (survives project deletion) | No |
If you're running [self-hosted Supabase via Docker Compose](/blog/backup-self-hosted-supabase), every row in this table is a "no," because self-hosted has no native backup at all. The rest of this article covers the cloud-hosted gaps. Self-hosted users need a complete backup strategy from scratch.
That's the shape of the gap. Now the details of each row that's a "no."
## Gap #1: Your Storage buckets
This is the biggest gap, and the one most teams don't know about until the moment it's inconvenient.
### Why Storage isn't in the snapshot
Supabase Storage is **architecturally separate** from your Postgres database. It's an S3-compatible object store that sits next to your project, not inside it. The physical snapshot that makes up your daily backup captures the Postgres volume. It does not capture the Storage bucket.
What that means in practice:
- If you accidentally delete a bucket, the daily backup will not bring it back.
- If an API key leaks and someone deletes 10,000 user-uploaded files, the daily backup will not bring them back.
- If Storage itself has an incident (we've seen this on other managed providers; Supabase's track record is good, but "good" is not "always"), the daily backup will not bring it back.
### The metadata trap
The subtle version of this trap is that the Postgres database **does** back up the `storage.objects` table. That table records metadata about every object: file path, content type, size, owner. But the actual bytes of the files live in the S3 backend, and they aren't part of the physical snapshot.
So after a Storage incident, your database can cheerfully tell you that `/avatars/user-123.png` exists and is 48 KB, while the file itself is gone.
### Am I even using Storage?
The first thing to check is whether your project uses Storage at all. Many do without the team realizing, because auth avatars, email attachments, and generated reports often end up there.
This query answers the question:
```sql
select
b.name as bucket,
count(o.id) as object_count,
pg_size_pretty(sum(o.metadata->>'size')::bigint) as total_size
from storage.buckets b
left join storage.objects o on o.bucket_id = b.id
group by b.name
order by object_count desc;
```
If the count is zero everywhere, you're not using Storage and this gap doesn't apply. If it isn't, the gap applies.
### The `pg_dump` trap
Here's the version of the trap that bites teams who thought they had Storage covered. A `pg_dump` of a Supabase project happily serializes the `storage.objects` table, because that table is in the database:
```bash
pg_dump --host="aws-0-eu-central-1.pooler.supabase.com" --port=6543 --username="postgres.${PROJECT_REF}" --format=custom --file="supabase-$(date +%F).dump" postgres
```
Run this, and you'll get a clean `.dump` file that contains every row of `storage.objects`. The file metadata, the content types, the sizes, the owners. The actual file bytes are in the S3 backend, which `pg_dump` never touches.
A restore of this dump will re-create the `storage.objects` table and tell your application that `/avatars/user-123.png` is a 48 KB PNG owned by user 123, and your application will happily render an `` tag pointing to a URL that 404s.
The Postgres side of the Storage gap is underappreciated. Because the `storage.objects` table backs up with the database, a native restore can leave you with a database that *thinks* it has files that no longer exist anywhere. The symptom is broken image URLs and 404s on user-uploaded content after an otherwise-successful restore. Worth knowing before it happens.
### The workaround
An independent backup of the bucket contents, either by script against Supabase's S3-compatible API, or by a managed service. We cover the script path in detail in [How to back up Supabase Storage buckets](/blog/backup-supabase-storage).
The short version: Supabase exposes S3-compatible endpoints, you can run `aws s3 sync` against them, and the rest is a cron job and a storage provider of your choice. When it's time to bring those files back, the restore is also a two-step job: file bytes via the S3 API, and metadata rows via pg_restore. [How to restore Supabase Storage objects](/blog/restore-supabase-storage-objects) walks through both steps, including the reconciliation check that surfaces mismatches between the two layers.
## Gap #2: Your Edge Functions (and their secrets)
Edge Functions run on Supabase's Edge Runtime. They are **not part of the database volume**, so they are not part of the snapshot.
There are three things inside an Edge Function that you care about backing up, and they have three different answers.
| Thing | Backed up natively? | Where it should live |
| ---------------------- | ------------------- | ------------------------------------------- |
| Function source code | No | Git, always |
| `supabase/config.toml` | No | Git, always |
| Secrets (env vars) | No | External secret manager or encrypted backup |
### Your code belongs in Git
The first two rows are the answer most teams give themselves when they think about Edge Function backup: "our code is in Git, we're fine."
They're half right. The source code is covered as long as Git is covered, which for most teams means GitHub, which means you've inherited GitHub's backup posture. Fine for most; not fine for audit-ready SOC 2.
### Your secrets need their own plan
The third row is where teams get caught. Secrets set via `supabase secrets set FOO=bar` are stored inside the Supabase project. They're not in Git (correctly, you shouldn't put them there). They're also not in any backup.
If your project is deleted, your secrets are gone with it.
The pragmatic rule we recommend:
1. All function source and config lives in Git. Not optional.
2. Secrets are set in Supabase, but the canonical list of "what secrets should exist" lives in a checked-in `.env.example`, and the actual values live in a secret manager (Doppler, 1Password, AWS Secrets Manager, HashiCorp Vault, pick one).
3. Write a small script that reads the secret manager and calls `supabase secrets set` to reconstitute the project's secrets from scratch. **Test it.**
A secret manager you can't re-apply to a project under time pressure is a diary, not a backup. The re-apply script is the part nobody writes until it's too late.
For the step-by-step walkthrough on all three surfaces (pulling function source into Git, exporting deploy config via CLI, and documenting secrets so you can reconstitute them after a restore), see [How to back up Supabase Edge Functions](/blog/backup-supabase-edge-functions).
## Gap #3: Project-level configuration and auth
Beyond the database and Storage and Edge Functions, a Supabase project has a long tail of **configuration state** that lives in the dashboard, gets wired up over months, and is not part of the physical snapshot.
### The offenders
- **Auth provider credentials**. OAuth client IDs and secrets for Google, GitHub, Apple, Discord, etc. Set once, ignored forever, not backed up.
- **Custom email templates**. If you customized the magic-link, recovery, or invitation emails, those templates live in the project config.
- **Rate limits, CORS settings, site URLs**.
- **Webhook signing secrets** for database webhooks.
- **Custom SMTP configuration** for auth emails.
- **JWT secret**. The big one. Rotate this or lose it, and every existing token in the wild becomes invalid.
Of everything in this list, the JWT secret is the one that matters most. Losing it signs out every user you have. Regenerating it without a plan breaks every client that's already authenticated. Treat it like a production database credential: rotate it deliberately, store it in a secret manager, and never let it live only in the Supabase dashboard.
### The workaround
Tedious but finite. Once a project is considered production, export this configuration to a checked-in document or a secret manager, depending on sensitivity, and keep it up to date.
The honest truth is that almost nobody does this, and the first time most teams think about it is after a project-level incident.
## Gap #4: The retention cliff
On Pro you have 7 days. On Team, 14. On Enterprise, 30.
What happens on day 15? Nothing. The oldest backup rolls off. Permanently.
### Fast failures vs slow failures
Short-retention daily backups are fine for **acute** disasters. "I dropped a table ten minutes ago." Snapshot from yesterday, restore, done.
They're a disaster for **slow-burn** disasters, which is the shape of most real data-loss incidents we see. A subtle bug corrupts a column in a rarely-queried table. You notice three weeks later when a customer reports their analytics look off. Your Pro plan's oldest backup is from 7 days ago. The corruption started before that. The backup is no help.
Schema migrations are a separate high-risk moment: they're an acute change, but the 24-hour RPO means your most recent clean snapshot can be many hours older than the migration. If the migration fails or produces wrong results, the daily snapshot won't give you a restore point from ten minutes ago. [How to back up Supabase before a migration](/blog/backup-supabase-before-migration) covers the targeted pg_dump procedure for this specific scenario.
### PITR doesn't change the shape
PITR changes the math but doesn't change the shape of the problem. PITR gives you second-by-second granularity inside its retention window, but that window is itself finite: typically 7 days on Pro, 14 on Team, 28 on Enterprise as a paid add-on. The same "discovered three weeks later" scenario still finds you outside PITR's window. And even within the PITR window, coverage is Postgres-only: Storage and Edge Functions remain uncovered regardless. [When you actually need Supabase PITR](/blog/when-supabase-pitr-needed) maps the scenarios where PITR is worth the cost and when daily snapshots are sufficient.
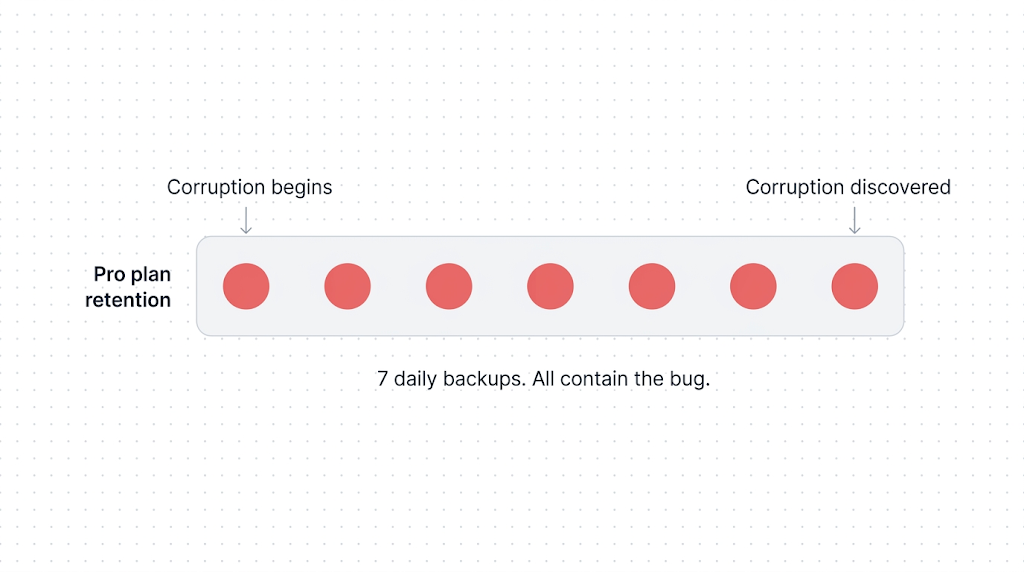
The real mitigation for the retention cliff isn't a longer retention window. It's an **independent, longer-lived archive**, typically weekly or monthly logical backups, stored on a different provider, with a retention measured in months or years, not days.
### The scenario
Consider a team on Pro that silently starts deduping customer records on import. Eleven days later, someone notices. Native backup gives them a clean snapshot from every day in its 7-day window. All of those snapshots already contain the bug.
An off-site weekly `pg_dump` from 14 days prior would be the backup that matters. They would not have had that backup if they had trusted native retention alone. If you are in a situation right now where data looks wrong or missing, [what to do when Supabase data disappears](/blog/supabase-data-disappeared) is the incident-response checklist to run before calling it unrecoverable.
If you take one thing from this section: daily snapshots with short retention protect you against fast failures. They do not protect you against slow failures. Plan for both.
## Gap #5: Project deletion and project pause
Two different failure modes, same outcome: **the backups go away with the project**.
### Project deletion
If you delete a Supabase project (intentionally or as a result of a compromised account), the backups go with it. The [Supabase docs on backups](https://supabase.com/docs/guides/platform/backups) are explicit: the data and associated backups are permanently removed from S3. No grace period. No support-ticket recovery path for intentional deletion.
The worst version of this is an account-compromise scenario. An attacker with dashboard access can delete a project in a few clicks, and the backups are deleted as part of the same operation. Native backup offers zero protection against this class of failure.
The only protection is an **off-site backup under separate credentials** that the attacker doesn't control.
### Free-tier project pause
This one is specific to the Free tier. Free projects pause after 7 days of inactivity. From there, you have a 90-day window to one-click restore the project from the Supabase dashboard. After 90 days, the one-click restore disappears, though backups can generally still be downloaded manually.
That is the documented behaviour. The caveats:
- **Free tier has no automated daily backups during normal operation.** Whatever gets restored from a paused project reflects the state at pause, not a rolling window of recovery points.
- **"Generally still be downloaded" is a docs phrase, not an SLA.** If the moment you need to recover falls on the wrong side of some internal policy change, you are negotiating with support, not pulling from a cron-job archive.
- **The 7-day and 90-day numbers can change.** They are current documented behaviour, not contractual guarantees. Always check the [Supabase docs on backups](https://supabase.com/docs/guides/platform/backups) for the current rules before leaning on them.
Treat any Free-tier project as production-unsafe. The documented pause-and-restore path is generous for experiments and prototypes, but it is not a backup strategy. If the data matters at all, run one weekly `pg_dump` to an S3 bucket you own. It is free for small databases and gives you a recovery path that does not depend on Supabase's pause policy staying exactly where it is today.
The honest takeaway: if your project is Free, you do not have rolling daily backups, and your recovery path is gated on a documented policy that can evolve. For the step-by-step on unpausing, verifying your data after the project resumes, and protecting the project from the next pause cycle, see [Supabase free tier paused: what's happening and what to do](/blog/supabase-free-tier-paused). For the full picture of what's actually on disk after a pause, what's recoverable, what isn't, and how to prevent it next time, [Recovering a paused or deleted Supabase project](/blog/recover-paused-supabase-project) covers the complete walkthrough.
## Gap #6: The off-site gap
Native backups are managed by Supabase inside the platform. That is the right default for fast recovery. It also means an independent copy, in a region and cloud you choose, is something you add yourself.
### When this matters
Regional outages are rare, and historically short when they do happen. But relying on one provider's managed backups alone is not fine for three scenarios we see regularly:
1. **Compliance frameworks that require geographical separation.** ISO 27001's annex A.17.2.1 expects redundancy sufficient to meet stated availability requirements, which is almost impossible to defend under audit if you can't show where your backup lives and that it is separate from production. SOC 2 auditors increasingly ask the same question.
2. **Business continuity plans** that explicitly assume a region can be unavailable. A BCP that fails the "what if the region is down?" question on page one is a BCP that won't survive its first review.
3. **Cross-cloud portability.** The quieter version of business continuity: if Supabase as a service were unavailable for a week, or if your account were locked out of the dashboard, could you stand your application up somewhere else with the data you have? If your only backup lives inside Supabase, the answer is no.
### The workaround
Native backup on its own doesn't close any of the three, because the copy isn't independent of the platform.
The fix is an off-site logical backup written to an object store you control in a region or cloud different from your project's.
The lightest-touch version is a weekly `pg_dump` to an S3 bucket you own, in a different region to your Supabase project, with its own lifecycle policy. That one cron job closes ISO 27001's geographical-separation question, gives your BCP a defensible answer, and starts building the cross-cloud posture even before you decide you need it.
[How to back up your Supabase Postgres database](/blog/backup-supabase-postgres) walks through the script. [Cross-region Supabase backup for compliance](/blog/cross-region-supabase-backup-compliance) covers the full multi-region setup, including destination region selection, storage provider options, and how to document the process for an auditor.
## Why these gaps matter for SOC 2, ISO 27001 and GDPR
Supabase itself is certified for SOC 2 Type II, GDPR, and ISO 27001 for the service they run.
Their compliance does not automatically transfer to your compliance story. Your backup strategy is a separate evaluation.
### The honest mapping
Here is how native backup measures against the common framework asks. The right-hand column is a paraphrase, not a verbatim quote; check the controls directly before citing in an audit.
| Framework | What it asks about backup | Native alone? |
| ----------------------- | ------------------------------------------------------------------------------------------------------------------ | ------------------------------------ |
| SOC 2 (Common Criteria) | Backup processes are in place, tested, and documented | Partial. Untested by default. |
| SOC 2 (A1.2) | Environmental protections, software, data back-up processes, and recovery infrastructure designed for availability | Partial, no off-site. |
| ISO 27001 (A.12.3.1) | Backup copies of information, software, and system images are taken and tested regularly | Partial, no geographical separation. |
| ISO 27001 (A.17.2.1) | Information processing facilities have redundancy sufficient to meet availability requirements | No. |
| GDPR Art. 32 | Ability to restore the availability and access to personal data in a timely manner | Partial. |
The pattern: native backup on its own is almost never enough to satisfy any of these controls cleanly.
### What auditors actually ask
Auditors reliably ask two questions that native can't answer well:
1. Where is the backup physically stored, relative to the primary?
2. When was the last successful restore test?
**Question 1** is the off-site gap. Native backup, by design, stores the snapshot next to the thing it's backing up. That's a fine architectural choice for fast restores and a poor answer to an auditor asking about geographical separation.
**Question 2** is on you regardless. Nothing in Supabase's dashboard forces you to test a restore, and nothing logs the result if you do. A backup you haven't tested is a backup you're trusting on reputation. If you want the concrete verification ladder for that step, read [How to automate Supabase backup verification](/blog/automating-supabase-backup-verification).
For any of these frameworks, the answer auditors want to see is **multi-cloud or multi-provider** backup. Your primary data lives in one place; your backup copy lives in a different cloud, a different region, and ideally under different credentials. A `pg_dump` from your Supabase project written to an S3 bucket in a separate AWS account, or to a non-AWS object store (Backblaze B2, Cloudflare R2, Wasabi), closes the geographical-separation question, the cross-cloud portability question, and the account-compromise protection question in one move. Native backup cannot give you any of the three. Hosting your backups on the same provider as your primary data is the single most common finding in a bad audit.
Plan for compliance before the audit, not during it. The difference between a scramble and a clean pass is usually six weeks of lead time and one documented multi-provider backup strategy.
We have more on each of these in [GDPR-compliant Supabase backup](/blog/gdpr-compliant-supabase-backup) and [Automating backup verification](/blog/automating-supabase-backup-verification).
## A complete-backup checklist for a Supabase project
Here's what a "complete" backup posture for a production Supabase project looks like. Native covers part of it. The rest is on you.
| Asset | Native covers? | What to do |
| -------------------------- | -------------------- | ------------------------------------------------------------ |
| Postgres database | Yes (daily snapshot) | Add weekly off-site `pg_dump` for retention beyond the cliff |
| Point-in-time recovery | Only if paid add-on | Evaluate against your RPO |
| Storage buckets | No | Script against S3-compatible API, off-site |
| Edge Functions source | No | Git is your backup |
| Edge Functions secrets | No | Secret manager + re-apply script |
| Auth OAuth credentials | No | Document in a secret store |
| Auth email templates | No | Check into repo as strings |
| Custom SMTP config | No | Document |
| JWT secret | No | Secret manager; critical |
| Webhook secrets | No | Secret manager |
| Site URL, CORS config | No | Document |
| Off-site copy (any region) | No | Required for BCP/ISO 27001 |
| Tested restore | No | Required; automate |
The specific tools don't matter. Git, a secret manager, an object store in a different region, a cron job, and a documented restore procedure will get you 90% of the way there. The other 10% is testing.
## What to do next
If the only thing you change after reading this is to open your project dashboard and verify which of the six gaps apply to you, that's enough. Most projects have at least three. Very few have zero.
Keep Git for code, add a secret manager for env vars and OAuth credentials, script an off-site weekly `pg_dump`, script a Storage bucket sync to an object store you own, and run a restore test every quarter. That's the playbook. When your `pg_dump` script throws an error, [common Supabase backup failures and fixes](/blog/supabase-backup-failed) covers the most frequent failure modes, from version mismatch to silent truncation, with the fix for each.
If you're weighing a DIY `pg_dump` script against a managed service specifically, [pg_dump vs. managed Supabase backup](/blog/pgdump-vs-managed-supabase-backup) breaks down the real cost and tradeoffs. For the specific head-to-head between native backup and SimpleBackups, including the honest answer to when native is genuinely enough for your project, see [Supabase native backup vs. SimpleBackups](/blog/supabase-native-vs-simplebackups). For the full tool landscape, [our Supabase backup tools comparison](/blog/best-supabase-backup-tools) puts native backup, SimpleBackups, and DIY scripting side by side across every coverage dimension.
[SimpleBackups for Supabase](/platform/supabase) complements Supabase's native backups. If you want off-site Postgres and Storage backups, Edge Functions versioning, automated verification, and a compliance log without writing any of it yourself, that's what it does. If you'd rather script it, every gap above has an article in [the complete guide](/learn/supabase-backup) with the script.
## Keep learning
This article is the first piece of a larger cluster we're shipping over the coming weeks. Follow [the hub](/learn/supabase-backup) to see what's published.
- [How Supabase's native backup actually works](/blog/how-supabase-native-backup-works), the mental model this article assumes. Worth reading if any section here felt abstract.
- [How to back up your Supabase Postgres database](/blog/backup-supabase-postgres), the script-first how-to for closing the retention-cliff gap.
- [How to back up Supabase Storage buckets](/blog/backup-supabase-storage), because this is the biggest single gap for most projects.
- [Supabase native backup vs. SimpleBackups](/blog/supabase-native-vs-simplebackups), the honest side-by-side including when native is genuinely enough.
- [How to back up your Supabase Postgres database](/blog/backup-supabase-postgres), the deep-dive on `pg_dump` against a Supabase project.
## FAQ
---
_This article is part of [The complete guide to Supabase backup](/learn/supabase-backup#what-native-doesnt-cover), an honest, practical reference from the team that backs up Supabase every day._
---
# I destroyed my Droplet, can I recover it?
Source: https://simplebackups.com/blog/digitalocean-deleted-droplet-recovery
Published: 2026-03-27
Author: Laurent
Summary: Honest answer: usually you can't recover a destroyed Droplet. Here's what to try, what's actually gone, and how to prevent this happening again.
You clicked Destroy. You confirmed the dialog. Now the Droplet is gone and the dashboard shows nothing where it used to be. The first question you're asking is obvious: is there any way to get it back?
This article gives you the honest answer, not the reassuring one. It then walks you through every check worth doing right now, in order, before you do anything else.
## The honest answer
Probably not, if you relied on native scheduled backups.
Destroying a Droplet deletes its scheduled backups. The backups are tied to the Droplet object. When the Droplet goes, the backups go with it. There is no recycle bin, no soft delete, no 30-day grace period.
DigitalOcean support cannot restore a destroyed Droplet unless a backup image or a snapshot still exists in your account. If neither exists, support cannot help you. That is not a support quality issue; the data is gone at the infrastructure level.
Two things survive Droplet destruction: snapshots you took manually before destroying the Droplet, and attached block storage volumes (which are independent objects, not deleted automatically). Everything else is gone.
If you took a snapshot, there is a path forward. If you only had scheduled backups and no snapshot, there is not. The rest of this article walks through the checks in order.
## What destroying a Droplet actually deletes
Before you open a support ticket, know exactly what's gone and what isn't.
| Object | What happens when you destroy the Droplet |
|---|---|
| Scheduled backups (native add-on) | Deleted immediately with the Droplet |
| On-demand snapshots (taken before destroy) | Survive. Still in your Images panel. |
| Attached block storage volumes | Not deleted. Still exist, now unattached. |
| Floating IPs assigned to the Droplet | Released back to your account. |
| DNS records pointing to the Droplet IP | Not deleted by DigitalOcean. Still in your DNS settings. |
| Load balancer rules referencing the Droplet | Load balancer stays. Droplet is removed from its backend. |
| Firewall rules assigned to the Droplet | Firewall stays. Droplet is removed from its assignment list. |
| Reserved IP (legacy elastic IP) | Released. Not deleted. |
The key distinction is between objects that belong to the Droplet (scheduled backups) and objects that are independent but associated with it (volumes, floating IPs, DNS records). The first group goes with the Droplet. The second group persists.
Snapshots survive Droplet destruction, but scheduled backups don't. If you took a manual snapshot before destroying the Droplet, check your Images panel in the DigitalOcean control panel under Manage > Backups & Snapshots.
## What to try right now
Work through these checks in order. Stop when you find something usable.
**Step 1: Check your Images panel for snapshots.**
Go to the DigitalOcean control panel, then Manage > Backups & Snapshots > Snapshots. Look for any snapshot with a name or timestamp that matches your Droplet. Snapshots are independent objects. They are not deleted when a Droplet is destroyed.
If you find one, you can create a new Droplet directly from it. Select the snapshot, click "More," then "Create Droplet." The new Droplet will have the disk state from when the snapshot was taken.
**Step 2: Check whether the Droplet had volumes attached.**
Go to Manage > Volumes. Any volumes that were attached to the destroyed Droplet are still there, now listed as unattached. Your data is intact on those volumes. You can attach them to a new Droplet immediately.
Block storage volumes are billed and managed independently from Droplets. [Understanding how DigitalOcean native backup works](/blog/how-digitalocean-native-backup-works) covers why this distinction matters for your backup strategy.
**Step 3: Check your Images panel for backups.**
If the Droplet had the native backup add-on enabled, scroll to the Backups tab. In most cases after a destroy, this will be empty. On rare occasions the destroy process logs a race condition and a backup image lingers briefly. Check anyway. It takes ten seconds.
**Step 4: Check for off-site copies.**
If anyone on your team had set up an external backup, check those destinations now: an S3 bucket, a DigitalOcean Space, a remote file store. An off-site database dump, a filesystem archive, anything with a recent timestamp. This is also the moment you discover whether an off-site backup existed at all.
**Step 5: Check your local machine or CI environment.**
Recent database dumps pulled for local development, a disk image copied before a migration, an archive from the last deploy pipeline. It is not a full restore path, but partial data is better than none.
If all five checks turn up nothing, the data is gone.
## When DigitalOcean support can help (and when they can't)
Open a support ticket if and only if you found something in the checks above that you cannot restore yourself. Be specific in the ticket: which snapshot ID, which backup image ID, what error you get when you try to restore from it.
Support cannot do any of the following:
- Recover a Droplet that was destroyed with no surviving snapshots or backup images.
- Reverse a destroy action after the fact.
- Access backup data that was deleted as part of the destroy.
- Extend the retention window retroactively on deleted backups.
What support can sometimes help with:
- If a restore from an existing snapshot is failing, see [DigitalOcean Droplet backup not restoring](/blog/digitalocean-droplet-backup-not-restoring) first, then contact support with the specific error.
- If you believe your Droplet was destroyed without your authorization (account compromise, unauthorized access), support can investigate the audit trail and may have additional options depending on timing.
- If you destroyed the wrong Droplet and contact support within minutes, they may be able to check whether anything is recoverable at the infrastructure level. Do not assume this works. Contact them immediately if this is your situation.
For account compromise scenarios, your first call should be to support with "unauthorized account access," not "recover destroyed Droplet." The framing changes how they prioritize the ticket.
## Preventing this class of incident
The lesson this incident teaches is the same lesson almost everyone learns the hard way: native scheduled backups are tied to the Droplet. They are not an independent safety net.
Destroying a Droplet deletes its scheduled backups. If you relied on those as your only safety net, they went with the Droplet. This is the same-host risk that applies to every DigitalOcean native backup: backups and the resource they protect live in the same account, on the same platform, under the same blast radius. An accidental destroy, an account compromise, or a billing suspension takes both. See the [DigitalOcean off-site compliance guide](/blog/digitalocean-off-site-compliance) for the full argument and what a compliant off-site backup posture actually looks like.
Three things reduce the risk for the next Droplet:
**Take a snapshot before any destructive action.** Before you destroy, resize, migrate, or make a risky configuration change, take a manual snapshot. [DigitalOcean's snapshot docs](https://docs.digitalocean.com/products/droplets/how-to/snapshot/) walk through the UI path. With `doctl` it takes one command and a few minutes. The snapshot survives the destroy.
**Move database backups off-platform.** For any Droplet running a database, the backup that matters is a database-level dump, not a block-level image. A dump can be copied to a DigitalOcean Space or an external bucket. It is readable without creating a new Droplet first. For an automated approach, [how to back up DigitalOcean Droplets](/blog/backup-digitalocean-droplets) covers the full workflow.
**Enable deletion protection or access controls.** DigitalOcean does not have a native "deletion protection" toggle on Droplets the way some cloud providers do. Your protection layer comes from team permissions: restrict who has Destroy access in your team settings, and require confirmation for production Droplets via a separate workflow.
The core problem this incident exposes is not "I forgot to take a snapshot." It is that native DigitalOcean backups live inside your DigitalOcean account, tied to the resource they protect. A destroy, a billing event, or an account compromise takes the backup at the same time it takes the Droplet. Off-site backup decouples those two events. If the Droplet is gone, the off-site copy is still there, in a different account, on a different platform, under a different blast radius.
If you've read this far, you probably already know whether native retention is enough for your project. If it isn't, [SimpleBackups](/platform/digitalocean) gives you cross-region off-site backup, automated verification, and a restore you can actually test.
## Keep learning
- [How to back up DigitalOcean Droplets](/blog/backup-digitalocean-droplets) — the full backup workflow, including off-site options.
- [How DigitalOcean native backup works](/blog/how-digitalocean-native-backup-works) — retention windows, what's included, what isn't.
- [DigitalOcean Droplet backup not restoring](/blog/digitalocean-droplet-backup-not-restoring) — if you have a snapshot but can't restore from it.
- [DigitalOcean backups explained](/digitalocean-backups-explained/) — the prior overview covering Droplet backups, snapshots, and native limitations.
- [How to automate DigitalOcean server and volume snapshots](/how-to-automate-digitalocean-server-and-volume-snapshots/) — a script-focused guide to automating snapshots via the DO API.
## FAQ
---
_This article is part of [The complete guide to DigitalOcean backup](/digitalocean-backup#deleted-droplet-recovery), an honest, practical reference from the team that backs up DigitalOcean every day._
---
# Announcing Tadabase Backup Support
Source: https://simplebackups.com/blog/announcing-tadabase-backup-support
Published: 2026-03-23
Author: Laurent
Summary: SimpleBackups now supports Tadabase backups. Automate exports of your tables, records, and files to any cloud storage with custom schedules and retention.
If you're building applications on [Tadabase](https://tadabase.io), your data is the backbone of everything: tables, records, files, and the logic connecting them. Losing that data, even temporarily, can set your team back days. That's why we're excited to announce that SimpleBackups now fully supports **Tadabase backups**.
## What Is Tadabase?
[Tadabase](https://tadabase.io) is a no-code platform that lets you build sophisticated web applications with databases, custom workflows, and role-based access - all without writing a line of code. It's popular with businesses that need internal tools, client portals, CRMs, and project management systems built fast.
The platform handles everything from [data tables and records](https://tadabase.io/features) to file storage and API integrations. But like any SaaS tool where your business data lives, having an independent backup strategy is critical.
## Why Back Up Your Tadabase Data?
Tadabase does a solid job hosting your applications, but relying solely on a SaaS provider for data safety has limits:
- **Accidental deletions**: One wrong click from a team member can wipe records or entire tables. Without a backup, that data is gone.
- **Compliance requirements**: Many industries require you to keep independent copies of your data, stored on infrastructure you control.
- **Data portability**: If you ever need to migrate, audit, or analyze your data outside Tadabase, having regular exports gives you that flexibility.
- **Peace of mind**: Knowing your data is backed up to your own storage means you're never fully dependent on any single vendor.
## How Tadabase Backup Works with SimpleBackups
We've built the integration to be straightforward. Here's what you get:
### Select What to Export
Choose exactly which **tables, records, and files** you want to include in your backup. No need to export everything if you only care about specific data sets.
### Store Anywhere
Send your Tadabase backups to **any cloud storage provider**: AWS S3, Google Cloud Storage, DigitalOcean Spaces, Backblaze B2, Wasabi, or any S3-compatible storage. Your data, your storage, your rules.
### Automate on Your Schedule
Set up **custom backup schedules** that fit your workflow. Daily, weekly, hourly, whatever makes sense for how often your data changes. Once configured, backups run automatically without any manual intervention.
### Retention Policies
Define how long backups are kept. SimpleBackups handles cleanup automatically, so you're not paying for storage you don't need while still maintaining the history that matters.
### Monitor Everything
Get **notifications** when backups complete or fail. View your backup history, download any previous backup, and restore when needed - all from one dashboard.
## Getting Started
Setting up your first Tadabase backup takes a few minutes:
1. **Connect your Tadabase account** in the SimpleBackups dashboard
2. **Select the data** you want to back up (tables, records, files)
3. **Choose your storage destination** (or add a new one)
4. **Set your schedule and retention** policy
5. **Done** - your backups run automatically from here
No agents to install, no scripts to maintain, no cron jobs to babysit.
## One Dashboard for All Your Backups
If you're already using SimpleBackups for your server, database, or other SaaS backups, Tadabase fits right into the same workflow. One dashboard to monitor all your backups across every service - that's the whole point.
For teams running business-critical applications on Tadabase, automated backups aren't optional. They're the safety net that lets you move fast without worrying about data loss.
[Start backing up your Tadabase data today](https://simplebackups.com/saas-backup/tadabase) - no credit card required.
---
# Cross-region DigitalOcean backup
Source: https://simplebackups.com/blog/digitalocean-cross-region-backup
Published: 2026-03-23
Author: Laurent
Summary: Why region matters for DO backup availability and compliance, and how to replicate backups across regions or to another provider entirely.
You back up your Droplet every day. The backup runs, the green tick appears, and you move on. Then one morning a region goes down, and you discover that the backup lives in the same region as the Droplet it protects.
That's the moment cross-region backup stops being a theory.
This article explains why region placement matters for backup safety and compliance, what DigitalOcean offers natively for moving backups across regions, and the practical steps for replicating Droplet snapshots, database dumps, and Spaces objects to a different region or a different provider entirely.
## Why region matters for backup
A backup stored in the same region as the source shares the same failure domain. A power event, a network partition, a fire suppression accident, or a misconfigured routing update can take both the live resource and its backup offline at the same time.
That's not a theoretical edge case. Cloud providers have documented regional outages that lasted minutes to hours. If your backup is in the same datacenter cluster as your running workload, a single event can kill both.
There's a second reason that matters beyond outages: compliance. SOC 2 Type II, ISO 27001, and GDPR all have provisions around data availability and resilience. Auditors want to see that your backup strategy survives a datacenter-level failure. A backup that lives one rack away from the source doesn't satisfy that requirement. For full compliance requirements around data residency and storage location, see the [DigitalOcean GDPR compliance guide](/blog/digitalocean-gdpr-compliant).
We back up DigitalOcean every day. The failure mode we see most often isn't a corrupt snapshot. It's a backup that was stored too close to the thing it was protecting.
For a full treatment of compliance implications, see the upcoming article on [DigitalOcean off-site backup and compliance](/blog/digitalocean-off-site-compliance).
## What DigitalOcean offers for cross-region (not much)
Before scripting anything, it's worth understanding what DigitalOcean actually provides here, because it's limited.
The table below covers the full picture. Check it against your own infrastructure before deciding which approach applies to you.
| Resource | Native cross-region option | Notes |
|---|---|---|
| Droplet snapshots | Yes, via snapshot transfer | Region-to-region within DO only. Manual or via API/doctl. |
| Droplet backups | No | Cannot be transferred or downloaded. |
| Volume snapshots | No | Tied to the originating region. Cannot be transferred. |
| Managed Database backups | No | Cannot be downloaded or replicated to another region. |
| Spaces | No native replication | Versioning is available but there is no built-in geo-replication. |
The short version: Droplet snapshots are the only DigitalOcean-native resource you can move cross-region, and even then only within DigitalOcean. Everything else requires an external tool or a custom workflow.
For a fuller explanation of what native backup does and doesn't cover, see the upcoming overview of [what DigitalOcean's native backup doesn't cover](/blog/what-digitalocean-native-backup-doesnt-cover).
## Replicating Droplet snapshots across regions
DigitalOcean lets you transfer a snapshot from one region to another using either the control panel or the `doctl` CLI.
### Using doctl
First, find the snapshot ID you want to transfer:
```bash
doctl compute snapshot list --resource-type droplet
```
Then initiate the transfer to your target region:
```bash
doctl compute snapshot transfer SNAPSHOT_ID
--region nyc3
```
Replace `SNAPSHOT_ID` with the ID from the list output and `nyc3` with the target region slug. Valid region slugs include `nyc1`, `nyc3`, `ams3`, `sfo3`, `sgp1`, `lon1`, `fra1`, `tor1`, `blr1`, `syd1`.
The operation is asynchronous. You can poll its status with:
```bash
doctl compute action list --resource-type droplet
```
For full CLI reference, see the [DigitalOcean snapshot documentation](https://docs.digitalocean.com/products/droplets/how-to/snapshot/).
Snapshot transfer is region-to-region only within DigitalOcean, not to an external provider. If you need the snapshot off-platform entirely, you need a different approach: boot a Droplet from the snapshot, dump what you need from it, and transfer that dump to your external storage.
### What this doesn't solve
Snapshot transfer copies your snapshot to another DO region. That's useful for regional outage protection. It doesn't help if the issue is account-level: a compromised account, a billing suspension, or a legal hold. Both the source and the transferred copy live inside the same DigitalOcean account.
Cross-region within one account protects against one class of failure. It doesn't protect against all of them. We'll come back to this in the "Going fully off-platform" section.
## Replicating database dumps cross-region
Managed Database backups can't be transferred or downloaded. If you want a copy of your database data in another region or on another provider, you need to generate the dump yourself.
### The manual path
Connect to your Managed Database and run a standard dump:
```bash
# PostgreSQL
pg_dump
--host=.db.ondigitalocean.com
--port=25060
--username=doadmin
--format=custom
--file=db-dump-$(date +%F).dump
defaultdb
```
```bash
# MySQL
mysqldump
--host=.db.ondigitalocean.com
--port=25060
--user=doadmin
--password
--single-transaction
--routines
--triggers
defaultdb > db-dump-$(date +%F).sql
```
Once you have the dump file, upload it to object storage in a different region or on a different provider. The S3 CLI, rclone, and similar tools all work here.
The same pattern applies to [backing up DigitalOcean Managed Databases](/blog/how-digitalocean-native-backup-works) regardless of where you send the output.
### Automating it
Running this manually once is fine for a migration. Running it on a schedule, monitoring for failures, and verifying the output is where the overhead adds up fast. A cron job that silently fails at 3am is worse than no cron job, because it gives you false confidence.
If you want the hands-off version, SimpleBackups handles DigitalOcean Managed Database dumps sent to your chosen off-site storage, with alerts when a run fails. We cover that in the "What to do next" section below.
## Replicating Spaces to another region
Spaces has no native replication. There is no built-in way to sync a bucket in `nyc3` to a bucket in `ams3` inside the DigitalOcean control panel.
The practical solution is `rclone`. It treats any two S3-compatible storage endpoints as source and destination, so you can sync Spaces-to-Spaces across regions, or Spaces to AWS S3, Backblaze B2, Wasabi, or any S3-compatible target.
### Setting up rclone for Spaces
First, configure two rclone remotes: one for your source Spaces bucket and one for your destination. Both use the S3 provider type with DigitalOcean's endpoint format:
```bash
# Source: Spaces in nyc3
rclone config create spaces-nyc3 s3
provider DigitalOcean
access_key_id YOUR_SPACES_KEY
secret_access_key YOUR_SPACES_SECRET
endpoint nyc3.digitaloceanspaces.com
acl private
# Destination: Spaces in ams3
rclone config create spaces-ams3 s3
provider DigitalOcean
access_key_id YOUR_SPACES_KEY
secret_access_key YOUR_SPACES_SECRET
endpoint ams3.digitaloceanspaces.com
acl private
```
Then run the sync:
```bash
rclone sync spaces-nyc3:my-source-bucket spaces-ams3:my-dest-bucket
--progress
--transfers 8
```
`rclone sync` copies everything from the source that doesn't already exist at the destination, and removes anything at the destination that no longer exists at the source. Use `rclone copy` if you want a one-way additive mirror without deletes.
For a full walkthrough of backing up Spaces objects specifically, see the upcoming guide on [backing up DigitalOcean Spaces](/blog/backup-digitalocean-spaces).
## Going fully off-platform
Cross-region within DigitalOcean is better than same-region. But it's still same-account. Account-level incidents affect both regions simultaneously.
Consider what happens when:
- Your account is compromised and an attacker deletes resources and backups.
- DigitalOcean suspends your account for a billing dispute.
- A compliance audit requires you to demonstrate that your backup is independent of the primary provider.
In all three cases, having a copy in `ams3` when your primary is in `nyc3` doesn't help. The copy is just as gone as the original.
Off-platform means a different account on a different provider: AWS S3, Backblaze B2, Wasabi, or any S3-compatible storage outside DigitalOcean.
{/* FIGURE: fig-01 */}
The rclone command from the Spaces section works exactly the same way for an off-platform destination. You configure one remote as your DigitalOcean source and one as your external destination:
```bash
# Sync Spaces to Backblaze B2
rclone sync spaces-nyc3:my-source-bucket b2:my-backup-bucket
--progress
--transfers 8
```
The same pattern applies to any S3-compatible external storage. You swap the destination remote and the bucket name. The command structure doesn't change.
For the full compliance argument and a guide to building a defensible off-site backup posture, see the upcoming article on [DigitalOcean off-site backup and compliance](/blog/digitalocean-off-site-compliance). See also our guide to [storage replication with SimpleBackups](/blog/how-to-create-a-storage-replication-with-simplebackups) for the managed version of this workflow.
Cross-region protects against regional outages. But if both regions are in the same DO account, account-level incidents still take everything. Off-platform is the only complete answer.
## What to do next
If you're running critical workloads on DigitalOcean, the minimum viable cross-region setup is:
1. Enable Droplet snapshots and transfer them to a second region on a schedule via `doctl` or the API.
2. Script a database dump and ship it to an external S3-compatible bucket.
3. Use `rclone` to mirror your Spaces buckets to an external provider or a second region.
Steps 1 and 3 can be automated with cron. Step 2 needs a dump tool that understands your database engine.
If scripting and scheduling all this yourself sounds like a second job, SimpleBackups handles DigitalOcean Droplet, Managed Database, and Spaces backups off-site, with alerts when a run fails. [See how it works](/platform/digitalocean).
## Keep learning
- [How to create a storage replication with SimpleBackups](/blog/how-to-create-a-storage-replication-with-simplebackups)
- [DigitalOcean backups explained](/blog/digitalocean-backups-explained)
- [Backing up DigitalOcean Droplets](/blog/backup-digitalocean-droplets)
- [Backing up DigitalOcean Spaces](/blog/backup-digitalocean-spaces)
- [What DigitalOcean's native backup doesn't cover](/blog/what-digitalocean-native-backup-doesnt-cover)
## FAQ
---
_This article is part of [The complete guide to DigitalOcean backup](/digitalocean-backup#cross-region-backup), an honest, practical reference from the team that backs up DigitalOcean every day._
---
# My Managed DB backup window expired
Source: https://simplebackups.com/blog/digitalocean-managed-db-retention-expired
Published: 2026-03-22
Author: Laurent
Summary: Native retention is 7 days. If your incident is older, here's what DO can and can't do, what's recoverable, and how to prevent this next time.
You noticed data missing. Or you need to roll back a bad migration. You open the DigitalOcean console, go to your Managed Database, click Backups, and see the oldest available restore point is from six days ago. The incident happened nine days ago.
That's the situation this article covers: the backup window has already closed.
The short version, before you read further: if the data is more than 7 days old, it is gone from DigitalOcean's native backup system. Support cannot get it back. What follows is how to confirm that, what else you might still find, and how to make sure this doesn't happen again.
## Why 7 days is the hard limit
DigitalOcean Managed Database backups are automatic, daily, and included in the cluster price. That's genuinely convenient. The trade-off is a fixed retention window of 7 days, with no option to extend it through the dashboard or the [API](https://docs.digitalocean.com/products/databases/).
Every new daily backup rotates out the oldest one. Once a backup is 8 days old, it no longer exists on DigitalOcean's side. There is no archive tier, no cold storage, no "just this once" exception.
PITR (point-in-time recovery) is available on higher-tier Postgres and MySQL clusters. It gives you finer granularity within the window, letting you restore to a specific minute rather than just a daily snapshot. What it does not do is extend the window itself. PITR still operates within the same 7-day boundary.
Here is where each engine stands today:
| Engine | Plan tier | Backup schedule | Retention | PITR available |
|--------|-----------|-----------------|-----------|----------------|
| PostgreSQL | All | Daily | 7 days | Yes (higher tiers) |
| MySQL | All | Daily | 7 days | Yes (higher tiers) |
| MongoDB | All | Daily | 7 days | No |
| Redis | All | Daily | 7 days | No |
| Kafka | All | Daily | 7 days | No |
The 7-day rule applies to every engine, every plan. There is no exception documented in DigitalOcean's Managed Database offering.
For more background on how this backup mechanism works end to end, see [how DigitalOcean native backup works](/blog/how-digitalocean-native-backup-works).
## What DigitalOcean support can do (not much)
7 days is the hard limit. No exceptions are documented. DigitalOcean support cannot extend retention or recover a backup that has already been rotated out.
Opening a support ticket is worth doing for one reason: to rule out edge cases. If there was a billing problem, a cluster migration, or a platform issue that affected how backups were stored, support can confirm that. They can also tell you exactly which restore points are still available.
What they cannot do is produce a backup that no longer exists. The documentation does not describe any internal archive or extended retention tier that support can access. If you're expecting them to pull a backup from the week before last, they won't be able to.
Open the ticket anyway. Describe the incident date and what you're looking for. If there's anything recoverable on DigitalOcean's end, they'll tell you. If not, you'll have a definitive answer quickly and can move on to other options.
## Check if you have a logical dump somewhere
Before you accept that the data is gone, check for logical dumps you might have forgotten about. These are the most common places teams find something usable:
**Application servers.** If your app runs migrations, seeding scripts, or scheduled exports, some of those processes might have written a dump file to disk. Check `/tmp`, `/var/backups`, or any directory your deploy scripts touch.
**CI/CD pipelines.** Some teams run database tests against a copy of production. That copy might still be sitting in a CI artifact store, depending on your retention settings. Check your pipeline provider's artifact storage.
**Developer machines.** If someone ran `pg_dump` or `mysqldump` locally during debugging two weeks ago, that file might still be there. It's worth asking the team.
**Staging environments.** If staging is periodically refreshed from production, check when the last refresh ran and whether it predates your incident.
**Monitoring and analytics tools.** Tools like Datadog, New Relic, or custom dashboards sometimes read from the database and cache results. Not a substitute for a real dump, but occasionally useful for reconstructing what the data looked like.
Check if you have an old pg_dump or mysqldump sitting on a server, a dev machine, or a CI artifact somewhere. Even a stale dump from two months ago is better than nothing.
This search is worth doing thoroughly, even if you think the answer will be no. In our experience, teams discover usable dumps in unexpected places more often than they expect.
## What's actually lost
If you've confirmed that no logical dump exists and the native backup window is closed, here's what's gone:
**The data itself.** Any rows, documents, or records that existed only in the database and were not captured in a dump, export, or event stream.
**The ability to restore to a specific point in time before the window.** Even PITR has a floor at whatever the oldest available backup is. Once that's gone, there's no anchor point for point-in-time recovery.
**DigitalOcean's copy.** There is no secondary storage tier to ask support to check. When the rotation happens, the backup is deleted.
What might not be lost, depending on your setup:
- Application logs that recorded the data in transit (useful for partial reconstruction).
- Event streams or message queues that captured database changes (Kafka, Debezium, or similar).
- Replicas with binary logs, if you configured one manually outside the native backup system.
If you're running a Managed Database with replication configured, check whether any replica captured the relevant state. This is uncommon in default setups but worth confirming.
The [what DigitalOcean native backup doesn't cover](/blog/what-digitalocean-native-backup-doesnt-cover) article goes into more detail on the structural gaps, including why the same-host architecture makes recovery harder in this kind of scenario.
## Preventing this next time: off-site dumps with longer retention
7-day retention means the backup from 8 days ago is gone. If you're reading this because you needed it, the answer is to set up off-site dumps with your own retention policy. Link to [off-site compliance considerations](/digitalocean-backup#off-site-compliance) for a broader picture of what that involves.
The approach that works for most teams has three parts.
**Automated logical dumps.** Schedule `pg_dump`, `mysqldump`, or `mongodump` to run on a separate server (not the database host itself). Run it daily at minimum. For production databases with active writes, run it more frequently.
Here is a minimal cron-based Postgres dump to a local file, as a starting point:
```bash
# Run daily at 02:00 UTC from a separate server
0 2 * * * pg_dump
--host=your-db-hostname.db.ondigitalocean.com
--port=25060
--username=doadmin
--format=custom
--file=/opt/backups/pg-dump-$(date +%F).dump
defaultdb
```
Replace the host, port, and database name with your actual values. Store the password in a `.pgpass` file or an environment variable, not in the cron line itself.
**Off-site storage with your own retention.** Upload the dump to a storage location outside DigitalOcean. DigitalOcean Spaces works, but an S3 bucket in a different provider adds a layer of separation. Set a retention policy that matches your recovery requirements: 30 days, 90 days, or longer.
**A restore you've tested.** A dump you've never restored from is not a backup. Run a restore into a staging database at least once a month. Confirm the row counts match, and that the application connects and behaves normally.
For a step-by-step walkthrough of the dump-and-restore cycle for MySQL specifically, see [back up your DigitalOcean Managed MySQL database](/blog/back-up-your-managed-digitalocean-mysql-database).
A full guide to setting up scheduled dumps with off-site storage for all Managed Database engines is in [backup DigitalOcean Managed Databases](/blog/backup-digitalocean-managed-databases). That article covers scripting, storage options, and how to handle large databases where a naive `pg_dump | gzip` pipeline can silently truncate on non-zero exit.
---
If you've read this far, you probably already know whether native retention is enough for your project. If it isn't, [SimpleBackups](/platform/digitalocean) gives you cross-region off-site backup, automated verification, and a restore you can actually test.
## Keep learning
- [Back up your DigitalOcean Managed MySQL database](/blog/back-up-your-managed-digitalocean-mysql-database)
- [DigitalOcean backups explained](/blog/digitalocean-backups-explained)
- [Backup DigitalOcean Managed Databases](/blog/backup-digitalocean-managed-databases)
- [Restore a DigitalOcean Managed Database](/blog/restore-digitalocean-managed-database)
- [What DigitalOcean native backup doesn't cover](/blog/what-digitalocean-native-backup-doesnt-cover)
## FAQ
---
_This article is part of [The complete guide to DigitalOcean backup](/digitalocean-backup#managed-db-retention-expired), an honest, practical reference from the team that backs up DigitalOcean every day._
---
# The SimpleBackups API: Automate Your Backups Programmatically
Source: https://simplebackups.com/blog/simplebackups-api-automate-backups-programmatically
Published: 2026-03-20
Author: Laurent
Summary: Use the SimpleBackups API to trigger backups before deployments, create backup jobs on the fly, and integrate backup monitoring into your existing workflows.
Most teams set up their backups once and forget about them. That works — until you need a backup triggered before every deployment, or you want to spin up backup jobs automatically when a new client onboards, or your CI pipeline needs to verify that last night's backup actually succeeded.
That's exactly why we built the [SimpleBackups API](https://simplebackups.com/api-docs).
## What the API lets you do
The API gives you full programmatic control over your backup infrastructure. You can:
- **Trigger backups on demand** — fire off a backup before a deploy, after a migration, or on any event you define
- **Create and manage backup jobs** — set up new backups, update schedules, pause or resume jobs, all without touching the dashboard
- **Monitor backup status** — pull activity logs, check job results, and get upcoming schedule info
- **Manage servers and storage** — add servers, validate connections, and list your connected storage providers
- **Switch between teams** — if you manage multiple teams, the API handles that too
The base URL is `https://my.simplebackups.io/api`, authentication is a simple Bearer token, and you get 60 requests per minute — more than enough for any reasonable automation.
## The AI angle: backups meet Claude and Codex
Here's something that's been surprisingly useful: connecting the SimpleBackups API to AI coding assistants like Claude or Codex.
Think about it. When you're working with an AI assistant that can execute code, it can also call APIs. That means you can ask Claude to:
- "Trigger a backup of the production database before we start this migration"
- "Check if last night's backups all completed successfully"
- "Create a new backup job for this server with daily snapshots to S3"
The AI agent handles the API call, parses the response, and tells you the result in plain English. No need to remember endpoint URLs or dig through documentation.
This works particularly well in deployment workflows. You're already using AI to help write and review code — having it also ensure your data is backed up before pushing changes is a natural extension.
### A practical example
Say you're using Claude Code in a pre-deploy workflow. You can set up a pattern where the AI:
1. Calls `POST /api/backups/{id}/trigger` to run a backup
2. Polls the backup status until it completes
3. Only proceeds with the deployment once the backup is confirmed
No custom scripts to maintain. The AI handles the orchestration.
## Key API endpoints
You don't need to memorize the full API. Here are the endpoints that matter most for day-to-day automation:
### Trigger a backup
```
POST /api/backups/{id}/trigger
```
This is the one you'll use most. Fires off an immediate backup for any existing job. Perfect for pre-deploy hooks, cron-triggered workflows, or anything that needs a fresh backup before proceeding.
### Create a backup job
```
POST /api/backups
```
Creates a new backup job from scratch — specify the server, storage destination, schedule, and what to back up. Useful when onboarding new clients or spinning up new environments where you want backups configured automatically.
### List backups and check status
```
GET /api/backups
```
Returns all your backup jobs with their current status. Combine this with the activity endpoints to build monitoring dashboards or Slack notifications for failed backups.
### Get activity and reports
```
GET /api/activity/report?from={date}&to={date}
```
Pull comprehensive activity reports for any time period. Great for generating weekly backup health summaries or feeding data into your existing monitoring stack.
## Using the API in team workflows
The API shines when backups become part of your team's operational workflow instead of a separate concern:
- **Pre-deploy safety net** — Add a backup trigger to your CI/CD pipeline. Every deploy gets a fresh backup, automatically.
- **Client onboarding automation** — When a new client signs up in your system, create their backup jobs via API without manual setup.
- **Monitoring and alerting** — Poll backup status and pipe results into Slack, PagerDuty, or whatever your team uses for alerts.
- **Scheduled reporting** — Generate weekly backup health reports for stakeholders who want proof that data is protected.
- **Multi-team management** — If you're an agency managing backups for multiple clients, use the teams API to switch context programmatically.
The idea is simple: backups should be infrastructure, not a manual task. The API makes that possible.
## Getting started
Head to your [SimpleBackups dashboard](https://my.simplebackups.io) and grab your API token from the settings. The [API documentation](https://simplebackups.com/api-docs) covers every endpoint with request and response examples.
If you're using AI assistants, point them at the docs and let them handle the integration. It's genuinely one of the fastest ways to get backup automation running.
---
# DigitalOcean snapshots vs. backups (not the same)
Source: https://simplebackups.com/blog/digitalocean-snapshots-vs-backups
Published: 2026-03-05
Author: Laurent
Summary: DigitalOcean sells both snapshots and backups. They're not interchangeable. What each covers, what each misses, and the compliance implications.
You enabled the DigitalOcean backup add-on, paid your 20%, and moved on. A month later you noticed you've also been clicking the "Take Snapshot" button before every deployment. Now you have both. Are they protecting the same thing? Can you drop one? Are you actually covered, or just paying twice for the feeling of being covered?
The short answer: they are different mechanisms, with different triggers, different billing models, different retention behavior, and different failure modes. Treating them as interchangeable is how teams end up with a gap where they thought they had coverage.
We back up DigitalOcean every day. What follows is what we actually see in how these two mechanisms behave.
## What DigitalOcean means by "backup"
When DigitalOcean says "backup," it means the **Droplet Backup add-on**: a paid feature you enable at the Droplet level. It costs 20% of the Droplet's hourly price and runs on a schedule that DigitalOcean controls, not you.
On standard Droplets, backups run weekly. On Premium Droplets (CPU-optimized, memory-optimized, and others in the Premium tier), they run daily. Either way, DigitalOcean decides when within that window the backup actually runs. You can see the schedule in the control panel, but you cannot change it.
The backup captures the entire Droplet: disk, OS, installed packages, configuration files, your data. DigitalOcean keeps the last four weekly snapshots (roughly four weeks of history). When the fifth backup completes, the oldest one is deleted automatically. There is no option to extend this.
A few constraints worth knowing before you depend on this feature:
- You cannot download a Droplet backup. It lives in your DigitalOcean account, inaccessible outside of their restore flow.
- You cannot copy a Droplet backup to another provider or a different account.
- Block storage volumes attached to the Droplet are **not** included. If your application stores data on a volume rather than the root disk, the backup add-on does not touch it.
- If your Droplet is deleted, the backups associated with it are deleted too.
For the full technical detail on enabling the backup add-on, the [DigitalOcean docs on Droplet backups](https://docs.digitalocean.com/products/droplets/how-to/enable-backups/) are accurate and current.
The Droplet Backup add-on protects the root disk on a regular schedule without any manual effort from you. That is its job. It does that job well. It does not protect volumes, it does not export off-site, and it does not let you control the cadence.
## What DigitalOcean means by "snapshot"
A snapshot is a point-in-time image of a Droplet or a Block Storage volume. Unlike the backup add-on, snapshots are **on-demand**. Nothing happens automatically. You trigger a snapshot manually through the control panel, the `doctl` CLI, or the DigitalOcean API.
Billing is $0.06 per GB per month, charged for the compressed snapshot size. A 20 GB Droplet whose snapshot compresses to 8 GB costs $0.48/month to keep around. If you take ten snapshots and never delete any, the bill grows with each one. There is no expiry. Snapshots persist until you explicitly delete them.
The rules for Droplet snapshots and volume snapshots are the same: on-demand, billed at $0.06/GB/mo, retained until you delete them. But they cover different things: a Droplet snapshot captures the root disk; a volume snapshot captures the attached Block Storage volume. The two are separate operations and separate line items.
One region-transfer capability that snapshots have and the backup add-on lacks: you can copy a Droplet snapshot to another DigitalOcean region. This is useful for pre-positioning images before a migration or spinning up a clone in a second region. It is not off-site storage (it's still inside your DO account), but it does give you geographic redundancy within the platform.
The [DigitalOcean docs on Droplet snapshots](https://docs.digitalocean.com/products/droplets/how-to/snapshot/) walk through the manual and API-based snapshot workflows.
Snapshots are not automatic. If you're relying on snapshots as your primary protection against data loss, you need a cron job, a `doctl` script, or a third-party tool to trigger them on a predictable schedule. A snapshot taken two weeks ago protects you against data loss from two weeks ago.
## The five differences that matter
The table below locks in the comparison. The five rows that follow explain the implications of each difference.
{/* FIGURE: fig-01 */}
| Dimension | Droplet Backup (add-on) | Droplet Snapshot |
|---|---|---|
| **Trigger** | Automatic, by DigitalOcean | Manual, by you (or your script) |
| **Schedule** | Weekly (standard) / Daily (Premium) | Whenever you run it |
| **Retention** | Fixed: last 4 weeks, then auto-deleted | Indefinite: until you delete it |
| **Pricing model** | 20% of Droplet price per month | $0.06/GB/month (compressed) |
| **Region transfer** | Not transferable | Transferable within DigitalOcean |
| **Volume coverage** | Root disk only (volumes excluded) | Root disk (Droplet) or volume (Volume snapshot, separately) |
| **Downloadable** | No | No |
| **Off-site** | No | No |
### 1. Trigger: you vs. DigitalOcean
The backup add-on runs because DigitalOcean scheduled it. Snapshots run because you (or something you set up) told them to. This sounds like a minor distinction until 3am on a Wednesday when your application is six hours into a bad data state and your last snapshot was the one you took before the deploy two weeks ago.
Automatic beats manual for protection against forgetting. Manual beats automatic for protection against specific moments: before a dangerous migration, immediately after a clean restore test, immediately after provisioning a new Droplet you want to be able to roll back.
### 2. Schedule and cadence
Weekly cadence means a Droplet backup captures at most one point per week. Your maximum possible data loss window on a standard Droplet is seven days. That is a meaningful number. If your application writes anything important between Tuesday afternoon and the following Tuesday morning, a weekly backup may not be enough.
For context on whether the weekly vs. daily tradeoff is worth the Premium tier price difference, the [cost comparison between weekly and daily backups](/blog/digitalocean-weekly-vs-daily-cost) covers the math in detail.
### 3. Pricing: percentage vs. per-GB
Backup add-on pricing scales with the Droplet. A $6/month Basic Droplet pays $1.20/month for backups regardless of how much data is on it. A $48/month Droplet pays $9.60/month.
Snapshot pricing scales with storage consumed. A sparse Droplet with 2 GB of actual data produces a small compressed snapshot. A Droplet with 80 GB of database files produces a large one. If you keep many snapshots, the bill adds up faster than a flat percentage.
For most workloads the backup add-on is cheaper if you only keep one or two copies. For long-lived snapshot archives, per-GB billing gets expensive quickly.
### 4. Retention: fixed window vs. open-ended
The backup add-on's four-week rolling window is predictable and automatic. You always have four recovery points. You can never have five.
Snapshots give you as many recovery points as you're willing to pay for. The discipline problem is the inverse: without a deletion policy, snapshots accumulate. We've seen teams log into the control panel and find sixty snapshots from two years of pre-deploy triggers, paying $30/month for history they'll never use.
Neither model is inherently better. The backup add-on's fixed window is enough for many workloads. Open-ended snapshot retention is valuable for workloads with compliance-driven long-term recovery requirements. Knowing which you have is the prerequisite.
### 5. Region transfer
You can copy a Droplet snapshot to a second DigitalOcean region. Backup add-on images cannot be transferred. If geographic redundancy within DO matters to your architecture, snapshots are the only native path.
What neither provides is a copy at a different provider. Both snapshots and backups live inside your DigitalOcean account. If the account is compromised, suspended, or caught in a regional incident, both are gone. We return to this point in the compliance section below.
## When to use backups
The backup add-on is the right default for most Droplets. Enable it on every Droplet that runs something you would miss, then stop thinking about it. It costs 20% of an already-small monthly line item. The operational cost is zero: DigitalOcean handles scheduling, retention, and deletion.
Use the backup add-on when:
- You need automated, hands-off protection for the root disk.
- A weekly recovery point (or daily, on Premium) is sufficient for your workload.
- You want predictable costs that scale with your Droplet, not your data volume.
- You're setting up a new Droplet and want the simplest possible safety net.
The backup add-on is not optional for production Droplets. The only debate is whether it's sufficient on its own. In most cases, for most teams, it isn't, but that's different from not enabling it.
For a deeper look at what the backup add-on actually captures and how its internals work, [how DigitalOcean native backup works](/blog/how-digitalocean-native-backup-works) covers the mechanism in detail.
## When to use snapshots
Snapshots are the right tool for moments, not for continuous protection. The on-demand nature is a feature, not a limitation, as long as you treat it as such.
Use snapshots when:
- You're about to do something dangerous (kernel upgrade, schema migration, dependency update) and want a clean rollback point.
- You need to clone a Droplet to a second region for a migration or failover test.
- You want to capture the current state after a successful configuration change.
- You're archiving a Droplet before decommissioning it (snapshots survive Droplet deletion; backup add-on images do not).
- You need to protect a Block Storage volume. The backup add-on does not reach volumes; volume snapshots are the only native option.
The failure mode with snapshots is drift: you take one before a deploy and then don't take another for three weeks. Your "current snapshot" is increasingly stale without you noticing. If you're using snapshots as your primary protection layer, you need to automate the trigger. The [guide to automating DigitalOcean Droplet backups](/blog/backup-digitalocean-droplets) covers how to schedule snapshot creation via the API and doctl.
## When you need both
Most production setups need both, covering different parts of the stack for different reasons.
**Use the backup add-on for**: your root disk, continuous automated protection, the recovery-point cadence you've agreed to with your team or your users.
**Use snapshots for**: pre-deploy checkpoints, volume protection, cross-region copies, long-term archives of specific known-good states.
A common gap that teams miss: the backup add-on does not protect Block Storage volumes. If your application's database writes to a mounted volume (a common pattern for Managed Database-adjacent workloads and self-hosted databases), the backup add-on captures the Droplet's OS and config but misses the data entirely. Volume snapshots are required for the data layer.
For the complete inventory of what native backup misses, [what DigitalOcean native backup doesn't cover](/blog/what-digitalocean-native-backup-doesnt-cover) maps each gap with the recommended mitigation.
A practical default for production: enable the backup add-on on the Droplet, enable volume snapshots on any attached volumes, and automate both. If you're doing this manually, you'll eventually forget one. Automation is not optional for anything you actually need back.
## The compliance angle: neither alone satisfies off-site
Both snapshots and backups live inside the same DigitalOcean account. For SOC 2, ISO 27001, GDPR, or any framework that requires off-site copies at a separate provider, neither alone is sufficient.
This is the part the DigitalOcean control panel doesn't tell you clearly, so let's be direct about it.
Every native backup mechanism DigitalOcean provides, including the backup add-on and all snapshot types, stores the data inside your DigitalOcean account. Region transfers move data between DigitalOcean regions, still under the same account. If that account is compromised, suspended, or caught in a regional incident, your backups are in the same blast radius as your production resources.
For frameworks like SOC 2 Type II, ISO 27001, or GDPR data protection requirements, auditors typically require evidence that backup copies are stored at a distinct provider with independent access controls. "We have snapshots in a second DigitalOcean region" does not satisfy that requirement. "We have an encrypted copy on Backblaze B2 or AWS S3 with a separate IAM account" does.
The same-host risk is not theoretical. DigitalOcean has had account-level suspensions due to billing disputes, terms of service issues, and security flags. When that happens, backup add-on images are inaccessible at the same moment the Droplets are inaccessible. The point of a backup is that it's available when the primary is not.
For the full breakdown of off-site requirements by compliance framework and how to implement them on DigitalOcean, [DigitalOcean off-site compliance](/blog/digitalocean-off-site-compliance) covers what each standard actually requires and what tools satisfy it.
The gap the generic [comparison of backups vs. snapshots](/blog/backups-vs-snapshots-with-differences-and-examples) makes clear is also true here: neither snapshots nor backups are substitutes for an off-site copy. They are complements to it.
## What to do tonight
If you haven't enabled the Droplet backup add-on, do that first. It's the simplest, lowest-friction thing you can do. Cost is 20% of the Droplet; setup takes thirty seconds.
Then check your volumes. List every Droplet and confirm whether it has attached volumes. If it does, confirm you have volume snapshot automation in place. The backup add-on does not help you here.
Then decide whether the four-week window is enough. For most development and staging Droplets, it is. For production systems with compliance requirements or high write rates, it likely isn't. The answer to that question determines whether you need off-site copies, longer retention, or a different snapshot cadence.
The reason we built [SimpleBackups for DigitalOcean](/platform/digitalocean) is exactly the gap this article describes: native backup covers the easy part, and none of the hard part. If you want off-site snapshots and volume backups without writing any of it yourself, that's what it does.
## Keep learning
- [How DigitalOcean native backup works](/blog/how-digitalocean-native-backup-works) — What happens under the hood when the backup add-on runs.
- [What DigitalOcean native backup doesn't cover](/blog/what-digitalocean-native-backup-doesnt-cover) — The full inventory of gaps: volumes, Spaces, DOKS, Managed Databases on older tiers.
- [Backups vs. snapshots: differences and examples](/blog/backups-vs-snapshots-with-differences-and-examples) — The generic version of this comparison, useful context before going platform-specific.
- [Automate DigitalOcean server and volume snapshots](/blog/how-to-automate-digitalocean-server-and-volume-snapshots) — How to trigger snapshots on a schedule via the API and doctl.
- [The complete guide to DigitalOcean backup](/digitalocean-backup) — The hub for this entire cluster.
## FAQ
---
_This article is part of [The complete guide to DigitalOcean backup](/digitalocean-backup#snapshots-vs-backups), an honest, practical reference from the team that backs up DigitalOcean every day._
---
# Introducing Stack: Auto-Discover What You Need to Back Up
Source: https://simplebackups.com/blog/introducing-stack-auto-discover-backups
Published: 2026-03-02
Author: Laurent
Summary: Stack connects to your VPS, Kubernetes cluster, or cloud provider, discovers every resource running, and suggests the right backups — so nothing gets left behind.
Setting up backups should be the easiest part of managing your infrastructure. But if you're honest about it, it usually isn't.
You spin up a new VPS. You deploy a few projects. A database here, a storage bucket there. Before you know it, you've got 20 resources scattered across your stack, and setting up backups for each one means manually figuring out what's running, what technology it uses, what to include, what to exclude... and repeating that process for every single resource.
We've watched this pattern play out with thousands of SimpleBackups users. And we kept asking ourselves the same question: **why should you have to tell us what to back up when we can figure it out for you?**
That's exactly what Stack does.
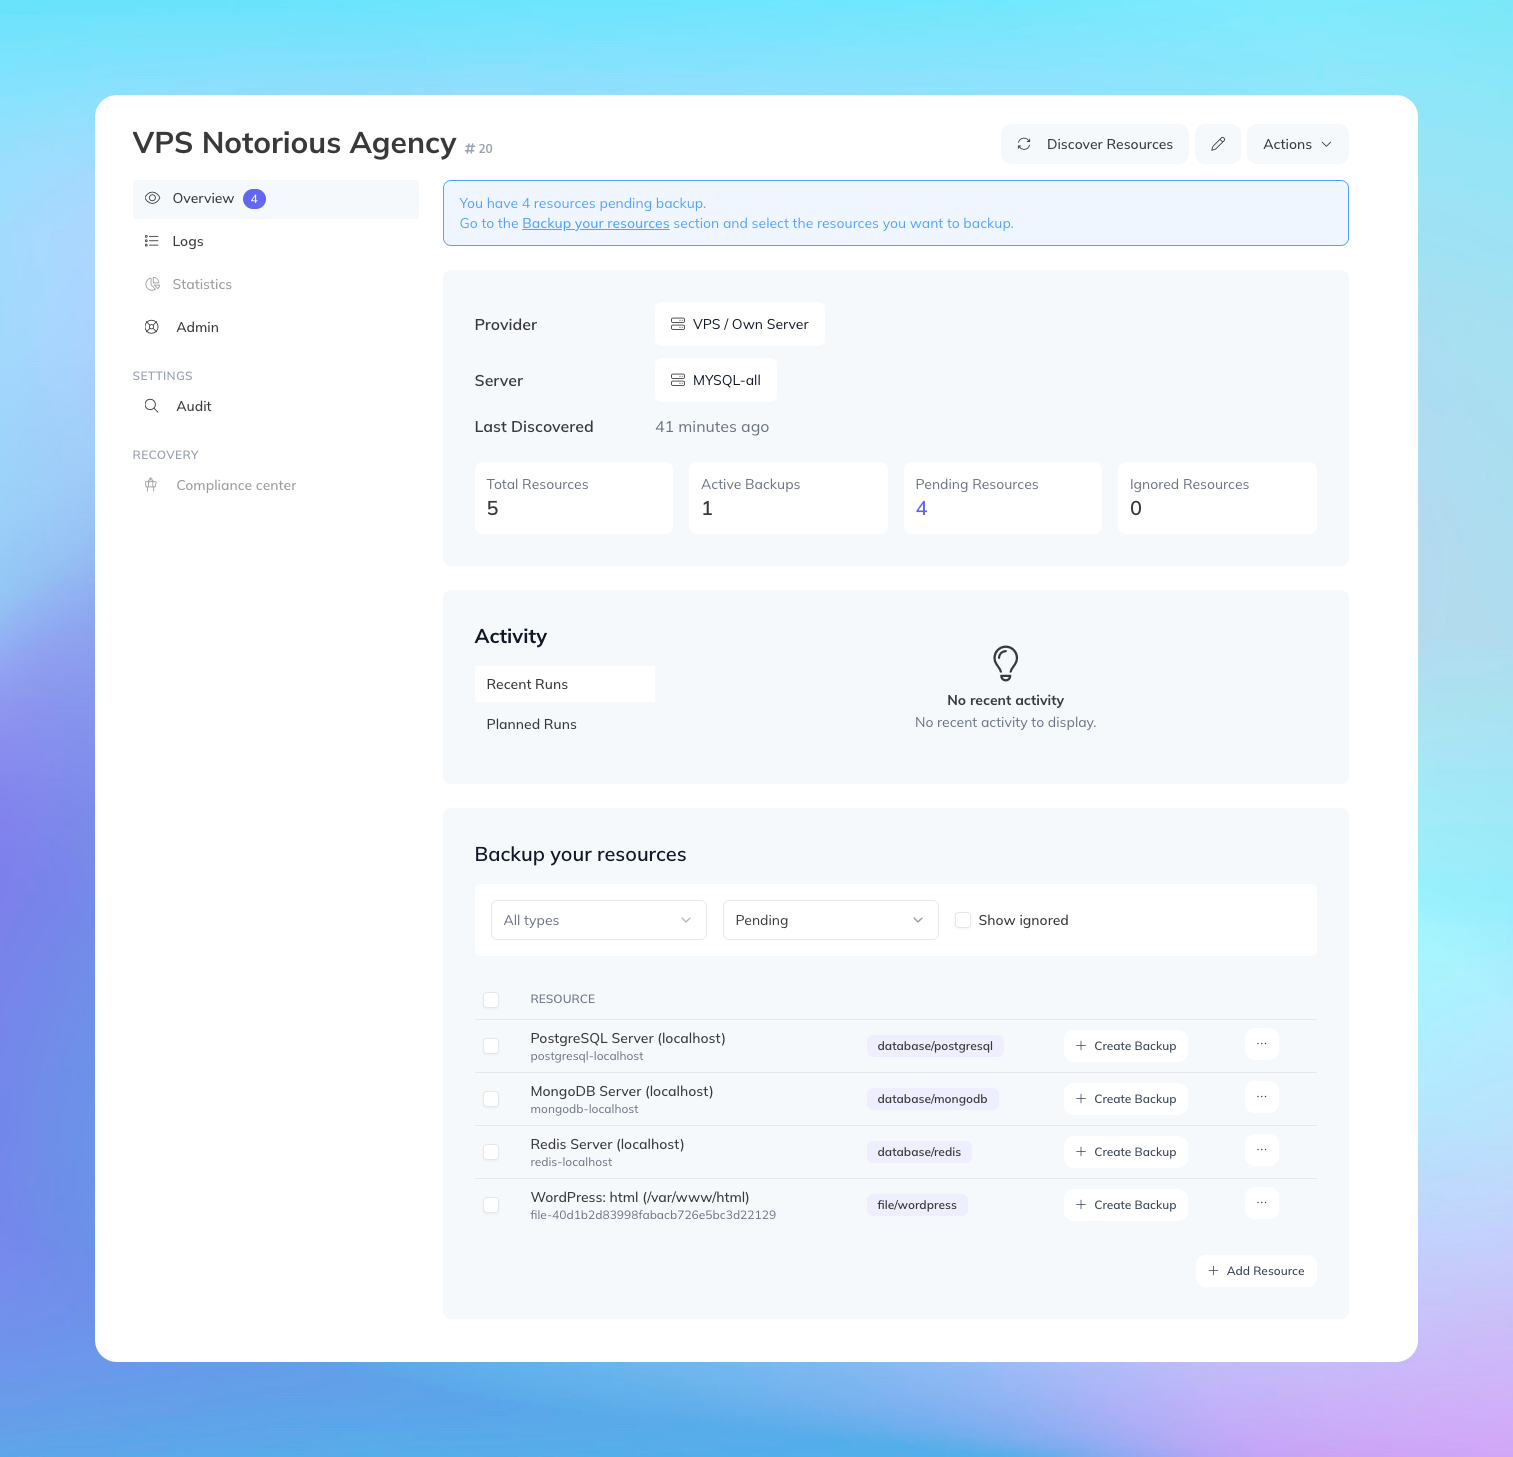
## What is Stack?
Stack is a new way to manage backups in SimpleBackups. Instead of creating backups one by one, you connect your infrastructure (a VPS, a Kubernetes cluster, a cloud provider) and Stack automatically discovers every resource that needs backing up.
It then suggests the right backup configuration for each resource, pre-filled and ready to go. You review, adjust if needed, and create them in bulk. Done.
The key part: **you still make every decision.** Stack doesn't create backups behind your back. It identifies what's there, suggests what makes sense, and lets you take it from here.
## How it works in practice
**Scenario 1: You have a VPS with multiple projects**
You connect your server. Stack scans it and finds 20 projects. Different frameworks, different databases, different file structures. For each one, it identifies the technology, the database engine, the files that matter. It then generates a backup template for each project, pre-configured with the right settings.
Instead of spending an afternoon setting up 20 individual backups, you review the suggestions and bulk-create them in a few clicks.
Here's the part we're really excited about: let's say next week you deploy a 21st project. Stack detects it, alerts you, and you set up that backup in seconds. No more "I forgot to add backups for that new app."
**Scenario 2: You're a Supabase customer**
You've got multiple databases and S3 storage buckets across your Supabase account. Connect it to Stack, and it discovers all your Supabase resources automatically. You then bulk-create backups or replication jobs for everything. Whenever you add a new database or bucket, Stack lets you know it's there and probably needs a backup.
This works the same way for other providers we're rolling out support for, and we're adding more as we go.
## Why we built this
If you've been with us for a while, you might remember what we used to call "full backups", the ability to combine file and database backups into a single job. It was one of our most-requested features and did the job for straightforward setups.
Stack is the natural evolution of that idea, but it goes much further. It's not limited to files and databases on a single server. It works across providers, across technologies, across your entire infrastructure. Including Kubernetes.
Our thinking is simple: a backup solution that feels smooth, intuitive, and natural to use will lead to better backup coverage. When it's easy to set things up, nothing gets left behind.
We've always believed that the biggest risk in backups isn't a failed job — it's the backup you never created in the first place. Stack is our answer to that.
## What's in the beta
Stack launches today in beta with support for:
- **VPS / Servers**: auto-discover projects, databases, and file structures
- **Kubernetes clusters**: discover workloads and persistent volumes
- **Cloud providers**: connect and discover resources across your accounts
- **Supabase**: databases and storage buckets
We're actively expanding provider support and would love your input on what to prioritize next.
## Try it out
Stack is available now for all SimpleBackups users. Head to your dashboard, connect your first stack, and see what it discovers.
As always with a beta, we're iterating fast. If something feels off, if you have ideas, if a provider you rely on isn't supported yet — tell us. That's exactly how we build.
Your feedback during this beta will directly shape where Stack goes next.
---
# Automating DigitalOcean backup verification
Source: https://simplebackups.com/blog/automating-digitalocean-backup-verification
Published: 2026-03-01
Author: Laurent
Summary: A backup you haven't tested isn't a backup. How to automate integrity checks for Droplet images, DB dumps, and Space mirrors with working scripts.
You opened the restore dialog and the backup was there. The status said "succeeded." You clicked restore. The server came back missing two weeks of data.
This is one of the most common support situations we see. The backup ran. It completed. It just didn't contain what you expected, or it was silently corrupted somewhere between the dump and the storage destination.
DigitalOcean's native backup tools give you a green checkmark when the process finishes. They don't give you any signal about whether the backup is actually restorable. That's a gap you have to close yourself, and this article shows you how.
By the end you'll have working scripts for DigitalOcean backup verification: Droplet snapshot integrity, database dump health, and Spaces mirror completeness, plus a cron-based pipeline to run all of it automatically and alert you when something is wrong.
## Why verification matters more than scheduling
Scheduling is the easy part. You configure a backup to run at 03:00 UTC, it runs, you move on. Most teams stop there.
Verification is the part that actually tells you whether the backup is useful.
A backup can "succeed" and still fail you in any of these ways:
- The dump file was written, but silently truncated mid-stream because a piped command swallowed a non-zero exit code.
- The file transferred to storage, but the object is 0 bytes because the upload timed out after the transfer started.
- The Droplet snapshot completed, but the snapshot ID was deleted by a cleanup script that over-reached.
- The database dump completed, but `pg_restore` fails on it because the dump was taken while a schema migration was halfway through.
None of these show up as failures in the backup log. They show up when you try to restore, which is exactly when you can least afford to discover the problem.
We back up DigitalOcean every day. The failure mode that surprises teams most isn't "the backup didn't run." It's "the backup ran fine but the file it produced was unusable." Verification is how you close the gap between those two things.
There's a second reason verification matters: the same-host problem. DigitalOcean native backups, Droplet snapshots, volume snapshots, and managed database backups all live inside your DigitalOcean account. Verification tells you the backup exists and is intact. It doesn't tell you whether you can access it during an account-level incident. Test the off-site copy, not just the native one. For the full picture on why that distinction matters for compliance, see [DigitalOcean off-site backup and compliance](/blog/digitalocean-off-site-compliance).
## Verifying Droplet snapshot integrity
DigitalOcean Droplet snapshots are opaque images. You can't mount them or run a checksum against the underlying data without restoring them. What you can verify, programmatically, is:
1. The snapshot exists by its expected ID or name.
2. Its status is `available` (not `pending` or `deleted`).
3. Its size is non-zero and within a reasonable range of your previous snapshot.
4. It was created within your expected time window.
The [doctl CLI](https://docs.digitalocean.com/reference/doctl/) gives you everything you need to script this. Install it, authenticate with your personal access token, and you can query snapshot state directly.
```bash
#!/usr/bin/env bash
# verify-droplet-snapshot.sh
# Checks that a Droplet's latest snapshot exists, is available,
# and falls within an expected size range.
# Usage: DROPLET_ID=123456789 bash verify-droplet-snapshot.sh
set -euo pipefail
DROPLET_ID="${DROPLET_ID:?DROPLET_ID is required}"
MAX_AGE_HOURS="${MAX_AGE_HOURS:-26}" # alert if snapshot is older than this
MIN_SIZE_GB="${MIN_SIZE_GB:-1}" # alert if snapshot is smaller than this
# Fetch the most recent snapshot for this Droplet
SNAPSHOT=$(doctl compute snapshot list
--resource-type droplet
--format ID,Name,CreatedAt,SizeGigabytes,Status
--no-header
| awk -v id="$DROPLET_ID" '$0 ~ id {print; exit}')
if [[ -z "$SNAPSHOT" ]]; then
echo "ERROR: No snapshot found for Droplet $DROPLET_ID" >&2
exit 1
fi
STATUS=$(echo "$SNAPSHOT" | awk '{print $5}')
SIZE=$(echo "$SNAPSHOT" | awk '{print $4}')
CREATED=$(echo "$SNAPSHOT" | awk '{print $3}')
if [[ "$STATUS" != "available" ]]; then
echo "ERROR: Snapshot status is '$STATUS', expected 'available'" >&2
exit 1
fi
if (( $(echo "$SIZE < $MIN_SIZE_GB" | bc -l) )); then
echo "ERROR: Snapshot size ${SIZE}GB is below minimum ${MIN_SIZE_GB}GB" >&2
exit 1
fi
CREATED_EPOCH=$(date -d "$CREATED" +%s 2>/dev/null || date -j -f "%Y-%m-%dT%H:%M:%SZ" "$CREATED" +%s)
NOW_EPOCH=$(date +%s)
AGE_HOURS=$(( (NOW_EPOCH - CREATED_EPOCH) / 3600 ))
if (( AGE_HOURS > MAX_AGE_HOURS )); then
echo "ERROR: Snapshot is ${AGE_HOURS}h old, max is ${MAX_AGE_HOURS}h" >&2
exit 1
fi
echo "OK: Snapshot available, ${SIZE}GB, ${AGE_HOURS}h old"
```
Run this as a cron job a few hours after your snapshot window ends. If it exits non-zero, treat it the same way you'd treat a failed backup: investigate before the next scheduled run.
doctl must be authenticated with a token that has read access to Droplets and Snapshots. Use a read-only personal access token for verification scripts: it limits blast radius if the script's environment is compromised.
For a deeper look at how DigitalOcean's native snapshot mechanism works and what it actually captures, see [how DigitalOcean native backup works](/blog/how-digitalocean-native-backup-works).
## Verifying database dump integrity
Database dumps are different from snapshots: you can inspect them directly. A `pg_dump` output in custom format (`-Fc`) has a table of contents you can read without restoring the whole dump. A MySQL dump is plain SQL you can parse. The key insight is that you don't need to do a full restore to know whether a dump is good.
### Postgres dump verification
Three checks give you high confidence in a Postgres dump:
1. **Exit code**: did the dump command itself exit 0?
2. **File size**: is the output file larger than a credible minimum?
3. **Dry-run restore listing**: does `pg_restore --list` parse the table of contents without errors?
The third check is the most important. `pg_restore --list` reads the dump's internal structure and prints it without writing to any database. If the dump is truncated, corrupt, or written in the wrong format, this fails. If it succeeds, you know the dump is structurally intact.
```bash
#!/usr/bin/env bash
# verify-pg-dump.sh
# Verifies a pg_dump file produced in custom format (-Fc).
# Usage: DUMP_FILE=/path/to/dump.dump bash verify-pg-dump.sh
set -euo pipefail
DUMP_FILE="${DUMP_FILE:?DUMP_FILE is required}"
MIN_SIZE_BYTES="${MIN_SIZE_BYTES:-10240}" # 10 KB minimum; tune for your DB
# 1. Check the file exists
if [[ ! -f "$DUMP_FILE" ]]; then
echo "ERROR: Dump file not found: $DUMP_FILE" >&2
exit 1
fi
# 2. Check file size
ACTUAL_SIZE=$(stat -c%s "$DUMP_FILE" 2>/dev/null || stat -f%z "$DUMP_FILE")
if (( ACTUAL_SIZE < MIN_SIZE_BYTES )); then
echo "ERROR: Dump file is ${ACTUAL_SIZE} bytes, minimum is ${MIN_SIZE_BYTES}" >&2
exit 1
fi
# 3. Dry-run restore listing (no DB connection required)
if ! pg_restore --list "$DUMP_FILE" > /dev/null 2>&1; then
echo "ERROR: pg_restore --list failed — dump may be corrupt or truncated" >&2
exit 1
fi
echo "OK: Dump valid, ${ACTUAL_SIZE} bytes, pg_restore --list passed"
```
### MySQL dump verification
For MySQL dumps (plain SQL format), replace the `pg_restore --list` check with a header inspection:
```bash
#!/usr/bin/env bash
# verify-mysql-dump.sh
# Checks that a mysqldump file has a valid header and non-trivial size.
# Usage: DUMP_FILE=/path/to/dump.sql bash verify-mysql-dump.sh
set -euo pipefail
DUMP_FILE="${DUMP_FILE:?DUMP_FILE is required}"
MIN_SIZE_BYTES="${MIN_SIZE_BYTES:-10240}"
if [[ ! -f "$DUMP_FILE" ]]; then
echo "ERROR: Dump file not found: $DUMP_FILE" >&2
exit 1
fi
ACTUAL_SIZE=$(stat -c%s "$DUMP_FILE" 2>/dev/null || stat -f%z "$DUMP_FILE")
if (( ACTUAL_SIZE < MIN_SIZE_BYTES )); then
echo "ERROR: Dump is ${ACTUAL_SIZE} bytes, minimum is ${MIN_SIZE_BYTES}" >&2
exit 1
fi
# mysqldump files always start with "-- MySQL dump"
if ! head -3 "$DUMP_FILE" | grep -q "MySQL dump"; then
echo "ERROR: File does not look like a valid mysqldump output" >&2
exit 1
fi
echo "OK: MySQL dump valid, ${ACTUAL_SIZE} bytes"
```
Run the verification script from the same machine (or a separate verify host) that downloads the dump from storage. Never verify a file in-place on the same server that produced it; a filesystem error affecting the write could affect the read too.
If you're backing up your managed databases off-site, the process for getting a dump file to verify against is covered in [backing up DigitalOcean managed databases](/blog/backup-digitalocean-managed-databases).
## Verifying Spaces mirror completeness
Spaces mirrors are trickier. There's no "table of contents" format to parse. What you can do is compare object counts and checksums between the source and the mirror, and alert when they diverge.
The S3-compatible Spaces API (compatible with the AWS CLI and `s3cmd`) gives you everything you need. The script below uses the AWS CLI configured for Spaces (`--endpoint-url`).
```bash
#!/usr/bin/env bash
# verify-spaces-mirror.sh
# Compares object count and spot-checks ETags between a source Spaces bucket
# and a mirror bucket. Exits non-zero if counts diverge by more than a threshold.
# Usage:
# SOURCE_BUCKET=my-source
# MIRROR_BUCKET=my-mirror
# SPACES_ENDPOINT=https://nyc3.digitaloceanspaces.com
# bash verify-spaces-mirror.sh
set -euo pipefail
SOURCE_BUCKET="${SOURCE_BUCKET:?SOURCE_BUCKET is required}"
MIRROR_BUCKET="${MIRROR_BUCKET:?MIRROR_BUCKET is required}"
SPACES_ENDPOINT="${SPACES_ENDPOINT:?SPACES_ENDPOINT is required}"
MAX_DRIFT_PCT="${MAX_DRIFT_PCT:-5}" # alert if mirror has >5% fewer objects
awss3() {
aws s3api "$@" --endpoint-url "$SPACES_ENDPOINT"
}
echo "Counting objects in source: $SOURCE_BUCKET"
SOURCE_COUNT=$(awss3 list-objects-v2
--bucket "$SOURCE_BUCKET"
--query 'length(Contents[])'
--output text)
echo "Counting objects in mirror: $MIRROR_BUCKET"
MIRROR_COUNT=$(awss3 list-objects-v2
--bucket "$MIRROR_BUCKET"
--query 'length(Contents[])'
--output text)
echo "Source: $SOURCE_COUNT objects | Mirror: $MIRROR_COUNT objects"
if (( SOURCE_COUNT == 0 )); then
echo "ERROR: Source bucket is empty — possible misconfiguration" >&2
exit 1
fi
# Calculate drift percentage
DRIFT_PCT=$(echo "scale=2; (($SOURCE_COUNT - $MIRROR_COUNT) * 100) / $SOURCE_COUNT" | bc)
if (( $(echo "$DRIFT_PCT > $MAX_DRIFT_PCT" | bc -l) )); then
echo "ERROR: Mirror has ${DRIFT_PCT}% fewer objects than source (threshold: ${MAX_DRIFT_PCT}%)" >&2
exit 1
fi
# Spot-check: compare ETag of a random object in both buckets
SAMPLE_KEY=$(awss3 list-objects-v2
--bucket "$SOURCE_BUCKET"
--max-items 1
--query 'Contents[0].Key'
--output text)
SOURCE_ETAG=$(awss3 head-object
--bucket "$SOURCE_BUCKET"
--key "$SAMPLE_KEY"
--query 'ETag'
--output text)
MIRROR_ETAG=$(awss3 head-object
--bucket "$MIRROR_BUCKET"
--key "$SAMPLE_KEY"
--query 'ETag'
--output text)
if [[ "$SOURCE_ETAG" != "$MIRROR_ETAG" ]]; then
echo "ERROR: ETag mismatch on key '$SAMPLE_KEY'" >&2
echo " Source: $SOURCE_ETAG" >&2
echo " Mirror: $MIRROR_ETAG" >&2
exit 1
fi
echo "OK: Mirror within threshold (${DRIFT_PCT}% drift), ETag spot-check passed"
```
### Reading the results
The ETag check is a fast proxy for checksum comparison. For multipart-uploaded objects, ETags are composite hashes rather than raw MD5s, so they're meaningful for detecting partial writes or mid-air corruption even if they don't give you a true full-file checksum.
For large buckets, listing all objects for an exact count can be slow. Tune `MAX_DRIFT_PCT` to a value that's tight enough to catch real problems but loose enough to tolerate normal sync lag. For most teams, 2% to 5% is a reasonable starting point.
The broader picture for Spaces: what the mirror is protecting against, and how to structure it for off-site durability, is covered in [backing up DigitalOcean Spaces](/blog/backup-digitalocean-spaces).
## Building your DigitalOcean backup verification pipeline
Individual verification scripts are useful. A pipeline that runs them automatically, logs results, and alerts on failure is what closes the loop.
The principle: run verification after the backup window closes, not just immediately after the backup command returns. A Spaces sync that's still in progress when you check will appear incomplete. A managed database backup that DigitalOcean is still writing will have the wrong size. Give the backup time to settle before you verify.
Verify on a schedule independent of the backup schedule, not just immediately after the backup runs. A 30-to-60 minute offset between the backup job and the verification job is a reasonable starting point.
Here's a cron-based pipeline that ties the pieces together. It runs the verification scripts, logs timestamped results to a file, and sends an alert via a webhook if anything fails.
```bash
#!/usr/bin/env bash
# verify-pipeline.sh
# Runs all three verification scripts and sends an alert if any fail.
# Set the following env vars before running:
# ALERT_WEBHOOK_URL — Slack/PagerDuty/etc. webhook to POST failures to
# DROPLET_ID — Droplet to verify snapshot for
# DUMP_FILE — Path to the latest pg_dump file
# SOURCE_BUCKET — Source Spaces bucket name
# MIRROR_BUCKET — Mirror Spaces bucket name
# SPACES_ENDPOINT — https://.digitaloceanspaces.com
set -uo pipefail
LOG_DIR="${LOG_DIR:-/var/log/backup-verify}"
LOG_FILE="$LOG_DIR/$(date +%Y-%m-%d).log"
ALERT_WEBHOOK_URL="${ALERT_WEBHOOK_URL:-}"
FAILED=0
mkdir -p "$LOG_DIR"
log() {
echo "[$(date -u +%Y-%m-%dT%H:%M:%SZ)] $*" | tee -a "$LOG_FILE"
}
alert() {
local message="$1"
log "ALERT: $message"
if [[ -n "$ALERT_WEBHOOK_URL" ]]; then
curl -s -X POST "$ALERT_WEBHOOK_URL"
-H 'Content-Type: application/json'
-d "{\"text\": \"Backup verification failed: $message\"}"
> /dev/null
fi
}
run_check() {
local name="$1"
local script="$2"
log "Running: $name"
if output=$(bash "$script" 2>&1); then
log "PASS [$name]: $output"
else
FAILED=1
alert "$name: $output"
fi
}
run_check "droplet-snapshot" "/opt/verify/verify-droplet-snapshot.sh"
run_check "pg-dump" "/opt/verify/verify-pg-dump.sh"
run_check "spaces-mirror" "/opt/verify/verify-spaces-mirror.sh"
if (( FAILED == 1 )); then
log "Pipeline complete: ONE OR MORE CHECKS FAILED"
exit 1
else
log "Pipeline complete: all checks passed"
fi
```
Schedule it in cron. If your backup runs at 02:00 UTC, run verification at 04:00:
```text
0 4 * * * DROPLET_ID=123456789 DUMP_FILE=/backups/latest.dump
SOURCE_BUCKET=my-data MIRROR_BUCKET=my-data-mirror
SPACES_ENDPOINT=https://nyc3.digitaloceanspaces.com
ALERT_WEBHOOK_URL=https://hooks.slack.com/...
bash /opt/verify/verify-pipeline.sh
```
Store the env vars in a dotfile rather than inline in the crontab for production use. The pattern above is for readability.
## Verification methods by backup type
| Backup type | What to verify | Primary method | Tooling |
|---|---|---|---|
| Droplet snapshot | Exists, status is `available`, size is non-zero, age within window | Query snapshot list via doctl | `doctl compute snapshot list` |
| Droplet volume snapshot | Same as Droplet snapshot | Query volume snapshot list via doctl | `doctl compute volume-action get` |
| Postgres dump (`-Fc`) | File exists, size above minimum, table of contents parses | `pg_restore --list` dry run | `pg_restore` (no DB connection needed) |
| MySQL dump (plain SQL) | File exists, size above minimum, header is valid mysqldump | Header grep + size check | `head`, `stat` |
| Spaces mirror | Object count within drift threshold, ETag spot-check on sample | Object list count comparison + ETag | AWS CLI (`s3api`) against Spaces endpoint |
| Managed DB (native) | Backup exists within retention window | Managed database API query | `doctl databases backups list` |
The managed database row is worth calling out. DigitalOcean doesn't expose the actual dump files from native managed database backups, so you can't run `pg_restore --list` against them. The best you can do natively is confirm that a backup entry exists for the expected date. For actual dump-level verification, you need to produce the dump yourself (or let a tool like SimpleBackups do it) so you have a file to test against.
## When verification fails: the decision tree
Verification catches the problem. It doesn't fix it. Here's how to think through a failure.
**Step 1: Identify which check failed.**
Each verification script exits non-zero with a specific message. Read the log. "Snapshot not found" is different from "snapshot found but size is 1 KB" is different from "pg_restore --list failed."
**Step 2: Determine if it's a transient or structural failure.**
A transient failure is something like "snapshot still pending" or "mirror sync in progress." Wait an hour and re-run. If the same check fails twice in a row, treat it as structural.
A structural failure means something went wrong with the backup itself. This is the scenario you were hoping to catch before you needed the data back.
**Step 3: Check your backup window.**
Is the most recent clean backup within your recovery point objective? If you have 7-day retention and the last clean backup was 5 days ago, you're still within window. If your last clean backup was 8 days ago, you have a gap.
**Step 4: Trigger a manual backup immediately.**
Don't wait for the next scheduled run. Take a snapshot or dump now, verify it manually, confirm you have at least one clean restore point.
**Step 5: Investigate the root cause before re-enabling automation.**
A backup that fails verification once might fail silently every time. Common causes:
- Disk full on the backup server (dump truncated mid-write).
- Network timeout during the Spaces upload (object written but 0 bytes).
- Schema migration running during the dump window (dump structurally incomplete).
- Snapshot quota reached (new snapshot not created, old one not rotated).
Fix the root cause. Re-run verification manually before re-enabling the schedule.
A verified backup inside your DigitalOcean account is better than an unverified one. But if the account is suspended, the billing method fails, or a region goes down, all of it goes away at once. Verification of your off-site copy is the only verification that matters when the account itself is the incident. See the off-site compliance guide linked earlier in this article for how to structure a defensible backup posture.
## What to do tonight
Pick one backup type you're running today. Postgres dump, Droplet snapshot, Spaces mirror. Write the corresponding verification script from this article into your environment, run it manually against your last backup, and see if it passes.
If it passes, set up the cron schedule and move on. If it fails, you just found out before you needed the data back. That's exactly what verification is for.
If scripting and scheduling all this yourself sounds like a second job, SimpleBackups handles DigitalOcean Droplet, database, and Spaces backups off-site, with alerts when a run fails and restore testing built in. [See how it works →](/platform/digitalocean)
## Keep learning
- [Backing up DigitalOcean Droplets](/blog/backup-digitalocean-droplets): the complete guide to scheduling, scripting, and storing Droplet backups off-site.
- [DigitalOcean Droplet backup not restoring](/blog/digitalocean-droplet-backup-not-restoring): what to do when a verified backup still won't restore, and how to recover.
- [What DigitalOcean native backup doesn't cover](/blog/what-digitalocean-native-backup-doesnt-cover): the gaps verification can't fix, and what tooling fills them.
- [Restoring a DigitalOcean Droplet](/blog/restore-digitalocean-droplet): step-by-step restore process once you've confirmed your backup is valid.
- [DigitalOcean backups explained](/digitalocean-backups-explained/): high-level overview of all native DigitalOcean backup products and their limitations.
## FAQ
---
_This article is part of [The complete guide to DigitalOcean backup](/digitalocean-backup#automating-verification), an honest, practical reference from the team that backs up DigitalOcean every day._
---
# What DigitalOcean native backup doesn't cover
Source: https://simplebackups.com/blog/what-digitalocean-native-backup-doesnt-cover
Published: 2026-02-25
Author: Laurent
Summary: Spaces, DOKS volumes, cross-region, and account-level disasters: the gaps in DigitalOcean's native backup, and why same-account storage is the biggest one.
If you've read the [DigitalOcean backup docs](https://docs.digitalocean.com/products/spaces/), you probably walked away feeling reasonably covered. Droplet backups: enabled. Managed Database backups: included. Looks good.
Here's the problem. The docs describe what DigitalOcean does back up. They don't describe what it doesn't. And the list of things that don't get covered is longer than most people realize until they need a restore.
We back up DigitalOcean every day, across hundreds of customer environments. The gaps we see are consistent and predictable. This article names them, explains why they matter, and tells you what to do about each one.
{/* FIGURE: fig-01 */}
## Gap 1: Spaces has no backup at all
[DigitalOcean Spaces](https://docs.digitalocean.com/products/spaces/) is the platform's S3-compatible object storage. It is one of the most widely used DigitalOcean products. And it has zero native backup.
There is no scheduled backup. There is no point-in-time restore. There is no built-in replication to another region. If you delete a file in Spaces, or a bug in your application overwrites it, or a mistake wipes a prefix, that data is gone. The [DigitalOcean Spaces accidental deletion guide](/blog/digitalocean-spaces-accidental-deletion) covers what recovery looks like in practice and how to reduce the risk before an incident happens.
Versioning exists. But it is off by default on every bucket, and enabling it does not constitute a backup. A versioned bucket lets you recover a previous version of an object, but only if:
1. You remember to enable versioning before the deletion or overwrite happens.
2. The deletion itself was a soft delete (not a permanent delete that removes all versions).
3. Your bucket lifecycle rules haven't expired the version you need.
Three conditions. Any one of them can fail.
Versioning on Spaces is available but off by default. Enable it immediately after creating any bucket that holds important data. Even then, plan for a backup to a separate storage destination. Versioning is not a substitute for off-site backup.
If your application stores user-uploaded files, logs, build artifacts, or database dump files in Spaces, none of that is protected by native tools. That includes the dumps that applications like [SimpleBackups send to Spaces](/blog/how-to-backup-postgres-to-digitalocean-spaces) as a storage target: the dumps arrive there, but the bucket itself has no backup.
For a dedicated guide to covering this gap, see the upcoming [how to back up DigitalOcean Spaces](/blog/backup-digitalocean-spaces) article.
## Gap 2: DOKS persistent volumes are unprotected
[DigitalOcean Kubernetes (DOKS)](https://docs.digitalocean.com/products/kubernetes/) has no native backup for persistent volumes. There is also no native backup for manifests, secrets, or ConfigMaps.
This is a significant gap. Stateful workloads running on DOKS, things like databases deployed via Helm charts, file-processing queues, or message brokers that write to block storage, are not backed up by anything DigitalOcean provides out of the box.
The cluster configuration itself can be reconstructed from infrastructure-as-code if you keep it in source control. But the data inside a PersistentVolumeClaim (PVC) is not the same as the spec that created it. If the PVC is deleted or its data is corrupted, no native tool recovers it.
The typical remediation path is [Velero](https://velero.io/), a Kubernetes-native backup tool that snapshots PVCs and cluster state and ships them to an external object store. But Velero requires setup, tuning, and ongoing maintenance. It is not a one-click option, and the DigitalOcean docs don't guide you through it.
For the full setup guide, see the upcoming [how to back up DigitalOcean Kubernetes](/blog/backup-digitalocean-kubernetes) article. For general Kubernetes database backup patterns, [this guide to Kubernetes database backup](/blog/kubernetes-database-backup) covers the conceptual model.
## Gap 3: Volumes are not in Droplet backups
This one surprises a lot of people. When you enable Droplet backups, you might assume you are backing up your Droplet and its attached storage. You are not.
[Block storage volumes](https://docs.digitalocean.com/products/volumes/how-to/create-snapshot/) are separate infrastructure units in DigitalOcean. They are not included in Droplet backups. If your Droplet has a 200 GB volume attached for data storage, that volume is entirely unprotected unless you also create volume snapshots separately.
Volume snapshots are manual operations billed at $0.06/GB/month. They are not scheduled automatically. There is no native tool that watches your volumes and creates daily or weekly snapshots on a schedule. You either write that automation yourself (the `doctl` CLI makes it possible, and there is a [script-focused guide here](/blog/how-to-automate-digitalocean-server-and-volume-snapshots)) or you leave your volumes unprotected.
The practical scenario where this matters: you run a Droplet with the root disk and a separate volume for your application data or database files. Droplet backup is enabled. A restore event happens. You [restore the Droplet](/blog/restore-digitalocean-droplet) and get the OS and application layer back. Your application data directory is empty.
It is worth noting that Droplet backups themselves have a significant limitation even for what they do cover: you cannot download them, you cannot move them off DigitalOcean, and you cannot restore them to a Droplet in a different account. Those constraints matter more than most people expect, which the later sections in this article address directly.
## Gap 4: No cross-region replication
None of DigitalOcean's native backup options replicate data to a different region automatically.
Droplet backups stay in the same region as the Droplet. Volume snapshots stay in the same region. Managed Database backups stay in the same region. You can manually copy a Droplet snapshot to a different region using the DigitalOcean console or `doctl`, but this is a manual step, not a scheduled process, and it does not apply to Managed Database backups or Spaces.
The absence of cross-region replication means that a region-level incident, whether an outage, a data center failure, or a severe infrastructure event, affects both your production workload and your backup simultaneously. For most teams running non-critical workloads, this is an acceptable risk. For teams with compliance requirements or service-level commitments, it is not.
SOC 2 Type II, GDPR, and ISO 27001 all have provisions around backup storage and geographic separation. The specifics depend on your implementation, but "backup lives in the same region as production" is not a configuration auditors look at favorably. For GDPR-specific requirements around data residency and storage location for EU data, see the [DigitalOcean GDPR compliance guide](/blog/digitalocean-gdpr-compliant). For a deep dive on what off-site and cross-region backup means for compliance broadly, see the upcoming [DigitalOcean off-site compliance](/blog/digitalocean-off-site-compliance) guide, and for the mechanics of replication, the [DigitalOcean cross-region backup](/blog/digitalocean-cross-region-backup) article.
## Gap 5: You can't download native backups
This constraint deserves its own section because the implications are wider than they first appear.
Neither Droplet backups, nor Droplet snapshots, nor Managed Database backups are downloadable. There is no export button, no API endpoint that returns the raw backup file, no path to getting the bytes off DigitalOcean's infrastructure.
Here is what that means in practice:
**You cannot verify restores independently.** Testing a restore means spinning up a new DigitalOcean resource. You cannot download the backup, spin it up locally, and confirm it works. This makes it harder to build a real restore-testing habit. Teams that can't easily test restores tend not to test restores.
**You cannot migrate away without downtime.** If you decide to move infrastructure to AWS or Hetzner or a private data center, you cannot use your DigitalOcean backups as the migration path. You need to export the live data, which requires a maintenance window or careful coordination.
**You cannot maintain an independent copy.** Regulatory requirements sometimes call for backup copies held by the organization itself, not by the cloud provider. Native DigitalOcean backups cannot satisfy this. The backup lives on DigitalOcean, managed by DigitalOcean, accessible only through DigitalOcean tooling.
For contrast, a `pg_dump` or `mysqldump` that you ship to your own S3-compatible storage is a file you own. You can download it, inspect it, restore it locally, archive it, and use it as a migration artifact. The [understanding DigitalOcean backups explained](/blog/digitalocean-backups-explained) article covers the full architecture of what native backup is and isn't. The upcoming [how DigitalOcean native backup works](/blog/how-digitalocean-native-backup-works) article goes deeper on the internal mechanics.
## Gap 6: Retention is short and non-negotiable
The native retention windows are fixed. You cannot extend them. You cannot pay more for a longer window.
| Product | Schedule | Retention |
|---|---|---|
| Droplet backup (standard) | Weekly | 4 weeks |
| Droplet backup (Premium) | Daily | 4 weeks |
| Droplet snapshot | Manual | Until deleted |
| Volume snapshot | Manual | Until deleted |
| Managed Database | Daily | 7 days |
| Managed DB (PITR) | Continuous | 7 days |
| Spaces | None | N/A |
| DOKS | None | N/A |
Seven days of Managed Database backup retention means that if a data integrity issue goes undetected for more than a week, you have nothing to restore to. Silent corruption, a bad migration, a bug that gradually modifies data in the wrong direction: all of these can stay hidden for longer than seven days. When that window closes, [what happens when your DigitalOcean managed database backup expires](/blog/digitalocean-managed-db-retention-expired) covers your remaining options. If the window is still open and you need to act, the [Managed Database restore guide](/blog/restore-digitalocean-managed-database) walks through the native restore, fork, and dump-reimport paths.
Four weeks of Droplet backup retention means the same thing at the OS and application layer. If a compromised package or a malicious dependency starts doing damage in week three, your oldest backup is from week one.
Snapshots are technically indefinite because they persist until deleted, but they are manual. An indefinite-retention strategy based on snapshots only works if someone is manually creating snapshots on a schedule, which is an operational dependency rather than a backup policy.
If your compliance framework requires 30, 60, or 90 days of backup history, native DigitalOcean tools cannot satisfy that requirement without additional tooling. Off-site backups with configurable retention are the only path.
This connects directly to the [backups vs. snapshots comparison](/blog/backups-vs-snapshots-with-differences-and-examples): snapshots are point-in-time and tied to the platform, while proper backups give you portable, configurable, retainable copies of your data.
## The real gap: same-account storage
{/* FIGURE: fig-02 */}
The individual gaps above are significant. Each one represents a product or feature that native tooling doesn't address. But there is a structural issue underneath all of them that matters more.
The biggest gap isn't a missing product. It's that every native backup sits in the same DigitalOcean account as the thing it protects.
When your backup lives in the same account as your production workload, any account-level event takes both the production data and the backup simultaneously. A compromised account, a billing dispute, a DigitalOcean support action, or an administrative mistake doesn't just affect your Droplets: it affects every backup, every snapshot, and every volume within that account.
Think through the scenarios where same-account storage creates a single point of failure:
**Account compromise.** If an attacker gets access to your DigitalOcean account, they have access to your backups. A ransomware-style attack can delete your Droplets and your Droplet backups in the same API call sequence.
**Account suspension.** Billing disputes, terms-of-service violations, and payment failures can result in account suspension. When an account is suspended, DigitalOcean may restrict access to resources including backups. You cannot access the backup to restore to a different provider while the suspension is active.
**Accidental deletion.** A `doctl compute droplet delete --force` run on the wrong target, a Terraform apply with a misconfigured resource, or a script with an overly broad selector can delete resources across an account. Deletion of a Droplet does not automatically delete its associated backups in most cases, but the proximity increases the risk of an operator mistake that catches both. If you find yourself in that situation, [recovering a deleted DigitalOcean Droplet](/blog/digitalocean-deleted-droplet-recovery) covers what options remain and where they fall short.
**Billing-linked data retention.** DigitalOcean's retention of backups is tied to the account status and the continued existence of the original resource. A lapsed account may not retain backups indefinitely. The exact behavior depends on the specific terms and support escalation path at the time.
The mitigation is conceptually simple: store at least one backup copy in a location that is independent of the DigitalOcean account. This is what "off-site backup" means in practice. The [DigitalOcean off-site compliance guide](/blog/digitalocean-off-site-compliance) covers the detailed architecture. For a summary of what off-site means in the context of the broader DigitalOcean compliance posture, the [digitalocean-backup#off-site-compliance](/digitalocean-backup#off-site-compliance) section of the hub covers it.
## What to do about it
None of these gaps are unfixable. The table below maps each gap to the mitigation approach:
| Gap | Native workaround | Off-site solution |
|---|---|---|
| Spaces has no backup | Enable versioning (partial) | Back up Spaces to another S3-compatible store or Backblaze B2 |
| DOKS persistent volumes unprotected | None built-in | Velero with external object store |
| Volumes not in Droplet backups | Manual volume snapshots + scripted schedule | Off-site file or block backup via agent |
| No cross-region replication | Manual snapshot transfer (Droplets only) | Automated off-site backup with configurable region |
| Backups not downloadable | None | Logical backup (pg_dump, mysqldump, rclone) shipped to owned storage |
| Short, fixed retention | None | Off-site backup with configurable retention policy |
| Same-account storage | None | Backup to a separate cloud account entirely |
The common thread is "off-site backup to storage you own." For Managed Databases, that means a `pg_dump` or `mysqldump` or `mongodump` on a schedule, shipped to a bucket in a different cloud account. For Spaces, it means an `rclone` sync or a dedicated tool that mirrors the bucket to another location. For Droplets, it means an agent-based backup that ships files or a filesystem snapshot off-platform.
The scripting path for each of these is feasible but time-consuming. You write the backup script, set up the schedule, handle credentials rotation, configure alerts for failed runs, and maintain the whole thing as your infrastructure grows. The [how to automate DigitalOcean snapshots guide](/blog/how-to-automate-digitalocean-server-and-volume-snapshots) shows what the manual path looks like for Droplets and volumes. If you want to compare the full range of tools available, see the [guide to the best DigitalOcean backup tools](/blog/best-digitalocean-backup-tools) for a rundown of the options across each product surface.
The reason we built [SimpleBackups for DigitalOcean](/platform/digitalocean) is exactly the gap this article describes: native backup covers the easy part, and none of the hard part. If you want off-site coverage for Droplets, Managed Databases, Spaces, and DOKS without writing any of it yourself, that's what it does.
## FAQ
---
_This article is part of [The complete guide to DigitalOcean backup](/digitalocean-backup#what-native-doesnt-cover), an honest, practical reference from the team that backs up DigitalOcean every day._
---
# How to restore a DigitalOcean Droplet from backup
Source: https://simplebackups.com/blog/restore-digitalocean-droplet
Published: 2026-02-24
Author: Laurent
Summary: Restoring in-place vs. to a new Droplet. What resets (IPs, SSH keys), what doesn't, and how to validate the restore before switching traffic.
You triggered the restore. The DigitalOcean dashboard shows it completed. Then you SSH in and something is wrong: the app won't start, the config is from the wrong date, or the IP you had in DNS is gone. The restore "worked" and you're still in trouble.
Restoring a Droplet is not complicated, but it has four or five gotchas that catch people at the worst possible moment. This article walks you through both restore paths (in-place and to a new Droplet), tells you exactly what changes after a restore, and gives you a validation checklist to run before you switch any traffic.
By the end you'll know how to restore a Droplet from a native backup or snapshot, what to check before calling it done, and how to handle the cases where the restore itself fails.
---
We back up DigitalOcean every day. The failure modes we describe below are ones we see in practice, not ones we reconstructed from docs. If something here doesn't match what you're seeing, flag it. The environment changes and we keep these articles updated.
## Restore in-place vs. create new Droplet
DigitalOcean gives you two ways to get your data back from a backup or snapshot. They are not the same operation, and the right choice depends on why you're restoring.
**Restore in-place** overwrites the current Droplet's disk with the backup image. The Droplet ID stays the same. The IP addresses stay the same. Everything on the current disk is gone. This is the right path when your current Droplet is broken (bad deployment, corrupted filesystem, failed OS update) and you want to roll it back to a known-good state without changing your network configuration.
**Create a new Droplet from a backup or snapshot** spins up a fresh Droplet using the backup as the source image. The new Droplet gets a new ID and new IP addresses. This is the right path when you want to test the restore before committing, when you need to restore to a different region, or when you're running the old and new environments side by side before a traffic cutover. If you're restoring as part of a cloud migration rather than a recovery event, the [pre-migration backup guide](/blog/backup-digitalocean-before-migration) covers what to lock in before you start the cutover process.
The decision tree is short:
- Current Droplet is broken and you want the same IPs: restore in-place.
- You want to test before committing, or you need a different region: create new Droplet.
- You need both environments running at the same time: create new Droplet, then destroy the old one when you're ready.
One thing to understand about [DigitalOcean's native backup system](/blog/how-digitalocean-native-backup-works): it stores backup images inside your DigitalOcean account, not on a separate platform. The restore paths below both pull from that same account-scoped storage.
If you're restoring from a snapshot rather than a scheduled backup, the process is identical from your side. The distinction is in how the image was created, not how it's restored. See [DigitalOcean Droplet snapshots](https://docs.digitalocean.com/products/droplets/how-to/snapshot/) for the creation side.
## What resets after a restore
This is where most people get surprised. A Droplet restore is not a transparent rollback. Certain things are rebuilt from the backup image; others are determined by the new Droplet or by DigitalOcean's infrastructure at the moment of creation.
The table below covers the elements that matter operationally.
| Element | In-place restore | New Droplet from backup |
|---|---|---|
| IPv4 address | Unchanged | New address assigned |
| IPv6 address | Unchanged | New address assigned (if enabled) |
| SSH host keys | Regenerated | Regenerated |
| Hostname | Unchanged | New (matches new Droplet name) |
| SSH authorized keys (in `~/.ssh/authorized_keys`) | Restored from backup | Restored from backup |
| Block storage volumes | Detached; must re-attach manually | Detached; must re-attach manually |
| DigitalOcean Firewall rules | Unchanged (rules are account-level) | Not applied; must assign manually |
| Floating IP assignment | Unchanged | Not assigned; must assign manually |
| DNS records | Not updated automatically | Not updated automatically |
| App-level data (databases, files, configs) | Restored to backup state | Restored to backup state |
| Droplet ID | Unchanged | New ID |
| Tags | Unchanged | Not applied; must assign manually |
A few things in that table deserve a closer look.
**SSH host keys reset.** When you restore a Droplet, the host keys are regenerated. If you have the old host key in your `~/.ssh/known_hosts` on your local machine, your next SSH attempt will throw a host key mismatch warning. Clear the old entry with `ssh-keygen -R ` before connecting.
**Attached volumes are always detached.** DigitalOcean does not include block storage volumes in Droplet backups or snapshots. The backup captures only the Droplet's root disk. After any restore, you'll need to re-attach any volumes that were previously connected. This is [a known gap in native Droplet backup coverage](/blog/what-digitalocean-native-backup-doesnt-cover), worth understanding before you assume your backup is complete.
**Firewall rules and Floating IPs need manual reassignment on new Droplets.** The rules still exist in your account; they just aren't applied to the new Droplet automatically.
IP address changes when restoring to a new Droplet. Update your DNS records, any firewall allowlists, and any client configs that hard-code the old IP before you switch traffic.
## Step-by-step: restoring from a backup
This path covers native DigitalOcean backups (the weekly or daily automated images enabled as a paid add-on). You can trigger the restore from the dashboard or from `doctl`.
### Via the dashboard
1. Go to your Droplet's page in the DigitalOcean control panel.
2. Click **Backups** in the left sidebar.
3. Find the backup image you want to restore from. Each backup is labeled with the date and time it was taken.
4. For an **in-place restore**: click the **More** menu next to the backup, then **Restore Droplet**. Confirm the dialog. The Droplet powers off, the disk is overwritten, and the Droplet reboots. Depending on disk size this takes a few minutes to ~20 minutes.
5. For a **new Droplet**: click **More**, then **Create Droplet**. Configure the new Droplet (size, region, SSH keys), then create it. The new Droplet boots with the backup's state.
### Via `doctl`
For scripted or automated restores, `doctl` is the right tool. First, get the backup image ID:
```bash
doctl compute snapshot list --resource-type droplet
```
That lists both snapshots and backups for your Droplets. Note the image ID for the backup you want. Then restore in-place:
```bash
doctl compute droplet-action restore
--droplet-id
--image-id
--wait
```
Flag reference:
- `--droplet-id`: the numeric ID of the Droplet to restore (find it with `doctl compute droplet list`).
- `--image-id`: the numeric ID of the backup or snapshot image to restore from.
- `--wait`: blocks until the action completes and prints the final status. Without this flag the command returns immediately and you have to poll for status.
The `doctl` reference is at [https://docs.digitalocean.com/reference/doctl/](https://docs.digitalocean.com/reference/doctl/).
To create a new Droplet from the backup image instead:
```bash
doctl compute droplet create
--image
--size s-1vcpu-1gb
--region nyc3
--ssh-keys
```
Replace `--size` and `--region` with your actual target values. The `--image` flag accepts either the image ID or slug.
## Step-by-step: restoring from a snapshot
Snapshot restores follow the same path as backup restores. The only difference is where you find the image. Snapshots live under **Images** in the DigitalOcean control panel, not under **Backups** on the Droplet page.
1. Go to **Images** in the left-hand panel of the control panel.
2. Click the **Snapshots** tab.
3. Find the snapshot you want. Snapshots are labeled with the name you gave them at creation and a timestamp.
4. For an **in-place restore**: click the **More** menu, then **Restore to Droplet**, and select the target Droplet. Confirm. The process is the same as a backup restore.
5. For a **new Droplet**: click **More**, then **Create Droplet**.
With `doctl`, the command is identical to the backup restore (`doctl compute droplet-action restore`), because snapshots and backups are both image types in the DigitalOcean API.
Snapshots can be transferred between regions before restoring. If your target region is different from where the snapshot was taken, use **More → Transfer** on the snapshot first, wait for the transfer to complete, then restore. You cannot restore a snapshot in a region that doesn't have a copy of it.
If you're restoring a snapshot taken as part of an [automated snapshot workflow](/blog/how-to-automate-digitalocean-server-and-volume-snapshots), the snapshot list can get long. Use a consistent naming convention when you create snapshots (for example `app-prod-2026-04-15`) so you can identify the right one quickly under pressure.
## Validating the restore before cutting traffic
Do not update DNS or switch load balancer targets before running these checks. A restore that looks complete in the dashboard can still have problems you'll only find by probing the service.
### 1. Confirm the Droplet is running
```bash
doctl compute droplet get --format Status
```
The status should be `active`. If it's still `off` or `new`, wait and re-run.
### 2. Test SSH access
```bash
ssh-keygen -R
ssh root@
```
Clear the old host key first (the restore regenerates it). A successful SSH connection confirms the OS layer is intact and your authorized keys were restored from the backup.
Test SSH access before cutting DNS. If you update DNS first and SSH doesn't work, you're now locked out of a Droplet that isn't serving traffic correctly.
### 3. Check service health from inside the Droplet
Once you're in:
```bash
systemctl status
journalctl -u --since "10 minutes ago"
```
Look at logs, not just the `active (running)` status. A service can be "running" while failing every request because a config file or database connection string points to something that no longer exists in the restored state.
### 4. Check the date of the running config
Run a quick sanity check on the files you care most about:
```bash
ls -la /etc/your-app/
stat /etc/your-app/config.yaml
```
Confirm the modification time matches what you'd expect for the backup date. It's easy to restore from the wrong snapshot if your naming is inconsistent.
### 5. Smoke-test from outside
From your local machine or a separate server, hit the application directly by IP (before DNS is switched):
```bash
curl -I http:///healthz
```
Replace `/healthz` with whatever health or status endpoint your app exposes. An HTTP 200 here is the signal to proceed with DNS cutover.
### 6. Re-attach volumes and reassign Floating IPs
If the Droplet had block storage volumes attached before the restore, re-attach them now. Go to **Volumes** in the control panel, find each volume, and attach it to the restored Droplet. Then remount inside the Droplet:
```bash
mount /dev/disk/by-id/ /mnt/your-mount-point
```
If you're using a new Droplet and it had a Floating IP, reassign it in the control panel under **Networking → Floating IPs**.
Only after all six checks pass should you update DNS or shift traffic.
## When the restore fails
Most restore failures fall into a small set of patterns. Here's what to check.
**The restore action errors in the dashboard.** This usually means the backup image is corrupted or incomplete. Check whether the backup shows a warning in the Backups tab. If it does, that image cannot be used. Try the next oldest backup.
**The Droplet comes back but the application won't start.** The most common causes: (a) a config file references a database or external service that either doesn't exist at the backup's version or requires a credential that has since been rotated; (b) a volume that was mounted at backup time is no longer attached; (c) the restore captured the filesystem mid-write and a file is incomplete. Check `journalctl` for the exact error.
**You can't SSH in after the restore.** Clear your local `known_hosts` entry for that IP. If SSH is still refused, the restore may have left the Droplet in a bad network state. Use the DigitalOcean console (in-browser terminal in the Droplet's control panel page) to access the machine without SSH and diagnose from there.
**The backup you needed is gone.** Native Droplet backups are kept for [four weeks and then deleted automatically](/blog/backup-digitalocean-droplets). If the incident happened more than four weeks ago, the native backup won't be there. Snapshots persist until you delete them, so if you took a snapshot before a risky change, that's still available.
**The restore worked but you're restoring to recover from an account-level incident.** This is the hardest failure mode. If your DigitalOcean account is suspended, compromised, or the region you operate in has a major outage, the backup images inside that account may be unavailable at the same time as the Droplets they protect. If you can only restore from a snapshot inside your DO account, an account-level incident leaves you with no restore path at all. That's the argument for [off-site backup outside DigitalOcean's infrastructure](/blog/digitalocean-off-site-compliance): storing a copy somewhere an account-level event can't reach. See [same-host risk and compliance](/blog/what-digitalocean-native-backup-doesnt-cover) for a fuller treatment.
For a detailed troubleshooting flow specific to restore errors, see [Droplet backup not restoring](/blog/digitalocean-droplet-backup-not-restoring).
---
**What to do next**: if this was a production incident, run a post-restore review. Write down the backup date you restored from, which checks caught problems, and how long the whole process took. Then schedule a test restore for next month. The only way to know a restore will work under pressure is to have done it once when nothing was on fire.
If you've read this far, you probably already know whether native retention and in-account snapshots are enough for your project. If they aren't, [SimpleBackups](/platform/digitalocean) gives you cross-region off-site backup, automated verification, and a restore you can actually test.
## Keep learning
- [DigitalOcean backups explained](/blog/digitalocean-backups-explained): the full overview of what native backup covers and where it stops.
- [How to automate DigitalOcean server and volume snapshots](/blog/how-to-automate-digitalocean-server-and-volume-snapshots): scripting the snapshot workflow so you always have a recent restore point.
- [What DigitalOcean native backup doesn't cover](/blog/what-digitalocean-native-backup-doesnt-cover): gaps in Volumes, Spaces, and DOKS that the restore path above won't help with.
- [The complete guide to DigitalOcean backup](/digitalocean-backup#restore-droplet): the full hub, organized by backup type and use case.
## FAQ
---
_This article is part of [The complete guide to DigitalOcean backup](/digitalocean-backup#restore-droplet), an honest, practical reference from the team that backs up DigitalOcean every day._
---
# How to restore a DigitalOcean volume snapshot
Source: https://simplebackups.com/blog/restore-digitalocean-volume
Published: 2026-02-06
Author: Laurent
Summary: Creating a volume from a snapshot, attaching it to a Droplet, and mounting it safely. Step-by-step with filesystem caveats.
You took the snapshot. Something went wrong — a bad deployment, an accidental `rm -rf`, a migration that corrupted your data directory. Now you need the data back, and you are staring at a list of volume snapshots in the DigitalOcean control panel wondering exactly what to do next.
Restoring a volume snapshot is not as straightforward as restoring a Droplet backup. There is no "restore" button that swaps the old volume for the new one. Instead, you create a new volume from the snapshot, attach it, mount it, verify it, and then — if this is a production swap — detach the old volume and point your application at the restored one.
This guide walks you through the full procedure: creating a volume from a snapshot, attaching it to a Droplet, mounting and verifying the filesystem, swapping the old volume out, and the failure modes that bite people mid-restore.
## Prerequisites
Before you start, make sure you have:
- `doctl` installed and authenticated with a valid API token. The [doctl CLI reference](https://docs.digitalocean.com/reference/doctl/) covers installation.
- The ID of the volume snapshot you want to restore. Find it in the Snapshots section of the control panel, or via `doctl compute snapshot list --resource-type volume`.
- SSH access to the target Droplet.
- The region where the snapshot lives. Volume snapshots can only be restored in the same region as the source volume.
If you do not have a snapshot to restore from, see how to [back up DigitalOcean volumes](/blog/backup-digitalocean-volumes) for the complete snapshot setup guide.
## Creating a new volume from a snapshot
DigitalOcean does not restore a snapshot over an existing volume. The workflow is: create a brand-new volume from the snapshot, then work with that new volume. The original volume stays intact until you explicitly delete it.
This is actually safer than an in-place restore. You can verify the recovered data before you commit to replacing anything.
Start by finding the snapshot you want to use:
```bash
doctl compute snapshot list
--resource-type volume
--format ID,Name,ResourceId,Created
--no-header
```
Note the snapshot ID from the output. Then create the new volume from it:
```bash
doctl compute volume create
--region nyc1
--size 100GiB
--snapshot-id
--name "vol-restored-2026-04-23"
```
Flags explained:
- `--region`: must match the region of the snapshot. Volume snapshots cannot be used across regions. If your snapshot is in `ams3`, the new volume must also be in `ams3`.
- `--size`: must be equal to or larger than the original volume size. You cannot create a smaller volume from a snapshot than the snapshot's source.
- `--snapshot-id`: the ID of the snapshot to restore from.
- `--name`: any descriptive name. Including the date helps when you have several recovery attempts in flight.
The volume creation takes a few seconds to a few minutes depending on size. Poll for completion:
```bash
doctl compute volume list --format ID,Name,Status
```
Once the `Status` column shows `available`, the volume is ready to attach.
Volume snapshots can only be restored in the same region as the source volume. If you need the data in a different region, copy the snapshot to that region first via the control panel, then restore from the copy.
## Attaching the restored volume to a Droplet
With the new volume created, you need its ID and the ID of the Droplet you want to attach it to:
```bash
# Get the new volume ID
doctl compute volume list --format ID,Name
# Get the target Droplet ID
doctl compute droplet list --format ID,Name,Region
```
Then attach the volume:
```bash
doctl compute volume-action attach
```
The attach action completes in a few seconds. Confirm it worked:
```bash
doctl compute volume get --format ID,Name,DropletIDs
```
The `DropletIDs` column should contain your Droplet's ID. If it is empty, the attach did not succeed and you need to retry.
You can also do this via the control panel: Manage → Volumes → click the volume → More → Attach to Droplet. Either path works; `doctl` is easier to script.
## Mounting and verifying the filesystem
Attaching the volume in DigitalOcean's API makes it available to the Droplet's operating system as a new block device. It does not mount it automatically. You have to mount it yourself inside the Droplet.
SSH into the Droplet:
```bash
ssh root@
```
Find the new device name. Newly attached volumes appear as `/dev/sda`, `/dev/sdb`, `/dev/sdc`, and so on, in attachment order. If this is the second volume on the Droplet, it will typically show up as `/dev/sdc` (the first attached volume is `/dev/sdb` if the boot disk is `/dev/sda`). Confirm with:
```bash
lsblk
```
Look for an unformatted device without a mountpoint. You can also check `dmesg | tail -20` immediately after attaching, which usually shows the new device registration.
Create a mount point and mount the volume:
```bash
mkdir -p /mnt/vol-restored
mount /dev/sdc /mnt/vol-restored
```
Replace `/dev/sdc` with whatever device name `lsblk` showed for your new volume.
Do not mount the restored volume over the same mount point as your existing data volume. Mounting over an occupied directory hides the existing data behind the new mount. Use a fresh mount point (like `/mnt/vol-restored`) for verification before doing any swap.
Once mounted, verify the content:
```bash
# Check that expected directories and files are present
ls -lh /mnt/vol-restored/
# Check available space and overall health
df -h /mnt/vol-restored
# Check filesystem for errors
fsck -n /dev/sdc
```
The `-n` flag on `fsck` runs a read-only check without modifying anything. If `fsck` reports clean, you are in good shape. If it reports errors, see the [What can go wrong during restore](#what-can-go-wrong-during-restore) section before proceeding.
For application data, go further. If the volume holds a database data directory, try starting the database process against it:
```bash
# PostgreSQL example: check the data directory is intact
pg_controldata /mnt/vol-restored/pgdata
```
Confirm the cluster state is `in production` or `shut down cleanly`. If it shows `in crash recovery`, the snapshot was taken while the database was mid-write and the data directory needs recovery before it is usable.
The connection between snapshotting and application consistency is covered in the [backup DigitalOcean volumes](/blog/backup-digitalocean-volumes) guide. The short version: crash-consistent snapshots are fine for most use cases, but not for databases with open transactions at snapshot time.
## Swapping the old volume for the restored one
Once you have verified the restored volume has the data you need, you can make it permanent. The swap sequence is:
1. Stop the application or put it into maintenance mode.
2. Unmount the old data volume.
3. Detach the old volume from the Droplet.
4. Unmount the restored volume from its temporary mount point.
5. Attach the restored volume in the old volume's place (or update the application to point at the new mount path).
6. Mount the restored volume at the correct path.
7. Start the application.
In shell commands, from inside the Droplet (assuming the old volume was at `/mnt/app-data`):
```bash
# Stop the application
systemctl stop your-app.service
# Unmount the old volume
umount /mnt/app-data
# Unmount the restored volume from the temp mount
umount /mnt/vol-restored
```
Then from your workstation, detach the old volume and attach the restored one in its place:
```bash
# Detach the old volume
doctl compute volume-action detach
# The restored volume is already attached; just mount it at the correct path
```
Back inside the Droplet, mount the restored volume at the production path:
```bash
mount /dev/sdc /mnt/app-data
```
Verify the application can read from it, then restart:
```bash
systemctl start your-app.service
```
If you have an `/etc/fstab` entry for the old volume, update it now. The restored volume has a different UUID. Find the new UUID with `blkid /dev/sdc` and replace the old UUID in `/etc/fstab`. If you skip this step, the Droplet will fail to mount the volume on reboot.
```bash
# Find the UUID of the restored volume
blkid /dev/sdc
# Update /etc/fstab
# Replace the old UUID line with the new one
# Example fstab line:
# UUID= /mnt/app-data ext4 defaults,nofail 0 2
```
A common restore failure we see: the data is back, the application restarts successfully, and then the Droplet reboots for a kernel update and never comes back up. The old UUID in `/etc/fstab` references a volume that no longer exists. Update it before you close the incident.
Once the application is running cleanly against the restored volume, keep the old volume around for at least 24 hours before deleting it. You want to confirm there are no write path issues before discarding the previous state.
## What can go wrong during restore
Restoring a volume snapshot is not a guaranteed clean operation. Here are the failure modes we see most often.
**Wrong region.** You try to create a volume from a snapshot in a region where the snapshot does not exist. `doctl` returns an error like `snapshot not found` or `snapshot is not available in this region`. Solution: check the snapshot's region with `doctl compute snapshot get --format ID,Name,Regions` and match your `--region` flag accordingly.
**Size mismatch.** You try to create a 50 GiB volume from a snapshot that came from a 100 GiB volume. DigitalOcean rejects this. The new volume must be at least as large as the source. If you are trying to save on storage costs, you cannot do it at restore time. Resize the volume after restore if needed.
**Filesystem errors.** The snapshot was taken while the filesystem had open writes. When you mount the volume, the filesystem is dirty. In most cases, `fsck` repairs this automatically:
```bash
fsck /dev/sdc
```
Run without `-n` to allow repairs. Accept the interactive prompts to fix inodes. Most dirty filesystem states after a crash-consistent snapshot are recoverable this way.
**Corrupted database data directory.** If the volume held a database and the snapshot captured a mid-write state, the data directory may need crash recovery. For PostgreSQL, this typically means starting the PostgreSQL process against the data directory and allowing it to run WAL replay. For MySQL/InnoDB, the engine runs recovery on startup automatically. For MongoDB, check the WiredTiger log on startup.
**UUID collision.** If you attach a restored volume to a Droplet that still has the original volume, both volumes have the same filesystem UUID (the UUID is part of the filesystem metadata, not the DigitalOcean volume ID). Tools that rely on UUID — including `/etc/fstab`, `systemd` mount units, and some RAID configurations — may behave unexpectedly. Assign a new UUID to the restored volume after mount verification if you plan to run both volumes on the same Droplet:
```bash
# For ext4 filesystems (unmount first)
tune2fs -U random /dev/sdc
```
**Account or region event.** Volume snapshots are stored in your DigitalOcean account. If the account is compromised or the region has an outage, the snapshot may be inaccessible when you need it most. For the full picture of what same-host risk means for your recovery posture, see the [off-site compliance guide](/digitalocean-backup#off-site-compliance).
For workloads where snapshots alone are not enough, the [off-site compliance article](/blog/digitalocean-off-site-compliance) covers what an off-platform recovery copy looks like in practice.
## What to do next
If the restore went cleanly, do two things before you close out: update `/etc/fstab` with the new volume UUID, and test a reboot. A restore that survives a reboot is a real restore. One that hasn't been through a reboot is an open question.
If you do not yet have a snapshot schedule in place for your volumes, the [backup DigitalOcean volumes](/blog/backup-digitalocean-volumes) article covers the full setup from console snapshot to automated daily rotation with pruning.
And if you want to understand what DigitalOcean's native backup infrastructure actually covers across all products — Droplets, volumes, managed databases, Spaces — the [how DigitalOcean native backup works](/blog/how-digitalocean-native-backup-works) article maps it all.
If you've read this far, you probably already know whether native retention is enough for your project. If it isn't, [SimpleBackups](/platform/digitalocean) gives you cross-region off-site backup, automated verification, and a restore you can actually test.
## Keep learning
- [How to automate DigitalOcean server and volume snapshots](/blog/how-to-automate-digitalocean-server-and-volume-snapshots) — scripting daily snapshots with `doctl` and cron
- [DigitalOcean backups explained](/blog/digitalocean-backups-explained) — high-level map of all native backup options across products
- [Back up DigitalOcean volumes](/blog/backup-digitalocean-volumes) — the full setup guide for volume snapshots
- [DigitalOcean off-site compliance](/blog/digitalocean-off-site-compliance) — when an in-account snapshot is not enough
- [DigitalOcean snapshots vs. backups](/blog/digitalocean-snapshots-vs-backups) — precise definitions and when to use each
## FAQ
---
_This article is part of [The complete guide to DigitalOcean backup](/digitalocean-backup#restore-volume), an honest, practical reference from the team that backs up DigitalOcean every day._
---
# DigitalOcean native backup vs. SimpleBackups (honest comparison)
Source: https://simplebackups.com/blog/digitalocean-native-vs-simplebackups
Published: 2026-02-04
Author: Laurent
Summary: Side-by-side comparison across Droplets, Managed DBs, Spaces, and DOKS. When native DigitalOcean backup is enough, and when it isn't.
DigitalOcean's native backup is off by default. When you enable it for a standard Droplet, you get weekly snapshots kept for four weeks, at 20% of the Droplet price. You cannot download them. You cannot send them anywhere outside your DO account. And for Spaces or DOKS, there is no native backup at all.
That's not an attack on DigitalOcean. It's what the documentation says. The question is whether those constraints fit your situation, and what you actually need when they don't.
We back up DigitalOcean every day. We've seen the gap between what teams expect from native backup and what it actually delivers. This article is a product-by-product comparison: what DO provides natively, what SimpleBackups adds, and, critically, when native backup is genuinely enough so you don't pay for something you don't need.
## What we're comparing (and what we're not)
This comparison covers four DigitalOcean surfaces: Droplets, Managed Databases, Spaces, and DOKS. For each one, we look at what the native backup system does and what SimpleBackups does differently.
We are not comparing DigitalOcean to other cloud providers. We are not ranking backup tools in a general sense. If you want the broader landscape, [DigitalOcean backups explained](/blog/digitalocean-backups-explained) covers the fundamentals and is worth reading first. For a full comparison of all available options beyond native, see the [guide to the best DigitalOcean backup tools](/blog/best-digitalocean-backup-tools).
We are also not making the case that SimpleBackups is always necessary. The honest answer is more nuanced than that, and we will get to it.
The core difference: native backups sit inside your DO account. SimpleBackups puts them somewhere else. That's the whole pitch, and we'll be honest about when you don't need it.
{/* FIGURE: fig-01 */}
## Droplet backups: native vs. SimpleBackups
### What native Droplet backup gives you
Enabling native backup on a Droplet costs 20% of the Droplet's monthly price and is configured through the control panel or the API. [The official docs walk through both methods](https://docs.digitalocean.com/products/droplets/how-to/enable-backups/). Standard Droplets get weekly backups; Premium Droplets can get daily. Both keep four weeks of history.
The backups are crash-consistent snapshots taken automatically. You do not configure the schedule or the retention window beyond choosing standard versus daily. You cannot restore a specific file without spinning up the full Droplet from the backup image. You cannot move the backup image out of your DigitalOcean account.
Volume backups are a separate line item. Block storage volumes are not included in Droplet backups at all. You must snapshot them independently. [The article on how DigitalOcean native backup works](/blog/how-digitalocean-native-backup-works) covers the mechanics in more detail; the short version is that volumes and Droplets have completely separate backup lifecycles.
### What SimpleBackups adds for Droplets
SimpleBackups connects to your DigitalOcean account via API, takes Droplet snapshots on whatever schedule you define, and transfers the resulting files to a storage destination you control: AWS S3, Backblaze B2, Wasabi, your own S3-compatible endpoint, or others.
The practical differences against native:
- **Schedule flexibility**: daily, every six hours, or any custom interval, not just weekly or daily.
- **Retention control**: keep 14 days, 30 days, or longer. Not locked to four weeks.
- **Off-site storage**: the backup lands in a bucket you own, outside your DO account.
- **Downloadable**: because it's in your own storage, you can pull the file whenever you need it.
- **Alerting**: if a backup job fails or produces an unexpectedly small file, you get notified. Native backup is silent on failure.
The thing native backup doesn't tell you is whether the snapshot actually completed cleanly. We see this come up in support: a backup showed as "complete" in the DO dashboard but the image was taken during a high-I/O period and the restore didn't behave as expected. SimpleBackups runs a basic size and integrity check after each job and flags anomalies.
If you run stateful services on your Droplets, quiesce writes before snapshot time if possible. A crash-consistent snapshot is fine for most workloads, but databases with open transactions benefit from a clean flush first. Schedule your SimpleBackups job a minute after a brief maintenance window if your load allows it.
### Side-by-side for Droplets
| Dimension | Native (standard) | Native (Premium) | SimpleBackups |
|-----------|-------------------|------------------|---------------|
| Schedule | Weekly | Daily | Configurable (daily, 6h, custom) |
| Retention | 4 weeks | 4 weeks | Configurable (days, weeks, months) |
| Off-site | No | No | Yes (your storage bucket) |
| Downloadable | No | No | Yes |
| Volume backup included | No | No | Separate job (full coverage) |
| Failure alerting | No | No | Yes |
| Cost | 20% of Droplet/mo | 20% of Droplet/mo | SimpleBackups plan + storage |
## Managed Database backups: native vs. SimpleBackups
### What native Managed Database backup gives you
Managed Databases (Postgres, MySQL, MongoDB, Redis, Kafka) include automated daily backups at no additional charge. Retention is seven days. Point-in-time recovery (PITR) is available for Postgres and MySQL on higher-tier clusters.
That's genuinely good coverage for many teams. Daily backups with seven-day retention and no configuration required is a solid default. The limitation is what it doesn't give you: you cannot download the backup file, you cannot send it to an external location, and when seven days is up, it's gone.
The "no download" constraint matters more than it looks. If you need to migrate to a different cloud, you cannot pull the backup from DigitalOcean's system. If you need to satisfy an auditor asking for evidence of off-site backup storage, the answer is no. The data is inside DigitalOcean's infrastructure, which means account-level risk applies.
### What SimpleBackups adds for Managed Databases
SimpleBackups connects to your Managed Database via the connection string, runs `pg_dump` (or the equivalent for your engine), compresses the output, and ships it to your storage bucket.
The result is a portable, downloadable backup file you own. You can restore it anywhere that accepts a standard dump format. You are not dependent on DigitalOcean's restore interface.
For teams with compliance requirements, this is the gap that matters most. [DigitalOcean off-site compliance requirements](/blog/digitalocean-off-site-compliance) covers the SOC 2 Type II, GDPR, and ISO 27001 angles in detail. The short version is that off-site storage of backups is not a DigitalOcean-native capability and SimpleBackups is one way to satisfy it.
Native PITR is excellent when you need it, and SimpleBackups does not replicate PITR. If your recovery objective requires sub-hour granularity and you're on a qualifying cluster tier, use native PITR. SimpleBackups gives you off-site portability and longer retention. They serve different requirements and the right answer is often both.
### Side-by-side for Managed Databases
| Dimension | Native | SimpleBackups |
|-----------|--------|---------------|
| Schedule | Daily (automatic) | Configurable |
| Retention | 7 days | Configurable |
| PITR | Yes (higher tiers, Postgres/MySQL) | No |
| Off-site | No | Yes |
| Downloadable | No | Yes (standard dump format) |
| Portable (restore elsewhere) | No | Yes |
| Cost | Included | SimpleBackups plan + storage |
## Spaces: no native option vs. SimpleBackups
Spaces is DigitalOcean's S3-compatible object storage. It has no native backup. Versioning exists but is off by default and is not a backup: it tracks object versions within the same bucket but a deletion event (accidental or malicious) propagates immediately. There is no built-in replication to another region.
If you delete an object in Spaces and versioning is off, it is gone. If you delete the bucket, it is gone. If someone compromises your DigitalOcean API key and wipes the bucket, it is gone. The native tooling gives you nothing to recover from.
SimpleBackups treats Spaces as a source. It reads your bucket contents and copies them to a separate destination: another S3-compatible bucket in a different region, AWS S3, Backblaze, or elsewhere. The copy runs on a schedule you define. If the source bucket is deleted or corrupted, the destination copy is unaffected.
[The full guide to backing up DigitalOcean Spaces](/blog/backup-digitalocean-spaces) covers the setup end to end, including how to handle large buckets incrementally. The principle is the same one you'd apply to any object store: the bucket is not the backup, and a second copy in a different account is the backup.
If your Spaces bucket is the only copy of customer files, application assets, or generated reports, treating versioning as your backup strategy leaves you one accidental delete away from data loss. The [what DigitalOcean native backup doesn't cover](/blog/what-digitalocean-native-backup-doesnt-cover) article maps this gap in detail.
### Side-by-side for Spaces
| Dimension | Native | SimpleBackups |
|-----------|--------|---------------|
| Automated backup | None | Yes (scheduled copy to external bucket) |
| Versioning | Off by default | Not applicable (full copy) |
| Cross-region copy | No | Yes |
| Off-account copy | No | Yes |
| Recovery from deletion | No (unless versioning on and object not purged) | Yes |
## DOKS: no native option vs. SimpleBackups
DOKS (DigitalOcean Kubernetes Service) has no native backup for persistent volumes, manifests, secrets, or ConfigMaps. DigitalOcean manages the control plane but the data layer is yours to protect.
The standard approach is Velero, the open-source Kubernetes backup tool. SimpleBackups integrates with DOKS clusters, discovers persistent volume claims, and schedules backups of your stateful workloads to an external storage target.
For teams running stateless applications on DOKS where all state lives in a Managed Database, this is less urgent: the database has its own backup path. But for applications with persistent volumes (file uploads, build caches, stateful services), DOKS native provides nothing.
The gap is documented but easy to miss until you need it. Kubernetes operators sometimes assume the cloud provider handles cluster-level backup the way it handles managed services. DOKS does not. If you rebuild a cluster or recover from an incident, you need the workload definitions and the volume data separately from the control plane.
### Side-by-side for DOKS
| Dimension | Native | SimpleBackups |
|-----------|--------|---------------|
| Persistent volume backup | None | Yes (via integration) |
| Manifest backup | None | Yes |
| Secret/ConfigMap backup | None | Yes |
| Off-site | No | Yes |
| Schedule | N/A | Configurable |
## The real difference: where the backup lives
Every native backup option in DigitalOcean, across all products, stores the backup inside your DigitalOcean account. Droplet snapshots, volume snapshots, managed database backups: all of them live in DigitalOcean's infrastructure, associated with your account.
This creates a single failure domain. One account, one provider, one set of credentials.
Consider the failure modes:
- **Account compromise**: an attacker with your DigitalOcean API key can delete resources and snapshots together.
- **Billing dispute or suspension**: if DigitalOcean freezes your account for any reason, you may lose access to your resources and your backups simultaneously.
- **Region-level incident**: a serious outage in one DO region could affect both your production Droplet and the snapshots stored in the same region.
- **Human error at scale**: a misconfigured script that deletes all snapshots in a region has no safety net if the backups live in the same account.
SimpleBackups sends the backup to a bucket in a different account, often a different cloud provider entirely. The backup and the production infrastructure do not share credentials, billing relationships, or platform risk.
We are not saying DigitalOcean is unreliable. Their uptime record is strong. The same-host risk is a structural argument about blast radius, not a prediction about failure frequency. If your risk tolerance is comfortable with a single provider for both compute and backups, native backup may be entirely sufficient. The section below says this plainly.
## When native is genuinely enough
There are real situations where native DigitalOcean backup is all you need, and we want to name them clearly.
**You are a solo developer with one or two Droplets.** You have no compliance requirements. You can afford to lose up to a week of data (or up to one day on Premium). You are not storing data that would be catastrophic to recover from a four-week-old snapshot. Native backup is fine. Paying for SimpleBackups adds no value in this scenario.
**Your application is stateless and version-controlled.** If all your Droplet stores is an application that can be redeployed from a git repository in 15 minutes, the backup is mostly insurance against configuration drift. Weekly snapshots kept for four weeks cover that comfortably.
**Your Managed Database has seven-day retention and you only need that.** If your recovery scenario is "restore to yesterday" and you never need to move the database to another cloud or satisfy an external auditor, native daily backups are sufficient.
**You have no Spaces buckets with data that matters.** If you use Spaces as a write-through cache or for content that can be regenerated, the absence of native backup is not a risk in practice.
**You already run your own off-site backup script.** If you have a cron job that dumps your database and ships it somewhere else, SimpleBackups is a more polished version of what you already have, not a new capability. Whether the operational simplicity is worth the cost is a judgment call.
We built SimpleBackups. We have a direct financial interest in you using it. So we want to be specific about when you don't need it: solo projects, stateless workloads, no compliance requirements, and situations where you already have a working off-site backup script. If none of those gaps apply to your stack, native backup may be entirely sufficient.
## When it isn't
Native backup's constraints become real problems in a small number of well-defined situations. These are the cases where SimpleBackups or an equivalent off-site solution is worth it.
### You need backups longer than four weeks (or seven days for databases)
Regulatory retention requirements regularly exceed what native backup provides. SOC 2 Type II auditors commonly ask for 90 days of backup history. GDPR-adjacent retention policies vary, but a seven-day window is thin. If you need evidence that you had a backup on a specific date more than four weeks ago, native DO backup cannot provide it.
### You need to prove off-site storage to an auditor
No native DigitalOcean backup product stores data outside your DigitalOcean account. For SOC 2 Type II, GDPR, and ISO 27001 compliance postures, evidence of off-site or cross-account backup storage is a common requirement. Native backup fails this check by design, not by defect. The [compliance and off-site storage article](/blog/digitalocean-off-site-compliance) covers what auditors actually ask for and how to satisfy it.
### You run Spaces or DOKS with no other backup
Spaces and DOKS have no native backup. If your production data lives in a Spaces bucket or in DOKS persistent volumes and there is no second copy anywhere, you have no recovery option. This is the clearest case for a third-party backup tool.
### You want to be able to restore to a different cloud provider
Native backups are locked inside DigitalOcean's ecosystem. You cannot pull a Droplet backup image, a managed database backup, or a Spaces snapshot to another provider. If you want a migration path or a disaster recovery option on a different cloud, you need backups in a portable format that you own.
[Backing up DigitalOcean Droplets with SimpleBackups](/blog/backup-digitalocean-droplets) shows the setup for Droplets specifically, including how to configure a cross-provider storage destination.
### You need to know when a backup fails
Native backup is silent. If a snapshot fails, the DO dashboard may show it as complete or may not surface the failure at all. If a managed database backup job encounters an error, you will not receive a notification. For production systems where you are relying on backup as part of your recovery plan, silent failure is a meaningful operational risk.
Test your restore path. This applies regardless of whether you use native backup or SimpleBackups. A backup that has never been restored is a hypothesis, not a safety net. Pick a date once a quarter, restore from backup to a separate Droplet or staging database, and verify the result. SimpleBackups has a one-click restore feature that makes this easier, but the discipline of testing is what matters.
## Cost comparison
SimpleBackups costs add up to: the SimpleBackups subscription plus the storage cost of your backup destination (typically AWS S3, Backblaze B2, or Wasabi). The subscription is tiered by the number of backup jobs.
Native backup adds 20% to each Droplet's cost, plus $0.06/GB/month for snapshots you keep manually.
A rough comparison for a mid-size stack (five Droplets, two Managed Databases, one Spaces bucket):
| Scenario | Native only | SimpleBackups |
|----------|-------------|---------------|
| 5 Droplets ($80/mo each) | +$80/mo (backup add-on) | SimpleBackups plan + ~$5–15/mo storage |
| Managed Databases | Included | Included in plan |
| Spaces | Not covered | Covered in plan |
| DOKS | Not covered | Covered in plan |
| Retention beyond 4 weeks | Not possible | Configurable, storage cost only |
The native backup cost for five Droplets alone is $80/month. That's not an argument that SimpleBackups is cheaper in every configuration; it's an observation that native backup for multiple Droplets is not free, and that cost should be weighed against what you actually get. For a granular look at how the weekly versus daily schedule choice affects per-Droplet cost, see [DigitalOcean weekly vs. daily backup costs](/blog/digitalocean-weekly-vs-daily-cost).
For a team of one with a single $20 Droplet, native backup costs $4/month and covers the basics. That's hard to beat for simple use cases.
## What to do tonight
If you are unsure where you stand, start with an audit. Map each DigitalOcean product you run and ask two questions: where does the backup go, and what happens if that backup is the only copy?
If the answer to the second question is "I lose access to both the resource and the backup at the same time," that's a same-host risk worth addressing. The smallest fix is often adding a SimpleBackups job for the one or two services where the risk is highest: usually your Managed Database and your most critical Spaces bucket.
You don't need to replace native backup. Running both costs more than either alone but covers different failure modes. Native backup protects against operational mistakes on DigitalOcean's platform. SimpleBackups protects against account-level events and gives you portability.
The reason we built [SimpleBackups for DigitalOcean](/platform/digitalocean) is exactly the gap this article describes: native backup covers the easy part, and none of the hard part. If you want off-site backups for Droplets, Managed Databases, Spaces, and DOKS without writing any of it yourself, that's what it does.
## Keep learning
- [DigitalOcean backups explained: what's actually included](/blog/digitalocean-backups-explained) — the fundamentals of what native backup covers, before you decide whether you need more.
- [What DigitalOcean native backup doesn't cover](/blog/what-digitalocean-native-backup-doesnt-cover) — a surface-by-surface map of the gaps, with the specific scenarios where each one becomes a real problem.
- [DigitalOcean off-site backup and compliance](/blog/digitalocean-off-site-compliance) — SOC 2, GDPR, and ISO 27001 requirements as they apply to DigitalOcean backup posture.
- [How to back up DigitalOcean Droplets](/blog/backup-digitalocean-droplets) — step-by-step setup for Droplet backups with off-site storage.
- [Backups vs. snapshots: differences and examples](/blog/backups-vs-snapshots-with-differences-and-examples) — if you're unsure about the distinction between snapshots and backups, start here.
## FAQ
---
_This article is part of [The complete guide to DigitalOcean backup](/digitalocean-backup#native-vs-simplebackups), an honest, practical reference from the team that backs up DigitalOcean every day._
---
# Why off-site backup matters (and why same-host isn't enough)
Source: https://simplebackups.com/blog/digitalocean-off-site-compliance
Published: 2026-01-31
Author: Laurent
Summary: Native DO backups live in the same account as production. The 3-2-1 rule, what SOC 2 and ISO 27001 expect, and how to design around same-host risk.
Most teams enabling DigitalOcean backups believe they're covered. They see "Backup enabled" in the dashboard, the weekly snapshot runs, the retention clock starts. The assumption is: if something goes wrong, restore from backup. It is a reasonable assumption. It is also incomplete.
Every native DigitalOcean backup — Droplet backups, snapshots, volume snapshots, managed database backups — lives inside the same account as the resource it protects. One account event: a billing dispute, a fraud flag, an IAM error, a region outage, and the backup goes down with the production system. Not eventually. Simultaneously.
This article covers why that matters, what the 3-2-1 rule says to do about it, what compliance frameworks like SOC 2 and ISO 27001 actually require, and how to design a DigitalOcean backup strategy that holds up when things go wrong.
The goal is not to alarm you. It is to help you build something real.
We back up DigitalOcean every day. The pattern we see is consistent: teams discover the gaps in native backup the hard way, usually at the moment they needed the data back. The scenarios in this article are not hypotheticals. They are the failure modes we see repeat in support queues and post-mortems.
## The same-host problem in plain English
When DigitalOcean creates a Droplet backup or a managed database snapshot, it stores that backup inside the DigitalOcean infrastructure, tied to your account. The [official documentation for enabling Droplet backups](https://docs.digitalocean.com/products/droplets/how-to/enable-backups/) confirms there is no option to direct native backups to external storage or a different account.
That sounds like a minor architectural detail. It is not.
The backup and the system it is protecting share the same threat surface. If anything compromises or blocks access to your DigitalOcean account, it compromises or blocks access to both simultaneously. In security terminology, the backup has no independence from the resource it exists to protect.
To understand the practical implications, consider what "same host" actually means in DigitalOcean's architecture:
- Your Droplet runs in your account.
- The backup of that Droplet is stored in your account.
- The billing, the IAM permissions, the API keys, and the account status all apply to both.
This is different from storing a backup on a separate disk. This is storing the backup in a logically dependent namespace. If the namespace is compromised, both fail.
To understand [how DigitalOcean native backup actually works under the hood](/blog/how-digitalocean-native-backup-works), including what it captures and how it is stored, that article covers the technical detail. For this piece, the key point is architectural: same-account storage means same-account risk.
{/* FIGURE: fig-02 */}
## Three scenarios where same-host backup fails
Understanding the risk abstractly is one thing. These three concrete scenarios show what it looks like in practice.
### Scenario 1: Account suspension
DigitalOcean can suspend accounts for several reasons: billing disputes, fraud detection triggers, or abuse reports. When a suspension happens, you lose access to the entire account. Every resource in that account becomes inaccessible. That means your production Droplets, your managed databases, and all of your backups.
The support cycle for reinstating a suspended account can take hours or days. If the suspension came from a billing dispute — say, an expired payment method that triggered a balance flag — you may have advance warning. If it came from an automated fraud detection trigger or an abuse report, you typically do not.
If your backups are in the same account as your production systems, you cannot restore to anywhere during the suspension. You are waiting for the ticket to resolve while your application is offline.
### Scenario 2: Accidental deletion and propagation
IAM misconfiguration is one of the most common sources of data loss in cloud infrastructure. An overpermissioned role, a runbook that targets the wrong resource, a disgruntled employee: these scenarios share a common outcome. If the principal with delete permissions has access to both production resources and backup resources, deletion can propagate to both.
DigitalOcean's permission model applies at the account and project level. If you or someone on your team has the ability to delete a Droplet, that same permission typically extends to the snapshots and backups of that Droplet. There is no enforced separation between "can delete production" and "cannot touch backups."
This is the failure mode that catches teams who believe access control is their backup strategy. It is not. Backups stored under the same permission boundary as the data they protect inherit that boundary's weaknesses. [What DigitalOcean native backup doesn't cover](/blog/what-digitalocean-native-backup-doesnt-cover) explores this gap in more depth, including the specific account-level operations that affect backup accessibility.
### Scenario 3: Region-level outage
DigitalOcean data centers are organized by region: NYC1, NYC3, AMS3, SFO3, and so on. When you create a Droplet backup or snapshot, it is stored in the same region as the Droplet by default. You can transfer snapshots between regions manually, but it is not automatic.
DigitalOcean has experienced multi-hour outages affecting specific data centers. During a DC-level event, both the resource and its snapshots become unreachable. You cannot restore a NYC3 Droplet from a NYC3 snapshot during a NYC3 outage, because the snapshot is also in NYC3.
Cross-region snapshots help. They do not solve the account-dependency problem, but they do reduce exposure to region-level events. We cover the full cross-region backup strategy for DigitalOcean in [a dedicated article on cross-region backup](/blog/digitalocean-cross-region-backup).
## The 3-2-1 backup rule applied to DigitalOcean
The 3-2-1 rule is the oldest and most durable heuristic in backup strategy. It says: keep **3** copies of your data, on **2** different types of storage media, with **1** copy off-site. It predates cloud infrastructure, but it maps cleanly onto DigitalOcean.
{/* FIGURE: fig-01 */}
Here is what the 3-2-1 rule looks like for a DigitalOcean workload:
**Copy 1: Production.** Your running Droplet, managed database, or Spaces bucket. This is the primary copy.
**Copy 2: Native snapshot or backup.** A DigitalOcean Droplet backup or managed database snapshot. This copy is stored in your account, in the same region. It satisfies the "second copy" requirement. It does not satisfy the "off-site" requirement.
**Copy 3: Off-site copy.** A backup stored in a different provider account or a different cloud storage account entirely. AWS S3, Backblaze B2, Wasabi, a separate DigitalOcean account you do not use for production: any of these qualifies. The critical requirement is that the access path to this copy is independent from the access path to production and Copy 2.
Most DigitalOcean setups stop at Copy 2. They have 2-1-0: two copies, one medium, zero off-site. The native backup runs, the retention window is covered, and the team feels protected. Until the account event that takes both copies down simultaneously.
The two media types requirement is also worth examining. DigitalOcean block storage and S3-compatible object storage are different storage media. If your Copy 2 is a block-storage-based snapshot and your Copy 3 is an object storage file in a separate account, you satisfy the media diversity requirement as well as the off-site requirement.
The cheapest off-site option is an S3-compatible bucket at a provider like Backblaze B2 or Wasabi. For most workloads, 30 days of daily database backups costs under $5 per month. The cost difference between "no off-site" and "compliant off-site" is often smaller than a single hour of lost engineering time during an incident.
## What SOC 2 Type II actually requires for backup
SOC 2 Type II is an auditing standard that evaluates how a service organization manages customer data over time. Auditors review controls against the Trust Services Criteria defined by the AICPA. Two criteria are directly relevant to backup strategy.
**CC9.1 covers risk mitigation.** The criteria require that the organization identifies risks to the confidentiality, integrity, and availability of data, and implements controls to mitigate those risks. For production data, the risk of a backup failing because it shares the same access path as production is a real and documentable risk. An auditor reviewing your backup posture will ask how that risk is mitigated. "We have native backups enabled" is a partial answer. "Our backups are stored off-site in an independent account" is the answer that closes the finding.
**A1.2 covers availability commitments.** The criteria require that the organization has the processing capacity and data recovery capabilities to meet its availability commitments. A backup that cannot be accessed during the most likely recovery scenarios (account suspension, region outage) is a backup that fails the availability test.
Same-account backups satisfy "a backup exists." They do not satisfy "the backup is independent of the production environment." SOC 2 Type II auditors are experienced enough to ask whether the backup is accessible in the failure scenarios you have documented. If the answer is "it depends on the account being accessible," that is a finding.
This does not mean you need a 14-page disaster recovery plan to pass a SOC 2 audit. It means your backup posture needs to demonstrate independence, not just existence.
The practical implementation: take your DigitalOcean database backups and push them to a separate cloud storage account. Use server-side encryption. Document the retention policy. Test a restore. That combination closes the relevant SOC 2 findings in most engagements. See [how SimpleBackups compares to native DigitalOcean backup](/blog/digitalocean-native-vs-simplebackups) for a side-by-side of what each approach covers against these criteria.
## What ISO 27001 expects
ISO 27001 is an information security management standard. Its Annex A controls are a catalog of security measures that organizations implement and document. The control relevant here is **A.12.3.1: Information backup**.
The control requires that backup copies of information, software, and system images are taken and tested regularly in accordance with an agreed backup policy. The standard says backups should be stored separately from the primary systems to prevent damage affecting both. The word "separately" is doing significant work in that sentence.
ISO 27001 auditors and certification bodies interpret "separately" as physically and logically separate. A backup in the same DigitalOcean account as production is in the same logical namespace. Same account, same billing, same API access, same suspension risk. Most auditors will flag this as insufficient separation, particularly for organizations seeking certification rather than just self-assessment.
The separation requirement means a different account, not just a different region within the same account. A cross-region DigitalOcean snapshot is better than a same-region snapshot for availability reasons, but it does not satisfy A.12.3.1 if both copies are accessible via the same account credentials.
The practical path: store backups in object storage outside the DigitalOcean account. Document this as a control implementation in your Statement of Applicability. Annotate it with the tool you use, the destination bucket, the retention window, and the test restore schedule.
ISO 27001 requires evidence, not just claims. "We have a backup policy" is not evidence. "We have monthly restore test logs showing successful recovery from off-site backup" is evidence. Make sure your backup process generates audit-ready logs.
## What GDPR says about backup and recovery
GDPR's requirements for backup are less prescriptive than ISO 27001 but the underlying obligation is clear. Article 32 requires that controllers and processors implement technical and organizational measures to ensure a level of security appropriate to the risk, including "the ability to restore the availability and access to personal data in a timely manner in the event of a physical or technical incident."
That phrase, "restore the availability and access to personal data in a timely manner," is the test. A backup strategy that cannot restore access to personal data during an account suspension or region outage does not satisfy that requirement.
Same-host backups can fail together with production in exactly those scenarios. If your DigitalOcean account is suspended or a data center goes offline, you cannot restore access to personal data from a backup stored in the same account and region. That is a gap.
[GDPR-compliant DigitalOcean backup](/blog/digitalocean-gdpr-compliant) covers the full compliance picture in more depth, including data residency, storage location requirements for EU data, and how to document your backup posture for GDPR accountability obligations. For this article, the key point is that GDPR's availability requirement implies backup independence, not just backup existence.
| Framework | Relevant control | What it requires | Same-account backup satisfies it? |
|-----------|-----------------|------------------|-----------------------------------|
| SOC 2 Type II | CC9.1, A1.2 | Off-site, independent backup; availability in documented failure scenarios | Partial (backup exists, not independent) |
| ISO 27001 | A.12.3.1 | Separate storage from primary systems; tested regularly | No (same account = same logical namespace) |
| GDPR | Article 32 | Ability to restore personal data in a timely manner after a physical or technical incident | No (same-account failure = simultaneous) |
## Designing an off-site strategy for DigitalOcean
The architecture for DigitalOcean off-site backup is not complex. The goal is to add one independent copy that is stored in a different account, accessible via different credentials, and not subject to the same account-level failure modes as your production systems.
Here is the pattern:
**Step 1: Keep native backups.** Continue running DigitalOcean's native Droplet backups and managed database snapshots. These are your Copy 2: fast, cheap, and good for quick restores from configuration changes, failed deployments, or minor data issues. Do not remove them.
**Step 2: Add an automated export.** For each critical resource, set up an automated job that exports the data to an S3-compatible bucket in a separate account. For managed databases, this means exporting a dump file: `pg_dump` or `mysqldump`, compressed and encrypted, sent to your off-site bucket. For Droplets running application data, this typically means exporting the relevant data directories, not a full server image. For Kubernetes workloads with persistent volumes, native DigitalOcean backup covers nothing at all — [backing up DigitalOcean Kubernetes](/blog/backup-digitalocean-kubernetes) covers the Velero-based approach for getting DOKS persistent volume data into off-site storage.
**Step 3: Use separate credentials.** The credentials for the off-site bucket should be stored separately from your DigitalOcean API keys. If your DigitalOcean account is compromised, the attacker should not be able to reach your off-site backup using the same credential set. Store bucket access keys in a secrets manager that is not integrated with your DigitalOcean project.
**Step 4: Test the restore.** An untested backup is not a backup. Schedule a quarterly restore test for each critical resource. The restore should run from the off-site copy, not the native snapshot. Document the result: how long it took, whether the data was complete, whether the application came up cleanly. These test logs become your compliance evidence for SOC 2 and ISO 27001. For a repeatable, automated approach to this, see [automating DigitalOcean backup verification](/blog/automating-digitalocean-backup-verification).
```bash
# Example: export a DigitalOcean managed Postgres database and ship to S3-compatible off-site storage
# Replace values in angle brackets with your environment's specifics
TIMESTAMP=$(date +%Y%m%d-%H%M%S)
DUMP_FILE="db-backup-${TIMESTAMP}.dump"
# Dump the database
pg_dump
--host=
--port=25060
--username=
--format=custom
--no-acl
--no-owner
--file="/tmp/${DUMP_FILE}"
# Encrypt the dump (GPG symmetric, passphrase from env)
gpg --batch --yes --passphrase "${BACKUP_PASSPHRASE}"
--symmetric --cipher-algo AES256
--output "/tmp/${DUMP_FILE}.gpg"
"/tmp/${DUMP_FILE}"
# Ship to off-site bucket (using AWS CLI against any S3-compatible endpoint)
aws s3 cp "/tmp/${DUMP_FILE}.gpg"
"s3:///postgres/${DUMP_FILE}.gpg"
--endpoint-url "${OFFSITE_S3_ENDPOINT}"
# Clean up local copy
rm "/tmp/${DUMP_FILE}" "/tmp/${DUMP_FILE}.gpg"
```
The `--endpoint-url` flag lets you point the AWS CLI at any S3-compatible provider: Backblaze B2, Wasabi, Cloudflare R2, a second DigitalOcean Spaces account. Pick the one that fits your latency, cost, and compliance requirements.
This script runs well as a cron job on a small Droplet or in a GitHub Actions workflow. The key requirement is that it runs from an environment that has network access to your managed database endpoint and credentials for the off-site bucket.
If you want to run this without maintaining a separate cron server, DigitalOcean Functions (serverless) can trigger the export on a schedule. You do not need a dedicated server for the backup job — you need a process that runs outside the resource being backed up.
## The cost of off-site vs the cost of losing everything
Teams sometimes hesitate on off-site backup because it introduces a new line item. The number is usually small, but it is a visible cost and visible costs attract scrutiny.
Here is what the math actually looks like.
A 20 GB managed PostgreSQL database, backed up daily, compressed to roughly 30% of its uncompressed size, produces around 6 GB of backup data per day. At 30-day retention, that is 180 GB of storage. At Backblaze B2 pricing of $0.006/GB/mo, that is roughly $1.08 per month. At Wasabi's pricing model, it is a similar figure. AWS S3 Standard is higher, but still under $5/month for this workload.
Compare that to the alternative. A four-hour production outage for a typical B2B SaaS team has costs that include: engineer time on incident response, support queue from customers, potential SLA breach penalties, and reputation damage that is harder to quantify but real. A data loss event is worse: you are not just recovering from outage, you are rebuilding state that cannot be regenerated.
We are not inventing catastrophic scenarios. We are naming the one risk that a $2/month object storage bucket eliminates.
The hesitation around backup cost is usually not about the number. It is about the setup friction: creating accounts at a new provider, configuring credentials, writing and maintaining the export script, scheduling the job, watching for failures. That friction is real. It is also exactly the friction that off-site backup tooling exists to remove.
The reason we built [SimpleBackups for DigitalOcean](/platform/digitalocean) is exactly the gap this article describes: native backup covers the easy part, and none of the hard part. If you want off-site, encrypted, tested backups for your Droplets, managed databases, and Spaces — without writing and maintaining the infrastructure yourself — that is what it does.
## Practical close
The checklist for getting off-site backup right on DigitalOcean is short.
First, inventory your critical resources: which Droplets, managed databases, and Spaces buckets must be recoverable. Not everything needs the same level of protection. Start with the data you would lose sleep over.
Second, confirm your Copy 2: native backups should be enabled for Droplets (the add-on costs 20% of the Droplet price) and managed databases include daily backups in the plan. These are baseline. Verify they are running.
Third, add Copy 3: an off-site export to a bucket in a separate provider account. Use the script pattern above or a tool that does it for you. The key constraint is that the off-site copy is accessible via different credentials than your DigitalOcean account.
Fourth, schedule a restore test. Put it in the calendar for next month. Run it. Document it. This converts your backup from a feeling of safety into actual safety.
Fifth, if compliance is in scope: document the off-site control, map it to the relevant framework criteria, and make sure your restore test logs are retained. A control with no evidence is a control that does not exist in an audit.
You can build all of this in an afternoon. The value persists indefinitely.
## Keep Learning
- [DigitalOcean backups explained](/blog/digitalocean-backups-explained/) — the foundational overview of what native DO backup covers, and what it does not.
- [Cross-region backup for DigitalOcean](/blog/digitalocean-cross-region-backup) — how to reduce exposure to region-level outages beyond the same-account risk.
- [GDPR-compliant DigitalOcean backup](/blog/digitalocean-gdpr-compliant) — storage location, data residency, and accountability documentation for EU data.
- [How to create a storage replication with SimpleBackups](/blog/how-to-create-a-storage-replication-with-simplebackups/) — replicating your DO Spaces data to an independent off-site location.
- [The complete guide to DigitalOcean backup](/digitalocean-backup) — the hub page for this entire cluster, with links to every topic in the series.
## FAQ
---
_This article is part of [The complete guide to DigitalOcean backup](/digitalocean-backup#off-site-compliance), an honest, practical reference from the team that backs up DigitalOcean every day._
---
# My Droplet backup won't restore
Source: https://simplebackups.com/blog/digitalocean-droplet-backup-not-restoring
Published: 2026-01-21
Author: Laurent
Summary: Your Droplet backup won't restore. Here's the diagnostic tree: what to check, what's a known DO issue, and what's recoverable when the button fails.
You clicked Restore. The spinner appeared. Then: nothing, an error, a new Droplet that boots to a blank disk, or a job that stalls for thirty minutes before failing silently. You are here because the backup exists but you cannot get the data back.
This article is a diagnostic tree. Work through it in order. Most restore failures have a specific cause, and most causes have a specific fix. We see these failures in support regularly, so the table below is drawn from the patterns that actually come up, not hypotheticals.
## Check these first
Before assuming the backup is broken, verify the basics. These three checks resolve more problems than you would expect.
**Is the Droplet in the right state?**
A restore attempt on a Droplet that is in a locked or queued state will fail immediately. Check the Droplet's status in the dashboard or via `doctl`. It should show `active` before you initiate a restore. If it shows `archive`, `off`, or a pending status from a previous action, wait for that action to settle or power the Droplet on and off cleanly before retrying.
**Is the backup listed in the correct region?**
Droplet backups are stored in the same region as the Droplet. If you are trying to restore a backup to a Droplet in a different region than where the backup was taken, the restore may not appear in the list at all, or it may appear but fail during provisioning. The [official documentation for Droplet backups](https://docs.digitalocean.com/products/droplets/how-to/enable-backups/) confirms that cross-region restore is only possible by first transferring the backup image to the target region.
**Are there conflicting actions in the events log?**
This is the most useful first step, and the one most people skip.
Check the Droplet events log first. The events panel in the DigitalOcean dashboard shows the exact error code, which narrows the diagnostic tree by half. Go to your Droplet, click the "History" tab, and look at the most recent entries. The error code in that log is more useful than any generic error message in the restore dialog.
You can also inspect the action history from the CLI:
```bash
# List recent actions for a Droplet
# Replace with your numeric Droplet ID (found in the dashboard URL or via doctl compute droplet list)
doctl compute droplet-action list
```
The output includes each action's type, status (`completed`, `errored`, `in-progress`), and a timestamp. An `errored` status with action type `restore` tells you the job attempted and failed. An `in-progress` status on a previous action means the Droplet is still busy. You cannot start a new restore while an action is in progress.
## Known DigitalOcean restore issues
Some failures are not configuration problems. They are known limitations or platform-level behaviors. Knowing which category you are in saves a lot of time.
**The Droplet size is smaller than the backup image**
If the backup was taken from a Droplet with more disk than the target Droplet, the restore will fail. DigitalOcean does not resize down during restore. The backup image cannot be written to a disk smaller than the source disk size at the time the backup was taken.
The fix: resize the target Droplet upward before attempting the restore, or create a new Droplet with a disk size equal to or larger than the source.
**The backup image is from a different kernel configuration**
This one is subtle. If the original Droplet was running on a custom kernel or a legacy kernel managed via DigitalOcean's old kernel management system (pre-2018 Droplets), restoring the image to a newer Droplet may produce a machine that cannot boot. The disk contents are correct but the boot configuration does not match the hypervisor expectations for the target.
**Simultaneous account actions**
DigitalOcean serializes certain account-level operations. If another team member is concurrently provisioning Droplets, transferring images, or running account-level API calls, a restore may queue behind those actions or time out. Check the account activity log, not just the Droplet's history.
**The backup window is exactly at the rotation boundary**
Droplet backups rotate after four copies. The oldest backup is deleted when the fifth is created. If you are trying to restore from a backup that was listed in the dashboard an hour ago but is now missing, it may have been rotated out. This is not a bug: it is the retention policy working as designed. Four weeks of weekly backups, four days of daily backups on Premium Droplets. If the backup you need is older than that window, it no longer exists on the platform.
## When the restore silently creates a broken Droplet
The most confusing failure mode is a restore that appears to succeed but creates a Droplet that does not work correctly.
This happens when the restore job completes without error but the resulting Droplet has one of the following problems:
- Boots to a minimal rescue environment or blank shell
- Fails to reach the network (no SSH access)
- Starts but the application cannot find its data
The first thing to check in this scenario: whether the Droplet's data actually lived on an attached volume rather than the root disk.
Droplet backups capture the system disk only. If your application stored data on a block storage volume mounted at, for example, `/data`, that volume was not included in the backup. The restore gives you back the operating system and whatever was on the root disk at backup time, but the volume is either missing or has data from a different point in time depending on whether you snapshotted it separately.
This is the most common cause of "restore succeeded but nothing works" reports. The backup is not broken. The backup did exactly what it was supposed to do. The coverage was not what the operator expected.
The second scenario: the backup was taken from a running Droplet without quiescing writes. If your database was active when the backup ran, the backup captured a crash-consistent state, not a clean shutdown state. On restore, the database may go through crash recovery, which usually succeeds, or it may come up with a corrupted write-ahead log if the crash-consistency capture caught a partial write.
If you need to verify whether a backup captured your application data: look at the backup timestamp and compare it to when the data you need was last written. If the data was on a mounted volume rather than the root disk, the backup does not contain it regardless of the timestamp.
The third scenario: the restored Droplet has the wrong IP address and your application is hard-coded to the previous IP. The restored Droplet gets a new IP unless you associate a Reserved IP and re-assign it. Services that connect using the old IP will fail after restore.
## What's recoverable and what isn't
The table below maps the most common failure symptoms to their probable cause and the available fix.
| Symptom | Probable cause | Fix |
|---------|----------------|-----|
| Restore button greyed out in dashboard | Another action is in progress, or Droplet is in a locked/archive state | Wait for the pending action to complete; check the Droplet events log |
| Restore job errors immediately | Target Droplet disk size is smaller than the backup image | Resize the target Droplet upward before restoring, or create a larger Droplet |
| Restore job stalls then times out | Account-level action queue contention, or a transient platform event | Retry after a few minutes; check the DigitalOcean Status page for ongoing incidents |
| Restore completes but Droplet won't boot | Kernel mismatch between old Droplet and new hypervisor configuration | Boot into recovery console; chroot into disk and reconfigure bootloader, or contact DO support |
| Restore completes but application data is missing | Data was on an attached volume, not the root disk | Restore the corresponding volume snapshot, or recover data from application-level backups |
| Restore completes but the backup you needed is gone | Backup rotated past the 4-copy retention window | No recovery path via native backup; requires off-site copy if one exists |
| Restore appears successful but SSH is unreachable | Reserved IP not re-associated, or firewall rules not re-applied | Re-assign Reserved IP; check cloud firewall rules are targeting the restored Droplet |
The last row in that table is the hardest one: when the backup you needed has already rotated out.
If the native restore path is broken and you don't have an off-site copy, this is a dead end. That's why it matters. The [off-site compliance article](/digitalocean-backup#off-site-compliance) covers why every production DigitalOcean stack needs a copy that lives outside the platform.
If you deleted the Droplet and are trying to recover from that situation rather than a failed restore, [recovering a deleted DigitalOcean Droplet](/blog/digitalocean-deleted-droplet-recovery) covers the specific paths and hard limits for that scenario.
## Preventing this next time
Most restore failures are preventable. The patterns that generate them are consistent, and the interventions are straightforward.
**Test the restore path before you need it.** The most reliable way to know whether a backup is restorable is to restore it. Spin up a new Droplet from the backup once a month, verify the application comes up, then destroy the test Droplet. This catches volume-coverage gaps, kernel mismatches, and application configuration issues before they matter. The [guide to automating DigitalOcean backup verification](/blog/automating-digitalocean-backup-verification) covers how to script this so it runs without manual intervention.
**Snapshot volumes alongside Droplets.** If your application data lives on attached block storage, take volume snapshots at the same time as Droplet snapshots. Keep them correlated by timestamp so you can restore both to a consistent point. A guide to [backing up DigitalOcean Droplets](/blog/backup-digitalocean-droplets) covers the coordination approach in detail.
**Use Reserved IPs for stateful Droplets.** If you restore a Droplet to a new instance, the IP changes. Reserved IPs prevent this: the Reserved IP re-associates with the restored Droplet and your downstream configuration stays intact. This does not prevent restore failures, but it prevents the class of problems where the restore works but the application is unreachable because everything pointed at the old IP.
**Understand what the four-week window means for your RPO.** Standard Droplet backups give you four weekly copies. If your recovery point objective is shorter than seven days, weekly backups are not sufficient. If you need recovery to a point more than four weeks ago, the native retention window does not support that. [How DigitalOcean native backup works](/blog/how-digitalocean-native-backup-works) covers this in full detail, including the Premium Droplet daily backup option for tighter RPO requirements.
**Keep an off-site application-level backup in parallel.** Block-level Droplet backups are useful for full-machine recovery. They are not a substitute for application-level exports that you can access independently of the DigitalOcean platform. A database dump shipped to external object storage takes less than a minute to configure and gives you a recovery path that is not contingent on the native restore button working.
---
If you've read this far, you probably already know whether native retention is enough for your project. If it isn't, [SimpleBackups](/platform/digitalocean) gives you cross-region off-site backup, automated verification, and a restore you can actually test.
## Keep Learning
- [DigitalOcean backups explained](/blog/digitalocean-backups-explained/): the high-level overview of what native backup covers and where it stops.
- [How to automate DigitalOcean server and volume snapshots](/blog/how-to-automate-digitalocean-server-and-volume-snapshots/): scripting snapshot workflows with the DO API.
- [How DigitalOcean native backup works](/blog/how-digitalocean-native-backup-works): the mechanics behind Droplet backups, snapshots, and the retention caps.
- [Restore a DigitalOcean Droplet](/blog/restore-digitalocean-droplet): step-by-step restore walkthrough for when the process works.
- [Backing up DigitalOcean Droplets](/blog/backup-digitalocean-droplets): coverage strategies for root disks and volumes.
## FAQ
---
_This article is part of [The complete guide to DigitalOcean backup](/digitalocean-backup#droplet-backup-not-restoring), an honest, practical reference from the team that backs up DigitalOcean every day._
---
# How to restore DigitalOcean Spaces from an off-site backup
Source: https://simplebackups.com/blog/restore-digitalocean-spaces
Published: 2026-01-16
Author: Laurent
Summary: Recreating a Space, syncing objects back from an external bucket, and preserving metadata and ACLs. Step-by-step with rclone and aws cli.
You opened your DigitalOcean dashboard and the objects you needed are gone. Maybe someone ran a delete script against the wrong bucket. Maybe the account was compromised. Maybe you're migrating to a new region and you need to bring everything back with metadata intact.
You went looking for a "Restore" button inside Spaces. There isn't one. DigitalOcean has no native restore mechanism for Spaces: no backup history, no point-in-time recovery, no automated rollback. If you need to get data back into a Space, you are restoring from whatever off-site copy you made yourself.
This article walks you through the full restore path: recreating the Space, syncing objects back with rclone, doing the same with the AWS CLI, restoring metadata and ACLs, and verifying the restore completed correctly.
**What you walk away with:** a repeatable restore procedure for DigitalOcean Spaces, covering both rclone and the AWS CLI, with the metadata and ACL edge cases documented.
## Why you're restoring from off-site (there's no native option)
DigitalOcean Spaces has no native backup. That sentence is not a caveat; it is the full picture. The [DigitalOcean Spaces documentation](https://docs.digitalocean.com/products/spaces/) covers versioning, lifecycle rules, and CDN settings. It has nothing about backup or restore because those features don't exist.
Versioning gets close. When enabled, deletes create a marker rather than immediately removing the object, and earlier versions of overwritten files remain accessible. But versioning has hard limits as a recovery tool:
- It only works if versioning was enabled before the deletion happened. If it wasn't, the objects are gone.
- An attacker with your Spaces access key can delete all versions, not just current objects. AWS S3 has MFA delete to prevent this; Spaces does not.
- Deleting the bucket itself removes all versions with it.
- All versions live in the same DigitalOcean account. Account compromise, billing dispute, or regional outage takes the backup with the production data.
There is no native Spaces restore. If you don't have an off-site copy, accidental deletion or account compromise means the data is gone. This is the same-host risk that runs through every DigitalOcean native backup product. See [off-site compliance for DigitalOcean](/blog/digitalocean-off-site-compliance) for the full treatment.
If you're in the middle of an incident right now and you don't have an off-site copy, there are limited options. Check whether versioning was on (objects may still be there as prior versions). Check whether any other account or service cached a copy. If neither applies, the data is unrecoverable through DigitalOcean alone.
If you do have an off-site copy, read on.
## Recreating the Space
Before you sync anything back, you need a destination Space. If the original bucket still exists (you're doing a partial restore, or versioning gives you access to prior object versions), you can skip this step.
If the original bucket is gone, create a new one with matching configuration.
A few things to get right before you start syncing:
**Region.** Create the Space in the same region as the original, or a different region if you're intentionally changing your topology. Buckets are region-bound. An object URL that includes `nyc3.digitaloceanspaces.com` won't resolve if the bucket now lives in `ams3`. If your application has hard-coded Spaces URLs, use the same region.
**Bucket name.** Bucket names in Spaces are globally unique per region. If the original bucket name is still taken (perhaps by a partially deleted bucket that's in a cleanup state), you may need to use a different name and update your application configuration.
**Versioning.** If versioning was enabled on the original, enable it on the new bucket before you start the restore sync. Syncing into an unversioned bucket won't break anything, but you won't get version history for the objects you're restoring.
**CDN and lifecycle rules.** These don't transfer with the objects. If the original had a CDN distribution or lifecycle expiry rules, recreate them manually on the new bucket before the restore, or immediately after. Otherwise, objects may be accessible but without the CDN edge, or lifecycle rules won't apply to the newly restored objects.
If you have your original Spaces configuration in Terraform or a similar IaC tool, apply it first to recreate the bucket with the correct settings. Then run the restore sync. That order prevents configuration drift between the original and the restored bucket.
## Syncing objects back with rclone
`rclone` is the most flexible way to sync objects back into Spaces from an external bucket. It speaks S3 natively and works with any S3-compatible source: AWS S3, Backblaze B2, Wasabi, Cloudflare R2, another Spaces bucket in a different region, or almost anything else.
If you followed the backup approach from [how to back up DigitalOcean Spaces](/blog/backup-digitalocean-spaces), your `rclone.conf` already has both remotes configured. If not, configure them now: one remote pointing at your off-site backup source, one pointing at the Spaces destination.
To configure the Spaces destination, you need:
- The Spaces access key and secret (from the API page in the DigitalOcean control panel)
- The region endpoint, which follows the pattern `.digitaloceanspaces.com`
Use `rclone config` to create or verify the remotes, then run the restore sync:
```bash
rclone sync
offsite-remote:your-backup-bucket
do-spaces:your-destination-space
--progress
--transfers 8
--checkers 16
--metadata
--s3-acl private
```
Note that the direction is reversed from backup: the off-site bucket is the source, Spaces is the destination.
A few flags worth explaining:
- `--metadata` tells rclone to copy object metadata (Content-Type, Cache-Control, custom headers) from the source. This flag requires rclone 1.62 or later. Without it, rclone transfers the object bytes but not the metadata.
- `--transfers 8` runs 8 parallel transfers. Increase this on a fast connection; decrease it if you hit rate limits.
- `--s3-acl private` sets the ACL on restored objects to private. See the metadata and ACL section below for when you'd want a different value here.
- `sync` makes the destination match the source. If the destination Space is empty, that's equivalent to a full restore. If it has partial content already, `sync` fills in the gaps and removes objects that shouldn't be there. Use `copy` instead if you want to preserve objects already in the destination that aren't in the source.
Before running against the real destination, use `--dry-run` to preview what rclone will do:
```bash
rclone sync
offsite-remote:your-backup-bucket
do-spaces:your-destination-space
--dry-run
--metadata
```
This shows you the object count, the total size, and any errors before a single byte is written.
For large restores (hundreds of thousands of objects or tens of gigabytes), use `--log-level INFO --log-file /var/log/rclone-restore.log` to write a full transfer log. If the restore is interrupted, rclone's sync is idempotent: restart it from the same command and it will resume from where it left off, skipping objects that are already correct at the destination.
## Syncing with aws cli
If your off-site backup lives in AWS S3 and you prefer the AWS CLI, you can run the restore directly against the Spaces endpoint without installing rclone. The `--endpoint-url` flag redirects the CLI to your Spaces region.
Configure the CLI to use your Spaces credentials. The clearest approach is a named profile:
```bash
aws configure --profile spaces-restore
# AWS Access Key ID:
# AWS Secret Access Key:
# Default region name: us-east-1
# Default output format: json
```
The region value in the profile doesn't control where Spaces writes; the endpoint URL does. Set it to anything valid to satisfy the CLI validation.
Run the restore sync:
```bash
aws s3 sync
s3://your-aws-source-bucket/
s3://your-destination-space/
--endpoint-url https://nyc3.digitaloceanspaces.com
--profile spaces-restore
--no-verify-ssl
```
Replace `nyc3` with your Space's region code (`ams3`, `sgp1`, `fra1`, and so on). The `--no-verify-ssl` flag is sometimes needed when the CLI's SSL negotiation picks up a mismatch between the AWS certificate chain and the Spaces endpoint; it skips that verification without affecting whether the transfer itself is encrypted.
For a dry run, add `--dryrun`:
```bash
aws s3 sync
s3://your-aws-source-bucket/
s3://your-destination-space/
--endpoint-url https://nyc3.digitaloceanspaces.com
--profile spaces-restore
--no-verify-ssl
--dryrun
```
One limitation of the AWS CLI path: it does not copy S3 object metadata as reliably as rclone when the source and destination are different providers. Specifically, custom metadata headers may not arrive at Spaces correctly depending on the AWS CLI version and how the source objects were stored. If metadata fidelity matters, use rclone with `--metadata` instead and treat the AWS CLI path as a fallback for bucket-to-bucket copies where both ends are well-behaved S3.
## Restoring metadata and ACLs
Objects carry more than bytes. When you restore a Spaces bucket, you want Content-Type, Cache-Control, and any custom metadata headers to survive the round-trip. Whether they do depends on your restore method and which fields you're asking about.
Here's what the round-trip actually looks like:
| Field | Survives with rclone + `--metadata` | Survives with aws cli sync | Notes |
|---|---|---|---|
| Content-Type | Yes | Yes (usually) | Inferred from extension if missing at destination |
| Cache-Control | Yes | Yes (usually) | Check headers on a few objects after restore |
| Custom metadata (`x-amz-meta-*`) | Yes | Partially | rclone more reliable across providers |
| ACLs (public/private per-object) | No | No | Must be reapplied manually or via policy |
| Versioning history | No | No | Prior versions don't transfer; only latest object |
| Lifecycle rules | No | No | Recreate on the bucket, not per-object |
| Bucket policy | No | No | Recreate manually on the new bucket |
The ACL row is the one that consistently trips people up.
ACLs don't round-trip perfectly between S3 and Spaces. When rclone syncs objects, it applies the ACL you pass via `--s3-acl` globally to all transferred objects. Per-object ACLs from the source don't carry over individually. If your original bucket had a mix of public and private objects, you'll need to reapply the public ACLs after the restore.
If your application relies on per-object public URLs, here's the safest restore sequence:
1. Run the sync with `--s3-acl private` to get all objects into the destination without inadvertently exposing anything.
2. After the sync completes, generate a list of objects that should be public (from your application database, from a saved ACL export, or from the source bucket if it's still accessible).
3. Apply the public ACL to those objects using `rclone` or the `aws s3api put-object-acl` command.
For most use cases, restoring everything as private and then making specific objects public is safer than trying to replicate a mixed ACL state in a single pass.
For Content-Type specifically: if rclone doesn't have `--metadata` available (older versions) or you're using the AWS CLI and some headers didn't transfer, you can batch-update Content-Type on misidentified objects using the Spaces S3-compatible API via `aws s3api copy-object --metadata-directive REPLACE`. This is tedious on large buckets, which is another reason to prefer rclone 1.62+ with `--metadata` for the initial restore.
## Verifying the restore is complete
A restore is only complete when you've confirmed the destination matches the source. "The sync command exited 0" is not the same thing as "the restore is correct."
Start with counts:
```bash
# Count objects in the source (off-site backup)
rclone size offsite-remote:your-backup-bucket
# Count objects in the restored Space
rclone size do-spaces:your-destination-space
```
Both should report the same number of objects and the same total size. If they differ, the sync didn't complete cleanly.
For a deeper check, use `rclone check` to compare checksums between source and destination:
```bash
rclone check
offsite-remote:your-backup-bucket
do-spaces:your-destination-space
--one-way
```
The `--one-way` flag checks that every object in the source exists at the destination with a matching checksum. Without it, rclone also flags objects that exist at the destination but not in the source, which may not be relevant if you used `copy` instead of `sync`.
Expect `rclone check` to run for a while on large buckets. It pulls checksums from both sides and compares them without downloading object bytes. On a bucket with a million objects, this can take thirty minutes or more depending on API rate limits.
Spot-check metadata on a sample of objects:
```bash
rclone lsjson
--metadata
do-spaces:your-destination-space
--include "sample-object-key.jpg"
```
Confirm that Content-Type and any custom headers you care about are present and correct.
Finally, test a real access path. Load a URL, run a query against the data, or have your application's health check hit a known object. Restoring bytes without confirming the application can read them is an incomplete test.
{/* SIDENOTE: testing restores before you need them is the only way to know the procedure works */}
We back up DigitalOcean every day. The failure mode we see most after a restore isn't missing objects: it's metadata that didn't transfer and broke CDN caching or broke Content-Type detection in the application. Run `rclone check` and spot-check metadata headers before you tell anyone the restore is done.
## What to do next
If this restore was an emergency, the first thing to do after verifying is to understand why the off-site copy existed and how current it was. A backup that was two weeks stale during a critical restore is a different problem than the restore procedure itself.
If you haven't set up automated off-site backups for Spaces yet, the backup article for this restore guide is [how to back up DigitalOcean Spaces](/blog/backup-digitalocean-spaces). It covers the rclone mirror setup, scheduling, and the versioning caveats in detail.
If you've read this far, you probably already know whether native Spaces retention is enough for your project. If it isn't, [SimpleBackups](/platform/digitalocean) gives you cross-region off-site backup, automated verification, and a restore you can actually test.
## Keep learning
- [How to back up DigitalOcean Spaces](/blog/backup-digitalocean-spaces): the backup side of this workflow, including rclone setup and scheduling.
- [DigitalOcean Spaces accidental deletion](/blog/digitalocean-spaces-accidental-deletion): what to do when an object is already gone before you run the restore.
- [What DigitalOcean native backup doesn't cover](/blog/what-digitalocean-native-backup-doesnt-cover): Spaces in the context of the full DigitalOcean product lineup.
- [How to create a storage replication with SimpleBackups](/blog/how-to-create-a-storage-replication-with-simplebackups): the managed alternative to the rclone approach above.
- [DigitalOcean backups explained](/blog/digitalocean-backups-explained): native backup coverage across Droplets, databases, and Spaces.
## FAQ
---
_This article is part of [The complete guide to DigitalOcean backup](/digitalocean-backup#restore-spaces), an honest, practical reference from the team that backs up DigitalOcean every day._
---
# How to back up DigitalOcean Droplets (3 methods)
Source: https://simplebackups.com/blog/backup-digitalocean-droplets
Published: 2026-01-12
Author: Laurent
Summary: Native backup add-on, on-demand snapshots, or off-site copies. What each gives you, the cost math, and a script to pull snapshots out of DO.
You enabled the native Droplet backup add-on. You paid the 20% fee. You assumed you were covered.
You are not necessarily covered. The backup lives in your DigitalOcean account. If that account gets compromised, suspended, or hit by a billing dispute, the backup disappears with the Droplet. And the native backup gives you no download option, no off-site copy, and no way to verify a restore without actually running one.
This article walks you through all three methods for backing up a Droplet: the native add-on, on-demand snapshots, and pulling a copy off-platform. You'll see exactly what each one does, what it costs, and how to automate the pieces that matter.
## How native Droplet backups work
DigitalOcean's native backup add-on is a paid extra that costs 20% of your Droplet price. For a $24/month Droplet, that's $4.80/month. [You enable it from the Droplet control panel](https://docs.digitalocean.com/products/droplets/how-to/enable-backups/) or via the API at creation time.
What you get with it:
- **Standard Droplets**: one backup per week, kept for four weeks (four recovery points total).
- **Premium Droplets**: one backup per day, kept for four weeks (up to 28 recovery points).
- Backups run on a schedule DigitalOcean controls. You can shift the window by a few hours, but not choose the day or time with precision.
- Restoring creates a new Droplet from the backup image. Your existing Droplet is unaffected.
What you do not get:
- Downloads. You cannot pull the backup image to your own storage.
- Off-site copies. The backup lives in the same DigitalOcean account as the Droplet.
- Application-consistent snapshots. The backup is a block-level image taken while the Droplet is running. For most web apps this is fine; for databases, you want either a quiesced snapshot or a database-level backup.
Volumes are not included in Droplet backups. If your Droplet has attached block storage, you need a separate snapshot workflow. See the [DigitalOcean Volume backup guide](/blog/backup-digitalocean-volumes) for the exact steps.
For a deeper look at what the native add-on covers and what it skips, the [DigitalOcean native backup explained](/blog/how-digitalocean-native-backup-works) article goes through each edge case. And if you want the full list of gaps, [what native Droplet backup doesn't cover](/blog/what-digitalocean-native-backup-doesnt-cover) is the reference.
## Snapshots: the manual alternative
On-demand snapshots are different from the weekly backup add-on. They are triggered by you, billed at $0.06/GB/month, and kept until you delete them. [DigitalOcean's snapshot docs](https://docs.digitalocean.com/products/droplets/how-to/snapshot/) cover the UI path; the CLI path is faster for one-off use.
To trigger a snapshot with `doctl`:
```bash
doctl compute droplet-action snapshot \
--droplet-id 123456789 \
--snapshot-name "my-droplet-$(date +%Y%m%d)" \
--wait
```
Flag breakdown:
- `--droplet-id`: your Droplet's numeric ID (find it with `doctl compute droplet list`).
- `--snapshot-name`: give it a name with a date suffix so you can identify it later.
- `--wait`: block until the action completes. Without this flag, the command returns immediately and you have no confirmation.
The snapshot is taken while the Droplet is running. DigitalOcean powers the Droplet off briefly during the snapshot to ensure consistency, then powers it back on. This causes a brief downtime window, usually under a minute, but it does happen. Plan accordingly.
You can also snapshot from a powered-off Droplet if you want zero downtime impact on your application, at the cost of having to schedule the outage yourself.
For a full comparison of when to use snapshots versus the weekly backup add-on, see [DigitalOcean snapshots vs. backups](/blog/digitalocean-snapshots-vs-backups), which covers retention, cost, and restore behavior side by side.
Native Droplet backups and snapshots both live inside your DO account. Pull them off-platform or they're not protecting you from the scenario that matters most. Account compromise, region outage, and billing suspension all take the backup with the Droplet. More on this in the [off-site compliance guide](/blog/digitalocean-off-site-compliance). If a Droplet is deleted and the backup window has already closed, recovering a deleted DigitalOcean Droplet covers what limited options remain.
## Off-site: pulling a snapshot out of DigitalOcean
DigitalOcean does not provide a direct download link for Droplet snapshots. You cannot simply click "export" and get a file. The path requires converting the snapshot to a transferable format and exporting it.
The practical approach: snapshot the Droplet, then use `doctl` to export the snapshot as a temporary download URL, then pull it to your storage of choice. Here is a script that does the full chain.
```bash
#!/usr/bin/env bash
# export-droplet-snapshot.sh
# Exports the latest snapshot for a Droplet to S3-compatible storage.
#
# Requirements:
# - doctl authenticated (doctl auth init)
# - rclone configured with a remote named "offsite" pointing to S3, B2, or equivalent
# - jq installed
#
# Usage: ./export-droplet-snapshot.sh
# Example: ./export-droplet-snapshot.sh 123456789 offsite:my-bucket/droplet-backups/
set -euo pipefail
DROPLET_ID="${1:?Usage: $0 }"
RCLONE_DEST="${2:?Usage: $0 }"
SNAPSHOT_NAME="droplet-${DROPLET_ID}-$(date +%Y%m%d-%H%M%S)"
echo "[1/4] Creating snapshot: ${SNAPSHOT_NAME}"
doctl compute droplet-action snapshot \
--droplet-id "$DROPLET_ID" \
--snapshot-name "$SNAPSHOT_NAME" \
--wait
echo "[2/4] Fetching snapshot ID"
SNAPSHOT_ID=$(doctl compute snapshot list \
--resource-type droplet \
--format ID,Name \
--no-header \
| grep "$SNAPSHOT_NAME" \
| awk '{print $1}')
if [ -z "$SNAPSHOT_ID" ]; then
echo "ERROR: snapshot not found after creation. Check doctl compute snapshot list."
exit 1
fi
echo "[3/4] Requesting export URL for snapshot ${SNAPSHOT_ID}"
# Note: DO export API returns a temporary signed URL valid for ~1 hour
EXPORT_URL=$(doctl compute image export \
--image-id "$SNAPSHOT_ID" \
--format URL \
--no-header \
--wait)
echo "[4/4] Transferring to ${RCLONE_DEST}"
rclone copyurl "$EXPORT_URL" "${RCLONE_DEST}/${SNAPSHOT_NAME}.img.gz" \
--progress \
--stats-one-line
echo "Done. Snapshot exported to ${RCLONE_DEST}/${SNAPSHOT_NAME}.img.gz"
```
A few notes on this script before you run it:
- The `doctl compute image export` command triggers an asynchronous export. The `--wait` flag is important; without it the URL is empty until the export finishes.
- The export URL is signed and expires in roughly one hour. Start the `rclone copyurl` transfer immediately after you get it.
- `rclone` supports S3, Backblaze B2, Cloudflare R2, Wasabi, and most S3-compatible targets. Configure your remote once with `rclone config` and reuse it across scripts.
- If you prefer the AWS CLI, replace the `rclone copyurl` line with `aws s3 cp "$EXPORT_URL" "s3://your-bucket/path/${SNAPSHOT_NAME}.img.gz"`.
This is the only method that gets your Droplet data into storage you control. It is also the most work. That tradeoff is worth understanding before you decide which approach to run.
For a broader discussion of why off-site matters for compliance postures, see the DigitalOcean off-site compliance guide, which covers SOC 2 and GDPR requirements in detail.
## The cost comparison
Here is how the three approaches stack up on the dimensions that actually matter for a backup decision:
| Method | Schedule | Retention | Downloadable | Cost | Same-host risk |
|--------|----------|-----------|--------------|------|----------------|
| Native Droplet backup (standard) | Weekly (DO-controlled) | 4 weeks | No | 20% of Droplet price | Yes |
| Native Droplet backup (Premium) | Daily (DO-controlled) | 4 weeks | No | 20% of Droplet price | Yes |
| On-demand snapshot | Manual or scripted | Until deleted | No | $0.06/GB/month | Yes |
| Off-site export (snapshot + export) | Scripted | As long as you keep the file | Yes | $0.06/GB/month snapshot + destination storage | No |
A concrete example: a $48/month CPU-Optimized Droplet with a 50 GB disk.
- Native backup add-on: $9.60/month. Four weekly restore points. You cannot take it off DigitalOcean.
- Daily snapshots (scripted, keep 30): 50 GB × $0.06 × 30 days ≈ $90/month. More restore points, same same-host risk.
- Off-site export (one copy per week, kept for 4 weeks in B2 at $0.006/GB/month): $0.06 × 50 for snapshot + $0.006 × 50 × 4 ≈ $3/month + $1.20/month = $4.20/month. Cheapest option once you have the script, and the only one that takes the data off-platform.
The native add-on is the path of least resistance. The off-site export is the only path to genuine protection.
## Automating the whole thing
Running the export script manually is fine for one-off copies before a deployment. If you're moving infrastructure or switching providers, see the [pre-migration backup guide](/blog/backup-digitalocean-before-migration) for what to capture and verify before you cut over. For ongoing backup, you want it on a schedule.
The simplest approach: a cron job on a separate server (not the Droplet you're backing up), or a hosted cron service.
```bash
# Crontab entry: run every Sunday at 02:00 UTC
# Replace 123456789 with your Droplet ID
0 2 * * 0 /opt/scripts/export-droplet-snapshot.sh 123456789 offsite:my-bucket/droplet-backups/ >> /var/log/droplet-backup.log 2>&1
```
If you want more control over the snapshot schedule itself, the [`doctl compute droplet-action snapshot` approach](/blog/how-to-automate-digitalocean-server-and-volume-snapshots) is covered in the automation guide, including how to list and clean up old snapshots so your costs don't compound.
Run your cron job from a server that is not the Droplet you are backing up. If the Droplet goes down, you still want the backup job to fire.
The harder part is not scheduling the job. The harder part is knowing when it fails. Log rotation, alerting on non-zero exits, and Slack/email notifications on failure are the pieces that separate a backup setup from a backup illusion.
If scripting and scheduling all this yourself sounds like a second job, SimpleBackups handles DigitalOcean Droplet backup off-site, with alerts when a run fails. [See how it works →](/platform/digitalocean)
## Verifying your backup actually restores
A backup you have never tested is a hypothesis. The most common discovery point for a broken backup is the moment you need it, which is the worst possible time.
Verification for Droplet backups has two levels:
**Level 1: confirm the snapshot exists.** This is not verification. It is confirmation that a file was written. Necessary but insufficient.
```bash
# List all snapshots for a Droplet
doctl compute snapshot list --resource-type droplet
# Or filter by name prefix
doctl compute snapshot list --resource-type droplet --format ID,Name,SizeGigaBytes,Created
```
**Level 2: restore from the snapshot to a test Droplet.** This is the only real verification. Create a new Droplet from the snapshot, confirm the application starts, confirm the data is intact, then destroy the test Droplet.
```bash
# Create a new Droplet from a snapshot
doctl compute droplet create my-restore-test \
--image \
--size s-1vcpu-1gb \
--region nyc1 \
--wait
# Confirm it came up, then destroy it when done
doctl compute droplet list --format ID,Name,Status | grep my-restore-test
doctl compute droplet delete --force
```
Run this test at least once a month, or before any major deployment. To build a repeatable, automated verification process around this, see [automating DigitalOcean backup verification](/blog/automating-digitalocean-backup-verification), which covers scheduling restore tests and alerting on failures. The [Droplet restore guide](/blog/restore-digitalocean-droplet) covers the full restore flow, including restoring to a different region. If a restore does not go as expected, [troubleshooting a DigitalOcean Droplet backup that won't restore](/blog/digitalocean-droplet-backup-not-restoring) walks through the most common failure modes and how to work around them.
For databases, a Droplet restore test is not enough. You should also verify that the database engine starts cleanly and that a table-level query returns expected results. A block-level image of a database that was mid-write when the snapshot triggered can sometimes come back with a corrupted InnoDB or Postgres data directory.
## FAQ
## Keep learning
- [DigitalOcean backups explained](/blog/digitalocean-backups-explained): high-level overview of all native DigitalOcean backup products and their limitations.
- [Backups vs. snapshots with differences and examples](/blog/backups-vs-snapshots-with-differences-and-examples): how these two approaches differ, when each one is appropriate, and what each protects against.
- [The complete DigitalOcean backup guide](/digitalocean-backup): hub index covering every DigitalOcean backup scenario, from Droplets to Spaces to DOKS.
---
_This article is part of [The complete guide to DigitalOcean backup](/digitalocean-backup#backup-droplets), an honest, practical reference from the team that backs up DigitalOcean every day._
---
# Kubernetes Database Backup Is Here!
Source: https://simplebackups.com/blog/kubernetes-database-backup
Published: 2026-01-08
Author: Laurent
Summary: Back up databases running in your Kubernetes pods without the YAML headaches. Connect your cluster, pick your databases, store backups anywhere.
If you've ever tried to back up a database running inside a Kubernetes pod, you know the drill. You're either writing custom CronJobs, wrestling with Velero configurations, or duct-taping scripts together and hoping they don't silently fail at 3 AM.
It shouldn't be this complicated. So we fixed it.
## Introducing Kubernetes Database Backup
You can now back up databases running in your Kubernetes clusters directly from SimpleBackups. Connect your cluster, select the databases you want to protect, choose where to store your backups, and you're done.
No YAML to write. No Velero to manage. No PhD in Kubernetes storage required.
It works the same way you'd expect from SimpleBackups — because that's the whole point. If you've used us for MySQL, PostgreSQL, or MongoDB backups before, this will feel familiar. We just extended that same simplicity to databases living inside your K8s pods.
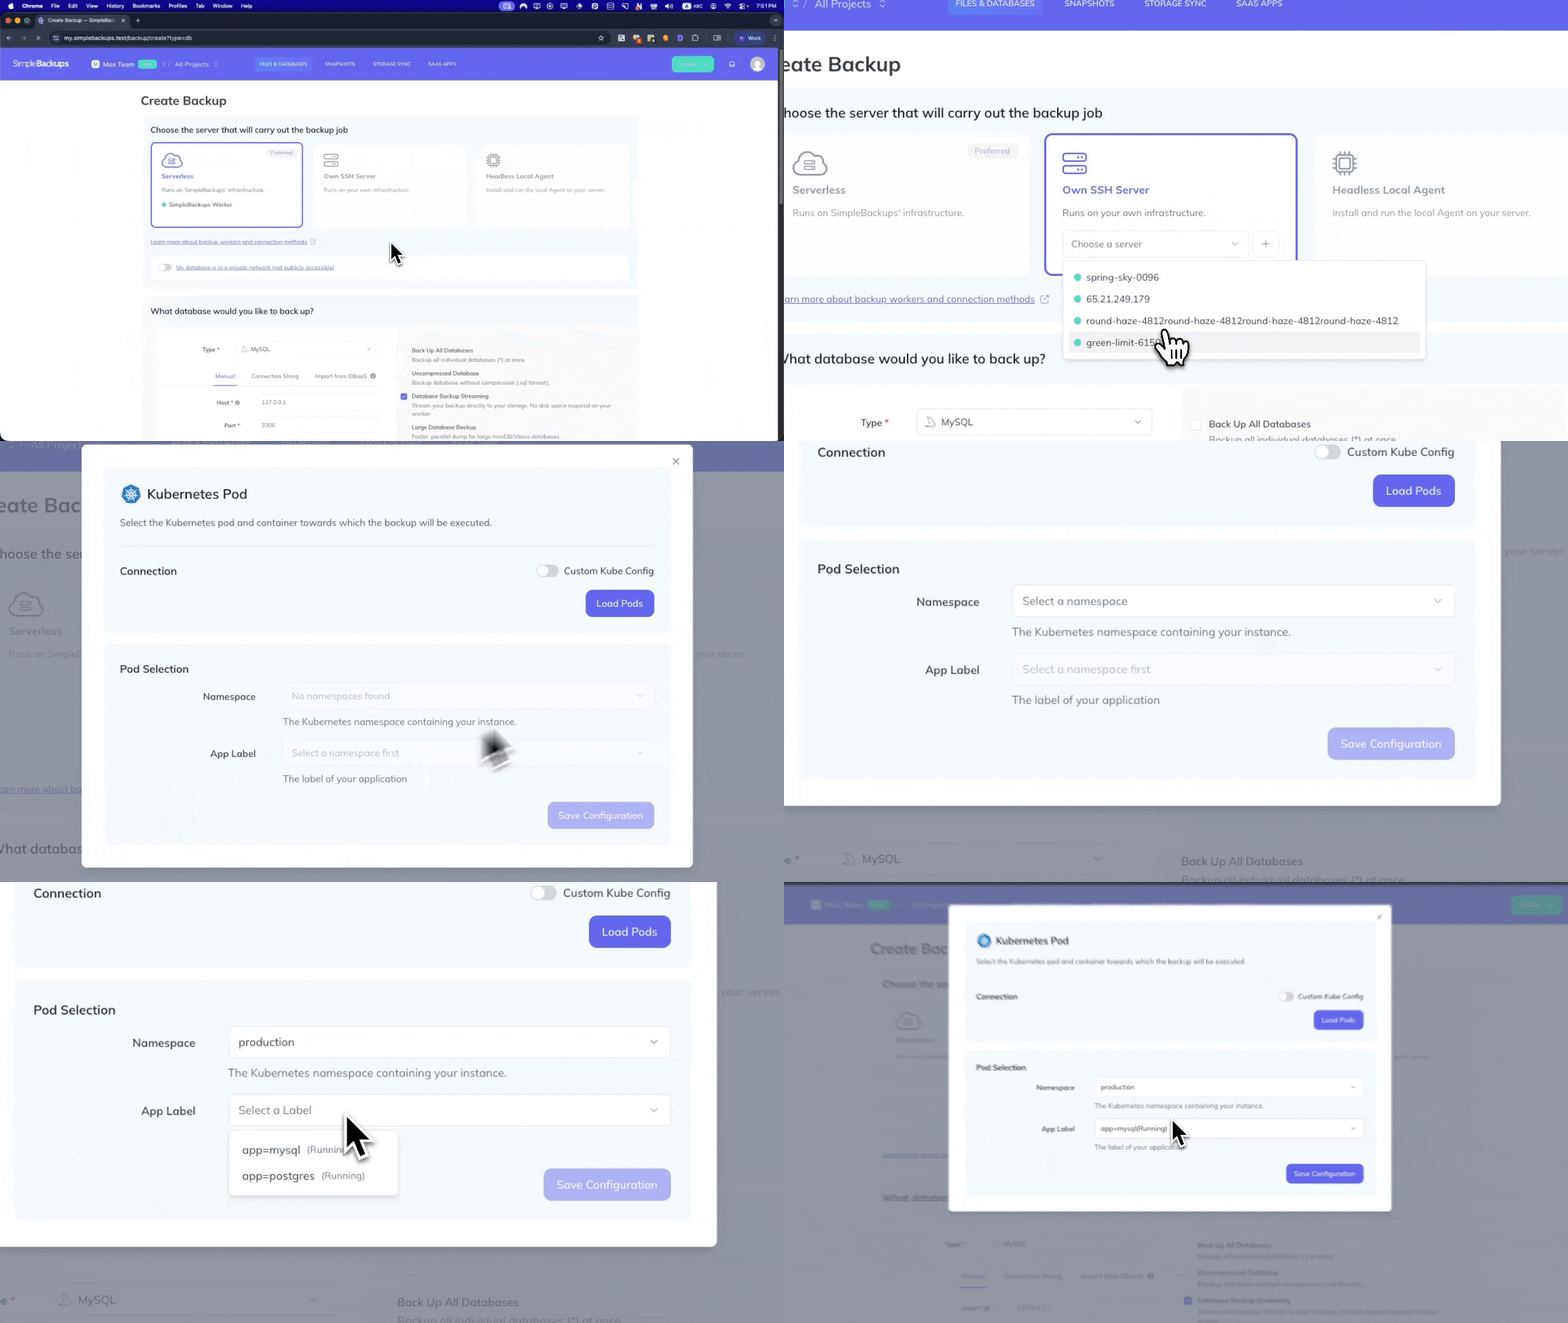
## Why we started with databases
We're building toward a comprehensive Kubernetes backup solution (more on that in a moment), but we deliberately started with databases.
Here's why: losing a pod configuration is annoying. Losing your data is a disaster.
When we talked to teams running workloads on Kubernetes, the anxiety was always centered on the same thing — "What happens to my data if something goes wrong?" Configs can be recreated. Deployments can be reapplied. But your production database? That's the thing that keeps people up at night.
So we built that first.
## How it works
We kept the setup minimal:
**Connect your cluster** — Works with any Kubernetes distribution. EKS, GKE, AKS, DigitalOcean, Linode, Civo, self-hosted with kubeadm or k3s — if it runs Kubernetes, we support it.
**Auto-discovery finds your databases** — Once connected, we automatically detect what's running in your cluster. No manual inventory needed.
**Pick your storage destination** — Store backups on any S3-compatible storage, Google Cloud Storage, Azure Blob, or your own infrastructure. Your data, your storage, your control.
**Set your schedule and forget about it** — Daily, hourly, whatever you need. We handle the scheduling, monitoring, and alerting. If something fails, you'll know immediately.
Same monitoring and anomaly detection you get with all SimpleBackups jobs. Same dashboard. Same restore process.
## Where we're headed
Let's be transparent about what this release is and isn't.
This is Kubernetes _database_ backup. It's not full cluster backup yet. We're not backing up your Namespaces, Deployments, Secrets, ConfigMaps, or Persistent Volumes with this release.
But that's coming.
We're building SimpleBackups into a complete Kubernetes backup solution — one that protects your entire cluster state, not just your databases. You can find the the full vision on [simplebackups.com/kubernetes-backup](/kubernetes-backup) : cluster resources, persistent volumes, connected databases, cross-cloud restore, ...
We're shipping incrementally because we'd rather give you something solid today than make you wait for everything at once. Database backup is ready now. The rest is actively in development.
We'll keep you posted as we ship more.
## Available on all plans
No special tier. No enterprise-only lockout. If you're a SimpleBackups customer, you have access to Kubernetes database backup today.
If you're not a customer yet, there's no credit card required to get started.
---
Questions about the setup or want to see something specific in our K8s roadmap? Reply to this post or reach out at [hello@simplebackups.com](mailto:hello@simplebackups.com). We read everything.
---
# Store Your Backups on Mega with SimpleBackups
Source: https://simplebackups.com/blog/mega-storage-backup-with-simplebackups
Published: 2026-01-08
Author: Laurent
Summary: Mega is now available as a backup storage destination in SimpleBackups. Learn how to set up automated, encrypted backups to Mega's S4 object storage in minutes.
You asked, we built it. Mega is now available as a storage destination in SimpleBackups.
If you've been looking for an affordable, privacy-focused way to store your database and server backups, this one's for you.
## Why Mega?
Mega has built a solid reputation as a secure cloud storage provider. Founded in New Zealand by Kim Dotcom in 2013, the platform has grown to serve over 300 million users worldwide.
What makes Mega stand out:
**End-to-end encryption by default.** Your files are encrypted on your device before they even leave it. Mega can't read your data—and neither can anyone else without your keys.
**S4 Object Storage.** Mega's S4 (Secure, Scalable, Simple Storage) provides an S3-compatible API, which means it integrates seamlessly with backup tools like SimpleBackups. Pricing is straightforward and competitive with other object storage providers.
**Privacy-first architecture.** Based in New Zealand, Mega operates under strong privacy laws. For teams handling sensitive data, this matters.
## How it works
Setting up Mega as your backup destination takes about 5 minutes:
1. Create a Mega account (or use your existing one)
2. Generate your S4 credentials in the Mega dashboard
3. Add Mega as a storage destination in SimpleBackups
4. Point your backup jobs to your new Mega storage
That's it. Your next scheduled backup will automatically upload to Mega with full encryption.
We've put together a detailed setup guide if you want the step-by-step walkthrough: [Mega S4 Setup Guide for SimpleBackups](https://help.mega.io/megas4/setup-guides/simplebackups-setup-guide-for-mega-s4)
## What can you back up to Mega?
Everything SimpleBackups supports:
- **Databases**: MySQL, PostgreSQL, MongoDB, Redis, and more
- **Files and folders**: From any server you connect
- **Full server snapshots**: Complete system backups
- **Application data**: WordPress, Laravel, and other apps
- **Storage (S3-compatible)**: Replicate your existing cloud storage to Mega, or sync Mega to another provider. Works with AWS S3, DigitalOcean Spaces, Backblaze B2, and more.
Your existing backup schedules, retention policies, and notifications all work exactly the same—just with Mega as the destination.
## Combining storage providers
Here's something we love about this setup: you don't have to choose just one storage provider.
Many of our users run a multi-destination strategy. Primary backups go to their main provider (AWS, DigitalOcean Spaces, Backblaze), while secondary copies automatically sync to Mega.
Different eggs, different baskets. If one provider has an issue, your backups are still safe somewhere else.
## Getting started
Already using SimpleBackups? Head to your dashboard, add Mega as a new storage destination, and you're good to go.
New to SimpleBackups? [Start your free trial](https://my.simplebackups.com/register) and see how easy automated backups can be. No credit card required.
Questions about the Mega integration? Reach out—we're always happy to help.
---
_Related reading:_
- [OneDrive Backup with SimpleBackups](https://simplebackups.com/blog/onedrive-backup-with-simplebackups)
- [All supported storage providers](https://simplebackups.com/storage-backup)
- [Mega S4 Documentation](https://mega.io/s4)
---
# Introducing OneDrive Support for your Backups
Source: https://simplebackups.com/blog/onedrive-backup-with-simplebackups
Published: 2026-01-08
Author: Laurent
Summary: SimpleBackups now supports Microsoft OneDrive as a storage destination. Store your database, server, and file backups directly to OneDrive, or backup your OneDrive data to any provider.
At SimpleBackups, our mission has always been to make disaster recovery simple and delightful for developers and teams.
We know that many of you rely on the Microsoft ecosystem for your daily productivity, which is why we are excited to announce that **Microsoft OneDrive is now a fully supported storage destination.**
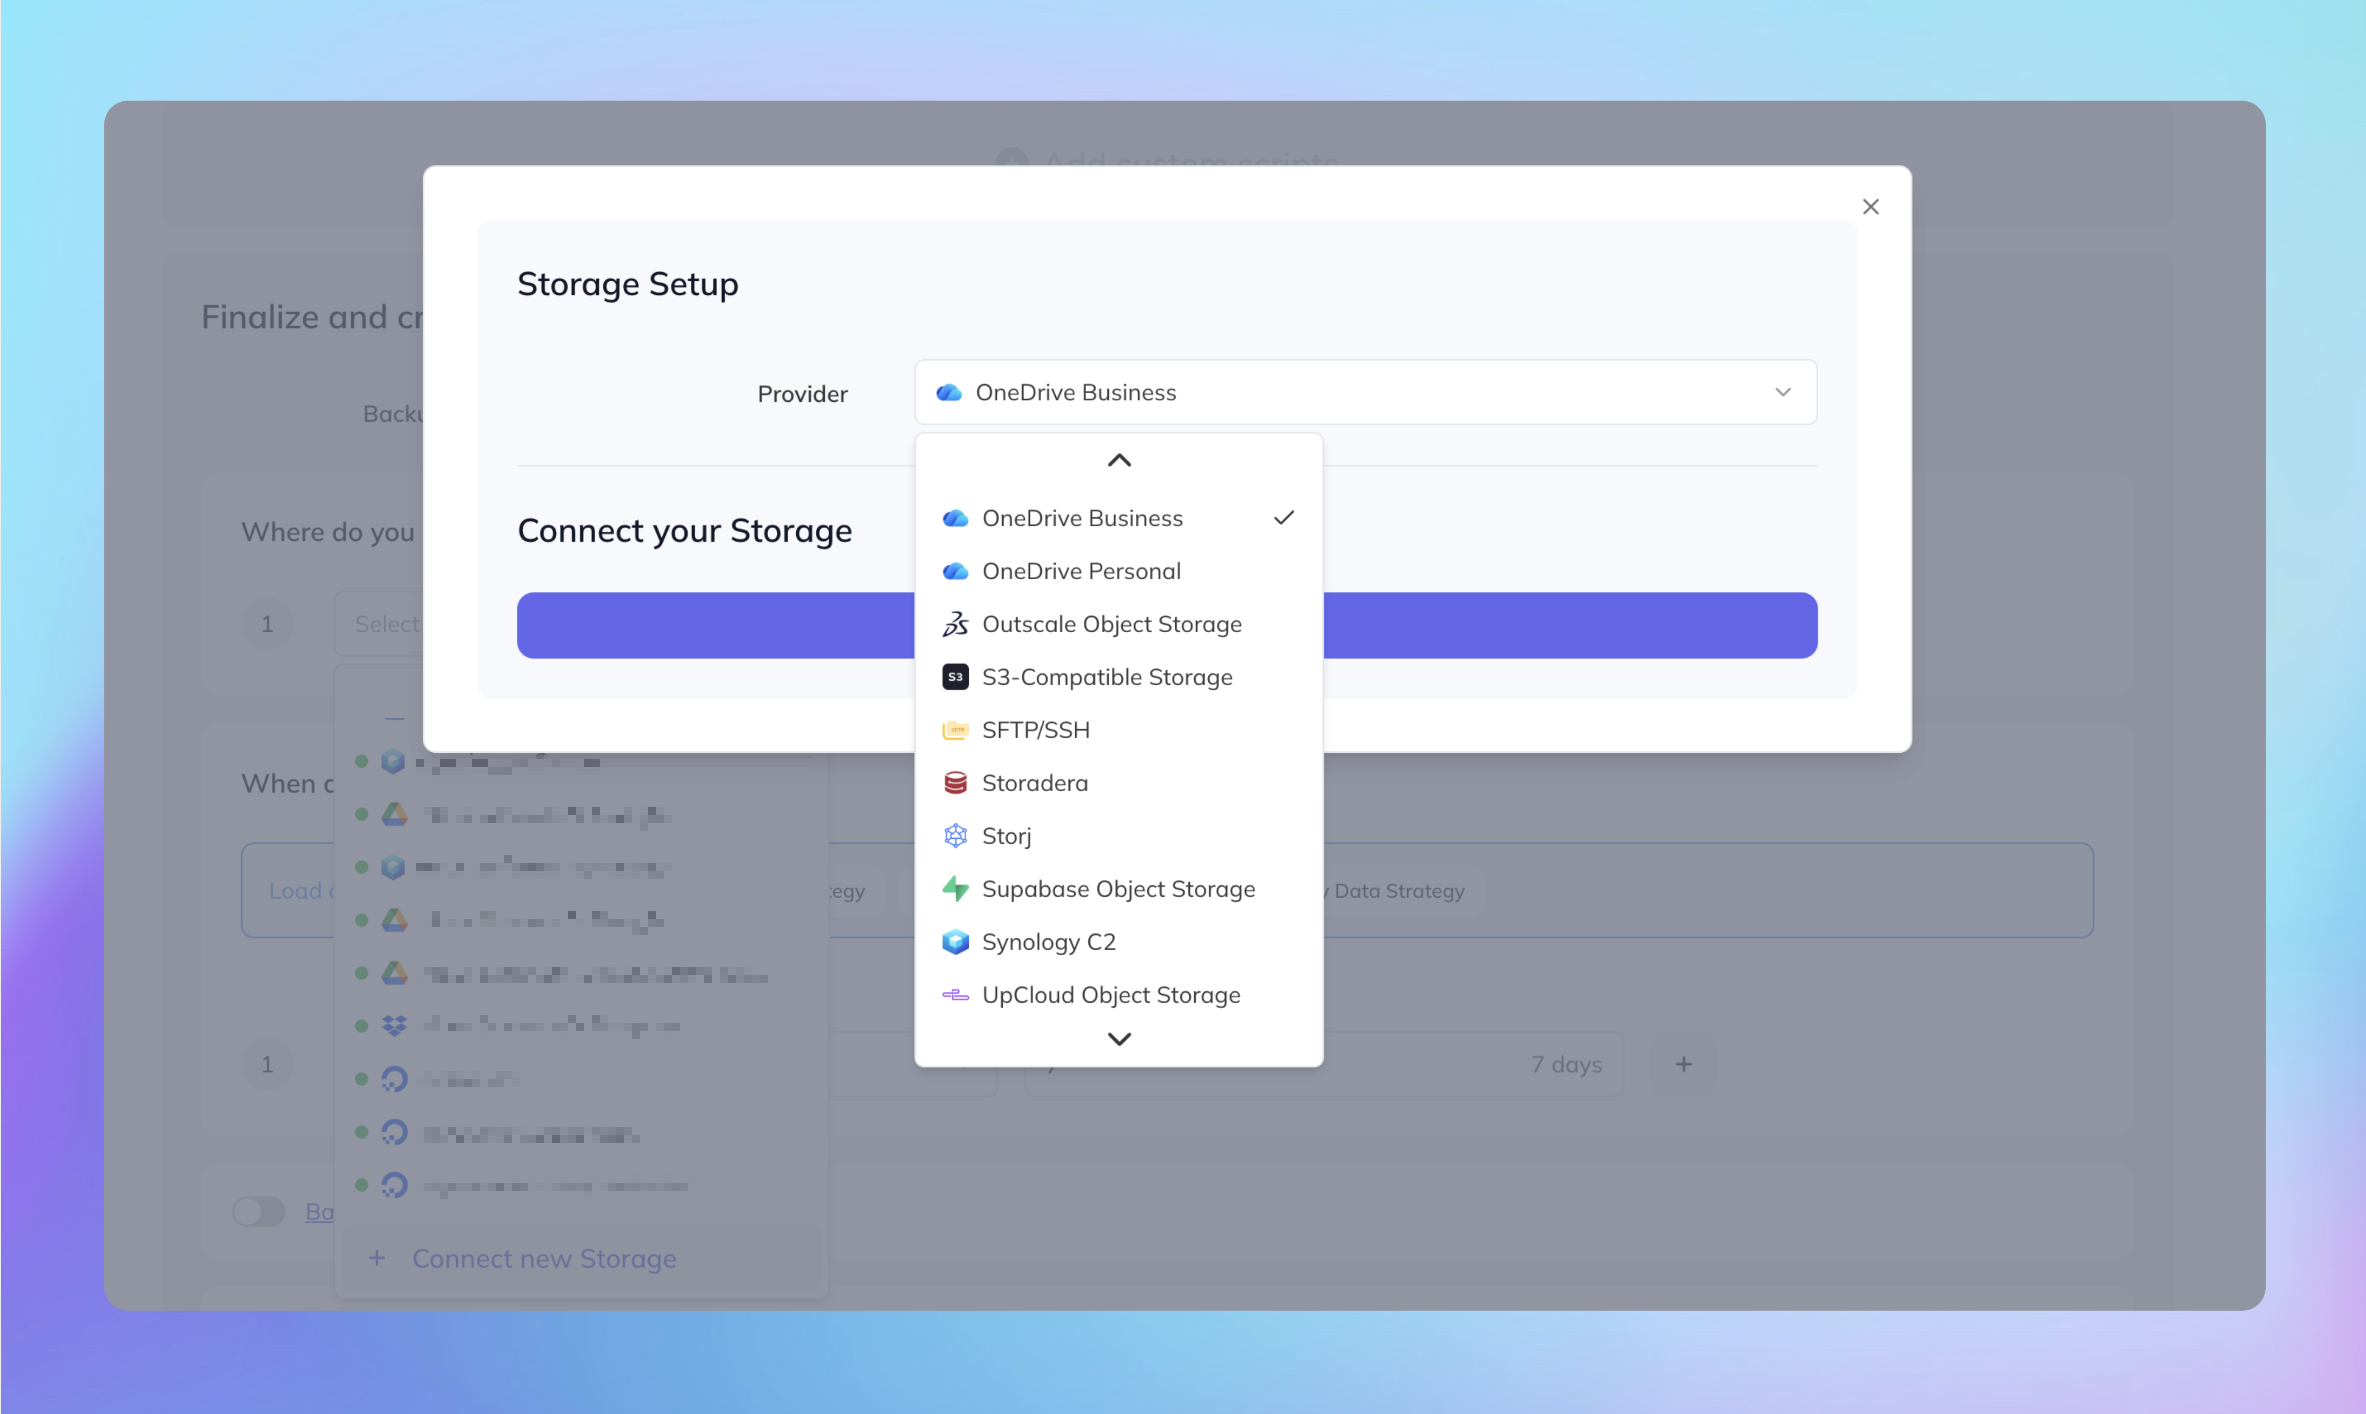
## A Quick Word About OneDrive
If you're in the Microsoft ecosystem, OneDrive probably needs no introduction. It's Microsoft's cloud storage solution, deeply integrated into Microsoft 365, Windows, and used by millions of businesses and individuals worldwide.
What makes OneDrive particularly interesting for backups is its widespread adoption in enterprise environments. Many of our users already have OneDrive storage bundled with their Microsoft 365 subscriptions—storage that's often underutilized. Now you can put that storage to work.
## What This Means for You
**Practically speaking, you can now:**
✅ **Store your backups directly on OneDrive** Whether you're backing up databases, files, or entire servers, you can now use your existing OneDrive storage as a backup destination. Great for teams already invested in the Microsoft ecosystem.
✅ **Use OneDrive as part of your backup strategy** OneDrive integrates seamlessly with our storage options. Set it as your primary destination or use it alongside other providers for redundancy.
✅ **Backup your OneDrive data to any provider** Already storing important files on OneDrive? You can now set up automated backups of your OneDrive storage to AWS S3, Google Cloud Storage, Backblaze, or any other provider in our catalog. Because even cloud storage deserves a backup.
✅ **Migrate or replicate storage to/from OneDrive** Moving between storage providers? Our migration tools make it straightforward to transfer data to or from OneDrive.
### Setting it up in seconds
How to start using OneDrive in SimpleBackups? Couldn't be easier:
1. **Connect:** Navigate to the "Storage" section in your SimpleBackups dashboard.
2. **Authorize:** Select Microsoft OneDrive and follow the secure OAuth flow to link your account.
3. **Deploy:** Assign OneDrive as the destination for any of your existing or new backup jobs.
## Perfect for Microsoft 365 Teams
This integration is especially useful if you're already paying for Microsoft 365. Most business plans include OneDrive storage that often goes unused. Instead of paying for additional storage elsewhere, you can leverage what you already have.
[Our catalog of integrations](/catalog) keeps growing, and we're committed to supporting the providers you actually use—not just the trendy ones.
Thanks to everyone who requested this feature! As always, feel free to reach out to our team with any questions or feedback.
---
# How to restore a DigitalOcean Managed Database
Source: https://simplebackups.com/blog/restore-digitalocean-managed-database
Published: 2026-01-08
Author: Laurent
Summary: Restoring from a managed backup, forking a cluster, or rehydrating from an off-site pg_dump/mysqldump. Step-by-step with connection caveats.
You opened the DigitalOcean dashboard looking for the "restore" button. If your database is PostgreSQL, MySQL, or MongoDB, you have at least three different restore paths in front of you, and they behave very differently: native managed restore, cluster fork, and reimport from an off-site dump. Picking the wrong one adds hours of downtime and a connection string migration you did not plan for.
This article walks through all three paths, tells you which one fits which situation, and covers the part every tutorial skips: what happens to your connection string after the restore completes.
## Restoring from the native managed backup
DigitalOcean Managed Databases include daily automated backups retained for seven days. This is included in the base plan price. You do not configure it; it runs automatically. The seven-day window is the constraint you work around.
If your database is still within that window and your DigitalOcean account is accessible, the native restore is the fastest path. It does not require any local tooling. The entire operation runs from the dashboard or API. If the seven-day window has already closed, the [guide to what happens when your managed database backup expires](/blog/digitalocean-managed-db-retention-expired) covers your remaining options.
**From the dashboard:**
1. Navigate to **Databases** in the left sidebar.
2. Select the cluster you want to restore.
3. Click the **Backups** tab.
4. Choose the backup timestamp closest to your target state.
5. Click **Restore from backup**. DigitalOcean provisions a new cluster from that snapshot. Your original cluster is not modified.
The restored cluster comes up as a separate cluster in your account. Your original cluster stays online throughout the operation. Once the restore completes and you have verified the data, you point your application at the new cluster's connection string and optionally destroy the old one.
Native restore always creates a new cluster, it does not overwrite your existing one. Factor this into your capacity planning: for the duration of the restore and verification period, you are paying for two clusters simultaneously.
One practical point on timing: DigitalOcean does not publish an SLA for restore duration. In our experience with customers restoring clusters, smaller databases (under 10 GB) typically provision in under fifteen minutes. Larger clusters take longer. The dashboard shows restore progress, but it does not surface an ETA. Plan your maintenance window conservatively.
**Point-in-Time Recovery (PITR)**: higher-tier PostgreSQL and MySQL clusters support PITR, which allows recovery to any second within the seven-day window rather than to the nearest daily snapshot. If your cluster has PITR enabled, the restore dialog surfaces a timestamp input rather than a list of daily backups. The process is otherwise identical.
For a detailed breakdown of how DigitalOcean manages these backups under the hood, see [how DigitalOcean native backup works](/blog/how-digitalocean-native-backup-works).
## Forking a database cluster
Forking is a distinct operation from restoring. A fork creates a new cluster from a backup point but keeps the source cluster running and does not destroy the backup. You end up with two live clusters: the original and the fork. The fork is independent after creation; changes to the source do not propagate to the fork, and changes to the fork do not affect the source.
The main use cases for forking:
- You want to test a migration or schema change against real production data without touching production.
- You need a staging environment that exactly mirrors a recent production state.
- You are investigating a data integrity issue and need a non-destructive way to query a historical state.
**From the dashboard:**
1. Navigate to **Databases**, select the cluster, click the **Backups** tab.
2. Click **Fork cluster** on any available backup.
3. Give the fork a name, confirm the region and plan size, and click **Fork cluster**.
The fork provisions as a full independent cluster. It has its own connection string, its own billing line, and its own backup schedule once provisioned.
After forking, update application configs before routing traffic to the fork. The fork's connection string is different from the source cluster's. Sending production traffic to the wrong cluster is a common post-fork mistake. Confirm the host, port, and database name in your connection string before flipping any application config.
Forking is not free. The fork runs as a full cluster at the same plan size as the source. If you fork to investigate an issue, remember to destroy the fork when the investigation is complete. Left running indefinitely, a fork doubles your database hosting cost.
For the full picture of what native backup covers and where it stops, [what DigitalOcean native backup doesn't cover](/blog/what-digitalocean-native-backup-doesnt-cover) is worth reading before you rely on the fork path for a disaster recovery plan.
## Restoring from a pg_dump file
If your native backup window has expired (older than seven days), or if you made off-site exports as part of a more complete backup strategy, you restore from a dump file rather than from the native backup.
For PostgreSQL, the standard export format is a `pg_dump` custom-format archive (`.dump`). Restoring this archive to a DigitalOcean Managed Database uses `pg_restore` with the managed cluster's connection details.
Prerequisites:
- The `.dump` archive available locally or on a machine that can reach the managed cluster.
- The `pg_restore` client installed (version should match or be within one major version of the server PostgreSQL version).
- The connection string for the managed cluster: host, port, username, database name, and SSL certificate.
```bash
pg_restore
--host=db-postgresql-nyc3-12345-do-user-1234567-0.b.db.ondigitalocean.com
--port=25060
--username=doadmin
--dbname=defaultdb
--no-privileges
--no-owner
--format=custom
--verbose
dump-2026-04-15.dump
```
Flag notes:
- `--no-privileges` and `--no-owner`: DigitalOcean Managed Database users do not have superuser rights. Attempting to restore privilege grants or ownership assignments to system roles fails. These two flags skip those statements.
- `--format=custom`: required when the source dump was created with `pg_dump --format=custom`. Omit this flag if you are restoring from a plain SQL dump instead.
- `--verbose`: streams progress to stdout. Useful for monitoring large restores.
The `pg_restore` connection requires SSL. DigitalOcean Managed Database connections enforce SSL by default. If your client throws an SSL handshake error, download the CA certificate from the cluster's **Connection Details** page in the dashboard and pass it with `--sslrootcert=/path/to/ca-certificate.crt`.
Before restoring, make sure the target database exists and is empty (or create a new one). Restoring into a database with existing tables can cause constraint conflicts unless you pass `--clean` to drop objects before recreating them.
For a complete guide on creating the off-site dumps that feed this restore path, [backing up PostgreSQL to DigitalOcean Spaces](/blog/how-to-backup-postgres-to-digitalocean-spaces) covers the full export and storage workflow.
## Restoring from a mysqldump file
MySQL Managed Database exports use `mysqldump`, and the restore path uses the `mysql` client to reimport the SQL file directly.
Prerequisites:
- The `.sql` dump file (optionally gzip-compressed as `.sql.gz`).
- The `mysql` client installed, version-compatible with the server MySQL version.
- The cluster connection details: host, port, username, password, database name.
```bash
mysql
--host=db-mysql-nyc3-99999-do-user-1234567-0.b.db.ondigitalocean.com
--port=25060
--user=doadmin
--password
--ssl-mode=REQUIRED
defaultdb < dump-2026-04-15.sql
```
If your dump is gzip-compressed, decompress on the fly with:
```bash
gunzip -c dump-2026-04-15.sql.gz | mysql
--host=db-mysql-nyc3-99999-do-user-1234567-0.b.db.ondigitalocean.com
--port=25060
--user=doadmin
--password
--ssl-mode=REQUIRED
defaultdb
```
The `--password` flag without a value prompts for the password interactively. For scripted restores, pass the password via environment variable or `.my.cnf` rather than on the command line (the command line exposes it to the process list).
Large MySQL dump restores can take several hours for databases in the hundreds of gigabytes. A dropped connection mid-restore leaves the database in a partial state. For large restores, run the command inside a `screen` or `tmux` session so a dropped SSH connection does not kill the process.
For a detailed walkthrough of creating and managing MySQL exports on DigitalOcean, [back up your Managed DigitalOcean MySQL database](/blog/back-up-your-managed-digitalocean-mysql-database) covers the full export workflow.
## Restoring from a mongodump archive
MongoDB Managed Database exports use `mongodump`, and the restore path uses `mongorestore`.
Prerequisites:
- The archive file produced by `mongodump --archive` (single-file format), or the directory output of a standard `mongodump`.
- `mongorestore` installed, from the MongoDB Database Tools package, version-compatible with the server MongoDB version.
- The cluster connection string from the DigitalOcean dashboard. MongoDB Managed Databases use a `mongodb+srv://` connection string.
```bash
mongorestore
--uri="mongodb+srv://doadmin:YOUR_PASSWORD@db-mongodb-nyc3-12345.mongo.ondigitalocean.com/admin?tls=true&authSource=admin"
--archive=dump-2026-04-15.archive
--gzip
--drop
--verbose
```
Flag notes:
- `--archive`: specifies the single-file archive path. Omit this and replace with `--dir=/path/to/dump/directory` if your dump was created without `--archive`.
- `--gzip`: required if the archive was created with `mongodump --gzip`. Omit if the archive is uncompressed.
- `--drop`: drops existing collections before restoring. Use this when restoring to a database that already has data you want to replace. Skip it if you want an additive merge, though merging with an existing dataset is rarely what you want in a recovery scenario.
- `--verbose`: logs each collection as it restores.
DigitalOcean MongoDB Managed Databases enforce TLS. The `tls=true` parameter in the `--uri` handles this. Do not pass `--sslAllowInvalidCertificates` in production; get the CA certificate from the cluster's connection details instead.
## Connection string changes after restore
Every restore path produces a different outcome for your connection string. This is the most common source of confusion after a successful restore.
Here is what changes in each scenario:
| Restore path | Connection string changes? | What changes |
|---|---|---|
| Native restore to new cluster | Yes | Host, port, and cluster ID in the hostname |
| Fork | Yes | Host, port, and cluster ID in the hostname |
| pg_dump / mysqldump / mongodump reimport to existing cluster | No | Nothing, same cluster endpoint |
| pg_dump / mysqldump reimport to new cluster | Yes | Host, port, and cluster ID in the hostname |
When the host changes, every service that holds a reference to the old connection string needs to be updated before routing traffic to the new cluster. This includes:
- Application environment variables (`.env`, Kubernetes secrets, Vercel/Railway environment configs)
- Connection pool configurations (PgBouncer, ProxySQL)
- Read replica references if your application uses split read/write connections
- Monitoring agents and database observability tools
- Any CI/CD scripts or migration runners that connect to the database
The DigitalOcean dashboard shows the new cluster's connection string under **Connection Details** as soon as the cluster is provisioned and accepting connections. Copy it early in the verification step, before you start updating application configs.
When switching connection strings, update one service at a time and watch your error rate before proceeding to the next. A bulk config swap across all services simultaneously makes it much harder to identify which service is misbehaving if something goes wrong.
One subtlety specific to forked clusters: the fork's username and password default to the values set at provisioning time, not the source cluster's credentials. If your source cluster had additional database users beyond `doadmin`, those users are not automatically replicated to the fork. You need to recreate them manually on the fork before routing traffic.
## Testing the restored database
A restore that you have not verified is not a restore. It is an assumption. These steps take under ten minutes and confirm the restore is actually usable before you decommission the old cluster or close the incident.
**Step 1: Row count spot-check.**
Connect to the restored cluster and compare row counts on your highest-traffic tables against the source.
```sql
-- Run on both the source and the restored cluster
SELECT
schemaname,
tablename,
n_live_tup AS estimated_rows
FROM pg_stat_user_tables
ORDER BY n_live_tup DESC
LIMIT 20;
```
Exact row counts will differ if you restored to a point in time. The check is to confirm that tables exist, are populated, and are within a plausible range of the expected count. A table with zero rows when you expect millions is the failure you are checking for.
**Step 2: Recent data check.**
Query for the most recent row in a few key tables and confirm the timestamp aligns with your expected restore point.
```sql
-- Adjust the table and column names to match your schema
SELECT MAX(created_at) FROM orders;
SELECT MAX(created_at) FROM users;
```
If the most recent row is older than expected, you may have restored to the wrong backup point, or the daily backup captured the database at a time before new writes hit.
**Step 3: Application-level smoke test.**
Run your application's health check or smoke test suite against the restored cluster before switching production traffic. A passing smoke test confirms that the schema matches what your application expects and that basic read/write paths are functional. This step catches version mismatches and missing tables that raw SQL checks miss.
**Step 4: Confirm SSL connectivity.**
If your application enforces SSL (and it should), confirm that the SSL handshake succeeds against the new cluster's endpoint before decommissioning the old one. A certificate mismatch after a cluster switch is a silent failure that often surfaces as intermittent connection drops rather than a clean error.
The full guide on backup strategy for Managed Databases, including how to set up the off-site exports that make this restore path possible, is covered in [backup DigitalOcean Managed Databases](/blog/backup-digitalocean-managed-databases).
## Restore method comparison
Each restore path has a different cost structure in terms of speed, potential data loss, and operational complexity. Use this table to match the path to your situation.
| Restore method | Speed | Max data loss window | Requires off-site export | Complexity |
|---|---|---|---|---|
| Native restore (daily snapshot) | Fast (UI-driven) | Up to 24 hours (or less with PITR) | No | Low |
| Fork from backup | Fast (UI-driven) | Up to 24 hours (or less with PITR) | No | Low |
| pg_dump / mysqldump reimport | Slower (proportional to DB size) | Depends on export frequency | Yes | Medium |
| mongorestore from archive | Slower (proportional to DB size) | Depends on export frequency | Yes | Medium |
The native restore and fork paths are faster and simpler, but they have a hard dependency on the seven-day retention window and on your DigitalOcean account being accessible.
Native restore only works if the managed backup still exists (seven-day window) and your DigitalOcean account is accessible. An off-site pg_dump gives you a restore path that does not depend on DigitalOcean at all. If your DigitalOcean account is suspended, compromised, or inaccessible during an incident, the off-site dump is the only path back to your data. The [off-site compliance article](/digitalocean-backup#off-site-compliance) covers what this means in practice for teams with regulatory requirements. For guidance on setting up the off-site exports that make this path possible, see [digitalocean off-site compliance](/blog/digitalocean-off-site-compliance).
## What to do now
If you are reading this before an incident: take an off-site dump today and practice the pg_restore or mysql import against a staging cluster. The first time you run a restore should never be during an actual outage. It takes less than an hour to walk through the full path on a staging database and confirm it works.
If you are reading this during an incident: start with the native restore path if your backup is within the seven-day window. It is the fastest path to a running database. Run the verification steps in §7 before routing production traffic.
If you've read this far, you probably already know whether native retention is enough for your project. If it isn't, [SimpleBackups](/platform/digitalocean) gives you cross-region off-site backup, automated verification, and a restore you can actually test.
## Keep Learning
- [Back up your Managed DigitalOcean MySQL database](/blog/back-up-your-managed-digitalocean-mysql-database): full export and scheduling walkthrough for MySQL Managed Databases.
- [Back up PostgreSQL to DigitalOcean Spaces](/blog/how-to-backup-postgres-to-digitalocean-spaces): creating the off-site pg_dump archives that feed the restore path described in this article.
- [How DigitalOcean native backup works](/blog/how-digitalocean-native-backup-works): how DigitalOcean schedules and retains managed backups under the hood.
- [What DigitalOcean native backup doesn't cover](/blog/what-digitalocean-native-backup-doesnt-cover): the companion piece on gaps, same-host risk, and compliance implications.
- [The complete guide to DigitalOcean backup](/digitalocean-backup#restore-managed-database): the hub page for the full cluster.
## FAQ
---
_This article is part of [The complete guide to DigitalOcean backup](/digitalocean-backup#restore-managed-database), an honest, practical reference from the team that backs up DigitalOcean every day._
---
# How to back up DigitalOcean block storage volumes
Source: https://simplebackups.com/blog/backup-digitalocean-volumes
Published: 2026-01-07
Author: Laurent
Summary: Volumes aren't in Droplet backups. Here's how to snapshot them on a schedule, copy them off-platform, and verify the snapshot restores cleanly.
You enabled Droplet backups. You saw the weekly backup show up in the console. You felt covered. But the 200 GB block storage volume attached to that Droplet, the one where your application writes user uploads, log archives, and database files, was not in any of those backups.
DigitalOcean does not include attached volumes in Droplet backups. It never has. The documentation says so clearly, but it is easy to miss until the moment you go looking for a restore point and find nothing there.
This article covers how to back up DigitalOcean block storage volumes correctly: manual snapshots through the console, automated snapshots via `doctl` and cron, how to copy volume data off-platform, and how to verify that a snapshot will actually restore. By the end, you will have a working backup strategy for your volumes, not just a plan.
## Why volumes aren't in Droplet backups
Droplet backups capture the system disk: the boot volume attached directly to the Droplet image. Block storage volumes are a separate product. They attach to Droplets over the network, but they are managed independently in DigitalOcean's infrastructure.
When DigitalOcean's backup agent runs on your Droplet, it snapshots the boot disk. It does not traverse attached network volumes. The two products have separate snapshot APIs, separate billing, and separate restore paths. This is by design, not an oversight.
The practical consequence: if your application moves data off the system disk and onto a block storage volume (a reasonable architecture for any stateful workload), you are responsible for backing up that volume yourself. The Droplet backup gives you a consistent copy of your operating system and application code. It gives you nothing for the data volume.
The [how DigitalOcean native backup works](/blog/how-digitalocean-native-backup-works) article maps all eight DigitalOcean products and what each one covers natively. Block storage volumes are one of the products with no automatic backup at all.
The good news is that volume snapshots are a first-class DigitalOcean feature. They are not a workaround. The bad news is that nothing creates them automatically for you. You have to set that up.
## Manual volume snapshots via the console
The fastest way to create a volume snapshot is through the DigitalOcean control panel.
Navigate to **Volumes** in the left sidebar, click on the volume you want to snapshot, and select **Take Snapshot** from the Actions menu. Give the snapshot a descriptive name. Including the date is worth it: something like `app-data-vol-2026-04-23` is easier to work with than `snapshot1`. Click **Create**.
DigitalOcean creates the snapshot while the volume remains attached and in use. The snapshot is crash-consistent, meaning it captures the state of disk blocks at a point in time, as if power had been cut at that moment. For databases and write-heavy applications, crash-consistent is not the same as application-consistent. Your application may be mid-write when the snapshot fires.
For workloads that require filesystem consistency, detach the volume or freeze I/O before snapshotting. Otherwise you risk capturing a partial write. For PostgreSQL and MySQL, this means flushing and locking tables or pausing writes, or mounting the volume read-only, before triggering the snapshot.
The official [DigitalOcean volume snapshot documentation](https://docs.digitalocean.com/products/volumes/how-to/create-snapshot/) walks through the control panel flow in detail.
Snapshots are billed at $0.06 per GB per month. A 100 GB volume snapshot costs $6/month to keep. Here is what that looks like at common volume sizes:
| Volume size | Snapshot size (approx.) | Monthly cost |
|-------------|------------------------|--------------|
| 50 GB | ~50 GB | ~$3.00/mo |
| 100 GB | ~100 GB | ~$6.00/mo |
| 500 GB | ~500 GB | ~$30.00/mo |
Snapshot size tracks volume size closely because DigitalOcean stores a full point-in-time copy, not an incremental. If you keep seven daily snapshots of a 100 GB volume, you are paying roughly $42/month in snapshot storage alone. That cost adds up quickly, which is one reason the automation script in the next section includes a cleanup step.
Manual snapshots work for infrequent milestones: before a deployment, before a migration, before a schema change. For routine data protection, you need automation.
## Automating snapshots with doctl and cron
`doctl` is DigitalOcean's official command-line tool. It wraps the DO API and is the right tool for scripted snapshot management.
Install `doctl` and authenticate it with your API token:
```bash
# Install doctl (macOS with Homebrew; adjust for your OS)
brew install doctl
# Authenticate
doctl auth init
```
The [doctl CLI reference](https://docs.digitalocean.com/reference/doctl/) covers the full installation options for Linux and Windows.
To take a snapshot of a volume, you need its ID. List your volumes to find it:
```bash
doctl compute volume list --format ID,Name,Size
```
Then create a snapshot:
```bash
doctl compute volume snapshot
--snapshot-name "app-data-$(date +%Y-%m-%d)"
```
The `--snapshot-name` flag accepts a string. Using `$(date +%Y-%m-%d)` in the name embeds the current date automatically, so each snapshot is uniquely named without manual intervention.
For daily automated backups, wrap this in a cron job that also prunes old snapshots. Here is a script you can drop on a server or cron host:
```bash
#!/usr/bin/env bash
# volume-snapshot.sh
# Creates a daily snapshot of a DigitalOcean volume and removes snapshots older than 7 days.
# Requires doctl authenticated via DIGITALOCEAN_ACCESS_TOKEN or `doctl auth init`.
set -euo pipefail
VOLUME_ID="your-volume-id-here"
SNAPSHOT_PREFIX="app-data"
RETAIN_DAYS=7
# Create today's snapshot
SNAPSHOT_NAME="${SNAPSHOT_PREFIX}-$(date +%Y-%m-%d)"
echo "Creating snapshot: ${SNAPSHOT_NAME}"
doctl compute volume snapshot
--snapshot-name "${SNAPSHOT_NAME}"
"${VOLUME_ID}"
# List and delete snapshots older than RETAIN_DAYS
echo "Pruning snapshots older than ${RETAIN_DAYS} days..."
CUTOFF=$(date -d "-${RETAIN_DAYS} days" +%Y-%m-%d 2>/dev/null
|| date -v "-${RETAIN_DAYS}d" +%Y-%m-%d)
doctl compute snapshot list
--resource-type volume
--format ID,Name,Created
--no-header
| while IFS=$'\t' read -r snap_id snap_name snap_date; do
# Extract YYYY-MM-DD from the snapshot name (relies on the naming convention above)
snap_day=$(echo "${snap_name}" | grep -oE '[0-9]{4}-[0-9]{2}-[0-9]{2}' || true)
if [[ -n "${snap_day}" && "${snap_day}" < "${CUTOFF}" ]]; then
echo "Deleting old snapshot: ${snap_name} (${snap_id})"
doctl compute snapshot delete "${snap_id}" --force
fi
done
echo "Done."
```
Save this as `/opt/scripts/volume-snapshot.sh`, make it executable with `chmod +x`, then schedule it via cron:
```bash
# Edit cron for the root user (or whichever user has doctl auth configured)
crontab -e
# Run daily at 03:00 UTC
0 3 * * * /opt/scripts/volume-snapshot.sh >> /var/log/volume-snapshot.log 2>&1
```
Running at 03:00 UTC puts the snapshot during low-traffic hours for most European and American time zones. Pipe output to a log file so you can verify the script ran and catch any errors without waiting for a failure to surface.
If you already have automation in place for Droplet snapshots, the existing [how to automate DigitalOcean server and volume snapshots](/blog/how-to-automate-digitalocean-server-and-volume-snapshots) guide covers the API-based approach in more detail.
The approach above gives you seven daily snapshot checkpoints and keeps your storage costs predictable. For 100 GB volumes, seven snapshots cost roughly $42/month. For volumes over 500 GB, the cost becomes a real line item. Weigh that against what the data is worth.
## Copying volume data off-platform
Volume snapshots are a good start. They are not enough on their own.
Volume snapshots stay in your DigitalOcean account. If the account is compromised, suspended, or if a billing dispute locks you out, the snapshots go with everything else. Account-level events do not discriminate between your production data and your backups. For the full picture of what this risk means in practice, see the [off-site compliance guide](/blog/digitalocean-off-site-compliance).
For data that matters beyond a single account event, you need a copy outside DigitalOcean. The two practical paths are:
**Rsync to remote storage.** Mount the volume, then `rsync` its contents to an S3-compatible destination outside DO (AWS S3, Backblaze B2, Cloudflare R2, or another provider). This gives you a file-level copy you can restore from without depending on DigitalOcean's snapshot infrastructure.
```bash
# Example: sync volume mount point to an S3-compatible bucket
# Requires rclone configured with your remote storage credentials
rclone sync /mnt/app-data remote:your-bucket/app-data-backup
--checksum
--transfers=4
--log-file=/var/log/rclone-sync.log
```
**Application-level export.** For databases running on a volume, a logical dump (`pg_dump`, `mysqldump`, `mongodump`) is more portable than a block-level copy. A logical dump restores cleanly across versions and across providers. Schedule it separately from the volume snapshot, send it off-platform, and keep the volume snapshot as the fast in-account recovery option.
Both approaches work alongside snapshots. Snapshots are fast to restore within DO. Off-platform copies survive account-level events that snapshots do not.
The [what DigitalOcean native backup doesn't cover](/blog/what-digitalocean-native-backup-doesnt-cover) article covers the full matrix of gaps, including the off-platform gap, across all DigitalOcean products.
## Verifying a volume snapshot
A snapshot you have never tested is not a backup. It is a file you hope will work when you need it.
Verification does not have to be elaborate. The minimum viable test is: restore the snapshot to a new volume, mount it on a test Droplet, and confirm the data is readable.
Here is the sequence using `doctl`:
```bash
# Step 1: Find the snapshot ID you want to verify
doctl compute snapshot list --resource-type volume --format ID,Name,Created
# Step 2: Create a new volume from the snapshot
# Replace and with your values
doctl compute volume create
--region nyc1
--size 100GiB
--snapshot-id
--name "vol-restore-test"
# Step 3: Attach the new volume to a test Droplet
doctl compute volume-action attach
```
Once attached, SSH into the test Droplet and mount the volume:
```bash
# Mount the restored volume (the device name may vary; check `lsblk`)
mount /dev/sda /mnt/restore-test
# Spot-check that expected files and directories are present
ls -lh /mnt/restore-test/
# For application data, run application-level checks
# e.g., check that your SQLite or Postgres data directory is intact
```
Check that the directory structure matches what you expect. Open a few files. If the volume held a database, start the database process against the restored data directory and run a query.
The full restore walkthrough, including how to make the restored volume permanent and how to update application config to point at it, is in [restoring a DigitalOcean volume](/blog/restore-digitalocean-volume).
Run this test at least once when you set up your snapshot schedule. Then run it again every quarter, or any time you change the application data structure significantly. A snapshot that restored cleanly six months ago may not restore cleanly today if your data format changed.
## What to do tonight
If you have volumes in production with no snapshot schedule, the immediate action is to take a manual snapshot from the console right now and set up the cron job from §3. That covers the basics.
If you have a compliance requirement (SOC 2, GDPR, ISO 27001), a snapshot in the same account is not enough. You need an off-site copy on infrastructure you control. The rsync or logical-export approach from §4 gets you there.
If scripting and scheduling all of this yourself sounds like a second job, SimpleBackups handles DigitalOcean volume backups off-site, with alerts when a run fails. [See how it works →](/platform/digitalocean)
## Keep learning
- [How to automate DigitalOcean server and volume snapshots](/blog/how-to-automate-digitalocean-server-and-volume-snapshots): script-first guide using the DO API directly
- [How DigitalOcean native backup works](/blog/how-digitalocean-native-backup-works): full map of what each product covers and what it misses
- [What DigitalOcean native backup doesn't cover](/blog/what-digitalocean-native-backup-doesnt-cover): the gaps, including why off-site matters
- [Restoring a DigitalOcean volume](/blog/restore-digitalocean-volume): what happens after the snapshot, step by step
- [DigitalOcean backups explained](/blog/digitalocean-backups-explained): high-level overview of all native backup options
## FAQ
---
_This article is part of [The complete guide to DigitalOcean backup](/digitalocean-backup#backup-volumes), an honest, practical reference from the team that backs up DigitalOcean every day._
---
# DigitalOcean backup cost: weekly vs. daily (real math)
Source: https://simplebackups.com/blog/digitalocean-weekly-vs-daily-cost
Published: 2026-01-03
Author: Laurent
Summary: The 20% backup add-on, daily backups on Premium Droplets, snapshot storage fees, and whether paying more to DO beats sending backups off-platform.
The DigitalOcean backup add-on costs 20% of your Droplet price. Every time. Whether you get weekly or daily depends on the Droplet type, not on how much you want to pay. Standard Droplets get weekly. Premium Droplets get daily. Both keep exactly four weeks of backups.
That sentence is doing a lot of work you should sit with before upgrading to Premium purely for the backup cadence. More frequent does not mean more protected. And neither schedule changes where the backup lives.
This article walks through the full cost picture: the add-on fee, snapshot storage, what a realistic stack costs under each model, and the moment when sending your backups off-platform is the cheaper and safer call.
## How DigitalOcean prices backups
DigitalOcean sells backup coverage as a percentage of compute cost, not as a flat storage fee. The logic is simple: the more you spend on compute, the more you pay to protect it.
The backup add-on is 20% of the Droplet's monthly price. A $24/mo Droplet costs $4.80/mo to back up. A $96/mo Droplet costs $19.20/mo. [DigitalOcean's docs page on enabling backups](https://docs.digitalocean.com/products/droplets/how-to/enable-backups/) lays this out clearly.
What the add-on gives you:
- Automated backups of the Droplet's disk image
- A four-week rolling window (four restore points at any time)
- No storage bills for those images (the fee is all-inclusive)
What the add-on does not give you:
- Backups of attached block volumes (those are separate snapshots)
- Downloadable images you can move off-platform
- Restore points beyond the four-week window
- Any backup at all for Managed Databases or Spaces
The pricing is straightforward. The gaps are where teams get surprised.
Every DigitalOcean native backup, including both weekly and daily Droplet backups, lives inside the same DigitalOcean account as the resource it protects. Account compromise, billing dispute, or a region-level event takes the backup with the resource.
## Weekly backups on standard Droplets
Standard Droplets run weekly backups by default when the add-on is enabled. DigitalOcean picks the window; you don't control the exact time.
The practical implication: between backup runs, you can lose up to seven days of work if a Droplet fails catastrophically. For a static marketing site or a dev environment that resets frequently, that's fine. For a production database or a file server with daily user uploads, seven days is an unacceptable exposure window.
The four-week retention means you have four restore points on hand at any time. Week 1 backup overwrites Week 5 automatically. There is no way to extend this.
**When weekly is enough:**
- Dev, staging, or ephemeral environments
- Stateless apps where state lives in a Managed Database (backed up separately by DO)
- Sites that are rebuilt from source anyway
**When weekly is not enough:**
- Any Droplet that stores user-uploaded files
- Configuration servers that change frequently
- Any production system where a week of data loss is not acceptable
The question to ask is not "do I have backups?" but "how much can I afford to lose between the last backup and this failure?"
## Daily backups on Premium Droplets
Premium Droplets are DigitalOcean's higher-tier compute offering. The relevant difference here: when you enable the backup add-on on a Premium Droplet, you get daily backups instead of weekly.
The add-on price is still 20% of the Droplet price. But Premium Droplets cost more than standard Droplets of equivalent RAM and vCPU, so the absolute cost is higher.
Premium Droplet daily backups are still same-account. Paying more changes the frequency, not where the backup lives. If your concern is account-level risk or off-site compliance, daily backups on a Premium Droplet don't address it.
The retention window stays at four weeks regardless of frequency. Daily backups give you 28 restore points over four weeks. Weekly backups give you four. That's a meaningful difference for granular recovery, but the window doesn't expand.
One subtle point: if you need daily backups and you're running a standard Droplet, your only native option is to upgrade to a Premium Droplet. There is no "switch to daily" setting for standard Droplets. The schedule is tied to the Droplet type.
For context on how the backup mechanism itself works under the hood, see [how DigitalOcean native backup works](/blog/how-digitalocean-native-backup-works).
## Snapshot storage: the hidden cost
Snapshots are not backups, and DigitalOcean prices them differently. Where the backup add-on is a percentage-of-compute fee, snapshot storage is billed at $0.06/GB per month based on the compressed snapshot size. You trigger snapshots manually (or via the API), and they persist until you delete them.
For a more detailed treatment of the distinction, [DigitalOcean snapshots vs. backups](/blog/digitalocean-snapshots-vs-backups) covers the full comparison. The short version: native backups are automated and inclusive, snapshots are manual and metered.
**The two places snapshot costs accumulate:**
1. **Droplet snapshots**: you take them before a risky deploy, before a resize, or as a substitute for the backup add-on. Priced at $0.06/GB/mo.
2. **Volume snapshots**: attached block storage volumes are not included in Droplet backups. If your Droplet writes important data to a volume, you need volume snapshots separately, also at $0.06/GB/mo.
A 100 GB Droplet snapshot costs roughly $6/mo if you keep it. A fresh snapshot that grows to 200 GB costs $12/mo. The cost compounds quickly if you maintain a history of manual snapshots without a retention policy.
Here's how to list your current snapshots and estimate their monthly cost using the doctl CLI:
```bash
# List all Droplet snapshots with size information
doctl compute snapshot list
--format ID,Name,MinDiskSize,Created
--no-header
# List all Volume snapshots
doctl compute volume snapshot list
--format ID,Name,Size,Created
--no-header
```
The `MinDiskSize` field reports the minimum Droplet size required to restore, not the actual compressed snapshot size. For cost calculations, use the Size field returned for volume snapshots. For Droplet snapshots, the actual billed size is the compressed image size, which DigitalOcean shows in the control panel's Snapshots tab.
To estimate your monthly snapshot bill:
```bash
# Manual cost calculation: total_snapshot_gb * 0.06
# Example: 3 snapshots averaging 80 GB each
# 3 * 80 * 0.06 = $14.40/mo
echo "Estimated monthly snapshot cost:"
echo "scale=2; 3 * 80 * 0.06" | bc
```
The $0.06/GB/mo rate applies to both Droplet and Volume snapshots. Volume snapshots: same rate, different resource.
## The math: native vs. off-platform for a real stack
A realistic small production stack on DigitalOcean: three standard Droplets at $24/mo each, two attached volumes at 50 GB each, and one Managed Database cluster.
Here's what native backup actually costs for that stack:
| Resource | Cost | Native backup option | Monthly backup cost |
|---|---|---|---|
| 3x standard Droplet ($24/mo) | $72/mo compute | 20% add-on, weekly | $14.40/mo |
| 2x 50 GB volume | ~$10/mo | Volume snapshots at $0.06/GB | $6.00/mo (one snapshot each) |
| 1x Managed Database | Varies by tier | Included (daily, 7-day retention) | $0 |
| **Total** | | | **~$20.40/mo** |
That $20.40 buys you: weekly Droplet backups (four restore points, four-week window), one manual volume snapshot per volume, and the built-in Managed Database backup.
Now compare the options side by side:
| Option | Frequency | Retention | Off-site | Est. monthly cost |
|---|---|---|---|---|
| Standard Droplet add-on | Weekly | 4 weeks | No | $14.40 for 3 Droplets |
| Premium Droplet add-on | Daily | 4 weeks | No | ~$18–24 (Premium pricing) |
| Volume snapshots (1/week) | Weekly (manual) | Until deleted | No | $6.00 for 2x50 GB volumes |
| SimpleBackups (Starter) | Daily or custom | Custom | Yes | ~$15–25/mo |
A few things stand out in that table. First, upgrading to Premium for daily Droplet backups costs more in compute before you even add the backup percentage, so the total rises faster than the 20% formula suggests. Second, neither native option is off-site. The backup lives in the same DigitalOcean account as the resource.
Third: for a small stack, an off-platform backup service is in the same ballpark as the native premium option, and it gives you off-site storage, cross-region copies, and testable restores in return.
The math doesn't always favor off-platform. For a single small Droplet with low RPO requirements, the 20% add-on at $4.80/mo is hard to beat for convenience. The calculus shifts once volumes, databases, and compliance enter the picture.
Daily backups cost more but don't change where the backup lives. The cost question isn't just "how often" but "where does the copy go." Paying for daily frequency without addressing same-host risk is paying for a smaller blast radius, not a different one.
## When paying DigitalOcean more is the right call
The 20% add-on with weekly or daily backups is genuinely useful. Don't let this article talk you out of enabling it. The question is whether it's enough on its own.
Native backup is the right call when:
**You need fast restores within the same account.** DigitalOcean restores from native backups are fast because everything is already in-platform. No egress, no cross-account transfer, no waiting for files to land in S3. If your primary recovery scenario is "bad deploy, need to roll back within the hour," native backup handles it well.
**Your recovery window fits within four weeks.** If you only ever need to restore to a point in the last 28 days, native retention is sufficient.
**Your Droplet is stateless.** If your Droplet doesn't hold authoritative state, the backup is a convenience, not a critical safety net. Enabling the add-on for $4.80/mo is cheap insurance for a stateless node.
**You're already on Premium for performance reasons.** If you upgraded to Premium Droplets for CPU or I/O performance, daily backups come with that upgrade at no additional schedule cost. Use them.
Native backup becomes insufficient when:
- You need off-site or cross-region copies for SOC 2, ISO 27001, or GDPR compliance purposes. Native backups don't satisfy the "off-site copy" requirement that most frameworks mandate.
- You need to back up volumes, Managed Databases to an external store, or Spaces, all of which native backup doesn't cover in one consistent system.
- You need restore testing. DigitalOcean doesn't have a mechanism to automatically test that a native backup restores cleanly. For compliance verification, you need that.
- You need retention beyond four weeks.
The complete picture of gaps in DigitalOcean's native backup is in [what DigitalOcean native backup doesn't cover](/blog/what-digitalocean-native-backup-doesnt-cover), which covers the account-level risk, missing resource types, and compliance gaps in detail.
For a full feature-by-feature comparison against off-platform options, see [DigitalOcean native vs. SimpleBackups](/blog/digitalocean-native-vs-simplebackups).
If you've read this far, you probably already know whether native retention is enough for your project. If it isn't, [SimpleBackups](/platform/digitalocean) gives you cross-region off-site backup, automated verification, and a restore you can actually test.
## Keep learning
- [How DigitalOcean native backup works](/blog/how-digitalocean-native-backup-works): the mechanics behind Droplet backups, snapshot storage, and Managed Database backup.
- [DigitalOcean snapshots vs. backups](/blog/digitalocean-snapshots-vs-backups): when to use each, and how they're billed differently.
- [Back up your DigitalOcean Droplets](/blog/backup-digitalocean-droplets): step-by-step guide including off-site options.
- [DigitalOcean backups explained](/digitalocean-backups-explained/): the full overview of what DigitalOcean offers across all resource types.
- [Backups vs. snapshots](/backups-vs-snapshots-with-differences-and-examples/): the broader distinction, with examples across providers.
## FAQ
---
_This article is part of [The complete guide to DigitalOcean backup](/digitalocean-backup#weekly-vs-daily-cost), an honest, practical reference from the team that backs up DigitalOcean every day._
---
# How DigitalOcean backup actually works (2026)
Source: https://simplebackups.com/blog/how-digitalocean-native-backup-works
Published: 2026-01-02
Author: Laurent
Summary: Droplet backups, managed DB backups, PITR, volume snapshots: what each covers, what each misses, and the retention you actually get.
DigitalOcean sells eight distinct products. Six of them appear in the navigation bar. Only three of them have any native backup at all. The other five ship with no scheduled backup, no restore point, and no recovery option built in.
If you assumed that "DigitalOcean backup" meant your whole account was covered, this article is for you. It maps exactly what each product does natively: what gets backed up, on what schedule, for how long, and what happens when the window closes. No marketing framing. Just the table you need before you decide whether native is enough.
We back up DigitalOcean every day. The pattern we see is consistent: teams discover the gaps in native backup the hard way, usually at the moment they needed the data back. Everything in this article comes from operating the platform, not reading about it.
{/* FIGURE: fig-01 */}
## Droplet backups: what the 20% add-on gets you
Droplet backup is an opt-in paid feature. Enabling it adds 20% to your Droplet's hourly price. A $24/month Droplet costs an extra $4.80/month with backups on. It is not included by default.
When you enable it, DigitalOcean takes a disk image of the entire Droplet on a weekly schedule. You get four backup copies at any given time: the four most recent weekly images. After four weeks, each new backup replaces the oldest one. There is no way to keep more than four copies under the native feature.
The [official documentation for Droplet backups](https://docs.digitalocean.com/products/droplets/how-to/enable-backups/) confirms that backups are stored in your DigitalOcean account, in the same region as the Droplet. You cannot download a Droplet backup. You cannot transfer it to a different cloud provider. You can use it to restore the Droplet in-place or spin up a new one from it, but those are the only two operations. The [Droplet restore guide](/blog/restore-digitalocean-droplet) covers both paths step by step, including what happens to your IP address and DNS after the restore completes.
What the backup captures: the Droplet's system disk at the time the backup runs. The backup is a full disk image, not an incremental. It does not capture attached block storage volumes. More on that in a moment.
What the backup does not capture: anything that changes between weekly runs. If you write three days of logs, database rows, and user uploads between Sunday night and the next Sunday night, a Droplet restore takes you back to Sunday. The intervening data does not exist in the backup. For stateful applications, a weekly backup window often does more to create a false sense of safety than to provide real coverage. The [DigitalOcean backups explained](/blog/digitalocean-backups-explained) guide covers this gap in plain terms.
Volumes are not included in Droplet backups. If your application stores data on an attached block storage volume rather than the Droplet's system disk, that volume has no native backup unless you snapshot it separately. This is probably the most common misunderstanding in the DigitalOcean backup space.
One important same-host note: every Droplet backup lives inside your DigitalOcean account. If the account is compromised, the backup goes with it. This is the defining limitation of all native DigitalOcean backup, not just Droplets. The [off-site compliance article](/blog/digitalocean-off-site-compliance) covers the full implications.
## Premium Droplets and daily backups
Standard Droplets get weekly backups. Premium Droplets (the CPU-optimized, memory-optimized, and storage-optimized Droplets built on newer hardware) get daily backups at the same 20% add-on price.
The retention window stays the same: four copies. On a Premium Droplet with daily backups enabled, that means four daily backup images rather than four weekly ones. Your recovery point window shrinks from "up to a week ago" to "up to four days ago." That is a meaningful improvement for applications where a week of data loss would be unacceptable.
The 20% pricing and the four-copy retention cap apply equally. Premium Droplet backups are not more expensive per dollar of Droplet spend. You just get a tighter schedule for the same 20% premium.
If you are running a stateful application and a weekly backup window keeps you up at night, upgrading to a Premium Droplet tier to get daily backups is worth comparing against the manual snapshot approach below. The trade-off is cost (slightly higher Droplet tier) versus operational simplicity (automatic daily vs. manual on-demand). For a detailed cost breakdown of weekly versus daily backup pricing, see [DigitalOcean weekly vs. daily backup costs](/blog/digitalocean-weekly-vs-daily-cost). See [backup DigitalOcean Droplets](/blog/backup-digitalocean-droplets) for a full walkthrough of both approaches and when to use each.
## Droplet snapshots: the manual alternative
Snapshots are not the same as backups in DigitalOcean's terminology, though they are closely related.
DigitalOcean "backups" are the paid automatic weekly or daily disk images. DigitalOcean "snapshots" are manual on-demand disk images you trigger yourself. Both capture the full Droplet disk. The difference is scheduling, pricing, and retention. Backups are automatic, flat-priced at 20% of Droplet cost, and kept for four weeks. Snapshots are manual, billed at $0.06/GB/month, and kept until you delete them.
Snapshots give you more control. You trigger them when you need them: before a deployment, before a migration, after a significant data load. They do not expire automatically. You pay for storage as long as they exist.
The cost math matters. A 50 GB Droplet snapshot costs $3/month to store indefinitely. Four of them cost $12/month. Compare that to the 20% backup add-on: a $24/month Droplet pays $4.80/month for four auto-rotating backups. If you want more than four recovery points, snapshots let you keep as many as you are willing to pay for.
You can create a Droplet snapshot via the DigitalOcean dashboard or with the `doctl` CLI:
```bash
# Take an on-demand snapshot of a Droplet
# Replace DROPLET_ID with your numeric Droplet ID
doctl compute droplet-action snapshot DROPLET_ID
--snapshot-name "pre-deploy-$(date +%Y%m%d)"
--wait
```
The `--wait` flag blocks until the snapshot completes. Without it, the command returns immediately and the snapshot runs asynchronously. For scripted pipelines where the next step depends on the snapshot existing, always use `--wait`.
One constraint shared with backups: you cannot download a Droplet snapshot. You can transfer it to another DigitalOcean region, but you cannot pull it to external storage. It stays on the platform.
For a side-by-side comparison of when to use backups versus snapshots for Droplets, [DigitalOcean snapshots vs. backups](/blog/digitalocean-snapshots-vs-backups) covers the decision in depth. The short version: use automated backups as your baseline, add snapshots at key moments, and treat both as an on-platform recovery layer rather than a complete strategy.
For teams automating snapshots across multiple Droplets or on a schedule, the [guide to automating DigitalOcean server and volume snapshots](/blog/how-to-automate-digitalocean-server-and-volume-snapshots) covers the scripting approach using the DO API.
## Volume snapshots: the part Droplet backups skip
DigitalOcean Block Storage volumes are independent of Droplets. They attach to a Droplet like an external disk. You mount them, write data to them, and they persist independently if you destroy the Droplet.
The catch: Droplet backups do not include attached volumes. If your database, your uploads directory, or your application data lives on a volume rather than the Droplet's root disk, the Droplet backup captured none of it.
Volume snapshots are the native answer. They work the same way as Droplet snapshots: on-demand, billed at $0.06/GB/month, kept until deleted, not downloadable.
You trigger a volume snapshot via the dashboard or `doctl`:
```bash
# List your volumes to find the volume ID
doctl compute volume list
# Take a snapshot of a specific volume
# Replace VOLUME_ID with the ID from the list above
doctl compute volume snapshot VOLUME_ID
--snapshot-name "vol-backup-$(date +%Y%m%d)"
```
Note that `doctl compute volume snapshot` does not have a `--wait` flag the same way Droplet snapshots do. The snapshot runs asynchronously. For scripted pipelines, poll the snapshot list to confirm completion.
The important implication: if your application writes to an attached volume, you need to coordinate two separate snapshot operations to get a consistent backup. The Droplet snapshot captures the system state, the volume snapshot captures the data volume. If those two operations run minutes apart, and your application was writing during the gap, you can end up with a Droplet image that references volume state that does not match the volume snapshot.
For consistency-critical applications, the correct approach is to quiesce writes before snapshotting, or to use application-level export rather than block-level snapshots. [Backing up DigitalOcean Droplets](/blog/backup-digitalocean-droplets) covers the coordination approach in detail. When you need to recover a volume from a snapshot, the [volume restore guide](/blog/restore-digitalocean-volume) covers the exact steps and how to reattach the restored volume to a running Droplet.
## Managed Database backups and PITR
Managed Databases are the strongest native backup story in the DigitalOcean catalogue. Daily backups are included in all Managed Database plans at no extra charge. Retention is seven days.
This applies to every Managed Database engine: PostgreSQL, MySQL, MongoDB, Redis, and Kafka. You do not pay extra for it. You do not configure a schedule. It runs automatically.
The backup mechanism is engine-dependent under the hood (DigitalOcean handles this), but from your perspective the interface is consistent: the last seven daily snapshots are available for restore via the dashboard or API.
What you cannot do: download those backups. You can restore to the existing cluster, restore to a new cluster in the same region, or fork the cluster from a point in time. You cannot pull the backup file to your own infrastructure.
```bash
# List available backups for a Managed Database cluster
# Replace DATABASE_ID with your cluster ID (found in dashboard or via doctl databases list)
doctl databases backups list DATABASE_ID
```
The output shows each backup with its creation time and size. You use a backup's timestamp in the restore command. Restoration is handled through the API or dashboard, not via a downloadable file you run locally.
**Point-in-Time Recovery (PITR)** is available on higher-tier PostgreSQL and MySQL clusters. PITR records the write-ahead log continuously, allowing recovery to any second within the seven-day window, not just the daily snapshots. The cost is higher: PITR-capable clusters sit at premium pricing tiers.
PITR does not extend the seven-day window. You can recover to any second in the last seven days, but not to day eight. If you need longer retention, you need to export your own backups in parallel. The [managed database backup guide](/blog/backup-digitalocean-managed-databases) covers how to set up parallel exports alongside native retention.
Whether PITR is available on your cluster depends on the plan tier, not the database engine alone. If you upgraded to a plan after initial provisioning and the PITR toggle is not showing, check whether your cluster has been resized to a qualifying tier. The PITR documentation confirms which tiers qualify.
The seven-day retention cap is the main limitation. For regulatory or compliance requirements that call for 30, 60, or 90 days of backup history, native Managed Database backup alone does not satisfy the requirement. [What DigitalOcean native backup doesn't cover](/blog/what-digitalocean-native-backup-doesnt-cover) covers this gap in detail. For the full walkthrough of how to initiate a restore, fork a cluster, and handle the connection string change that follows, see the [Managed Database restore guide](/blog/restore-digitalocean-managed-database).
## Spaces: the product with no backup at all
DigitalOcean Spaces is S3-compatible object storage. You use it to store files, media, static assets, and sometimes database exports. It is a common destination for off-site backup strategies. The irony is that Spaces itself has no backup of its own.
Spaces has no native backup. There is no scheduled copy, no automatic versioning, and no restore point. If you delete a file or overwrite it, it is gone.
This catches people because they often use Spaces as the destination for their backup jobs. The exports from their managed databases, their application archives, their off-site Droplet dumps: all of it lands in Spaces. So Spaces ends up holding the backup copies for the rest of the stack, while having no backup of its own. A bucket deletion event or a mistaken `aws s3 rm --recursive` wipes everything at once.
Versioning is available but off by default. Enabling versioning at the bucket level preserves previous versions of objects rather than deleting them on overwrite. But versioning is not backup: it does not protect against bucket deletion, and managing version lifecycles to prevent runaway storage costs requires additional configuration. You need explicit lifecycle rules to expire old versions, otherwise your storage bill grows indefinitely with every file update.
There is no cross-region replication built into Spaces. If your bucket's datacenter goes offline, your objects are unavailable until the datacenter recovers. There is no failover to a secondary region. DigitalOcean does not publish SLAs for Spaces durability in the same way AWS documents S3's eleven-nines figure.
The practical minimum for any production Spaces bucket that stores data you care about: enable versioning, configure a lifecycle rule that expires non-current versions after 30 days, and add an external replication job that copies the bucket to a separate cloud storage account. The replication step is the one most teams skip, and it is the only one that protects you from account-level events.
For teams storing critical data in Spaces, [backing up DigitalOcean Spaces](/blog/backup-digitalocean-spaces) covers the available strategies: versioning configuration, cross-account replication using rclone or the AWS CLI, and when each approach is appropriate. The short version: if the data in your Spaces bucket would be painful to lose, versioning is a minimum, and off-account replication is the real protection.
## DOKS: no native backup for persistent state
DigitalOcean Kubernetes (DOKS) has no native backup for cluster state, persistent volumes, application manifests, or Kubernetes secrets.
This is not a gap DigitalOcean is hiding. The Kubernetes model assumes you manage your own backup strategy. The platform provisions nodes and handles control plane operations, but stateful data on persistent volumes is your responsibility. The DOKS documentation does not promise any data protection for workloads running in your cluster.
The cluster's node configuration can be re-created via infrastructure-as-code if you manage your cluster definition in Terraform or a similar tool. But the data on persistent volumes, the values in Kubernetes Secrets, and the state of running workloads: none of that has a native recovery option. If a node pool is accidentally deleted or a namespace is wiped, there is no "restore from yesterday" button in the DigitalOcean dashboard.
The distinction between stateless and stateful workloads matters here. A stateless deployment (a web server, an API service, a batch job) can be restored by re-deploying its manifest and pulling its image. Stateless workloads on DOKS are resilient to cluster events if you have the manifests in version control.
Stateful workloads are different. A PostgreSQL StatefulSet, a Kafka cluster, an Elasticsearch index, a Redis instance with AOF persistence: these write data to PersistentVolumeClaims backed by DigitalOcean Block Storage. That data accumulates. After six months of production use, the PVC holds six months of state that cannot be re-created by re-running a deployment.
For teams running stateful applications on DOKS, Velero is the standard approach: it backs up Kubernetes resources and persistent volumes to an object storage backend you specify. Running Velero against DigitalOcean Block Storage persistent volumes requires the CSI driver and a configured `snapshotLocation` pointing to an S3-compatible destination.
The risk here is higher than it appears on a fresh cluster. A Postgres StatefulSet that has been running for six months holds six months of production data that has no backup unless you explicitly set one up. For a full treatment of the Kubernetes backup problem on DigitalOcean, [backing up DigitalOcean Kubernetes](/blog/backup-digitalocean-kubernetes) covers Velero setup and the persistent volume considerations specific to DOKS.
For general Kubernetes database backup patterns that apply across any K8s environment, [kubernetes database backup](/blog/kubernetes-database-backup) is a useful reference.
## The retention table across the full catalogue
This table is the canonical summary. If you need to quote retention, pricing, or download capabilities for any DigitalOcean product to a colleague, a compliance auditor, or a post-mortem document, use this version.
| Product | Native backup | Schedule | Retention | Downloadable | Off-site |
|---------|---------------|----------|-----------|--------------|----------|
| Droplet (standard) | Paid add-on (20% of Droplet) | Weekly | 4 weeks | No | No |
| Droplet (Premium) | Paid add-on (20%) | Daily | 4 weeks | No | No |
| Droplet snapshot | On-demand, $0.06/GB/mo | Manual | Until deleted | No | No |
| Volume snapshot | On-demand, $0.06/GB/mo | Manual | Until deleted | No | No |
| Managed Database | Included | Daily | 7 days | No | No |
| Managed DB (PITR) | Higher tiers | Continuous | 7 days | No | No |
| Spaces | None | N/A | N/A | N/A | N/A |
| DOKS | None | N/A | N/A | N/A | N/A |
Four things stand out in this table.
First, the "Downloadable: No" column is uniform. Every native backup mechanism in DigitalOcean's catalogue stores the backup on the platform and does not expose a download path. This is not an oversight: it is a design choice. It also means you cannot verify a backup's integrity without actually restoring it. If you want to test a restore, you have to spin up a new resource inside DigitalOcean to receive the restore. You cannot pull the backup file locally, run a checksum against it, or mount it on your own infrastructure.
Second, the "Off-site: No" column is also uniform. Every backup type in this article lives inside your DigitalOcean account. If the account is compromised, the backup goes with it. This is worth repeating because it affects every product on the list. [What DigitalOcean native backup doesn't cover](/blog/what-digitalocean-native-backup-doesnt-cover) is the companion article that covers the full picture of native gaps including same-host risk.
Third, Spaces and DOKS have no native backup at all. If you use either product for production data, the native backup story is a blank cell. For Spaces, this means every object you store has zero redundancy against deletion unless you add external tooling. For DOKS, it means every PersistentVolume that accumulates data is unprotected unless you configure Velero or an equivalent.
Fourth, the retention window for Managed Databases (seven days) and Droplet backups (four weeks) are not configurable. You cannot ask DigitalOcean to keep Droplet backups for three months or database backups for sixty days. The retention caps are fixed at the platform level. If your compliance posture requires retention beyond those windows, you need to supplement native backup with your own export pipeline. This is the single most common reason teams find the native backup story insufficient in practice: they need 30 or 90 days, and the platform gives them seven or twenty-eight.
## What to do with this information
You now have the full picture of what DigitalOcean's native backup provides. The practical question is whether it is enough for your specific stack.
For most teams, the native coverage is a starting point, not a complete strategy. Weekly Droplet backups and seven-day database retention are reasonable baselines. They protect against the most common scenarios: botched deployments, accidental deletions, application-level data corruption. For those scenarios, native backup is often fast enough and good enough.
The gaps open up when you ask harder questions. What happens if you need data from day ten? What happens if the account is suspended? What happens during a regional outage? What happens if a volume needs to be restored alongside its corresponding Droplet? These are the questions where native backup alone does not have a complete answer.
If you want to close those gaps without writing and maintaining the infrastructure yourself, that is the problem [SimpleBackups for DigitalOcean](/platform/digitalocean) was built to solve. The reason we built it is exactly the gap this article describes: native backup covers the easy part, and none of the hard part. It handles off-site exports for Droplets, Managed Databases, and Spaces, with alerts when a run fails and a tested restore path.
## Keep Learning
- [DigitalOcean backups explained](/blog/digitalocean-backups-explained/): the high-level overview and a good starting point if this is your first time thinking through backup coverage.
- [DigitalOcean snapshots vs. backups](/blog/digitalocean-snapshots-vs-backups): the full decision framework for when to use each approach.
- [What DigitalOcean native backup doesn't cover](/blog/what-digitalocean-native-backup-doesnt-cover): the companion piece to this one, covering same-host risk, compliance gaps, and PITR retention limits in detail.
- [How to automate DigitalOcean server and volume snapshots](/blog/how-to-automate-digitalocean-server-and-volume-snapshots/): scripting the manual snapshot process with the DO API.
- [The complete guide to DigitalOcean backup](/digitalocean-backup): the hub page for this entire cluster.
## FAQ
---
_This article is part of [The complete guide to DigitalOcean backup](/digitalocean-backup#how-native-works), an honest, practical reference from the team that backs up DigitalOcean every day._
---
# 2025 End of Year Product Update: UX and Performance
Source: https://simplebackups.com/blog/2025-simplebackups-product-and-performance
Published: 2025-12-19
Author: Laurent
Summary: SimpleBackups major rebuilt: stack, performance, user experience and many updates!
For the entire winter season, we've been heads-down on something that doesn't always make headlines: making SimpleBackups fundamentally better to use. No flashy feature launches. Just our small team doing what we love most: building a product people genuinely enjoy using.
Here's what we've been up to.
## Like the Lannisters, We Always Pay Our Debts
Every development project accumulates technical debt. Ours was no different.
We'd been running on Vue 2, our component library had grown inconsistent, and hot reload had stopped working properly. We reached a point where we were dragging our feet before making UI changes. For a team that prides itself on UI/UX excellence, that's unacceptable.
So we gave ourselves two months and completely rewrote the frontend.
## What Changed
The stack is now [Vue 3](https://vuejs.org/), Inertia, and [shadcn](https://ui.shadcn.com/). But the technology matters less than what it enables: a consistent component library across every screen, proper loaders that actually show you the system is working, better validation patterns that skip unnecessary steps, and improved on-screen messages with direct links to our documentation.
We also rethought how the entire application flows.
**The Dashboard** is now a real command center. At a glance, you can monitor all your backup activities, see important usage information, spot what needs your attention, and jump straight to the most important parts of the application. No more hunting through menus.
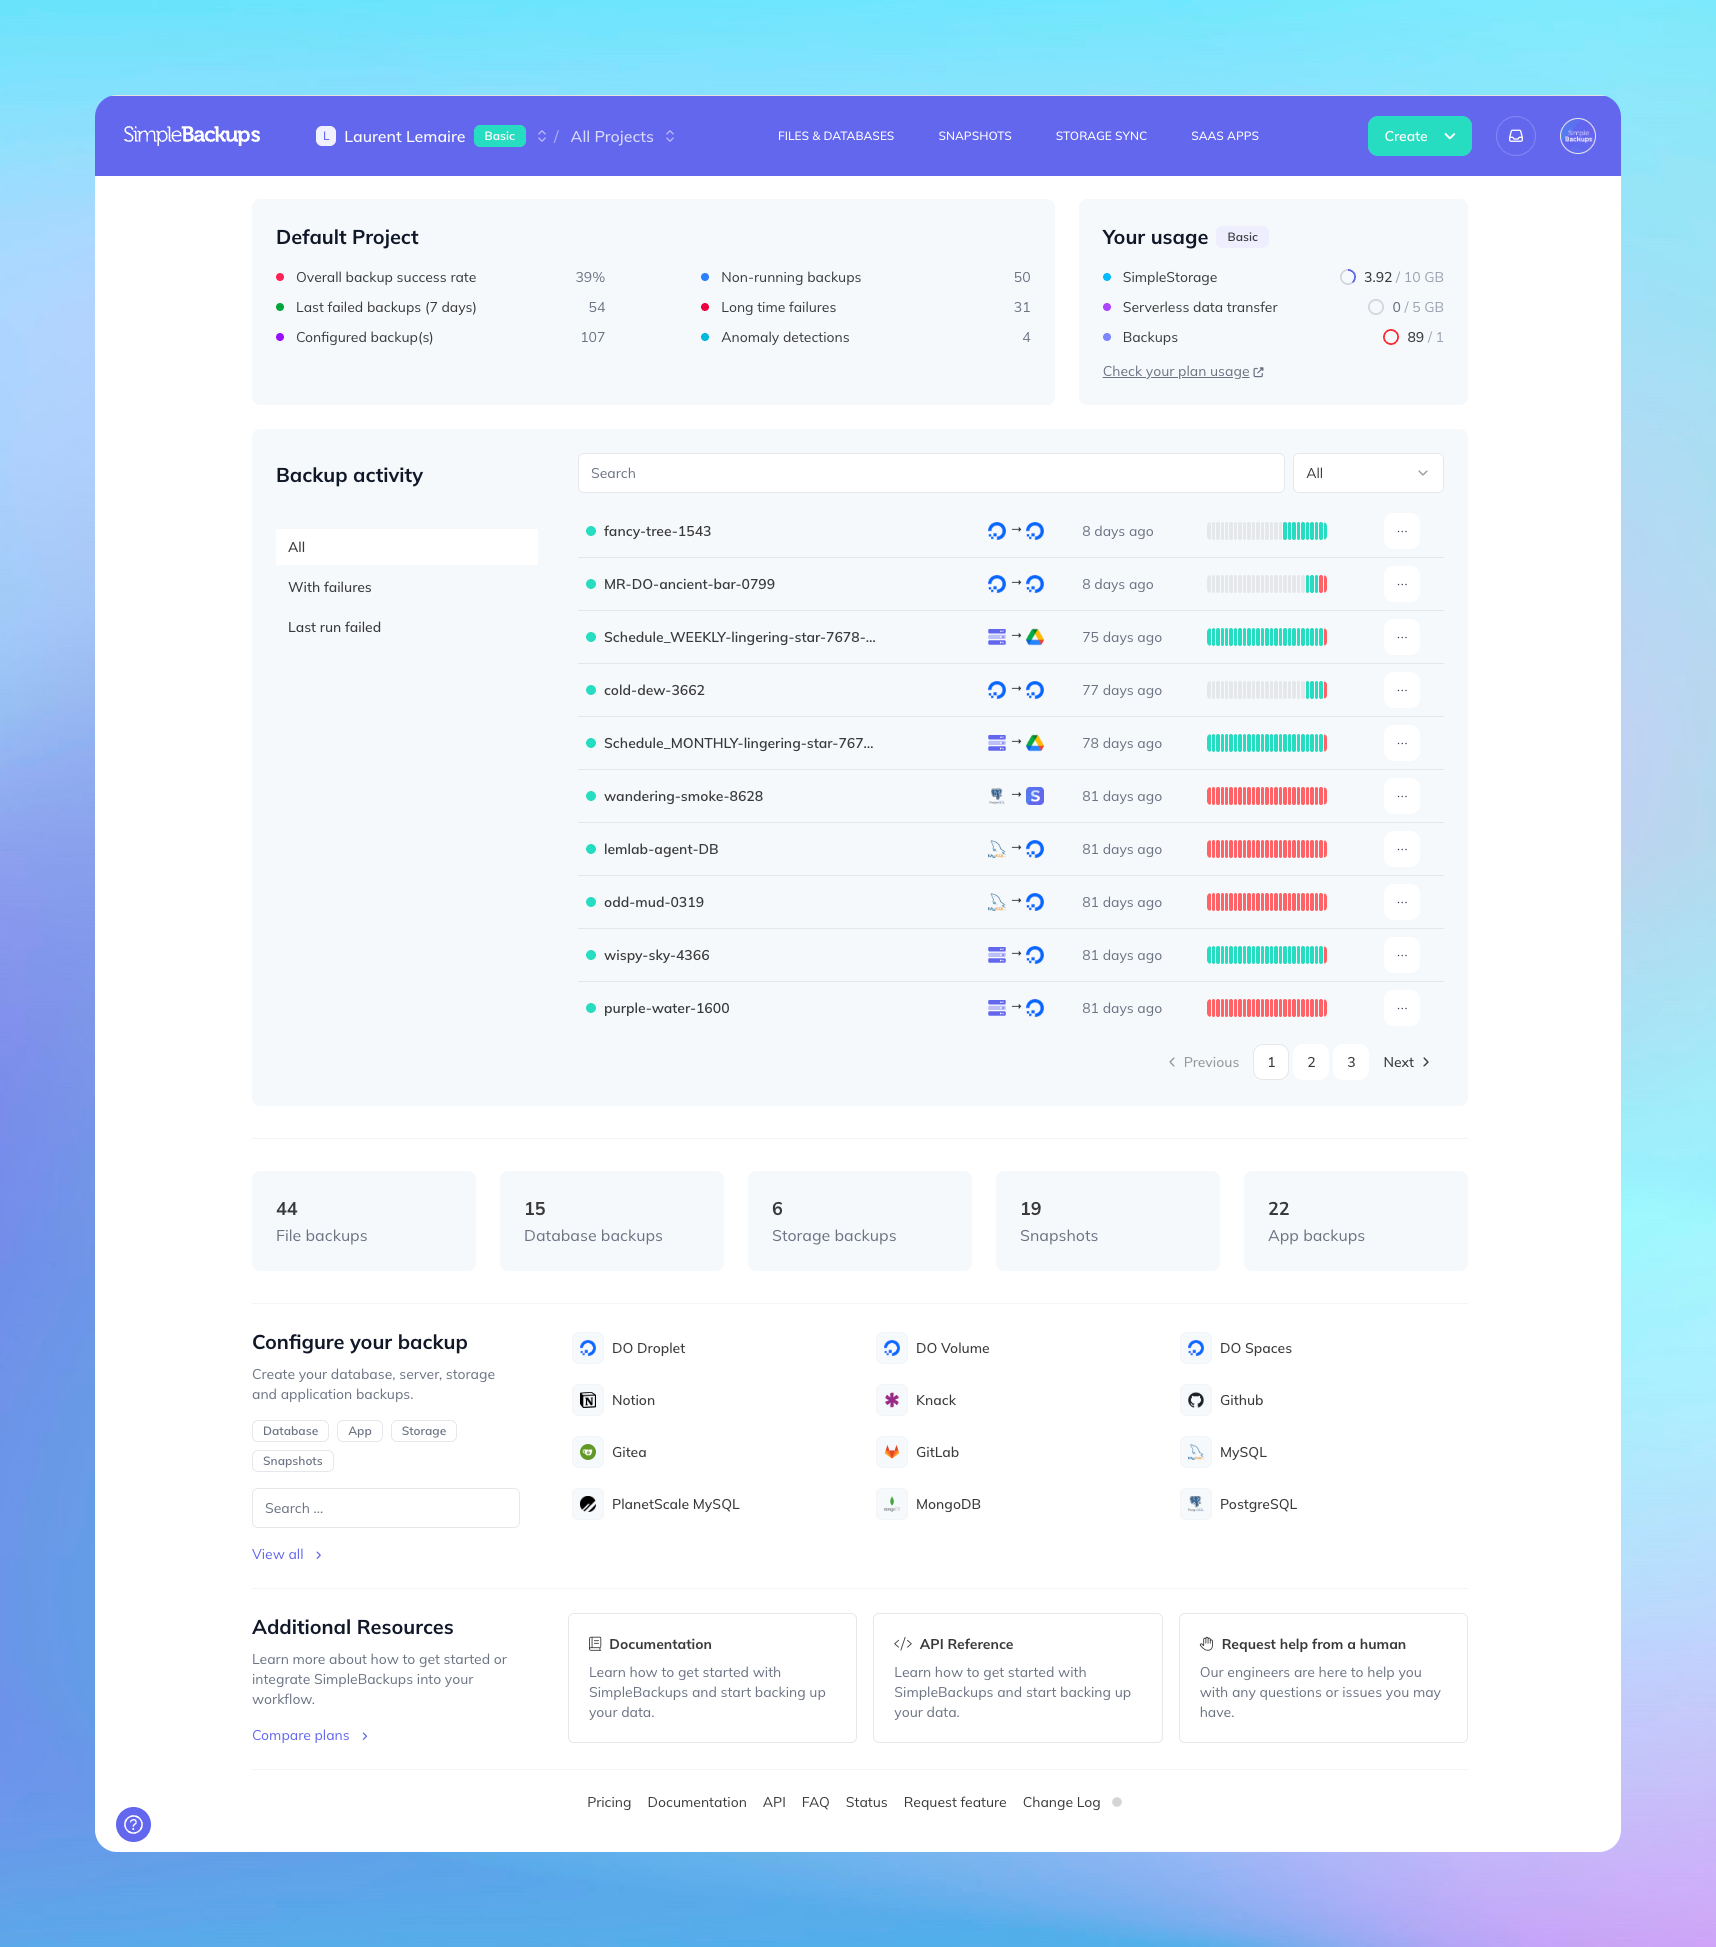
**Listing pages** for backups, servers, and storage have been completely rebuilt with reactive UX, proper filtering, and cleaner design. Everything responds instantly.
**Backup details** got a full overhaul. We reorganized all the information with vertical navigation, making it easy to find exactly what you need. We also added a dedicated "Restore" tab right in the navigation—a direct response to user feedback. Previously, you had to dig through backup logs to restore. Now it's one click away.
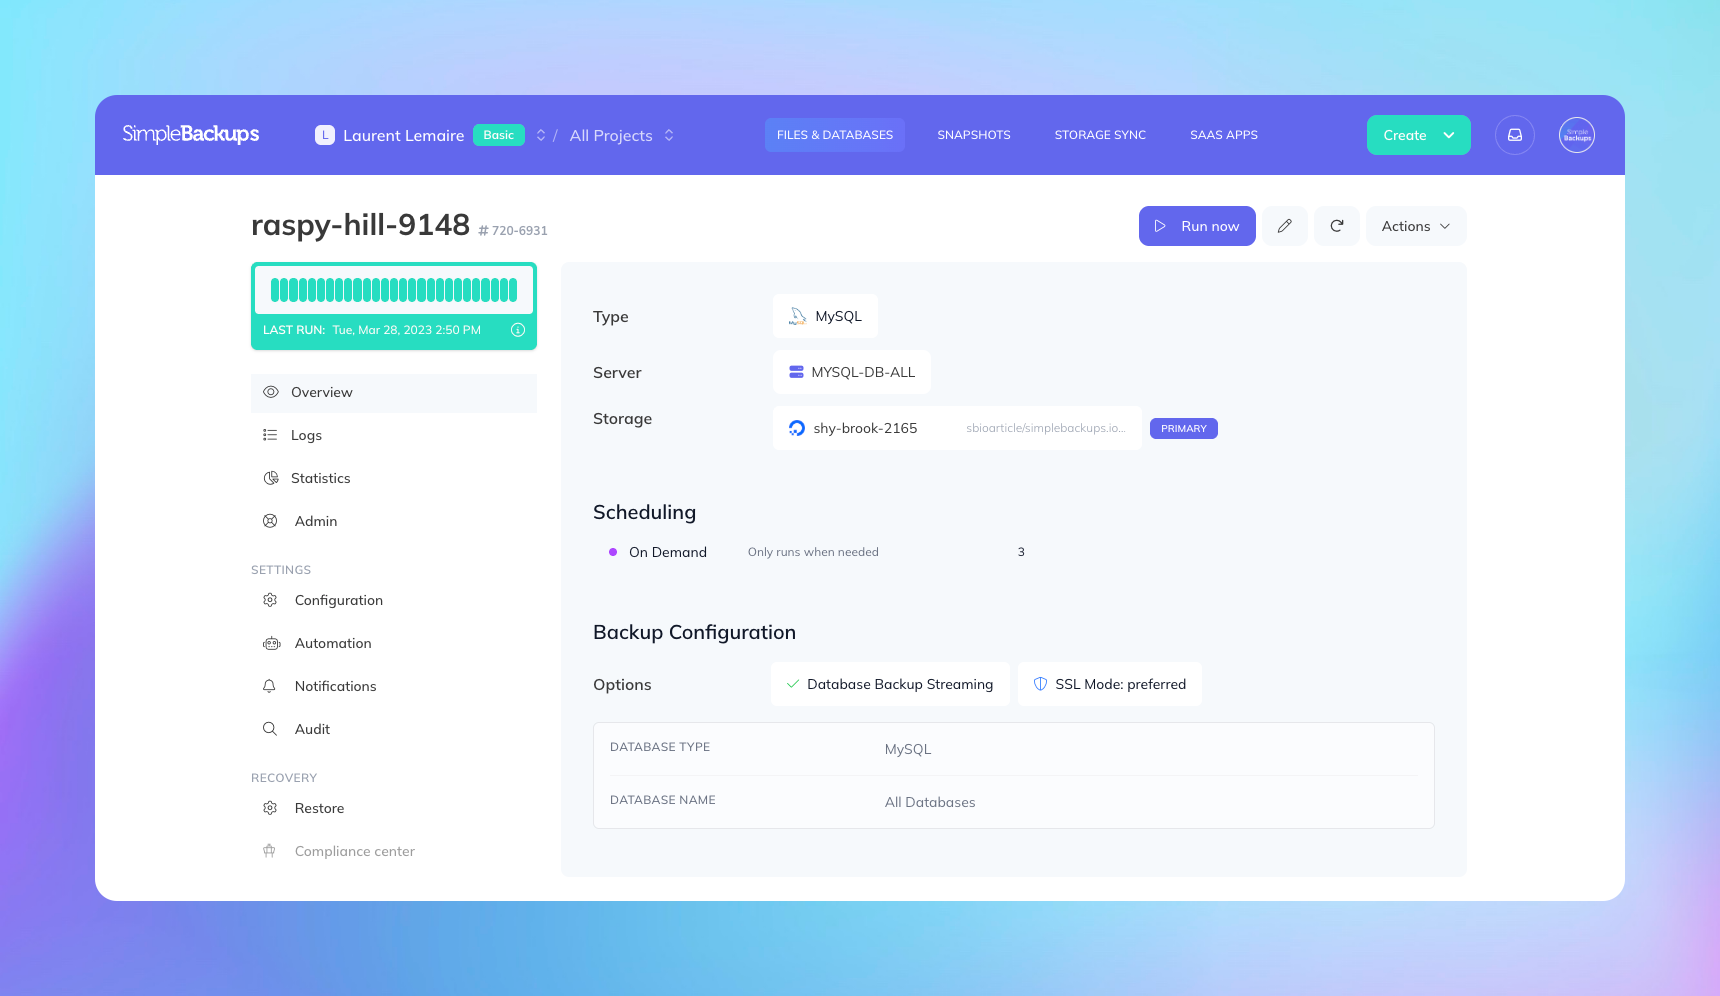
**Notification channels** were confusing for many users. We rebuilt them from scratch: channels are now defined at your team level and can be enabled per backup based on specific events you want to track. More improvements coming here.
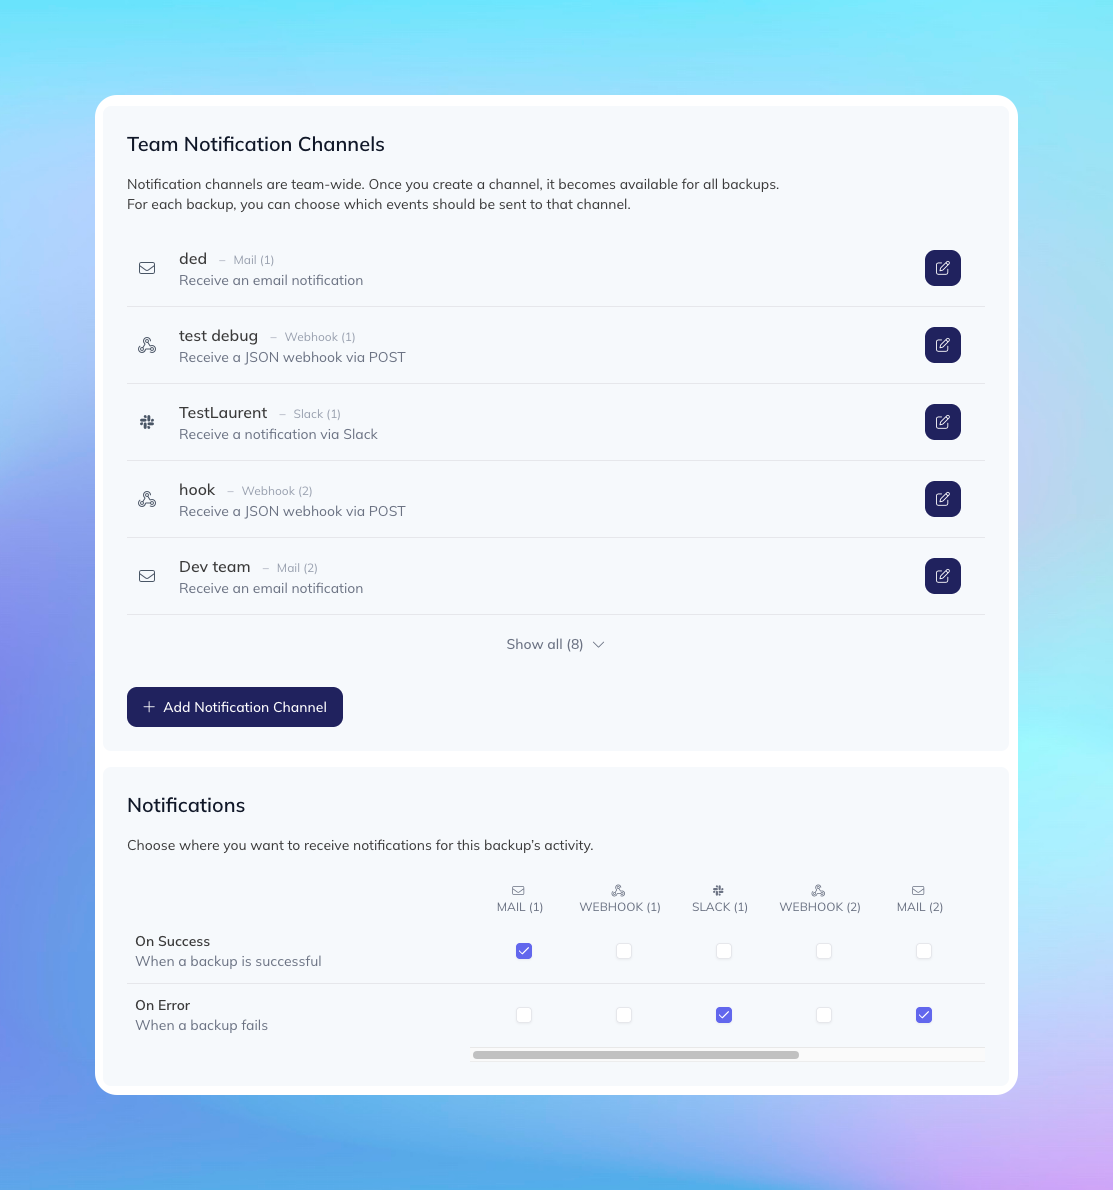
**Schedule templates** are something we'd postponed for too long. Setting up common backup strategies like GFS used to mean manually adding each schedule. Now you can load a template with one click.
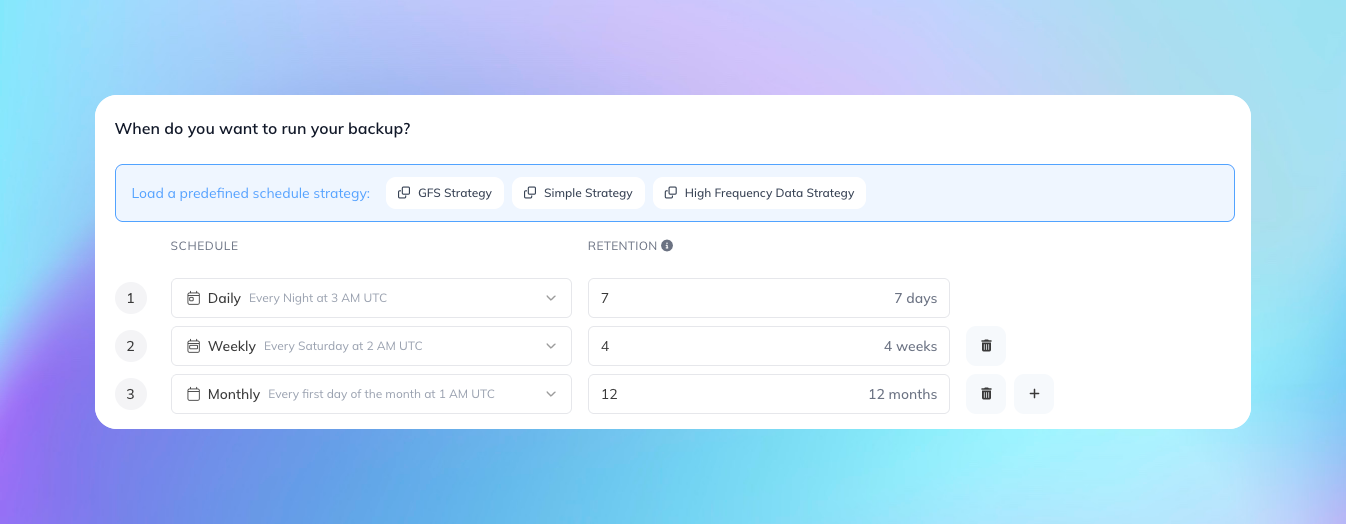
**Backup forms** got the full treatment. This was actually the final sprint of this whole effort—completely rebuilt with better progress indicators so you always know where you are in the process, consistent typography throughout, contextual helpers, and direct links to our documentation (which we also updated). Creating and editing backups now feels like a guided experience rather than a form you're fighting with.
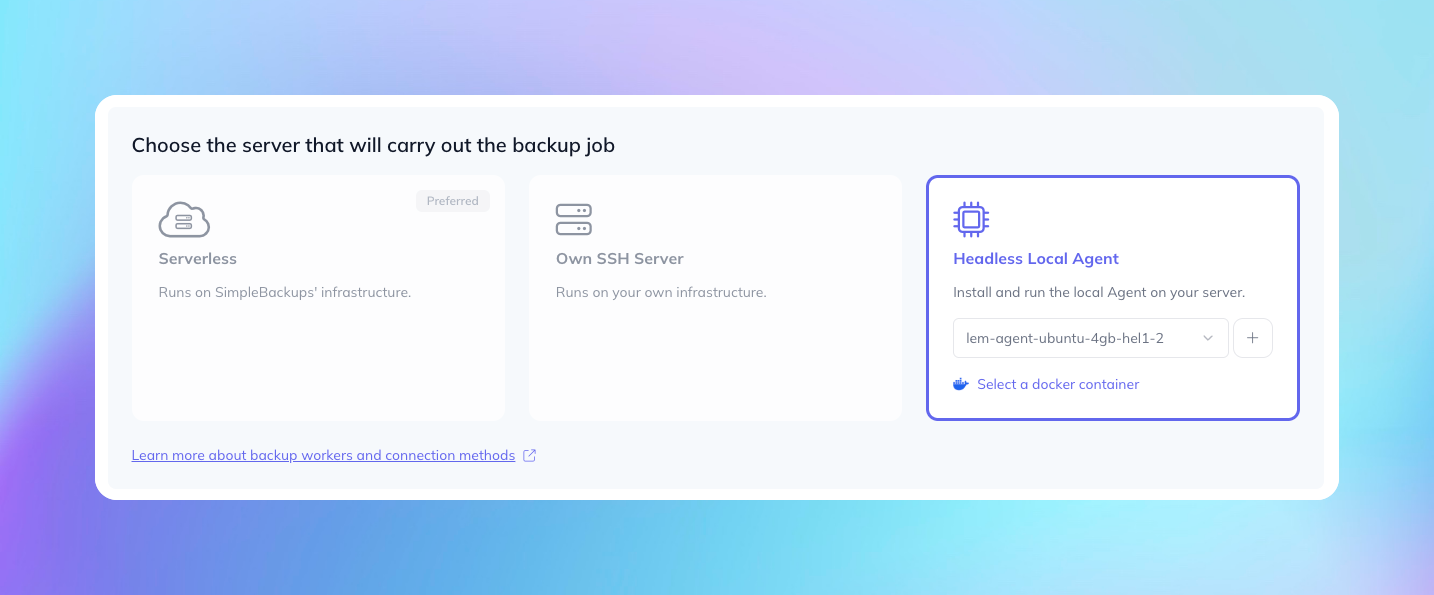
**Projects** finally work the way they should. Once you're a member of a project, you can view the app through that project's lens only. Much cleaner than the old approach of showing shared resources from all your projects at once.
## Under the Hood: Performance
SimpleBackups just turned 6. Thousands of users, tens of thousands of backups running daily, with features and security layers that didn't exist on day one: anomaly detection, monitoring systems, data validation, and more.
All of this requires resources. So we took the time to review and optimize everything.
We use many tools to track exceptions, loading times, request sizes. Over the years, we'd snoozed non-critical exceptions, turned a blind eye on requests we knew could be improved, queries that were probably called too often. Never a real concern at the time. But this season, no one escaped. The goal was simple: all our monitoring tools should display an empty "things to look into" list.
One by one. Why is this exception showing up? How can we optimize that query that runs thousands of times per day?
It was a lot of work. But this methodical approach forced us to dive into every part of the application with care. Each small fix added up. Each optimized query compounded.
The result? We've reduced our computing needs by close to 30%, with more optimization still ahead. For us, this means we can grow confidently without worrying about hitting infrastructure limits. Less time firefighting servers, more time building.
For you, it means the application is dramatically snappier. Things are reactive, fluid, with virtually no loading time. We still have a few points to polish, but the difference is significant.
---
We're a small team of engineers who actually enjoy making things work well. The old stack was frustrating us every day, and that frustration eventually bleeds into the product.
Now we're debt-free on the frontend. We can move fast again. That feels good.
Good job, team.
---
# ISO 27001 Recertification: Two Years In
Source: https://simplebackups.com/blog/iso27001-audit-two-years-in
Published: 2025-12-09
Author: Laurent
Summary: SimpleBackups has passed its second ISO 27001 surveillance audit. Two years of continuous security improvement, independently verified.
Back in December 2023, we [earned our ISO 27001 certification](https://simplebackups.com/blog/elevating-security-quality-simplebackups-iso-certification). End of last year we had our first surveillance audit. And now, we've successfully passed our second surveillance audit with an independent third-party auditor.
Two years in, certification maintained.
## How ISO 27001 Audits Work
If you're not familiar with the cycle: after initial certification, you don't just coast for three years. Independent auditors return annually for surveillance audits—verifying that your Information Security Management System (ISMS) is still functioning, still improving, and still meeting the standard's requirements.
These aren't rubber stamps. Auditors review documentation, interview team members, examine evidence, and verify that what we say we do matches what we actually do. They look at how we've addressed any findings from previous audits and whether our security practices have evolved with new risks.
## Two Years of Continuous Improvement
Passing the audit wasn't about proving we're the same company we were in 2023. It was about demonstrating we've kept improving.
Over the past year, we've continued refining our risk assessment methodology, strengthened monitoring across our infrastructure, and improved how we document and respond to security events. Our [Compliance Board](/docs/getting-started/features/backup-recovery-and-compliance-board) has also matured—making it easier for you to prove your own backup compliance during audits.
These aren't changes we made for the audit. They're changes we made because running a backup service means people trust us with their critical data, and that responsibility doesn't take breaks.
## What's Next
Next year brings our full recertification audit, a comprehensive review of our entire ISMS before the three-year cycle resets. We'll be ready.
In the meantime, if you're going through your own ISO 27001 journey: we've been there. Reach out if you want to chat—we've built up real expertise and we're happy to share what we've learned.
---
# Run a Self-Hosted Remote Backup Solution Behind NAT
Source: https://simplebackups.com/blog/run-self-hosted-remote-backup-solution-behind-nat
Published: 2025-10-01
Author: Islam
Summary: Run secure self-hosted backups behind NAT & firewalls—no open ports, no VPNs. Centralized control, error monitoring & flexible storage with SimpleBackups.
If you’ve ever tried running a self-hosted backup system across different networks, you know the pain: **NAT and firewalls turn a simple idea into a weekend-eating nightmare.**
Tools like Bacula or old-school backup servers assume a flat private network. But that’s rarely reality anymore. Today your machines live everywhere, at home, in the office, across different clouds, and trying to connect them without exposing ports or juggling firewall rules gets messy fast.
So… how do you actually back them up without compromising security or spending hours setting up VPNs?
## The Challenge: Backups Behind NAT
Here’s the scenario many IT admins and developers run into:
- Multiple servers scattered across different networks
- Need to manage all backups centrally and keep an eye on success/error logs
- Don’t want client machines exposed to the public internet
- No appetite for fragile VPN setups or risky firewall tweaks
When people search for _“self-hosted remote backup solution that works behind NAT,”_ this is exactly the problem they’re trying to solve.
## How SimpleBackups Solves This
We built the **Agent + Command Center** model at SimpleBackups precisely for this use case.
- ✅ No open ports on your servers
- ✅ No inbound firewall rules or IP allowlists
- ✅ Works seamlessly behind NAT and firewalls
- ✅ Centralized monitoring and scheduling
- ✅ Compatible with local, cloud, or hybrid storage
Here’s how it works: your agents sit safely inside private networks and **pull encrypted instructions** from the Command Center. You stay in control, without exposing anything to the internet.
## Why This Is Different From Traditional Tools
Old-school backup systems expect you to:
- configure complex networking,
- open inbound ports,
- or run VPN tunnels across every environment.
With SimpleBackups, it’s closer to how modern RMM (Remote Monitoring & Management) tools work: lightweight, secure, and cloud-native by design.
You decide whether your data stays local, syncs to your own infrastructure, or heads to the cloud. Either way, you get full visibility, alerting, and reporting, all from one dashboard.
## Final Thoughts
If you’ve been fighting NAT, firewalls, and messy networking setups just to get backups running, you don’t need to keep hacking together solutions.
With SimpleBackups, you finally have a **self-hosted remote backup solution that works seamlessly behind NAT**, no firewall headaches, no open ports, just reliable backups that you can actually trust.
👉 [Start your free trial today](https://simplebackups.com) and simplify your backup workflow.
---
# GitHub Backup Tools Compared: How to Choose in 2026
Source: https://simplebackups.com/blog/protecting-github-code-and-data-backup-2025
Published: 2025-05-21
Author: Laurent
Summary: The GitHub backup tools still maintained in 2026, the four things that actually separate them, and the order to think about them in before you buy.
If you are here, you have already been through the GitHub Marketplace "Backup Utilities" category and come away no wiser. That is a reasonable reaction. Most GitHub backup tools describe themselves in almost identical language: automated, secure, comprehensive, enterprise-ready. Half the listings are abandoned, and a few point at products that were quietly folded into something else.
Feature lists are not going to separate these products for you. Four other things will, and this article covers them, along with the order to think about them in.
If you have not yet worked out what a GitHub backup needs to contain, read [the complete developer's guide to GitHub backups](/blog/the-ultimate-developers-guide-to-github-backups) first. It covers what `git clone --mirror` captures, what GitHub's migration archives leave out, and how to script the whole thing yourself. This page assumes you have read that and would rather not maintain it.
We make one of the tools compared here. Read the SimpleBackups section with that in mind, and read the section on when you do not need any tool first.
## What actually separates one GitHub backup tool from another
**Where the backup lands.** Some tools keep your data in storage they own. Others write to a bucket you control. This is the single biggest fork, it is a policy decision rather than a technical one, and it usually eliminates most of the shortlist on its own.
Storage ownership is the question teams answer last and should answer first. It determines what happens to your backups when you stop paying, and it is the first thing an auditor asks about.
**Metadata coverage, object by object.** Every tool backs up code. The spread is in issues, pull requests, wikis, project boards, releases, Actions configuration, packages, discussions and Git LFS objects. "Full metadata backup" on a pricing page is not a specification. The objects at the end of that list are where tools quietly differ.
**The restore path.** A backup you cannot restore is a receipt. Ask whether restore is a button, an archive you re-import by hand, or a support ticket. The three are very different on the day you need one.
**Whether the listing is still live.** An active, verified Marketplace listing means GitHub reviewed the integration and its OAuth scopes. It is not a quality guarantee. A lapsed listing, on the other hand, is a real signal about how much attention the product is still getting.
## The maintained tools in 2026
Three products still cover both repositories and metadata and are still being worked on.
| | SimpleBackups | Rewind | GitProtect.io |
|---|---|---|---|
| GitHub Marketplace | Active, verified | Active | Not listed |
| Code and history | Yes | Yes | Yes |
| Issues, PRs, wikis | Yes | Yes | Yes |
| Where backups live | Storage you own | Vendor-held | Cloud or on premises |
| Retention control | Policy per backup | Set by plan | Configurable |
| Stated compliance | GDPR, ISO 27001 | SOC 2, ISO 27001 | SOC 2 Type II, ISO 27001 |
| Aimed at | Solo through enterprise | Enterprise with DevOps staff | Hybrid storage, DR programmes |
Vendor scope changes without announcement, and this table is a starting point rather than a contract. Before you buy, confirm the specific metadata objects you care about against each vendor's current documentation, and confirm the Marketplace listing is still live.
### SimpleBackups
Active and verified on the [GitHub Marketplace](/blog/github-marketplace-verified-partner). We back up repositories and metadata on a schedule you set, and we write the result to storage you own rather than to storage we own.
That last point is the decision everything else follows from. Your backups sit in your own S3, Backblaze B2, Wasabi or Hetzner bucket, encrypted in transit and at rest. If you stop paying us, the backups stay where they are and stay readable. Retention policies, failure notifications to email, Slack or push, and one-click restore sit on top of that.
Where we are weaker: if your requirement is that backups never leave hardware you operate, we are not the answer. We write to object storage, not to your own metal.
### Rewind
Rewind, formerly BackHub, aims at larger organisations with formal compliance programmes. Daily automated backups, repository and metadata coverage, and a compliance posture built for procurement review.
Backups are held by Rewind rather than written to your own bucket. For teams that want a single vendor to own the whole chain and can accept that dependency, that is a reasonable trade and it removes a configuration step. For teams whose auditor asks where the data physically sits and who holds the key, it becomes a longer conversation.
Best fit: large enterprises with a dedicated DevOps function and budget already allocated to the category.
### GitProtect.io
GitProtect comes at this from disaster recovery rather than from backup. Repository and metadata coverage, migration between Git hosts, and a choice of cloud or on-premises storage targets.
It is not currently listed on the GitHub Marketplace, so installation and scope review happen outside GitHub's own process. The on-premises option is the genuine differentiator here: of the three, it is the one that answers a hard requirement that backups stay on hardware you operate.
Best fit: organisations with an existing DR programme and a constraint on storage location.
## When none of these is the right answer
Worth saying plainly, because a comparison table invites you to skip past it.
If you have one repository, no metadata worth preserving beyond the code, and a local clone on a machine you actually use, you already have a working backup. Adding a tool buys you very little. GitHub documents [backing up a repository](https://docs.github.com/en/repositories/archiving-a-github-repository/backing-up-a-repository) with a mirror clone, and a scheduled version of that to a bucket is genuinely enough for a solo project.
The point where a tool starts earning its cost is one of three things: you have more repositories than you can enumerate from memory, your issues and pull requests carry decision history nobody could recreate, or someone outside your team has started asking for evidence that backups run. Below that line, script it: the guide linked at the top walks through exactly that.
## How to choose, in order
Work through these in this sequence and the answer usually falls out before you reach the end.
**1. Does an auditor need to see this?** If yes, storage location and retention evidence dominate everything else, and they eliminate options before you compare a single feature. [What ISO 27001 and SOC 2 actually expect from GitHub backups](/blog/github-vs-compliance-why-you-need-independent-backups-for-iso-27001-and-soc-2) is the thing to read before you shortlist.
**2. Who owns the storage?** Decide whether backups must live in a bucket you control, on hardware you operate, or whether vendor-held is acceptable. This is a policy call, and it usually reduces three options to one.
Write your answers to steps 1 to 3 down before you open a single vendor page. Shortlisting first and deriving requirements afterwards is how teams end up buying on feature count, which is the one axis these products barely differ on.
**3. What exactly are you protecting?** If it is only code, your options widen and your budget shrinks. If it is issues, pull requests and project boards, check metadata coverage object by object rather than trusting the summary line. [What a git clone misses](/blog/how-to-back-up-your-github-data) sets out the full surface.
**4. How does a restore actually run?** Ask for the restore path in writing before you buy, then test it during the trial with a repository you do not care about. Every tool here restores. They do not restore the same way, and the difference only shows up under pressure.
**5. Is the listing still live?** Check the [Marketplace backup category](https://github.com/marketplace?category=backup-utilities) before shortlisting anything. It has more abandoned entries than active ones, and a dead listing is the cheapest disqualifier available.
## FAQ
## The short version
The tools are more alike than their marketing suggests, and they differ on exactly one axis that matters: who holds your backups. Answer that first, confirm metadata coverage object by object, test a restore during the trial, and the decision makes itself.
If the answer is scheduled backups into storage you own, with metadata included, that is what [SimpleBackups does for GitHub](/saas-backup/github) across repositories, issues, pull requests and wikis.
---
# What It Means to Be ISO 27001 Certified in 2025
Source: https://simplebackups.com/blog/simplebackups-iso27001-certified-2025
Published: 2025-05-20
Author: Laurent
Summary: SimpleBackups is ISO 27001 certified and we’ve built the tools you need to meet your own compliance goals. Automate recovery tests, centralize backup plans, and export audit-ready reports from one place.
Back in December 2023, we proudly announced that SimpleBackups had achieved **ISO/IEC 27001 certification**, a major milestone in our journey to provide a truly secure, trustworthy backup platform.
Today, we’re just as proud to share that we’ve successfully passed our **first surveillance audit**.
While this might sound like a routine check, it’s an important signal: our commitment to information security isn’t a one-time effort, it’s ongoing, audited, and embedded into how we work every day.
## What ISO27001 Certification Actually Means
ISO27001 isn't just another acronym or a fancy badge to display on our website. It's the gold standard for information security management, recognized globally as proof that an organization has implemented comprehensive security controls and risk management processes.
When a company becomes ISO27001 certified, it means they've:
- ✅ **Established a systematic approach** to managing sensitive company and customer information
- ✅ **Implemented a comprehensive set of security controls** based on a risk assessment
- ✅ **Created a management process** to ensure these controls continue to meet security needs over time
- ✅ **Committed to continuous improvement** through regular audits and reviews
For us at SimpleBackups, achieving and maintaining this certification reflects our holistic approach to security. It covers everything from how we manage our internal systems to how we develop our product, handle customer data, and train our team members.
## Why We Pursued ISO27001 Certification
When we first announced our [certification in December 2023](/blog/elevating-security-quality-simplebackups-iso-certification), we were driven by two primary goals:
1. **Building trust with our users**: As a backup solution provider, we're entrusted with protecting our customers' most valuable asset, their data. ISO27001 certification provides independent verification that we have the proper security controls and processes in place.
2. **Establishing ourselves as a legitimate cybersecurity provider**: In an industry where security claims are easy to make but hard to verify, we wanted to demonstrate our commitment with concrete evidence and third-party validation.
## The Surveillance Audit: Proving Ongoing Commitment
ISO27001 certification isn't a one-time achievement; it requires ongoing commitment and regular surveillance audits to verify continued compliance. We're proud to announce that we've recently passed our surveillance audit, confirming that our security practices remain robust and effective.
This audit involved a thorough review of our:
- Information security policies and procedures
- Risk assessment and treatment methodologies
- Internal audit results and management reviews
- Security incident management processes
- Operational security controls
Passing this surveillance audit wasn't just about maintaining our certification, it was about demonstrating our unwavering commitment to security as a foundational aspect of our business.
> By-the-way if you need help or some guidance to get started with ISO27001, don't hesitate to reach out, we built up a serious in-house expertise and we also had the chance to work with awesome consultants.
>
>
## Listening to Our Community: Security Transparency
One of the most valuable insights we've gained on this journey is the importance of transparency when it comes to security. Our users have consistently asked for more information about our security practices, and we've taken this feedback to heart.
In response, we've significantly updated the security information available on our website. Our enhanced [Security First page](https://simplebackups.com/security-first) now provides deeper insights into:
- Our security framework and principles
- Data protection measures
- Infrastructure security
- Access controls and authentication
- Backup encryption methodologies
- Compliance standards and certifications
This transparency isn't just about sharing information, it's about building a relationship of trust with our users. We understand that when you choose SimpleBackups, you're not just selecting a technical solution; you're choosing a security partner.
## Looking Forward: Security as an Ongoing Journey
Our ISO27001 certification and successful surveillance audit aren't endpoints—they're milestones in our ongoing security journey. As threats evolve and technology advances, so too will our security practices and controls.
We remain committed to:
- Continuously improving our security framework
- Regularly testing and validating our security controls
- Staying ahead of emerging threats and vulnerabilities
- Transparently communicating our security practices
- Listening to our users' security needs and concerns
## Compliance board: how we ease your compliance efforts
For organizations with their own compliance requirements, our certification makes it easier to demonstrate that your [backup solution meets rigorous security standards](/blog/enhancing-cybersecurity-with-robust-backup-and-disaster-recovery-solutions).
We also know that many of our users are ISO27001 or SOC2 certified themselves. That's why we've built a comprehensive "[Compliance Board](/docs/getting-started/features/backup-recovery-and-compliance-board)" that provides everything you need to pass these assessments easily with regards to your backup strategy and management.
Our Compliance Board enables you to:
- Export detailed proof of backups for auditors
- Centralize all Backup Disaster Recovery methods in one place
- Automate disaster recovery testing with scheduled test runs
- Document recovery procedures for different resource types
- Track and record test results for compliance documentation
- Set reminders for required recovery plan testing
This purpose-built feature simplifies what is often one of the most challenging aspects of security compliance audits.
Instead of cobbling together evidence from various systems or manually tracking recovery tests, everything you need is available through a single, intuitive interface. When your auditor asks for evidence of backup testing and recovery procedures, you're just one click away from providing complete documentation.
## What’s Next?
Security isn’t a checkbox, it’s a continuous journey.
With every audit, feature release, or infrastructure update, we aim to keep raising the bar.
If you’re a team that takes security seriously (and we think you are), know that we’re here to support you with:
- **Secure, compliant, and auditable backups**
- **Transparent practices and documentation**
- **Direct access to the people who build and secure the platform**
Thank you for trusting us, and if you ever want to chat security, compliance, or backups in general, you know where to find us.
---
_Have questions about our security practices or ISO27001 certification? We're always happy to discuss how we keep your data safe. Reach out to our team anytime._
---
# Introducing SimpleBackups Agent
Source: https://simplebackups.com/blog/introducing-simplebackups-agent
Published: 2025-05-19
Author: Laurent
Summary: SimpleBackups Agent launches in private release. Backup Docker containers, Kubernetes pods, and environments without SSH. Early access June 2025.
After countless customer conversations about backup challenges in complex environments, we're thrilled to announce **SimpleBackups Agent** is now available in private release. This isn't just another feature, it's our direct response to real problems you've shared with us.
👉 [**Apply to the SimpleBackups Agent Private Release**](https://tally.so/r/mB5EVe)
## The stories that shaped Agent
Over the past year, we've had countless conversations with our community.
While our SSH-based approach serves most users perfectly, certain scenarios kept surfacing in support tickets and feature requests.
Developers working on air-gapped servers, teams with strict firewall policies, and those running complex Kubernetes deployments all shared a common challenge, they needed backup solutions that worked within their specific constraints.
That's how SimpleBackups Agent was born. Not as a replacement for what works, but as an expansion of what's possible.
## Where Our Users Needed Something Different
Our SSH-based solution remains the gold standard for most scenarios. But specific use cases kept surfacing where teams needed something different:
**Kubernetes Sidecar Pattern:** Deploy the Agent as a sidecar in your pods. Suddenly, backing up application data becomes as natural as logging, it's just there, working quietly in the background.
**Private Database Protection:** Your databases don't need public IPs anymore. The Agent connects outbound, keeping your infrastructure locked down while ensuring your data stays protected.
**Development Team Collaboration:** Share consistent database states across your team. That perfect test database you host locally? Your teammates can now access it instantly.
**White-Label and Managed Services:** If you're providing infrastructure services to clients, the Agent can automate backups on their systems without requiring SSH access to their servers.
**Firewalled Staging Environments:** Those locked-down staging servers that mirror production security policies? The Agent works there too, no firewall modifications required.
## We need you!
During the [private release](https://tally.so/r/mB5EVe), we're particularly interested in partners who:
- Have specific deployment constraints that traditional SSH doesn't address
- Want to integrate backups more deeply into containerized workflows
- Need solutions for environments with strict network policies
- Are willing to share detailed feedback about their experience
Your insights during this phase will help us understand not just how the Agent performs, but where it adds the most value in real-world scenarios.
## Get access
If your team has specific needs that align with what the Agent offers, we'd love to hear from you. Private access begins in early June, and we're looking for partners who can help us refine this tool into something truly valuable.
[**Applications for early access are open now.**](https://tally.so/r/mB5EVe)
---
# 2025 SimpleBackups.com - The whys and hows!
Source: https://simplebackups.com/blog/simplebackups-com-2025-refresh-why-how
Published: 2025-05-15
Author: Laurent
Summary: 2025 website improvements, the reason we did it and how we proceeded. SimpleBackups is a leading backups solution tool for storage, server, databases and applications
After nearly two years with our previous design, we're excited to announce a complete refresh of the SimpleBackups website. While we've maintained and updated our site over time, we recognized the need for a more comprehensive overhaul.
This wasn't just about a visual facelift – it was about rethinking how we communicate our value, structure our content, and create a more intuitive experience for everyone who visits. Let me walk you through what changed and why.
## The Journey to a Better Experience
When we launched our previous site, we were focused on rapid growth and expansion. This led to a sprawling structure with thin landing pages and placeholder content that, frankly, didn't always provide the depth our users deserved.
As our product evolved and our understanding of our users deepened, the disconnect between who we are, what our product is and how we presented it online became increasingly apparent. We needed alignment between our maturing product and our digital presence.
### Navigation & Structure Reimagined
The most fundamental change is how we've organized our content. Rather than scattering information across numerous thin pages, we've:
- **Consolidated content into a catalog structure** – making related information easier to find
- **Simplified navigation** to clearly articulate our products and solutions
- **Created logical pathways** for different users to find exactly what they need
This structural change reflects our philosophy: _clarity beats complexity every time_.
### Design That Communicates
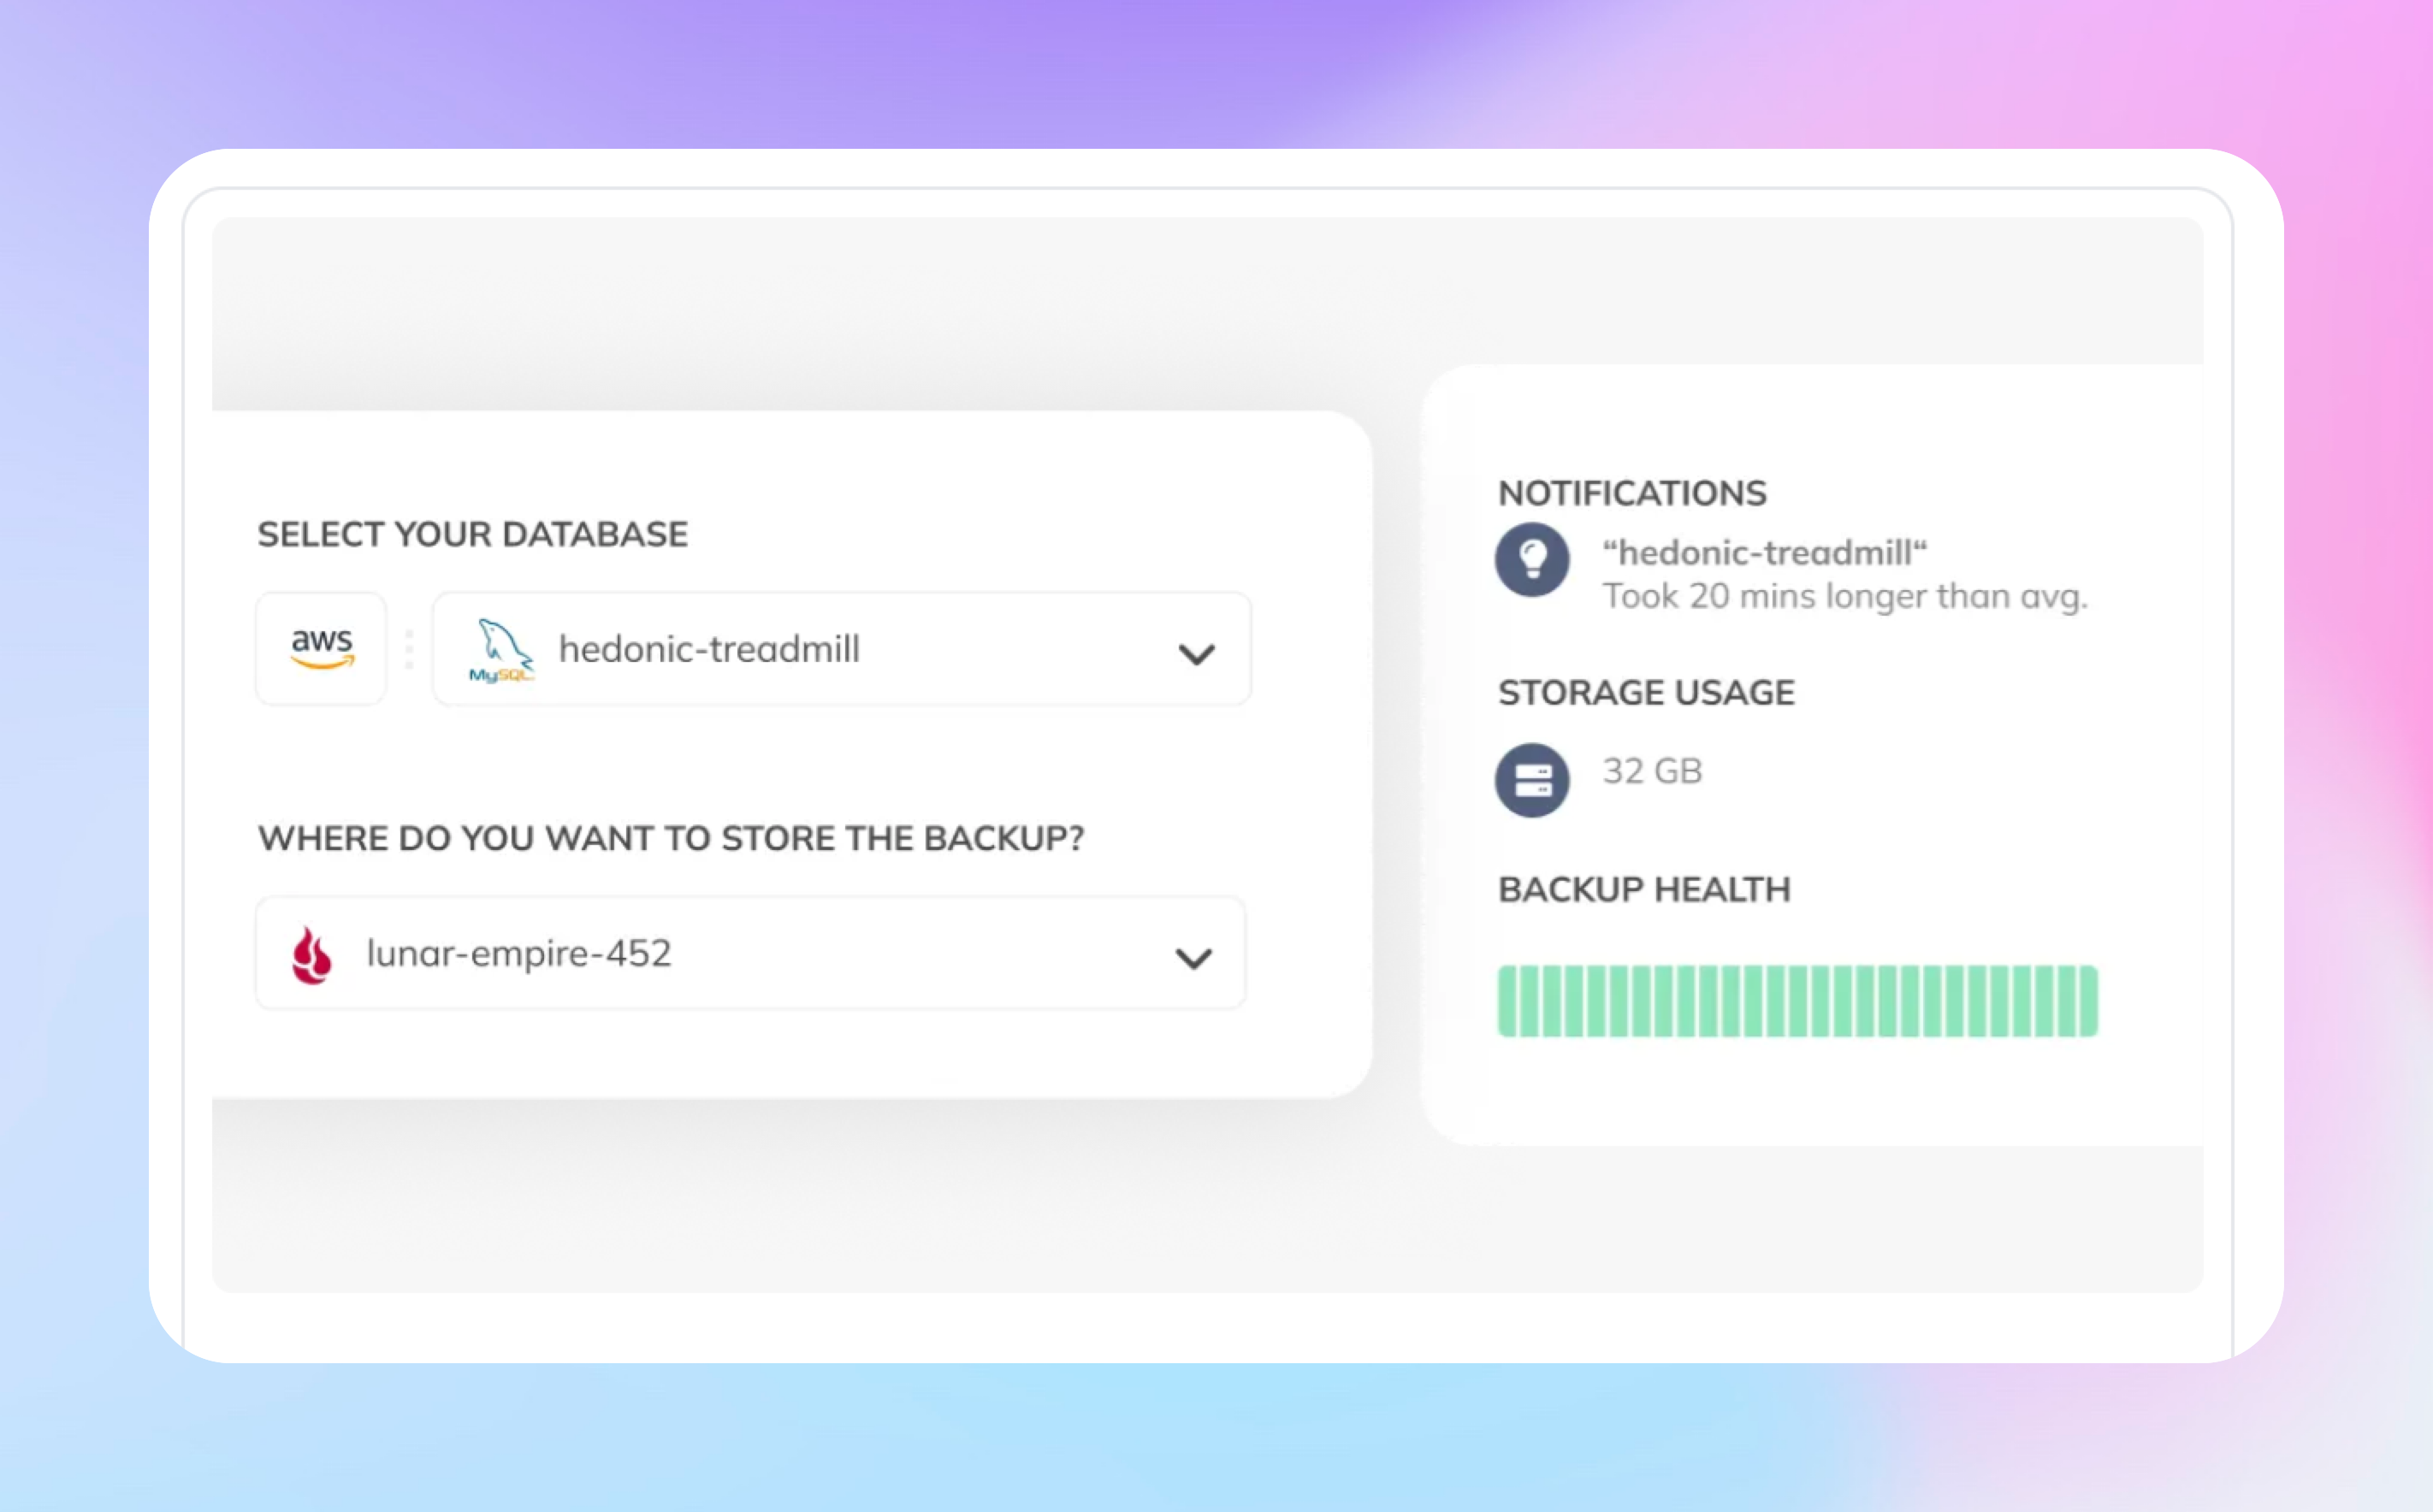
I'll be honest – when we started this redesign, we faced a difficult truth: our users weren't connecting with walls of text describing features. We needed to show, not just tell.
This realization transformed our approach completely. We've embraced visual storytelling as our primary communication method, with:
- **In-app videos that showcase real workflows** – allowing you to see exactly how SimpleBackups handles your backup scenarios before you even sign up
- **Custom illustrations for every key concept** – we spent countless hours ensuring these visuals actually clarify complex ideas rather than serving as mere decoration
- **Strategic screenshots** that reveal the interface at critical moments, carefully selected to answer the questions we kept hearing from users
- **A modern, breathing layout** – we've significantly reduced text density and increased white space, letting important elements shine
### Beyond Aesthetics: Tailoring Content to Real Needs
When we stepped back and looked at how people were actually using our site, we realized something important: one size doesn't fit all. Different audiences come to us with unique problems, technical backgrounds, and decision-making processes.
This insight led to one of our most significant shifts – moving from generic product descriptions to tailored experiences for specific audiences and use cases:
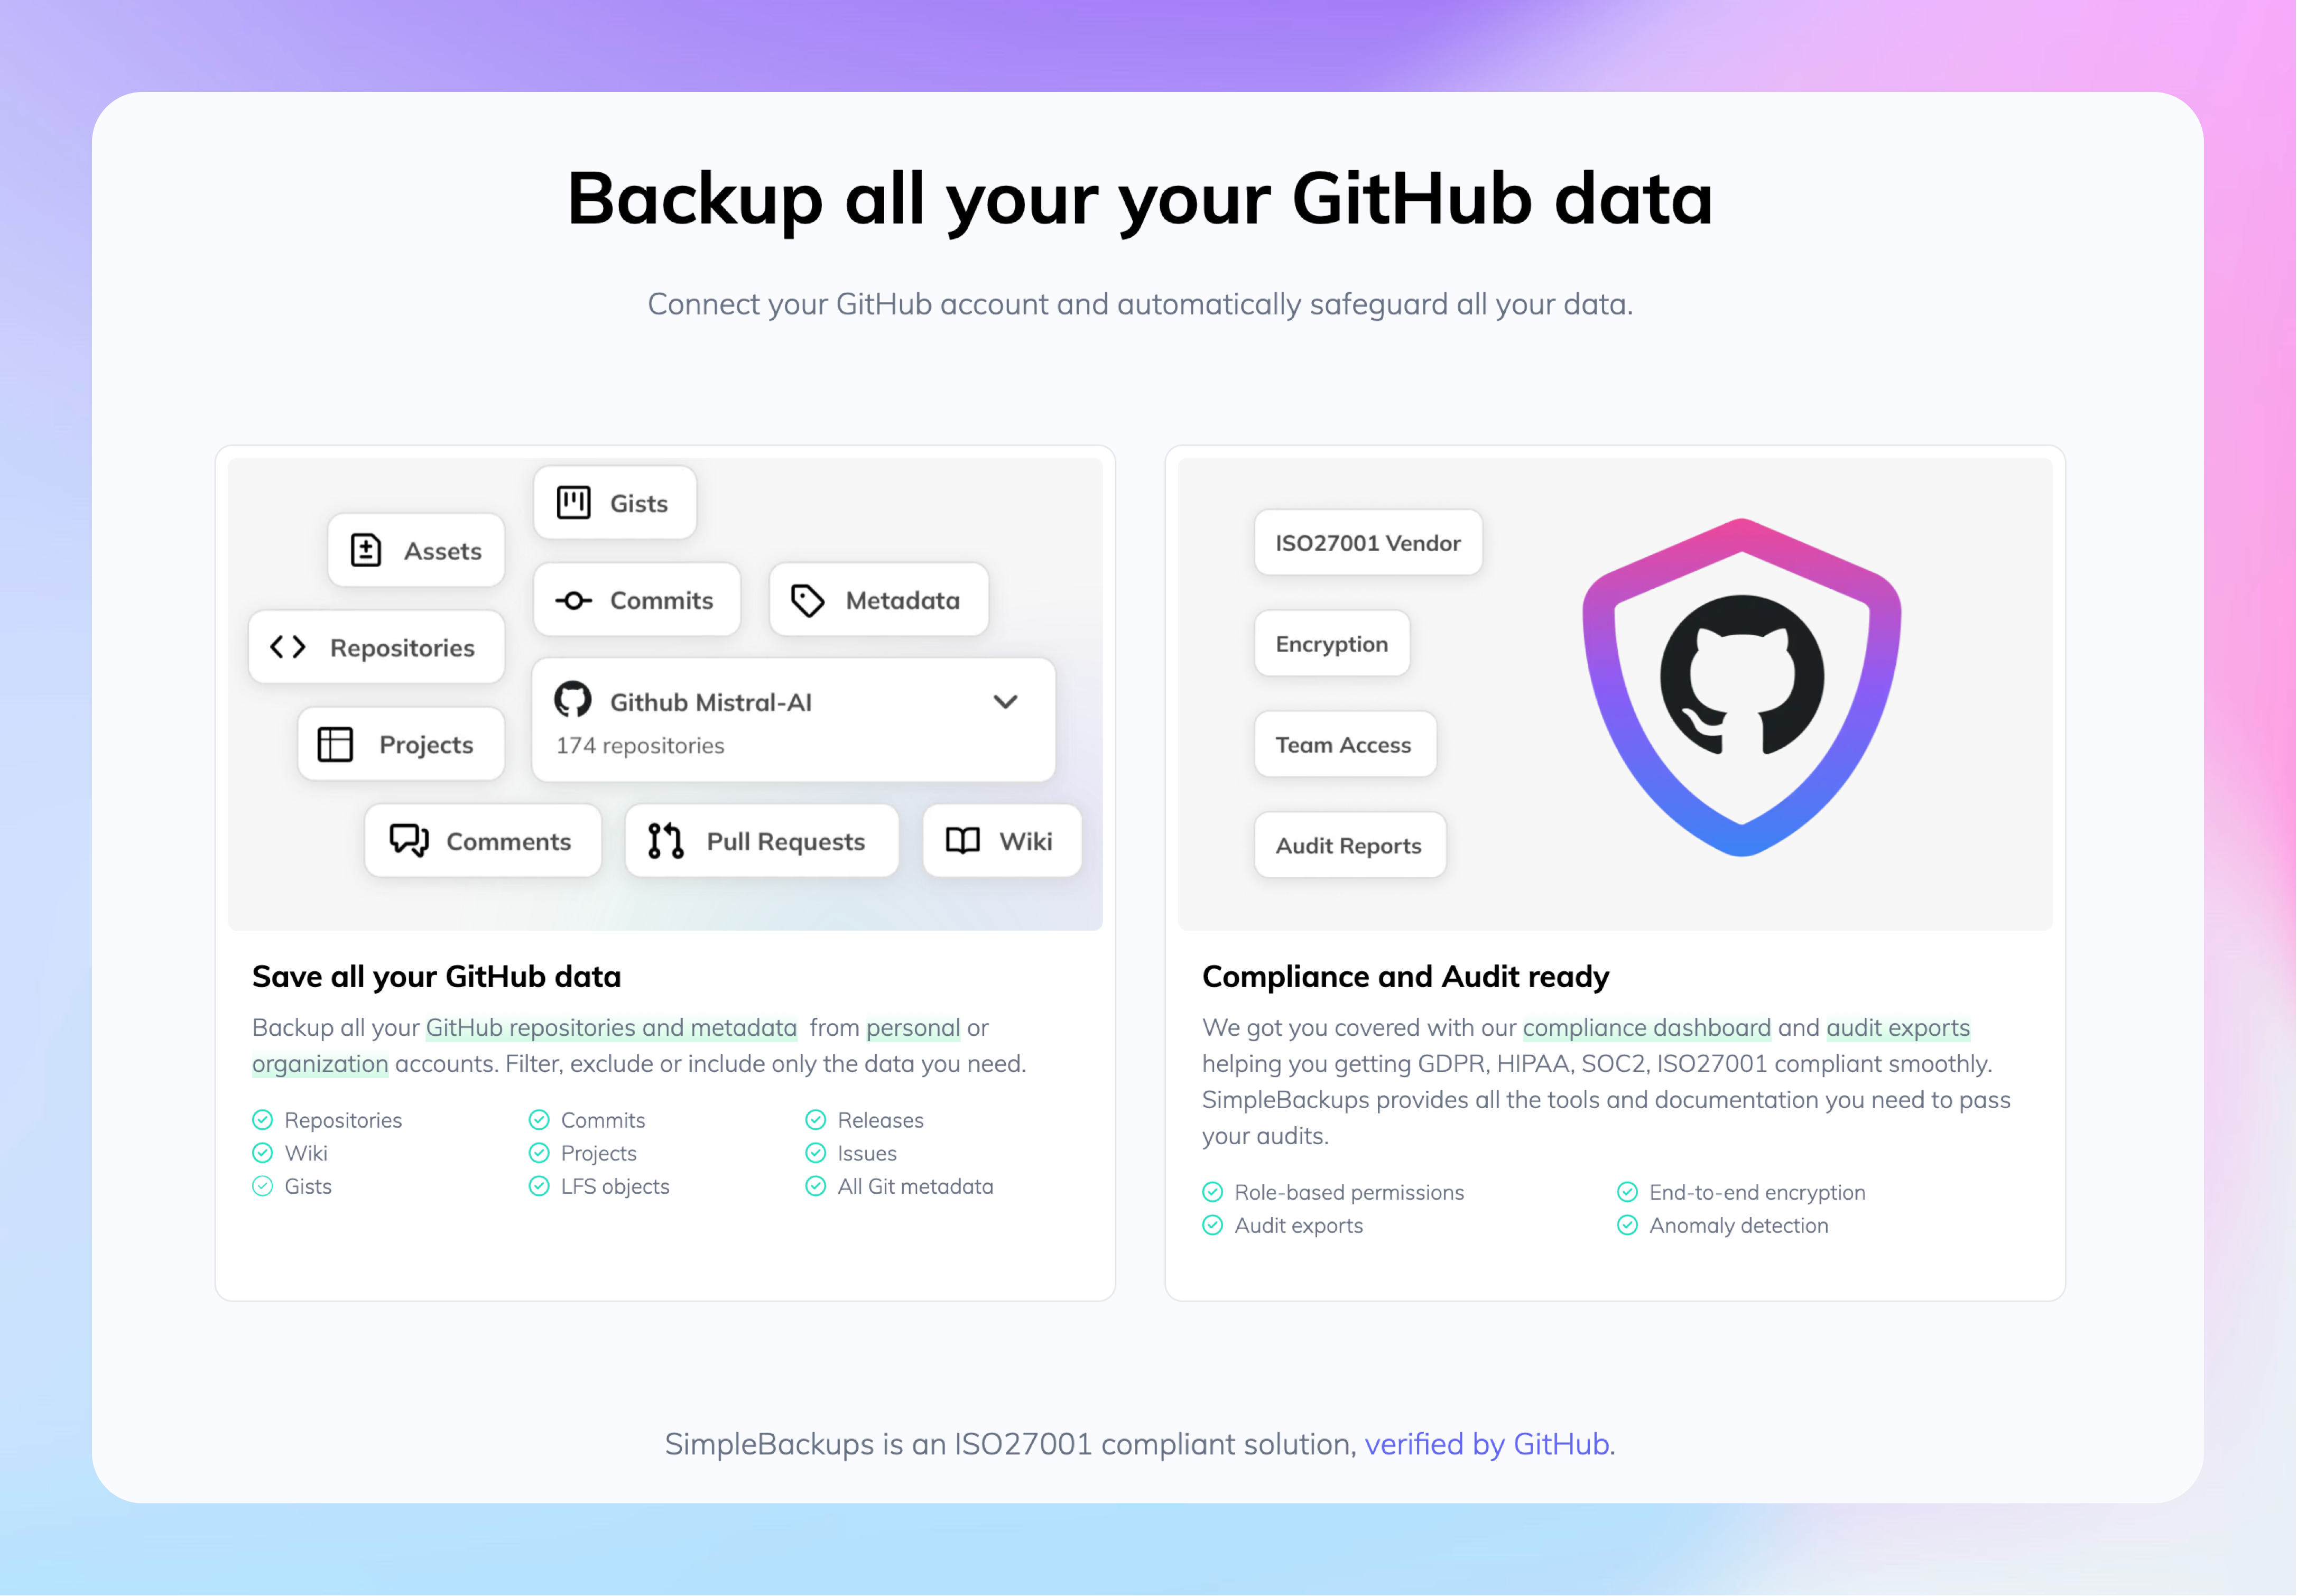
**For Our Core Products**, we completely reimagined pages for our most popular integrations like **Notion**, **MySQL**, and **GitHub**. Gone are the abstract feature lists. Instead, you'll find: illustrations, screenshots, videos ...
**For Different User Types**, we created dedicated pages for the three distinct groups we serve: developers, startups and enterprises. Each persona has its concerns, needs and level of knowledge so we tailored these pages accordingly.
## Improved Security page and related content
Security features have always been robust, but we failed at communicating them effectively. The hard truth? Most visitors skipped our security page entirely.
We revamped it fully, integrating content we had created for the "convince my boss" page together with content about our ISO27001 certification.
We also integrated more of our security features on each product pages, including the most common questions people usually asks our team when they reach out to us via chat.
## Side note for the techies: we moved to NextJS
Moving to NextJS wasn't initially in scope for this project – it emerged from a frustrated late-night Slack conversation that started with "What if we just...?" The question turned into a weekend experiment, which evolved into a full migration plan.
The most profound change wasn't technical at all – it was psychological. The website transformed from a burden we avoided touching to a living canvas we're excited to improve. When a user points out something unclear, we fix it immediately instead of adding it to a growing backlog of "things we'll update when we have enough to justify a deploy."
Looking back, our biggest mistake was tolerating technical friction for so long. The migration took less time than we'd spent collectively complaining about the old system. Sometimes the best technical decisions aren't about chasing the newest framework – they're about honestly assessing what's slowing your team down and having the courage to make a change.
---
# How to Mount S3-Compatible Storage on Your Server and Access it in Your Filesystem
Source: https://simplebackups.com/blog/how-to-mount-s3-compatible-storage-on-your-server-and-access-it-in-your-filesystem
Published: 2025-02-24
Author: Nour
Summary: Mounting cloud storage as a local filesystem can simplify file management and streamline workflows. In this post, learn how to seamlessly integrate and access your data from Amazon S3, Google Cloud Storage, and Backblaze B2 directly in your Linux environment. Discover step-by-step instructions using s3fs-fuse, gcsfuse, and rclone—from securing credentials to setting up mount points—so you can work with your cloud files as if they’re stored locally.
Managing files directly from cloud storage services—like Amazon S3, Google Cloud Storage (GCS), and Backblaze B2—can simplify your workflows. By mounting these services into your local filesystem, you gain the convenience of interacting with them as if they were ordinary directories on your server. Below, we’ll explore three methods to achieve this on a Linux environment.
---
## Mounting S3 Buckets with *s3fs-fuse*
### Step 1: Install *s3fs-fuse*
On Ubuntu or Debian-based systems, run:
```bash
sudo apt-get update
sudo apt-get install s3fs
```
### Step 2: Configure Credentials
Create a file (e.g., `/etc/passwd-s3fs`) containing your AWS Access Key ID and Secret Access Key in the format:
```bash
AWS_ACCESS_KEY_ID:AWS_SECRET_ACCESS_KEY
```
Then secure it so only root can read or write:
```bash
sudo chmod 600 /etc/passwd-s3fs
```
### Step 3: Mount Your S3 Bucket
Create a mount point and mount the bucket:
```bash
sudo mkdir /mnt/s3
sudo s3fs mybucket /mnt/s3 -o passwd_file=/etc/passwd-s3fs
```
Replace `mybucket` with the name of your S3 bucket. You can now access the contents of `mybucket` at `/mnt/s3` just like any local directory.
## Mounting Google Cloud Storage with gcsfuse
### Step 1: Install `gcsfuse`
For Ubuntu or Debian-based systems, add the GCSFUSE repository and install:
```bash
export GCSFUSE_REPO=gcsfuse-`lsb_release -c -s`
echo "deb http://packages.cloud.google.com/apt $GCSFUSE_REPO main" | sudo tee /etc/apt/sources.list.d/gcsfuse.list
curl https://packages.cloud.google.com/apt/doc/apt-key.gpg | sudo apt-key add -
sudo apt-get update
sudo apt-get install gcsfuse
```
### Step 2: Authenticate with GCP
Ensure you have the Google Cloud SDK installed, then log in:
```bash
gcloud auth login
gcloud config set project [YOUR_PROJECT_ID]
```
### Step 3: Mount Your GCS Bucket
Create a mount point and use gcsfuse to mount your bucket:
```bash
sudo mkdir /mnt/gcs
gcsfuse my-gcs-bucket /mnt/gcs
```
Replace `my-gcs-bucket` with the actual name of your bucket. You can now see all your GCS objects at `/mnt/gcs`.
## Mounting Backblaze B2 with rclone
Backblaze B2 supports an S3-compatible API—which can be used with `s3fs`—but using `rclone` is a popular alternative that supports many cloud providers.
### Step 1: Install rclone
On Ubuntu or Debian-based systems:
```bash
curl https://rclone.org/install.sh | sudo bash
```
### Step 2: Configure rclone
Run:
```bash
rclone config
```
Follow the prompts to create a new remote for Backblaze B2. You’ll need your Account ID and Application Key.
### Step 3: Mount B2
Create a mount point and mount the remote:
```bash
sudo mkdir /mnt/b2
rclone mount b2-remote:my-bucket /mnt/b2 --daemon
```
Replace `b2-remote` with the name you gave your B2 remote, and `my-bucket` with the name of your bucket. The `--daemon` flag allows the process to run in the background.
---
Mounting cloud storage services into your local filesystem provides a convenient way to manage files without switching between local and web-based interfaces. Each tool—`s3fs` for Amazon S3, `gcsfuse` for Google Cloud Storage, and `rclone` (or `s3fs`) for Backblaze B2—has unique options for caching, performance, and security. Before deploying these in a production environment, review resource usage, network latency, and potential costs, as large data transfers can quickly add up. By keeping an eye on both performance and budgeting factors, you can make the most of your cloud storage while maintaining a smooth workflow.
---
# Docker and MySQL: A Technical Guide for Developers
Source: https://simplebackups.com/blog/docker-and-mysql-a-technical-guide-for-developers
Published: 2025-01-31
Author: Laurent
Summary: This guide walks you through Docker installation, MySQL container setup, version management, and robust backup strategies.
**tl;dr**
Docker revolutionizes database management by providing lightweight, reproducible environments for MySQL. This guide walks you through Docker installation, MySQL container setup, version management, and robust backup strategies.
## Understanding Docker: The Container Revolution
### What is Docker?
Docker is a powerful platform that enables developers to create, deploy, and run applications using containers. Unlike traditional virtual machines, containers:
* Virtualize at the operating system level
* Are lightweight and resource-efficient
* Ensure consistent environments across development and production
* Simplify dependency management
* Enable rapid scalability and deployment
### Docker Installation Guide
#### For Linux (Ubuntu/Debian):
```shell
# Update package index
sudo apt-get update
# Install dependencies
sudo apt-get install apt-transport-https ca-certificates curl software-properties-common
# Add Docker's official GPG key
curl -fsSL https://download.docker.com/linux/ubuntu/gpg | sudo apt-key add -
# Set up stable repository
sudo add-apt-repository "deb [arch=amd64] https://download.docker.com/linux/ubuntu $(lsb_release -cs) stable"
# Install Docker CE
sudo apt-get update
sudo apt-get install docker-ce
```
#### For macOS:
1. Download Docker Desktop from official Docker website
2. Install the .dmg file
3. Launch Docker Desktop
4. Complete initial setup wizard
#### For Windows:
1. Download Docker Desktop for Windows
2. Enable Hyper-V and Windows Containers features
3. Install and restart your system
## MySQL Container Management
### Creating Your First MySQL Container
```shell
# Pull MySQL official image
docker pull mysql:latest
# Run MySQL container
docker run --name my-mysql-container
-e MYSQL_ROOT_PASSWORD=your_secure_password
-p 3306:3306
-d mysql:latest
```
### Managing Multiple MySQL Versions
Different projects often require different MySQL versions. Docker simplifies this complexity:
```shell
# MySQL 5.7
docker run --name mysql-5.7
-e MYSQL_ROOT_PASSWORD=password57
-p 3307:3306
-d mysql:5.7
# MySQL 8.0
docker run --name mysql-8.0
-e MYSQL_ROOT_PASSWORD=password80
-p 3308:3306
-d mysql:8.0
```
### Switching Between MySQL Containers
1. List running containers:
```shell
docker ps
```
2. Stop current container:
```shell
docker stop
```
3. Start desired container:
```shell
docker start
```
## Database Backup Strategies
### Manual Backup Command
```shell
# Backup entire database
docker exec CONTAINER_NAME mysqldump -u root -p database_name > backup.sql
# Backup specific tables
docker exec CONTAINER_NAME mysqldump -u root -p database_name table1 table2 > specific_backup.sql
```
### Automated Backups with SimpleBackups
If you want to automate your backups securely and store your backups remotely with confidence, leveraging anomaly detection, granular access controls, and comprehensive security features that meet the most stringent production requirements, SimpleBackups was purpose-built for exactly this scenario.
Crafted with production environments in mind, the platform delivers a smooth, intuitive user interface that enables rapid setup and provides the ultimate peace of mind for technical teams who cannot compromise on data protection and operational reliability.
## Conclusion
Docker transforms MySQL management from complex infrastructure to flexible, reproducible environments. By mastering containerization, developers can focus on building great applications rather than managing intricate database setups.
## Key Takeaways
* Docker provides lightweight, consistent MySQL environments
* Multiple MySQL versions can coexist seamlessly
* Backup strategies are crucial for data protection
* Containerization simplifies database management
**Pro Tip:** Treat your containers like cattle, not pets. Be prepared to destroy and recreate them without hesitation.
That last point is exactly why the data has to live somewhere the container does not. If you are running MySQL in Docker in production, our [automated MySQL backups](/mysql-backup) dump the database on a schedule and send it offsite, so recreating a container costs you nothing.
---
# Docker Database Backups
Source: https://simplebackups.com/blog/docker-database-backups
Published: 2025-01-23
Author: Laurent
Summary: Back up databases in Docker containers with SimpleBackups. No exposed access, secure integration, and seamless setup for MySQL, PostgreSQL, MongoDB, Redis, and more.
Hey tech fam! We've just unleashed a game-changing feature that's about to make your database backup nightmares disappear faster than your last startup's pivot!
**Introducing Docker Database Backups: Backup Magic, Zero Complexity** ✨
Let's be real - backing up databases used to be like trying to parallel park a monster truck. Not anymore! 🚦
## What Makes This So Awesome?
* **Zero External Access Drama** 🙅♂️
Forget configuring complex external database access. We're bringing backups directly to your Docker host - clean, simple, secure.
* **Database Agnostic Superpowers** 💪
MySQL, PostgreSQL, MongoDB, Redis? We've got you covered. One tool to rule them all!
* **Setup So Simple, It's Almost Cheating** 🎮
Connect. Select. Backup. That's it. No PhD in DevOps required.
## The Backup Workflow (Spoiler: It's Ridiculously Easy)
1. **Host Connection**: Link your Docker host to SimpleBackups
2. **Container Selection**: Pick your database container
3. **Backup Blastoff** 🚀: Start backing up with a few magical clicks
## Behind the Scenes: Our Obsession with User Experience
We're not just building a product - we're crafting a backup solution that makes developers do a happy dance! Our team has poured countless hours into making this feature so intuitive, it practically backs up itself.
**Sneak Peek**: What's Coming Next? 🔮
Think this is cool? Hold onto your keyboards! We're actively working on supercharging Docker Backups in the coming months.
Stay tuned, stay backed up, and keep shipping amazing things! 🌟
---
# How to Analyze PostgreSQL Table Size
Source: https://simplebackups.com/blog/how-to-analyze-postgresql-table-size
Published: 2024-11-08
Author: Nour
Summary: Learn how to check and analyze PostgreSQL table sizes to improve database performance and manage storage efficiently.
When your database becomes large, you'll want to dig further and see what tables is using space and identify if how to optimize this.\
This post introduces a SQL query that provides insights into the size of tables within your PostgreSQL database, helping you make informed choices about your database structure.
### The PostgreSQL Table Size Query
The query below provides an overview of the largest tables in a PostgreSQL database, arranged from largest to smallest. It reveals the total size of each table, including all associated indexes and any additional data objects.
```plsql
SELECT
schemaname AS schema_name,
relname AS table_name,
pg_size_pretty(pg_total_relation_size(relid)) AS table_size
FROM
pg_stat_user_tables
ORDER BY
pg_total_relation_size(relid) DESC;
```
### Query Breakdown
Let's dissect the components to understand what each part contributes to the output:
* **pg_stat_user_tables**: A system view that provides statistics specifically for user-created tables, helping us filter out system tables.
* **schemaname**: Identifies the schema that contains each table, useful for distinguishing tables across different namespaces in your database.
* **relname**: The name of the table.
* **pg_total_relation_size()**: A function that calculates the total size of a table, inclusive of:
* The main table data
* All indexes
* TOAST (The Oversized Attribute Storage Technique) data, which stores oversized fields
* TOAST index
* **pg_size_pretty()**: Converts the byte count into a human-readable format, displaying results in KB, MB, or GB as applicable.
### Output Columns
The query produces the following columns:
1. **schema_name**: Specifies the schema where each table is located.
2. **table_name**: The name of the table, making it easy to identify tables for further action.
3. **table_size**: Provides the total size of the table in a human-readable format, combining all associated storage objects.
### Example Output
Here’s a sample of what you might see when running this query:
```
schema_name | table_name | table_size
-------------+-------------------+-------------
public | customer_data | 2945 MB
public | orders | 892 MB
analytics | daily_metrics | 154 MB
```
In this example, we can immediately identify the largest table in the database, `customer_data`, which occupies almost 3 GB of space. Knowing this allows us to assess whether it requires optimization or partitioning.
### Making the Most of Table Size Data
Running this query periodically can help keep your database performant and cost-effective. For example:
* **Identify Bloat**: If a table’s size grows significantly over time, consider running `VACUUM` to free up unused space.
* **Optimize Indexes**: Large tables often require optimized indexing to speed up queries.
* **Consider Partitioning**: For tables with substantial growth, partitioning by time or another logical division can improve query efficiency and maintenance.
Table size also drives how long a dump and a restore take, which is what decides whether a nightly logical backup is still practical. The [complete guide to PostgreSQL backup](/learn/postgresql-backup) covers the point where a dump stops being the right tool.
---
# PostgreSQL Backup: Custom vs Plain Export
Source: https://simplebackups.com/blog/postgresql-backup-formats
Published: 2024-11-01
Author: Laurent
Summary: PostgreSQL custom format versus plain export, what each one costs you at restore time, and how to pick between them before you take the backup rather than after.
When backing up a PostgreSQL database, choosing the right backup format is essential for ensuring flexibility, speed, and compatibility with your workflow. In SimpleBackups, we've made this choice straightforward by offering a "Quick Export" option. But what does this mean, and how does it differ from the default backup format? In this post, we’ll break down the different PostgreSQL backup formats, explore the pros and cons of each, and explain how our app makes backups easier.
## PostgreSQL Backup Formats
PostgreSQL offers multiple formats for database backups. The two primary options are the **Custom Format** (enabled by the `--format=c` flag) and the **Plain Text Format** (default). Let’s dive into each to understand what sets them apart.
### 1. Custom Format (Quick Export)
When you select the **Quick Export** in your backup options, the backup is created in **Custom Format**. This backup format is unique to PostgreSQL and provides several advantages.
**Pros:**
* **Efficient Storage**: Custom Format compresses your backup, resulting in a smaller file size than the default Plain Text Format. This can save storage space and make the backup process faster.
* **Selective Restoration**: With Custom Format, you can restore specific tables or schemas instead of the entire database. This is useful when you need to recover only a part of your data without affecting the rest.
* **Faster Restorations**: Since the backup is structured in a compressed, binary form, restoring from Custom Format can be faster than Plain Text Format for large databases.
**Cons**:
* **PostgreSQL-Specific**: The Custom Format is specific to PostgreSQL, so the backup can only be restored with `pg_restore`. You can convert one back to plain SQL with `pg_restore -f dump.sql dump.dump` if you need to read it.
* **Complexity**: Because of the format’s unique structure, third-party tools may not natively support it, limiting cross-platform compatibility.
### 2. Plain Text Format (Default)
If you don’t select the **Quick Export** in your backup options, SimpleBackups will create your backup in **Plain Text Format** by default. Plain Text Format outputs the SQL commands necessary to recreate the database in a `.sql` file. **Pros:**
* **Universal Compatibility**: Plain Text Format is a simple SQL dump, so any tool that can feed SQL to a server can restore it, and it moves cleanly between PostgreSQL versions. It is PostgreSQL SQL, though, so restoring it into MySQL or another engine still means rewriting the dialect-specific parts.
* **Readable and Modifiable**: Since it’s a text file, you can open, read, and even edit it directly, which can be useful for troubleshooting or customization.
**Cons**:
* **Larger File Size**: Unlike Custom Format, Plain Text Format does not compress the data by default, so backups are generally larger, which may lead to slower backup and restoration times.
* **All-or-Nothing Restoration**: When restoring from Plain Text, you’re often limited to restoring the entire database, which may be inconvenient if you need only certain tables or schemas.
## Choosing the Right Format
The choice between **Custom Format** and **Plain Text Format** largely depends on your use case:
* **If you need a fast, space-efficient backup and restoration process**, especially for large databases, the **Quick Export (Custom Format)** option is likely your best bet.
* **If compatibility and readability are priorities**, or you’re working in a mixed-database environment, then **Plain Text Format** might be more suitable.
Whichever you pick, the flag that produces it is `-F`, and the [pg_dump and pg_restore guide](/blog/postgresql-pgdump-and-pgrestore-guide-examples) covers the full set of options alongside it. The choice also decides your restore path: custom-format archives go back through `pg_restore` and plain files through `psql`, which [how to restore a PostgreSQL backup](/blog/how-to-restore-a-postgresql-backup) walks through in both directions.
Once the format is settled, the next step is usually taking the dump on a schedule rather than by hand. [The ultimate PostgreSQL backup script](/blog/the-ultimate-postgresql-database-backup-script) builds that out, and if you would rather not maintain it, SimpleBackups runs [automated Postgres backups](/postgresql-backup) in either format and stores them where you choose.
## FAQ
---
*This article is part of [The complete guide to PostgreSQL backup](/learn/postgresql-backup#backup-formats), an honest, practical reference from the team that backs up PostgreSQL every day.*
---
# IONOS Backup with SimpleBackups
Source: https://simplebackups.com/blog/ionos-backup-with-simplebackups
Published: 2024-10-11
Author: Laurent
Summary: Backup your IONOS Managed Databases, S3 Storage and Compute Instances right from SimpleBackups!
We’re excited to announce that SimpleBackups now integrates seamlessly with [IONOS](https://www.ionos.com/)!
We’re also working closely with the IONOS team to expand this into a broader partnership, so stay tuned for more updates in the near future!
## A few words about IONOS
For those in Germany, [IONOS](https://www.ionos.com/) likely needs no introduction, but if the name doesn’t ring a bell for others, you may know them better as 1&1. IONOS, formerly 1&1, is a Germany-based company and one of the leading cloud and hosting providers in Europe, offering a wide range of services.
While 1&1 was well-known for its Managed Web Hosting and domain management services, IONOS has expanded its offerings to include advanced cloud solutions such as Managed Databases, S3 Storage, Compute Instances, and more.
And believe it or not, they’re much bigger than you might think!
We’ve been collaborating with IONOS for some time, working towards a robust integration, and we’re thrilled to officially welcome them into our catalog of European-based cloud providers.
**Practically speaking, this means you can now:**
✅ Backup your IONOS databases using SimpleBackups
✅ Use IONOS S3 Object Storage to store all your backups
✅ Set up storage replication from or to IONOS
In the coming weeks, we’ll also release new walkthrough guides to help you get started with IONOS backup solutions.
[Our catalog of integrations](/catalog) is continuously growing, and while we remain committed to being "cloud provider agnostic," we’re especially pleased, as a European company, to support an increasing number of European-based cloud providers. This is part of our dedication to delivering the best backup solution possible, with full compliance to GDPR guidelines, ensuring our European users can leverage local infrastructure for their backups.
---
# Disaster Recovery Plan Testing and Backup Metrics!
Source: https://simplebackups.com/blog/disaster-recovery-plan-testing-and-backup-metrics
Published: 2024-10-07
Author: Laurent
Summary: Discover 2 new features available on SimpleBackups: Disaster Recovery Plan Testing and Backup Metrics!
The last few weeks have been packed as we finalized the latest release for Q3 2024!
While we continued improving many aspects of the platform, we've also joined the [GitHub Marketplace as Verified Partners](/blog/github-marketplace-verified-partner/)!
There are two specific new features that we know you'll love:
## Disaster Recovery Plan Testing
Earlier this year, at the [CyberShow Paris 2024](/blog/our-experience-at-the-cyber-show-paris-2024/), we had the chance to discuss with cybersecurity experts and auditors who highlighted a very useful feature their customers needed: a way to remind and track Disaster Recovery Plan Testing.
Ok ... tell me more now! **🙋♂️**
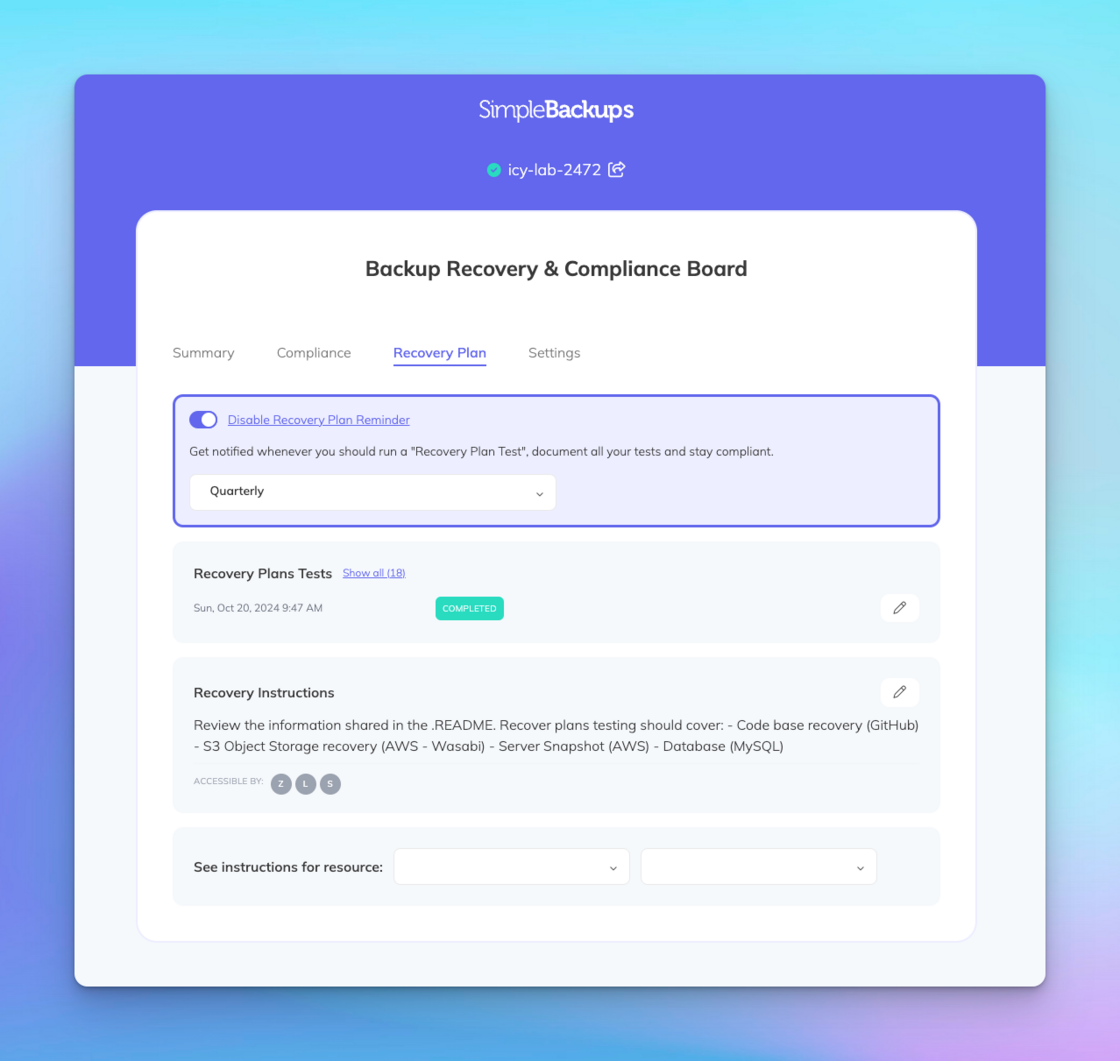
As part of your Disaster Recovery Plan (and if it isn't, … you've got some work to do), regular testing is essential.
That's why we've added a built-in reminder in SimpleBackups, designed to notify you whenever your Disaster Recovery Plan needs testing.
On top of that, it logs all your tests, making it easy to include them in your certification reports.
## Backup Metrics
With our [catalog of Application Backups](https://simplebackups.com/saas-backup/) growing, it was time to provide more in-depth insights into the content of your backups.
And now, it’s here!
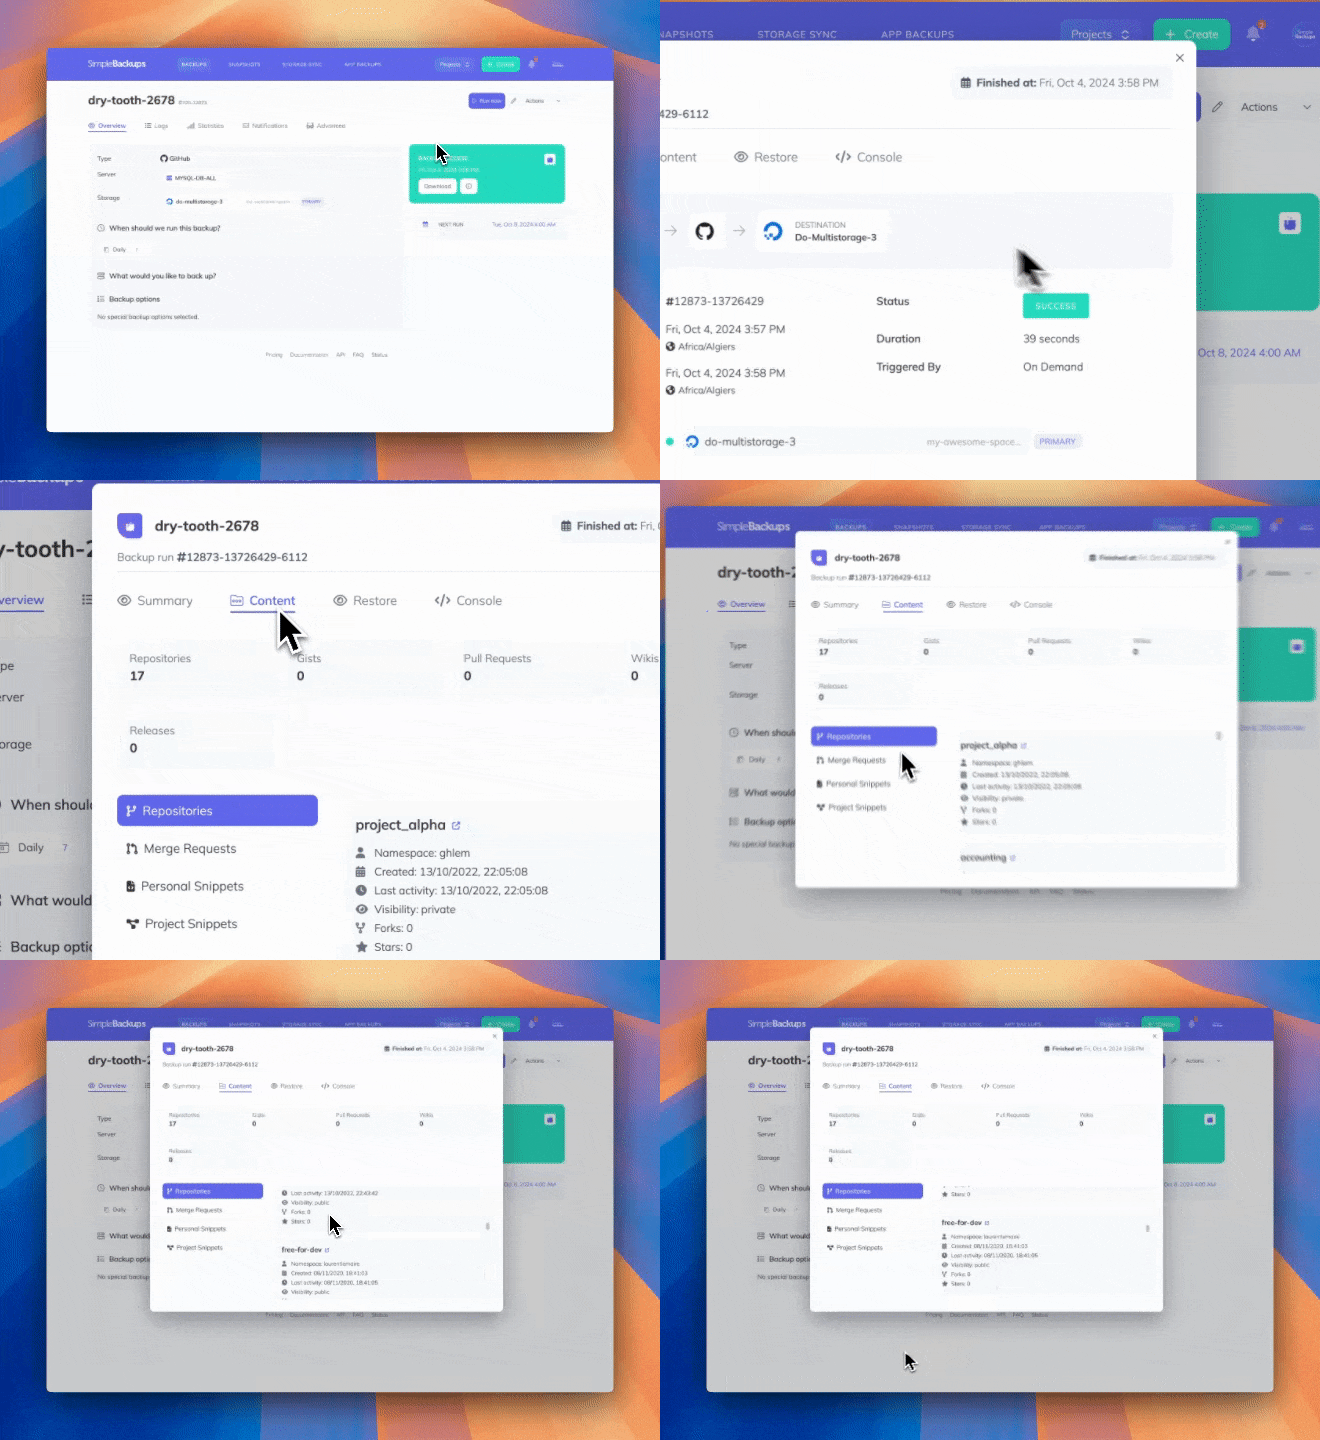
In a GitHub backup, for example, you can now view the number of repositories, Gists, pull requests, and many other detailed metrics.
All your GitHub, GitLab, Gitea, Knack, and Notion backups now benefit from this feature.
As always, feel free to reach out with any feedback or questions.
---
# Github Marketplace Verified Partner
Source: https://simplebackups.com/blog/github-marketplace-verified-partner
Published: 2024-09-28
Author: Laurent
Summary: SimpleBackups is a verified GitHub Marketplace vendor, offering you a highly secured and controllable backup solution for all your GitHub data backup.
We're now a **Verified GitHub Marketplace Vendor**!🎊
This is a big step forward for us and our users, as it reinforces our commitment to providing reliable, secure, and user-friendly backup solutions for GitHub data.
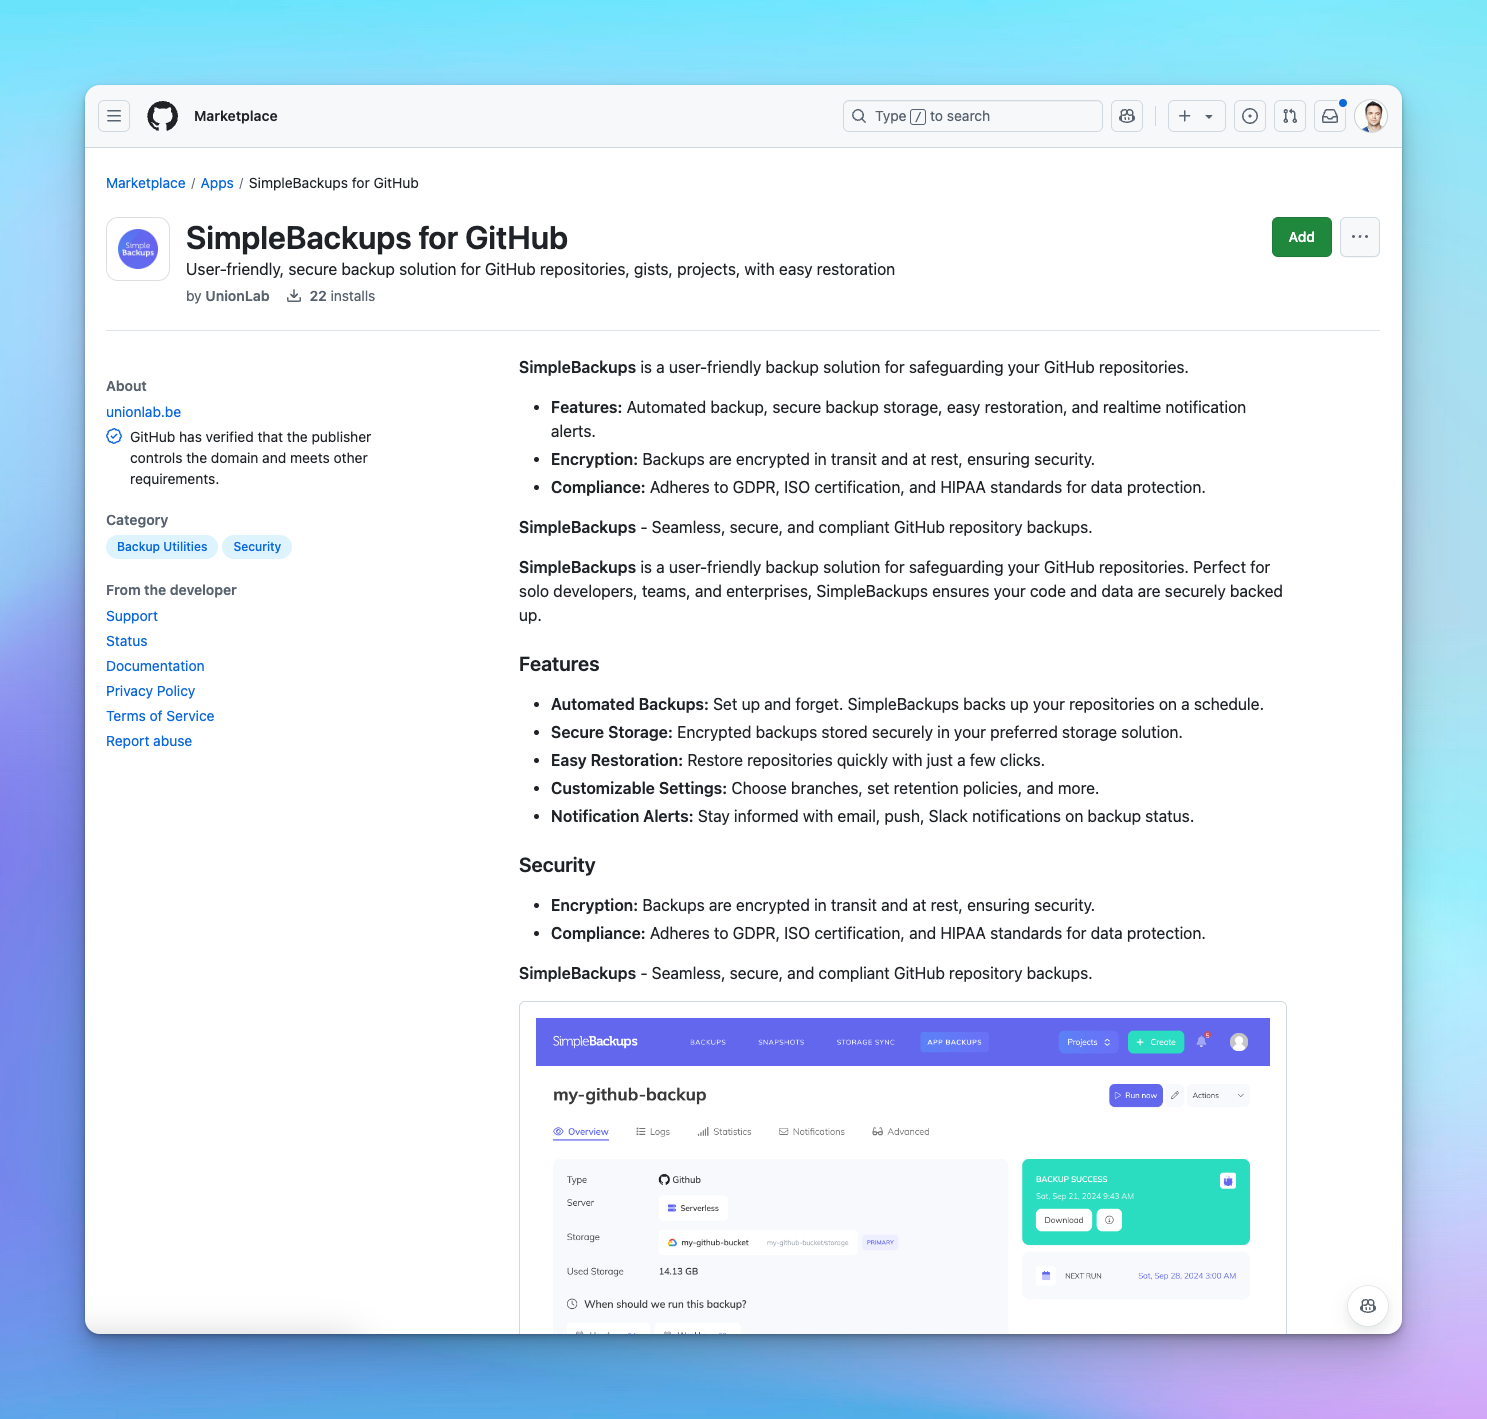
As you may now we've been supporting GitHub backup for some time now and recently released our [GitHub Backup v2](/blog/backup-your-github-data-with-simplebackups-github-v2/). The natural following milestone, was for us to be verified by GitHub and be featured on their marketplace of preferred vendors.
For you, this badge means you can confidently rely on SimpleBackups knowing we’ve been officially recognized by GitHub.
Practically it also means you can subscribe to SimpleBackups plans right from your github.com account, centralising your billing in one place.
## What SimpleBackups Offers for GitHub Users
For those managing their projects on GitHub, keeping your repositories safe and easily recoverable is critical. At SimpleBackups, we’ve designed our service to do just that, while keeping the process as straightforward as possible. Here's a quick look at what we offer:
* **Automated Backups:** Once set up, you don’t have to worry about manually backing up your repositories. SimpleBackups takes care of it automatically based on the schedule you define.
* **Backup all your GitHub data:** Our backups include everything—from code to metadata and releases—ensuring that nothing gets left behind.
* **Highest Security Standards**: SimpleBackups is ISO27001 certified, allows you to run backups without leaving your infrastructure and keep your data encrypted end-to-end.
* **Advanced Control:** GitHub users can tailor their backup schedules, manage multiple versions of backups, and access detailed logs to stay on top of their backup activities.
* **Multi-cloud Backups:** Rely on multiple storage options to store your GitHub backups, making your recovery bulletproof and resilient against any attack or system downtime.
In our recent update to SimpleBackups for GitHub v2, we made a number of enhancements to further improve the user experience, including faster backup times and an updated interface that gives you even more control over your backups. You can read more about these updates [here](/blog/backup-your-github-data-with-simplebackups-github-v2/).
---
# What is Grandfather-Father-Son Backup Strategy?
Source: https://simplebackups.com/blog/what-is-grandfather-father-son-backup-strategy
Published: 2024-09-13
Author: Laurent
Summary: Explore ins and outs of Grandfather-Father-Son backup strategy, its benefits (together with limitations), as well as practical implementations and real-life case studies.
The 21st century has often been described as “the age of information”, as data is becoming the most valuable of assets. Effective and safe backup strategies became an [essential part of any modern enterprise](https://simplebackups.com/blog/why-data-backup-strategy-is-essential-for-your-business/). Data is prone to loss and corruption, creating a need for an efficient system of data achievement and retention.
In this article we will explore ins and outs of Grandfather-Father-Son backup strategy, its benefits (together with limitations), as well as practical implementations and real-life case studies.
---
## What is GFS Backup Strategy
The Grandfather-Father-Son backup strategy (GFS in short) is one of the most popular data retention strategies. It allows for long-term data retention combined with relatively low use of resources. It’s a hierarchical method based on three retention cycles. Each cycle serves a different purpose, providing multiple layers of security. The levels are (as the name implies):
- **Son**. The most recent backup, usually performed on a daily basis, allowing for quick access to the most recent version of data. Because of the need for quickness, it is rarely a full backup, but more often than not an incremental or differential one. It is usually stored locally or on cloud.
- **Father**. On this level backups are performed weekly. Similarly to the previous level, this version is stored whether locally or on cloud, but unlike Son, it is usually a full backup.
- **Grandfather**. Full backup used for long term data storage, often stored offline as well as online, performed monthly.
We’ve prepared a table to help you visualize the GFS strategy: The most basic version of this method looks like this.
| | | | | | | | |
| ---------- | ---------- | ----------- | ------------- | ------------ | ---------- | ------------ | ----------- |
| | **MONDAY** | **TUESDAY** | **WEDNESDAY** | **THURSDAY** | **FRIDAY** | **SATURDAY** | **SUNDAY** |
| **WEEK 1** | SON | SON | SON | SON | SON | SON | FATHER |
| **WEEK 2** | SON | SON | SON | SON | SON | SON | FATHER |
| **WEEK 3** | SON | SON | SON | SON | SON | SON | FATHER |
| **WEEK 4** | SON | SON | SON | SON | SON | SON | GRANDFATHER |
It is important to note that this version of GFS backup strategy - daily, weekly and monthly - is only one out of many available. We will touch on customization of the GFS strategy in the following sections of the article.
At the time of the GFS's inception, data was stored on tapes and GFS was developed as a method of resolving the challenge of limited storage space and the need for maximum data protection. Efficient tape usage for data storage required multiple recovery points. GFS allowed for more efficient usage of limited storage space by overwriting existing tapes, yet still providing room for restoration at different points in time.
Today we have access to vastly bigger amounts of storage space. But the GFS strategy remains relevant. Its structured approach to data retention provides a reliable framework for organizations to manage backups and ensure data integrity over time.
This still makes it a go-to data backup strategy, even though data storage technology has evolved immensely.
Storage spaces aren’t completely unlimited yet. That’s why GFS operates on the basis of FIFO (First In, First Out), where the oldest backup version is overwritten with the newest one.
This approach ensures that while data remains protected and accessible, storage resources are used efficiently, making GFS a timeless and adaptable strategy in data management.
---
## What Are the Benefits and Limitations of GFS
The GFS strategy is still efficient and relevant, making it an industry standard for data retention policies for a variety of companies around the world. specific benefits and key advantages of GFS include:
- **Multiple recovery points**. If data is lost due to any reason (hardware failure, human mistake or even cyberattack), there are at least three points in time from which it can be recovered.
- **Easy data recovery**. As recent changes are captured in the “Son” backups, data can be easily retrieved to a near point in time in case of issues such as cyberattacks, malfunction, or human error.
- **Efficient usage of storage space**. By overwriting backups in short, medium and long periods it reduces redundancy, minimizing the need for excessive storage, while keeping the essential recovery points over long periods of time.
- **Simple, yet structured data management**.It is consistent and reliant, as well as easy to implement and maintain in a variety of settings (even within organizations with limited resources).
- **Compliance with regulations**. Various industries are subject to regulations regarding data availability. The GFS strategy supports compliance by maintaining backups over extended periods, ensuring that data can be retrieved to meet audit and legal obligations.
- **Long-term data preservation**. Important data can be stored for extended periods of time. This can be valuable for historic data retention, but also for business planning and monitoring progress.
- **Versatility**. As data volumes increase, the strategy can be adapted by adjusting the frequency and retention periods of backups, ensuring that the backup system remains effective.
It's important to recognize that while the Grandfather-Father-Son (GFS) backup strategy offers significant advantages, it also has its limitations that organizations should be aware of when considering its implementation. Here are the key ones:
- **Scaling challenges**. It is natural that data volume and storage requirements can grow with time, creating scalability issues. Managing multiple generations of backups becomes a more resource-intensive task as the amount of stored data grows. Additionally, the complexity of tracking and organizing a larger number of backup sets can increase, potentially leading to management difficulties and a greater risk of errors. This, however, only applies to smaller organizations and can be easily avoided with proper planning and integration of automation and implementation of backup [best practices](https://simplebackups.com/blog/database-backup-best-practices/). It is important to simply adapt to the changing conditions and take advantage of GFS’s versatility to mitigate the risk.
- **Inefficiencies in modern systems**. In modern systems, the Grandfather-Father-Son strategy can be inefficient due to its reliance on full backups, which consume significant storage and processing resources. As data volumes grow, this approach may struggle to keep pace with demands for faster backup and recovery.
- **Lack of granularity**. As backups are performed in set intervals, it creates “blind spots”. If you create a file on a particular day and then delete it, if the backup gets overwritten, retrieval from a particular moment in time won’t be possible.
---
## GFS in Practice: Use Case and Real-Life Example
Here’s an example of GFS usage in real-world scenarios.
Imagine an enterprise from the financial sector operating within the European Union. These enterprises face stringent data retention requirements not only from their internal policies but also due to external legislative mandates like the Markets in Financial Instruments Directive II (MiFID II) and the General Data Protection Regulation (GDPR). Balancing all these requirements can seem daunting, but a tailored GFS strategy can make it manageable.
In this scenario, the organization might choose to keep 30 “Sons”—daily backups that are readily available to meet GDPR's requirements for quick data access and potential deletion requests.
These backups would be easily accessible for any necessary actions, such as responding to customer requests to delete personal data.
The “Fathers,” or weekly backups, could be retained for six months, with all personal data flagged for deletion or anonymization within 30 days upon request.
This approach ensures compliance with GDPR while preserving the integrity of financial data that may need to be referenced or audited. The ability to quickly anonymize or delete personal data from these backups mitigates the risk of non-compliance, all while maintaining operational continuity.
The “Grandfathers,” or monthly backups, would be stored for at least five years, or longer if the client relationship continues, in order to comply with the long-term data retention requirements imposed by MiFID II.
However, any personal data that doesn’t need to be retained for compliance purposes would be deleted or anonymized after one year, minimizing the potential for GDPR violations while still meeting financial regulatory requirements.
As complex and challenging as the world of data retention and legislative requirements can be, with the right compliance tools and a well-structured, manageable backup strategy, these challenges can be navigated with confidence. The GFS strategy offers a methodical approach to balancing the often conflicting demands of data retention, making it easier for organizations to stay compliant without compromising their operational needs.
Proof that it works? The GFS strategy remains an industry standard for data retention across various sectors, standing the test of time due to its flexibility and effectiveness. One of the most compelling endorsements of GFS is its use by major financial institutions, including [Bank of America](https://www.oracle.com/docs/tech/database/19280-bankofamerica.pdf), which has relied on this method to meet its own complex data management needs.
A significant advantage of the GFS strategy is its nearly endless possibilities for customization, allowing it to meet the needs of businesses of various sizes and industries. For instance, while a healthcare provider might need to retain data for up to 10 years to comply with industry regulations, a tech startup might prioritize having more “Sons” to ensure frequent recovery points and immediate data access. This flexibility in retention periods and backup granularity allows organizations to tailor the GFS strategy to their specific needs, ensuring that it remains relevant and effective regardless of industry or operational scale.
By offering this level of customization, the GFS strategy continues to provide robust and adaptable solutions for the ever-evolving challenges of data retention.
---
## Implementing the GFS Backup Strategy
How do we go from theorizing about an [efficient backup strategy](https://simplebackups.com/blog/saas-backups-the-ultimate-guide/) to actually implementing one? Back in the day, when tapes were still around it was quite more complicated, requiring tapes as well as physical space that would allow for storage.
Today, with the popularization of hybrid and cloud storage solutions everyone can implement GFS backup strategy.
With modern storage solutions implementing the GFS backup strategy doesn’t even have a financial barrier - you can [try SimpleBackups completely for free](https://my.simplebackups.com/register?sb_source=website) by signing up for a 7 day trial (no credit card information required)!
You are now just a few clicks away from setting up an automated GFS backup. What are the steps?
1. **Set up your account**. The 7-day free trial will start automatically. You will be required to provide a few details about yourself to set up your workspace. After that you will be taken to the configuration of your first backup!
2. **Configure your first automated backup**. At first simply choose the storage app you want to backup from the list. You can choose from some of the most popular ones, such as Dropbox, Amazon S3 or Wasabi!
3. **Choose the server that will carry out your backup job**. You can use your own infrastructure (this will require you to perform an additional set up), or select the “Serverless” option (available for premium users), which runs on SimpleBackups infrastructure, not requiring any additional action from you.
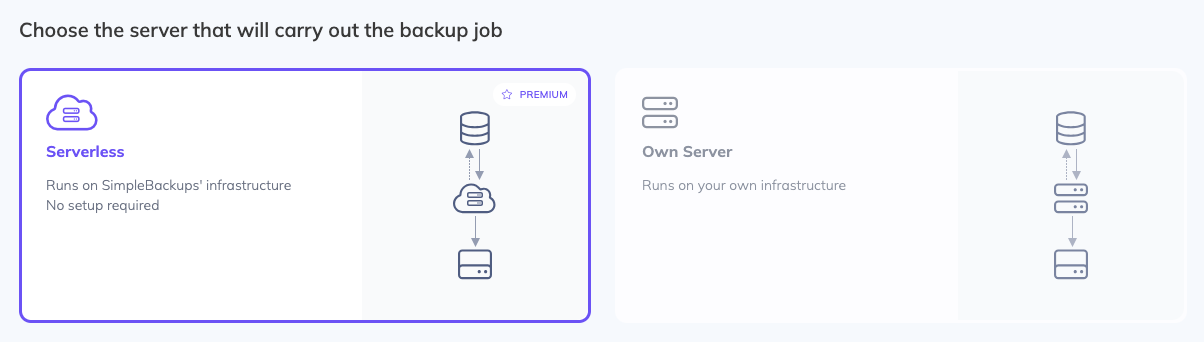
4. **Set up a storage replication schedule**. The part we’ve all been waiting for, the core of GFS strategy. Here you can set up the Son, Father and Grandfather settings. You can choose from classic Daily-Weekly-Monthly splits, as well as take advantage of some “unorthodox” options (like “Hourly” or “Twice Daily”). You can even create a custom backup schedule to tailor it exactly to your organization's needs. In some cases you can even choose specific retention.
5. **Select and configure the storage you want to backup.** The necessary data depends on the chosen app. Wasabi requires different information than a simple Google Drive or Amazon S3. Choose Source Storage, Destination Storage, Source Path and Destination Path. Then simply choose “Validate Connection”!
6. **Name, save, finalize.** The last step of the way is simply naming your backup and choosing “Create Storage Sync”. And… that’s all! You’ve successfully set up your first GFS backup strategy using SimpleBackups!
An important note to make is that the details of creating backups of particular apps might vary - depending on the specific choice you might need to fill in slightly different types of information. Don’t worry –with SimpleBackups easy to follow, simple and intuitive software setting up backup is bound to be a breeze.
There are, however, a few things that are worth taking into consideration when setting up and optimizing your GFS strategy:
- **Encrypt all backups to protect sensitive data.** Backup software typically provides encryption options and SimpleBackups is no different. If available enable “Backup Encryption” for an extra level of security.
- **Regularly review retention policies**. If you are in a “data-retention-sensitive” industry, you might want to adjust the GFS strategy to meet legal requirements for data retention.
- **Use SimpleBackups to automatically sync backups with cloud storage providers**. This ensures offsite backup availability and disaster recovery readiness.
- **Set correct retention schedules**. Most importantly, define what does “correct” mean to you in this case. As we’ve mentioned before, it all comes down to a variety of factors, from industry to storage volume, etc.
We recommend the baseline to look something like this: daily backups (Sons) should be kept for 7-14 days for optimal granularity, so that the recent data is easily recoverable while not taking excessive storage.
Fathers should be retained from 1 up to 3 months to strike a balance between access to older data and optimal, efficient storage.
Lastly, Grandfather backups should be retained for at least a year (in this case it is important to check industry-specific regulations. Make sure they are stored securely, introducing off-site or dedicated cloud storage.
- **Think of the backup timing**. SimpleBackups lets you choose specific times when backups are performed. Make sure that the backup doesn’t disrupt business operations, schedule it during off-hours. At the end of the day it is a fully automated process, so all you have to do is set the right hours!
## Summary
Grandfather-Father-Son has proven itself to be a timeless solution, staying relevant through the time of tapes up to the digital age. Increasing opportunities for automation, growing storage volumes and availability of advanced backup softwares allowing for quick and easy implementation make taking advantage of GFS easier than ever before. Its elasticity with endless room for customization make it an ideal pick for an efficient, safe and reliable data backup strategy.
Don’t wait, try it out for yourself with our 7 day trial!
---
# What is the 3-2-1 backup strategy?
Source: https://simplebackups.com/blog/what-is-the-3-2-1-backup-strategy
Published: 2024-09-12
Author: Laurent
Summary: Explore what the 3-2-1 Backup is, why it matters, how to implement it and what its benefits and limitations are.
The need for data backup within an enterprise can be justified easily. However, choosing the right backup method and strategy can be a bit more challenging. There are tons of software and hardware options available, as well as even more complex procedures and policies about how to use them.
Considering this, many businesses would like to keep it simple and would fancy one of the most popular backup strategies - 3 - 2 -1.
Unlike others, the 3-2-1 backup strategy didn't originate from any tech company. Peter Krogh, a creative photographer, formulated it.
## What is the 3-2-1 Backup Strategy?
Data loss is one of the worst disasters a business can face. In fact, [60% of businesses](https://www.inc.com/joe-galvin/60-percent-of-small-businesses-fold-within-6-months-of-a-cyber-attack-heres-how-to-protect-yourself.html) that lose their data will shut down within six months.
In most cases, unexpected data loss is caused by a poor backup strategy, typically using traditional methods like tape backup. Nearly 50% of all tape backups fail to restore successfully.
To avoid this, you need a modern, all-inclusive method like the 3-2-1 backup strategy.
### 3-2-1 Backup Strategy Definition
The 3-2-1 strategy is a backup plan that requires you to have:
- **Three copies of your data.** This means having multiple backups so if one fails, you have others to fall back on. That includes the original data and two backup copies.
- **Two different media types.** Don't store all your backups on the same type of device. For example, you could have backups on a hard drive and a cloud storage service. This protects you from device failures.
- **One off-site backup.** Keep at least one copy of your data stored away from your main location. This safeguards your data from fires, floods, and other disasters that could destroy your on-site backups.
## How to Implement the 3-2-1 Backup Strategy
Follow these steps to implement the 3-2-1 backup strategy.
### Choosing Appropriate Backup Media
The first step is to choose the right backup media. Since the 3-2-1 backup strategy requires you to work with multiple types of media, you don't have to stick to one. Here are the most common options.
- **Internal Hard Drives:** These are great for local backups, but be aware of limited capacity and potential failure.
- **External Hard Drives:** They offer more capacity and portability – ideal for off-site backups.
- **Network Attached Storage (NAS):** NAS provides centralized storage and can be accessed by multiple devices.
- **Cloud Storage:** Cloud storage offers scalability and accessibility but can be pricey and unreliable in terms of data privacy.
### Setting Up Local and Off-site Backups
The most important part of the 3-2-1 strategy is making sure you have enough copies of your data in different places. First, you need to have a local backup. This could be your main data center, where you typically store all your company data.
Next, you need to have an off-site backup to protect your data in case your primary storage location becomes vulnerable to:
- Fires, floods, earthquakes, and other natural disasters
- Theft and vandalism
- Hardware failures, software crashes, or human error
- Ransomware attacks or malware infections
In that case, you'll still have a copy of your data in an off-site location. That can be anywhere, whether you utilize cloud storage services like Amazon S3 or opt for colocation data centers.
### Selecting and Configuring Backup Software
The next step is finding the right backup software to create copies of your data. It's the first step in implementing an effective data protection strategy. Here are the key purposes of backup software:
- **Automation**: Backup software speeds up the file duplication process, reducing the risk of human error and ensuring consistency in backup creation.
- **Scheduling**: It allows you to schedule backups at regular intervals, such as daily, weekly, or monthly, based on your data sensitivity and business needs.
- **Versioning**: Many backup software solutions support versioning. That means you can retain multiple different copies of your data over time. This is particularly useful for recovering older versions of files in case of accidental deletions or corruption.
- **Compression**: To reduce the need for extra storage, backup tools often shrink the size of backup files without compromising data integrity.
- **Encryption**: Backup tools use encryption to protect sensitive data against unauthorized access. If they don't have built-in encryption, integrating with third-party encryption tools is one of the best practices for the 3-2-1 backup strategy.
After you choose the right backup software for your business, it's time to configure it. Set up your backup tool to include all critical data and backup schedules.
### Scheduling Regular Backups and Automating the Process
Backups aren't a one-and-done process. You need to back up your data regularly to make sure you always have the latest version of every document. That's especially true if you're using cloud storage services.
Luckily, most backup software solutions have automatic backup features. That means you can adjust the settings to automatically back up the data daily, weekly, monthly, or any customized variation.
The ideal backup frequency depends on the sensitivity of your data. For instance, if you're dealing with personal information from customers, you must update the backup every day to ensure nothing is lost.
Your current regulatory requirements also impact your backup frequency. For example, healthcare providers under HIPAA may be required to back up patient information regularly to ensure data availability in case of an emergency.
Versioning is also a smart tactic most companies implement in their 3-2-1 strategies. That means retaining multiple copies of your data over time. If you accidentally delete the latest version, you'll always have the one before it.
### Testing Backups to Ensure Data Integrity and Accessibility
You don't want to wait until the last moment to make sure your 3-2-1 strategy is working. Here are three steps to help you test and verify your 3-2-1 backups.
1. Remember to periodically test the backup tool to ensure your data is accessible and not corrupted.
2. Simulate data recovery scenarios by restoring files or folders from your backups. This way, you'll know how the backup tool will perform in case of an emergency.
3. Use checksums or hashing algorithms to compare the original files with their backed-up versions. For example, you can create a test folder with sample files and back it up. Then, restore the files on your backup tool and compare them using a checksum tool like MD5sum or SHA256sum.
## Benefits of the 3-2-1 Backup Strategy
If you already have a data backup strategy in place, you may be wondering: why should I change it? Let's look at a few benefits of the 3-2-1 backup strategy that you won't get with other methods.
### Enhanced Data Protection and Redundancy
With the 3-2-1 strategy, you have multiple copies of your data on different devices and locations. That means you won't need to worry about data loss in case of hardware failures, accidental deletions, or disasters in one location.
### Improved Recovery Times and Minimized Downtime
In the event of a data breach, the 3-2-1 strategy allows for rapid recovery with minimal business disruption and financial losses. IBM's [Cost of a Data Breach Report 2025](https://www.ibm.com/reports/data-breach) puts the global average cost of a data breach at $4.44 million — and $10.22 million in the US — but the right backup strategy can help you avoid such expenses.
### Increased Resilience Against Cyber Threats
Ransomware attacks and other breaches can lead to data corruption or deletion. With the 3-2-1 strategy, you can guarantee complete protection against such threats. That means you can easily restore your data without paying a ransom.
### Compliance With Legal and Regulatory Requirements
Many industries have specific data retention and backup requirements. For instance, [HIPAA](https://www.hhs.gov/hipaa/for-professionals/privacy/index.html) mandates that healthcare organizations retain patient records for at least six years from the date of creation or when it was last in effect. Some states may require records to be kept for up to 10 years.
Meanwhile, financial institutions must comply with [SEC](https://www.sec.gov/) and [FINRA](https://www.finra.org/) regulations. These laws often require firms to retain records related to transactions, communications, and customer information for at least three to seven years.
In Europe, the [GDPR](https://gdpr-info.eu/) requires organizations to retain personal data only as long as necessary for the purposes for which it was collected. The 3-2-1 strategy helps ensure compliance with all such regulations so you can avoid legal risks and penalties.
### Scalability and Adaptability to Future Needs
As your data storage needs grow, the 3-2-1 strategy can easily adapt to make room for newer files and backup frequencies. For instance, if you need to start backing up your data every day instead of every week, you can adjust those settings at no cost.
## Advanced Variations: 3-2-1-1-0 and Beyond
While the 3-2-1 backup strategy is a pretty solid foundation for data protection, some organizations may need even higher levels of security. In that case, they can opt for a more advanced version of the 3-2-1 strategy: the 3-2-1-1-0 rule.
Here's how it works.
- **Three copies:** As in the original 3-2-1 rule, you have three copies of your data.
- **Two different media types:** You must store your data on two different types of storage, such as hard drives and cloud storage.
- **One off-site backup:** Keep one copy of your data stored in a remote location.
- **One offline/immutable copy:** This is what sets the 3-2-1-1-0 rule from the 3-2-1 strategy. Keep one copy of your data that is completely offline and cannot be modified. It's also known as an "air-gapped" backup.
- **Zero errors:** Make sure your backup process is error-free. That means regularly testing your backups and addressing any issues as soon as you identify them.
**The 3-2-1-1-0 rule** is even more robust thanks to its offline/immutable copies. These backups are completely immune to ransomware attacks, as the malware cannot encrypt or delete data not connected to the network. Plus, the "zero-error" aspect of this rule helps you maintain the integrity of your data and reduce the risk of data corruption.
## Cost and Resource Analysis
Before changing your data backup strategy, you must determine whether the 3-2-1 rule fits your current budget. The cost of implementing this strategy mainly depends on your choice of backup medium and software.
### Disk-Based Backup
If you've opted for disk-based backup, you can expect these price ranges:
- External hard drives: $50 for a 1TB drive to $200 for a 4TB drive.
- Network Attached Storage (NAS) devices: Starts at $200 for a 2-bay model with 2TB of storage.
- Disk-to-disk backup solutions: $1,000 to $10,000 or more, depending on the capacity.
### Cloud-based Backup
Cloud-based backup is much more affordable. Business-grade cloud backup solutions cost between $10 and $50 per user per month, depending on storage capacity and features. When restoring data from the cloud, you may need to pay extra for bandwidth usage and data egress fees.
### ROI of a 3-2-1 Backup Strategy
Keep in mind that the abovementioned prices are estimates based on the current market value of different backup mediums. The exact ROI of A 3-2-1 backup strategy depends on your initial investment and your choice of backup mediums. Some are more effective than others.
Using this strategy, you can expect ROI in the form of:
- Money saved on downtime
- Avoiding costly data breaches with better data security
- Avoiding costly penalties with regulatory compliance
- Faster and more efficient disaster recovery
- No ransom paid to recover your data
## Summary
The 3-2-1 backup strategy is a proven method for protecting your valuable data from loss or corruption. It's simple yet effective, and you may make it even more robust by opting for the 3-2-1-1-0 rule. If you're ready to implement this strategy, visit [Simple Backups](https://simplebackups.com/) to explore our comprehensive backup solutions today.
---
# Introducing Supabase Object Storage Support
Source: https://simplebackups.com/blog/introducing-supabase-object-storage-support
Published: 2024-08-28
Author: Laurent
Summary: You can now connect your Supabase Object storage to SimpleBackups allowing you to: Store your backups on Supabase Storage, Migrate from/to Supabase Storage, Backup your Supabase Storage to any provider
At SimpleBackups, we're committed to ensuring that your data is safe, accessible, and easily manageable, no matter where it's stored. With the addition of Supabase Object Storage support, you now have even more flexibility and control over your backup and storage solutions.
We were already supporting Supabase database backup since 2022 and are now closing the gap with their [S3 S3-compatible object Storage released earlier this year.](https://supabase.com/blog/s3-compatible-storage) For a step-by-step walkthrough, see [how to back up Supabase Storage](/blog/backup-supabase-storage), part of [the complete guide to Supabase backup](/learn/supabase-backup).
What Does This Mean for You?
With this new integration, you can now:
#### ✅ **Store Your Backups in Supabase Storage**
Your backups can now be stored directly in Supabase Object Storage. Whether you’re managing backups for databases, files, or entire servers, you can now leverage Supabase’s highly scalable and secure storage infrastructure.
#### ✅ **Migrate Your Existing Storage to Supabase**
Already using another storage provider? No problem. With our seamless migration tool, you can easily transfer your existing storage data to Supabase Object Storage. This is pretty conveninent for those looking to consolidate their storage solutions or take advantage of Supabase’s growing ecosystem.
#### ✅ **Backup Supabase Storage to Any Provider**
Supabase Object Storage is a great place to store your data, but we know that flexibility and redundancy is key. That’s why you can also set up automated backups of your Supabase Object Storage to any other provider you prefer. Whether it’s AWS S3, Google Cloud Storage, or any other service, SimpleBackups has you covered.
Thanks for the users having voted for this feature request!\
\
Stay tuned for more updates and features as we continue to expand our services, ensuring you have the best tools at your disposal for all your backup needs. As always, feel free to reach out to our team with any questions or feedback.
---
# Backup your GitHub data with SimpleBackups GitHub V2
Source: https://simplebackups.com/blog/backup-your-github-data-with-simplebackups-github-v2
Published: 2024-08-15
Author: Laurent
Summary: We've just released our SimpleBackups GitHub Backup v2! Find a fully revamped, next-generation service that makes backing up your GitHub data easier, faster, and more secure than ever before.
**Woop, woop SimpleBackups GitHub V2 is there!**
A fully revamped, next-generation service that makes backing up your GitHub data easier, faster, and more secure than ever before. With an array of powerful new features, a brand-new intuitive interface, and compliance-ready tools, our GitHub V2 service is designed to give you complete control over your data protection strategy.
## What's New in GitHub V2?
We’ve listened to your feedback and worked hard to deliver a service that meets the needs of modern development teams. Here’s what you can expect from SimpleBackups GitHub V2:
### Revamped Intuitive UI
Navigating your backups has never been easier. Our completely redesigned user interface is intuitive and user-friendly, allowing you to manage your backups effortlessly. Whether you’re setting up your first backup or fine-tuning an existing schedule, the new UI simplifies the process with clear, easy-to-understand controls.
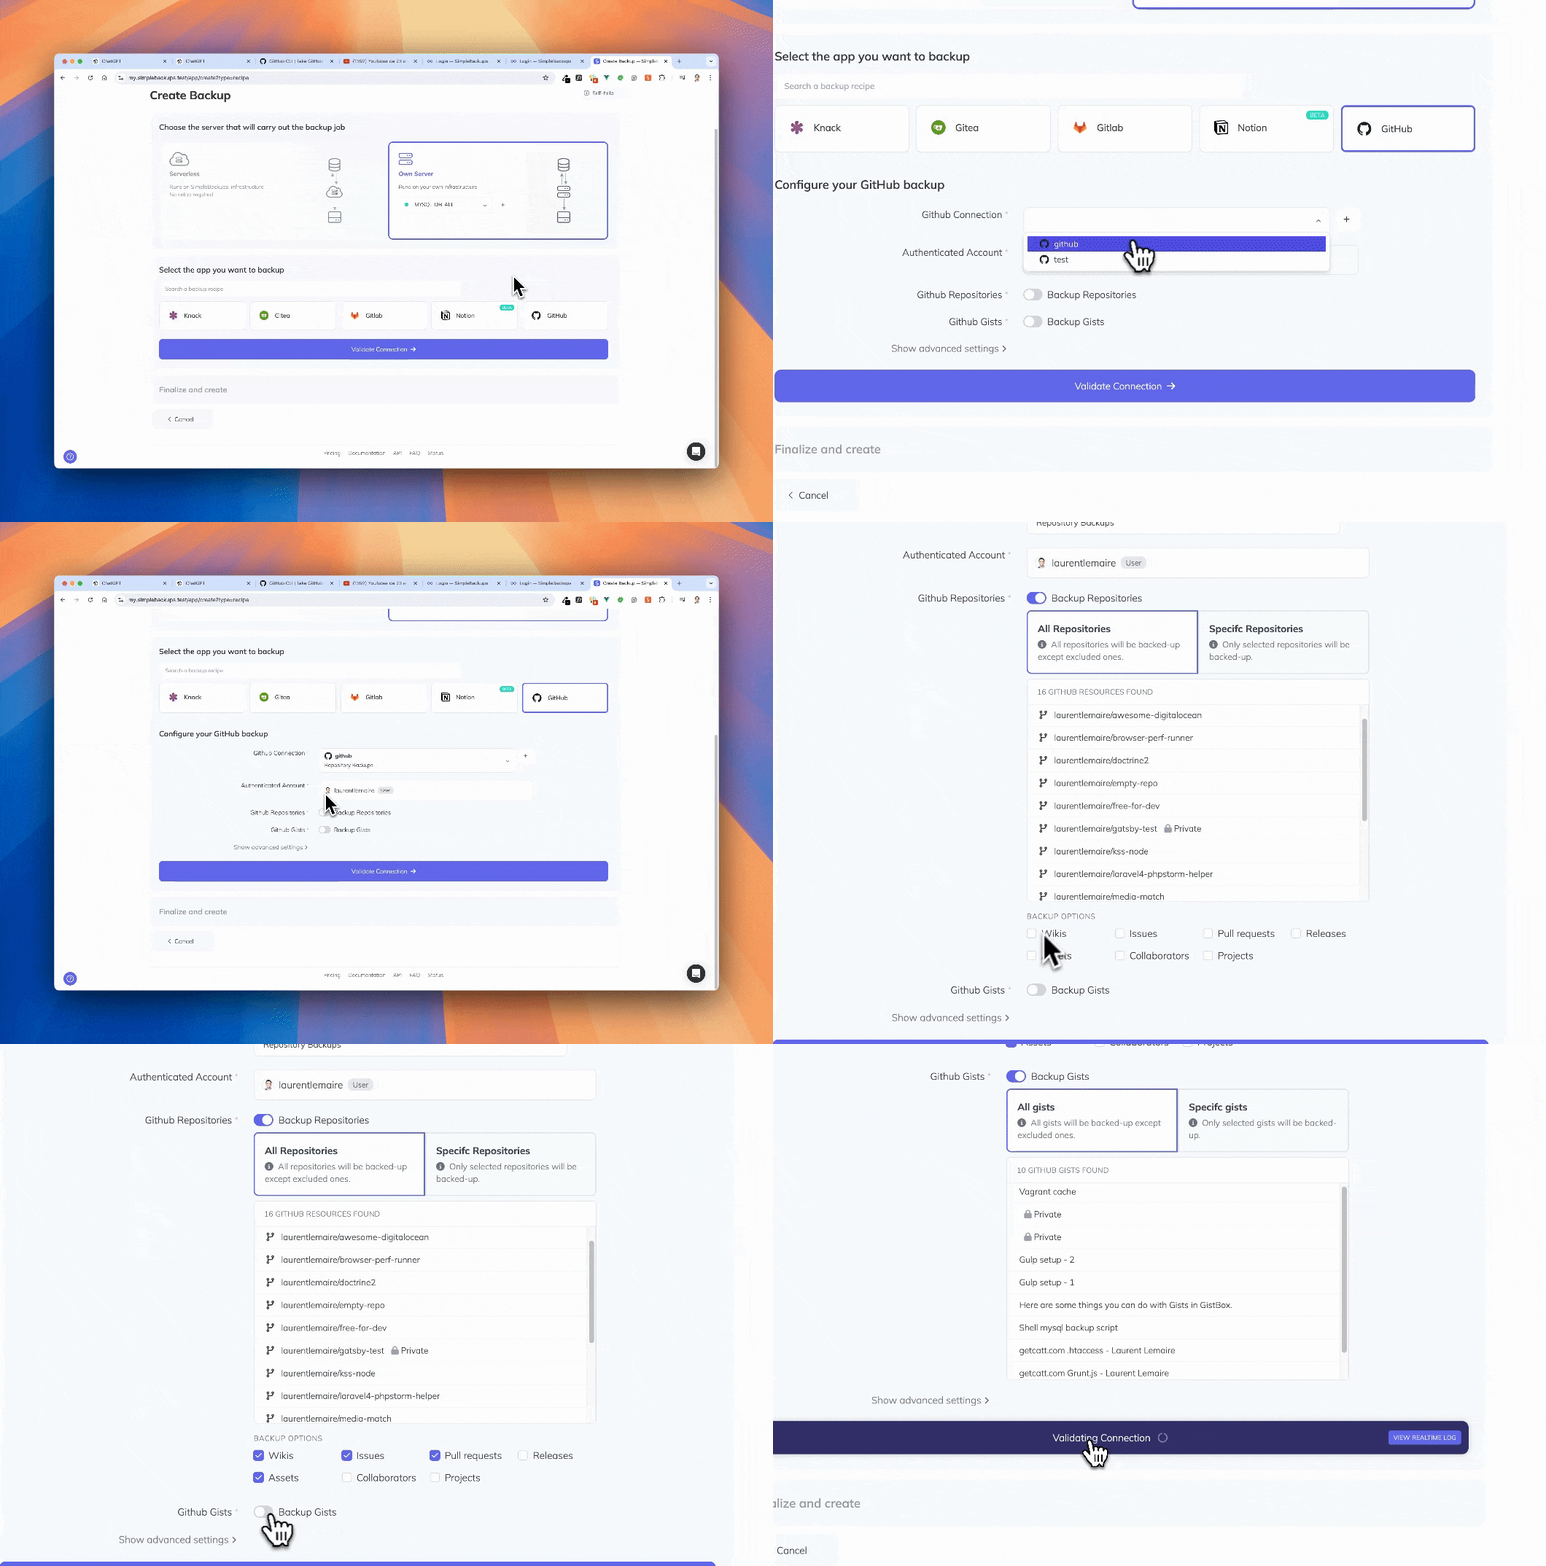
### OAuth Support for Quick and Secure Connections
Connecting your GitHub account to SimpleBackups is now faster, thanks to OAuth support.
With just a few clicks, you can authorize SimpleBackups to access your GitHub repositories, making the setup process super quick.
No more manual configuration or lengthy setup procedures—just instant, secure access to your data.
### Advanced Scope Selection
Take full control over what gets backed up with our advanced scope selection features:
* **Repository Selection**: Easily include or exclude specific repositories from your backups.
* **Metadata and Gist Backup**: Choose to back up not just your code, but also associated metadata and Gists, ensuring comprehensive data protection.
* **Automatic Repository Addition**: New repositories are automatically added to your backup schedule without any manual updates needed, keeping your backup strategy up-to-date with your development workflow.
### Multi-Storage Replication
With multi-storage support, you can replicate your backups across multiple storage locations, ensuring redundancy and resilience. Whether you prefer cloud storage, local servers, or a mix of both, SimpleBackups GitHub V2 makes it easy to safeguard your data across diverse environments.
### Flexible Schedule and Retention
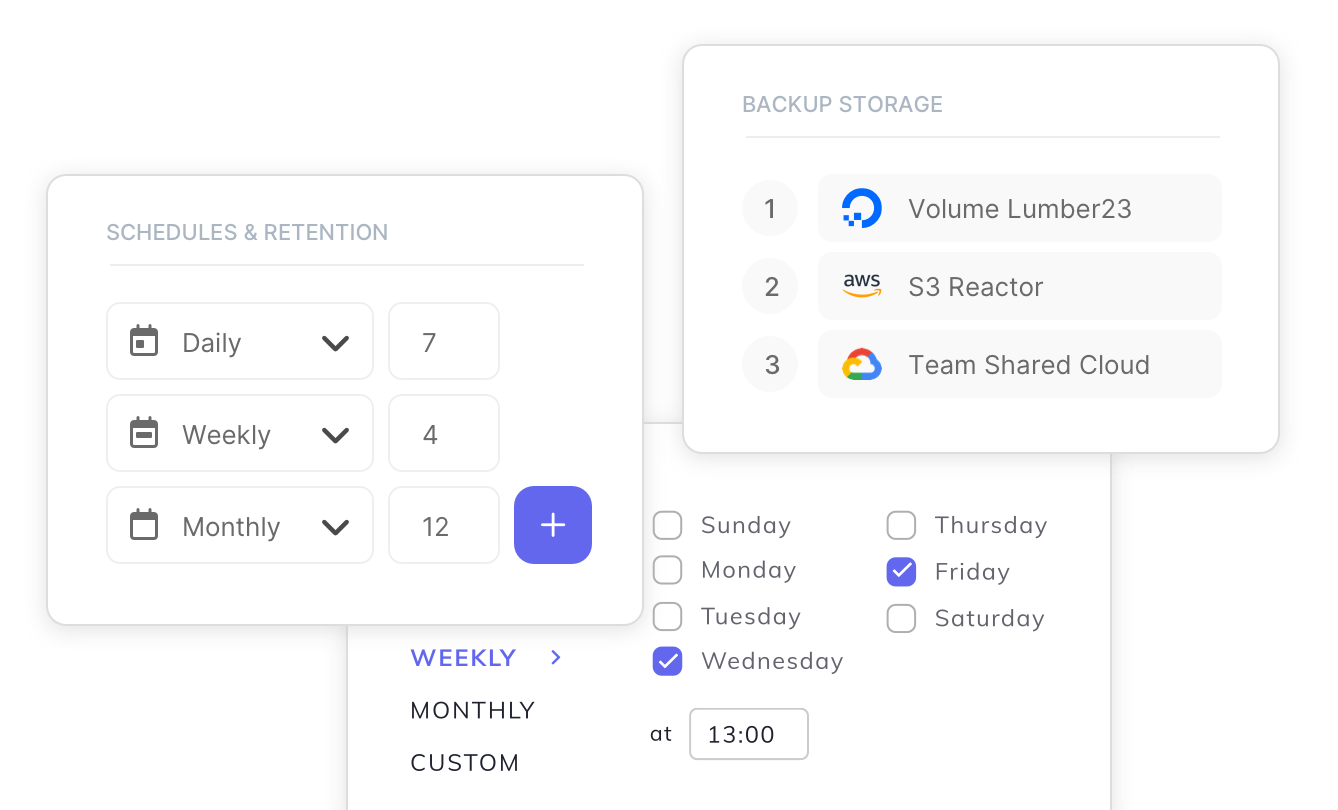
Easily set up and manage a Grandfather-Father-Son (GFS) backup strategy or any other scheduling strategy, using our flexible model. This approach allows you to maintain multiple versions of your backups over time, providing a robust data protection strategy that balances storage efficiency with comprehensive versioning.
### End-to-End Encryption
Security is at the core of everything we do.
SimpleBackups GitHub V2 offers full encryption of your backups using AES (Advanced Encryption Standard), ensuring your data is protected both in transit and at rest. We also support private key encryption and SSL for additional layers of security, giving you peace of mind that your data is safe from unauthorized access.
### ISO 27001 European based Certified Solution
[SimpleBackups GitHub V2 is ISO 27001 certified](/security-first), affirming our commitment to the highest standards of information security management. Whether you’re a small team or a large enterprise, you can trust that your data protection strategy meets international security standards.
### Advanced Compliance Features for SOC 2 and ISO 27001
We’ve built advanced features specifically designed to help you meet SOC 2 and ISO 27001 compliance requirements:
* **Audit Trails**: Track every action and change within your backup environment to ensure full transparency and accountability.
* **Compliance Dashboard**: Our new compliance dashboard gives you a real-time overview of your compliance status, making it easier to manage and demonstrate your adherence to industry standards.
---
# GitHub vs Compliance: Why You Need Backups for ISO 27001 and SOC 2
Source: https://simplebackups.com/blog/github-vs-compliance-why-you-need-independent-backups-for-iso-27001-and-soc-2
Published: 2024-08-15
Author: Laurent
Summary: Learn why relying solely on GitHub's built-in redundancy isn't enough for ISO 27001 and SOC 2 compliance. Discover the importance of independent backups to protect your code and meet stringent data protection standards.
GitHub is an essential tool for developers and businesses worldwide, offering a platform where code can be stored, shared, and collaborated easily.
However, a common misconception persists **the belief that GitHub’s built-in redundancy is all you need to safeguard your code**.
This myth can lead to a false sense of security.
In this article, we’ll debunk the myth of GitHub’s built-in redundancy, explain what GitHub’s terms of service actually say about data protection, and explore how ISO 27001 and SOC compliance requirements relate to code stored on such services.
## Understanding GitHub's Built-in Redundancy
GitHub does employ a sophisticated system of redundancy and backups to ensure the availability and integrity of their platform.
Their infrastructure is designed to protect against hardware failures, data corruption, and to ensure high availability of their services.\
However, it’s important to understand what this means, and more critically, what it does not mean.
**🔁 Platform Resilience:** GitHub’s redundancy is primarily focused on keeping the platform itself operational. This includes replicating data across multiple servers and data centers to prevent downtime in the event of hardware failure. However, this redundancy is not designed with individual user needs in mind; it’s about ensuring GitHub’s service continuity, not about backing up your specific data for your specific recovery needs.
**⛈️ Disaster Recovery:** GitHub’s internal backups are intended for disaster recovery at the platform level. In other words, these backups are meant to restore the entire GitHub service in the event of a catastrophic failure, not to recover individual user data or repositories on a case-by-case basis.
**❌ No User Access to Backups:** One of the most significant limitations is that GitHub users do not have direct access to the platform’s internal backups. If you accidentally delete a repository, GitHub’s internal backups are not there for you to access and restore that data. This is a critical distinction. GitHub’s backups are for their operational recovery, not for user-level data recovery.
## What GitHub's Terms of Service Say
To truly understand the limitations of relying solely on GitHub’s built-in redundancy, it’s essential to look at [GitHub’s own terms of service](https://docs.github.com/en/site-policy/github-terms/github-terms-of-service). Here’s what GitHub outlines regarding data protection and user responsibility:
1. **Responsibility for Data**: GitHub’s terms clearly state that users are responsible for maintaining their own backups of their content. While GitHub strives to provide reliable service, they do not guarantee the preservation of data stored on their platform. This means that if your data is lost, corrupted, or deleted, GitHub is not liable for its recovery.
2. **No Guarantee of Data Availability**: The terms of service also make it clear that GitHub does not guarantee the availability or recoverability of your data. They explicitly recommend that users maintain their own independent backups to protect against data loss.
3. **Limitation of Liability**: GitHub limits its liability concerning data loss, placing the onus on the user to protect their data. This is a standard practice in the industry, but it underscores the fact that relying on GitHub’s built-in redundancy is not a substitute for a dedicated backup strategy.
These points are crucial for understanding why trusting GitHub’s internal redundancy is not enough. The platform is not responsible for ensuring that your individual data is backed up or recoverable; that responsibility lies with you.
## Your Github data in the context of Compliance
In that context, let's know look at what the 2 major compliance standards are expecting your to do with your GitHub data.
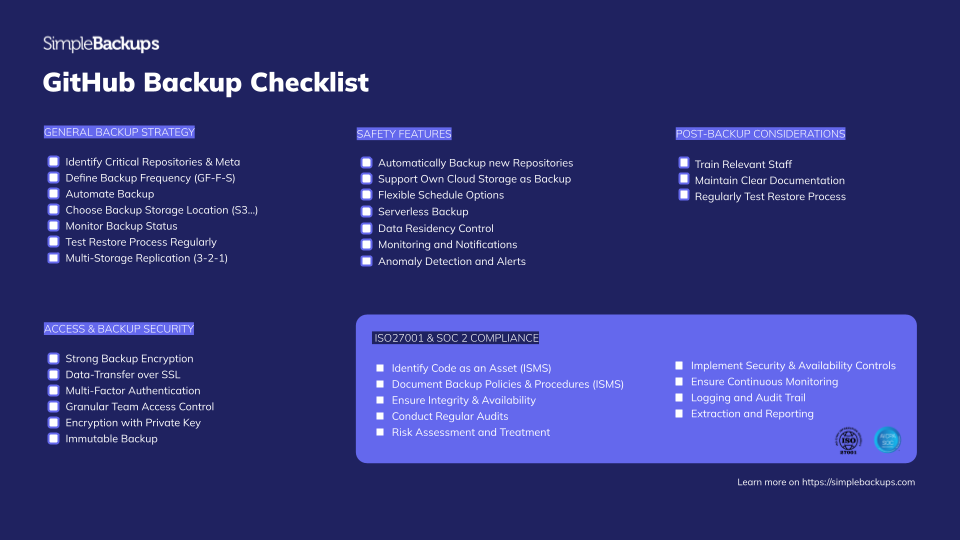
### ISO 27001 Compliance and Code Protection
ISO 27001 is an international standard for information security management, and it’s increasingly adopted by organizations looking to demonstrate their commitment to data protection. **When it comes to code stored on services like GitHub, ISO 27001 has specific implications.**
1. **Asset Management**: Under ISO 27001, your code is considered an asset that needs to be identified, classified, and protected. This means that your organization must have policies and procedures in place to ensure the security of your code, including backups.
2. **Data Integrity and Availability**: ISO 27001 requires organizations to ensure the integrity and availability of their data. This involves implementing controls to protect against data corruption, unauthorized access, and ensuring that data can be recovered in the event of loss. While GitHub’s redundancy might cover some aspects of availability at a platform level, it does not guarantee the integrity or availability of your specific codebase.
3. **Backup and Recovery**: The standard explicitly requires that backups be made and maintained to ensure that data can be recovered. This means that relying solely on GitHub’s built-in redundancy is not enough to meet ISO 27001 requirements. You need an independent backup solution that allows you to restore your code in case of accidental deletion, corruption, or other forms of data loss.
4. **Regular Audits and Testing**: ISO 27001 requires regular audits and testing of your security measures, including backups. This means you must regularly test your ability to recover your code from backups to ensure that your processes are effective and meet the standard’s requirements.
In summary, ISO 27001 compliance demands a proactive approach to data protection that goes beyond relying on GitHub’s built-in redundancy. An independent backup solution is necessary to ensure that you meet the standard’s requirements for data integrity, availability, and recoverability.
#### SOC Compliance and Code Protection
Service Organization Control (SOC) reports, specifically SOC 2, are designed to ensure that service providers manage data securely to protect the privacy and interests of their clients. SOC 2 compliance is particularly relevant for SaaS providers and organizations that handle sensitive information. Here’s how it relates to code stored on GitHub:
1. **Security and Availability Principles**:SOC 2 is based on five trust service principles: security, availability, processing integrity, confidentiality, and privacy. When it comes to code stored on GitHub, the principles of security and availability are particularly relevant. SOC 2 requires that your organization implement strong security measures to protect against unauthorized access and ensure that your code is available and recoverable.
2. **Data Protection Controls**: To achieve SOC 2 compliance, your organization must demonstrate that you have implemented adequate controls to protect your data, including code repositories. This includes ensuring that your code is backed up and that these backups can be accessed and restored when needed.
3. **Independent Backups**: Just like ISO 27001, SOC 2 compliance requires independent backups. GitHub’s internal redundancy does not satisfy this requirement because it does not provide you with control over your backups or guarantee the ability to recover specific data. A third-party backup solution is necessary to meet SOC 2 standards.
4. **Incident Response and Recovery**: SOC 2 compliance also involves having a tested incident response and recovery plan. This means that if your code is compromised or lost, you need to be able to quickly restore it from backups. Relying on GitHub alone leaves a gap in this plan, as their built-in redundancy does not support quick and reliable recovery at the user level.
5. **Audit Trail and Documentation**: SOC 2 requires that you maintain detailed records of your data protection practices, including backups. This documentation must show that your backups are regularly tested and that you can restore your code if needed. An independent backup solution typically provides these features, whereas GitHub’s built-in systems do not.
## Conclusion
> Both ISO 27001 and SOC 2 compliance require organizations to take active measures to protect their code and ensure that it is available and recoverable.
If there is one thing to remember is that compliance standards require proper external backups and restore procedure. And frankly you don't have to be certified or looking to be compliant to these standards to understand that especially for any tech company, this is highly critical even-though often misunderstood.
Relying solely on GitHub’s built-in redundancy is not sufficient to meet these compliance standards. While GitHub does offer a resilient platform, their redundancy measures are not designed to meet the specific needs of individual users or to comply with stringent data protection requirements.
To achieve compliance with ISO 27001 and SOC 2, your organization needs an independent backup solution that gives you control over your data, allows for granular recovery, and ensures that you can meet all relevant standards for data protection. By taking these steps, you not only protect your code but also ensure that your organization is compliant with the highest standards of information security and data protection.
If you want to build that independent backup yourself, [the complete developer's guide to GitHub backups](/blog/the-ultimate-developers-guide-to-github-backups) covers the clone, API and scripting methods in full. If you would rather compare the options first, [GitHub backup tools compared](/blog/protecting-github-code-and-data-backup-2025) puts the maintained vendors side by side on storage location and audit evidence, and [what a git clone misses](/blog/how-to-back-up-your-github-data) sets out the scope each one has to cover. And if you want the audit trail without maintaining any of it, our [GitHub backup service](/saas-backup/github) is ISO 27001 certified and keeps dated archives on storage you control.
---
# The Ultimate Developer's Guide to GitHub Backups
Source: https://simplebackups.com/blog/the-ultimate-developers-guide-to-github-backups
Published: 2024-08-06
Author: Laurent
Summary: How to back up GitHub repositories and metadata with code snippets for git mirror, the GitHub API, and GitHub Actions, plus backing up a whole organization to S3 and restoring from a backup.
As developers, our code is our most valuable asset. While GitHub provides a reliable platform for version control and collaboration, it's crucial to have a backup strategy in place. This guide will walk you through the process of backing up not just your repositories, but also the valuable metadata associated with your projects on GitHub.
**How do you back up GitHub?** At a minimum, mirror-clone each repository with `git clone --mirror` and push it to a second remote or to storage you control. A complete backup goes further and captures the metadata GitHub keeps outside Git: issues, pull requests, wikis, releases, and Actions. For an entire account or organization, automate this against the GitHub API or run it on a schedule with a dedicated backup service.
## Why You Need GitHub Backups
Despite GitHub's reliability, there are several reasons why maintaining your own backups is essential:
1. **Accidental Deletion**: Human error can lead to accidental deletions of repositories or branches.
2. **Repository Corruption**: Though rare, data corruption can occur.
3. **Service Downtime**: GitHub could experience outages that temporarily limit access to your code.
4. **Compliance and Auditing ❗️**: Certain industries and projects require regular backups for compliance purposes. If this is what brought you here, the specifics of [what ISO 27001 and SOC 2 expect from your GitHub backups](/blog/github-vs-compliance-why-you-need-independent-backups-for-iso-27001-and-soc-2) are worth reading alongside this guide.
### What GitHub protects, and what it does not
It helps to be precise about the line GitHub draws. Under GitHub's shared responsibility model, GitHub keeps the platform available and its infrastructure redundant, but recovering *your* content after you delete or overwrite it is on you. Three limits are worth knowing before you rely on the platform alone:
* **Redundancy is not backup.** GitHub replicates data for availability, not so you can roll back to last Tuesday. A force-push that rewrites history, or a deleted branch, leaves the remote immediately with no native undo.
* **Deleted repositories have a short, conditional grace period.** A deleted repository can sometimes be restored for up to 90 days, but only under specific conditions (for example, limits tied to its fork network), so it is not something to depend on.
* **Availability still slips.** GitHub logged dozens of incidents on its status page across 2024, and outages routinely interrupt access to code and CI even when no data is permanently lost.
The point is not that GitHub is unreliable. It is that the recovery scenarios that actually bite (human error, a compromised account, an auditor asking for a point-in-time copy) all sit on your side of that line.
## Understanding GitHub Data
Before diving into backup strategies, let's break down the types of data stored on GitHub:
### Repositories
Repositories contain your source code, commit history, branches, and tags. This is the core of your project and the most critical data to back up.
### Metadata
GitHub stores various types of metadata associated with your repositories:
* Issues and Pull Requests
* Wiki pages
* Project boards
* Releases
* Actions workflows
* Packages
* Discussions
## Backing Up GitHub Repositories
---
### Using Git Clone
The simplest way to back up a repository is by using the `git clone` command. This creates a local copy of your repository, including all branches and commit history.
```shell
# Clone a repository
git clone --mirror https://github.com/username/repository.git
# Navigate into the repository
cd repository.git
# Add a new remote for backup
git remote add backup https://backupserver.com/username/repository.git
# Push all branches and tags to the backup remote
git push --mirror backup
```
The `--mirror` flag ensures that all references are copied, including branches and tags.
### Using multiple git remotes
Setting Up Multiple Push URLs for a Single Remote
Instead of creating multiple remotes, you can configure a single remote (typically `origin`) to push to multiple URLs. This method is particularly useful when you want to maintain a primary remote while ensuring backups are pushed simultaneously.
To add multiple push URLs to your `origin` remote:
```
git remote set-url --add --push origin https://primary-repo.com/user/repo.git
git remote set-url --add --push origin https://backup-repo.com/user/repo.git
```
These commands configure your `origin` remote to push to both the primary repository and the backup repository simultaneously.
To view your remote configuration:
```
git remote -v
```
You might see output like this:
```
origin https://primary-repo.com/user/repo.git (fetch)
origin https://primary-repo.com/user/repo.git (push)
origin https://backup-repo.com/user/repo.git (push)
```
Now, when you run `git push origin`, Git will push to both URLs automatically.
Find the original response here: [git pushing code to two remotes (Stack Overflow)](https://stackoverflow.com/questions/14290113/git-pushing-code-to-two-remotes/14290145#14290145)
### GitHub API for Repository Backup
For more control and automation, you can use the GitHub API to back up repositories programmatically. Here’s a Python script to back up a repository along with its issues and pull requests.
First, install the required libraries:
```shell
pip install requests
```
Then, create a script:
```python
import os
import requests
# GitHub token and repository details
GITHUB_TOKEN = 'your_github_token'
REPO_OWNER = 'username'
REPO_NAME = 'repository'
# Headers for GitHub API
headers = {
'Authorization': f'token {GITHUB_TOKEN}',
'Accept': 'application/vnd.github.v3+json',
}
# Function to back up repository
def backup_repo():
repo_url = f'https://api.github.com/repos/{REPO_OWNER}/{REPO_NAME}'
response = requests.get(repo_url, headers=headers)
with open(f'{REPO_NAME}_repo.json', 'w') as f:
f.write(response.text)
print(f'Repository metadata backed up to {REPO_NAME}_repo.json')
# Function to back up issues
def backup_issues():
issues_url = f'https://api.github.com/repos/{REPO_OWNER}/{REPO_NAME}/issues'
response = requests.get(issues_url, headers=headers)
with open(f'{REPO_NAME}_issues.json', 'w') as f:
f.write(response.text)
print(f'Issues backed up to {REPO_NAME}_issues.json')
# Function to back up pull requests
def backup_pull_requests():
pulls_url = f'https://api.github.com/repos/{REPO_OWNER}/{REPO_NAME}/pulls'
response = requests.get(pulls_url, headers=headers)
with open(f'{REPO_NAME}_pulls.json', 'w') as f:
f.write(response.text)
print(f'Pull requests backed up to {REPO_NAME}_pulls.json')
# Run backup functions
backup_repo()
backup_issues()
backup_pull_requests()
```
This script fetches all repositories for the specified account, then clones or updates each repository in the designated backup directory.
## Backing Up GitHub Metadata
---
### Issues and Pull Requests
To back up issues and pull requests, you can use the GitHub API. Here's a Python script to download all issues and pull requests for a repository:
```python
import requests
import json
import os
API_URL = "https://api.github.com"
TOKEN = "your_personal_access_token"
REPO_OWNER = "owner"
REPO_NAME = "repo"
BACKUP_DIR = "github_backups"
def get_issues_and_prs():
headers = {
"Authorization": f"token {TOKEN}",
"Accept": "application/vnd.github.v3+json"
}
issues_and_prs = []
page = 1
while True:
response = requests.get(
f"{API_URL}/repos/{REPO_OWNER}/{REPO_NAME}/issues?state=all&page={page}&per_page=100",
headers=headers
)
if response.status_code == 200:
page_data = response.json()
if not page_data:
break
issues_and_prs.extend(page_data)
page += 1
else:
print(f"Error fetching issues and PRs: {response.status_code}")
break
return issues_and_prs
def save_issues_and_prs(data):
backup_path = os.path.join(BACKUP_DIR, f"{REPO_OWNER}_{REPO_NAME}_issues_and_prs.json")
with open(backup_path, 'w') as f:
json.dump(data, f, indent=2)
def main():
os.makedirs(BACKUP_DIR, exist_ok=True)
issues_and_prs = get_issues_and_prs()
save_issues_and_prs(issues_and_prs)
print(f"Backed up {len(issues_and_prs)} issues and pull requests")
if __name__ == "__main__":
main()
```
### Wiki Pages
To back up wiki pages, you can clone the wiki repository:
```
git clone https://github.com/username/repository.wiki.git
```
### Project Boards
Project boards can be backed up using the GitHub API. Here's a Python script to download project board data:
```python
import requests
import json
import os
API_URL = "https://api.github.com"
TOKEN = "your_personal_access_token"
REPO_OWNER = "owner"
REPO_NAME = "repo"
BACKUP_DIR = "github_backups"
def get_project_boards():
headers = {
"Authorization": f"token {TOKEN}",
"Accept": "application/vnd.github.inertia-preview+json"
}
response = requests.get(
f"{API_URL}/repos/{REPO_OWNER}/{REPO_NAME}/projects",
headers=headers
)
if response.status_code == 200:
return response.json()
else:
print(f"Error fetching project boards: {response.status_code}")
return []
def get_project_columns(project_id):
headers = {
"Authorization": f"token {TOKEN}",
"Accept": "application/vnd.github.inertia-preview+json"
}
response = requests.get(
f"{API_URL}/projects/{project_id}/columns",
headers=headers
)
if response.status_code == 200:
return response.json()
else:
print(f"Error fetching project columns: {response.status_code}")
return []
def save_project_boards(data):
backup_path = os.path.join(BACKUP_DIR, f"{REPO_OWNER}_{REPO_NAME}_project_boards.json")
with open(backup_path, 'w') as f:
json.dump(data, f, indent=2)
def main():
os.makedirs(BACKUP_DIR, exist_ok=True)
project_boards = get_project_boards()
for board in project_boards:
board['columns'] = get_project_columns(board['id'])
save_project_boards(project_boards)
print(f"Backed up {len(project_boards)} project boards")
if __name__ == "__main__":
main()
```
### Releases
To back up releases, you can use the GitHub API. Here's a Python script to download release data:
```python
import requests
import json
import os
API_URL = "https://api.github.com"
TOKEN = "your_personal_access_token"
REPO_OWNER = "owner"
REPO_NAME = "repo"
BACKUP_DIR = "github_backups"
def get_releases():
headers = {
"Authorization": f"token {TOKEN}",
"Accept": "application/vnd.github.v3+json"
}
releases = []
page = 1
while True:
response = requests.get(
f"{API_URL}/repos/{REPO_OWNER}/{REPO_NAME}/releases?page={page}&per_page=100",
headers=headers
)
if response.status_code == 200:
page_releases = response.json()
if not page_releases:
break
releases.extend(page_releases)
page += 1
else:
print(f"Error fetching releases: {response.status_code}")
break
return releases
def save_releases(data):
backup_path = os.path.join(BACKUP_DIR, f"{REPO_OWNER}_{REPO_NAME}_releases.json")
with open(backup_path, 'w') as f:
json.dump(data, f, indent=2)
def main():
os.makedirs(BACKUP_DIR, exist_ok=True)
releases = get_releases()
save_releases(releases)
print(f"Backed up {len(releases)} releases")
if __name__ == "__main__":
main()
```
## Backing Up an Entire GitHub Organization
---
Backing up one repository is straightforward. Backing up an organization means enumerating every repository (including private ones), cloning each as a mirror, and doing it on a schedule without tripping API rate limits.
The [GitHub CLI](https://cli.github.com/) makes the enumeration easy. This script lists every repository in an organization and mirror-clones each into a dated backup folder, so every run is a self-contained snapshot:
```shell
#!/usr/bin/env bash
set -euo pipefail
ORG="your-organization"
DEST="github-backup/$ORG/$(date +%F)"
mkdir -p "$DEST"
# List up to 1000 repos as owner/name, including private ones
gh repo list "$ORG" --limit 1000 --json nameWithOwner --jq '.[].nameWithOwner' \
| while read -r repo; do
name=$(basename "$repo")
echo "Backing up $repo"
if ! git clone --mirror "https://github.com/$repo.git" "$DEST/$name.git"; then
echo "WARNING: failed to clone $repo" >&2
fi
done
```
A few notes for production use:
* **Authenticate as a dedicated backup user or machine account** with read access to the whole org. Backups then keep working when an individual leaves, and you are not throttling a human's token.
* **Mirror clones capture every branch and tag**, not just the default branch. That is exactly what you want in a backup.
* **Include wikis** by also cloning `https://github.com/$repo.wiki.git` for repos that have them enabled.
This covers Git data for the whole organization. Issues, pull requests, and other metadata still need the API approach from the previous section, run inside the same loop.
## Backing Up GitHub to S3 or S3-Compatible Storage
---
A backup that lives on the same laptop as your working copy is not much of a backup. The 3-2-1 rule says at least one copy should live somewhere separate, and object storage (Amazon S3, Backblaze B2, Wasabi, Cloudflare R2, or any S3-compatible bucket) is the usual home for it.
The pattern is: mirror-clone, bundle, upload. Bundling first gives you a single restorable file per repository:
```shell
# Create a single-file archive of the repository
git clone --mirror https://github.com/username/repository.git
git -C repository.git bundle create ../repository.bundle --all
# Upload it to S3
aws s3 cp repository.bundle s3://my-backup-bucket/github/repository-$(date +%F).bundle
```
A Git bundle restores with a plain `git clone repository.bundle`, which makes it a cleaner archive format than a raw `tar` of the `.git` directory.
For S3-compatible providers, `rclone` uses the same command shape and can sync a whole backup folder at once:
```shell
rclone sync github-backup/ b2:my-backup-bucket/github/
```
Keeping a copy in storage you own, with a different provider from where your code lives, is what turns a convenience copy into real disaster recovery. If you are weighing destinations, our [comparison of cloud storage providers](/blog/cloud-storage-price-feature-comparison-the-best-providers-in-2023) covers the cost and durability trade-offs.
## Automating GitHub Backups with cron and GitHub Actions
---
Manual backups are the ones that stop happening. There are two straightforward ways to put the scripts above on a schedule.
### Scheduled with cron
On any server or workstation that stays on, a single cron line runs the organization backup nightly and logs the result:
```shell
# Run the org backup every day at 02:00
0 2 * * * /home/backup/github-org-backup.sh >> /var/log/github-backup.log 2>&1
```
### Scheduled with GitHub Actions
If you would rather not run a server, a scheduled GitHub Actions workflow can back a repository up to S3 on its own cron. Store your credentials as repository or organization secrets:
```yaml
name: GitHub Backup to S3
on:
schedule:
- cron: "0 2 * * *" # daily at 02:00 UTC
workflow_dispatch:
jobs:
backup:
runs-on: ubuntu-latest
steps:
- name: Configure AWS credentials
uses: aws-actions/configure-aws-credentials@v4
with:
aws-access-key-id: ${{ secrets.AWS_ACCESS_KEY_ID }}
aws-secret-access-key: ${{ secrets.AWS_SECRET_ACCESS_KEY }}
aws-region: us-east-1
- name: Mirror and upload
env:
GH_TOKEN: ${{ secrets.BACKUP_PAT }}
run: |
git clone --mirror https://x-access-token:${GH_TOKEN}@github.com/${{ github.repository }}.git repo.git
git -C repo.git bundle create repo.bundle --all
aws s3 cp repo.bundle s3://my-backup-bucket/github/${{ github.event.repository.name }}-$(date +%F).bundle
```
One caveat worth stating plainly: backing up GitHub data using GitHub Actions still keeps GitHub in the loop. Use it to push copies to storage you control (the S3 step above), never to a second location on GitHub itself.
## Restoring from a GitHub Backup
---
To restore a repository from a backup:
1. Create a new repository on GitHub (if needed).
2. Push the backed-up repository to the new GitHub repository:
```
cd backup_repository.git
git push --mirror https://github.com/username/new_repository.git
```
For metadata, you'll need to use the GitHub API or manual processes to restore the data, depending on the type of metadata and how it was backed up.
**Restoring from a Git bundle** (if you archived with the S3 method above) is a single command:
```shell
git clone repository.bundle restored-repository
cd restored-repository
git remote set-url origin https://github.com/username/new-repository.git
git push --mirror origin
```
**Restoring metadata is the hard part**, because GitHub has no bulk import for issues, pull requests, or releases. You recreate them through the API from the JSON you backed up, or accept that some of it is reference-only. This asymmetry, where Git data restores perfectly and metadata does not, is the single biggest reason teams outgrow scripts once they pass a handful of repositories.
**Test your restores.** A backup you have never restored is a hypothesis, not a backup. Once a quarter, clone a backup into a scratch repository and confirm the history, branches, and tags are all there. Restores fail for boring reasons (an expired token, a bucket permission, a truncated upload) that only a real rehearsal surfaces.
## Building a GitHub Backup Policy
---
Commands are only half of a backup strategy. A policy decides how often backups run, how long you keep them, and where they live, which is exactly what a compliance auditor will ask you to produce.
A workable default follows the [3-2-1 backup rule](/blog/what-is-the-3-2-1-backup-strategy): keep at least **3** copies of your data, on **2** different types of storage, with **1** copy off-site. Applied to GitHub:
* **Frequency:** daily for active repositories, matched to how much work you are willing to lose. Nightly is the common baseline.
* **Retention:** a rolling window rather than a single copy. Keeping 7 daily, 4 weekly, and 12 monthly snapshots lets you recover from a problem you did not notice for weeks.
* **Location:** at least one copy in storage you own, with a different provider from GitHub. This is what protects you from an account compromise or a provider-level outage.
* **Scope:** repositories *and* metadata, across the whole organization, not just the repos one person remembered to script.
GitHub's native retention does not cover any of this: deleted data has only a short, conditional grace period, and there is no point-in-time restore. Writing the policy down and testing it is what turns "we have a script somewhere" into something you can show an ISO 27001 or SOC 2 auditor.
## Github Backup Solutions
---
### GitHub Archive Program
GitHub has its own archive program that creates long-term archives of public repositories. While this isn't a solution for private repositories or for maintaining your own backups, it's worth mentioning as part of GitHub's commitment to preserving open-source code.
### Third-party Backup Tools
Several third-party tools and services offer comprehensive GitHub backup solutions:
#### SimpleBackups
SimpleBackups offers an automated service specifically designed for backing up GitHub repositories and metadata to any storage solution. This service stands out for its flexibility and ease of use.
Key advantages of SimpleBackups:
1. **Full Automation**: Set up once and let SimpleBackups handle regular backups without further intervention.
2. **Flexible Storage Options**: Back up your GitHub data to a wide range of storage solutions, allowing you to choose the most suitable option for your needs.
3. **Comprehensive Coverage**: Backs up not just repositories, but also issues, pull requests, wikis, and other GitHub metadata.
4. **Customizable Schedules**: Set backup frequencies that match your project's needs and activity levels.
5. **Easy Recovery**: Simplifies the process of restoring your data when needed.
6. **Secure Transfer and Storage**: Ensures your data is protected during transfer and in storage.
7. **Compliancy**: ISO 27001 certified solution. It provides all you need for your ISO, GDPR and SOC2 requirements
If you would rather not maintain the scripts above, our [GitHub backup service](/saas-backup/github) runs all of it on a schedule, across an entire organization, to storage you own.
### Other Notable Tools
* **[GitHub Backup Utilities](https://github.com/github/backup-utils)**: An open-source tool that backs up repositories, wikis, issues, and other metadata.
* **[github-backup](https://github.com/josegonzalez/python-github-backup)**: A simple Python script for GitHub backup.
When choosing a backup solution, consider factors such as ease of use, storage flexibility, comprehensiveness of the backup, restoration process, and cost. We put the maintained tools side by side, including where each one stores your data, in [GitHub backup tools compared](/blog/protecting-github-code-and-data-backup-2025). If you are still deciding whether you need a tool at all, [what a git clone misses](/blog/how-to-back-up-your-github-data) sets out the full scope first.
## GitHub Backup FAQs
---
### How to backup GitHub repository?
To backup a GitHub repository, you can use the `git clone` command with the `--mirror` flag to create a local copy of the repository, including all branches and commit history.
```shell
git clone --mirror https://github.com/username/repository.git
```
This repository can then be backed up to another remote (GitLab, BitBucket, Gitea...).
```shell
git remote add backup-remote https://backup-server.com/username/repository.git
git push --mirror backup-remote
```
Or simply compress the Git repository and save it to another storage, using s3 or scp.
```shell
tar -czvf repository-backup.tar.gz repository.git
```
### How to backup all branches in a GitHub repository?
You have 2 options when it comes to backing up all branches of your respository.
1. Using `--mirror` flag when cloning the repository
```shell
git clone --mirror https://github.com/username/repository.git
```
2. Using `fetch all` after a regular clone
```shell
git clone https://github.com/username/repository.git
git fetch --all
```
### How to backup github organization?
Backing up an organization will invole backing up all the repositories in that organization.
You can use the GitHub API to list all repositories in an organization and then backup each repository individually.
Using the **GitHub CLI (gh)**, you can list all repositories in an organization:
*Note that you'll have to install the GitHub CLI first: https://cli.github.com/ and get an access token from GitHub.*
```shell
gh repo list organization_name --limit 1000 --json name,sshUrl > repos.json
```
Then, you can loop over the repositories and clone them:
```shell
cat repos.json | jq -r '.[].sshUrl' | xargs -n 1 git clone
```
---
## Conclusion
Backing up your GitHub repositories and metadata is a crucial part of protecting your code and project history. By implementing a comprehensive backup strategy using the methods outlined in this guide, you can ensure that your valuable work is safe and recoverable in case of any unforeseen events.
Remember to regularly review and update your backup processes as your projects evolve and as GitHub introduces new features. With these practices in place, you can code with confidence, knowing that your GitHub data is securely backed up.
When you implement your own backup solutions using the methods outlined in this guide, you gain a deep understanding of the backup process and have full control over your data. However, this approach requires ongoing maintenance, monitoring, and troubleshooting to ensure your backups remain effective and up-to-date.
On the other hand, a managed service complements that strategy by taking the scheduling, monitoring and off-site storage off your plate, which is the part that quietly stops working first.
Remember, the ultimate goal is to ensure your valuable GitHub data is safely and consistently backed up. Whether you choose to implement your own solutions, use a service like SimpleBackups, or employ a combination of both, regular backups are an essential practice for any developer or team relying on GitHub for their projects.
---
# Major Release: Multi Storage and Multi Schedule Backups!
Source: https://simplebackups.com/blog/major-release-multi-storage-and-multi-schedule-backups
Published: 2024-07-15
Author: Laurent
Summary: Easily implement GFS and 3-2-1 strategy to all your backups. Schedule them when you want and store them on multiple storage.
We've had an action-packed few weeks here at SimpleBackups!
We've been hard at work delivering a [plethora of improvements](https://headwayapp.co/simplebackups-updates), introducing [new features](https://simplebackups.com/blog/welcome-notion-backups-your-data-is-safe-now/), and adding [support for new providers](https://simplebackups.com/blog/database-as-a-service-backups-just-got-even-better/) and on top of all this, we've released two major architecture updates that are set to revolutionize the way backups are managed and utilized at SimpleBackups.
While each of these updates will be covered in more detail in dedicated articles, let's dive into the highlights.
## Multi-Schedule Backups
We are thrilled to announce that you can now **configure up to four schedules for each backup**!
This enhancement opens up a world of possibilities for tailoring your backup strategy to fit your exact needs.
In the past this would have required you to create duplicate backups and then edit each to update their schedule and this was frankly below our standards when it comes to user experience.
One common backup concept that can easily be used to illustrate how to leverage multi-schedule in your backups strategy is called the "Grandfather-Father-Son Backup Strategy"
Let's break down what this means and how it can be beneficial for you.
### Understanding Grandfather-Father-Son Backup Strategy
The Grandfather-Father-Son (GFS) backup strategy is a hierarchical approach to data retention that helps ensure data integrity and accessibility over different time frames.
Here’s a quick overview:
* **Daily (Son):** Daily backups provide the most recent data copies. These are crucial for quick recovery of data that changes frequently and ensures that the latest version of your files is always available.
* **Weekly (Father):** Weekly backups offer a broader time frame, capturing a week's worth of changes. These serve as an intermediate recovery point and help protect against data loss that might not be immediately detected.
* **Monthly/Yearly (Grandfather):** These backups capture data over a longer period, preserving important historical data. They are essential for long-term data retention and compliance purposes, ensuring that you have access to historical records even if they are not needed immediately.
With our new feature, not only can you define multiple schedules for a single backup, but you can also specify how many copies of each scheduled backup you want to retain. This allows you to tailor your backup strategy to your specific needs.
For example, your backup strategy might include:
* **Daily Backup:** Run a daily backup at 11 PM and keep 7 copies. This ensures that you have a week's worth of daily backups, providing multiple recent recovery points.
* **Weekly Backup:** Run a weekly backup every Sunday at 3 AM and keep 4 copies. This setup provides a month’s worth of weekly backups, offering broader coverage and a safeguard against longer-term data issues.
* **Monthly Backup:** Run a monthly backup on 1st of each month at 6 AM and keep 12 copies. This strategy ensures that you have 12 months of historical data, which is crucial for long-term data retention policies and regulatory compliance.
This system is built with flexibility in mind, meaning you can combine any schedule types (including custom schedules) to fit your requirements. Whether you need daily, weekly, monthly, or yearly backups, or any combination thereof, our new feature allows you to configure and manage your backup schedules and retention policies with ease.
> By implementing the GFS strategy with our new multi-schedule and multi-retention capabilities, you can achieve a balanced approach to data protection. This ensures that you always have access to recent data while also preserving critical historical information.
## Multi-Storage Backups
One of the most requested features by our users is finally here!
**You can now store your backups on up to 4 storage at the same time!**
This means you can easily configure your backups to be stored on your preferred cloud provider but also keep a copy on you local storage and on another provider or SimpleStorage if you're looking for easy redundancy.
Previously, you could achieve multi-storage backups by combining your backups with a cloud storage sync job, but we recognized that the experience wasn't up to our standards. Our new feature ensures a seamless, intuitive experience, that literraly takes 2 clicks.
While GFS is a well known backup strategy that helps defining robust data retention, the equivalent to multi storage would be the 3-2-1 strategy.
### Implementing the 3-2-1 Backup Strategy
The 3-2-1 backup strategy is a well-known approach to data protection that ensures your data is safe and recoverable. It involves maintaining three copies of your data, using two different types of storage media, and keeping one copy offsite.
With the multi-storage feature, you can effortlessly implement this strategy:
* **3 Copies:** Maintain three copies of your data.
* **2 Different Media:** Store copies on different types of storage media, such as local drives and cloud services.
* **1 Copy Offsite:** Ensure at least one copy is stored offsite, enhancing protection against local disasters.
> This approach offers redundancy, versatility, and robust disaster recovery, ensuring your data is secure and recoverable in any situation.
These two powerful features are designed to enhance the security and reliability of your backups while maintaining the best possible user experience.
At SimpleBackups, we believe in software that not only performs well but also provides a smooth, frustration-free user experience.
We are committed to developing solutions that make complex tasks simple and efficient.
Stay tuned for our upcoming articles where we will delve deeper into these features and explore how you can make the most out of them.
---
# Database-as-a-Service backups just got (even) better!
Source: https://simplebackups.com/blog/database-as-a-service-backups-just-got-even-better
Published: 2024-07-08
Author: Laurent
Summary: SimpleBackups supports major DBaaS providers like Amazon RDS, DigitalOcean, and Azure. Easily connect and backup MySQL, PostgreSQL, MongoDB, and Redis databases with seamless integration and automated setup.
***Last update: Support for Aiven and Google Cloud databases (August 2024)***
At SimpleBackups, we are committed to making your database backup experience as seamless and efficient as possible.
You've always been able to configure your database backups, not matter if your database is self-hosted or if you're using any DbaaS providers, and that's obviously still the case.
As we're striving for the best experience possible when it comes to setting up your backups, we introduced a significant update to our platform that will simplify how you manage your database backups specifically
Our latest release enhances support for [most major Database as a Service (DBaaS) providers](https://simplebackups.com/database/dbaas-backup/), making it easier than ever to secure your data.
### Effortless Integration with Leading DBaaS Providers
With our new update, you can now connect your accounts with a wide range of DBaaS providers directly through the SimpleBackups interface. Whether you prefer using OAuth or a token, we’ve made the process straightforward. Once connected, you can easily select the databases you want to back up.
Our system automatically pulls all available databases and pre-fills the forms for you, streamlining the backup process and saving you valuable time. No more manual entries or complicated setups—just a smooth, hassle-free experience.
### Supported Providers
We now support direct integration with the following providers:
* **Scaleway**
* **Amazon RDS**
* **Scalingo**
* **Planetscale**
* **Neon**
* **OVH**
* **Vultr**
* **Supabase**
* **DigitalOcean**
* **Azure**
* **Google Cloud**
* **Aiven**
These integrations mean you can now manage and backup your databases from these providers with the same simplicity and reliability you’ve come to expect from SimpleBackups.
### DBaaS backups and even more!
It's worth highlighting that SimpleBackups offers a full-featured yet easy-to-set-up solution for backing up any MySQL, PostgreSQL, MongoDB, and Redis databases. Our goal has always been to provide a robust, user-friendly platform, and this release takes it a step further by enhancing our support for these specific providers.
This update is all about making your life easier. By integrating directly with major DBaaS providers, we’re removing the complexities of database backups and offering you a smoother, more efficient experience. We’re excited for you to try out these new features and welcome your feedback.
Stay tuned for more updates as we continue to improve and expand our services to meet your needs.
---
# Improved Support for Vultr Database Backups
Source: https://simplebackups.com/blog/improved-support-for-vultr-database-backups-at-simplebackups
Published: 2024-06-13
Author: Laurent
Summary: Improved support for Vultr MySQL, PostgreSQL, and Redis backups in SimpleBackups. Setup automated backup for Vultr and store your backups on any provider.
We're excited to announce an enhancement to our [Vultr managed database](https://www.vultr.com/products/managed-databases/) backup support at SimpleBackups. While Vultr database backups have been part of our offerings for some time, we've now streamlined the process, making it easier than ever to connect your Vultr account and manage your database backups.
With this update, you can now directly connect your Vultr account to SimpleBackups. This new feature allows you to effortlessly list your databases and select the specific tables you want to back up. Whether you're using Redis, MySQL, or PostgreSQL, our improved integration ensures your databases are securely backed up with just a few clicks.
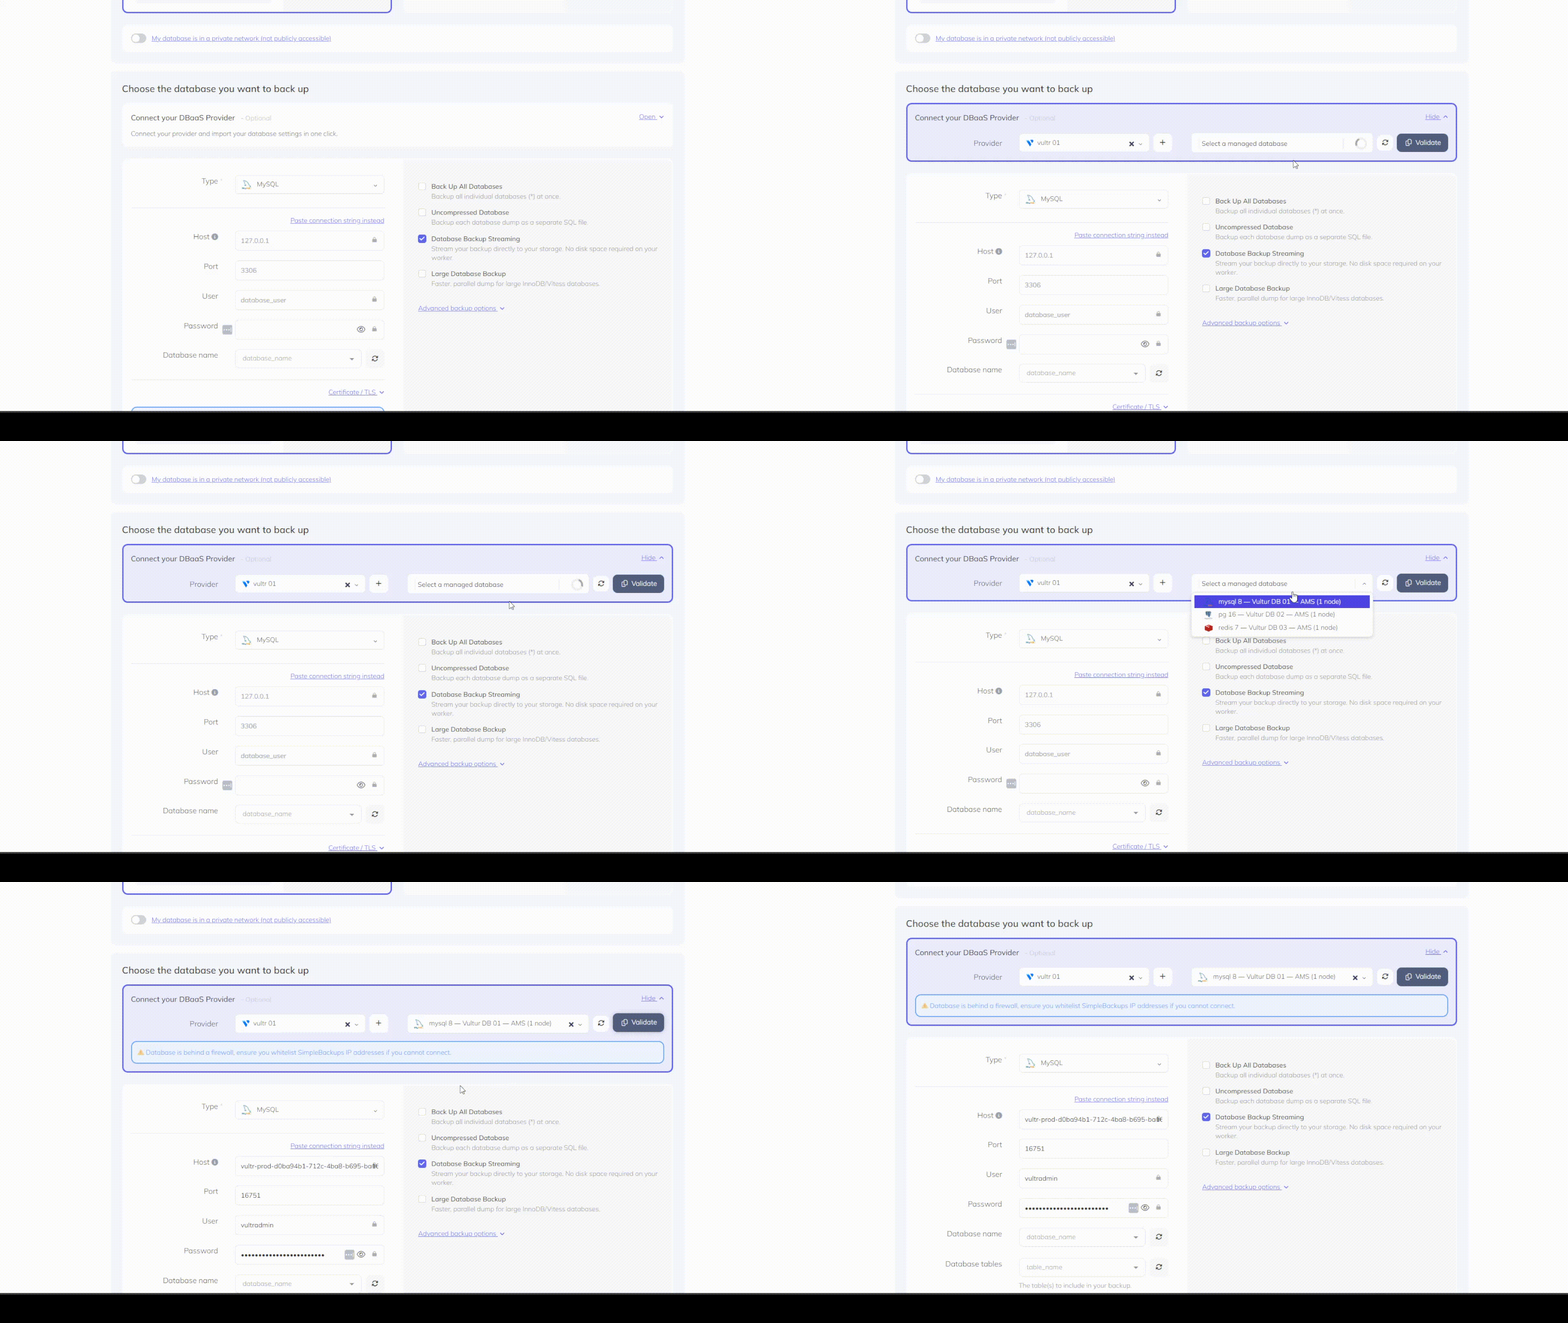
#### Why Choose SimpleBackups for Your Vultr Backups?
1. **Ease of Setup with Custom Scheduling and Retention**:
Setting up automated backups has never been simpler. Customize your backup schedules to suit your needs and define retention policies that ensure your data is available when you need it most.
2. **Flexibility to Store Backups on Any Cloud Provider**:
With SimpleBackups, you're not limited to storing your backups on Vultr alone. We support storage on any cloud provider, giving you the flexibility to choose the best storage solution for your business.
3. **Effortless Database Restore**:
Restoring your databases is a breeze with our user-friendly interface. Whether you need to perform a full restore or recover specific tables, our step-by-step process ensures minimal downtime and maximum reliability.
4. **Security and Compliance**:
At SimpleBackups, we prioritize the security of your data. Our platform is designed to meet stringent security standards, ensuring your backups are protected and compliant with industry regulations.
With these enhancements, managing your Vultr database backups is more efficient and secure than ever. We're committed to providing you with the tools you need to protect your critical data, and we're excited for you to experience the improved features.
Stay tuned for more updates as we continue to enhance our platform to better serve your needs.
---
# Discover All Cloud Provider Regions with our New Free Tool
Source: https://simplebackups.com/blog/discover-all-cloud-provider-regions-with-our-new-free-tool
Published: 2024-06-04
Author: Laurent
Summary: "Explore SimpleBackups’ free tool to find and compare AWS, Google Cloud, DigitalOcean, Wasabi, Hetzner and many other cloud provider regions. Stay updated with the latest cloud provider regions and endpoints."
At SimpleBackups, we're dedicated to giving you full control over your backups by integrating with a wide array of [cloud providers](https://simplebackups.com/catalog). At the time of writing, we offer over 50 integrations, and this number is continually growing. Our goal is to remain provider-agnostic, ensuring you have the freedom to choose whichever cloud provider best fits your needs.
### Keeping Up with Cloud Provider Regions
Cloud providers frequently update their APIs and create new data center regions. Keeping track of these changes can be a daunting task. To address this, we've developed an [internal tool](https://simplebackups.com/tools/cloud-providers-regions/) that continuously fetches the latest list of regions and endpoints from various cloud providers. This ensures that our integrations remain current and reliable.
### Introducing Our Free Cloud Provider Regions Tool
We’ve decided to share this valuable tool with the public. Now, you can easily find and compare all the regions for each endpoint of the cloud providers we support. This free resource is available on our website and can be accessed here: [SimpleBackups Cloud Provider Regions Tool](https://simplebackups.com/tools/cloud-providers-regions/).
This comprehensive list is automatically refreshed to reflect the most up-to-date information on the regions offered by major cloud providers like AWS, Google Cloud, DigitalOcean, and Wasabi.
### How It Works
Behind the scenes, we’ve built web scrapers and API hooks that continuously update our list of regions and endpoints. This automated process ensures accuracy and timeliness, so you can trust the information is current.
### Future Plans: API Access
We’re also considering making this information available via an API endpoint. This will allow developers and businesses to integrate our cloud region data directly into their applications, enhancing their ability to make informed decisions about cloud infrastructure and backup strategies. If you're interested in early access to this API, please reach out to us.
---
# Our Experience at the Cyber Show Paris 2024
Source: https://simplebackups.com/blog/our-experience-at-the-cyber-show-paris-2024
Published: 2024-06-04
Author: Laurent
Summary: Last week, SimpleBackups had the exciting opportunity to attend the [Cyber Show in Paris 2024](https://www.cybershowparis.fr/), a premier event in the cybersecurity industry.
Last week, SimpleBackups had the exciting opportunity to attend the [Cyber Show in Paris 2024](https://www.cybershowparis.fr/), a premier event in the cybersecurity industry.
While we didn’t know much about what to expect (it was the first edition of this event), it provided us with a platform to showcase our solutions, engage with fellow entrepreneurs, security auditors, and regulators, and explore the latest trends in the cyber landscape.

## So what was the Cyber Show Paris 2024 about?
The event took place over **two days** and hosted more than **100 companies active in the cybersecurity industry**.
The show was organized around booths for startups, SMEs, and larger companies, with some conference rooms and spaces dedicated to one-on-one meetings.
The companies present ranged from big players like [Airbus](https://www.cyber.airbus.com/fr/), [Orange](https://www.orange.com/fr/groupe/nos-activites/cybersecurite), and [GitLab](https://about.gitlab.com/solutions/security-compliance/) to providers like [OVH Cloud](https://www.ovhcloud.com/fr/) and insure-tech companies like [Stoik](https://www.stoik.com/en-us). Many companies specialized in security auditing and tech solutions in the cybersecurity scene were also present.
When it came to the conferences, there were many: some featuring government representatives and key industry players like [NumSpot](https://numspot.com/), OVH Cloud, [Bleu](https://www.bleucloud.fr/), [Outscale](https://en.outscale.com/), and others discussing the new French and European regulations (NIS 2 & DORA) and their impact on businesses.
There were also very interesting smaller talks about major hacks of the past decades, how they happened, and how to prevent them, as well as discussions about specific technologies and behaviours in cybersecurity.
Although we didn't get the chance to give a talk this year, we didn't need to advocate for the importance of backups. They were systematically mentioned in discussions about common security behaviors and methodologies, as well as official obligations and auditing.
## Our Main Takeaways
The event featured several noteworthy conferences that provided deep insights into the current state and future of cybersecurity. Some of the key topics discussed included:
- European regulations with NIS 2 and DORA
- The move from sovereign players offering alternatives to GAFAM
- Lots of exciting companies and technologies
It was also a moment to meet face-to-face with companies we’re working with, like Outscale, OVH, NumCloud, and GitLab, strengthening our partnerships and seeing people in real life, which I have to say is something I’ve been missing.
On top of that, it was an intense team event. Between the last-minute preparations and the busy days pitching SimpleBackups, we had time to enjoy a few drinks in beautiful (yet rainy) Paris and discuss our next moves!
We don’t necessarily expect many business deals to be generated from this show, but we felt the impact of pitching SimpleBackups to many and stepping back from the day-to-day tasks of running the operational aspects of the business.
We met some great entrepreneurs, facing the same challenges in growing a product that serves many, each on their own niche, but all trying to make a positive change in the industry.
Learning from them and discussing ideas, led to an even stronger motivation to move further, keep learning, and grow SimpleBackups.
We’re not yet sure which show will be next, but I’m already looking forward to it!
---
# Enhancing Cybersecurity with Robust Backup
Source: https://simplebackups.com/blog/enhancing-cybersecurity-with-robust-backup-and-disaster-recovery-solutions
Published: 2024-05-26
Author: Laurent
Summary: Discover how SimpleBackups integrates into the cybersecurity landscape, providing essential backup and disaster recovery solutions. Learn about our approach to data protection, risk management, and ensuring business continuity at the CyberSecurity Show in Paris, May 2024.
We’ll be present at the [CyberShow in Paris](https://www.cybershowparis.fr/) on the 28th and 29th of May, 2024, and I felt it would be the right time to write a piece about SimpleBackups and where we fit in the cybersecurity scene.
We had conversations internally about how we position ourselves, what cybersecurity entails, the current threats, how we’re helping our users today, and our future plans.
## What is Cybersecurity?
> *Cybersecurity refers to the practice of protecting computers, servers, mobile devices, electronic systems, networks, and data from digital attacks, damage, or unauthorized access. It's also known as information technology security or electronic information security. The term applies in a variety of contexts, from business to mobile computing, and can be divided into a few common categories: network security, application security, information security, operational security, disaster recovery, and end-user education.*
On one side, we have threats targeting servers, computers, and anything digital.
On the other side, we have technologies, processes, and controls to reduce the risk of cyberattacks and their impact.
**Cybersecurity can be categorized into three main buckets:**
* **Technical Measures:** This includes network security, application security, and information security. These measures involve protecting systems and data using various technologies to prevent unauthorized access and attacks.
* **Human and Organisational Measures:** This focuses on training, policies, and procedures, as well as incident response, risk assessment, and disaster recovery planning.
* **Physical and Environmental Measures:** This involves protecting physical access to information, ensuring secure facilities, and environmental controls.
While cybersecurity is often dramatised as a battle between hackers, the essential part lies in preventing attacks from occurring and knowing how to respond effectively if they do.
## So where does SimpleBackups fit in the Cybersecurity scene?
SimpleBackups offers a cloud-based backup solution, fitting into the "Organizational Measures" category, particularly under "Disaster Recovery Planning."
Disaster Recovery planning is about preparing an organisation to respond effectively to a disruptive event, ensuring that critical business functions can continue or resume rapidly. This involves identifying potential risks and vulnerabilities, developing strategies to mitigate them, and **creating detailed procedures to recover essential systems and data**.
That’s exactly where your backup strategy fits in. It’s crucial to understand where your backups fit in your overall cybersecurity strategy to tailor it effectively and be ready when these backups need to be used.
## Our Approach to Backup & Disaster Recovery at SimpleBackups
**Know What, When, and How to Backup Your Data:** Initially, SimpleBackups was focused on "how" to set up your backup. We’ve since evolved to provide comprehensive guidance on what data to back up, when to back it up, and how to do it efficiently. Our user-friendly interface makes setting up backups seamless, defining backup schedules, storage locations, and the specific data to be backed up.
**Don’t Blindly Trust You Have Backups; Control Them:** Users need a solution they can trust and control. We've built a system that notifies you whenever something goes wrong and actively pursues you through Slack, email, or other means until you address potential risks around your backup. Our anomaly detection further enhances risk discovery within your backups. Additionally, we push our users to regularly test their backups. Regular testing ensures that backups are not only present but also functional and reliable when needed.
**Know How to Quickly React When Facing a Disaster:** Quick reaction in the face of a disaster is crucial. Knowing what to do and who’s responsible can make a significant difference. SimpleBackups is not just where your backups are configured but also where the procedure for restoring them is defined. This is essential for companies seeking security certifications ([ISO27001](https://simplebackups.com/blog/elevating-security-quality-simplebackups-iso-certification/), SOC2) and critical for any organization.
As you leverage SimpleBackups to be a building block of your overall CyberSecurity architecture, we, on our end, focus on giving you all the tools to making SimpleBackups the most secure place for your backups: we ensure that the backups themselves are protected by enforcing transfer encryption, backup AES encryption, multi-cloud backup, two-factor authentication, and more.
## Conclusion
At SimpleBackups, we understand the critical role of backups in a comprehensive cybersecurity strategy. Our solutions ensure that you not only have automated backups but also [maintain control and trust over your data's safety.](https://simplebackups.com/security-first) Join us at the CyberShow in Paris to learn more about how we can help secure your organization against potential disruptions.
We look forward to seeing you there!
---
# Backup your production data before it's too late.
Source: https://simplebackups.com/blog/please-backup-your-production-data
Published: 2024-04-08
Author: Nour
Summary: Learn from major data disasters & protect your data with SimpleBackups! Automated backup solutions for peace of mind.
Learn from major data disasters & protect your data with SimpleBackups! Automated backup solutions for peace of mind. #DataProtection
---
# The Ultimate Aiven Data Pipeline Backup Guide
Source: https://simplebackups.com/blog/backup-your-aiven-data-pipeline
Published: 2024-03-29
Summary: Automate Aiven Postgres backups and store them remotely. Complete guide, using SimpleBackups.
Aiven streamlines cloud data infrastructure with a single platform that integrates all your crucial data services on any major cloud.
In this guide, we'll show you how to automate Aiven Postgres backups and store them remotely using SimpleBackups.
## Why Aiven Data Pipeline Backup is Crucial
One might think why backup is necessary for my Aiven data pipeline? The answer is simple, backup creates a copy of your physical, logical, and operational data.
Which you can store at any safe place such as Amazon S3. This copy comes into use if the running database gets corrupted.
In this example, We're going to backup the Postgres database in this example Aiven data pipeline.
## How to automate Aiven Data Pipeline database Backup
### Step 1: Grab your Aiven Postgres connection details
1. Log in to your Aiven console.
2. Navigate to the database service you wish to back up.
3. Click on “Overview” then “Connect” or just on the Dashboard, refer to “**Connection Details”**
4. Copy the connection string (make sure you replace the **** by the actual password)
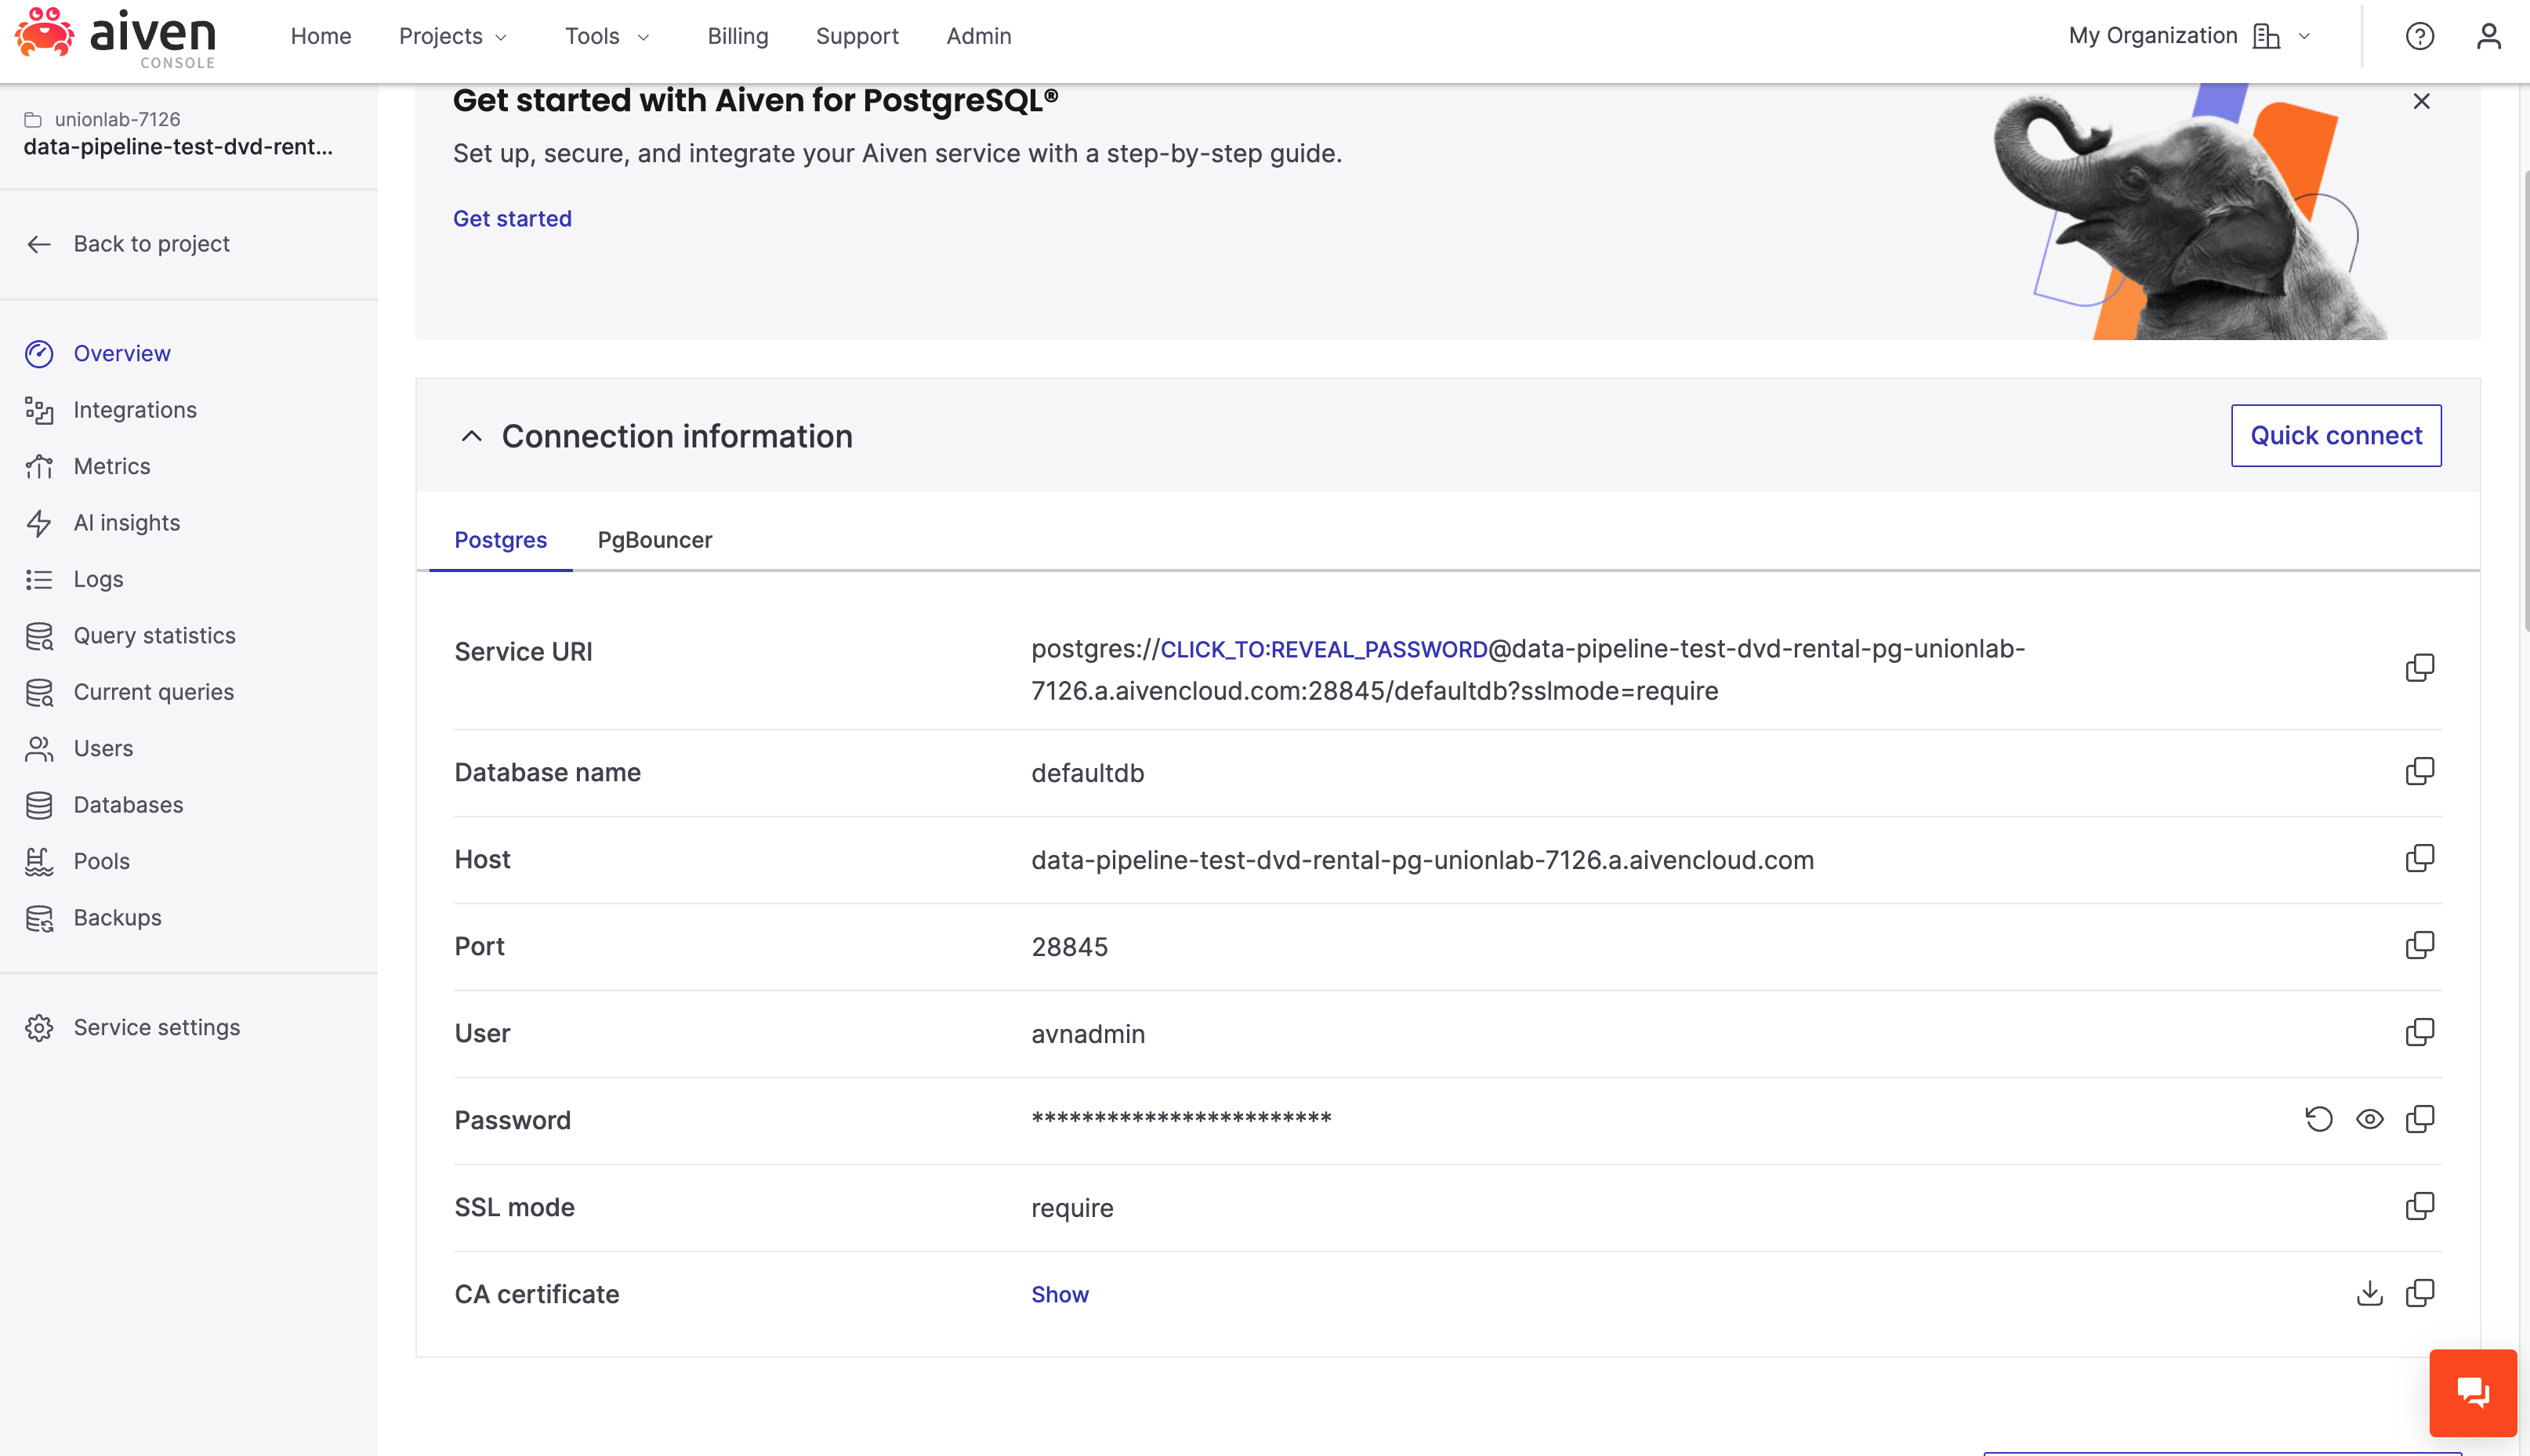
### Step 2: Whitelist SimpleBackups IP Addresses
> Note: if your database is behind a firewall, follow the following steps.
1. In the Aiven console service overview, scroll down to the **Allowed IP Addresses** section, click on **Change**
2. Add the [IP addresses provided by SimpleBackups](/docs/help-tips-and-troubleshooting/connecting-a-server/simplebackups-ip-addresses-firewall) to the whitelist. This allows SimpleBackups to connect to your database.
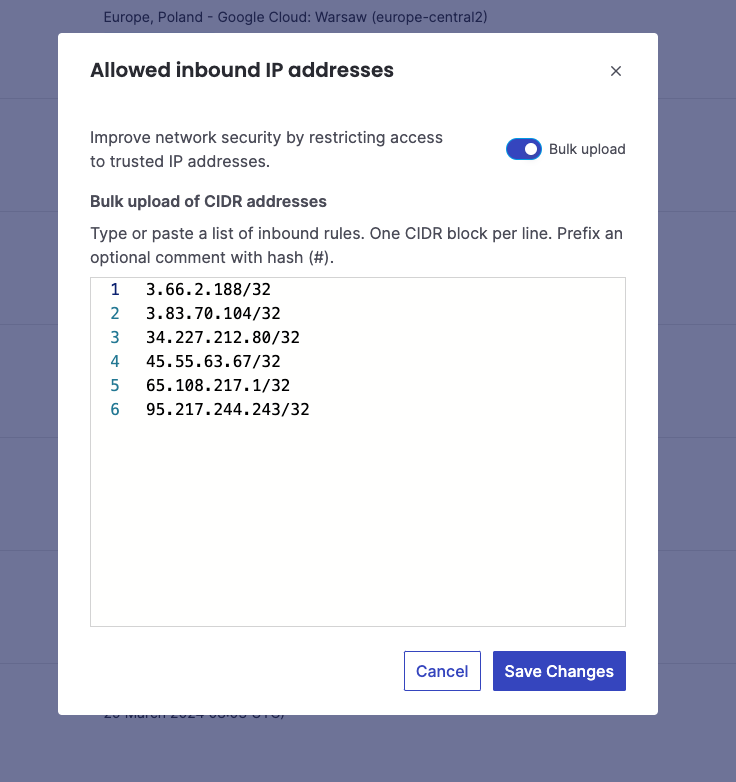
### Step 3: Create a New Database Backup on SimpleBackups
1. Navigate to the "Backups" section and click on "Create Backup."
2. Select "Database Backup."
3. You may use your own server to dump the backups, but we recommend the “serverless” option.
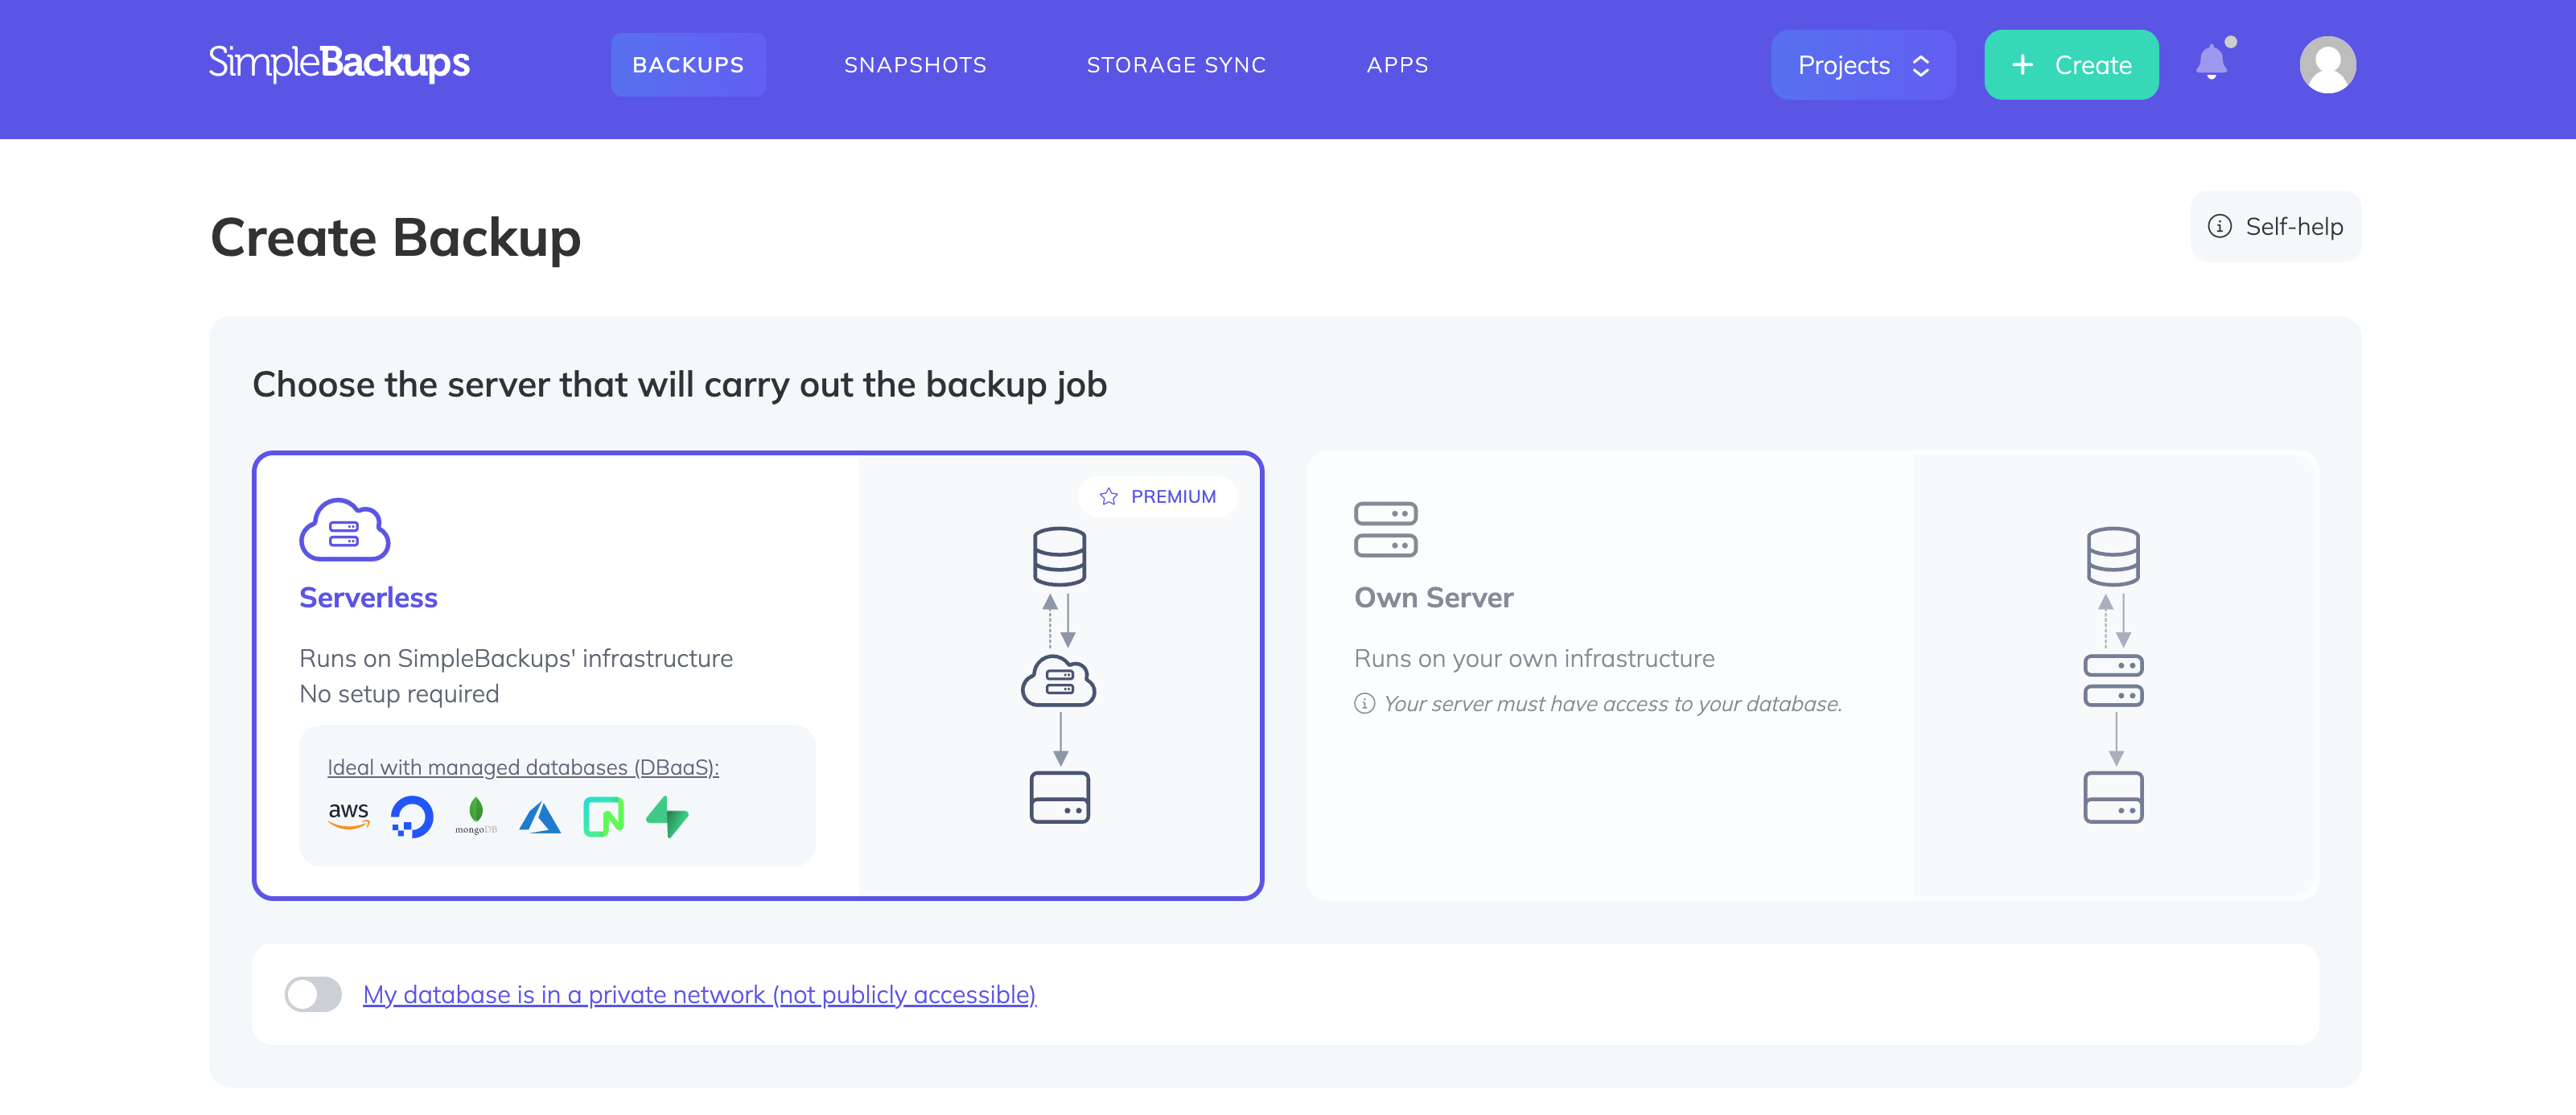
### Step 4: Configure your Aiven Postgres Backup
1. Choose **PostgreSQL** as the **database type**.
2. Click “Paste connection string instead”
3. Fill in the complete connection string for your Aiven Postgres database (make sure the password is added as well and not the asterisks *****)
4. Click “Validate Connection” to make sure the connection is successful.
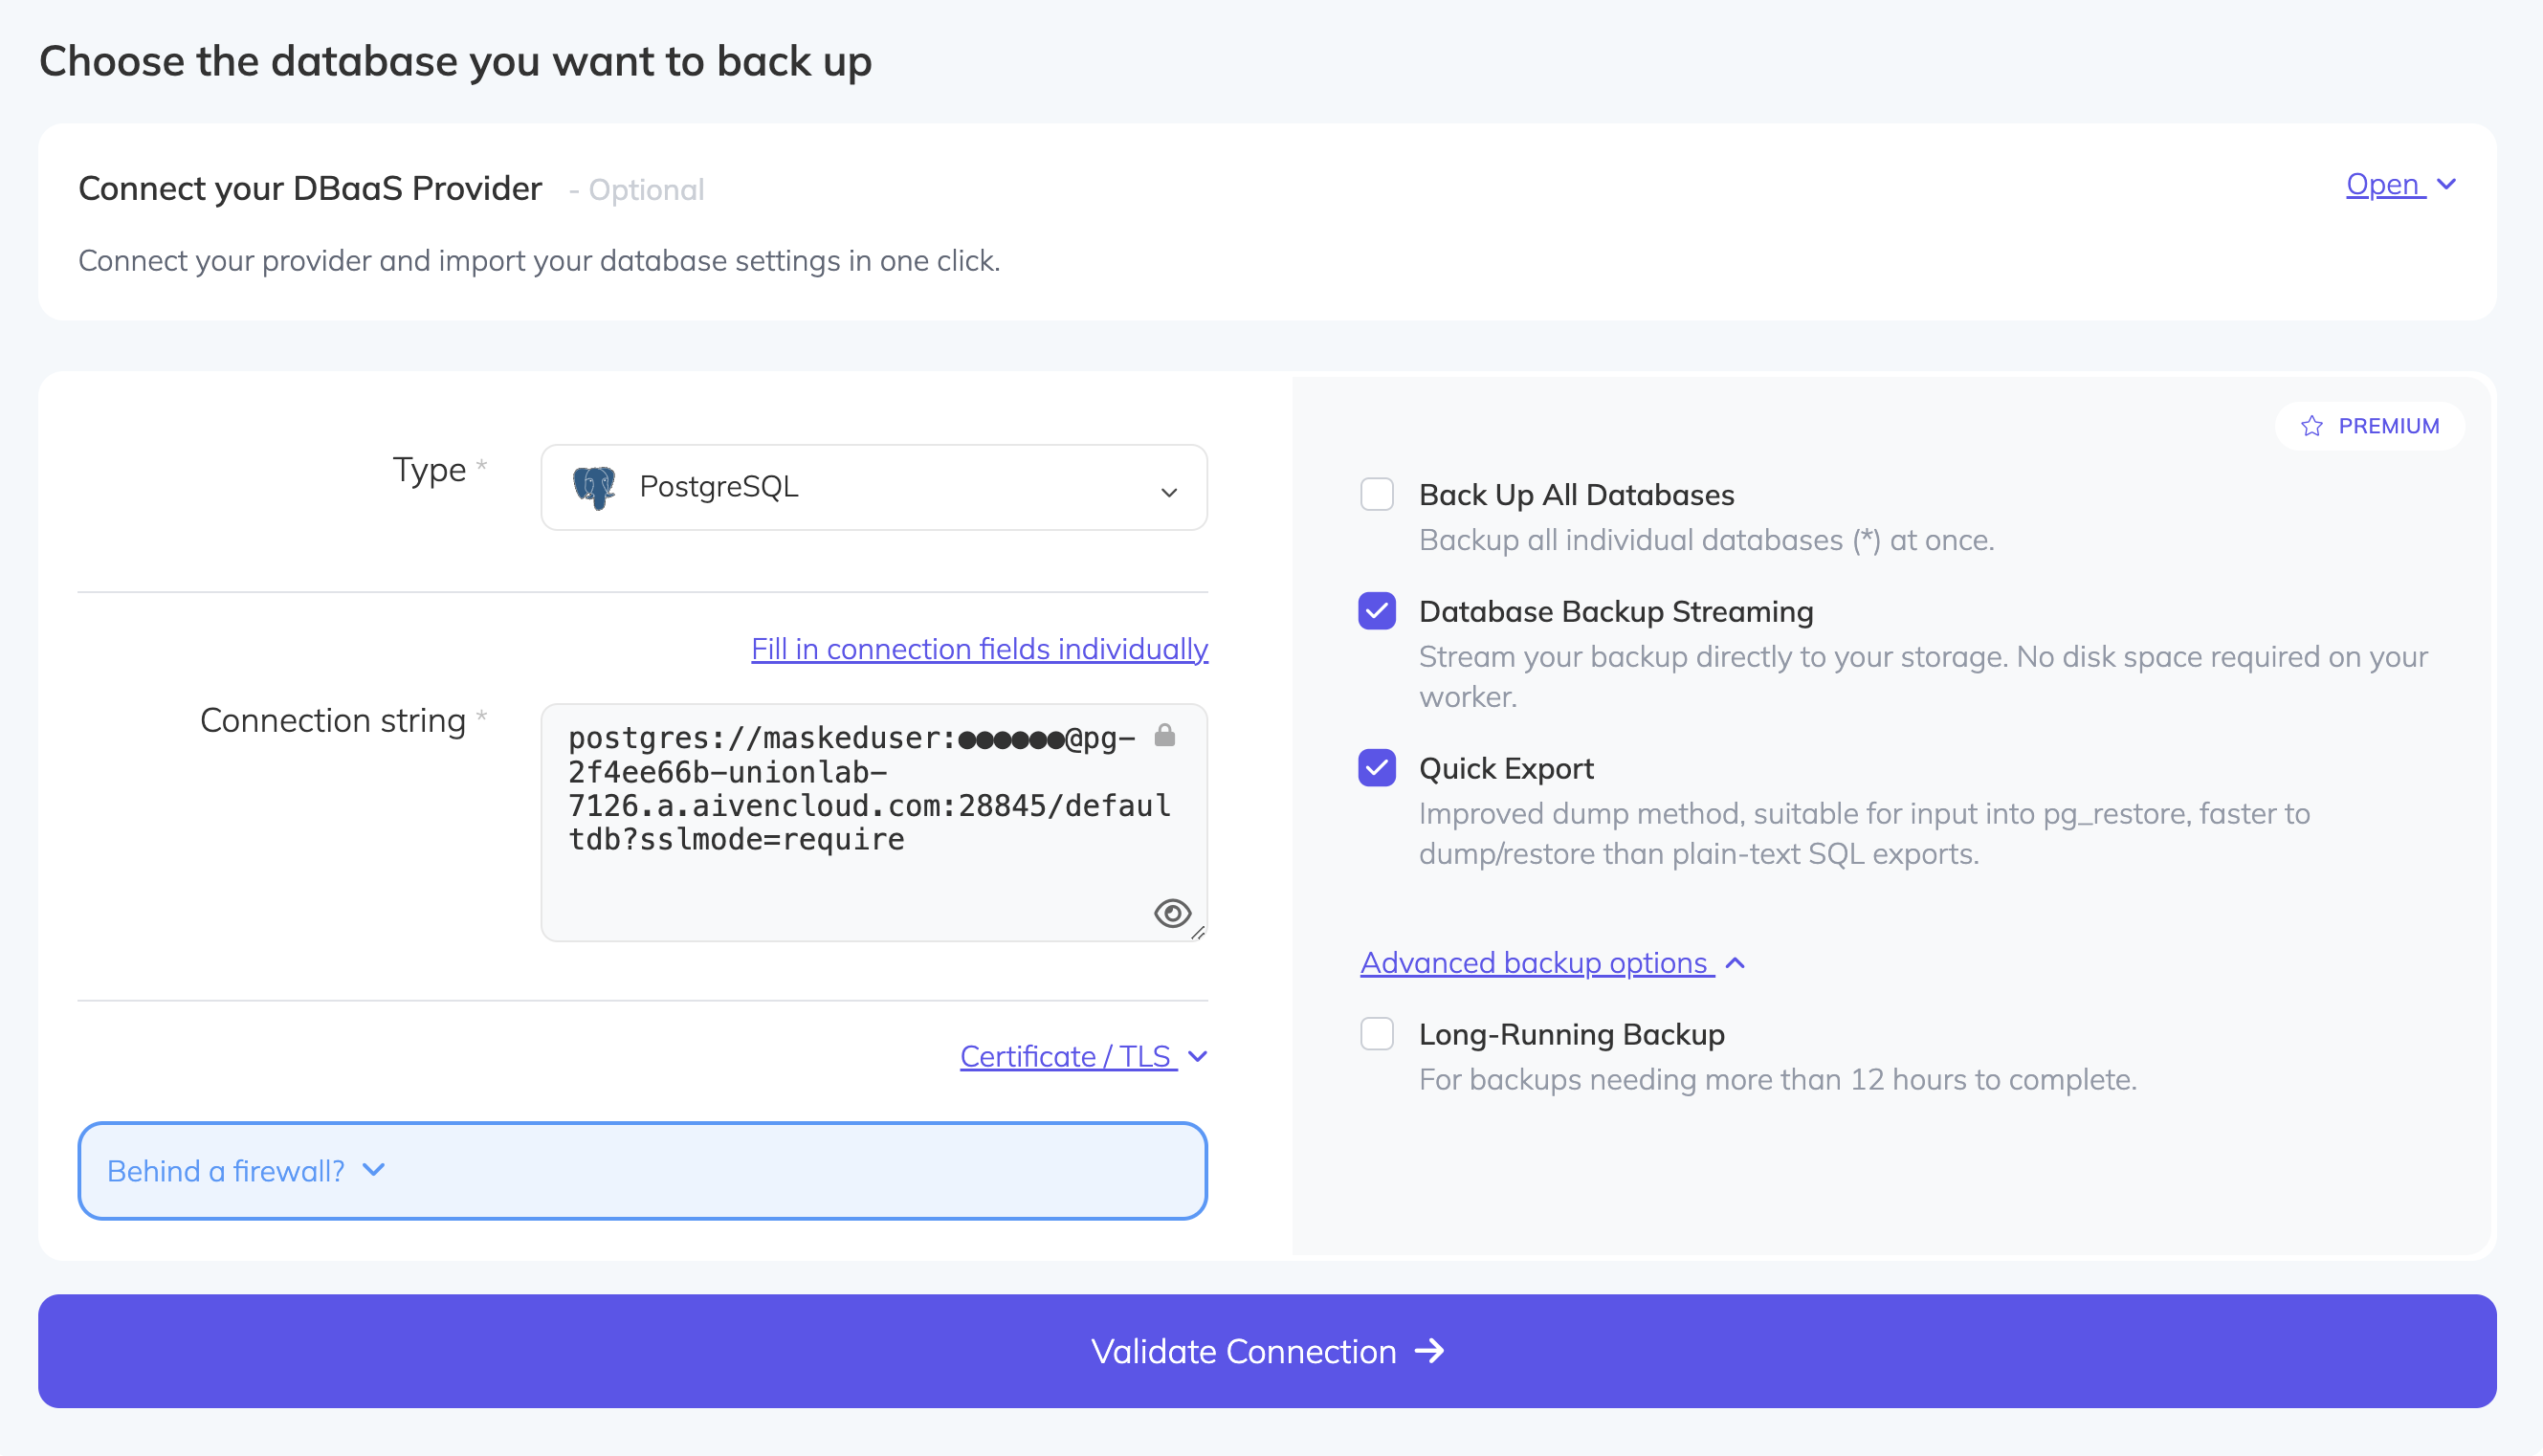
### Step 5: Schedule & Customize your Aiven Postgres Backup
1. Set a schedule for your backups according to your needs (e.g., daily, weekly).
2. Customize your backup settings, such as retention policies and storage.
### Step 6: Monitor your Aiven Postgres Backup
1. Review your backup configuration to ensure all details are correct.
2. Save your backup configuration. SimpleBackups will automatically start the backup process according to your schedule.
By following these steps, you can ensure that your Aiven-managed PostgreSQL database is securely backed up, protecting your data against accidental loss or corruption.
---
# UpCloud Backups with SimpleBackups
Source: https://simplebackups.com/blog/uplcoud-backups
Published: 2024-03-25
Author: Laurent
Summary: Discover how SimpleBackups and UpCloud's European partnership, built on shared values of security (ISO 27001 certified) and real human support, enhances your data protection with flexible, reliable cloud services.
While SimpleBackups is integrating more and more Cloud providers, we're also excited when we can share working European partnership that strengthen over the years!
**It's the case of our Upcloud partnership which we're a proud partner for the past 3 years now 🎉**.
UpCloud is all about top-notch cloud services that are fast, flexible, and reliable.
They've got 13 data centers scattered around the globe to make sure things run smoothly and quickly for everyone.
UpCloud and SimpleBackups share a common DNA when it comes to prioritizing security — we're both European based and are proud to be [ISO 27001](https://simplebackups.com/blog/elevating-security-quality-simplebackups-iso-certification/) certified, showing our commitment to keeping your data locked down and secure.
Plus, we're all about real, human-based support. No bots or endless loops of automated responses here.
Whether you're with UpCloud or SimpleBackups, you get to deal with real people who are ready to help sort out your issues and make sure you're getting the best experience possible.
## Comprehensive Backup Options for UpCloud
SimpleBackups integrates seamlessly with UpCloud to offer a variety of backup solutions tailored to meet your specific needs:
✅ [File Backup (Server Backup)](https://simplebackups.com/blog/how-to-backup-files-to-upcloud/):
Safeguard your critical data with regular, automated file backups of your entire server.
This ensures that your website, applications, and services remain uninterrupted, even in the face of data loss.
✅ [Managed Database Backup (and Self-Hosted)](https://simplebackups.com/mysql-backup/):
Whether you're using UpCloud's managed databases or managing your own, SimpleBackups has got you covered.
Our solution offers peace of mind by regularly backing up your databases, so your vital information remains intact and easily recoverable.
✅ [Volume / Storage Snapshots](https://simplebackups.com/snapshots/upcloud):
Capture the state of your storage volumes at any point in time with snapshots.
This is perfect for quick rollbacks and minimizing downtime during upgrades or in the aftermath of data corruption.
✅ [Object Storage Backup](https://simplebackups.com/storage-backup/upcloud/) / Replication (to Other Providers):
Ensure your data's safety by backing up or replicating your object storage across different cloud providers.
This multi-cloud approach enhances data availability and disaster recovery strategies.
## Flexibility, Security, and Compliance
With SimpleBackups & UpCloud, the power of choice is in your hands. You can store your backups on any provider, embracing a multi-cloud strategy for enhanced data protection and redundancy.
Our platform is designed with security at its core, featuring robust encryption and compliance with international standards, including ISO certifications.
This commitment to security means you can trust SimpleBackups and UpCloud to protect your most valuable asset: your data.
---
# How to create a Neon database backup
Source: https://simplebackups.com/blog/how-to-create-a-neon-database-backup
Published: 2024-03-20
Author: Nour
Summary: Learn how to securely backup your Neon PostgreSQL database with SimpleBackups. Follow easy steps for data safety in just minutes!
In this Guide, we will go through creating a backup of your Neon PostgreSQL database using SimpleBackups. We'll cover everything from obtaining your Neon database credentials to creating and restoring backups. By following these steps, you can ensure the safety and security of your valuable data.
## Prerequisites:
* Register for a [SimpleBackups](https://simplebackups.com) account, this tutorial uses SimpleBackups as a backup provider.
* An active [Neon](https://neon.tech) account with a database to backup
* Network Access from SimpleBackups to your Neon database
## Retrieving Neon Database Connection String
### Step 1: Create a Backup User in Neon
1. Log in to your Neon dashboard.
2. Navigate to the database you wish to back up.
3. Click on “Overview” then “Connect” or just on the Dashboard, refer to **“Connection Details”**
4. Create a new user (or role) with RW or read-only access to the necessary database. This user will be used by SimpleBackups to connect to your database securely.
5. Copy the connection string (make sure you replace the **** by the actual password)
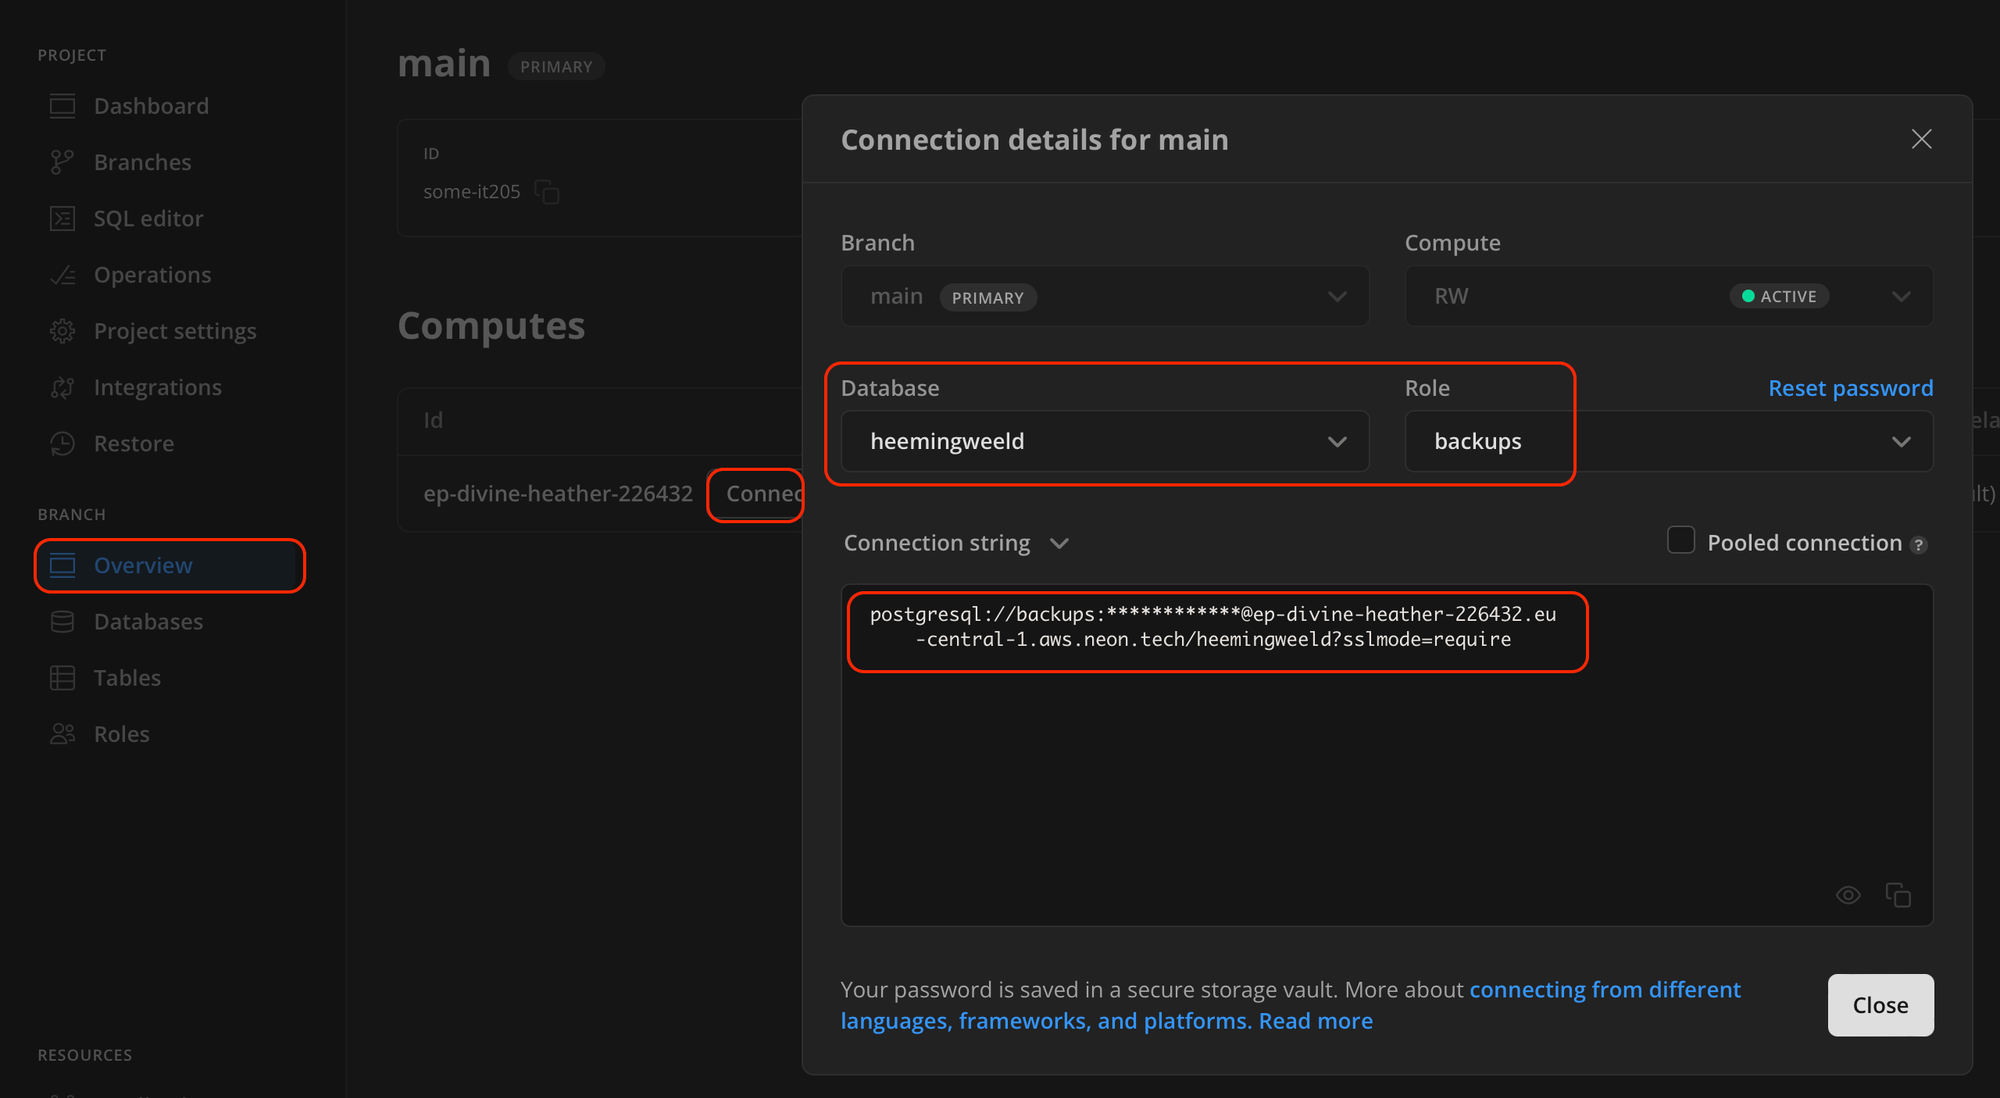
### Step 2: Whitelist SimpleBackups IP Addresses
> **Note**: if your database is behind a firewall, follow the following steps.
1. In the Neon dashboard, go to the "Project settings" then "IP Allow"
2. Add the IP addresses provided by SimpleBackups to the whitelist. This allows SimpleBackups to connect to your database.
## Creating a New Neon Database Backup on SimpleBackups
### Step 1: Create a New Database Backup on SimpleBackups
1. Navigate to the "Backups" section and click on "[Create Backup](https://my.simplebackups.com/backup/create?type=db&db_type=PostgreSQL)."
1. Select "Database Backup."
2. You may use your own server to dump the backups, but we recommend the “serverless” option.
3. Step 4: Configure Database Backup Settings
* Choose PostgreSQL as the database type.
* Click “Paste connection string instead”
* Fill in the complete connection string for your Neon database (make sure the password is added as well and not the asterisks *****)
* Click “Validate Connection”
`
### Step 2: Schedule and Customize Your Backup
Select a name for your backup name, set a Schedule and a Storage to store your backup, then click on Create backup.
### Step 3: Save and Activate the Backup
1. Review your backup configuration to ensure all details are correct & accurate.
2. Save your backup configuration. SimpleBackups will automatically start the backup process according to your schedule.
You’ll be redirected to your backup job’s page, click on **Run now** to test this backup, once the backup runs successfully, you’ll be able to see a **Backup success** indicator.
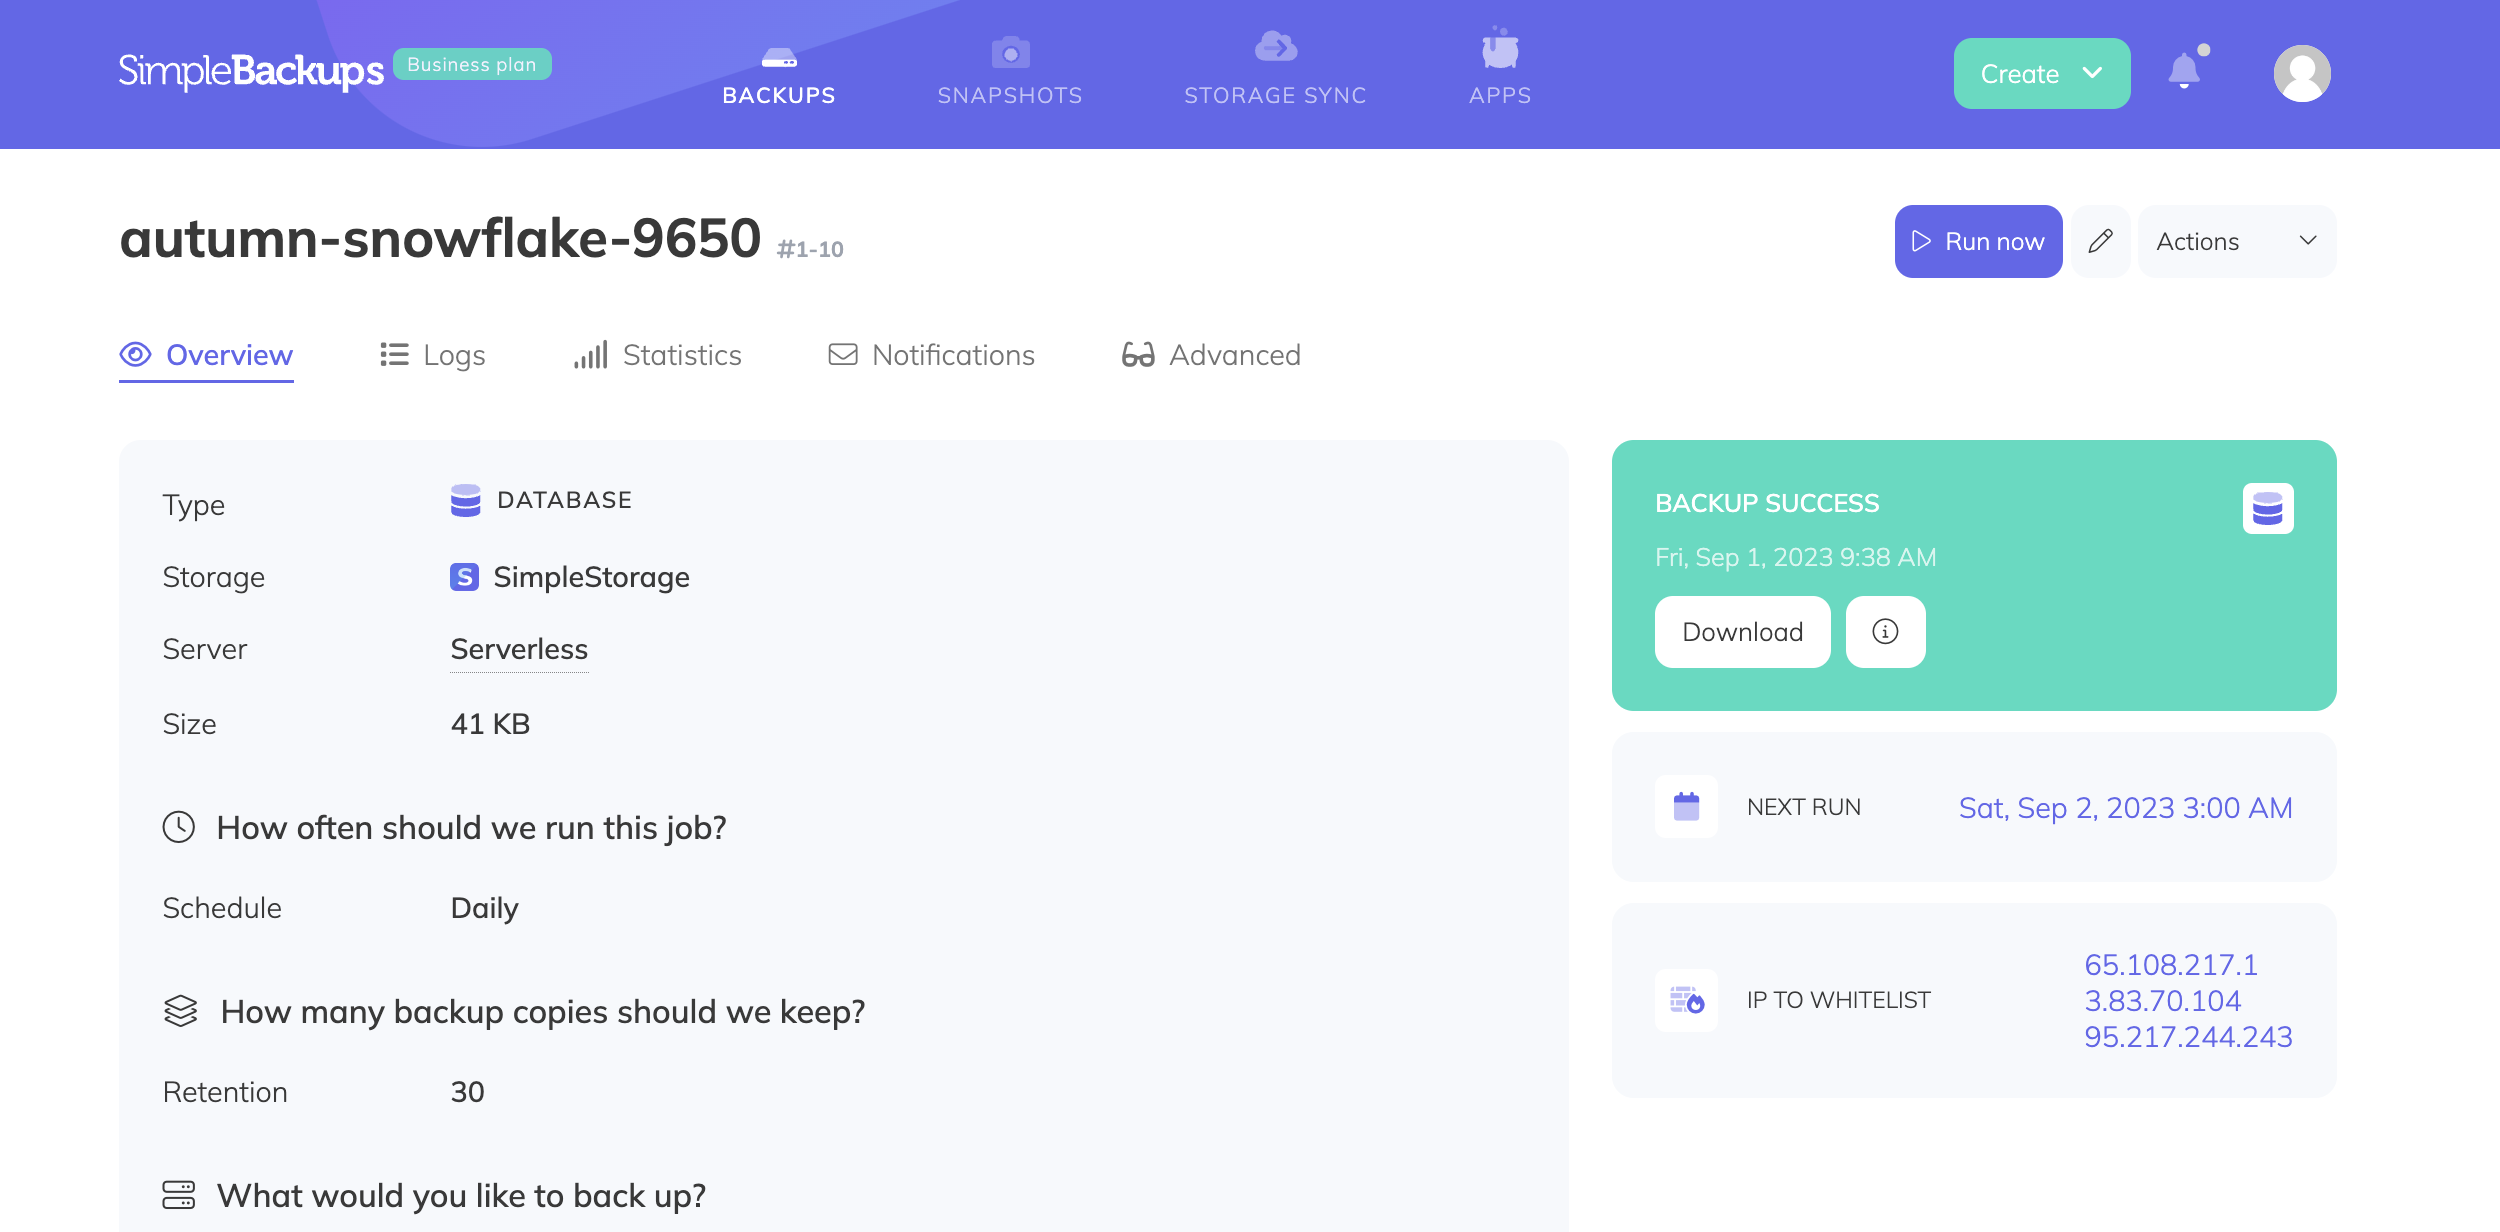
## Restoring your backup
### Step 1: Download the Neon Backup File
First, locate the URL of your backup from the restore tab in your desired backup log dialog, and download it to your local system:
```shell
wget 'http://example.com/path/to/your-neon-backup.tar.gz' -O backup.tar.gz
```
### Step 2: Extract the Backup File
Extract the downloaded file containing your Neon PostgreSQL backup:
```shell
tar -xzvf backup.tar.gz
```
Navigate into the extracted directory:
```shell
cd your_backup_folder
```
### Step 3: Restore the Backup
Now that you have the backup file, you can restore it to your Neon database. You can use the `pg_restore` command, or the `psql` command to restore the backup file to your database.
**Using `psql`:**
```shell
psql -U username -d dbname < database-dump.sql
```
**Or, using `pg_restore`:**
```shell
pg_restore -U username -d dbname database-dump.sql
```
## Wrapping up.
Following these steps ensures a secure backup for your Neon PostgreSQL database,. This ensures that your valuable data is protected against accidental loss or corruption, giving you peace of mind and confidence in your data management strategy.
---
# How to Backup Neon Database
Source: https://simplebackups.com/blog/how-to-backup-neon
Published: 2024-03-19
Author: Nour
Summary: Discover how to backup your Neon PostgreSQL database. Complete guide, with scripts and examples.
## What is Neon?
Before getting started, let's introduce Neon!
[Neon](https://neon.tech) is a serverless open-source alternative to AWS Aurora Postgres. It separates storage and compute and substitutes the PostgreSQL storage layer by redistributing data across a cluster of nodes. This architecture allows Neon to scale horizontally and provide high availability and fault tolerance.
## When do you need a Neon database backup?
While Neon offers its [own backup solutions](https://neon.tech/docs/manage/backups), relying solely on these can be risky.
Here’s why an external backup is crucial:
**Redundancy:** Having an external backup ensures that if something goes wrong with Neon's internal backups, your data is still safe.
**Control:** External backups give you more control over backup frequency, retention policies, and recovery strategies.
**Compliance:** For certain applications, regulations may require external backups to meet data protection standards.
We'll develop a straightforward script to back up your PostgreSQL database.
If you want to automate the process, you can use [SimpleBackups for Neon](https://simplebackups.com/database/neon) to schedule your backups and store them on Amazon S3, Google Cloud Storage, or any other cloud storage provider.
If you feel like coding it yourself, you can check out our guide on [how to automate PostgreSQL backups](https://simplebackups.com/postgresql-backup/).
With that being said, let's get started!
## How to backup Neon database
In order to backup your Neon database, you'll need to use the `pg_dump` command.
Make sure you have `postgres` installed on your machine.
If not, you can install it by following the instructions on the [official website](https://www.postgresql.org/download/).
You can also check our article on how to install [PostgreSQL on Docker](/blog/run-postgresql-on-docker/).
For Ubuntu, simply install it via the command line:
```shell
sudo apt-get install postgresql-15
```
## Backup your Neon database with `pg_dump`
While we won't go deep into how pg_dump works, here's a quick overview of the command.
For those who want to understand more about `pg_dump`, we wrote a complete guide on [how to backup PostgreSQL database](/blog/postgresql-pgdump-and-pgrestore-guide-examples/) that goes into more detail.
You can read our guide to figure out how to create a backup user and grant the necessary permissions to it in our [Neon Documentation](/docs/database-backup/dbaas-providers/neon-postgresql)
The format of a Neon PostgreSQL connection string is similar to a standard PostgreSQL connection string.
It typically includes the following components:
```
postgresql://myuser:mypassword@db.myproject.eu-central-1.aws.neon.tech/mydatabase
```
Remember to replace `myuser`, `mypassword`, `myproject.eu-central-1.aws.neon.tech`, and `mydatabase` with your actual database credentials and details. Also, ensure that your connection string is kept secure and not exposed in your application code or any public repositories.
Now, let's execute the `pg_dump` command to backup your Neon database:
**Using credentials:**
```shell
pg_dump --inserts --column-inserts --username=myuser --host=myproject.eu-central-1.aws.neon.tech --port=5432 mydatabase > database-dump.sql
```
**Or using the connection string:**
```shell
pg_dump 'postgresql://myuser:mypassword@myproject.eu-central-1.aws.neon.tech/mydatabase > database-dump.sql
```
This command will connect to your Neon database and create a dump file called `database-dump.sql` in your current directory.
## Restore your Neon database with `pg_restore`
Now that you have a backup of your Neon database, you can [restore Neon](/blog/how-to-restore-a-postgresql-backup/) using the methods shown below.
**Using `psql`:**
```shell
psql -U username -d dbname < database-dump.sql
```
** Or, using `pg_restore`:**
```shell
pg_restore -U username -d dbname -1 database-dump.sql
```
If you want to restore your Neon backup onto Neon itself, just use the proper connection string and credentials.
```shell
psql 'postgresql://myuser:mypassword@myproject.eu-central-1.aws.neon.tech/mydatabase' < database-dump.sql
```
And that's it! You now know how to backup and restore your Neon database.
---
# Vector Databases: Core Principles
Source: https://simplebackups.com/blog/vector-databases-core-principles
Published: 2024-02-28
Author: Laurent
Summary: Vector Databases Unpacked: Understanding Embeddings, Models, and Database Integration
We’re all aboard the hype train with AI, GPT models, and the whirlwind of change they're bringing to our tech landscape. If you’re anything like me—a tech enthusiast with a knack for diving headfirst into new tools—you’ve probably found yourself knee-deep in projects that sounded simple at first but turned out to be gateways to entirely new realms of knowledge.
My latest adventure? It started with a seemingly little quest (I’ll ban “little” from my vocabulary moving forward 😶) to build an "Ask questions to your PDF" tool, which led me down the rabbit hole to **discover the world of "Vector Databases”**.
This article won’t be a technical deep dive, but rather an introduction to the main concepts around Vector database.
## Table of Contents
## What is a vector database?
### Vector what?
Alright, let's get down to brass tacks. If you've dabbled in backend development, you've likely played around with Relational Databases (hello 👋, MySQL and PostgreSQL) or even flirted with Document-based databases (MongoDB, Redis, we’re looking at you).
But guess what? That was so 2023.
The cool kids are now jamming with the new quarterback of the database school: Vector Databases.
Back to the basics: in the realm of vector databases, we've got "vector" and "database" (mind-blowing revelation, right?). Let's decode these terms with the help of our trusty sidekick, [ChatGPT](https://serpninja.io/blog/chatgpt-prompts-for-seo/), without having to open your 'latin-grec' dictionary.
#### Vector AKA My Data structure:
_A vector is a sequence of numbers that represents data in a high-dimensional space. Each number in the sequence corresponds to a dimension and its value represents the magnitude or position along that dimension._
So, a vector is just a sequence of numbers representing data in a multi-dimensional matrix, pretty clear.
Note that in the illustration below we’re talking about Embedding vectors, which are just vectors generated by an embedding model (we’ll see this later).
Another way to phrase it would be to say that a vector is representation of a complex data (words, sentences, pdf, image, audio, video…) into a numerical form often referred to as an embedding.
These vectors are typically high-dimensional and are used to encode semantic information about the items they represent.
#### “Database” AKA where my data sleeps
Well, you know what a database is, you’re using one daily, and it will be the same in the context of a Vector Database.
_A database is an organized collection of structured data, typically stored on a server/computer. Databases are designed to efficiently store, retrieve, and manipulate data, and they are used in a wide variety of applications, from simple record-keeping to complex business intelligence systems._
### The Power Couple: Vector and Database
Imagine a world where vectors and databases come together in perfect harmony.
That’s what vector databases are all about.
**They store and manage high-dimensional vector embeddings (we'll circle back to this term, promise) to perform efficient retrieval and similarity searches.**
Unlike their relational or NoSQL cousins, vector databases are all about dealing with embeddings, giving them the upper hand in similarity querying, recommendation systems, and semantic searches.
Note that contrary to a Relational Database, the data you save does not follow a schema structure you’d have pre-defined. It stores vector embeddings, generated by embedding models out of unstructured data.
### Use cases and applications for vector databases
Vector databases are not just about storing data; they're about unlocking possibilities. They shine in scenarios where traditional databases struggle, offering a unique ability to understand and query data like images, text, videos, and sounds.
Here are a few standout use cases:
1. **Semantic Search**: Unlike keyword-based searches, semantic search understands the context and meaning behind queries, delivering more relevant results. For instance, in e-commerce, customers can find products through image search or by describing the item in natural language.
2. **Recommendation Systems**: By analyzing user behavior and preferences through vector embeddings, these databases can power sophisticated recommendation engines, suggesting content, products, or services with uncanny relevance.
3. **Fraud Detection**: In financial services, vector databases can [analyze transaction patterns](https://amlyze.com/aml-transaction-monitoring/) to identify anomalies that may indicate fraud, leveraging the subtle similarities between fraudulent transactions.
4. **Natural Language Processing (NLP)**: From [chatbots ](https://graphically.io/blog/how-to-design-a-chatbot/)to sentiment analysis, vector databases enable applications to process and understand human language, facilitating more natural and effective interactions.
## The Leap from Traditional Databases
### Traditional Databases: A Quick Recap
Before diving deeper into the contrasts, let's briefly recap traditional databases.
These databases, whether relational (SQL) or non-relational (NoSQL), excel at handling structured data. They organize data into predefined formats, like tables or documents, making it easy to perform precise, condition-based queries.
They're great for when your data fits nicely into rows and columns and when your queries are straightforward.
But here's the kicker: What if your data isn't just numbers and strings? What if it's more complex, like images, videos, or audio clips? That's where traditional databases start to sweat.
### Differences between Databases and Vector Databases
1. **Data Representation**: Traditional databases handle structured data well, but vector databases excel with unstructured, complex data by converting it into a numerical format that captures its essence.
2. **Search Capability**: Vector databases can perform similarity searches, finding items that are "close" to a query in the high-dimensional space. Traditional databases can't natively understand or search based on the "similarity" of content.
3. **Flexibility**: Traditional databases require a predefined schema, which can limit flexibility. Vector databases, dealing with numerical vectors, inherently support a more dynamic range of data types and structures.
4. **Scalability for Complex Queries**: As data complexity grows, traditional databases might struggle with performance. Vector databases, with their specialized indexing and search algorithms, can efficiently scale to handle complex, high-dimensional searches.
**Let’s take one example that fits perfectly the RDS data model.**
If you need to store a list of products an e-commerce website is selling in a very simplistic approach you’ll have a table “products” in which you store your with a name, description, photo, price and available stock.
You’ll also have a table with your customers and a table with your order and order lines.
All these columns will be interconnected using foreign keys and you’ll be able to query things like:
- ✅ List the orders of customer Acme
- ✅ Show the available stock for product B
- ✅ Show the top 5 best-selling products of this year
But how would go about:
- ❓Listing all blue products (without a “color” column existing in your products table)
- ❓Listing the products that are looking similar to the last product you purchased
- ❓Recommend a similar article based on product description
The answer is … meeeeeeeh.
**This is where vector databases strut onto the stage.** With the ability to handle complex, unstructured data like images, audio, and text, vector databases allow you to ask questions that were previously unthinkable.
You could do things that are impossible with traditional databases like querying:
- ✅ List me the podcasts in which people talk about science
- ✅ Show me pictures of black dogs
-✅ Create a summary of this pdf file
## How Vector Databases work?
### Transforming Data into Vectors
Here’s where the sorcery happens. You’ve got complex data—let’s say, images. The first step is to transform these images into something the database can work with: vectors. This process involves an embedding model, a kind of alchemy that takes your image and distills it into a high-dimensional vector representing its essence.
**Complex Data to Model to Vector Embedding**
Your first step, will be to convert these images into vectors.
A vector embedding is a vector representation of your complex data (an image in this case), capturing features describing the image in a numerical format.
This transformation involves an **embedding model** that takes input data and converts it into a high-dimensional vector, capturing essential features and nuances.
### How do you query a Vector database?
When querying a vector database you’ll want to determine the similarity between the image you input and the ones stored in your vector database.
Where in traditional databases you’d usually query something very specific like "Hey, do you have this?", here you're asking, "Can you find me data that's similar to this?"
Querying involves finding vectors in the database that are close to the query vector.
This involves mathematical concepts like **cosine similarity** or **Euclidean distance**—fancy ways of figuring out how close or far apart data points are in that high-dimensional space.
This illustration explains it quite well and to add context to it let’s take below example and follow the steps that lead us to a query result.
Let’s say you want to query a vector database of images:
1️⃣ **Convert** your search query (the image in this case) using the embedding model
2️⃣ The embedding model will **return an embedding vector** representing your input
3️⃣ This vector will be used as the parameter to your **database query**
4️⃣ The database engine will use mathematical techniques (cosine similarity…) to **find vectors that are “close” to your input**.
Most of these layers are there to be used, you don’t have to worry about creating a cosine similarity algorithm when performing a query or figuring out how to convert an image into an embedding vector.
### What is an Embedding Model and how does it work?
As explained above, Embedding models are at the heart of converting complex data into vectors.
These models, trained on large datasets, learn to capture the essence of the data in a numerical form. Popular models include:
- **Word2Vec** and **GloVe** for text, focusing on capturing semantic meanings of words in vector form.
- **BERT** and OpenAI's models offer more advanced text understanding, considering context and subtleties in language.
- For images, models like **CNNs (Convolutional Neural Networks)** are used to extract features and encode them as vectors.
**These models can be thought of as translators**, converting various data types into a language (vectors) that vector databases can understand and manipulate.
Have a look at https://huggingface.co/, which is the go-to models directory, to get a sense of the size of this new universe.
## Pick the right Vector Database Providers
Now that you understand the core principle, and want to develop your next-gen AI-powered application, you’ll be looking for a vector database provider!
While I haven’t tested them all and the list is not exhaustive, I’ve compiled a list of the major players knowing this market is moving fast and new players are popping up frequently.
**Traditional databases with support of Vector Search**
- PostgreSQL with [pgvector](https://github.com/pgvector/pgvector) or [TimeScale](https://www.timescale.com/blog/how-we-made-postgresql-the-best-vector-database/)
- MySQL via [PlanetScale](https://planetscale.com/blog/planetscale-is-bringing-vector-search-and-storage-to-mysql)
- CloudFlare via [Vectorize](https://blog.cloudflare.com/vectorize-vector-database-open-beta/)
- ClickHouse - https://clickhouse.com/docs/knowledgebase/vector-search
- Redis via [Redis Vector DB](https://redis.com/solutions/vector-database/)
- SingleStore - https://www.singlestore.com/
- MongoDB via [MongoDB Atlas Vector Search](https://www.mongodb.com/blog/post/introducing-atlas-vector-search-build-intelligent-applications-semantic-search-ai)
**Dedicated vector database providers:**
- **[Milvus](https://weaviate.io/)**: An open-source vector database designed for scalability and performance, supporting both real-time and batch processing.
Self-hosted - Open Source
- **[Weaviate](https://milvus.io/)**: Another open-source option, known for its semantic search capabilities and ease of integration.
Managed - Self-hosted - Open Source
- **[Pinecone](https://www.pinecone.io/)**: A managed service that focuses on simplicity and performance, with a straightforward pricing model.
Managed - Closed Source
- [Chroma](https://www.trychroma.com/): Open Source
- [Qdrant](https://qdrant.tech/): Self-hosted - Open Source
I hope this article helped you understand the core concept behind Vector Databases!
---
# Git Worktrees The Most Underappreciated Feature
Source: https://simplebackups.com/blog/git-most-underappreciated-feature
Published: 2024-02-28
Summary: Git worktrees are here to answer the call for a bit more flexibility, providing a level of development agility that will reshape the way you approach juggling tasks within a single repository.
As a developer, you know the value of a powerful version control system like Git. But even the most robust tools can sometimes leave you wishing for a bit more flexibility. Git worktrees are here to answer that call, providing a level of development agility that will reshape the way you approach juggling tasks within a single repository.
## The Struggles We've All Faced
Imagine this: You're in the zone, making great progress on a new feature. Suddenly, an urgent production bug report demands your attention. The classic pre-worktree dilemma hits – do you:
* **Stash those uncommitted changes?** Even with careful notes, stashes can be messy and hard to untangle later.
* **Risk creating a complex commit?** Including unfinished work with your hotfix complicates your development history.
* **Waste time with a full repository clone?** That eats up precious time and disk space.
These scenarios lead to cluttered workspaces, inefficient context switching, and the potential for errors. Enter Git worktrees!
## Worktrees: Your Project Multitasking Superpower
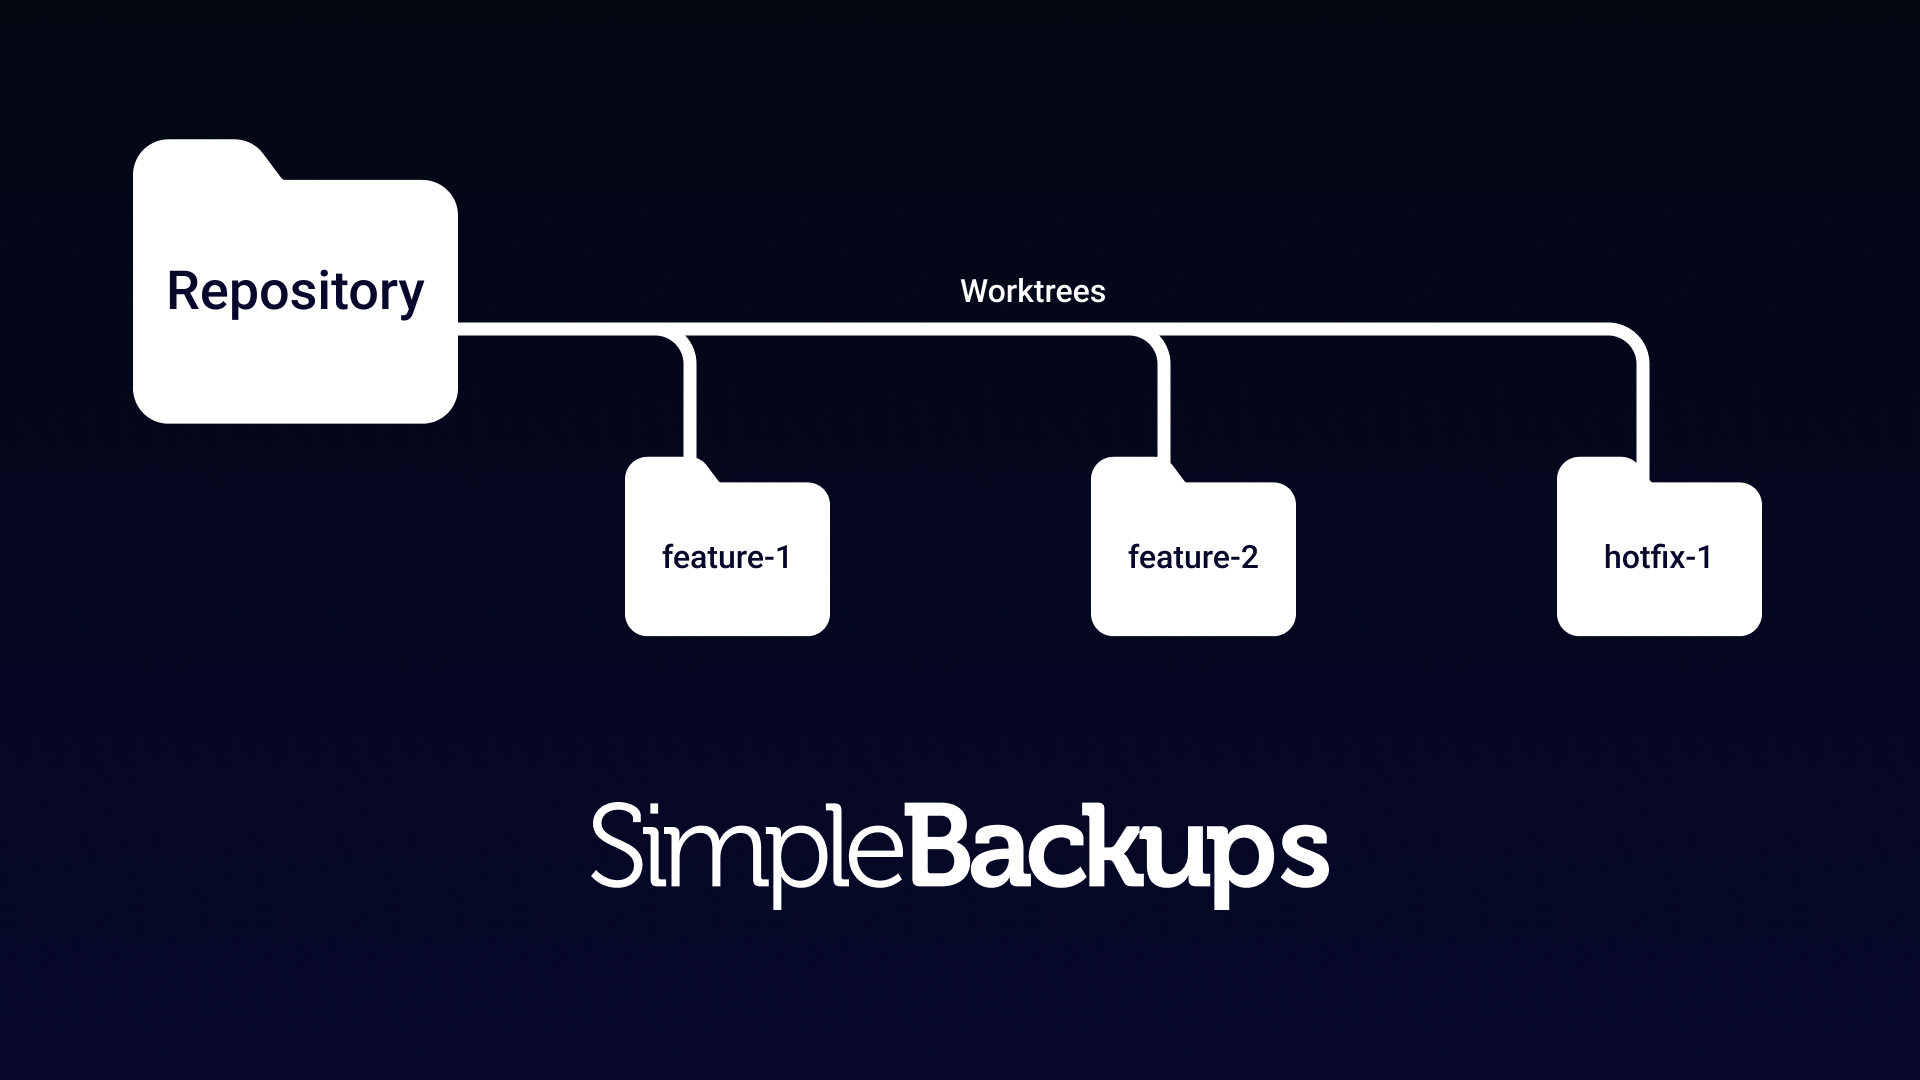
A Git worktree is a linked, parallel workspace within your existing repository. Imagine it as a neatly organized workbench where each tool (branch) has its dedicated area. You can switch between worktrees seamlessly, each reflecting its own distinct branch of your project's history.
Worktree Use Cases: Where the Magic Happens
* **Parallel Feature Development:** Work on multiple features simultaneously. Each worktree becomes a dedicated zone, promoting focus and minimizing merge conflicts down the line.
* **Bug Fixes without Disruption:** Isolate critical bug fixes in their own worktree. Stash-free switching protects your main development branch from half-finished commits.
* **Fearless Experiments:** Want to test out a radical approach? Spin up a worktree for your experiment. Success? Merge it back in. Failure? Delete the worktree, no harm done.
* **Code Review Made Easy:** Need to analyze an older version or a teammate's pull request in depth? Create a worktree. You get a full codebase sandbox to explore without impacting your current work.
* **Tackling Legacy Code:** Sometimes you may need to work with an older version of your project. Worktrees let you check out different historical points in time side-by-side with your current work.
## Getting Down to Work with Worktrees
Let's get started by cloning a repository and using the `--bare` flag. This flag creates a bare repository, which is a repository without a working directory. This is useful for sharing a repository with others, as it doesn't contain the actual files, only the version history.
```bash
git clone --bare git@github.com:vercel/next.js.git
```
If you list the contents of the directory, you'll see that it only contains the `.git` directory.
```bash
$> ls
$> HEAD config description hooks info objects packed-refs refs
```
Now, let's create a worktree for the repository. We'll use the `git worktree add` command to do this. This command takes two arguments: the path to the worktree and the branch to check out.
```bash
git worktree add canary
```
This command creates a new worktree in the `canary` directory and checks out the `main` branch. If you list the contents of the `canary` directory, you'll see that it contains the files from the repository.
```bash
$> ls canary
$> LICENSE README.md examples learn packages test tsconfig.json
```
Now you can make changes to the worktree without affecting the main repository. You can also create additional worktrees for other branches.
To remove a worktree, you can use the `git worktree remove` command.
```bash
git worktree remove canary
```
This command removes the worktree and deletes the directory.
You can also use the `git worktree list` command to see a list of all the worktrees in the repository.
```bash
$> git worktree list
$> /path/to/repo canary [main]
```
## Worktree Limitations
While worktrees are incredibly powerful, they do have some limitations. For example, you can't create a worktree for a repository that has uncommitted changes. You also can't create a worktree for a repository that has untracked files that would be overwritten by the worktree.
## Tips for Worktree Success
* **Name them wisely**: Descriptive worktree names help keep things organized.
* **Watch out for detached HEADs:** Working in a worktree sometimes leads to a detached HEAD state. Don't panic! Just switch back to a named branch.
* **Automate when possible:** Some common worktree tasks can be scripted for greater efficiency.
Many plugins and tools streamline worktree management. These can integrate worktrees into your editor, provide handy shortcuts, and help visualize their status within your project.
## Experience the Transformation
Git worktrees aren't just a convenience; they fundamentally change the way you interact with your code. Embrace them, and you'll discover a more fluid, organized, and error-resistant development process. Get ready for a new level of Git mastery!
One caveat worth keeping in mind: worktrees all share a single underlying repository. Having five of them checked out feels like redundancy, but if that clone is lost or the remote is deleted, every worktree goes with it. If you want an actual copy of your code and its history, that is a separate job: see our [GitHub backup service](/saas-backup/github), or the [developer's guide to backing up GitHub yourself](/blog/the-ultimate-developers-guide-to-github-backups).
---
# How to automate OVH Instance Snapshots
Source: https://simplebackups.com/blog/how-to-automate-ovh-server-snapshots
Published: 2024-02-28
Author: Nour
Summary: Automate your OVH instance backups using SimpleBackups. Step-by-step guide on how to schedule your first backup.
The following guide will help you, step by step, automate your OVH instance snapshots. The steps are very easy and will only involve minimal effort.
Afterwards, you will be able to take snapshots, automatically on your own terms, whether you need to take them daily, weekly, every couple of hours or on-demand using our API. You will also have the option to choose the number of snapshots to keep on your provider to save snapshot storage cost.
Now, let's get started!
## Prerequisites
* Create a **[SimpleBackups account](https://my.simplebackups.com/register?sb_source=docs&sb_term=ovh_howto)**
* An OVH Account
## Step 1: Create a SimpleBackups Account
Create or login to your SimpleBackups account, then head to the [snapshot creation section](https://my.simplebackups.com/snapshot/create).
## Step 2: Add OVH to SimpleBackups
In this step, we will generate an API Key and Secret on OVH that will allow us to automate OVH snapshots from SimpleBackups dashboard.
You'll find a step-by-step illustrated guide on [how to generate a OVH API Key in our documentation](/docs/server-and-volume-snapshot/providers/ovh).
Afterwards, create a new provider on SimpleBackups with your OVH API Key by going to the [snapshot creation section](https://my.simplebackups.com/snapshot/create) and click **+** as shown.

Grab your service name, application key, application secret, and endpoint from your OVH account and paste them in the corresponding fields in SimpleBackups.
Select OVH from the **Provider** dropdown list, enter a name for your OVH account, then paste the **Token** we obtained in the previous step and click **save provider**.

## Step 3: Create a OVH snapshot backup job
In this step, and after connecting our OVH account, we will simply create the snapshot backup job and select the needed server or volume.
### Step 3a: Choose your OVH account
From the list, choose the OVH account you need to take its snapshots. You may add as many OVH accounts as you need under your SimpleBackups account.
### Step 3b: Choose OVH an instance resource
Select "Server" under the **Resource Type**. The **Resource** dropdown will be populated by all the OVH Instances (Cloud Compute) accessible under your OVH account.
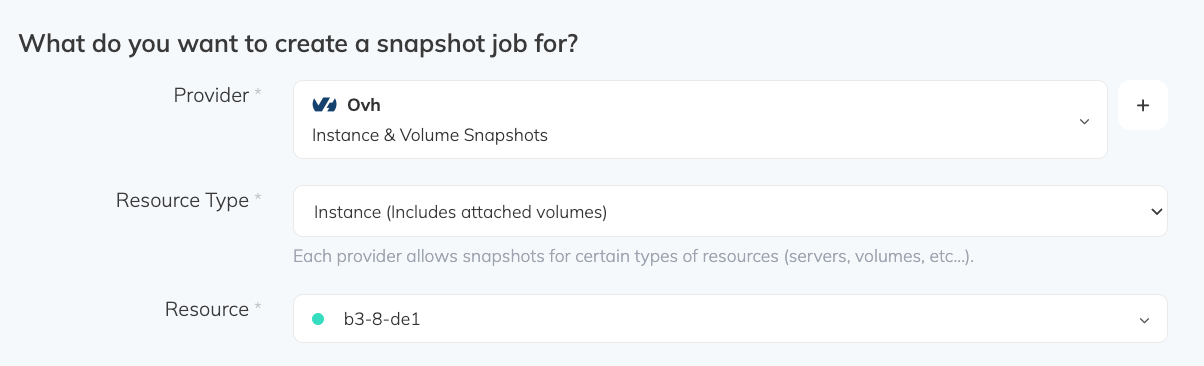
### **Step 3c: Set the retention you need**
The **Retention** is a number of snapshots we will keep, anything more than this number will be pruned/rotated automatically for you.
### **Step 3d: Save the snapshot backup job**
Finally, give your snapshot backup job a friendly name, then click **Create Snapshot**.
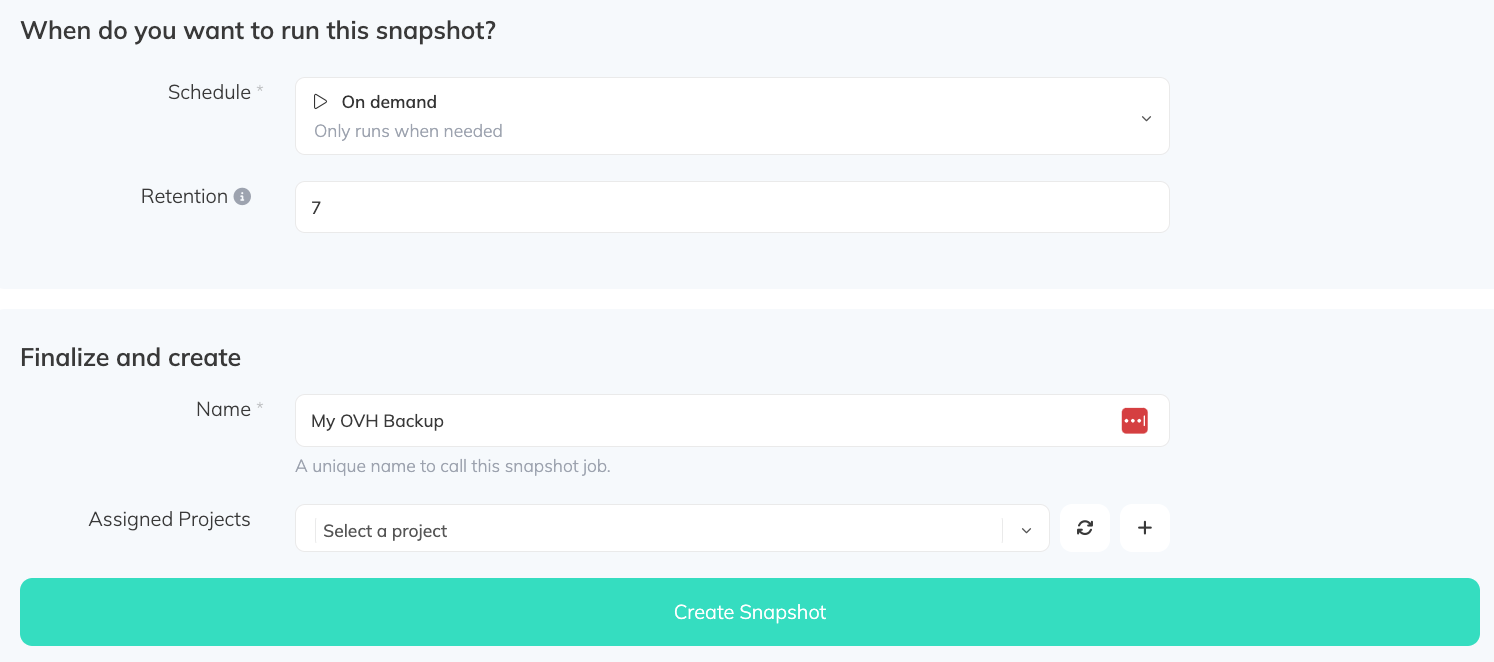
> Congratulations, you now have an automated OVH snapshot backup.
*Run it once manually (using the "Run" snapshot button from the snapshots list) and you'll trigger your first snapshot backup!*
---
# How to Back up Your GitLab Data
Source: https://simplebackups.com/blog/how-to-backup-your-gitlab-data
Published: 2024-02-19
Author: Nour
Summary: GitLab is a powerful, self-hosted Git service for managing code repositories. It gives you complete control over your data and processes, making it a popular choice for teams of all sizes. However, self-hosting means you're responsible for ensuring your GitLab data is secure and recoverable. In this post, we'll delve into backing up your GitLab data using SimpleBackups, a versatile backup solution.
GitLab is a powerful, self-hosted Git service for managing code repositories.
It gives you complete control over your data and processes, making it a popular choice for teams of all sizes.
However, self-hosting means you're responsible for ensuring your GitLab data is secure and recoverable.
In this post, we'll delve into [backing up your GitLab data using SimpleBackups](/saas-backup/gitlab), a versatile backup solution.
## The Importance of GitLab Backups
Even robust systems like GitLab are susceptible to issues like:
- Accidental data deletion
- Configuration errors
- Hardware failures
- Security breaches
A comprehensive backup strategy ensures that you can restore your GitLab instance, preserving your valuable code and project history.
## What Data Can You Back Up?
Before looking at the backup process in more detail, let’s first look at what data you should back up. Ideally, to ensure your data is properly protected, you should back up all your repositories, including their related metadata.
- Git repositories
- Snippets
- Merge Requests
- Issues
## Backing Up GitLab with SimpleBackups
Here's a step-by-step guide to streamlining your GitLab backups with SimpleBackups:
### Creating your Gitlab tokens.
**Go to the Application / Manage Token page**
Once you are logged in, navigate to your user settings by clicking on your profile picture in the top-right corner of the left navigation panel. From there, select “Edit Profile”
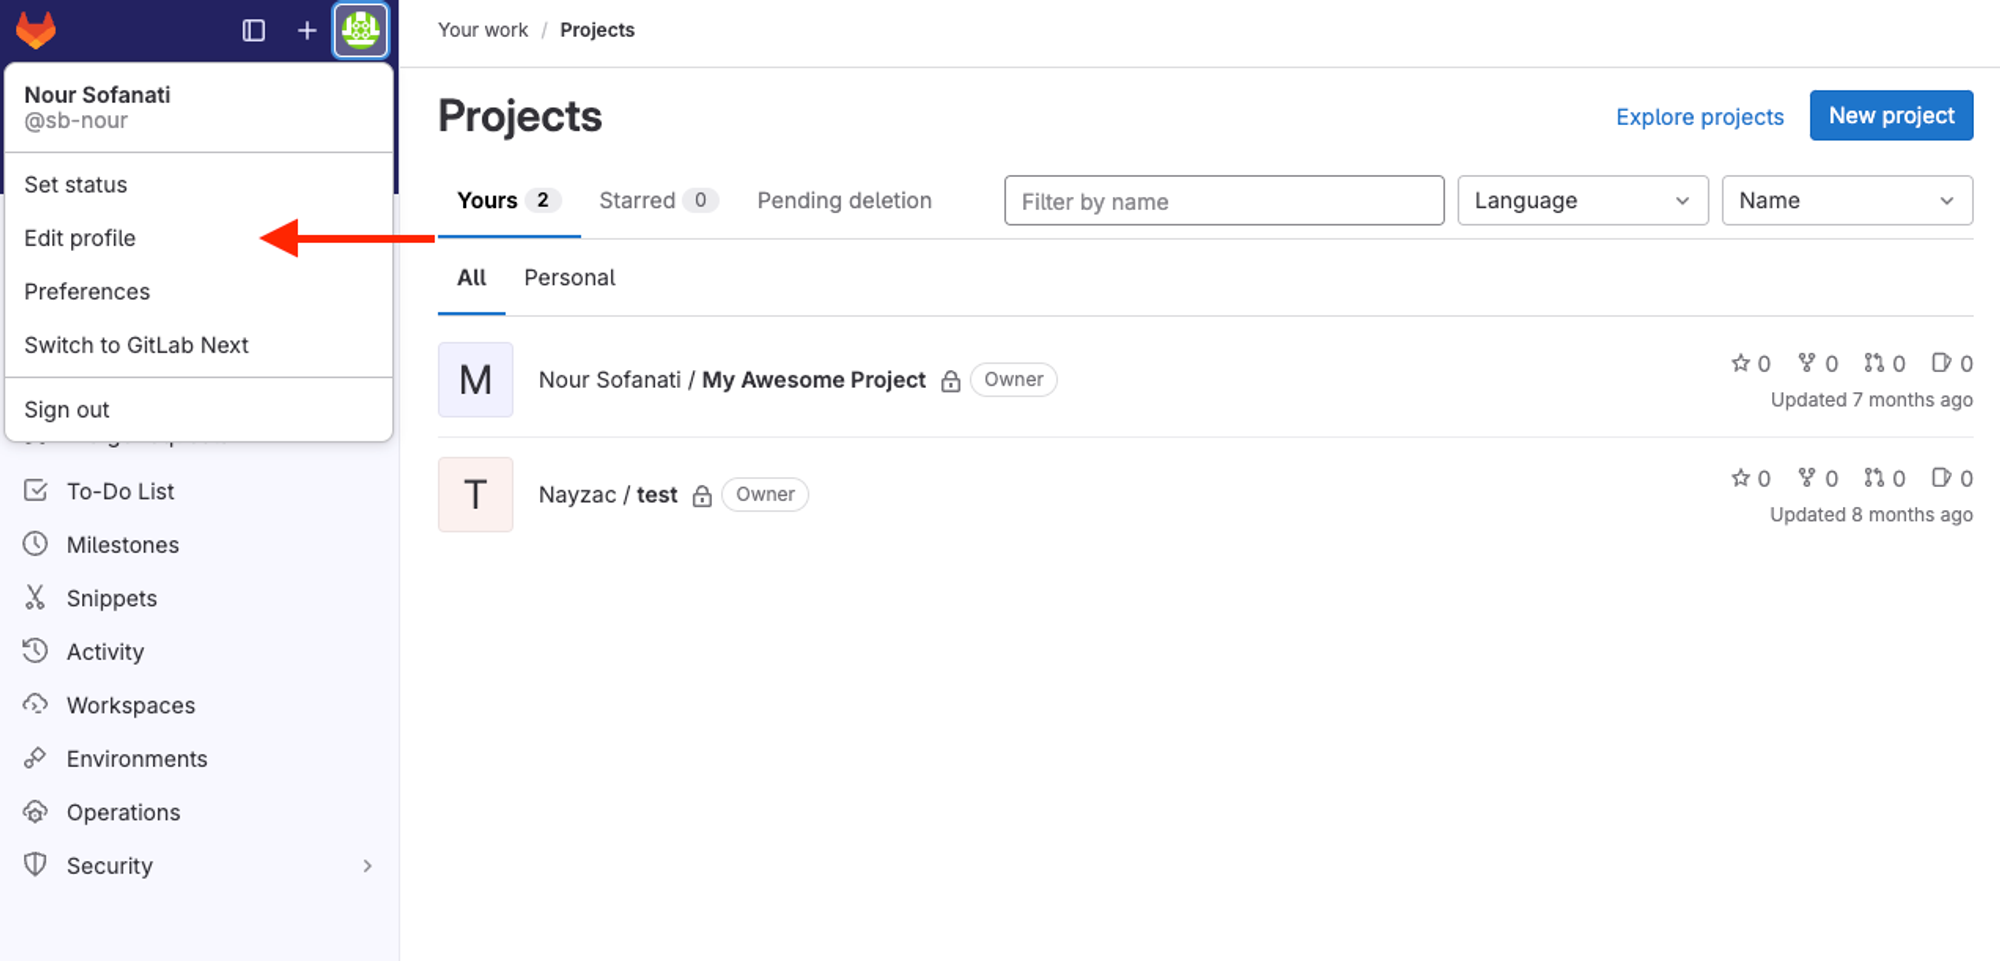
In the left-hand menu, click on "Access Tokens".
→ This will take you to the Access Tokens page.
**Create a new token**
On the Access Tokens page, click on the "Add New Token" button.
This will open a new window where you can configure your new access token.
In the "Token Name" field, enter a descriptive name for your token. This will help you identify it later.
Once you have configured your access token, click on the "Create personal access token" button to create it.
**Copy your token**
After you click the "**Create personal access token**" button, gitlab will generate a new access token for you. This token will be displayed on the screen.
Copy your access token and store it in a safe place. You will not be able to retrieve it later.
### Configure the Recipe
Provide Details: Input your GitLab instance's URL, your username, and the generated personal access token.
- Click on "**List Repositories**" to select the repositories you want to back up.
- Click on **Validate Connection** to validate the connection to your GitLab instance.
- After the connection is validated, you can set up a schedule, retention and a name for your backup. and click on **Create Backup**.
### Why Choose SimpleBackups?
**Flexible Storage**: Store backups wherever you desire.
**Notifications**: Receive backup status updates.
**Control**: Tailor backup frequency and data selection..
**Ease of Use**: Intuitive interface simplifies the process.
Start Protecting Your GitLab Data
Don't risk losing your critical code and project data. Sign up for a free SimpleBackups account: https://my.simplebackups.com/register and establish a reliable backup strategy today.
---
# The Ultimate GitLab Backup Script
Source: https://simplebackups.com/blog/the-ultimate-gitlab-backup-script
Published: 2024-02-16
Author: Nour
Summary: Craft a GitLab backup script for hassle-free repository backups. Learn to customize, automate, and streamline your GitLab backup process.
## Why GitLab Backups Matter
GitLab is often the heart of your development workflow. Having reliable backups ensures you can recover your code repositories, issues, and project data in case of unexpected problems or data loss.
This guide focuses on a simple, customizable Bash script for automating your GitLab backups.
## Prerequisites
* GitLab API Access: You'll need a private access token from your GitLab instance to interact with the API. See GitLab documentation for how to generate this token.
* `git` Command: Ensure the `git` command-line tool is installed on your system. It's used to clone repositories from the GitLab instance.
* `jq` Command: If not already installed, get the jq command-line JSON processor. It helps easily parse data from the GitLab API responses.
## The Backup Script
Let's dive into the core Bash script for backing up your GitLab repositories.
```sh
#!/bin/bash
# Configuration
GITLAB_URL="https://your-gitlab-instance.com"
PRIVATE_TOKEN="YOUR-PRIVATE-TOKEN"
BACKUP_DIR="/absolute/path/to/your/backup/dir"
GITLAB_USERNAME="gitlab-username"
# Ensure backup directory exists and is empty
rm -rf "$BACKUP_DIR"
mkdir -p "$BACKUP_DIR"
# Improved Error Handling (print error message and exit)
handle_error() {
echo "ERROR: $1"
exit 1
}
# Pagination variables
page=1 # Initial page number
per_page=100 # Number of projects per page (maximum is 100)
# Main loop for fetching and backing up projects
while true; do
echo "Fetching page $page;"
# Fetch project data using the GitLab API
API_HEADERS=$(curl -s -L -I -H "PRIVATE-TOKEN: $PRIVATE_TOKEN" \
"$GITLAB_URL/api/v4/projects?membership=true&per_page=$per_page&page=$page")
# Error handling
if [ $? -ne 0 ]; then
handle_error "Error fetching projects from GitLab api (page $page): curl command failed."
fi
# Check if the API response contains a 'rel="next"' link header, increment page number if so.
if [[ $API_HEADERS == *'rel="next"'* ]]; then
((page++))
else
unset page
fi
API_RESPONSE=$(curl -s -L -H "PRIVATE-TOKEN: $PRIVATE_TOKEN" \
"$GITLAB_URL/api/v4/projects?membership=true&per_page=$per_page&page=$page")
# Extract the body containing the project data
project_data=$(echo "$API_RESPONSE") # Adjust for potential extra headers
# Store paginated response directly
echo "$project_data" > "$BACKUP_DIR/projects_page_$page_$TIMESTAMP.json"
# Iterate through projects within the page and clone repositories
jq -c '.[]' "$BACKUP_DIR/projects_page_$page_$TIMESTAMP.json" | while read -r project; do
PROJECT_ID=$(echo "$project" | jq -r '.id')
PROJECT_NAME=$(echo "$project" | jq -r '.name')
CLONE_URL=$(echo "$project" | jq -r '.http_url_to_repo')
PATH_WITH_NAMESPACE=$(echo "$project" | jq -r '.path_with_namespace')
# Check if values are extracted correctly
if [ -z "$CLONE_URL" ]; then
echo "Error: Empty clone URL for project $PROJECT_NAME"
continue # Skip to the next project
fi
# Construct authenticated URL
AUTH_CLONE_URL=$(echo "$CLONE_URL" | sed "s|https://|https://$GITLAB_USERNAME:$PRIVATE_TOKEN@|")
# Derive repository directory name.
REPO_DIR=$(echo "$PATH_WITH_NAMESPACE")
echo "Backing up project (mirror): $PROJECT_NAME ($PROJECT_ID)"
git clone --mirror "$AUTH_CLONE_URL" "$BACKUP_DIR/$REPO_DIR"
done
if [ -z $page ]; then
echo "All projects backed up."
break # Exit the loop
fi
done
exit 0
```
## How to restore your GitLab Backup
To restore a repository from a backup, you can use the `git clone` command to create a new repository from the backup. For example:
```sh
git clone /path/to/backup/repo.git /path/to/new/repo.git
```
Works as usual, you can check the repository and push it to your GitLab instance.
## Customizing the Script
The script is designed to be easily customizable. You can modify the `GITLAB_URL`, `PRIVATE_TOKEN`, `BACKUP_DIR`, and `GITLAB_USERNAME` variables to suit your environment. You can also adjust the `per_page` variable to control the number of projects fetched per API request.
## Automating the Backup
To automate the backup process, you can use a cron job to run the script at regular intervals. For example, to run the script every day at 3 AM, you can add the following line to your crontab:
```sh
0 3 * * * /path/to/backup_script.sh
```
## Store your GitLab backup on S3
You can also sync the backup directory to cloud storage services like Amazon S3, Google Cloud Storage, or Azure Blob Storage. This ensures your backups are stored offsite and protected from local data loss.
To Setup a sync with Amazon S3, you can use the `aws s3 sync` command to sync the backup directory with an S3 bucket. Here's an example script to sync the backup directory with an S3 bucket:
```sh
#!/bin/bash
BACKUP_DIR="/absolute/path/to/your/backup/dir"
S3_BUCKET="your-s3-bucket-name"
AWS_CLI_PATH="/usr/local/bin/aws"
$AWS_CLI_PATH s3 sync $BACKUP_DIR s3://$S3_BUCKET
# (optional) print the sync status
echo "Backup sync to S3 completed with status: $?"
exit 0
```
## Conclusion
With this script, you can easily automate your GitLab backups and ensure your repositories are always protected. You can customize the script to fit your specific needs and automate the backup process to run at regular intervals. This way, you can have peace of mind knowing your GitLab data is always safe and recoverable.
---
# Supercharge Your Backups with Custom Scripts
Source: https://simplebackups.com/blog/supercharge-your-backups-with-custom-scripts
Published: 2024-02-15
Author: Nour
Summary: Learn how to utilize Pre/Post scripts to customize your backups and automate your backup process with SimpleBackups.
With SimpleBackups, you can easily automate your backups and customize them to fit your needs. One of the ways you can do this is by using Pre/Post scripts. These scripts allow you to run custom commands before and after your backups, giving you the flexibility to customize your backups to fit your specific needs.
In this article, we’ll show you how to use Pre/Post scripts to supercharge your backups and automate your backup process with SimpleBackups.
## Prerequisites
* A SimpleBackups account: If you don’t already have one, you can [sign up for a free account](https://simplebackups.com/).
* A backup configured in SimpleBackups: If you haven’t already set up a backup, you can look at our [documentation](/docs) to create your first backup. (You can also check out our [YouTube channel](https://www.youtube.com/@simplebackups) for video tutorials.)
* A basic understanding of `bash` scripting: You’ll need to know how to write shell scripts to use Pre/Post scripts effectively.
## Configuring Pre/Post Scripts in SimpleBackups
To configure Pre/Post scripts in SimpleBackups, follow these steps:
- Go to your backup's edit page.
- Scroll down to the "Add a custom script" section.
- Check the appropriate box to add a Pre or Post script (or both، separately).
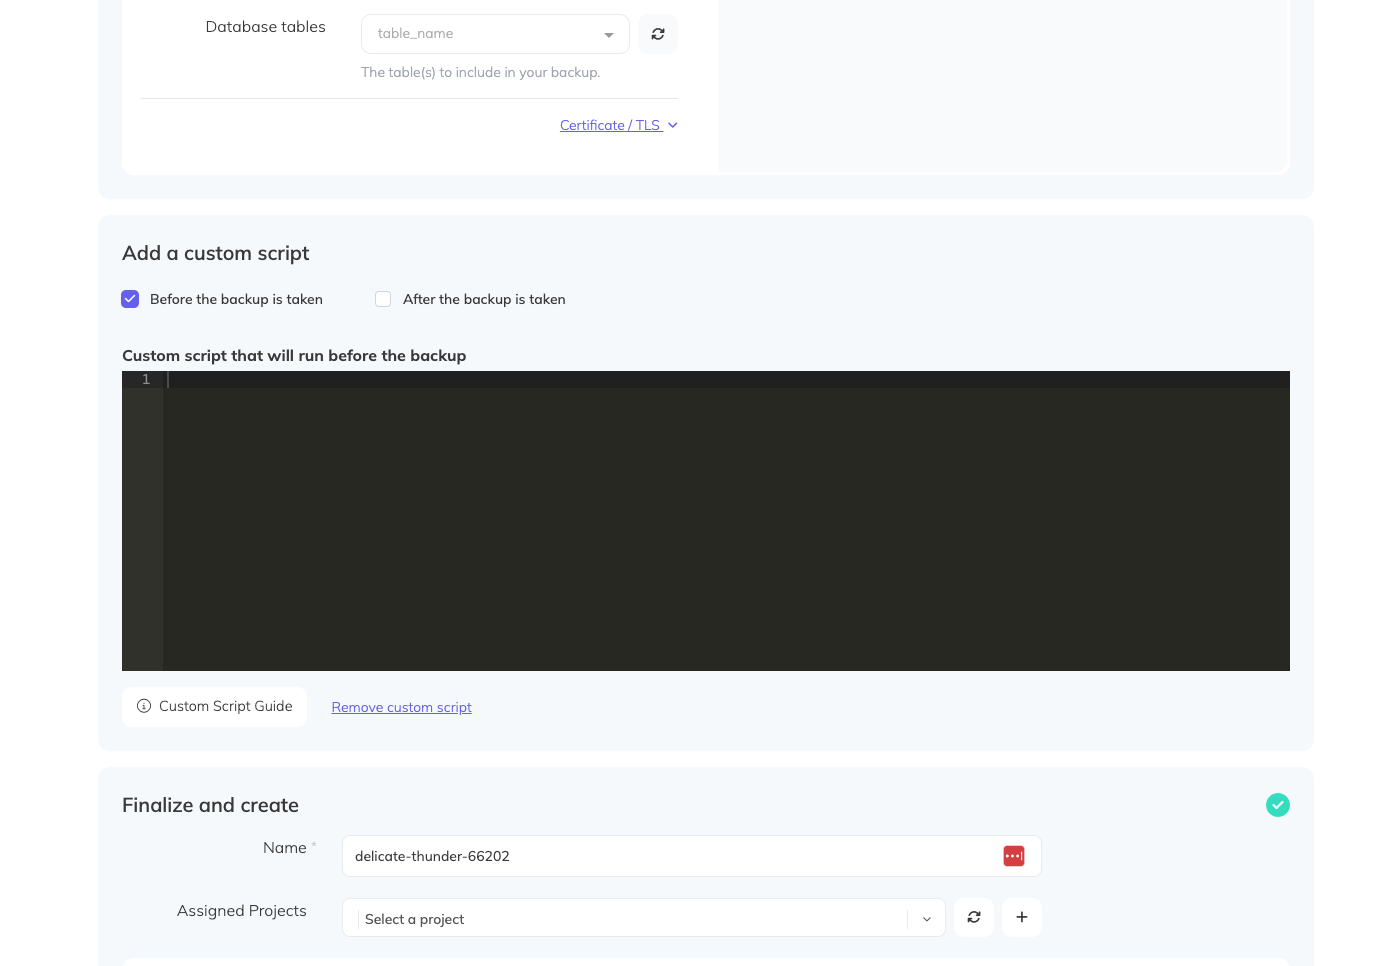
## Example: Running a Pre-Backup Script
In this example, we're going to run a few status checks, and send a slack notification before the backup starts. Here's a simple Pre-Backup script that does just that:
```bash
#!/bin/bash
# Customizable Parameters
MYSQL_HOST="your_mysql_host"
MYSQL_USER="your_mysql_user"
MYSQL_PASSWORD="your_mysql_password"
MYSQL_DATABASE="your_database_name"
SLACK_WEBHOOK_URL="https://hooks.slack.com/services/YOUR/WEBHOOK/URL"
# Check CPU Utilization (get current percentage)
cpu_usage=$(top -bn1 | grep "Cpu(s)" | sed "s/.*, *\([0-9.]*\)%* id.*/\1/" | awk '{print 100 - $1"%"}')
# Check RAM Utilization
total_ram=$(free -m | awk '/^Mem:/{print $2}')
used_ram=$(free -m | awk '/^Mem:/{print $3}')
ram_usage=$(echo "scale=2; $used_ram/$total_ram*100" | bc -l)
# Check Disk Usage (replace '/path/to/check' with your target directory)
disk_usage=$(df -h /path/to/check | awk '/\// {print $(NF-1)}')
# Check Nginx Status
nginx_status=$(systemctl status nginx | grep -o "active (running)")
if [[ "$nginx_status" != "active (running)" ]]; then
echo "Nginx is not running!"
# If you want to attempt restarting Nginx, add logic here
# Example: sudo systemctl restart nginx
fi
# Check Node.js Status (assuming PM2 process manager)
node_status=$(pm2 list | grep -q "your_app_name")
if [[ $? -ne 0 ]]; then
echo "Node.js app is not running!"
# If you want to attempt restarting Node, add logic here
# Example: pm2 restart your_app_name
fi
# Check MySQL Connectivity
mysql -h $MYSQL_HOST -u $MYSQL_USER -p$MYSQL_PASSWORD -e "USE $MYSQL_DATABASE" >/dev/null 2>&1
mysql_status=$? # Capture the exit code
if [[ $? -ne 0 ]]; then
echo "Cannot connect to MySQL database!"
else
echo "MySQL connection successful."
fi
# Send report to Slack (requires 'curl')
function send_slack_message() {
local message="$1"
curl -X POST -H 'Content-type: application/json' --data '{"text": "'"${message}"'"}' $SLACK_WEBHOOK_URL
}
# Build report based on statuses
report="Pre-backup Status:\n"
report+="* Nginx: ${nginx_status:-unknown}\n"
report+="* Node.js: ${node_status:-unknown}\n"
report+="* MySQL: ${mysql_status:-unknown}\n"
report+="* CPU Usage: ${cpu_usage}\n"
report+="* RAM Usage: ${ram_usage}%\n"
report+="* Disk Usage: ${disk_usage}\n"
# Send report to Slack
send_slack_message "$report"
```
This script checks the CPU, RAM, and disk usage, as well as the status of Nginx, Node.js, and MySQL. It then sends a report to a Slack channel using a webhook URL.
## Conclusion
Pre/Post scripts are a powerful feature that allows you to customize your backups and automate your backup process. By using these scripts, you can ensure that your backups are tailored to your specific needs and that your environment is properly prepared for a backup. This can help you save time and resources, and ensure that your backups are reliable and consistent.
---
# Sync AWS S3 Bucket to Storj
Source: https://simplebackups.com/blog/back-up-your-aws-s3-bucket-to-storj
Published: 2024-02-12
Author: Nour
Summary: Sync and replicate your AWS S3 buckets to Storj with SimpleBackups. Today, we’ll show you how to back up your AWS S3 bucket to Storj, so you always have a reliable backup should anything goes wrong.
Traditional on-site backups, while useful, were vulnerable to localized failures that could result in complete data loss. Cloud backups revolutionized data protection by offering secure, off-site storage with minimal mainenance. To take this security a step further, we can replicate data to decentralized storage solutions.
Storj offers a distributed storage network with strong data resilience. In this guide, we'll cover setting up an automated sync between AWS S3 and Storj using SimpleBackups.
## Prepare Your AWS S3 Bucket for Sync
Let’s start by setting up an AWS S3 bucket. To do this, log into your AWS console, click on Storage in the Services menu, and then on S3. Click on Create bucket on the page that opens.
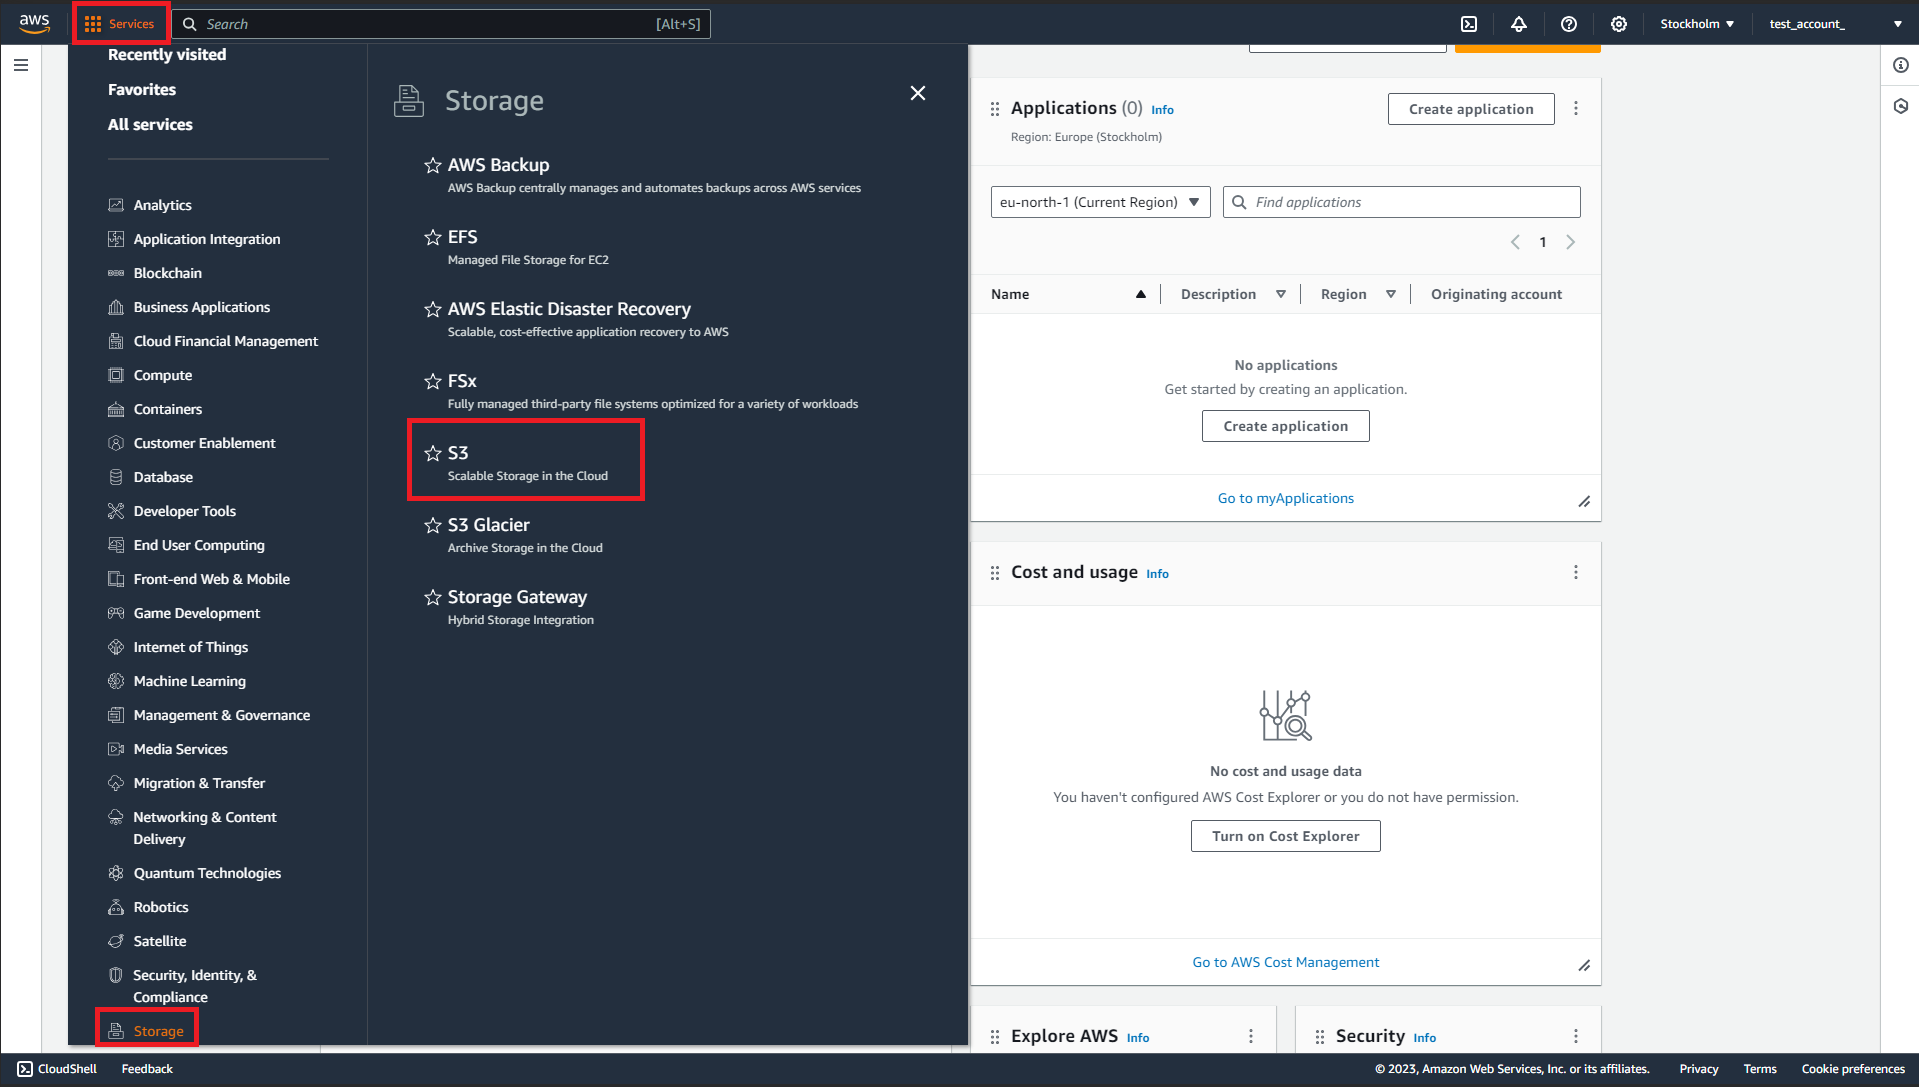
On the page that opens:
* Give your bucket a name.
* Select the AWS region you’d like to use to host your bucket.
* Provide configuration information about the bucket, including determining the level of public access you require for the bucket.
* Click Create bucket when you’re satisfied with all the other settings.
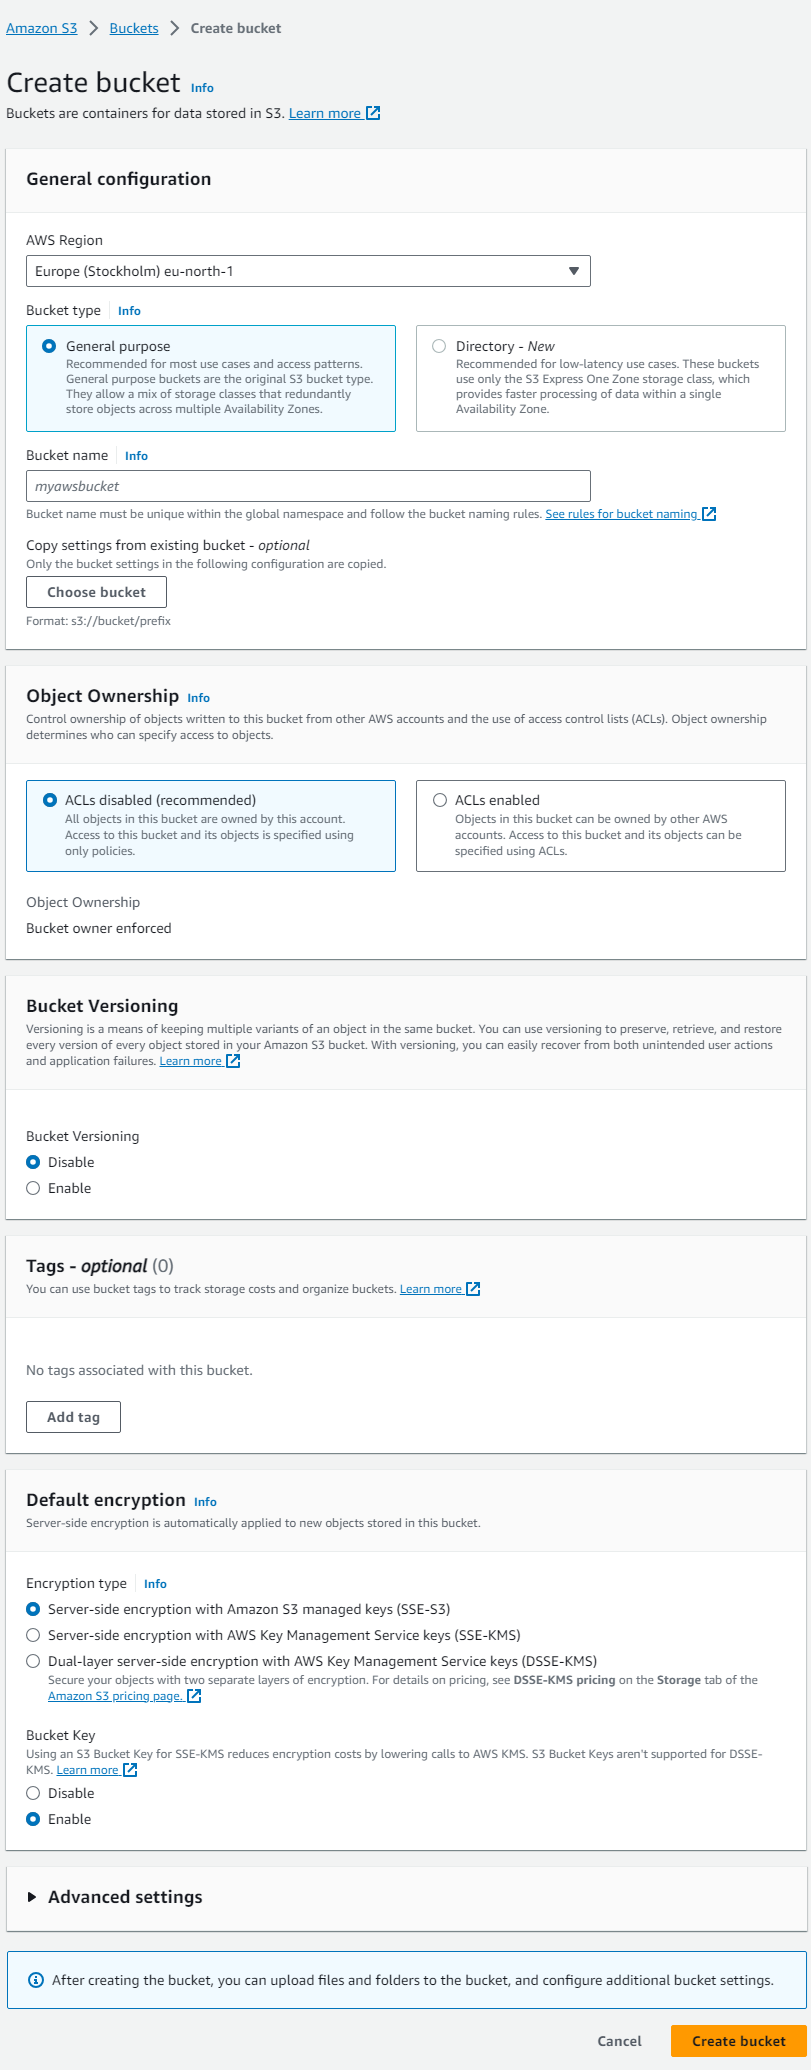
To allow access to SimpleBackups to run the backup, you’ll also need to set up a user with the right permissions. Here:
* Go to your AWS console, click on the Services menu, and then on Security, Identity, and Compliance. Then click on IAM.
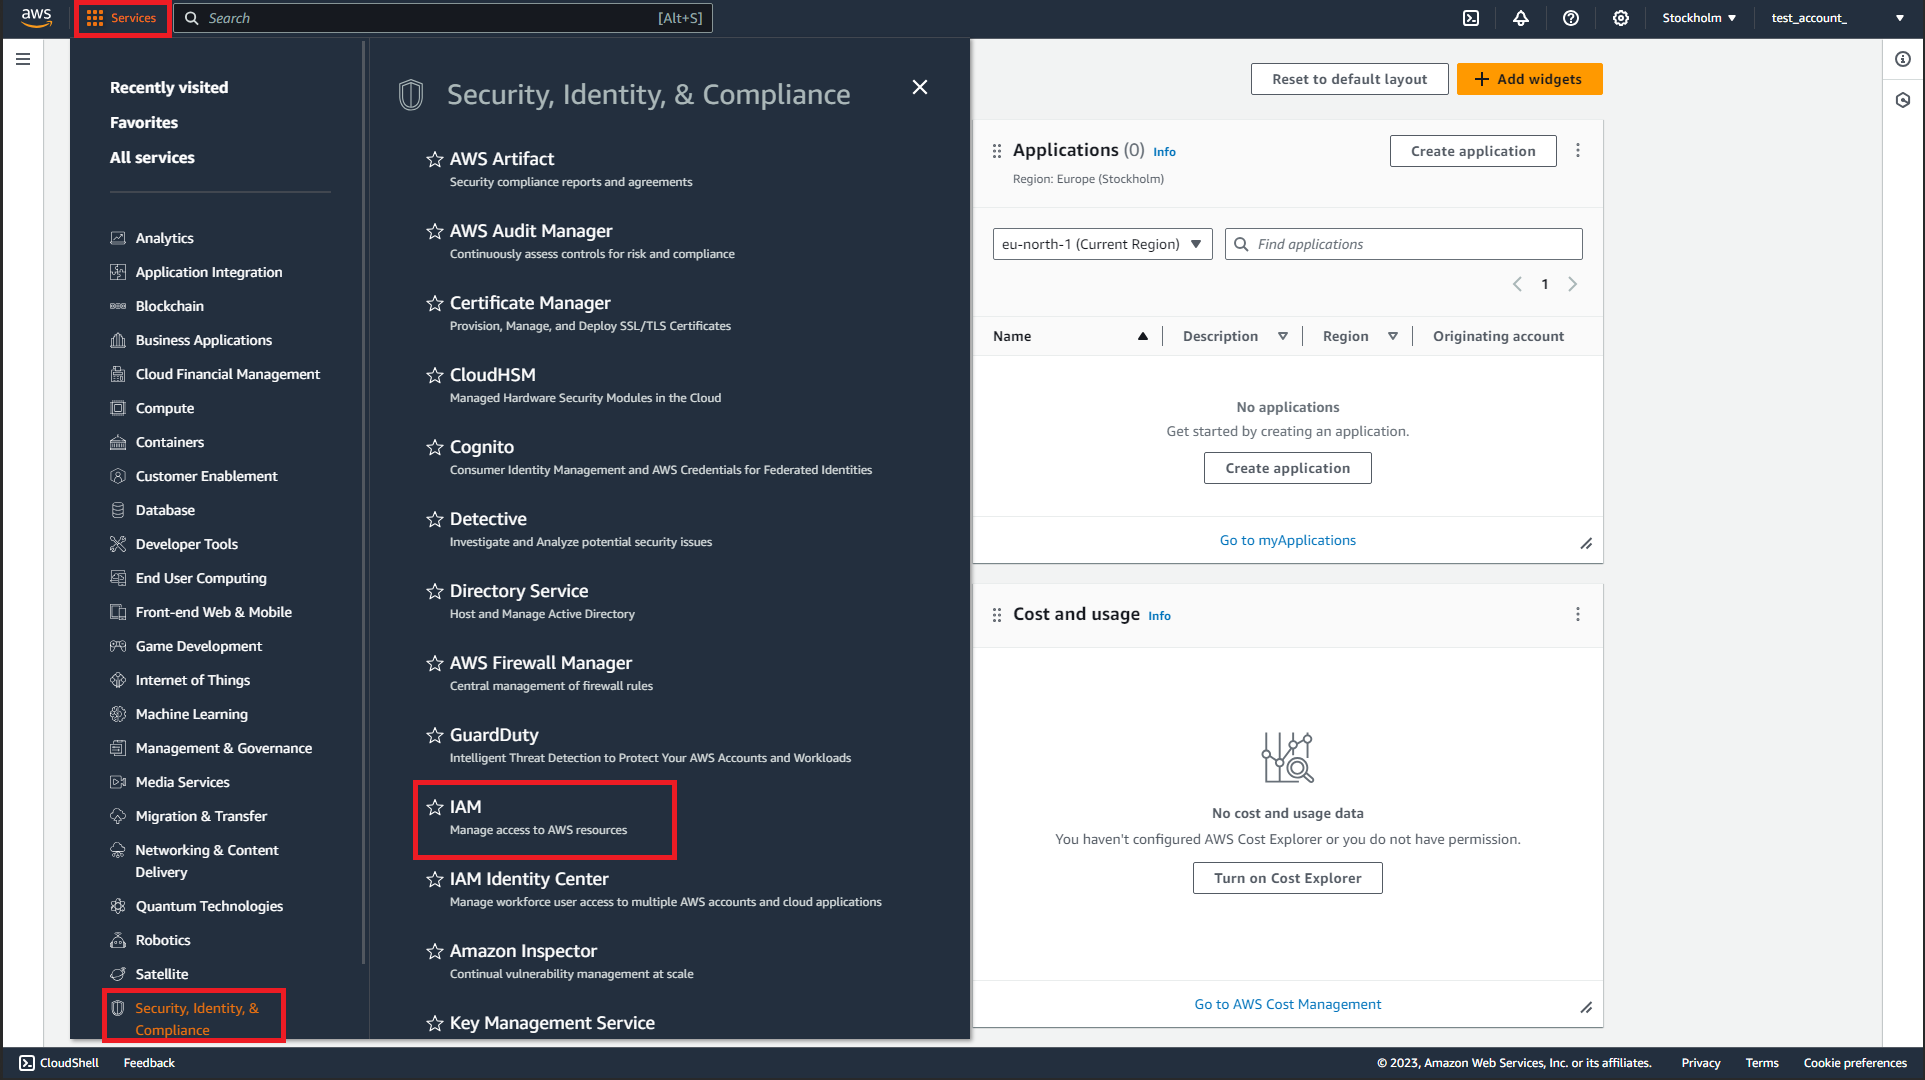
* Click on Users in the menu on your IAM dashboard.
* Click on Create User and provide a name for the user you want to create.
* Select the Attach policies directly option, search for S3, and you may select the AmazonS3FullAccess option.
* Review all your settings on the final page and click Create user if you’re satisfied.
When the user is created, you’ll also need to generate the credentials you’ll use to give SimpleBackups access to your AWS S3 bucket. To do this, click on Users on your IAM dashboard and click on the user in the list of users.
Click on the Security credentials tab, scroll down to Access keys, and click on Create access key. On the next page, click Next, and then provide a description tag and click Create access key. On the confirmation screen, copy and paste the access so you can use it later to connect your bucket to SimpleBackups.
## Prepare Storj Bucket for Sync
Next, you’ll need to configure your Storj bucket for authentication with SimpleBackups; To do so, please navigate to your Storj dashboard, click on "**Access**"
You'll see a list of all created access keys, and a button that's labeled "**New Access Key**"
Click on the "**New Access Key**" button and give your key an "**Access Name**", and select **S3 Credentials**, then hit next.
You'll be asked to selected Access Permissions, please select Read, Write, List, and Delete, then select the bucket that you'd like this key to access, and an expiration date.
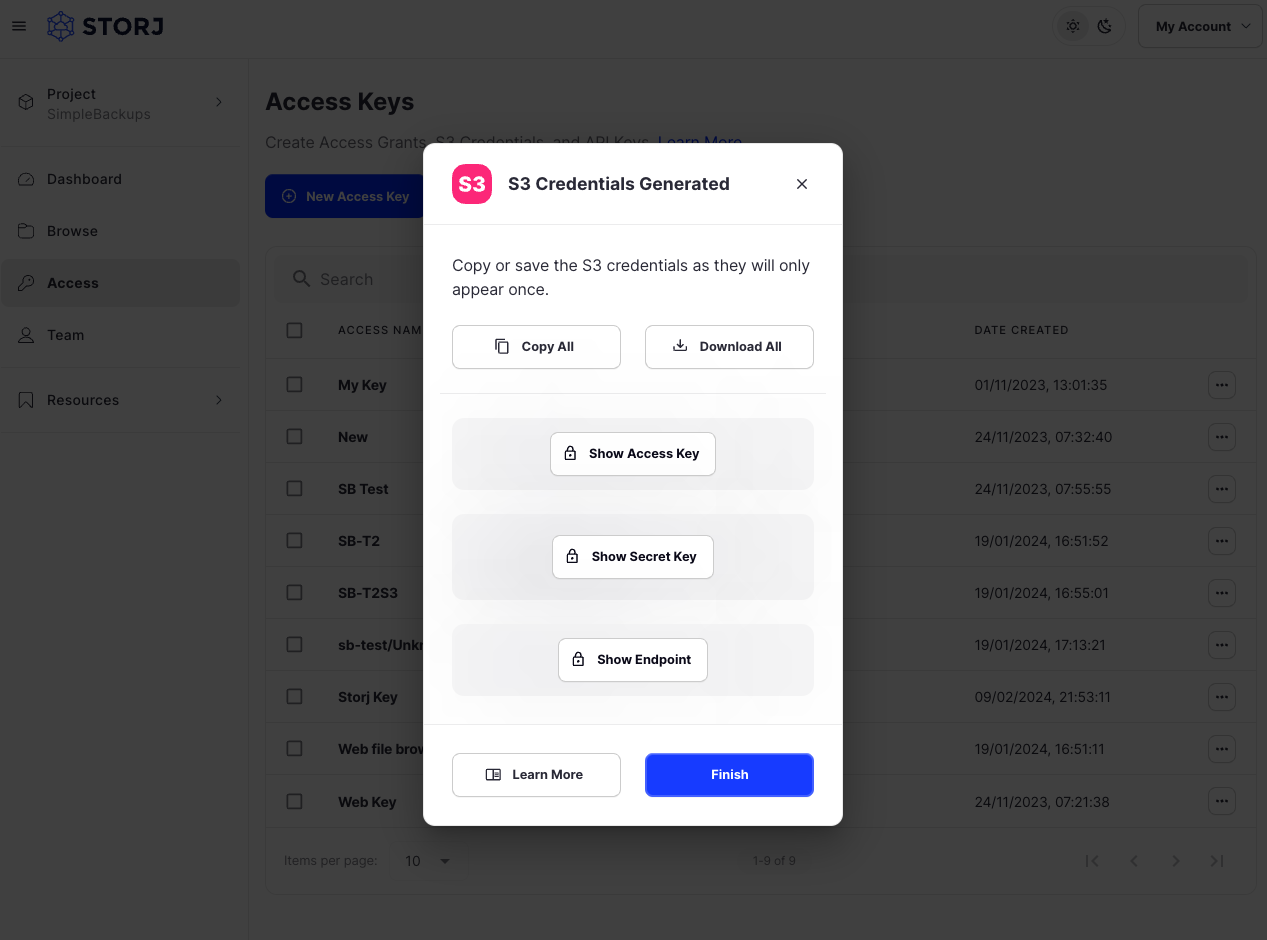
After that, your S3 Credentials will be generated, please store them somewhere safe.
## Replicate your AWS S3 bucket data to Storj
Now that we’ve set up both the AWS and Storj buckets, we can now back up the S3 bucket to Storj.
Here, the first step is to log into your SimpleBackups account and click on Storage Sync in the main menu. On the page that opens, click on Create Storage Sync.
You can also click on Storage Replication Backup further down on the page. Either way, you’ll go to the Create Storage Sync page.
When setting up your backup, your first choice will be whether you’d like to use your own server or use SimpleBackups’ infrastructure to run the backups. Here, you’ll choose either the Own Server or, as is the case in this example, the Serverless option.
Next, you’ll decide when you’d like your backup to run. You can choose between Daily, Weekly, Monthly, Custom, or On Demand based on your unique requirements. In this example, choose Daily from the drop-down list.

During the next step, you’ll choose both your source and destination storage providers. Because you’ve only set up your storage buckets during the earlier steps, you’ll need to connect them first. To connect your AWS S3 bucket as Storage Source:
* Click on Connect storage.
* Choose Amazon S3 as the provider in the dialog box that opens.
* Enter the bucket’s information and the credentials you obtained earlier.
* Once done, click on Validate and then on Save Storage.
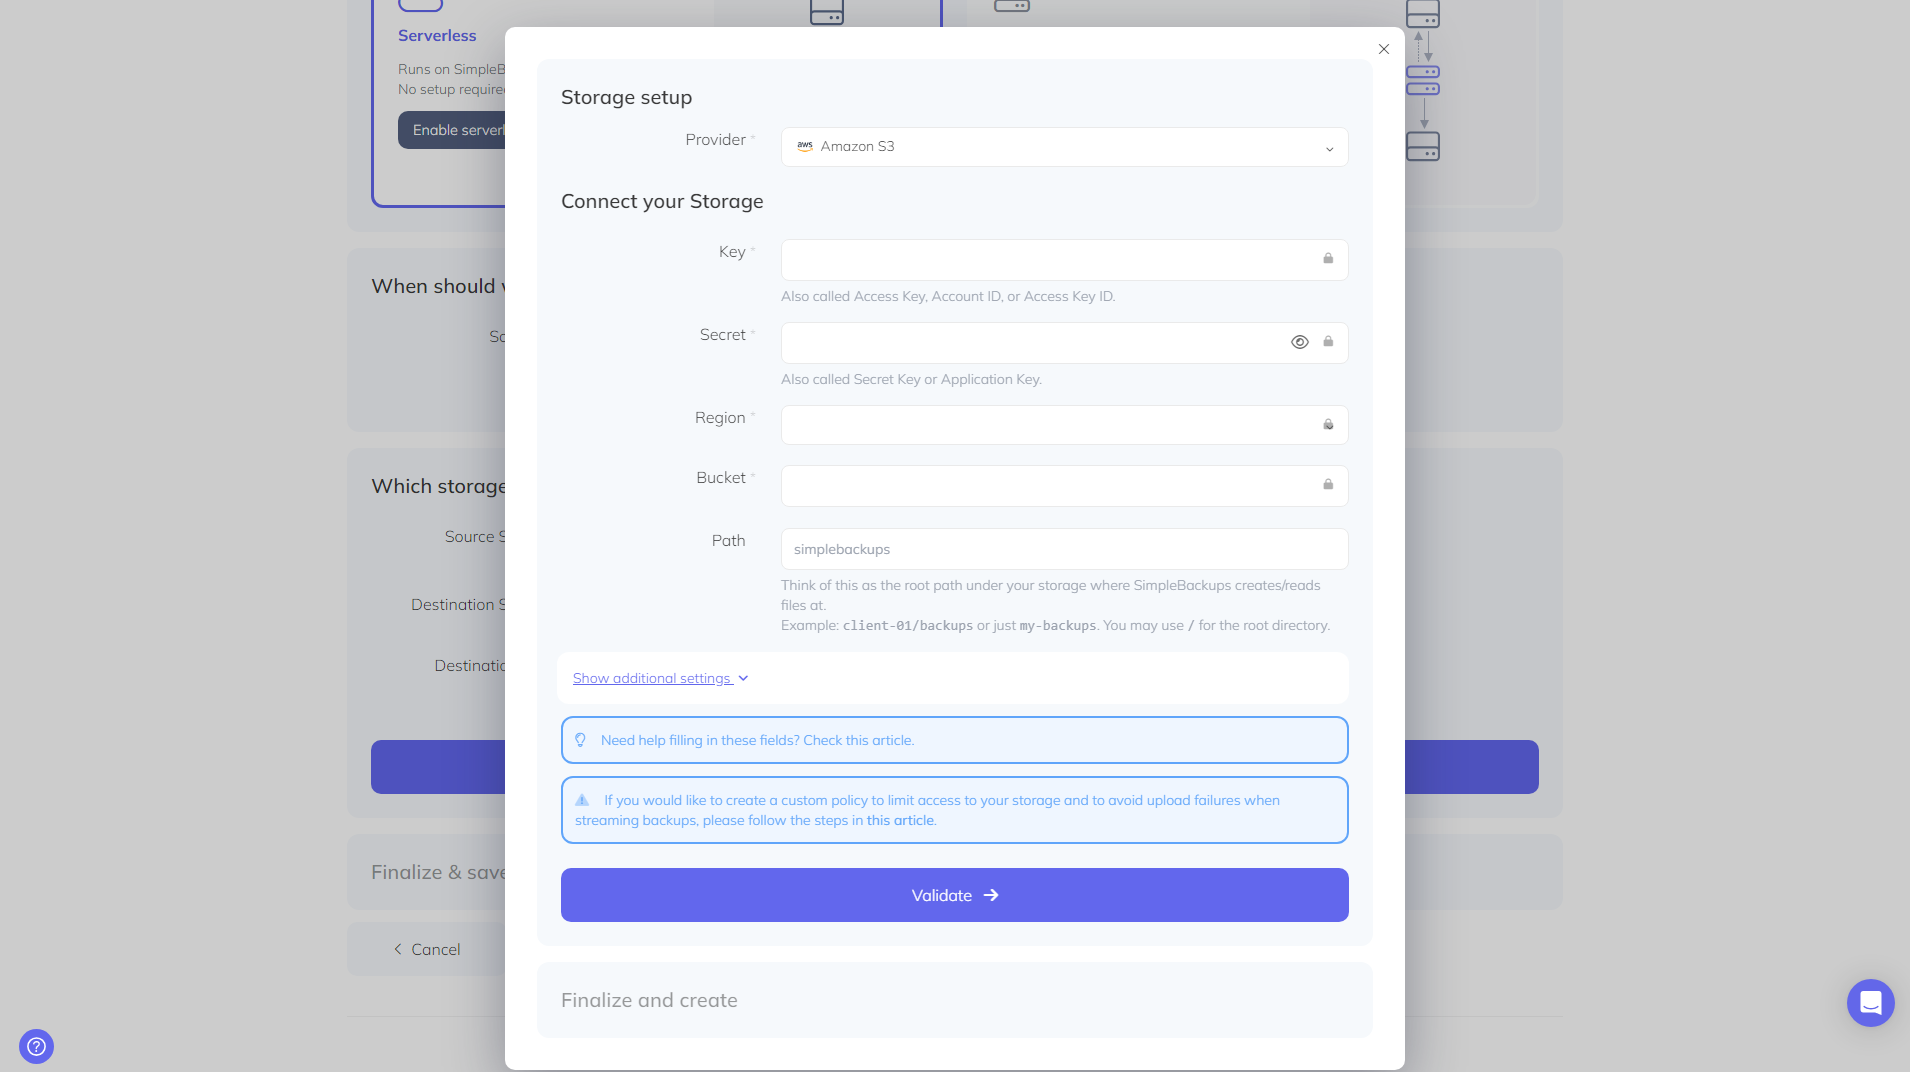
You’ll follow the same process to connect your Storj bucket as Destination Storage. So, you’ll:
* Click on Connect storage.
* Choose Storj from the drop-down list in the dialog box.
* Enter the bucket’s information and credentials.
* Once done, click on Validate and then Save Storage.
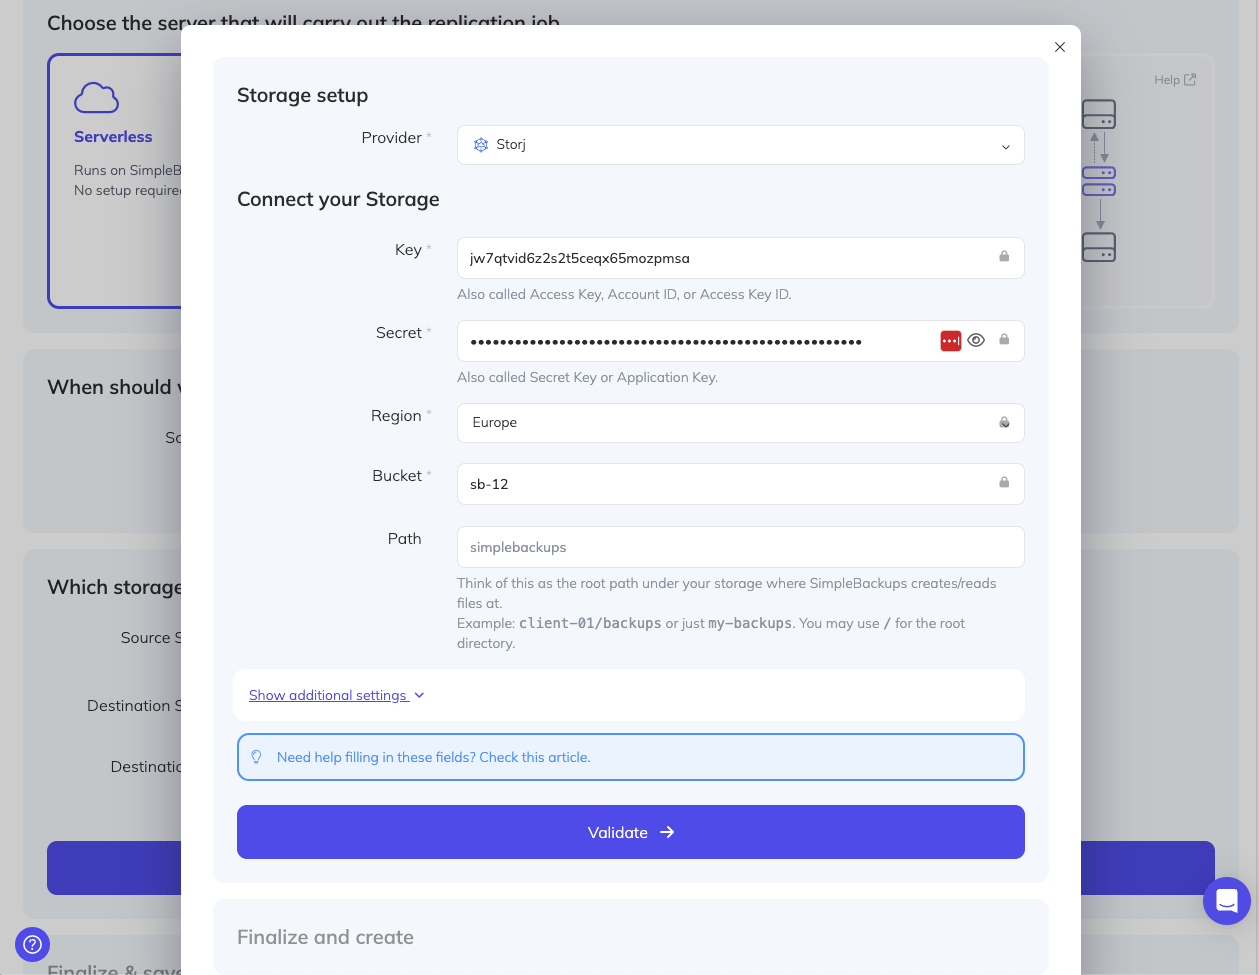
Once you’ve connected both buckets to SimpleBackups, click on Validate to validate the connection.
Finally, you’ll give your backup a name. In this example, name it S3toStorjBackup.
Once done, click Create Storage Sync to finalize your backup.
## Wrapping up
Ensure your data is always accessible with data replication backups – your essential safeguard against cloud storage disruptions. This post demonstrated the ease of setting up backups between Amazon AWS S3 and Storj.
The next step is simple: try [SimpleBackups](https://simplebackups.com/)!
---
# Create and restore your PlanetScale database - Video tutorial
Source: https://simplebackups.com/blog/create-and-restore-your-planetscale-database-video-tutorial
Published: 2024-02-05
Author: Nour
Summary: Create and restore PlanetScale MySQL Backups using SimpleBackups & SimpleRestore. Learn how to automated your MySQL backup in this video tutorial.
Find out how to create and restore PlanetScale MySQL Backups using SimpleBackups & SimpleRestore.
---
# S3 Bucket Sync Made Easy with rclone - Video tutorial
Source: https://simplebackups.com/blog/s3-bucket-sync-made-easy-step-by-step-with-rclone-video-tutorial
Published: 2024-01-31
Author: Nour
Summary: Follow along as I demonstrate each step to ensure a smooth and efficient storage synchronization using rclone.
In this tutorial, I'll guide you through the effortless process of syncing your S3 buckets using rclone. Whether you're a beginner or an experienced user, I've got you covered.
---
# Automate GitLab Backups with Bash Scripts - Video Tutorial
Source: https://simplebackups.com/blog/automate-gitlab-backups-with-bash-scripts-video-tutorial
Published: 2024-01-28
Author: Nour
Summary: Learn how to automate your GitLab backups using bash scripts in this video tutorial.
In this video guide, We will go through the process of automating GitLab backups using bash scripts. We will also show you how to schedule your backups to run at specific times using cron jobs.
---
# Automate Your Backups with SimpleBackups - Video tutorial
Source: https://simplebackups.com/blog/automate-your-backups-with-simplebackups-video-tutorial
Published: 2024-01-18
Author: Nour
Summary: Learn how to configure and automate your backups (database, file, app ...) in this walkthrough video.
In this video, I will show you how to use SimpleBackups, an all-in-one backup automation service that lets you backup your website, database, server, storage and application in minutes.
---
# SimpleBackups Welcomes Storj: A New Era in Cloud Storage Options
Source: https://simplebackups.com/blog/simplebackups-welcomes-storj-a-new-era-in-cloud-storage-options
Published: 2024-01-18
Author: Laurent
Summary: Backup your data on Storj using SimpleBackups. Supports file, database and storage backups. Easily migrate your cloud provider to or from Storj to any cloud storage provider in a few clicks.
Storj, a versatile cloud storage provider, has joined forces with SimpleBackups, adding another exciting option for storing and managing your data. Here are a few key reasons why Storj stands out:
- **Cost-Effective**: Storj claims to offer 80% less expensive storage compared to traditional cloud providers.
- **Security and Control**: It provides top-notch security and control over data, making it an attractive option for businesses concerned about data security and compliance mandates.
- **Sustainability**: Storj's approach to cloud storage is environmentally friendly, with a carbon footprint up to 83% less than traditional providers.
- **Global Distribution**: Storj utilizes a global network of tens of thousands of storage nodes in over 100 countries, offering increased resiliency against attacks and better edge performance.
This partnership means that you can now choose Storj as your go-to storage option when you're using SimpleBackups. Whether you're looking to save some cash, have more control over your data, or just want to be kinder to the planet, Storj's team-up with SimpleBackups gives you some pretty nifty choices.
SimpleBackups is all about giving you options, and teaming up with Storj is just another way they're doing that. So, if you're on the lookout for a different kind of cloud storage, now you know you've got another cool choice with SimpleBackups and Storj.
---
# How to run PostgreSQL on Docker
Source: https://simplebackups.com/blog/run-postgresql-on-docker
Published: 2023-12-30
Author: Laurent
Summary: Run PostgreSQL on Docker with a single command or Compose, then persist the data with a named volume so removing the container does not delete your database.
Docker, a pivotal tool in modern web development, offers an isolated and flexible environment for running various applications. Among these, [PostgreSQL stands out as a popular choice for relational database](/blog/mysql-vs-postgresql-a-comprehensive-comparison-of-the-most-popular-databases) management.
This guide aims to explain, step-by-step, how to install, run, and access PostgreSQL on Docker. It also covers some frequently asked questions about running PostgreSQL on Docker.

## Installing & running Docker on macOS
When it comes to installing Docker on macOS, there are two options: Docker Desktop and Homebrew. Docker Desktop is the official Docker application for macOS, while [Homebrew](https://brew.sh/) is a package manager that simplifies the installation process.
**Docker App for Mac**:
1. Visit the [Docker Documentation](https://docs.docker.com/docker-for-mac/install/) and download Docker for Mac.
2. Open the installer and follow the on-screen instructions.
3. Once installed, launch Docker from the Applications folder.
4. Adjust preferences as needed to allocate resources like memory and CPU.
**Homebrew Installation**:
Your can find the Homebrew formula for Docker [here](https://formulae.brew.sh/formula/docker).
Open Terminal and run
``` shell
brew install --cask docker
````
To start Docker, run `open /Applications/Docker.app` in Terminal. Docker will need some permissions to run, so follow the on-screen instructions to grant them.
---
## Running PostgreSQL Using Docker
When it comes to running PostgreSQL within a Docker environment on macOS, you have two primary options:
1. **Single Docker Command Method**: This is a straightforward approach where you use a single command to start a PostgreSQL container.
It's quick and easy, suitable for simple setups or individual developers. More details can be found on Docker's official [PostgreSQL image page](https://hub.docker.com/_/postgres).
1. **Docker Compose Method**: This method involves using a `docker-compose.yml` file to define and run your PostgreSQL container.
It's more scalable and maintainable, ideal for complex applications or team environments. Docker Compose documentation provides a comprehensive guide on this approach.
Both methods have their advantages, and the choice largely depends on your specific project needs and preferences, but for a local first setup I recommend the Single Docker Command Method.
### Install PostgreSQL with a Single Docker Command Method
*Open Terminal and enter:*
```bash
docker run -d --name my_postgres -v my_dbdata:/var/lib/postgresql/data -p 54320:5432 -e POSTGRES_PASSWORD=my_password postgres:15-alpine
```
This command does the following:
- `-d`: Runs the container in detached mode.
- `--name`: Assigns a name to your container.
- `-v`: Creates a volume for data persistence.
- `-p`: Maps a port from the container to your host machine.
- `-e`: Sets environment variables, like the PostgreSQL password.
The PostgreSQL 15 image will be pulled and run in the container named 'my_postgres'.
### Install PostgreSQL with Docker Compose file
Create a directory for your project and navigate into it.
Make a `docker-compose.yml` file with:
```yaml
version: "3"
services:
db:
image: "postgres:13"
container_name: "my_postgres"
environment:
POSTGRES_PASSWORD: "my_password"
ports:
- "54320:5432"
volumes:
- my_dbdata:/var/lib/postgresql/data
```
Run `docker-compose up -d` to start PostgreSQL in a Docker container.
Your docker PostgreSQL container will be mounted. You can check it with `docker ps`.
## Accessing the PostgreSQL Docker Container
You know have docker running with PostgreSQL, but how do you access it?
First thing first, open the Docker App, and you'll see the container running. If for any reason it isn't running just click the start button.
To interract with the container you'll use the `docker exec` command and then to access PostgreSQL you'll use the `psql` command. Open a new Terminal window and run:
```bash
docker exec -it my_postgres psql -U postgres
```
If you need to troubleshoot something, you can access docker logs for that container using the `docker logs` command:
```bash
docker logs -f my_postgres
```
You can access your PostgreSQL database right from your preferred DB client, like TablePlus I use as an example here:
Use the port, db_name, user and password defined when you created the Docker Container.
## FAQ
**How to install different PostgreSQL versions**
- Create distinct Docker volumes and containers for each PostgreSQL version.
- For instance, PostgreSQL 13 can be run on port `5013` and PostgreSQL 12 on `5012`.
- Use different container names like `postgres-13` and `postgres-12` for clarity.
**How to connect to different PostgreSQL versions containers**
- Have each Docker container running for each version on a specific port. You can use the `psql` command, or configure your app or client with port corresponding to the Postgres version you need to access to.
**How to run PostgreSQL Docker Containers on Boot**:
- Use Docker's `--restart` flag to control container behavior on boot.
- Options like `always`, `unless-stopped`, and `on-failure` offer flexibility in managing container lifecycles.
- For instance, `docker run -d --restart unless-stopped postgres:13` ensures the container restarts automatically unless explicitly stopped.
**How to run PostgreSQL Docker Containers in the Background**:
- Use the `-d` flag to run containers in the background.
- For instance, `docker run -d postgres:13` runs the container in the background.
**How to stop PostgreSQL Docker Containers**:
- Use the `docker stop` command to stop a container.
- For instance, `docker stop my_postgres` stops the container named `my_postgres`.
## Persisting data with a Docker volume
This is the step most people skip, and it is the one that loses data.
By default a Postgres container writes to its own writable layer. **Remove the container and the database goes with it**, which includes `docker rm`, `docker compose down`, and pulling a new image tag. The fix is one flag:
```bash
docker run -d \
--name my_postgres \
-e POSTGRES_PASSWORD=your_password \
-v pgdata:/var/lib/postgresql/data \
-p 5432:5432 \
postgres:16
```
`-v pgdata:/var/lib/postgresql/data` mounts a named volume at the path Postgres stores its data cluster in. The volume outlives the container, so `docker rm my_postgres` followed by a fresh `docker run` with the same flag comes back with your databases intact.
In Compose the equivalent is:
```yaml
services:
db:
image: postgres:16
environment:
POSTGRES_PASSWORD: your_password
volumes:
- pgdata:/var/lib/postgresql/data
ports:
- "5432:5432"
volumes:
pgdata:
```
Two things that catch people out:
- **`docker compose down -v` deletes the volume.** Without `-v` it does not. That single flag is the difference between stopping the stack and destroying the database.
- **The environment variables only apply on first run.** `POSTGRES_PASSWORD`, `POSTGRES_USER` and `POSTGRES_DB` are read when the data directory is initialised and ignored afterwards. Changing the password in your Compose file and restarting does nothing, because the volume already holds an initialised cluster.
To check which volume a running container uses:
```bash
docker inspect -f '{{ range .Mounts }}{{ .Name }} -> {{ .Destination }}{{ end }}' my_postgres
```
## Ports and environment variables
`-p 5432:5432` maps the container port to the same port on the host. If PostgreSQL is already installed locally that port is taken and the container will fail to start, so map a different host port instead:
```bash
-p 5433:5432
```
The left side is the host, the right side is always the container. Connect with `psql -h localhost -p 5433 -U postgres`.
The variables the official image reads on first initialisation:
| Variable | Does |
|---|---|
| `POSTGRES_PASSWORD` | Required. Sets the superuser password |
| `POSTGRES_USER` | Superuser name, defaults to `postgres` |
| `POSTGRES_DB` | Database created at startup, defaults to the user name |
| `PGDATA` | Where the data lives inside the container |
One thing worth setting up early: a container is easy to recreate, but the data in its volume is not. The [complete guide to PostgreSQL backup](/learn/postgresql-backup) covers backing up a containerised Postgres and getting the dump off the host.
---
# Supabase backup & recovery guide - Video Tutorial
Source: https://simplebackups.com/blog/supabase-backup-recovery-guide-video-tutorial
Published: 2023-12-29
Author: Laurent
Summary: Learn how to backup and recover your Supabase (Postgres) database with this video tutorial.
This video tutorial will guide you through how to backup and restore your Supabase database. For the full written reference, see [the complete guide to Supabase backup](/learn/supabase-backup).
---
# PostgreSQL vs. MongoDB - Video Comparison
Source: https://simplebackups.com/blog/postgresql-vs-mongodb-video-comparison
Published: 2023-12-19
Author: Nour
Summary: This video is your ultimate battle guide comparing Postgres and Mongo! We break down the pros, cons, and everything in between to help you pick the winner for your specific needs.
Struggling to choose between PostgreSQL and MongoDB for your next project? This video is your ultimate battle guide! We break down the pros, cons, and everything in between to help you pick the winner for your specific needs.
---
# Restore or Migrate your MySQL Dump to Railway - Video tutorial
Source: https://simplebackups.com/blog/restore-or-migrate-mysql-dump-to-railway-video
Published: 2023-12-17
Summary: Discover how to restore or migrate your MySQL Dump to Railway with this video tutorial.
This video tutorial will show you how to restore or migrate your MySQL dump to Railway.
---
# Mastering S3 Sync: A Developer's Guide to s3cmd, AWS CLI, and Rclone
Source: https://simplebackups.com/blog/mastering-s3-sync-s3cmd-rclone-ultimate-guide
Published: 2023-12-12
Author: Islam
Summary: Dive into our guide on S3 sync, and try data synchronization using s3cmd, AWS CLI, and Rclone. This article provides instructions, advanced options, and automation tips for efficient cloud storage management.
Amazon Simple Storage Service (Amazon S3) is a versatile and scalable object storage service that developers often use to store and retrieve data. You may want to [sync S3](https://simplebackups.com/storage-backup/aws-s3/) buckets, which is a common task, but we usually do not have the right tools for, and there are in fact several tools available for this purpose. In this guide, we will explore how to perform S3 sync using three popular tools: `s3cmd`, `aws`, and `rclone`.
## Prerequisites
Before we dive into the specifics of each tool, make sure you have the following prerequisites:
- AWS Account: You need an AWS account with the necessary IAM permissions to interact with S3.
- Installed Tools: Ensure that you have `s3cmd`, `aws`, and `rclone` installed on your machine.
## Reasons to Sync S3 Buckets
Syncing cloud storage buckets can offer several benefits to users, the most common ones we have see are:
- Data Redundancy & Recovery: By syncing, you ensure that you duplicate your data across multiple locations or providers. This redundancy minimizes the risk of data loss due to provider outage, hardware issue, or other unforeseen circumstances.
- Data Availability: Synced buckets can improve data availability. If one storage location becomes unavailable, you can access your data from another synchronized location, ensuring uninterrupted access for your applications and users.
- Cost Optimization: By syncing data strategically, you can take advantage of lower storage costs in certain regions or providers, ensuring you optimize your cloud storage expenses.
Overall, [syncing cloud storage buckets](https://simplebackups.com/storage-backup/) empowers you with improved data resilience, availability, and flexibility.
## 1. Sync S3 using s3cmd
[s3cmd](https://s3tools.org/s3cmd) is a command-line utility for managing Amazon S3 and other cloud storage services. Here's how you can use `s3cmd` to sync data with an S3 bucket:
```bash
# Install s3cmd (if not already installed)
# On Linux:
# sudo apt-get install s3cmd
# Configure s3cmd with your AWS credentials
s3cmd --configure
# Sync local directory with an S3 bucket
s3cmd sync /path/to/local/directory s3://your-bucket-name
```
### Advanced S3 sync options for s3cmd
When using `s3cmd` for S3 sync, you can take advantage of several advanced options to customize the synchronization process to your specific needs. Here are some of the advanced options available:
#### Delete Removed Files
`--delete-removed`: When files are deleted from the source directory, this option ensures that corresponding objects in the destination bucket are also deleted. It helps keep the destination bucet in sync with the source.
```bash
s3cmd sync --delete-removed /path/to/local/directory s3://your-bucket-name
```
#### Exclude Specific Files
`--exclude`: You can use this option to exclude specific files or patterns from being synchronized. For example, if you want to exclude all .log files, you can do:
```bash
s3cmd sync --exclude "*.log" /path/to/local/directory s3://your-bucket-name
```
#### Include Specific Files
`--include`: This option allows you to include specific files or patterns for synchronization while excluding others. For instance, if you want to include only .txt files, you can use:
```bash
s3cmd sync --include "*.txt" /path/to/local/directory s3://your-bucket-name
```
#### Skip Existing Files
`--skip-existing`: When this option is used, s3cmd will skip copying files that already exist in the destination. It's helpful to avoid overwriting existing files.
```bash
s3cmd sync --skip-existing /path/to/local/directory s3://your-bucket-name
```
#### Dry Run
`--dry-run`: A dry run is a simulation of the sync operation. It shows you what actions s3cmd would take without actually performing the sync. Useful for testing and verifying your sync command before executing it.
```bash
s3cmd sync --dry-run /path/to/local/directory s3://your-bucket-name
```
#### Delete After
`--delete-after`: This option delays the deletion of source files until after the transfer is complete. It's useful when you want to ensure that the transfer is successful before removing files from the source.
```bash
s3cmd sync --delete-after /path/to/local/directory s3://your-bucket-name
```
#### Quiet Mode
`--quiet`: If you want to suppress most of the output and only display errors, you can use the --quiet option. It makes the sync operation less verbose.
```bash
s3cmd sync --quiet /path/to/local/directory s3://your-bucket-name
```
### Some s3cmd key details
- Uploads any new or updated files from a local dir to the S3 path
- Deletes any files no longer present in a local dir from the S3 path
- Uses multipart uploads for large files to improve transfer performance
- MD5 hashes used to detect if local file changed compared to S3
- Can configure ACLs, encryption, MIME types in .s3cfg file
## 2. Sync S3 Using AWS CLI
AWS Command Line Interface (AWS CLI) is the official command-line tool provided by AWS. It offers extensive functionality for managing AWS services, including S3. To sync data with S3 using AWS CLI:
```bash
# Configure AWS CLI with your AWS credentials
aws configure
# Sync local directory with an S3 bucket
aws s3 sync /path/to/local/directory s3://your-bucket-name
```
### Advanced S3 sync options for AWS CLI
The AWS Command Line Interface (CLI) offers several advanced options for synchronizing files to and from Amazon S3. Here are some of the common advanced sync options along with code examples:
#### Delete Missing Files
`--delete`: Removes files from the destination that are not present in the source.
```bash
aws s3 sync s3://mybucket/src /localpath --delete
```
#### Pattern-based File Filtering
`--exclude / --include`: Specifies patterns to filter files or objects to exclude or include in the sync.
```bash
aws s3 sync /localpath s3://mybucket/dest --exclude "*.tmp" --include "*.txt"
```
#### Access Control List Settings
`--acl`: Sets the ACL for the synced files (e.g., public-read).
```bash
aws s3 sync /localpath s3://mybucket/dest --acl public-read
```
#### Specify Storage Class
`--storage-class`: Specifies the storage class for the synced files (e.g., STANDARD_IA for infrequent access).
```bash
aws s3 sync /localpath s3://mybucket/dest --storage-class STANDARD_IA
```
#### Dry Run (Simulation)
`--dryrun`: Displays the operations that would be performed using the specified command without actually running them.
```bash
aws s3 sync /localpath s3://mybucket/dest --dryrun
```
#### Sync Based on Size Only
`--size-only`: Makes the sync command ignore changes in file timestamps and only compare sizes.
```bash
aws s3 sync /localpath s3://mybucket/dest --size-only
```
#### Use Exact Timestamps
`--exact-timestamps`: Use exact timestamps to determine if a file needs to be synced, rather than rounded timestamps.
```bash
aws s3 sync /localpath s3://mybucket/dest --exact-timestamps
```
#### Follow Symbolic Links
`--follow-symlinks`: Syncs the contents of the symlinked files and folders.
```bash
aws s3 sync /localpath s3://mybucket/dest --follow-symlinks
```
#### Ignore Symbolic Links
`--no-follow-symlinks`: Ignores symlinks and does not sync their contents.
```bash
aws s3 sync /localpath s3://mybucket/dest --no-follow-symlinks
```
#### Specify Source and Destination Regions
`--source-region / --region`: Specifies the region of the source/destination bucket.
```bash
aws s3 sync s3://sourcebucket/src s3://destbucket/dest --source-region us-west-1 --region us-east-1
```
These options provide greater control over the synchronization process, allowing you to tailor it to your specific needs. Remember to replace /localpath, `s3://mybucket/src`, and `s3://mybucket/dest` with your actual local file paths and S3 bucket names/paths.
### Some AWS CLI key details
- Provides the same sync functionality as s3cmd
- Can set ACLs, encryption, and other options on the CLI
- Uses the AWS SDK, so can leverage other AWS services if needed
- Credentials managed via AWS config files
- Sync works the same in both directions
## 3. Using rclone
rclone is a versatile command-line program for syncing files and directories to and from various cloud storage providers, including S3. To use rclone for S3 sync:
```bash
# Install rclone (if not already installed)
# On Linux:
# curl https://rclone.org/install.sh | sudo bash
# Configure rclone with your AWS credentials
rclone config
# Sync local directory with an S3 bucket
rclone sync /path/to/local/directory remote:your-bucket-name
```
### Advanced S3 sync options for rclone
Rclone provides various options and flags for customizing your S3 sync. Here are some commonly used options:
- `--delete`: Deletes files from the destination that don't exist in the source.
- `--exclude`: Exclude files or patterns from being synced.
- `--include`: Include files or patterns for syncing.
- `--dry-run`: Simulate the sync operation without making any changes.
- `--quiet`: Suppress output and only display errors.
### Some rclone key details
- Supports other backends like Google Drive, Dropbox, etc.
- Can modify aspects like chunk size and transfers
- Optional encryption and ACL configuration
- Uses minimal config - sets up remotes to sync to/from
**Experience Effortless S3 Sync with SimpleBackups**
At SimpleBackups, we understand the importance of data synchronization and redundancy. That's why we've made it easy to [sync S3 buckets](https://simplebackups.com/storage-backup/aws-s3/) with other [cloud storage providers](https://simplebackups.com/storage-backup/). With SimpleBackups, you can set up a storage replication in minutes and ensure that your data is always available and accessible.
**Ready to safeguard your data with ease? [Sign up for SimpleBackups today](https://my.simplebackups.com/register?utm_source=blog&utm_content=sync) and experience the simplicity of secure backups!**
---
# Top 5 PostgreSQL Backup Tools
Source: https://simplebackups.com/blog/top-5-postgresql-backup-tools
Published: 2023-12-06
Author: Laurent
Summary: Five PostgreSQL backup tools compared on scheduling, alerting, restore verification and off-site storage, including where each one is the wrong choice.
Most PostgreSQL backup tools get judged on the wrong thing. The feature lists look interchangeable, because underneath, nearly all of them are calling `pg_dump` or copying the data directory. What separates them is the operational layer: whether anything tells you the backup broke, whether the copy ever leaves the database host, and whether anyone has proved it restores.
This article compares five options on those terms. We run PostgreSQL backups every day and SimpleBackups is one of the five, so the fairest thing we can do is say plainly where each tool is the wrong choice, ours included.
## Two categories, and why mixing them produces bad decisions
Most arguments about PostgreSQL backup tools come from comparing two things that do different jobs.
**Logical backup tools** work from `pg_dump`. They produce a portable export of a database's objects and data, which is what you want for migrations, selective restores, and databases small enough to dump inside a maintenance window. What they cannot do is point-in-time recovery, because PITR requires the [write-ahead log](https://www.postgresql.org/docs/current/continuous-archiving.html) and `pg_dump` does not capture it.
**Physical backup tools** copy the data directory and archive the WAL. That buys incremental backups and true PITR, at the cost of a system you install, configure and maintain yourself.
A quick way to tell which category a tool belongs to: ask whether it can restore to 14:07 yesterday. If the answer is "we keep a dump from 02:00," it is a logical tool, whatever the marketing page says about incrementals.
Pick the category from your recovery point objective first. If losing the last few minutes of writes is unacceptable, you are in the physical category and the comparison narrows sharply. If a nightly dump is acceptable and the real problem is that nobody notices when the nightly dump stops running, you are in the logical category, and the question becomes who operates it.
## What actually separates PostgreSQL backup tools
**Failure alerting.** A cron job that stops running sends nothing. This is the most common failure we see in support, and it stays invisible until someone needs a restore. Ask what a tool does when a backup fails, not what it does when one succeeds.
**Restore verification.** "The backup ran" and "the backup restores" are different tests, and most tools answer only the first. A tool that never reads a backup back cannot tell you the file is truncated.
**Incremental support.** Only the physical tools do genuine incremental backups against PostgreSQL. A logical tool advertising "incremental" is usually deduplicating or compressing at the storage layer, which is useful, but it is not the same thing.
**Off-site storage and key ownership.** A dump sitting on the database host is not a backup, and a dump in the same cloud account as production does not survive that account being suspended. Ask where the copy lands and who holds the encryption keys.
**Audit evidence.** ISO 27001 and SOC 2 reviewers ask for documented procedures, retention logs and encryption evidence. A shell script produces none of it.
## The five tools
### SimpleBackups
SimpleBackups is a managed service in the logical category. You connect a database and a storage destination, set a schedule, and the operational layer is the product rather than something you assemble: scheduling, failure alerts, retention enforcement, and one control plane covering PostgreSQL, MySQL, MongoDB, Redis, servers and SaaS apps rather than a separate script per engine.
Backup data flows from your server straight to your storage, encrypted with AES-256 and optionally with a key you hold, so the backup content does not pass through us. Destinations include AWS S3, Backblaze B2, Wasabi, DigitalOcean Spaces, Azure Blob Storage, Google Cloud Storage and Dropbox, plus your own server over SFTP. Restores run from the dashboard, the CLI or the REST API.
Pricing starts with a 7-day trial that does not ask for a card, then fixed monthly plans that vary by billing frequency and plan type.
**Where it fits:** the failure is operational. Backups run but nobody is alerted, nothing leaves the host, and no one has tested a restore.
**Where it is the wrong choice:** you need point-in-time recovery on a large self-hosted cluster. SimpleBackups uses logical backups, so PITR is not something it can offer. pgBackRest or WAL-G are the right tool for that, and we would rather say so than sell you the wrong layer.
### Ottomatik
Ottomatik is another managed, cloud-based option for PostgreSQL, covering both on-premise and cloud-hosted instances. It schedules dumps, stores them in cloud storage including Amazon S3 and Google Cloud Storage, applies retention policies and encrypts with AES-256. Setup runs through a dashboard rather than a config file.
**Where it fits:** the same operational gap, with a preference for its interface or pricing shape.
**Where it is the wrong choice:** large data volumes on the lower-priced plans, where included storage runs out quickly, and Windows environments, which it does not cover with an agent.
### SnapShooter
SnapShooter combines database dumps with provider-level snapshots, and its strongest suit is on DigitalOcean, where it can schedule both Droplet snapshots and PostgreSQL dumps from one place. It uses `pg_dump` underneath and supports frequent schedules.
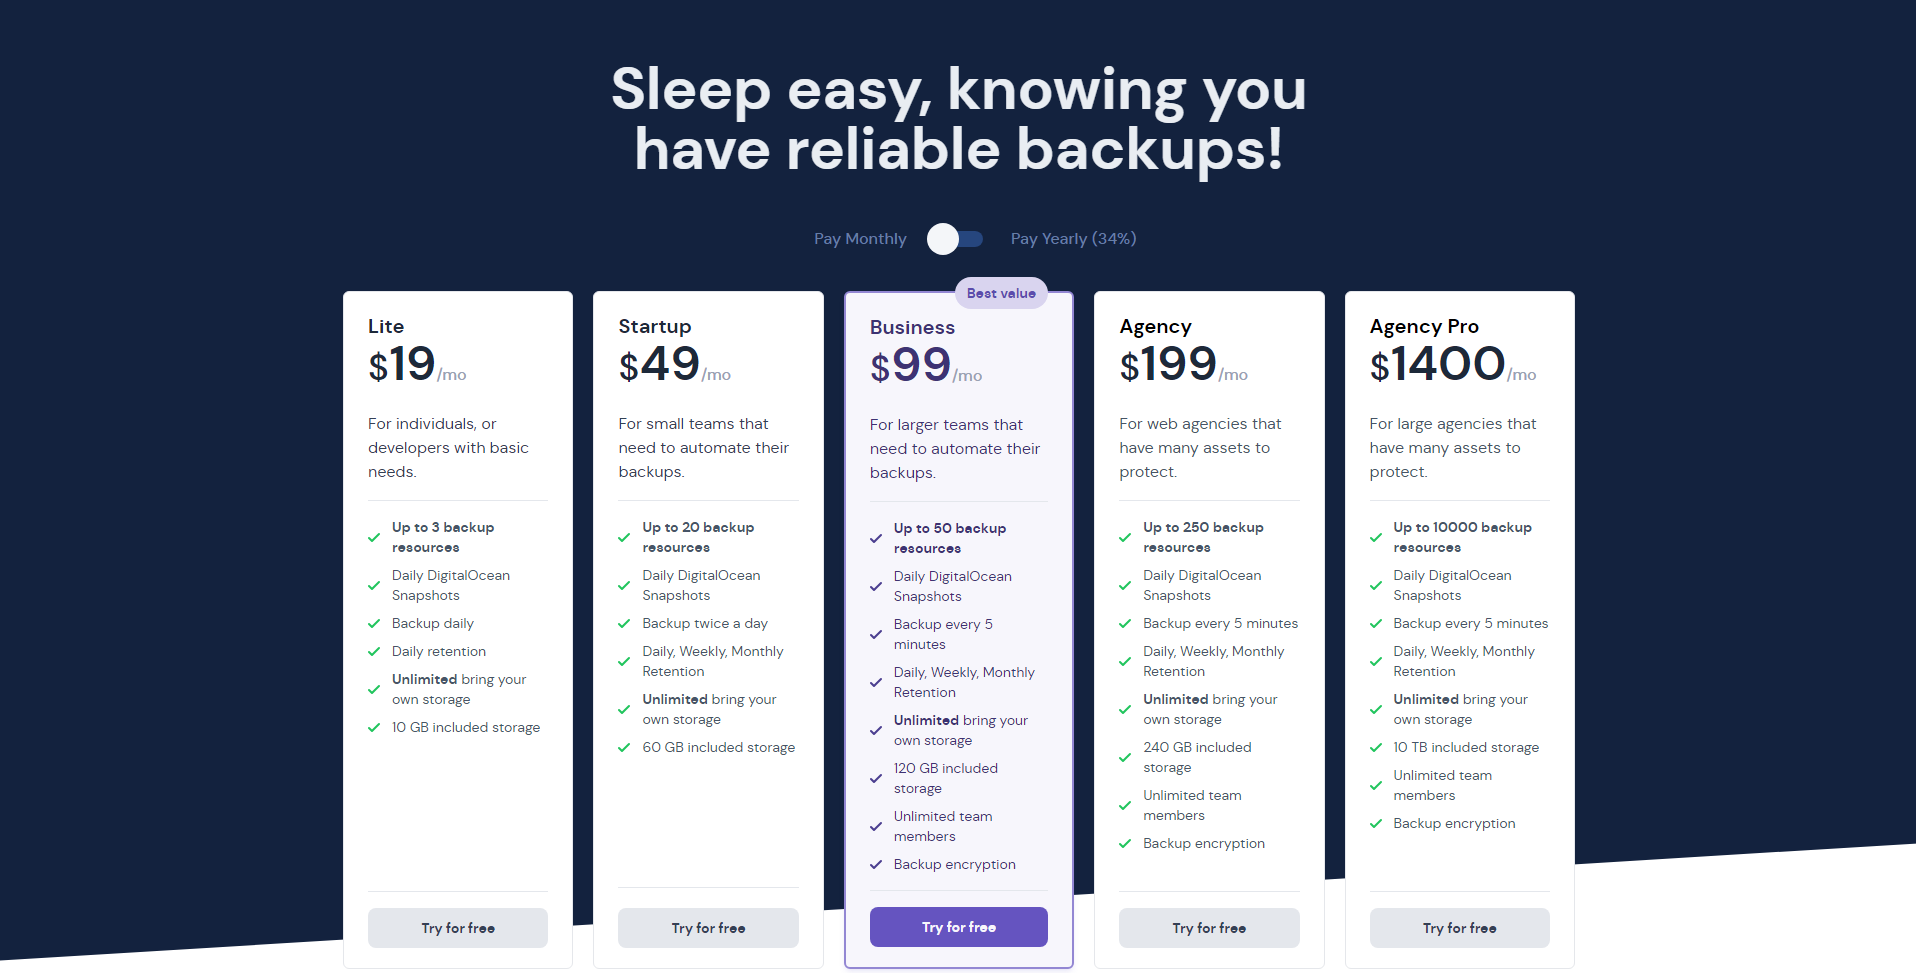
**Where it fits:** you are on DigitalOcean and want the database dump and the server snapshot managed together.
**Where it is the wrong choice:** you need the same coverage across several providers, or you need the compliance evidence a larger environment asks for.
### Google Cloud Backup and DR
[Google Cloud Backup and DR](https://cloud.google.com/solutions/backup-dr) manages backups for Cloud SQL and Compute Engine workloads, applying retention policies and storing backups separately from the instance they protect. If your PostgreSQL runs on Cloud SQL, it is the native option and it is well integrated.
**Where it fits:** PostgreSQL on Google Cloud, with a team already operating inside that console.
**Where it is the wrong choice:** anything outside Google Cloud, since it does not cover AWS or Azure workloads. It also keeps the backup inside the same provider account as the database, which is exactly the dependency an off-site copy is meant to remove. Usage-based pricing makes the monthly cost harder to predict than a fixed plan.
### Percona Distribution for PostgreSQL
[Percona Distribution for PostgreSQL](https://www.percona.com/postgresql/software/postgresql-distribution) bundles PostgreSQL with pgBackRest, an open-source physical backup and recovery tool. This is the physical category: incremental backups, WAL archiving, point-in-time recovery, parallel restore, and repositories that can live on S3 or S3-compatible storage.
**Where it fits:** large self-hosted clusters where PITR is a requirement and you have the engineering capacity to operate a backup system.
**Where it is the wrong choice:** small teams without that capacity. [pgBackRest ships no scheduler](https://pgbackrest.org/user-guide.html), so cron or systemd timers still trigger it, and alerting, retention reporting and audit evidence are yours to build. It also has no Windows support.
## Choosing between them
| Situation | Better fit |
| --- | --- |
| Backups run but nothing alerts you, and nothing leaves the host | SimpleBackups, Ottomatik or SnapShooter |
| PITR required on a large self-hosted cluster | Percona / pgBackRest, or Barman or WAL-G |
| Everything runs on Cloud SQL and stays there | Google Cloud Backup and DR |
| Several engines and providers, one view of backup status | SimpleBackups |
| ISO 27001 or SOC 2 audit needing documented procedures | SimpleBackups |
The honest summary is that the tool matters less than the layer you are missing. Teams that pick a physical tool to solve an alerting problem end up with an unmonitored physical backup system, which is worse than what they started with.
Whichever you land on, two things are worth reading before you commit. [Beyond pg_dump and cron](/blog/pg-dump-cron-replacement-postgresql-backup) sets out what a DIY script leaves uncovered, which is the gap most of these tools exist to fill. And if you would rather build it yourself first, [the ultimate PostgreSQL backup script](/blog/the-ultimate-postgresql-database-backup-script) and the [pg_dump and pg_restore guide](/blog/postgresql-pgdump-and-pgrestore-guide-examples) give you the working version.
If the gap you found is the operational one, SimpleBackups runs [automated PostgreSQL backups](/postgresql-backup) on a schedule, with alerts when a run fails and storage you own.
## FAQ
---
*This article is part of [The complete guide to PostgreSQL backup](/learn/postgresql-backup#postgresql-backup-tools), an honest, practical reference from the team that backs up PostgreSQL every day.*
---
# PostgreSQL vs MySQL - Video Comparison
Source: https://simplebackups.com/blog/postgresql-vs-mysql-video-comparison
Published: 2023-12-05
Author: Nour
Summary: What is the main difference between PostgreSQL and MySQL? Why choose PostgreSQL over MySQL? Find the answer to these questions in this video comparison.
Learn the main difference in this comprehensive guide opposing MySQL and PostgreSQL.
---
# Elevating Our Commitment: SimpleBackups Earns ISO Certification
Source: https://simplebackups.com/blog/elevating-security-quality-simplebackups-iso-certification
Published: 2023-12-04
Author: Islam
Summary: Discover how SimpleBackups' recent ISO certification enhances our commitment to top-tier data security and service quality. Learn about the benefits and our journey towards achieving this significant milestone, reinforcing our promise of trust and excellence in data backup solutions.
Today, we are thrilled to announce a significant milestone in our journey towards providing the utmost security and quality in our services: we have officially been awarded ISO certifications! This achievement marks a pivotal moment for us and reinforces our commitment to delivering the best possible service to our customers.
## What are ISO Certifications?
The International Organization for Standardization (ISO) sets global standards across various industries to ensure quality, safety, efficiency, and reliability. Being ISO certified means that SimpleBackups has met rigorous international standards in these areas, particularly focusing on information security management (ISO 27001).
## How This Benefits Our Customers
- Enhanced Trust and Credibility: Our ISO certifications are a testament to our dedication to security and quality. Customers can trust that their data is handled with the highest standards of security and privacy.
- Improved Quality and Efficiency: The process of obtaining ISO certifications involved streamlining our operations and enhancing our quality management systems. This means more efficient, reliable, and consistent service for our customers.
- Commitment to Continuous Improvement: ISO standards require ongoing evaluation and improvement. Our customers can rest assured knowing that we are continually enhancing our processes and services.
- Global Recognition: ISO certifications are recognized worldwide. This global acknowledgment assures our customers that SimpleBackups adheres to the highest international standards.
## Our Journey to ISO Certification
Achieving these certifications was not completed overnight. It involved a comprehensive audit of our processes, systems, and management practices. Our team worked diligently to ensure that every aspect of our service met the stringent criteria set by the ISO. This journey has not only improved our operations but also our team's expertise and dedication to excellence.
## Looking Ahead
As we celebrate this achievement, we look forward to leveraging this certification to further improve and innovate. Our commitment to security, quality, and excellence remains stronger than ever, and we are excited to continue offering services that our customers can rely on, knowing they are backed by the highest standards.
## Conclusion
In conclusion, the ISO certifications mark a new chapter for SimpleBackups, one where we continue to build trust, improve our services, and offer the best to our customers. We are proud of this accomplishment and are eager to demonstrate the enhanced level of service that comes with it.
Thank you for being part of our journey. Your trust and support motivate us to keep pushing the boundaries of what we can achieve.
**Ready to safeguard your data with ease? [Sign up for SimpleBackups today](https://my.simplebackups.com/register?utm_source=blog&utm_content=iso) and experience the simplicity of secure backups!**
---
# PostgreSQL vs MongoDB: A Comprehensive Comparison
Source: https://simplebackups.com/blog/mongodb-vs-postgres-a-comprehensive-comparision
Published: 2023-12-01
Author: Nour
Summary: PostgreSQL and MongoDB are popular DBMSs. Learn how they defer on performance, features, scalability, security, and more.
Picking the right open-source database for your next project can be a challenging task, as there is no one-size-fits-all solution. In this article, we will compare PostgreSQL and MongoDB based on some common criteria, such as database structure, deployment, replication, clustering, support, and documentation.

## What is PostgreSQL?
🐘 **PostgreSQL** is a relational database, which means that it stores data in **tables**, where each **row** represents a record and each **column** represents a field. Tables can be linked by **foreign keys**, which are references to **primary keys** of other tables. PostgreSQL enforces a schema, which is a predefined structure and type of the data in each table. PostgreSQL supports various data types, such as **text, numeric, boolean, date, time, array, JSON,** etc. PostgreSQL also supports **SQL** (Structured Query Language), which is a standard and powerful language for querying and manipulating data in relational databases.
**Pros:**
- Suitable for **structured and consistent data**, where the schema and relationships are well-defined and stable.
- Postgres offers more data integrity, consistency, and reliability, as it enforces rules and constraints on the data.
- Support for advanced features, such as transactions, triggers, functions, views, indexes, etc.
**Cons:**
- Can be more complex and rigid, as it requires more planning and design upfront.
- Can be less scalable and adaptable, as it can be hard to change the schema and handle large and diverse data.
## What is MongoDB?
🍃 **MongoDB** is a non-relational database, which means that it stores data in collections, where each document represents a record and each field represents a value. Documents can be nested, which means that they can contain other documents or arrays of values. MongoDB does not enforce a schema, which means that the documents in a collection can have different structures and types of data. MongoDB supports a subset of **JSON** (JavaScript Object Notation), which is a lightweight and flexible format for representing data. **MongoDB** also supports **BSON** (Binary JSON), which is a binary-encoded version of JSON that allows for more data types, such as **binary, decimal, object ID**, etc. MongoDB uses its own query language, which is based on **JSON** and JavaScript syntax, for querying and manipulating data in **non-relational databases**.
**Pros:**
- Suitable for **unstructured and dynamic data**, where the schema and relationships are not fixed and can vary over time.
- MongoDB offers more simplicity and agility, as it does not require a pre-defined schema and allows for more flexible and expressive data models.
- Scalable and performant, as it can handle large and diverse data more efficiently and distribute it across multiple servers.
**Cons:**
- Can be less reliable and consistent, as it doesn’t enforce rules or constraints on the data.
- Less functionality, as it doesn’t support some features, such as transactions, joins, subqueries, etc. and it doesn’t use the SQL langauge.
## Performance and scaling
🍃 **MongoDB** has high performance for read and write operations for unstructured and complex data.
🐘 **PostgreSQL** has high performance for analytical and transactional operations o structured and relational data.
The performance can vary greatly depending on the use-case, data volume, and system configuration.
Both database management systems offer **Vertical Scaling** which refers to increasing the processing power of a single server or a cluster, and **Horizontal scaling** which refers to bringing additional servers or clusters to share the load.
## Querying
🍃 **MongoDB** queries are based on Javascript, and are represented as a JSON-like structure, which might require more careful reading and understanding. It’s not as rich as SQL and has a few limitations such as a lack of `JOIN` operations, subqueries, and transactions. MongoDB provides some SQL-like operators, such as `$and`, `$or`, `$in`, and `$group`, but they are not equivalent to the SQL operators.
🐘 **PostgreSQL** on the other hand uses structured query language, which is a standard for relational databases, it uses a more traditional query structure with `SELECT`,`FROM`, and `WHERE` clauses. **SQL** can perform advanced functions like filters, merge, joins, and aggregation. It’s often considered more readable and easier to use, especially for complex queries.
## Extensibility
🍃 **MongoDB** is a flexible and adaptable database that supports extensibility in various ways, such as adding new data types, operators, indexes, and functions. **MongoDB** also provides a rich set of APIs and drivers for different languages and frameworks. Moreover, MongoDB offers some tools and services, such as **MongoDB Stitch, MongoDB Realm, and MongoDB Charts**, that allow you to extend your database with serverless functions, mobile sync, and data viz.
🐘 **PostgreSQL** is a powerful and versatile DBMs that supports extensibility in numerous ways, such as stored functions and procedures, access from procedural languages such as **PL/pgSQL**, **Perl**, **Python** and more, **SQL/JSON** Path Expressions, and foreign data wrappers, which connect to other databases or streams using the standard **SQL** interface. PostgreSQL also provides a wide range of extensions, such as **PostGIS**, **pgcrypto**, and **hstore**, that add new features and capabilities to your database.
## Replication and clustering
🍃 **MongoDB** supports replication and clustering through **replica sets**, which are a group of MongoDB servers that maintain the same data set and provide redundancy and high availability. Replica sets provide automatic failover and data redundancy, but they don’t distribute the data across multiple servers.
🐘 **PostgreSQL** supports replication and clustering through **streaming replication**, which is a mechanism for copying data from one database server to another. PostgreSQL also supports **logical replication**, which is a mechanism for copying data changes from one database to another. PostgreSQL supports **sharding**, which is a mechanism for distributing data across multiple servers. PostgreSQL also supports **foreign data wrappers**, which are extensions that allow you to access data from other databases or streams using the standard SQL interface.
## Deployment
🍃 **MongoDB** can be deployed on-premise or in the cloud. MongoDB Atlas is a fully managed cloud database service that provides automated provisioning and scaling of MongoDB clusters. MongoDB Atlas is available on AWS, Azure, and Google Cloud.
🐘 **PostgreSQL** can be deployed on-premise or in the cloud. Amazon RDS for PostgreSQL is a fully managed cloud database service that provides automated provisioning and scaling of PostgreSQL clusters. Amazon RDS for PostgreSQL is available on AWS.
## Support
🍃 **MongoDB** offers a free community edition, which is suitable for small projects and startups. MongoDB also offers a paid enterprise edition, which is suitable for large projects and enterprises. MongoDB offers support through a community forum, a knowledge base, and a ticketing system.
🐘 **PostgreSQL** offers a free community edition, which is suitable for small projects and startups. PostgreSQL also offers a paid enterprise edition, which is suitable for large projects and enterprises. PostgreSQL offers support through a community forum, a knowledge base, and a ticketing system.
## Conclusion
Both **MongoDB** and **PostgreSQL** are powerful and versatile database management. The choice between them depends on your specific needs. If you are storing structured data that requires complex queries and high levels of data integrity, PostgreSQL is likely the better choice. If you are storing unstructured data that requires flexibility and scalability, MongoDB is likely the better choice. Regardless of which system you choose, both PostgreSQL and MongoDB are reliable and stable systems that can handle large amounts of data with ease.
---
# Mastering PostgreSQL Data Types: A Comprehensive Guide
Source: https://simplebackups.com/blog/mastering-postgresql-data-types-a-comprehensive-guide
Published: 2023-11-30
Author: Laurent
Summary: Every PostgreSQL data type with its storage size, plus how to choose between the pairs that trip people up: varchar and text, timestamp and timestamptz, numeric and float, json and jsonb.
In PostgreSQL, data types shape how the database manages, retrieves, and processes information. They define the characteristics of the data that can be stored within a table's column.
**Unlike MySQL, PostgreSQL offers a richer set of data types** and more extensive support for custom types, making it highly adaptable to various data requirements.
## PostgreSQL Data Types Categories
| **Category** | **Data Types** | **Description** |
| ------------------- | ----------------------------------------------------------------------------------------------------------------------- | ----------------------------------------------------------------------------------------------------------------------------------------------------------------- |
| **Numeric** | `smallint`, `integer`, `bigint`, `decimal`, `numeric`, `real`, `double precision`, `smallserial`, `serial`, `bigserial` | Numeric data types include various integer types for whole numbers, serial types for auto-incrementing numbers, and floating-point types for decimal numbers. |
| **Character** | `char`, `varchar`, `text` | Character data types are used for storing text. They vary in length from fixed (`char`), variable with a limit (`varchar`), to unlimited length (`text`). |
| **Date/Time** | `date`, `time`, `timestamp`, `timestamptz`, `interval` | These types handle dates and times, ranging from simple dates (`date`) to detailed timestamps (`timestamp` and `timestamptz`). `interval` is used for time spans. |
| **Boolean** | `boolean` | The Boolean data type is used for storing true or false values. |
| **JSON** | `json`, `jsonb` | JSON data types include `json` for storing JSON data as exact text, and `jsonb` for storing it in a binary format, useful for indexing. |
| **Binary** | `bytea` | The `bytea` type is used for storing binary data. |
| **Array** | Arrays of other data types (e.g., `integer[]`, `text[]`) | PostgreSQL supports arrays of other data types, allowing multiple values in a single column. |
| **Enumerated** | `enum` | Enumerated types are customizable lists of values, allowing a column to contain only specified values. |
| **Range** | `int4range`, `int8range`, `numrange`, `tsrange`, `tstzrange`, `daterange` | Range data types represent a range of values of specific types, such as integers or timestamps. |
| **Geometric** | `point`, `line`, `lseg`, `box`, `path`, `polygon`, `circle` | Geometric types store two-dimensional geometric data. |
| **Network Address** | `cidr`, `inet`, `macaddr`, `macaddr8` | These types are for storing network addresses like IP addresses and MAC addresses. |
| **Bit String** | `bit`, `bit varying` | Bit string types are used for storing strings of bits (0s and 1s). |
| **Text Search** | `tsvector`, `tsquery` | Text search types are used for full-text search functionality in PostgreSQL. |
| **UUID** | `uuid` | The `uuid` data type is used for storing Universally Unique Identifiers. |
| **XML** | `xml` | The `xml` data type is used for storing XML data. |
| **Others** | `money`, `pg_lsn`, `txid_snapshot` | These include specialized types like `money` for monetary values, `pg_lsn` for log sequence numbers, and `txid_snapshot` for transaction snapshots. |
## PostgreSQL Data Type examples
**SQL Snippet**:
```sql
CREATE TYPE mood AS ENUM ('happy', 'sad', 'neutral');
CREATE TABLE user_profiles (
user_id INT,
user_name VARCHAR(100),
user_preferences JSON,
account_creation DATETIME,
gender CHAR(1),
current_mood mood
);
```
**Data Type Explanations**:
- **`INT`**: This is an integer data type, used for numeric values without decimal points. It is typically used for storing whole numbers like IDs.
- **`VARCHAR(100)`**: This is a variable character string data type with a specified limit. `VARCHAR(100)` means it can store strings up to 100 characters. It's suitable for text that has variable length, such as names.
- **`JSON`**: This data type is used for storing JSON (JavaScript Object Notation) formatted data. It allows for storing complex data structures like objects and arrays in a single column.
- **`DATETIME`**: This data type is used for storing dates and times together. It records the date along with the time of day.
- **`CHAR(1)`**: This is a fixed-length character type, `CHAR(1)` means it stores exactly one character. It’s useful for data with a known, fixed size, like gender in this example.
- **`ENUM`**: This is an enumerated type, which is a custom data type defined by a list of acceptable string values. In this case, `mood` is an ENUM type that can only take the values 'happy', 'sad', or 'neutral'. It's great for columns with a limited set of possible values.
## PostgreSQL Data Types Cheatsheet
Here is a quick reference table that summarizes the main characteristics of the PostgreSQL data types:
| **Data Type** | **Category** | **Size** | **Range or Values** | **Format** | **Default** | **Example** |
| ------------------ | -------------- | ------------------- | ---------------------------------------------------------------------------------------- | ---------------------------- | --------------------- | -------------------------- |
| `integer` | Numeric | 4 bytes | \-2,147,483,648 to 2,147,483,647 | Whole number | 0 | `1234` |
| `bigint` | Numeric | 8 bytes | \-9,223,372,036,854,775,808 to 9,223,372,036,854,775,807 | Whole number | 0 | `1234567890123` |
| `real` | Numeric | 4 bytes | 6 decimal digits precision | Decimal | 0.0 | `123.456` |
| `double precision` | Numeric | 8 bytes | 15 decimal digits precision | Decimal | 0.0 | `123.45678912345` |
| `numeric` | Numeric | Variable | Up to 131072 digits before the decimal point; up to 16383 digits after the decimal point | Exact numeric | 0 | `123.45` |
| `char(n)` | Character | `n` bytes, fixed | Fixed-length with padding | Character string | Space-padded | `'A'`, `'Hello'` |
| `varchar(n)` | Character | Variable, up to `n` | Variable-length | Character string | None | `'Hello, World!'` |
| `text` | Character | Variable | Unlimited length | Character string | None | `'Any length of text'` |
| `date` | Date/Time | 4 bytes | 4713 BC to 5874897 AD | YYYY-MM-DD | Current date | `2023-01-01` |
| `timestamp` | Date/Time | 8 bytes | 4713 BC to 5874897 AD | YYYY-MM-DD HH:MI:SS | Current date and time | `2023-01-01 12:00:00` |
| `time` | Date/Time | 8 bytes | 00:00:00 to 24:00:00 | HH:MI:SS | None | `12:00:00` |
| `boolean` | Boolean | 1 byte | `true` or `false` | Boolean | `false` | `true`, `false` |
| `json` | JSON | Variable | JSON text | Textual JSON data | None | `{'key': 'value'}` |
| `jsonb` | JSON | Variable | Binary JSON, faster querying | Binary JSON data | None | `{'key': 'value'}` |
| `bytea` | Binary | Variable | Binary string | Binary data | None | `E'\\xDEADBEEF'` |
| `array` | Array | Variable | Collection of elements (e.g., integers, text) | Array format | None | `'{1,2,3,4}'` |
| `enum` | Enumerated | Variable | User-defined list of values | Enumeration of string | None | `'value1'`, `'value2'` |
| `serial` | Auto-increment | 4 bytes | 1 to 2,147,483,647 | Whole number, auto-increment | Next ID in sequence | Automatically generated ID |
| `bigserial` | Auto-increment | 8 bytes | 1 to 9,223,372,036,854,775,807 | Whole number, auto-increment | Next ID in sequence | Automatically generated ID |
| `smallserial` | Auto-increment | 2 bytes | 1 to 32,767 | Whole number, auto-increment | Next ID in sequence | Automatically generated ID |
## Choosing between the types that look alike
Most data-type mistakes are not exotic. They come from four pairs that look interchangeable and are not.
### VARCHAR vs TEXT
No performance difference. Both are stored identically, and `VARCHAR` without a length is exactly `TEXT`.
Use `VARCHAR(n)` when the length limit is a real business rule you want the database to enforce, such as a two-character country code. Use `TEXT` otherwise. The practical argument for `TEXT` is that changing a `VARCHAR(50)` to `VARCHAR(100)` later is an `ALTER TABLE`, and on a large table under load that is a migration you have to plan.
### TIMESTAMP vs TIMESTAMPTZ
This is the one that causes real incidents.
`TIMESTAMPTZ` converts the value to UTC when it is stored and back to the session time zone when it is read, so it identifies a specific moment. `TIMESTAMP` stores the literal date and time with no zone attached, so the same stored value means different moments to two users in different countries.
**Default to `TIMESTAMPTZ`.** The exception is a wall-clock time that is deliberately zone-free, such as "the shop opens at 09:00" in whatever the local time happens to be.
### NUMERIC vs REAL and DOUBLE PRECISION
`NUMERIC` is exact. `REAL` and `DOUBLE PRECISION` are binary floating point and cannot represent values like `0.1` exactly:
```sql
SELECT 0.1::float + 0.2::float = 0.3::float; -- false
SELECT 0.1::numeric + 0.2::numeric = 0.3::numeric; -- true
```
Use `NUMERIC` for money and anything that gets summed or compared for equality. Use the float types for measurements and scientific values where speed matters more than the last decimal place.
### JSON vs JSONB
`JSON` keeps the exact input text, whitespace and key order included, and reparses it on every query. `JSONB` stores a decomposed binary form: slightly slower to write, considerably faster to read, and **the only one of the two that can be GIN-indexed**.
Use `JSONB` unless you specifically need to hand back the original document byte for byte.
### Storage sizes at a glance
| Type | Storage | Notes |
|---|---|---|
| `SMALLINT` | 2 bytes | -32,768 to 32,767 |
| `INTEGER` | 4 bytes | The default choice for whole numbers |
| `BIGINT` | 8 bytes | Needed past 2.1 billion, including most `id` columns at scale |
| `NUMERIC(p,s)` | variable | Exact, sized by digit count |
| `REAL` | 4 bytes | 6 decimal digits of precision |
| `DOUBLE PRECISION` | 8 bytes | 15 decimal digits |
| `BOOLEAN` | 1 byte | |
| `DATE` | 4 bytes | |
| `TIMESTAMP` / `TIMESTAMPTZ` | 8 bytes each | Same size, so there is no storage reason to avoid `TIMESTAMPTZ` |
| `UUID` | 16 bytes | Against 36 for the same value stored as `TEXT` |
| `TEXT` / `VARCHAR` | variable | String length plus 1 to 4 bytes |
Column order affects real table size too, because PostgreSQL aligns fixed-width columns. Grouping the 8-byte types together and putting variable-length columns last can measurably reduce padding on wide tables.
## PostgreSQL Data Types Tips and Tricks
1. **Use the Right Numeric Type for Efficiency**:
Choose `SMALLINT`, `INTEGER`, or `BIGINT` based on the range of values you expect. Using a smaller type than necessary can save significant disk space, especially in large tables.
2. **Treat VARCHAR and TEXT as interchangeable**:
In PostgreSQL, there is no performance difference between `VARCHAR` and `TEXT`. Use `VARCHAR` when you need to enforce a maximum length, and `TEXT` for longer or unrestricted text fields.
3. **Prefer TIMESTAMP WITH TIME ZONE**:
When working with timestamps, `TIMESTAMP WITH TIME ZONE` (abbreviated as `TIMESTAMPTZ`) should be your default choice. It automatically adjusts for time zone differences, which is crucial for applications serving users in multiple time zones.
4. **Optimize JSON Storage with JSONB**:
While `JSON` and `JSONB` both store JSON data, `JSONB` stores data in a decomposed binary format, making it slightly slower to input but significantly faster to query. It also allows for indexing, which is a huge advantage for performance.
5. **Beware of Implicit Type Casting**:
PostgreSQL automatically converts types where it makes sense (like from `INTEGER` to `FLOAT`), but relying on implicit casting can sometimes lead to unexpected results. Be explicit with your casts to avoid bugs.
6. **Querying JSON/JSONB Data**:
Use the arrow operators (`->`, `->>`) to query JSON or JSONB objects. These operators can extract an element from a JSON object.
```sql
SELECT user_preferences -> 'theme' AS theme
FROM user_profiles
WHERE user_preferences ->> 'notifications' = 'enabled';
```
This snippet selects the 'theme' from the 'user_preferences' JSON column where 'notifications' are enabled.
7. **Casting Data Types**:
Convert (cast) data types using the `::` operator. This is useful when you need to transform a value into another type, like converting a string to a date.
```sql
SELECT '2023-01-01'::DATE;
```
This example casts a string to a date.
8. **Using Arrays**:
Arrays can store multiple values in a single column. You can query array elements using array positions.
```sql
SELECT responses[1] AS first_response
FROM surveys;
```
This snippet retrieves the first element from the 'responses' array column.
9. **Full-Text Search with tsvector**:
For full-text search, use the `tsvector` data type. It allows indexing of text for efficient searching.
```sql
SELECT description
FROM articles
WHERE to_tsvector(description) @@ to_tsquery('PostgreSQL');
```
This query searches for articles that contain the word 'PostgreSQL' in their description.
10. **Extracting Data from Dates and Times**:
Use date/time functions like `EXTRACT` to get specific parts of a date or time.
```SQL
SELECT EXTRACT(YEAR FROM account_creation) AS year_created
FROM user_profiles;
```
```
This snippet extracts the year from the 'account_creation' date-time column.
```
## Conclusion
In this article, we've covered the PostgreSQL data types, including their categories, examples, storage sizes, and how to choose between the pairs that look interchangeable. We hope this guide helps you understand the PostgreSQL data types and how to use them effectively ✌️
## FAQ
One practical note: custom and extension-provided types have to exist on the target server before a dump that uses them will restore. The [complete guide to PostgreSQL backup](/learn/postgresql-backup) covers what a logical dump does and does not carry with it.
---
# Server-Side Encryption with SSE-C in Cloud Object Storage
Source: https://simplebackups.com/blog/understanding-implementing-sse-c-cloud-storage
Published: 2023-11-28
Author: Islam
Summary: Explore our in-depth guide on Server-Side Encryption with Customer-Provided Keys (SSE-C). Learn how to securely upload and download data using SSE-C with Amazon S3, DO, Wasabi, and Linode.
Have you ever wondered what the Server-Side Encryption is and how to use it?
Simply put, it is a system for encrypting data, which is done at the destination by the application or service that receives it. The system works with cloud storage services such as Amazon S3, DigitalOcean Spaces, Wasabi or Linode Object Storage
In addition, there is also Server-Side Encryption with Customer-Provided Keys (SSE-C), which adds an extra layer of protection as the storage service never manages or stores the keys.

## Key Benefits of SSE-C
1. **Enhanced Security:** Since encryption keys are not stored or managed by the cloud provider, the risk of key compromise is significantly reduced.
2. **Control and Compliance:** Retain full control over your encryption keys, aiding in compliance with various data protection regulations.
3. **Flexibility:** Use your key management processes and tools, integrating seamlessly with your existing security infrastructure.
## Implementing SSE-C in Cloud Object Storage
### Uploading Objects with SSE-C
**Generate an Encryption Key:** Create a secure, 256-bit symmetric key. You can use any cryptographic tool to generate this key.
```python
import os
# Generate a 256-bit (32-byte) symmetric key
encryption_key = os.urandom(32)
```
**Upload Object with SSE-C:**
```python
import boto3
s3_client = boto3.client('s3')
# Provide the encryption key and algorithm
extra_args = {
'SSECustomerAlgorithm': 'AES256',
'SSECustomerKey': encryption_key
}
# Upload the file
s3_client.upload_file('path/to/file', 'your-bucket', 'object-key', ExtraArgs=extra_args)
```
The process is similar for Amazon S3, DigitalOcean Spaces, Wasabi, and Linode. Ensure the respective SDK is used for the service.
### Downloading Objects with SSE-C
**Provide Encryption Key for Downloading:**
```python
# Provide the same encryption key used during upload
download_args = {
'SSECustomerAlgorithm': 'AES256',
'SSECustomerKey': encryption_key
}
# Download the file
s3_client.download_file('your-bucket', 'object-key', 'path/to/save', ExtraArgs=download_args)
```
The same method applies to Amazon S3, DigitalOcean Spaces, Wasabi and Linode Object Storage, ensuring you use their respective SDKs.
### Best Practices and Considerations
1. **Key Management:** Securely manage your encryption keys. Losing them means you cannot decrypt your data.
2. **Compliance and Security:** Regularly audit and rotate your encryption keys in line with best security practices.
3. **Access Control:** Implement strict access policies to safeguard your data in the cloud.
## Conclusion
SSE-C offers a solution for those seeking enhanced security and complete control over their data in the cloud. By managing your encryption keys, you can be sure that your data is protected and, at the same time, allows you to use the flexibility of services like Amazon S3 or DigitalOcean.
**Experience Effortless Encryption with SimpleBackups and SSE-C**
At SimpleBackups, we understand the importance of data security and the complexities it can bring. That's why we've made it super easy to implement Server-Side Encryption with Customer-Provided Keys (SSE-C) when storing your files on the cloud.
**Ready to safeguard your data with ease? [Sign up for SimpleBackups today](https://my.simplebackups.com/register?utm_source=blog&utm_content=sse) and experience the simplicity of secure backups!**
---
# How to find long-running queries in PostgreSQL
Source: https://simplebackups.com/blog/postgresql-how-to-find-long-running-queries
Published: 2023-11-23
Author: Laurent
Summary: Find slow & long-running postgreSQL queries, kill them and optimize your database.
Long queries can slow down your system/app, and it will be helpful to be able to identify them and kill if needed.

These few PostgreSQL methods will help you identify these long-running queries and kill them:
1. **pg_stat_activity**
💡 Used to identify long-running queries by comparing the current time with the `query_start` time.
2. **pg_terminate_backend**
💡 To kill long-running queries identified using `pg_stat_activity`. It's a safer alternative to the harsher `kill` command at the OS level, as it allows PostgreSQL to clean up the connection properly.
3. **pg_locks**
💡 Helpful in understanding the locks that long-running queries might be holding, which can cause blockages in the database.
4. **EXPLAIN and EXPLAIN ANALYZE**
💡 Useful for analyzing why certain queries are running for a long time by understanding their execution plans.
5. **pg_cancel_backend**
💡 To attempt to cancel a long-running query before deciding to terminate it entirely with `pg_terminate_backend`.
## Find PostgreSQL Queries running longer than 2 Minutes
To identify queries running for more than two minutes, we can use the PostgreSQL's `pg_stat_activity` view.
```sql
SELECT pid, now() - pg_stat_activity.query_start AS duration, query
FROM pg_stat_activity
WHERE (now() - pg_stat_activity.query_start) > interval '2 minutes';
```
```
pid | duration | query
------+--------------+--------------------------------------------------------------------
1234 | 00:03:12.345 | SELECT * FROM large_table WHERE condition;
```
This query lists the process ID (`pid`), duration, and the query text of each query running longer than two minutes.
## Killing Long-Running PostgreSQL Queries (> 2 minutes)
To terminate a long-running query, use the `pg_terminate_backend` function.
```sql
SELECT pg_terminate_backend(pid)
FROM pg_stat_activity
WHERE (now() - pg_stat_activity.query_start) > interval '2 minutes';
```
```
pg_terminate_backend
----------------------
t
```
Here, `t` indicates successful termination of the query. Ensure to use this command cautiously, as abruptly terminating queries can lead to partial data updates or other issues.
## Show PostgreSQL Locks
Long-running queries often cause locks in the database. To view these locks:
```sql
SELECT pid, relation::regclass, mode, granted
FROM pg_locks
JOIN pg_stat_activity ON pg_locks.pid = pg_stat_activity.pid;
```
```
pid | relation | mode | granted
------+--------------+---------------------+---------
1234 | large_table | AccessShareLock | t
```
This output provides details on which tables are locked, the type of lock, and whether the lock was granted.
## Finding Long Queries on a Specific Table
To find long queries specifically affecting a particular table, modify the initial query:
```sql
SELECT pid, now() - pg_stat_activity.query_start AS duration, query
FROM pg_stat_activity
WHERE (now() - pg_stat_activity.query_start) > interval '2 minutes'
AND query LIKE '%your_table_name%';
```
Replace `your_table_name` with the actual table name.
## How to kill a Postgres Query using CLI
Aside from the SQL method mentioned earlier, you can also kill a process via the command line.
```bash
kill -9 [pid]
```
Replace `[pid]` with the actual process ID. This method should be used as a last resort, as it forcefully terminates the process and can lead to data corruption.
A long-running query is sometimes the symptom of something worse, and killing a process can leave you needing to roll back. If you are not certain a recent restorable copy exists, start with the [complete guide to PostgreSQL backup](/learn/postgresql-backup).
---
# How to List Indexes in PostgreSQL and Related Commands
Source: https://simplebackups.com/blog/postgresql-how-to-list-indexes
Published: 2023-11-23
Author: Laurent
Summary: Find out how to list indexes in PostgreSQL together with related commands and SQL queries.
Indexes in PostgreSQL are objects used to improve the speed of accessing data. They are created based on either database columns or partial data.
Their function is to create a pointer to the corresponding row in the appropriate table.
## Show the list of indexes in Postgres using `psql cli`
The most straightforward method to list all indexes (including their names, types and tables) in a PostgreSQL database is using the `\di` command in the **psql command-line interface**.
```sql
\di
```
```
List of relations
Schema | Name | Type | Owner | Table
--------+-----------------+-------+----------+-----------
public | idx_employee_id | index | postgres | employees
public | idx_order_date | index | postgres | orders
(2 rows)
```
## How to list Postgres Indexes using SQL query
For more detailed information on indexes, such as the tables they belong to and their definitions, you can use **SQL queries to list indexes**.
**Listing all indexes:**
```sql
SELECT indexname, tablename, indexdef FROM pg_indexes;
```
```
indexname | tablename | indexdef
---------------+-----------+---------------------------------------------------------------
idx_employee_id | employees | CREATE INDEX idx_employee_id ON public.employees USING btree (id)
idx_order_date | orders | CREATE INDEX idx_order_date ON public.orders USING btree (order_date)
(2 rows)
```
**Filtering indexes by table:**
```sql
SELECT indexname, indexdef FROM pg_indexes WHERE tablename = 'your_table_name';
```
Replace `your_table_name` with the actual table name to list indexes associated with a specific table.
**Listing indexes with their sizes:**
```sql
SELECT indexrelname AS index_name,
relname AS table_name,
pg_size_pretty(pg_relation_size(indexrelid)) AS size
FROM pg_stat_user_indexes
ORDER BY pg_relation_size(indexrelid) DESC;
```
Useful when a database is larger than the data in it. Indexes routinely account for more disk than the tables they serve.
**Finding indexes nothing uses:**
```sql
SELECT indexrelname AS index_name,
relname AS table_name,
idx_scan AS times_used,
pg_size_pretty(pg_relation_size(indexrelid)) AS size
FROM pg_stat_user_indexes
WHERE idx_scan = 0
ORDER BY pg_relation_size(indexrelid) DESC;
```
`idx_scan` counts how often the planner has chosen each index since statistics were last reset. A zero here means the index costs you writes and disk and returns nothing. Check `pg_stat_reset` timing before acting on it, and be careful with indexes backing a unique or primary key constraint, which serve a purpose whether or not they are scanned.
**Listing indexes in one schema:**
```sql
SELECT indexname, tablename FROM pg_indexes WHERE schemaname = 'your_schema';
```
## Related Useful Commands
PostgreSQL also offers several commands related to index management:
**Creating an index in PostgreSQL:**
```sql
CREATE INDEX index_name ON table_name (column_name);
```
**Dropping an index in PostgreSQL:**
```sql
DROP INDEX index_name;
```
**Reindexing a database/table/index in PostgreSQL:**
```sql
REINDEX {DATABASE | TABLE | INDEX} name;
```
Reindexing a large table can run for a long time and locks along the way, so take a dump before you start. The [complete guide to PostgreSQL backup](/learn/postgresql-backup) walks through the fastest way to get one.
---
# How to List Schemas in PostgreSQL and Related Commands
Source: https://simplebackups.com/blog/postgresql-how-to-list-schema
Published: 2023-11-22
Author: Laurent
Summary: Three ways to list schemas in PostgreSQL, with psql, a catalog query and pgAdmin, plus how to read a single table's structure and check schema sizes.
Schema in PostgreSQL is nothing more than a folder in the sense of a standard operating system: it contains tables, views, and other objects typical of databases.
Schemes allow not only to organize data, but also to implement the level of control of individual users to the given schemes.
There are three ways to list them, and which one you want depends on where you are working: `psql` for a quick look, a catalog query when you need to filter or script it, and pgAdmin if you would rather not use a terminal. All three are below.
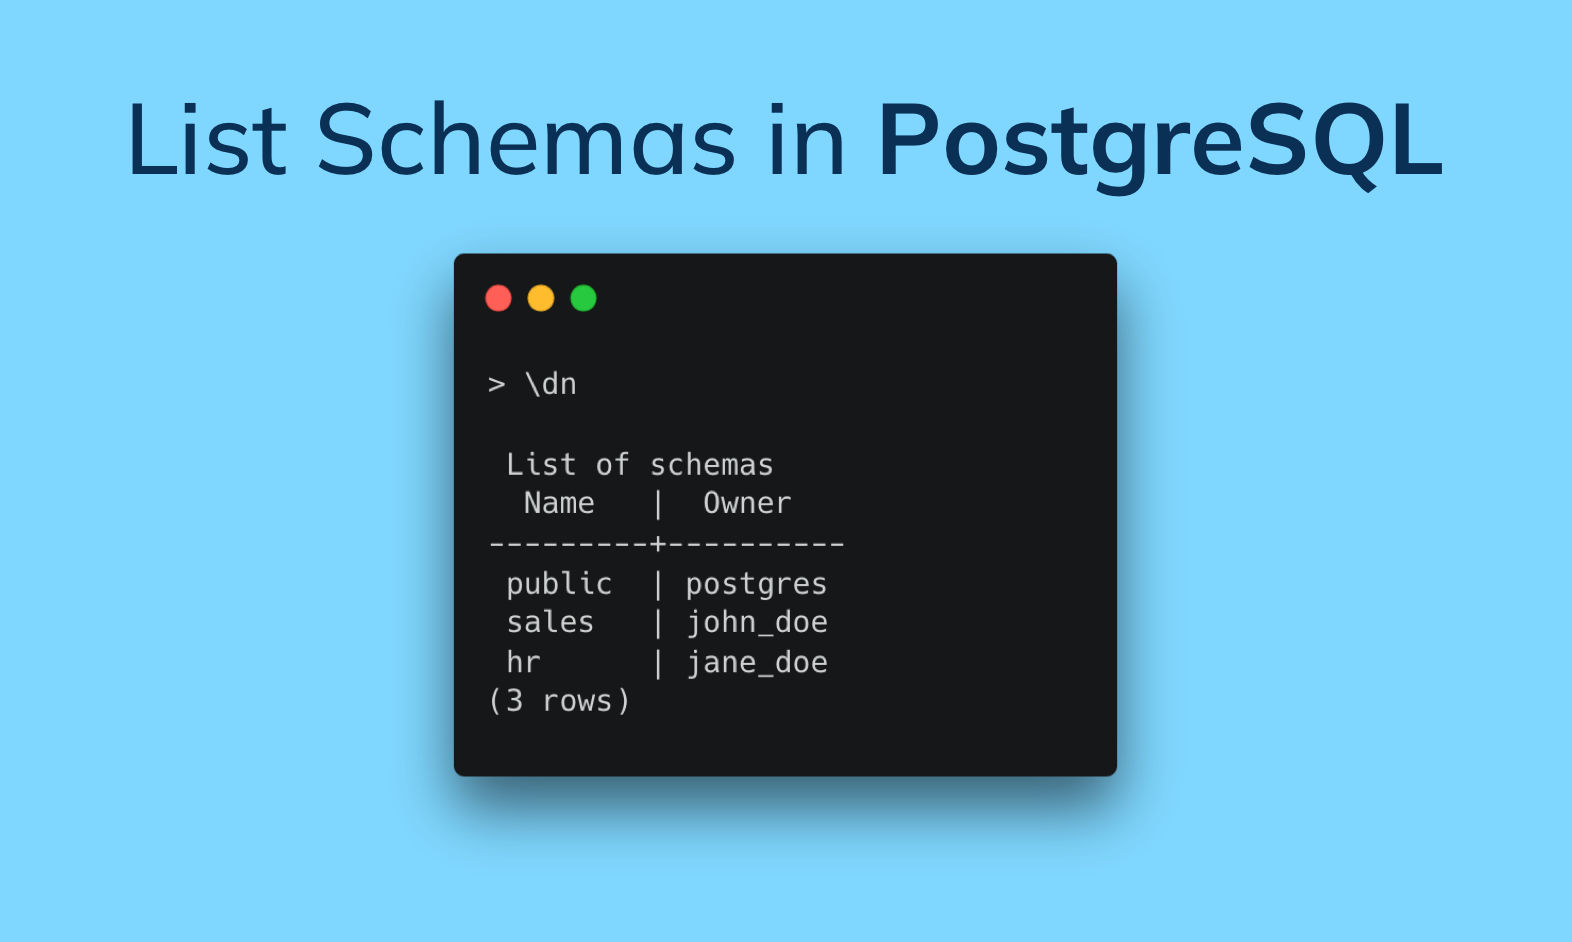
## Primary Method to List Postgres Schemas
The simplest way to list schemas in a PostgreSQL database is through the `\dn` command in the psql command-line interface.
**Code Snippet:**
```sql
\dn
```
This command displays all schemas accessible to the user, providing a straightforward overview of the database's structure.
```
List of schemas
Name | Owner
---------+----------
public | postgres
sales | john_doe
hr | jane_doe
(3 rows)
```
## List PostgreSQL Schemas Using SQL Query
For a more detailed view, you can list schemas using a SQL query on the `pg_catalog.pg_namespace` system catalog.
```sql
SELECT nspname FROM pg_catalog.pg_namespace;
```
An alternative query is:
```sql
select schema_name
from information_schema.schemata;
```
This method lists the schemas and allows for further manipulation and filtering of the output, offering a more in-depth insight into the database’s organization.
**Filtering and Customizing Schema Listings**
To tailor schema listings to specific requirements, such as filtering by user or creation date, SQL queries can be modified accordingly.
```sql
SELECT nspname FROM pg_catalog.pg_namespace WHERE nspowner = (SELECT oid FROM pg_roles WHERE rolname = 'username');
```
This query, for example, lists schemas owned by a specific user.
## List PostgreSQL Schemas in pgAdmin
If you would rather not use a terminal, pgAdmin lists schemas in its browser tree. Expand **Servers**, then your server, then **Databases**, then the database you want, then **Schemas**. Every schema in that database appears as a node, and expanding one shows its tables, views, functions and sequences.
Two things are worth knowing. The tree hides system schemas such as `pg_catalog` and `pg_toast` unless you turn them on under **File**, then **Preferences**, then **Browser**, then **Display**. And the tree is scoped to one database at a time, exactly like `\dn`, so switching databases means expanding a different node.
For anything you want to filter or reuse, open the **Query Tool** and run the catalog query above instead.
## How to see a single table's schema
Listing schemas and reading a table's structure are different jobs, and the second is what most people actually want when they say "check the schema" of something.
In `psql`:
```sql
\d table_name
```
That returns the columns, their types, defaults, indexes and constraints. Use `\d+ table_name` to add storage settings and column comments.
From SQL, which works in any client:
```sql
SELECT column_name, data_type, is_nullable, column_default
FROM information_schema.columns
WHERE table_name = 'your_table'
ORDER BY ordinal_position;
```
Add `AND table_schema = 'your_schema'` when the same table name exists in more than one schema, which is common once you use schemas seriously.
## How to check schema sizes
Useful before a migration, and the fastest way to find what is actually filling a database:
```sql
SELECT nspname AS schema,
pg_size_pretty(sum(pg_total_relation_size(c.oid))) AS size
FROM pg_class c
JOIN pg_namespace n ON n.oid = c.relnamespace
WHERE c.relkind IN ('r', 'm')
GROUP BY nspname
ORDER BY sum(pg_total_relation_size(c.oid)) DESC;
```
`pg_total_relation_size` counts the table, its indexes and its TOAST data, so the numbers match what the disk actually holds. For a per-table breakdown, see [how to analyze PostgreSQL table size](/blog/how-to-analyze-postgresql-table-size).
## Related Useful PostgreSQL Commands and Queries
Below you will also find the most commonly used and valuable commands.
**How to view the details of a specific schema in PostgreSQL**
```sql
\dn+ schema_name
```
**How to list tables within a schema in PostgreSQL**
```sql
\dt schema_name.*
```
**How to create a new schema in PostgreSQL**
```sql
CREATE SCHEMA new_schema_name;
```
**How to drop a schema in PostgreSQL**
```sql
DROP SCHEMA schema_name;
```
## FAQ
Dropping a schema is not reversible, so it is worth knowing you have a recent dump before you run it. Our [complete guide to PostgreSQL backup](/learn/postgresql-backup) covers how to take one and, more importantly, how to check it restores.
---
# Understanding Postgres Roles & Privileges
Source: https://simplebackups.com/blog/postgresql-role-and-privileges
Published: 2023-11-21
Author: Laurent
Summary: How PostgreSQL roles differ from users, how to grant and revoke privileges, and how inheritance decides what each role can actually do.
One of the main features of PostgreSQL is an access control system that allows administrators to assign roles and permissions.
In this article, we will discover what this actually means and explain step by step how these privileges and roles are created, assigned, revoked and how their hierarchy is related.
## Understanding PostgreSQL Roles
Roles reflect who has access to database resources and to what extent. This makes it possible to separate different types of users, e.g. administrators, managers, employees, and control their interactions with data.
This results in the actual possibility of granting access to only those resources that an employee needs for work.
There are two types of roles:
**🙋 User Roles:** These roles represent individual users and their access privileges. User roles can log in and perform actions within the database.
**👥 Group Roles:** Also known as "roles," group roles are collections of user roles or other group roles. To simplify, let's assume that group roles are folders that store different user roles (files) or other group roles (different folders).
### Creating Roles
Use the `CREATE ROLE` statement. For example:
```sql
CREATE ROLE my_user LOGIN PASSWORD 'my_password';
```
This will create a user role named "my_user" with a password. The `LOGIN` keyword allows the role to log in.
### Assigning Privileges
Roles can be granted various privileges to interact with database objects. Privileges include among others `SELECT`, `INSERT`, `UPDATE`, `DELETE`, and many others. You can grant privileges using the `GRANT` statement. For instance:
```sql
GRANT SELECT, INSERT ON my_table TO my_user;
```
This grants the "my_user" role the ability to perform `SELECT` and `INSERT` operations on "my_table."
### Role Hierarchy
PostgreSQL allows you to define role hierarchies, where one role can inherit privileges from another. This simplifies the management of permissions and roles. For example:
```sql
CREATE ROLE manager;
CREATE ROLE employee;
GRANT manager TO employee;
```
In this scenario, the "employee" role inherits the privileges of the "manager" role.
## Controlling Access with Privileges
PostgreSQL provides several privilege levels, including:
1. **Database-level Privileges:** These privileges apply to the entire database.
2. **Schema-level Privileges:** Privileges can be granted at the schema level, allowing fine-grained control over specific schemas within a database.
3. **Table-level Privileges:** For even more granularity, you can grant privileges at the table level, specifying which actions are allowed on individual tables.
### Revoking Privileges
To remove privileges, you can use the `REVOKE` statement. For example:
```sql
REVOKE SELECT ON my_table FROM my_user;
```
This revokes the `SELECT` privilege from the "my_user" role on the "my_table."
### Using the `DEFAULT` Privilege
You can also set default privileges for a role using the `ALTER ROLE` statement. Default privileges define what privileges are granted automatically when new objects are created within the schema.
- - -
## Security Best Practices
* ### Principle of The Least Privilege
Grant the minimum necessary privileges to each role to reduce the potential for security breaches.
* ### Regularly Review and Update Privileges
Regularly review and update role privileges to align with changing business needs and user roles
* ### Audit and Monitoring
PostgreSQL provides tools for auditing and monitoring, such as logging and third-party extensions, to keep track of role activities and changes in access control.
- - -
## Frequently Asked Questions
### Fixing role "postgres" does not exist
To check for the existence of this role, execute the following command within the PostgreSQL interactive shell using `\du`:
```
\du
```
The relevant line appears as follows:
```
Role name | Attributes | Member of
-----------+-----------------------------------+-----------
postgres | Superuser, Create role, Create DB | {}
```
* Ensure that you have at least one role with superuser privileges; otherwise, you may encounter issues.
* If such a role exists, you can use it to log in.
* To verify permissions, examine the output of the `\l` command, which should match those of the superuser `postgres` on my Ubuntu system.
* If your setup uses the user as the superuser, you can attempt to log in using this command:
```
sudo -u user psql user
```
If `user` is indeed the database superuser, you can create another DB superuser and a private, empty database for them using the following commands:
```
CREATE USER postgres SUPERUSER;
CREATE DATABASE postgres WITH OWNER postgres;
```
### Grant All Privileges in PostgreSQL
To grant all privileges on all tables in a specific schema to a user in PostgreSQL, you can use the `GRANT` command with the `ALL PRIVILEGES` keyword. Here's the SQL command to grant all privileges on all tables in a schema:
```sql
GRANT ALL PRIVILEGES ON ALL TABLES IN SCHEMA your_schema TO your_user;
```
Let's brake this command down into parts:
* `GRANT`: This keyword indicates that you are granting privileges.
* `ALL PRIVILEGES`: This specifies that you want to grant all available privileges, including SELECT, INSERT, UPDATE, DELETE, TRUNCATE, REFERENCES, TRIGGER, and others.
* `ON ALL TABLES`: This part of the command indicates that the privileges should apply to all tables in the specified schema.
* `IN SCHEMA your_schema`: Replace `'your_schema'` with the name of the schema where you want to grant the privileges.
* `TO your_user`: Replace `'your_user'` with the name of the user or role to whom you want to grant these privileges.
Remember to be cautious when granting such extensive privileges, and ensure you trust the user or "role" receiving them.
- - -
## Conclusion
PostgreSQL allows you to manage access control in the database. By defining roles, granting and revoking privileges, and following security best practices, you can ensure that your database is safe and users have the appropriate level of access to do their jobs.
Worth knowing: roles live outside any single database, so `pg_dump` does not include them and a restore can come back with no users at all. The [complete guide to PostgreSQL backup](/learn/postgresql-backup) covers `pg_dumpall` and the globals that plain `pg_dump` leaves behind.
---
# How to check PostgreSQL version
Source: https://simplebackups.com/blog/check-postgresql-version
Published: 2023-11-21
Author: Laurent
Summary: Check your PostgreSQL version on Linux, macOS, Windows or in pgAdmin, with the commands for each and what to do when psql is not on your PATH.
Have you ever had compatibility problems with specific features in a PostgreSQL database? The first thing in such cases is to check what version you are running on.
This guide covers every way to do it: `pg_config`, a server query, the `psql` shell, Windows, Linux and pgAdmin. Start with whichever matches your setup.
## `pg_config` Command
The first option is to check the database version using the `pg_config` command.
→ Open your terminal and run the following command:
```bash
pg_config --version
```
As a result, you will see the version of PostgreSQL installed on your system.
- - -
## Server Query
The second way to check the database version is to query the server.
→ Open your terminal and access the PostgreSQL database using the `psql` command-line tool:
```bash
psql
```
→ Once you're in the PostgreSQL interactive shell, run the following SQL query:
```sql
SELECT version();
```
This query will return detailed version information about your PostgreSQL installation.
- - -
## Direct use of `psql` interactive shell
If, for some reason, you don't want or can't use the previous two options, there is still a third way: checking directly within the `psql` interactive shell.
This method is especially handy when you are already working with the database and want to verify its version quickly.
→ Open your terminal and access the PostgreSQL database using the `psql` command-line tool:
```bash
psql -U your_username -d your_database_name
```
Replace `your_username` with your PostgreSQL username and `your_database_name` with the name of the database you want to connect to.
→ Once you are in the `psql` interactive shell, run the following SQL query:
```sql
SELECT version();
```
Typing or copy-pasting this query into the `psql` prompt and pressing Enter will display detailed information about your PostgreSQL installation, including the version number.
- - -
## Check the PostgreSQL version on Windows
The commands above assume a Unix shell. On Windows the binaries are not on your `PATH` by default, which is why `psql --version` often returns "not recognized".
**Command Prompt (cmd):**
```bat
"C:\Program Files\PostgreSQL\16\bin\psql" --version
```
Change `16` to your installed major version. If you are not sure which folders exist, run `dir "C:\Program Files\PostgreSQL"`.
**PowerShell:**
```powershell
& 'C:\Program Files\PostgreSQL\16\bin\psql.exe' --version
```
PowerShell needs the call operator `&` in front of a quoted path, otherwise it treats the string as text and prints it back at you.
To use `psql` from any directory, add the `bin` folder to your `PATH` once:
```powershell
$env:Path += ';C:\Program Files\PostgreSQL\16\bin'
```
That lasts for the current session. To make it permanent, add the same folder through System Properties, then Environment Variables.
- - -
## Check the PostgreSQL version on Linux
On Debian and Ubuntu the client and the server can be different versions, and the one that matters depends on what you are debugging:
```bash
psql --version # the client you are typing into
postgres -V # the server binary
sudo -u postgres psql -c 'SHOW server_version;' # the running server
```
If `postgres -V` reports "command not found", the binary lives under a versioned path rather than on your `PATH`:
```bash
ls /usr/lib/postgresql/ # lists the installed major versions
/usr/lib/postgresql/16/bin/postgres -V
```
On RHEL, CentOS and Fedora the equivalent path is `/usr/pgsql-16/bin/`.
To confirm the package the distribution installed, rather than the binary:
```bash
dpkg -l | grep postgresql # Debian, Ubuntu
rpm -qa | grep postgresql # RHEL, CentOS, Fedora
```
- - -
## Check the PostgreSQL version in pgAdmin
pgAdmin shows the server version without any command line. Connect to the server, select it in the browser tree on the left, and open the **Properties** tab. The version appears in the **Version** field.
For the exact string, open the **Query Tool** on any database and run:
```sql
SELECT version();
```
That reports the **server** version. pgAdmin's own version is separate and lives under **Help**, then **About**.
- - -
## FAQ
The version matters for more than compatibility: restoring a dump into an older major version usually fails, so check both ends before you migrate. The [complete guide to PostgreSQL backup](/learn/postgresql-backup) covers which direction is safe.
---
# The Latest Trends in Database Backup and Recovery Solutions
Source: https://simplebackups.com/blog/trends-in-database-backup-and-recovery-solutions
Published: 2023-11-17
Author: Laurent
Summary: Discover the latest trends in database backup and recovery solutions, ensuring the safety and reliability of your valuable data.
Data is the lifeblood of your business. It helps you know your customers, find new ones, keep your operations smooth, and show whether your actions are profitable.
You should keep your data secure and accurate to maintain business operations without disruption and error. This reliability will increase your customers’ trust and loyalty to your product.
Yet, data sources continue to get more complex, diverse, and higher volume every day. So, new challenges and opportunities appear for [data backup strategies](https://simplebackups.com/blog/database-backup-best-practices/).
This article will examine new database technology with database trends and applications. It will delve into how to overcome challenges while using the opportunities.
## Integration of Artificial Intelligence and Machine Learning (AI/ML)
One of the new database technologies is the integration of artificial intelligence (AI) and machine learning (ML) capabilities into data backup and recovery solutions.
By utilizing AI-powered backup and recovery, you can experience an enhanced automation process. You can save time and resources ensuring your data backup is regular. It also minimizes the risk of human errors.
With empowering AI to improve your database technology performance, you will have the advantage of an optimized [data backup and recovery](https://simplebackups.com/blog/4-most-powerful-mongodb-backup-tools-ultimate-comparison-2023/) performance. Harnessing an AI-driven approach can enhance your database performance by:
* Maximizing the efficiency of your storage space
* Speeding up the backup process
* Optimizing the efficiency of resource usage during the process.
**Here is how:**
AI-powered backup can perform data deduplication and compression. It means AI can identify and eliminate duplicate data and compress it to save storage space, so you can spend less for a smoother data backup process with efficient storage spacing.
AI-powered backup and recovery solutions can also boost the security of your database. It shows when and where your data might be at risk by:
* Evaluating your historical patterns
* Keeping track of data access and user behavior
* Extracting valuable insights to pinpoint irregularities
Lastly, AI assists you in updating policies, schedules, and resources. You can craft instructions based on the latest changes and let AI structure new policies for your organization. This way, your data backup and [DB recovery solutions](https://simplebackups.com/blog/top-16-server-backup-solutions-2023-updated-list/) consistently align with the criteria you must meet.
To achieve this, it uses a combination of:
* Collecting and monitoring the historical data patterns
* Machine learning to understand the typical behavior of the data environment
* Intelligent decision-making for resource allocation and scaling
* Reporting and giving feedback to you
## Advancements in Cloud Computing Technologies
Another database trend and application is cloud computing technology. Thanks to “clouds” that are big, invisible online storage place, you can access business data fast and wherever you are in the world while keeping it secure and accurate.
The transformation of cloud computing technologies has discovered services such as hybrid and multi-cloud backup and recovery. They have changed the overall approach to safeguarding data.
### Multi-Cloud Backup and DB Recovery
Using more than one cloud to store your data is one of the rising database technologies. You may also prefer buying these cloud services from different vendors.
It backs up your data in multiple cloud services and stores them on another failover cloud. When your cloud experiences a disaster, you can still recover your data from these alternative clouds.
Multi-cloud computing technology maximizes data scalability, flexibility, performance improvement, and cost efficiency. You can store and access your data – whenever, wherever you want during a crisis, thanks to failover alternative clouds.
Before you utilize this trend, you should identify the requirements of specifying the cruciality of data, the data backup frequency, and the speed of retrieving and recovering data.
A multi-cloud [backup and DB recovery](https://simplebackups.com/blog/saas-backups-the-ultimate-guide/) environment is one of the most expensive database trends. You should use it only if it is the most effective solution based on your needs.
Also, you should still carefully consider factors such as:
* **Data sovereignty**: Your obligation to store and process data in compliance with data protection and privacy regulations.
* **Bandwidth**: How much data (in megabits) you can transmit over a network in a given time.
* **Latency**: A delay or lag during the data transfer. A low-latency network is important for your database’s real time performance.
* **Potential vendor lock-in**: A situation in which you may become so dependent on your vendor’s service that it is difficult and expensive to change it.
### Hybrid Cloud Backups and Recovery
Similar to multi-cloud backup solutions, hybrid clouds offer extra flexibility and control. It backs up your data to an on-premise device and replicates the backup to cloud servers.
This way, your data will be accessible with minimal waiting time and maximized storage scalability. You can recover data faster without the need for Internet access.
Hybrid cloud backups also allow for saving older on-site backups. You can recover them with a hybrid cloud in case your on-premise resources fail.
Lastly, hybrid cloud backup and recovery solutions can help you save expenses. You can transfer the older backups into the cloud and reduce the need for on-premises resources.
## Blockchain for Data Integrity and Recovery
Blockchain technology has found applications in various sectors and has become one of the trends in database management technologies. That is ensuring data integrity and streamlining the recovery process of your database.
You can think of blockchain as a digital diary. It holds a permanent record of your data. Everyone can see it, and no one can change it. This is what makes blockchain technology for database management unique.
Therefore, it creates trust by ensuring honesty and transparency during the data transfer.
It uses cryptography encryption that safeguards your data from cyberattacks, fraud and manipulation, and data breaches. So, it prevents intruders from erasing or corrupting any data you store within blockchain technology.
This feature of blockchain technology differs from alternative methods using cryptography encryptions in several ways:
* **Decentralization and Immutability**: Blockchain stores data across a network of computers, making it quite difficult to attack. Yet, traditional encrypted databases store data in one central location that may be vulnerable to attacks.
* **Transparency**: All participants in a blockchain network can see and verify the data. Traditional databases may rely on trust in a single administrator.
* **Consensus Mechanisms**: Blockchain technology uses consensus mechanisms like Proof of Work (PoW) to ensure the data’s legitimacy before adding it to the blockchain. Yet, traditional encrypted databases may rely on access control.
Thanks to the methods above blockchain use, if an alteration or unauthorized access occurs in your database, blockchain technology will detect the anomaly immediately and reject the unauthorized activity. This way, you can ensure data integrity in real time.
Also, you can access a transparent and efficient historical record of your data activities within blockchain backup. It enables you to leverage blockchain technology to simplify the data recovery process.
You can use the historical record to detect corrupted data in a short period. This will reduce downtime and minimize the risk of stopping business operations.
Another advantage of blockchain technology for db recovery is the decentralization of the data. It backs up your data not in a single cloud but distributes it across a network of nodes.
It makes your data more resilient against data failures, losses, corruption, breaches, and natural disasters. In case you have experienced one of these crisis situations, you will still be able to access your data with minimal downtime.
Lastly, blockchain technology can automate your data recovery process with smart contracts. It means you can predefine conditions that need to trigger specific recovery actions.
This automation feature will speed up DB recovery and minimize the need for manual intervention in the process. Therefore, you enhance the integrity, simplicity, and speed of your data backup and recovery process with this new database technology.
## The Rise of Database as a Service (DBaaS) and Backup as a Service (BaaS)
DBaaS is another example of the latest database trends and applications. It offers database functionality as an outsourced service.
You give the primary responsibility to manage and maintain your database to a cloud service provider.
**Database as a Service** has gained popularity thanks to its offerings, such as
* Access and interaction with remote databases
* Cost-saving benefits
* Simplified data management and maintenance
* Enhanced flexibility and scalability
* Accelerated business performance
You do not need physical access to your database with DBaaS and BaaS. You can set up, operate, and scale your database without installing software, either.
You can focus on your core operations while outsourcing data management with these services. Your service provider will perform your data management and maintenance. Yet, you can determine your provider’s level of control.
Besides, [**Backup as a Service**](https://simplebackups.com/blog/backup-as-a-service-how-it-works-benefits-and-challenges/) offers a method of backup your data in a safe online place. Your BaaS provider regularly stores your data in a secure online storage space through a network connection.
Instead of on-premises devices, BaaS can connect your systems to a private, public, or hybrid cloud.
This way, you can ensure convenience with an [automated backup process](https://simplebackups.com/blog/how-to-automate-backups-in-4-simple-steps/) with minimal need for your manual effort.
BaaS also comes to the forefront with its affordability feature. It is cheaper than buying hardware or software for backup and recovery solutions.
BaaS saves your data’s multiple copies in different clouds. This makes the DB recovery easy and secure. So, even if one of your clouds faces an attack, you can still access your data in another cloud with BaaS.
## Conclusion
It is essential to underline the importance of safeguarding data for your business. Database backups are the backbone of your data’s availability, continuity, integrity, and security.
Yet, in the information age, the data sources grow more complex, which needs new database technology to tackle the challenges.
We have piled these database trends as Artificial Intelligence (AI) and Machine Learning (ML), advancements in cloud computing technologies, blockchain technology, Database as a Service, and Backup as a Service.
The common features (the levels of efficiency depend on the technology) of these database trends and applications are:
* Streamlining the automation process
* Optimizing data backup and recovery performance
* Offering cost-effective solutions
* Decentralizing data to ensure resilience
* Reduce downtime during recovery
* Maximize flexibility and scalability
Remember to leverage these database technologies to empower your business to navigate complex challenges of evolving data management.
We invite you to sign up for a [free SimpleBackups trial](https://simplebackups.com/) for up-to-date database trends, detailed and accurate information about backup and recovery solutions, and more.
---
# Understanding RTO and RPO in Backup Strategies
Source: https://simplebackups.com/blog/understanding-rto-and-rpo-in-backup-strategies
Published: 2023-11-17
Author: Laurent
Summary: Explore the comprehensive information to understand the significance of RTO and RPO in backup strategies.
Within the data privacy and security sector, the terms **Recovery Time Objective (RTO)** and **Recovery Point Objective (RPO)** get thrown around quite a bit.
In a nutshell, these are objectives each organization sets to ensure the rapid recovery of business processes after a data loss incident such as a cyberattack, user error, virus, hardware malfunction, and other unforeseen events.
But what do these parameters mean exactly? Why should you care about them?
In this article, we’ll look closer at the RTO and the RPO and what they mean for data security and recovery.
## Defining RTO and RPO in Backup Strategies
First, let’s take a closer look at what these terms mean.
**The Recovery Time Objective (RTO)** is how fast you restore a business process after a disaster or an unforseen event.
**The Recovery Point Objective (RPO)**, on the other hand, refers to how much data that can safely be lost during a disaster, expressed in time units. A day’s worth of data, for example, could be one organization’s RPo, while another might strive for two hours.
## Differentiating between RTO and RPO
Let’s start by considering what it would mean for an organization to have an RTO of six hours. This would mean that if the organization’s network were infected with a virus, it would need to be back up and running within six hours before you suffer significant losses.
If the organization has an RPO of six hours, on the other hand, that would mean that the business is equipped to handle the loss of six hours’ worth of data.
In other words, these terms refer to different aspects of the recovery loss. The RTO would be how much time it would take to start back up, and the RPO would refer to how much was lost.
Both the RTO and the RPO depend heavily on the size and type of the company and how fast data accumulates.
## Assessing your business’ needs for RTO and RPO
It’s crucial to assess your business’ needs for RTO and RPO.
First, it can help you to tailor your backup solution, so that you are allocating all of your resources in the most efficient way possible.
Second, it ensures you have a clear understanding of what your customers can expect from you. During an incident, it’s great to be able to tell your customer the worst-case scenario of how long it’ll take before service is restored.
Here are some questions to ask when assessing your organization’s needs for RPO and RTO:
**💰 Costs –** How much does being offline cost your business per hour? How much time can you afford? What will data loss do to your bottom line?
**🏅 Compliance –** Are there any relevant laws regarding the speed of data recovery? Are there any industry standards that must be considered?
**⏱️ Testing –** Is it feasible, during both routine and random tests of your data recovery system, to meet your RTO and RPO?
**📈 Data Usage –** If you settle on a shorter RPO, then your organization will require a lot more data storage as it will be continuously backing itself up. A longer RPO, on the other hand, could cause the loss of large amounts of data. How can you find the middle ground?
## Implementing RTO and RPO in Backup Strategies
### Step 1 – Conduct a thorough risk assessment
Take a closer look at your organization’s data and business processes.
Start by creating a spreadsheet which lists all of your organizations assets in a single column. In another column, list each potential threat which could arise from a data failure.
It can be difficult to catch all potential threats, so ask yourself the following about each:
* What would happen in the case of a software or hardware failure?
* Is this asset susceptible to cyberattacks, viruses, and malware?
* Is your data and technology be safe from natural disasters?
* Could a human error or negligence affect this asset?
* What industry, local, state, and federal standards and regulations are applicable?
Be sure to involve more than just yourself in this process. Members of your IT department, employees who routinely access critical data, and others in senior roles, all may have insights into risks you may not have considered.
### Step 2 – Identify critical data and processes
After you’ve developed a strong sense of your data and patterns of usage (and lapses), you must identify and prioritize the most critical data. This is the data that would be backed up first and, following a data loss, restored first.
Understanding your critical data will help you determine what the maximum amount of downtime you could experience without it suffering a blow to your business.
To determine if a piece of data is critical, ask yourself the following:
* ❓ **Is it key** to your mission? Revisit any mission statements, vision statements, and/or business plans to determine whether the data is required to meet your business objectives.
* ❓ **Is it confidentia**l? Imagine a piece of data were made available to the general public. If it could damage the company in any way, then it’s definitely critical.
* ❓ **Is it lega**l? State, federal, and international regulations often protect certain types of data, such as customer information. Mark any sensitive information to prevent a lapse in compliance.
* ❓ **Is it used frequently**? Some data are necessary for daily business operations, so it’s important to consider your usage patterns.
### Step 3 – Articulate RTO, RPO, and data recovery strategy
In this step, take a moment to articulate your needs, paying particular attention to the RTO and RPO. State both objectives as clearly as possible using time units such as hours.
Some organizations choose to store their data on separate systems, so that they can have separate RTOs and RPOs for different types of data and processes.
**It might be best to illustrate this with an example.**
Let’s consider a deli shop in New York City.
Their data would include the following types: employee data, financial records, inventory, information on vendors and suppliers, training documents, recipes, and website information.
This business would not need to worry about customer/client data because it does not collect any customer information. It also wouldn’t have to worry about records related to health, education, government, and many other types of records that have serious compliance requirements.
This business would consider the employee data, financial records, and website information as the critical data.
They’d likely set an RTO of thirty minutes. Every minute that passes where they don’t have access to financial transactions would affect their daily profits.
They’d have a little more flexibility on the RPO, setting it at perhaps several hours. Delis do not often rely on accessing computer information in order to provide services.
This company would likely opt for a daily full backup and incremental backups every half hour. This would allow for all types of their data to be protected.
### Step 4 – Acquire backup and recovery technologies
**➡️ Time to develop your data recovery strategy.**
You have three main options here:
* 👎 Invest in software and hardware yourself
* ✅ Use a cloud-based, third-party data security service
* 💰 Hire a firm to consult with your business
There are pros and cons to all of these options. On the one hand, investing in hardware is huge, upfront cost. Also, most hardware has a lifespan as short as four years, meaning you may have to make replacements.
But what if your business grows? You may find yourself needing to buy more expensive software and hardware with greater processing and storage capabilities.
On the other hand, there is no monthly cost. This may be a wise choice for a small business just getting off the ground.
A third-party backup service will cover most of your needs for a monthly service fee. This means you can simply connect with a representative online, explain your needs, and obtain a package that suits you. These expenses may add up, but will likely be worth it in the long run.
Lastly, an external data security firm will likely offer you the most customization and the most stable strategy for protecting your data. This option comes with a hefty price tag and a loss of independence, but may be worth it for those handling extremely sensitive data such as medical or educational records.
### Step 5 – Communicate and document
After you’ve developed your data recovery strategy either in consultation with a third party or by investing in the backup and recovery technologies yourself, it’s important to communicate and document this plan.
This likely means creating a physical document, your disaster recovery plan. Having this document accessible to multiple users will aid preparedness and lessen the likelihood of user error, which can cause delays in restoring your data.
### Step 6 – Monitor and Revisit
Lastly, the system must be monitored and tested regularly to ensure it operates correctly. Should your data and business processes change or expand in any way, you may need to update your RTO and RPO to ensure you are prepared.
### An example
Let’s consider a growing internet marketing firm which specializes in accessing and displaying real-time analytics of advertising campaigns.
This firm would likely set a very low RTO: two hours. More than two hours of downtime would cause their analytics to become inaccurate and deliver a blow to their business.
Because they know their RTO, in the event of a data breach, they immediately send out an email to their client list which states that the system is restarting and will be available in less than two hours.
Similarly, they might set a very tight RPO of four hours, as data that is more than a few hours old may no longer be useful.
So, in order to meet their needs, they should develop a backup strategy which involves taking a total snapshot of all data every four hours. This procedure is automated using a third-party service to eliminate the need to be onsite to actually conduct the backups and to lessen opportunities for human error.
Additionally, administrators plan to conduct monthly safety drills which can expose weaknesses and unforeseen incidents.
## Measuring the Effectiveness of Your Backup Strategies
1. **📝 Collect Data on your Key Performance Indicators (KPIs)**
Whenever you have any data loss event, cyberattack, or other unforeseen event, document the actual amount of time it took to restore your system. This number is called the Recovery Time Actual (RTA). This can be used to help you adjust and recalibrate your data recovery strategy and objectives.
If the RTA exceeds your RTO, then it’s important to return to the steps above and recalibrate your data recovery strategy. If the RTA is less than the RTO, you can consider this a sign that your data strategy is working.
2. **⏱️ Test and monitor your backup processes**
Consider regularly taking note of your overall storage utilization and whether your backup schedule continues to align with your RPO.
In other words, if you have more data than you had when you developed your RPO, it may no longer be a feasible objective.
Many organizations take advantage of tools designed by third parties that monitor the effectiveness of backup processes in real-time.
3. **🗓️ Evaluate your hardware and infrastructure**
Technology does not last forever. You’ll need to replace hard drives regularly to ensure their proper operation. Some drives will expire in as little as 4-7 years.
An alternative would be to opt for cloud-based storage solutions. The company SimpleBackups, for example, offers services customizable for companies of all sizes.
4. **🥇 Measure Impact on Business**
Lastly, take stock of your backup strategies and processes and consider how they are affecting your business. Do any processes prevent or interfere with normal business operations? Are there any expenses adding up and taking away from your bottom line?
## Conclusion
As you’ve read above, developing a realistic, specific RTO and RPO is essential to any organization’s data recovery strategy.
Consider [consulting with a professional data recovery specialist](https://simplebackups.com/contact-us/) today.
---
# MongoDB vs MySQL: A Comprehensive Comparison
Source: https://simplebackups.com/blog/mongodb-vs-mysql-a-comprehensive-comparision
Published: 2023-11-16
Author: Nour
Summary: MySQL and PostgreSQL are popular database systems. how do they defer on performance, features, scalability, security, and more.
When it comes to choosing a database management system (DBMS), the decision can be challenging due to the wide variety of options available. Two popular choices are MongoDB and MySQL. This article will provide a comparative analysis of these two DBMSs, focusing on their key differences and use cases.
## Overview
**MongoDB** and **MySQL** are two fundamentally different DBMs.
🍃 **MongoDB** is a cross-platform NoSQL database management system, often styled as a non-relational system. It represents data as a series of documents that are **JSON-like** (stored as binary JSON, or BSON), as opposed to the table and row format of traditional relational RDBMs, and uses MongoDB Query language (**MQL**) for querying data.
🐬 **MySQL** on the other hand is a popular, free, open-source relational database management system (RDBMs) developed by **Oracle**, As the case with other RDBMs, MySQL stores data using **tables** and **rows**, enforces referential integrity, and uses structured query language (**SQL**) for data access.
## Data Storage
🍃 **MongoDB** stores data records, specifically BSON documents in “collections”, which are groupings of documents and are equivalent to tables in RDBMs. Collections are Schema-less in nature, they do not enforce a schema. This means that documents within a collection can have different fields.
🐬 **MySQL** stores related data in any number of separate tables. Querying and correlating data from those tables is facilitated by `JOIN` operations, which enable the creation of temporary tables and row sets using data from multiple tables.
## Querying
🍃 **MongoDB** queries are based on Javascript, and are represented as a JSON-like structure, which might require more careful reading and understanding. It’s not as rich as SQL and has a few limitations such as a lack of `JOIN` operations.
🐬 **MySQL** structured query language is a standard for relational databases, it uses a more traditional query structure with `SELECT`,`FROM`, and `WHERE` clauses. **SQL** can perform advanced functions like filters, merge, joins, and aggregation. It’s often considered more readable and easier to use, especially for complex queries.
## Performance
🍃 **MongoDB** is a NoSQL database that is able to handle large amounts of **unstructured data** faster than MySQL.
🐬 **MySQL** is a RDBMs based on SQL. It offers full-text indexes which gives MySQL a performances boost, a high-speed transactional system, and memory caches.
The performance can vary greatly depending on the specific use case, data volume, and system configuration.
## Transaction Model
A transaction model in database systems is a set of rules and protocols that govern how transactions are executed and managed. It serves to ensure date consistency and integrity during concurrent access and failures.
🍃 **MongoDB** uses the **BASE** model, which stands for:
- **Basically Available**: BaSE-modelled NoSQL databases ensure the availability of data by spreading and replicating it across the nodes of the cluster.
- **Soft State:** Data values may change over time, due to the lack of immediate consistency.
- **Eventual Consistency:** The system becomes consistent over time, if the system doesn’t receive input during that time.
🐬 **MySQL** on the other hand, uses the **ACID** model:
- **Atomicity**: A transaction must be treated as an atomic unit, either all of it’s operations are executed or none. There must be no state that is left partially completed.
- **Consistency**: The database must remain in a consistent state after any transaction. No transaction should have any adverse effect on the data residing in the database. If the database was in a consistent state before the execution of a transaction, then it must remain consistent after the execution.
- **Isolation**: When more than one transaction is being executed simultaneously and in parallel, each one of the transactions is going to be administered and executed as if it’s the only transaction.
- **Durability:** The database should be durable enough to hold all of it’s latest updates even if the system fails or restarts.
The choice between ACID and BASE depends on the specific requirements of your system. ACID provides a high level of consistency and is suitable for systems where data accuracy is critical, such as financial systems. On the other hand, BASE provides high availability and is suitable for systems where the ability to quickly store and retrieve large amounts of data is more important than immediate consistency, such as social media platforms.
## Security
Both **MongoDB and MySQL** have security features, but they approach it in different ways.
🍃 **MongoDB** leverages the popular role-based access control model with a flexible set of permissions. Users are assigned to a role, and that role grants them specific permissions over datasets and operations.
🐬 **MySQL** is considered significantly more secure due to its comparatively rigid structures. However, MySQL databases are vulnerable to SQL injection attacks, which are common and quite effective.
It’s important to note that the security of a database also heavily depends on how it’s configured and managed. Proper configuration, regular updates, and following best practices for security can greatly enhance the security of both MongoDB and MySQL.
## Conclusion
When it comes to choosing between MongoDB and MySQL, it ultimately depends on the specific needs and requirements of your project. If you are working with unstructured data and require high scalability and flexibility, MongoDB may be the better choice. On the other hand, if you are working with structured data and require strong data consistency and integrity, MySQL may be the more suitable option. It’s also important to note that many enterprises use them side by side. It is important to carefully evaluate the features, performance, and security of both databases before making a decision.
## Frequently Asked Questions (FAQ)
**What are some popular use cases for MongoDB?**
MongoDB is commonly used in applications that require flexible and scalable data storage, such as content management systems, real-time analytics, and social media platforms.
**What are some popular use cases for MySQL?**
MySQL is often used in applications that require structured data storage and strong data consistency, such as e-commerce websites, financial systems, and enterprise resource planning (ERP) systems.
**Can MongoDB and MySQL be used together in the same project?**
Yes, it is possible to use MongoDB and MySQL together in a project. This is known as a polyglot persistence approach, where different databases are used for different parts of the application based on their specific requirements.
---
# 5 Best MySQL GUI Tools in 2024
Source: https://simplebackups.com/blog/5-best-mysql-GUI-tools-in-2023
Published: 2023-11-16
Author: Laurent
Summary: We've bundled the list of MySQL GUI tool you'll love using!
When it comes to managing MySQL databases, having the right graphical user interface (GUI) tool can make a world of difference. MySQL GUI tools provide an intuitive and user-friendly way to interact with your databases, simplifying tasks like query building, database design, and administration. In this article, we'll explore the top five MySQL GUI tools available, highlighting their key features, advantages, and any drawbacks. Whether you're a database administrator, developer, or data enthusiast, these tools can significantly streamline your MySQL database management tasks.
## MySQL Workbench
**MySQL Workbench** is the official GUI tool provided by MySQL, and it stands as one of the most comprehensive and trusted options for MySQL database management. It is available for Windows, macOS, and Linux, making it accessible to a wide range of users. Here's what sets MySQL Workbench apart:
**Pros:**
* **Comprehensive Feature Set:** MySQL Workbench offers a comprehensive suite of features for database design, modeling, SQL development, and administration. It's an all-in-one tool for various MySQL-related tasks.
* **Visual Database Design:** The visual database designer allows you to create and modify database schemas using a visual interface. You can easily design tables, define relationships, and generate SQL scripts.
* **SQL Development:** With a built-in SQL editor, you can write and execute SQL queries and scripts directly within the tool. Syntax highlighting and code completion make query development more efficient.
* **Server Administration:** MySQL Workbench provides tools for server administration tasks like user management, backup and restore, and server configuration. It also supports server health monitoring.
* **Cross-Platform:** Available for Windows, macOS, and Linux, making it accessible to a wide range of users regardless of their operating system preference.
**Cons:**
* **Resource Intensive:** MySQL Workbench can be resource-intensive, especially when handling large databases. Users with less powerful hardware may experience performance issues.
* **Learning Curve:** Due to its extensive feature set, new users may find MySQL Workbench a bit overwhelming at first. However, with time and practice, it becomes a powerful ally.
## Sequel Pro
**Sequel Pro** is a macOS-exclusive MySQL GUI tool that has won the hearts of many macOS users for its simplicity and native feel. While it's no longer actively maintained (as of my last knowledge update in January 2022), it remains a popular choice among those who prefer lightweight and easy-to-use tools.
**Pros:**
* **Simplicity:** Sequel Pro is known for its straightforward and intuitive interface. It's easy for beginners to pick up and start using immediately.
* **Native macOS App:** It's designed specifically for macOS, offering a seamless and native user experience.
* **Fast and Responsive:** Sequel Pro is lightweight and doesn't consume excessive system resources, making it fast and responsive even on older Macs.
* **Support for SSH Tunnels:** It allows you to connect to remote MySQL servers securely using SSH tunnels.
**Cons:**
* **Limited to macOS:** As a macOS-exclusive tool, it excludes users of other operating systems.
* **No Longer Actively Maintained:** Sequel Pro is no longer actively developed or maintained. While it continues to work well for many users, it may not receive updates or bug fixes in the future.
## Azure Data Studio

**Azure Data Studio**, developed by Microsoft, is a cross-platform database tool that supports not only MySQL but also other database systems like SQL Server and PostgreSQL. It's a versatile tool for database professionals.
**Pros:**
* **Cross-Platform:** Azure Data Studio is available for Windows, macOS, and Linux, making it a versatile choice for users on different operating systems.
* **Extensions:** It supports extensions that allow you to customize and extend its functionality. There are extensions available for MySQL support and integration.
* **SQL Notebooks:** Azure Data Studio provides support for SQL notebooks, which are like interactive documents for querying and documenting your databases.
* **Integrated Terminal:** It includes an integrated terminal for executing SQL queries and running command-line tools directly within the application.
**Cons:**
* **Learning Curve:** Some users might find Azure Data Studio's interface and features a bit complex, especially if they are new to it.
* **Focused on Microsoft Ecosystem:** While it supports MySQL and other databases, its features are more aligned with Microsoft's ecosystem, which may not suit everyone's needs.
## TablePlus ❤️

**TablePlus** is a modern, cross-platform database tool that supports a wide range of databases, including MySQL. It's known for its clean and user-friendly interface and is a favorite among developers and database administrators.
**Pros:**
* **Cross-Platform:** Available for Windows, macOS, and Linux, making it accessible to users on different operating systems.
* **User-Friendly Interface:** TablePlus offers a clean and intuitive interface that makes database management tasks straightforward.
* **Customizable:** You can customize the appearance and behavior of TablePlus to match your preferences.
* **Multiple Tabs and Split View:** It supports multiple tabs and split view, allowing you to work on multiple queries or tables simultaneously.
* **SSH Tunnel Support:** TablePlus provides SSH tunnel support for secure remote connections.
**Cons:**
* **Commercial Tool:** While it offers a free trial, TablePlus is primarily a commercial tool, and the free version has limitations. The paid version can be relatively expensive for some users.
## DBeaver

**DBeaver** is a free, open-source, and cross-platform database tool that supports multiple database systems, including MySQL. It's known for its flexibility, extensibility, and robust features.
**Pros:**
* **Cross-Platform:** DBeaver is available for Windows, macOS, and Linux, making it accessible to users on different operating systems.
* **Wide Database Support:** It supports a wide range of database systems, making it a versatile tool for users who work with multiple databases.
* **SQL Editor:** DBeaver offers a powerful SQL editor with syntax highlighting, code completion, and query execution capabilities.
* **Data Visualization:** It provides various visualization tools for exploring and understanding your data.
* **Extensions and Plugins:** DBeaver supports extensions and plugins, allowing you to customize and extend its functionality.
**Cons:**
* **Learning Curve:** Due to its extensive feature set and flexibility, some users may find DBeaver initially complex to navigate.
* **Interface Customization:** While it's highly customizable, the extensive customization options might be overwhelming for some users.
## *Bonus*: SimpleRestore.io
Even-though [SimpleRestore.io](https://simplerestore.io) is not a MySQL GUI, and does not replace or position itself as an alternative the tools mentioned above, it's worth mentioning it here as it's a great tool to restore MySQL backups.
We've initially build this for our internal usage only and then felt like it would be a great free addition to anyone using MySQL.
Most of the time, you'll need to restore a MySQL backup to a remote database and in that case you'll find it way more efficient than using a GUI tool.
## Conclusion
In conclusion, the choice of the best MySQL GUI tool depends on your specific needs, operating system, and personal preferences.
MySQL Workbench is a robust and comprehensive choice for those who prefer an official tool.
Sequel Pro, despite being no longer actively maintained, remains a popular choice among macOS users seeking a lightweight solution.
Azure Data Studio offers versatility for users in Microsoft's ecosystem, while TablePlus provides an elegant and user-friendly experience.
Finally, DBeaver is a flexible and extensible open-source option suitable for users working with various database systems.
💡 For what it's worth, we all enjoy using TablePlus at SimpleBackups!
Most of these tools will happily export a database for you, which is fine for a one-off. For something that runs every night without you remembering to click it, see our [automated MySQL backups](/mysql-backup).
---
# MySQL vs PostgreSQL: A Comprehensive Comparison of the Most Popular Databases
Source: https://simplebackups.com/blog/mysql-vs-postgresql-a-comprehensive-comparison-of-the-most-popular-databases
Published: 2023-11-14
Author: Nour
Summary: MySQL and PostgreSQL are popular relational database systems. how do they defer on performance, features, scalability, security, and more.
When it comes to choosing a database management system (DBMS), PostgreSQL and MySQL are two of the most popular options available. Both are open-source relational databases that organize data into tables and can be linked based on common data. However, there are several differences between the two that make them unique.
## Database Type
**MySQL is a relational database**, which means that it organizes data into tables with rows and columns. Each row represents an entity, and each column represents an attribute of that entity.
For example, a table of students might have columns for name, age, grade, and so on. To access data from a relational database, you need to use a query language like SQL, which specifies the conditions and operations to retrieve the data you want.
**PostgreSQL is an object-relational database**, which means that it supports both relational and non-relational data types. Non-relational data types are those that do not fit into the table structure, such as arrays, documents, images, or custom objects.
PostgreSQL allows you to store these types of data as columns in a table, and also provides functions and operators to manipulate them. For example, you can store an array of phone numbers for a student, and use the array functions to add, remove, or search for a specific number.
You can also store a document in JSON format, and use the JSON operators to access or modify its properties.
---
**🐘 PostgreSQL**: It’s an object-relational database.
Supports both relational and non-relational data types. Non-relational data types are those that do not fit into the table structure, such as arrays, documents, images, or custom objects.
**🐬 MySQL**: It’s a relational database.
**Best pick**: Depends on whether you need **object-oriented features** or not.
---
## Programming Language & Extensibility
**MySQL is written in C/C++**, which are two of the most widely used programming languages in the world.
C/C++ are low-level languages that offer high performance and efficiency, but also require more coding and debugging effort.
_However, MySQL does not allow users to write their own extensions or customizations in C/C++._
Instead, MySQL provides a limited set of APIs and interfaces for users to create plugins, stored procedures, user-defined functions, and user-defined types.
**PostgreSQL is written in C**, which is the predecessor of C++ and the most influential programming language in history.
C is also a low-level language that offers high performance and efficiency, but also requires more coding and debugging effort.
_PostgreSQL also allows users to write their own extensions or customizations in C._
It provides a rich set of APIs and interfaces for users to create plugins, stored procedures, user-defined functions, user-defined types, and even new languages.
---
**🐘 PostgreSQL**: Written in C. It supports a wider range of programming languages.
**🐬 MySQL**: Written in C/C++. It has limited support for server-side programming in a non-extensible language.
**Best pick**: PostgreSQL, due to its extensibility and support for more programming languages.
---
## Support for CASCADE
**🐘 PostgreSQL**: Supports CASCADE Checks and CASCADE Foreign key constraints.
**🐬 MySQL**:
- Supports CASCADE foreign key constraints when using InnoDB.
- Other storage engines in MySQL, such as MyISAM, do not support foreign key constraints.
- No support for CASCADE checks.
**Best pick**: PostgreSQL, as it supports full CASCADE operations.
---
## Performance
MySQL outperforms PostgreSQL in read-heavy scenarios, thanks to its versatile storage engine model.
InnoDB, MySQL's predominant storage engine, employs clustered indexing, associating the primary key with the actual disk location for swift data retrieval.
Additionally, InnoDB utilizes adaptive hashing to enhance memory-based data caching, bolstering read performance.
In contrast, PostgreSQL follows a single storage model, relying on heap files and write-ahead logs (WAL). The heap file stores table data, while WAL logs all database modifications.
PostgreSQL adopts multi-version concurrency control (MVCC) to enable concurrent access without locking, presenting transaction snapshots. However, this strategy generates multiple row versions, necessitating periodic cleanup through vacuuming.
PostgreSQL employs sequential scans for heap file data retrieval, potentially lagging behind index scans.
Consequently, MySQL excels in read-heavy tasks, especially with uncomplicated queries that utilize primary keys. Conversely, PostgreSQL shines in write-heavy scenarios, leveraging its extensive feature set and capabilities for complex data operations.
---
**🐘 PostgreSQL**: Handles large data sets, complicated queries, and read/write operations more quickly.
- CTEs (Comment table expressions)
- Advanced query optimizer and planner.
- MVCC model, which allows concurrent writes without locking or blocking, and its WAL, which ensures data durability and consistency.
**🐬 MySQL**: Faster for read-heavy operations.
- When using InnoDB, it uses a clustered index to store data, which means that the primary key of each table is also the physical location of the row on disk.
- InnoDB also uses adaptive hashing to cache frequently accessed data in memory, which improves the read performance.
**Best pick**: Depends on the specific use case (read-heavy or write-heavy).
---
## Security
PostgreSQL offers robust security compared to MySQL with its row-level security (RLS) and encryption features:
**RLS** lets you set rules to control user access to specific table rows, eliminating the need for multiple tables/views. Introduced in PostgreSQL 9.5 and improved over time.
**Encryption** safeguards data in different ways:
1. Transport-level encryption secures client-server communication using SSL/TLS protocols, preventing network eavesdropping and attacks. PostgreSQL has supported SSL since version 7.134.
2. Data-at-rest encryption encrypts stored data, protecting against physical server access or backup file theft.
3. Data-in-use encryption secures data in memory or during transit within the database.
MySQL lacks native RLS but can use views or triggers for row-level access control, albeit less efficiently and more complexly. **MySQL supports SSL** but lacks certificate-based authentication and temporary file encryption.
While MySQL supports data-at-rest encryption with InnoDB, it **does not offer data-in-use encryption or transparent data encryption (TDE)**.
---
**🐘 PostgreSQL**: Has in-built **SSL** support and the ability to encrypt client/server communications. It also offers a fine-grained approach to user privileges. Row Level access permisions
**🐬 MySQL**: Bases its security features on Access Control Lists (ACLs).
**Best Pick**: PostgreSQL, due to its advanced security features.
---
## Community Support
**🐘 PostgreSQL**: Has a large community of volunteers who offer free advice. The community has been growing faster than the MySQL community.
**🐬 MySQL**: Also has a robust community support.
**Winner**: Both have strong community support, but PostgreSQL’s community is growing faster.
---
## Indexing
Indexing enhances database data retrieval efficiency. An index is a data structure storing specific table data, like column values or combinations. It allows swift data location based on conditions, avoiding full table scans and aiding **sorting**, **grouping**, and **joining**.
**PostgreSQL outshines MySQL in indexing capabilities**, supporting a broad range of types, features, and customizations for **scalability** and **performance**:
1. **PostgreSQL** offers diverse index types like `GiST`, `SP-GiST`, `GIN`, `BRIN`, and **partial indexes**, tailored for various data and queries, e.g., `geospatial`, `full-text`, `array`, `range`, and `conditional queries`.
2. **Expression indexes** in **PostgreSQL** are based on functions, enhancing query **performance** for complex calculations or transformations.
3. **Index-only scans** retrieve data directly from the **index**, improving queries that select indexed columns or use **filter conditions**.
4. **Concurrent index creation** in **PostgreSQL** allows non-disruptive index building, enhancing database **availability** and **performance**.
These advanced capabilities make PostgreSQL more suitable than MySQL for complex queries.
---
**🐘 PostgreSQL**: Supports many types of indexes, including GIN and Hash.
**🐬 MySQL**: Primarily uses Binary Search Tree (B-Tree) for indexing.
**Winner**: **PostgreSQL**, due to its support for a variety of index types.
---
## Architecture
**🐘 PostgreSQL**: Managed with an object-relational database management system (ORDBMS).
- Multi-process, Multi-threaded architecture.
- Extensible architecture.
**🐬 MySQL**: An open-source relational database system backed by Oracle.
- Single threaded architecture
**Winner**: Depends on the specific requirements of your project.
---
## How to Choose Between PostgreSQL vs MySQL
When choosing between PostgreSQL and MySQL, it’s important to consider your specific needs and requirements. Here are some factors to consider:
1. **Data Type**: If you need to store non-relational data types, PostgreSQL is the better choice.
2. **Programming Language**: If you need a DBMS that is more extensible and customizable, PostgreSQL is the better choice.
3. **Performance**: If you have read-heavy workloads, MySQL is the better choice. If you have write-heavy workloads, PostgreSQL is the better choice.
4. **Security**: If you need advanced security features, such as row-level security and encryption, PostgreSQL is the better choice.
5. **Community Support**: If you need a more active and engaged community, PostgreSQL is the better choice.
## Comparing PostgreSQL and MySQL in Different Use Cases
Here is a table that compares PostgreSQL and MySQL in the following use cases:
| **Use Case** | **PostgreSQL** | **MySQL** |
| ------------------ | --------------------------------------------------------------------------------------------------------------------------------------------------------- | --------------------------------------------------------------------------------------------------------------------------------------------------------------- |
| Web Applications | PostgreSQL is better suited for web applications due to its advanced indexing capabilities and support for non-relational data types. | MySQL is easier to use for non- technical employees due to its Workbench GUI. |
| Spatial Databases | PostgreSQL is the better choice for spatial databases due to its support for PostGIS, which allows for advanced spatial queries. | MySQL does not have native support for spatial databases, but it can be used with third-party extensions such as GeoMesa. |
| Enterprise Systems | PostgreSQL is more scalable and flexible than MySQL, making it better suited for large-scale enterprise systems. | MySQL is generally faster than PostgreSQL when it comes to read- heavy workloads, making it better suited for smaller-scale enterprise systems. |
| Data Warehousing | PostgreSQL is better suited for data warehousing due to its support for advanced indexing and partitioning capabilities. | MySQL is better suited for OLTP (online transaction processing) workloads, making it less ideal for data warehousing. |
| Embedded Systems | PostgreSQL is not well-suited for embedded systems due to its large size and resource requirements. | MySQL is a good choice for embedded systems due to its small size and low resource requirements, and having less lightweight versions available. |
## MySQL’s and PostgreSQL’s Shared Features and Unique Advantages
**MySQL** and **PostgreSQL** are two of the most popular database systems in the world. They have many things in common, but they also have some distinctive features that make them suitable for different use cases. In this section, we will look at some of the similarities and differences between these two database systems.
Both MySQL and PostgreSQL have the following characteristics:
1. **They have large and helpful communities** that provide support and guidance. If you need more advanced support, you can also find professional service providers that offer it.
2. They use **SQL (Structured Query Language)**, the most widely used language for data management systems. SQL allows you to query and join tables in a simple way, and it is easy to learn for non-technical team members.
In recent years, MySQL has added some features that used to be exclusive to PostgreSQL. However, these features are not exactly the same in both systems:
1. **Common Table Expression (CTE)**: CTE is a temporary result set that you can refer to in a `SELECT`, `INSERT`, `UPDATE`, or `DELETE` statement. PostgreSQL has supported CTE since version 8.4, while MySQL has added it in version 8.0.
2. **Geographic Information System (GIS) and Spatial Reference System (SRS)**: GIS and SRS enable you to store and analyze spatial and geographic data. PostgreSQL has a powerful extension called PostGIS that provides this functionality. MySQL supports GIS and SRS, but it is not as advanced as PostGIS.
3. **JSON Compatibility**: JSON is a format that allows you to store and transport data. PostgreSQL supports JSON and JSONB, which is a binary version that removes duplicate keys and extra whitespace. MySQL supports JSON, but not JSONB.
4. **Multi-Version Concurrency Control (MVCC)**: MVCC allows multiple users to access the same data without locking or blocking each other. PostgreSQL has implemented MVCC since its inception, while MySQL has adopted it in its InnoDB storage engine.
## Conclusion
Both PostgreSQL and MySQL have their strengths and weaknesses. The choice between the two depends on your specific requirements for a project and your experience as a database administrator. However, PostgreSQL is generally considered more flexible, customizable, and secure than MySQL, making it a better choice for large-scale applications.
## Frequently Asked Questions (FAQ)
**What is the main difference between PostgreSQL and MySQL?**
PostgreSQL is an object-relational database management system (ORDBMS) that emphasizes extensibility and SQL compliance. MySQL is a relational database management system (RDBMS) based on SQL (Structured Query Language).
**Why choose PostgreSQL over MySQL?**
PostgreSQL is known for its support of advanced SQL features, including transactions, foreign keys, and triggers. It is also highly scalable and can handle large amounts of data. and its support for ACID (Atomicity, Consistency, Isolation, Durability) transactions. This means that PostgreSQL ensures that all transactions are completed successfully or not at all. This makes it an ideal choice for applications that require high levels of data integrity.
**Why choose MySQL over PostgreSQL?**
MySQL is known for its speed and read performance. It is also easier to use and has a larger community than PostgreSQL, making it a better choice for small-scale applications, such as blogs or e-commerce sites.
**Which database is more extensible, PostgreSQL or MySQL?**
PostgreSQL is more extensible as it supports a variety of programming languages and has a wide range of extensions.
**Do both PostgreSQL and MySQL support CASCADE operations?**
Yes, both PostgreSQL and MySQL support CASCADE operations. However, PostgreSQL also supports CHECK constraints, which MySQL does not.
**Which database is known for its performance optimization?**
PostgreSQL is known for its performance optimization, high concurrency, and efficient use of hardware resources.
**Which database has more advanced security features?**
PostgreSQL has more advanced security features compared to MySQL.
**Which database has a larger community?**
MySQL, being older and more popular, has a larger community and more third-party tools.
**Which database supports a variety of index types?**
PostgreSQL supports a variety of index types, including B-tree, hash, and GIN.
**Which database has a more advanced architecture?**
PostgreSQL’s architecture is highly sophisticated and extensible.
**Do the CASCADE foreign key constraints work on all MySQL storage engines?**
The CASCADE foreign key constraints in MySQL work specifically with the InnoDB storage engine. Other storage engines in MySQL, such as MyISAM, do not support foreign key constraints.
**Whichever one you pick, back it up.** We cover both: [automated MySQL backups](/mysql-backup) and [PostgreSQL backups](/postgresql-backup), on the same schedule and the same storage destinations.
---
# Mastering MySQL Data Types: A Comprehensive Guide
Source: https://simplebackups.com/blog/mastering-mysql-data-types-a-comprehensive-guide
Published: 2023-11-09
Author: Nour
Summary: Explore our guide on MySQL Data Types. Learn the nuances, applications, and how to use them effectively to optimize your database performance.
MySQL is one of the most popular and widely used relational database management systems in the world. It supports a variety of data types that allow you to store different kinds of data in your tables. In this article, we will explore the different data types that MySQL offers, their characteristics, and how to use them effectively.
## Table of Contents
## What are Data Types?
Data types are categories of data that define the following aspects:
- The range of values that a column can store.
- The storage format and size of the data.
- The operations that can be performed on the data.
- The way the data is displayed.
Choosing the right data type for your columns is important for several reasons:
- It ensures the accuracy and integrity of your data.
- It optimizes the performance and efficiency of your queries.
- It saves storage space and reduces memory usage.
## MySQL Data Types Categories
MySQL supports SQL data types in several categories:
| Category | Examples | Description |
| ------------------- | ------------------------------------ | ----------------------------------------------------------------------------------------------------------------------------------------------------------------------------------------------------------------------------------------------------------------------------------------------------------------------------------------------------- |
| Numeric types | INT, DECIMAL, FLOAT, BIT | These types are used to store numeric values, such as integers, decimals, and fractions. They can be signed or unsigned, meaning they can have positive or negative values, or only positive values. |
| Date and time types | DATE, DATETIME, TIMESTAMP, TIME | These types are used to store date and time values, such as years, months, days, hours, minutes, seconds, and fractions of seconds. They can also store time zones and intervals. |
| String types | CHAR, VARCHAR, BLOB, TEXT | These types are used to store text and binary data, such as characters, words, sentences, paragraphs, images, videos, and files. They can have fixed or variable lengths, depending on the type. |
| Spatial types | GEOMETRY, POINT, LINESTRING, POLYGON | These types are used to store geometric and geographic data, such as points, lines, polygons, and regions. They can be used for spatial analysis and operations, such as finding the distance, area, or intersection of shapes. |
| JSON type | JSON | This type is used to store JSON (JavaScript Object Notation) data, which is a lightweight and flexible format for exchanging and storing data. JSON data can be composed of arrays, objects, strings, numbers, booleans, and nulls. The JSON type allows you to manipulate and query JSON data using SQL functions and operators. |
## MySQL Data Types Examples
Let's look at some examples of how to use the different data types in MySQL. We will use the following table as a reference:
```sql
CREATE TABLE products (
id INT UNSIGNED NOT NULL AUTO_INCREMENT,
name VARCHAR(50) NOT NULL,
price DECIMAL(10,2) NOT NULL,
description TEXT,
image BLOB,
created_at DATETIME NOT NULL DEFAULT CURRENT_TIMESTAMP,
updated_at TIMESTAMP NOT NULL DEFAULT CURRENT_TIMESTAMP ON UPDATE CURRENT_TIMESTAMP,
location POINT NOT NULL,
PRIMARY KEY (id)
);
```
This table stores information about some products, such as their id, name, price, description, image, creation date, update date, and location. Let's see how each column uses a different data type:
- id: **INT UNSIGNED** - A numeric type that can store integers from 0 to 4,294,967,295. It is unsigned and auto-incremented.
- name: **VARCHAR(50)** - A string type that can store up to 50 characters. It is variable-length and cannot have empty values.
- price: **DECIMAL(10,2)** - A numeric type that can store exact decimal values with a precision of 10 digits and a scale of 2 digits. It cannot have zero or null values.
- description: **TEXT** - A string type that can store up to 65,535 characters. It is variable-length and can store any kind of text.
- image: **BLOB** - A string type that can store up to 65,535 bytes of binary data. It can store any kind of binary data but cannot be indexed or searched.
- created_at: **DATETIME** - A date and time type that can store values from '1000-01-01 00:00:00' to '9999-12-31 23:59:59'. It has a fixed format and cannot have empty values. It has a default value of **CURRENT_TIMESTAMP**.
- updated_at: **TIMESTAMP** - A date and time type that can store values from '1970-01-01 00:00:01' UTC to 'January 19, 2038 03:14:07' UTC. It has a fixed format and cannot have empty values. It has a default value of **CURRENT_TIMESTAMP** and updates automatically when the row is modified.
- location: **POINT** - A spatial type that can store a single point in a two-dimensional plane. It has a fixed format of 'X Y' and cannot have empty values. It can be used for spatial operations.
## MySQL Data Types Cheatsheet
Here is a quick reference table that summarizes the main characteristics of the MySQL data types:
| Data type | Category | Size | Range | Format | Default | Example |
| ------------- | ------------- | -------- | ------------------------------------------------------ | --------------------- | ----------------- | ----------------------------- |
| INT UNSIGNED | Numeric | 4 bytes | 0 to 4294967295 | Integer | 0 | 42 |
| VARCHAR(50) | String | Variable | Up to 50 characters | Text | Empty string | 'Hello' |
| DECIMAL(10,2) | Numeric | Variable | -99999999.99 to 99999999.99 | Decimal | 0.00 | 3.14 |
| TEXT | String | Variable | Up to 65535 characters | Text | Empty string | 'This is a long text' |
| BLOB | String | Variable | Up to 65535 bytes | Binary | Empty string | 0x89504E470D0A1A0A |
| DATETIME | Date and time | 8 bytes | '1000-01-01 00:00:00' to '9999-12-31 23:59:59' | 'YYYY-MM-DD HH:MM:SS' | CURRENT_TIMESTAMP | '2023-11-09 18:06:28' |
| TIMESTAMP | Date and time | 4 bytes | '1970-01-01 00:00:01' UTC to '2038-01-19 03:14:07' UTC | 'YYYY-MM-DD HH:MM:SS' | CURRENT_TIMESTAMP | '2023-11-09 18:06:28' |
| POINT | Spatial | Variable | Any point in a 2D plane | 'X Y' | NULL | '1 2' |
| JSON | JSON | Variable | Any valid JSON data | JSON | NULL | `{"name": "John", "age": 25}` |
## MySQL Data Types Tips and Tricks
Here are some useful tips and tricks for working with MySQL data types:
- You can use the **SHOW COLUMNS** command to see the data types of the columns in a table. For example:
```sql
SHOW COLUMNS FROM products;
```
- You can use the **CAST** function to convert a value from one data type to another. For example:
```sql
SELECT CAST('3.14' AS INT); -- returns 3
SELECT CAST(42 AS CHAR); -- returns '42'
SELECT CAST('2023-11-09' AS DATE); -- returns '2023-11-09'
```
- You can use the **IS NULL** and **IS NOT NULL** operators to check if a value is null or not. For example:
```sql
SELECT * FROM products WHERE image IS NULL; -- returns the products without an image
SELECT * FROM products WHERE location IS NOT NULL; -- returns the products with a location
```
- You can use the **JSON_EXTRACT** function to extract a value from a JSON column. For example:
```sql
SELECT JSON_EXTRACT(json, '$.name') FROM products; -- returns the name property of the JSON column
```
- You can use the **ST_DISTANCE** function to calculate the distance between two points in a spatial column. For example:
```sql
SELECT ST_DISTANCE(location, POINT(0,0)) FROM products;
```
- You can use the **LIKE** operator to perform a pattern matching on a string column. For example:
```sql
SELECT * FROM products WHERE name LIKE '%book%';
-- returns the products whose name contains the word 'book'
```
- You can use the **ENUM** and **SET** types to store a predefined list of values in a column. For example:
```sql
CREATE TABLE colors (
id INT NOT NULL,
name ENUM('red', 'green', 'blue') NOT NULL,
shades SET('light', 'dark', 'bright') NOT NULL,
PRIMARY KEY (id)
);
```
This table stores the name and shades of some colors, using the **ENUM** type for the name column and the **SET** type for the shades column. The **ENUM** type can store only one value from the list, while the **SET** type can store zero or more values from the list. For example:
```sql
INSERT INTO colors VALUES (1, 'red', 'dark,bright'); -- inserts a row with the name 'red' and the shades 'dark' and 'bright'
INSERT INTO colors VALUES (2, 'green', ''); -- inserts a row with the name 'green' and no shades
INSERT INTO colors VALUES (3, 'blue', 'light'); -- inserts a row with the name 'blue' and the shade 'light'
```
## Conclusion
In this article, we have learned about the different data types that MySQL supports, their characteristics, and how to use them effectively. We have also seen some examples, a cheatsheet, and some tips and tricks for working with MySQL data types. We hope you have found this article useful and informative. Thank you for reading.
One thing data types will not protect you from is losing the rows themselves. If that is not yet covered, our [automated MySQL backups](/mysql-backup) run the dump on a schedule and store it off the database server.
---
# Database Backup: Best Practices
Source: https://simplebackups.com/blog/database-backup-best-practices
Published: 2023-10-19
Author: Laurent
Summary: Discover the best way to ensure your database is always safe. This article delves into the best data backup practices.
Whether you’re a business owner or an individual,data loss can be a nightmare. From cherished photos and personal documents to sensitive consumer information and financial records, you could lose all your files in the blink of an eye.
Unless you back up your data securely.
But what are some backup best practices that can help prevent a digital disaster? Let’s dive right in.
## Distinguishing Between Common and Best Practices
Everyday practices in database backups often involve shortcuts that don't deliver optimized security. On the contrary, data backup best practices are meticulously developed based on proven expert insight that fortifies your databases. Although standard practices might seem convenient, they can be disastrous in the long run.
Database backups typically involve periodic full backups, or copying all your data in one go. Despite being pretty straightforward, this practice is resource and time-intensive, which could cause lengthy downtimes that disrupt operations. Relying solely on a [complete backup](https://simplebackups.com/blog/how-to-automate-backups-in-4-simple-steps/) can also lead to significant data loss between backups.
Other standard practices include storing backup copies on the same server as the original data. This leaves your backup files vulnerable to the same risks as your database, including hardware failures, malware attacks, or even accidental deletion.
The above scenarios have far-reaching consequences for your business or personal data. In addition to compromising data quality and losing the trust of your customers, you could be at risk for legal risks and increased operational costs.
Server backup best practices focuson comprehensive and efficient data protection solutions. They are based on years of industry expertise to ensure the integrity of your data while preventing corruption and inconsistencies during duplication.
The best backup strategy gives you a documented, structured approach for troubleshooting issues and complying with regulatory requirements. By adhering to industry practices, you demonstrate due diligence in protecting sensitive information.
Shortcuts might be tempting to save time. However, they can lead to long-term inefficiencies like longer recovery times, inaccurate restorations, and exposure to security vulnerabilities. Sticking to the following server backup best practices will help you foster sustainability while offering various scalability options that help you handle increasing data volumes.
Identify your backup and recovery needs to have a successful and personalized best practices backup strategy. Some data backup best practices include an automated backup schedule and regular testing.
## Diversifying Storage Solutions
Recommended data backup practices include using [diverse storage like a cloud](https://simplebackups.com/blog/public-vs-private-vs-hybrid-clouds-cloud-infrastructures-explained/) server. You shouldn’t store your backup data in the same environment as your primary database files because hardware failures are inevitable in computing.
Drive crashes, hardware issues, and other server malfunctions cause concern. If you store backup files in your primary file's location, they are exposed to the same risks. Ultimately, they might even become inaccessible
Using multiple storage options also provides additional redundancy for data recovery. Storing backups in a separate server prevents your data from dependency on a single point of failure. Simply put, if one storage system is compromised, your independent backups can be used for restoration.
Using different storage platforms, you can implement [security measures](https://qohash.com/power-of-data-classification-in-management-strategies/) for your database and backup files like encryption. This adds an extra layer of security to prevent unauthorized access.
Beyond hardware failures and security measures, natural disasters like fires and floods can destroy your primary physical server. In such situations, a secondary backup server, like remote locations, acts as a last line of defense. They ensure your data is restorable at all times.
Many industries also have regulatory demands that your backups be kept in a separate location. Following this practice, you set your backups up for availability, integrity, and optimum security standards.
## Automating Backup Processes
Automated backups and restorations are considered backup best practices for timely protection. Human errors, oversight, or forgetting to initiate a backup could put your critical data at risk.
Automating your backup removes the need for manual intervention and ensures you always have access to the most updated version of your database. It guarantees that backups occur consistently at prescheduled intervals, whether daily, hourly, or on a custom schedule.
A crucial aspect of backup best practices is saving valuable time and resources. By leveraging automation to streamline backup processes, your administrators can focus on strategic tasks like optimizing database performance.
An automated backup also means quick data recovery. Automated restoration processes can accurately recover your database to a known, reliable state. This reduces downtime and the negative impact on business operations. Quick restoration is significant for businesses requiring real-time data to serve customers or make informed decisions.
By following a tried and tested workflow, you can enhance the reliability of all backup processes. The additional predictability is invaluable for business continuity because it implies that your data is adequately protected and can be restored when needed.
## Validating Backup and Restore Procedures
Verifying your restoration processes is another vital part of backup best practices. While regular backups are crucial, an accurate measure of their effectiveness lies in the quality of restored data. After all, what good is a backup that is incomplete or missing files?
Testing backups on a test server not linked to your production environment allows you to validate your backup file. You can check that each file is intact so restoration goes smoothly and accurately. Without validation, you may feel secure, but your data might be unrecoverable.
However, verification isn't just a proactive measure. You should also validate your backup process through checksums, hash values, and integrity checks. This will help you confirm your backup quality and eliminate the chance of storing faulty data. Some [third-party backup tools](about:blank), like Simple Backups, can detect issues for you during this process and trigger notifications for prompt action. If you're curious about how much automation works, [sign up for a free 7-day SimpleBackups](https://simplebackups.com/) trial to find out!
Test your restoration process on a test server, too. This will simulate a real-time restoration process, particularly useful for large or complex systems. You can use this step to gauge how long it would take to recover data in real time while identifying issues like potential bottlenecks. This information should become the basis of your strategy objectives.
Over time, data becomes obsolete due to outdated formats and incompatible files. By periodically testing your backups, you can detect and address such issues before they deteriorate the overall quality of your restoration files.
## Tailoring Backup Strategies to Service-Level Demands
One of [the leading backup best practices](https://simplebackups.com/blog/saas-backups-the-ultimate-guide) is aligning your approach to service-level demands like operational requirements and business objectives, regardless of organization size. Customizing your strategy means you meet recovery time objectives while considering the sensitivity of stored files.
For example, mission-critical systems usually require near-real-time backups and recoveries. However, you can back up less critical data less frequently with higher RTOs. Strategically allocating resources and infrastructure minimizes costs while prioritizing your database’s protection.
Your business might aim to reduce downtime or implement high-availability solutions, which makes real-time backups necessary. Alternatively, if your primary objective is cost savings, a tiered-back approach with long-term archival storage might be better than rapid recovery.
A tailored backup strategy also enables you to comply with industry or geo-specific regulations. Depending on the data retention laws in your country, you can ensure your backup practices meet legal requirements. This is particularly important for healthcare and finance businesses that operate in highly regulated environments.
## Conducting Regular Full Backups
[Daily full backup](about:blank)s are a best practice because they maximize data safety. A complete backup captures all files within a database so that you don’t miss out on critical information is missed. It is a comprehensive approach that minimizes data loss since you have a complete, up-to-date copy of your database available for restoration.
The ripple effect of human errors, hardware issues, or data corruption can be prevented by having a complete system backup. You can restore your database to a reliable state with minimal data loss, contributing to faster and more efficient restoration processes.
The restoration is quick and easy since all your data is backed up. You don't have to compile different incremental or differential backups, which can be prone to errors. Full backups are also easier to manage and keep track of compared to more complex strategies. As a result, this simplicity minimizes downtime and the potential for human error.
Full backups are also an excellent baseline for testing and validation. They represent a complete, reliable snapshot of your data rather than puzzle pieces. You can use them to compare your backup files for data validation and restoration testing.
## Adhering to the 3-2-1 Backup Rule
The 3-2-1 backup rule is a popular strategy that outlines cloud data backup best practices. It suggests having three separate copies of your data, one on your primary storage and two additional. Having three copies of your data significantly reduces the possibility of data loss. Even if one copy is inaccessible or affected, you have two extra copies to rely on.
Extra copies should be stored on different media or platforms for a robust backup, highlighting the importance of data diversity. This ensures your backups are protected from technology-specific issues that could affect all your file copies simultaneously.
The third copy must be stored off-site as an additional safety net. This is the most crucial part of the 3-2-1 rule because it safeguards your data against catastrophes that could affect your primary location. Disaster recovery counts on having a safe and recoverable off-site backup copy.
For example, you could have one copy on an external hard drive or network-attached (NAS) device. The second copy could be stored on a cloud. The key here is variety, so you are independent of a single technology or platform.
## Ensuring Backup Verification and Retention
Backup verifications help confirm that your files are reliable and can be restored. Over time, data corruption can occur, and checking your backup files ensures your copies remain error-free. It helps detect issues early, preventing you from recovering corrupted data during a crisis that could worsen things.
Verifications also allow you to prepare well for a smooth recovery process. You can identify problems with backup hardware or software while resolving problems before they impact recovery and your infrastructure.
A well-structured backup retention policy is equally important. It defines how long backups should be retained and when they should be deleted. In addition to specific data retention laws, retention policies allow you to optimize storage. Retaining backup files indefinitely raises storage costs, so why not store what's necessary and delete the rest?
By retaining backups long enough, you also preserve critical data and meet recovery objectives since data loss is mitigated. But, a well-structured retention policy is essential to reap the benefits.
Your policy should align with business needs (data criticality, applicable regulations, and budget restrictions) and clearly outline a clear procedure for deleting data securely and compliantly. Document this policy so it is accessible and understood by all relevant personnel. Keep your policy flexible enough to accommodate business, technological, or legal shifts.
## Conclusion
Effective backup best practices are necessary for data protection and business continuity. Regular backups, verifications, and diverse storage solutions are just a few data backup best practices that optimize your database security. In today's data-driven world, data loss can be disruptive and costly.
\
If you're looking for a robust solution, [book a SimpleBackups](https://simplebackups.com/) demo with our team! Don't leave data security to chance; instead, plan an active role to protect it with the best!
---
# Is Your Data Safe? The Unseen Risk of Not Using Backup Automation
Source: https://simplebackups.com/blog/is-your-data-safe-the-unseen-risk-of-not-using-backup-automation
Published: 2023-10-19
Author: Laurent
Summary: The world of data management is constantly evolving. As professionals and individuals learn to deal with a growing amount of data (client files, feedback, budgets, etc.), it becomes more important than ever to learn how to safely store and protect this data.
The world of data management is constantly evolving. As professionals and individuals learn to deal with a growing amount of data (client files, feedback, budgets, etc.), it becomes more important than ever to learn how to safely store and protect this data.
The traditional solution to this problem is using a manual backup system.
In other words, simply scheduling a periodic time (daily, weekly, or monthly, depending on the size of your company) to copy the files into another folder. This folder often is in the form of an external hard drive or flash drive.
This can be time-consuming, expensive, and labor-intensive. Large file sizes can take hours to copy. And, when it gets busy, it’s easy to postpone backing up your data as many other tasks might take priority.
This brings us to backup automation—a practice which has become the new standard in data management.
In this article, we’ll explore both manual backup and [backup automation](https://simplebackups.com/blog/saas-backups-the-ultimate-guide/) in detail.
## The Costs of Manual Backup Solutions
As stated above, backing up your data manually involves regular, periodic transfer of your files to your external hard drives, backup servers, flash drives, and other storage devices.
But let’s not forget the old saying: Time is money. Not only must you pay for this extra equipment and hardware, but you must also consider the labor.
Someone from your team must be trained on the backup process, spend sometimes several hours manually copying each file, and there still could be errors or missed data.
And then what happens if your company experiences a period of sudden growth?
Manual backup solutions are not as easily scalable. Should your data needs grow, you may find yourself in an endless loop of purchasing and storing massive amounts of hardware.

## Why Backup Automation Is Not Just a Luxury:
It may seem like [automating your backups](https://simplebackups.com/blog/top-16-server-backup-solutions-2023-updated-list/) is a luxury for major corporations or businesses that handle very large datasets. However, data loss due to unforeseen events such as hardware failure, human error, or even cyberattacks is unfortunately a reality in today’s world.
And, in the long run, an investment into a more secure backup system will save you money.
Backup automation minimizes costs by minimizing or removing human labor from the equation altogether. It allows backups to happen in the background of everyday business.
This is a much more efficient approach. Manual backups typically require all normal business operations to cease until the backup processes have completed.
Backup automation can happen alongside daily work or be scheduled to occur in the middle of the night, without the need for staff to be on site to initiate the process.
Depending on your needs, you can even opt for real-time backups. This would mean that in any episode of data loss, all of your data would remain available.
This is what people in the data industry refer to as the recovery time objective (RTO), the maximum amount of time a system can be down during a disaster. With backup automation, the RTO can be significantly reduced.
In fact, given the amount of time manual backups take, it’s perhaps manual backups that are the luxury.
## The Unseen Risks of Ignoring Backup Automation
The largest risk of ignoring backup automation would, of course, be cyberattacks and cybersecurity threats. A data breach can make customers lose their faith and quickly topple a business.
These threats include:
- Phishing schemes – where a fake login page is created so that an employee is tricked into entering their confidential employee information. Someone, then could use the employee’s login to access the data on your server.
- Trojan horses – these are a special kind of virus hidden within legitimate programs or files. The user typically downloads an attachment to an email and views an image or opens a program. They typically do not even know that their computer has been breached.
- Keyloggers – these are similar to Trojan horses, except they record every keystroke typed on an infected computer. This would allow an external party to view any passwords or financial account information processed on the computer.
- Ransomware – these are malicious programs that take total control of your computers, including all data. In order to gain access to your files, you must pay a “ransom.”
These kinds of incidents not only take a financial toll on your business, but they can cause irreversible damage to your reputation.
In addition to cyberattacks and threats, potential hardware failure also poses a significant risk to your data. Most hard drives have a lifespan of just three to five years, which means they’ll need to be replaced frequently.
Additionally, there may be legal ramifications to exposing customer data to unnecessary risk, which carry stiff financial penalties. For more information on this, check out your local and/or national policy regulations.
## How Backup Automation Works
So, at this point you may be wondering: how does backup automation even work?
Backup automation requires the use of advanced software solutions often provided by [a trusted third party](https://simplebackups.com/blog/public-vs-private-vs-hybrid-clouds-cloud-infrastructures-explained/) who specializes in data security and/or data storage.
The system provided by this backup automation firm is designed to periodically backup your system to your desired frequency. This completely eliminates any need to manually backup any files.
You can set up the following types of backup systems:
- Full Backup – Just as it sounds, a full backup will copy over all files and folders in your system. This offers the absolute best protection as it is guaranteed to contain your complete dataset.\
\
However, a full backup is time-consuming and requires quite a bit of disk space / data storage. It may not be practical to conduct a full backup every single time.
- Incremental – An incremental backup takes a thorough look through your system for any changes to your data. Then, it simply backs up the changes.\
\
For example, say you did a full backup on September 1st. Then, on September 2nd, if you did an incremental backup, it would just save any changes you made on September 2nd. On September 3rd, the system would save any changes you’ve made since September 2nd.\
\
While this clearly saves you a lot of disk space, it does come with its own disadvantages. Say that there’s a flood on September 4th, and you’ve lost all your data in your hard drives.\
\
In order to restore your data, you’d have to go back and restore the last full backup, on September 1st, and then restore every incremental backup until your desired date. This means you’d have to follow it up with restoring September 2nd, and then September 3rd.\
\
If any of those backup files along the way have become corrupted or are missing, then you will not be able to restore your data.
- Differential – Differential backup offers a middle ground between incremental backups and full backups. It is quite similar to incremental backup in that it does not do a complete backup of your data. Instead, it records all changes since the last full backup, including any changes that were already saved during the last incremental or differential backup.\
\
This means you can safely remove previous differential backups to optimize your storage space.
## Making the Transition to Backup Automation
Here’s [a step-by-step guide](https://simplebackups.com/blog/how-to-automate-backups-in-4-simple-steps/) to making the transition to Backup Automation:
### Assess your practices and your needs
Take the time to make a thorough evaluation of your current practices when it comes to backups. Try to list all of the areas in which you are vulnerable and where automation will make the most difference.
### Articulate your objectives
\
What does success look like for you? Consider your RTO (recovery time objective), all regulatory and compliance requirements, the volume of your data, etc. Having these goals laid out make it easy to plan the implementation.
### Choosing a tool for automation
Research options for automation in order to select a tool that helps you meet all of your stated objectives. Don’t forget to make sure the tool can handle various data types, offers security features, and is scalable enough to meet your needs further down the line.
### Training your employees
No matter the tool you choose, you must ensure that your employees know how to operate it to prevent data loss due to human error. It’s important to communicate not only the new backup protocols, but the benefits of shifting to an automated system and how it will effect their daily work patterns.
### Test and monitor your new system
It’s important to test your automated backup system early and frequently to ensure that your data is indeed being backed up. You can simulate different scenarios to ensure that your system will still perform reliably under stress. After an initial testing period, be sure to continue to monitor your system so that you can adjust your configurations as necessary.
## Final Thoughts and Recommendations:
As you’ve read above, it is essential to make the transition from manual backup to automated backup to protect your data as your business grows.
Using a service such as [SimplyBackups](https://simplebackups.com/) is a great way to ensure you are covered in terms of security, compliance, storage, and restoration. Get started today!
---
# Top 5 Challenges in Database Restoration and How to Overcome Them
Source: https://simplebackups.com/blog/top-5-challenges-in-database-restoration-and-how-to-overcome-them
Published: 2023-10-18
Author: Laurent
Summary: This article will go through some of the challenges associated with database restoration and provide some recommendations for dealing with them.
## Understanding the Importance of Database Restoration
With all the various tasks associated with data management, database restoration can seem like the least of your worries. But this isn’t the case.
In fact, database restoration should be treated as a priority. Without a solid database restoration strategy, you may not be able to bounce back from unforeseen events like hardware failures and cyberattacks.
After one of these events you may experience increased downtime, your organization’s reputation may suffer, and you may even suffer legal consequences.
For example, you may be found negligent of industry compliance standards or financially liable for a data breach.
This article will go through some of the challenges associated with database restoration and provide some recommendations for dealing with them.
## Top Challenges in Database Restoration
Database restoration, while indispensable, is not without its challenges. Navigating these challenges effectively is crucial for ensuring a seamless recovery process. Let's delve into the top challenges commonly faced during database restoration and [explore strategies to overcome them](https://simplebackups.com/blog/protecting-your-saas-data-an-in-depth-look-at-creating-a-reliable-backup-policy/).
### Incompatible backup filetypes
The software you use to back up your database matters. Many filetypes are incompatible with one another, and switching [database restoration strategies](https://simplebackups.com/blog/backup-and-disaster-recovery-services-how-to-choose-the-best-for-your-business/) could cause data loss if you aren’t careful.
Here are the most common filetypes:
#### ZIP and TAR
These are compressed archive filetypes that are widely used across all fields and markets. Essentially, multiple files are combined and compressed into one archive file ending in .zip or .tar.
These files will save you some storage space, and you’ll almost certainly be able to open these files on almost any system. But they do have some disadvantages:
1. They aren’t database-specific. Because these files are used to compress and combine any combination of files, there are no database-specific features. If your database has complex sorting, filtering, triggering, or stored procedures, these could be lost.
2. They can’t do incremental/differential backups. If you use a dedicated database restoration system, you have the option of doing backups that only save the changes to the database. This means vastly smaller file sizes. With ZIP/TAR, you must save every file, every time.
3. They don’t save you much space. ZIP and TAR files are most effective when they compress text files, saving up to 50% of your storage space. Database files, on the other hand, are often already pared down to a binary system of notation. This means there is very little that can actually be compressed.
#### SQL Dump Files
These files typically use the file extension .sql or .bak and they retain the database commands. This allows you to recover the structure as well as all of the data within your database.
SQL Dump files are great because they can move very easily to new systems, and they are quite easy to understand. This minimizes the amount of training needed to backup / restore your database.
Some disadvantages:
1. They have large file sizes. These types of files can take a toll on your storage space because they do not transform the data to reduce space. This would also mean increased downtime in restoring your database.
2. They can’t do incremental/differential backups. Like ZIP / TAR files, SQL dump files are meant to capture the entire database. This means your storage will be used inefficiently—several very similar (sometimes even identical) iterations of your database will be created.
3. There could be compatibility issues. The commands in different versions of SQL have different dialects and syntaxes. This means there could be a compatibility issue when attempting to restore your information. Of course, this can be an easy fix—simply revert to the appropriate version—but time consuming.
#### VHD (Virtual Hard Disk) / VMDK (Virtual Machine Disk)
This allows you to capture the complete disk data of a virtual machine. This ensures that your data remains completely lossless and can be restored.
This filetype offers unmatched consistency across different systems, so they are excellent for data migration. They also allow for a total system recovery—not only will the data be saved, but also all your applications, operating systems, and settings/configurations will be saved.
Some disadvantages:
1. This method is only ideal for virtual machines. Should the need arise for database restoration on traditional computer networks, additional tools / software will be necessary.
2. They have enormous file sizes. These files do not only contain your data, but an image of your entire computer. This means the filesizes are quite large.
3. They are all-or-nothing. You cannot restore just a part of one of these files. For example, if you wanted to merely restore the database but leave your system settings alone, you wouldn’t be able to on this filetype.
There are countless other types of backup files, and they each carry their own set of advantages and disadvantages. Take the guesswork out of the equation by discussing your database restoration needs with a professional.
### Insufficient Hardware
Another main challenge of database restoration is a lack of sufficient hardware resources. The process of database restoration requires extensive computing power.
As shown in the previous section, backups often have very large file sizes. Your system must have incredibly high memory and storage capabilities.
Because of this, many organizations turn instead to the cloud. Cloud-based storage solutions allow organizations to store their backups with [a third party for a monthly service fee](https://simplebackups.com/blog/cloud-storage-price-feature-comparison-the-best-providers-in-2023/).
Although this may appear to be an unnecessary expense—most organizations feel they can handle their data internally—it actually can be a cost-saver in the long term.
You may consider buying a few external hard drives with sufficient storage to be a more cost-efficient solution. It appears at first to be a single cost instead of a monthly payment.
But these hard drives have much shorter lifespans than one might guess.

A typical hard drive has a lifespan of just 3-5 years. Not only does it become an expense to replace these hard drives, but there’s also a risk of data loss. Not to mention the time spent copying data to new drives, erasing the old data and disposing of used drives.
Consider using a SaaS (Software as a Service) back up firm to offer [cloud-based solutions](https://simplebackups.com/blog/saas-backups-the-ultimate-guide/) to your backup automation and database restoration.
### Time Constraints
Managing time can be the trickiest part of database restoration. Here’s a list of recommendation to ensure you are using the most efficient techniques of database restoration:
* Regularly test your backups and database restoration to anticipate problems. In the event of a cyberattack, hardware failure, or other unforeseen circumstance causing data loss, you will be ready.
* Utilize incremental or differential backups instead of a full backup each time. These types of backups only save the changes you’ve made to your database. Not only will this save you hours of downtime, but also it will help you save on your storage costs.
* Try to prioritize. If you set up your database to allow it to be split into separate parts, then you’ll be able to back up the most critical data and processes. And even better, you may be able to spread these parts across multiple machines to simultaneously back up several parts of the same database.
* [Backup Automation](https://simplebackups.com/blog/how-to-automate-backups-in-4-simple-steps/). Rather than manually exporting and copying files yourself, consider using a service that automatically backs up your data. You’ll never have to worry about an unforeseen event causing a major data loss, because your system automatically backs up your data.
* Update your hardware. Having ample storage space, processing speeds, and memory are crucial to an efficient database restoration. Consider making regular upgrades to your hardware instead of waiting for a device to become outdated or to even fail.

### Regulatory and Compliance Issues
A final main challenge worth discussing is the legal aspect of database storage. Whenever your records include data about real people, you must be careful to follow all relevant data protention laws.
For example, those in the medical industry must follow all HIPAA (Health Insurance Portability and Accountability Act) guidelines that protect the confidentiality of patient records. Educators have a similar duty to their students according to FERPA (Family Educational Rights and Privacy Act).
There are some regulations that cross multiple industries and fields, such as:
* GDPR (General Data Protection Regulation) – This is a law passed by the European Union in 2018 that outlines what rights individuals have over their data. For example, individuals have the right to access, remove, and edit their personal data.\
\
[The GPDR](https://simplebackups.com/blog/mastering-gdpr-compliance-the-essential-business-owners-handbook/) also outlines the responsibilities of organizations. A guiding rule is that organizations should always have a specific reason for storing someone’s personal data, and that data should not be kept longer than necessary.
* CCPA (California Consumer Privacy Act) – This is a law passed in California in 2020 that some view as the strictest privacy law in the nation.\
\
Although it technically applies only to Californians, any online business operating in the United States would need to ensure their practices comply with this regulation.\
\
The CCPA states that individuals can sue organizations for statutory damages in the event of a data breach caused by a lack of security or other negligence. It also goes through a detailed list of rights for individuals and duties of organizations.
## Conclusion
As this article shows, there are countless challenges to developing database restoration solutions for an organization of any size.
Not only can a mistake be costly and time-intensive, but it can result in legal consequences that can carry stiff financial penalties.
Prevent a headache by considering working with a company that can help you [cover all of your bases.](https://simplebackups.com/blog/top-16-server-backup-solutions-2023-updated-list/)
---
# What is SaaS Backup and Why Do You Need It?
Source: https://simplebackups.com/blog/what-is-saas-backup-and-why-do-you-need-it
Published: 2023-10-18
Author: Laurent
Summary: Find out al the elements of a good SaaS backup and understand why it's essential to start backing up your SaaS data.
SaaS backup means duplicating and storing the data generated in a SaaS product in a secondary location, guaranteeing you will never lose it – even if you experience a cyberattack, data breach, or a simple human error.
## Why is SaaS Backup Important?
What if your crucial data does not exist tomorrow? Can your business continue operating without it?
When you have a SaaS backup solution, you will know that your business will not stop operating smoothly, no matter how severe the challenge is.
So, you may think, “I have a traditional backup system. Why do I need a SaaS backup software?” They are entirely different, and the differences are significant.
* While traditional backup focuses on on-premises data within your physical infrastructure, SaaS backup solutions protect all data generated in SaaS applications.
* You will be responsible for maintaining and managing the backup process when you prefer traditional backup. However, the responsibility is mainly the provider’s when you choose SaaS backup.
* Which files or databases will be protected? You should choose if you have a traditional backup. On the other hand, you will have everything, all SaaS data insured, with dedicated SaaS backup software.
## How the SaaS Backup Process Works
### Frequency
You choose when you need a backup. Is it daily, weekly, or hourly? Say the word and schedule your data to be duplicated and stored in that frequency.
For example, you can prefer real-time or hourly backups for:
* Your databases such as MySQL or MongoDB
* Critical email and communication services like Google Workspace
* Project management and collaboration tools like Trello and Slack
* Customer Relationship Management (CRM) data like Salesforce
* Financial transaction tools such as QuickBooks
On the other hand, you may need less frequent backups such as weekly or monthly for:
* File storage or document management systems such as Dropbox
* Data you need for historical or compliance purposes
* Content management systems such as WordPress
### Storage
SaaS backup software will store your backed-up data in a secure data center or cloud infrastructure that your SaaS backup provider operates. It ensures data is safe even if you or the provider experiences attacks or technical problems.
## The Need for Data Protection in the SaaS Environment
You may think SaaS solutions keep all data safe with no user liability. However, using a SaaS product does not entirely absolve you from the responsibility to secure your data.
The SaaS backup process protects your data against infrastructure-related issues like server failures. Yet, it does not cover all security methods. So, you still need to take additional precautions with your SaaS provider.
For example, your SaaS backup solution can ensure your email correspondence in a cloud-based management system such as Gmail is safe from data center disasters.
Yet, someone unauthorized can still access your account due to a weak password. In this case, SaaS backup software can not protect your data against data breaches.
This brings us to The Shared Responsibility Model. You should define the responsibilities of everyone involved in maintaining infrastructure, workloads, settings, and more.
The model requires your provider to monitor external security threats and ensure the stability and availability of the services by responding to the threats. At the same time, you should protect the data stored in the SaaS product.
User data protection involves taking measures to prevent user errors that are common causes of data loss in SaaS platforms, such as:
* Accidental deletion or modification of data
* Cyberattacks through phishing or ransomware
* Inadequate authentication implementation
* Leakage of sensitive information
These measures involve:
* Regular employee training on how to use SaaS platforms securely
* Educating employees to avoid phishing attacks
* Ensuring compliance with the related data retention policies
* Enhancing strong password policies and monitoring user activity
* Regularly updating software and applications
## Key Features to Look for in a SaaS Backup Solution
For smooth business operations, ensure your SaaS backup contains [all the features](https://simplebackups.com/blog/4-most-powerful-mongodb-backup-tools-ultimate-comparison-2023/) like:
* Automation: Your should address your SaaS backup software periodically, which should not take longer than needed. [Automatic backup solutions for SaaS](https://simplebackups.com/mysql-backup/) are essential to simply set it to the required frequency.
* Encryption: In transit and at rest, end-to-end encryption must keep your data secure and confidential while you send it to your SaaS provider. This also is significant for blocking unauthorized access to the data.
* Easy Restoration: Even if you and your SaaS backup solution take all necessary measures, simple human errors may always happen. These unforeseen errors require easy and fast data restoration to save your operation from losing much hard work.
### Compliance and Regulatory Considerations
You must align your SaaS backup software with the specific data requirements depending on your industry or region, such as:
* Data retention policies: The SaaS backup solution must align with your data retention policy and manage the process in compliance with its requirements. \
\
For example, if your business operates in Europe, the data will be responsible for meeting GDPR requirements. It means you can hold certain data for a specific time, such as a maximum of five years for customers' personal data.
* Audit Capabilities: Your SaaS backup software will experience regular audits in terms of:
* the frequency of your backup
* recovery point objectives (RPOs)
* how you select the data prioritized to be backed up
* the backup's consistency, accuracy, and security, and more.
So, your backup solution for SaaS must successfully support and complete the process with its reporting capabilities.
## Why Investing in SaaS Backup is Crucial for Businesses
The data your business needs to continue operating is your treasure. Would you leave tons of gold and silver open to malicious attacks?
You need backup solutions for SaaS to minimize the risks and ensure to
* Prevent Unexpected Data Losses: SaaS products can not guarantee definite data security. Accidental deletion or alteration of critical data, system errors, or overwriting data may always occur.\
\
You can [restore your lost or corrupted data](https://simplebackups.com/blog/backup-and-disaster-recovery-services-how-to-choose-the-best-for-your-business/) with backup solutions for SaaS. Maintain your daily business activities without tiresome and everlasting data reconstruction.
* Keep Business Continuity: Unforeseen and impreventable situations often result in stopping operations for many businesses. They lead to financial loss and customer dissatisfaction. \
\
SaaS backup solution helps businesses ensure continuity. It supports operational resilience. Also, it minimizes the data loss effects on operations with fast and easy data restoration.
* Reduce the Risk and Cost: Without a SaaS backup solution, there will be expensive costs for restoring data and compensating for your deficiency caused by interrupted operations. \
\
Investing in SaaS backup software is better than paying the exhausting costs for persistent damages.
* Enhance Customer Trust: In today’s digital world, you can build customer trust with data security and integrity. This way, you guarantee operations are smooth and effective. \
\
Losing, corrupting, or leaking customer data can tarnish your business’ image. It often results in loss of trust/prestige and financial repercussions.
## Steps to Implementing a Robust SaaS Backup Strategy
We have underlined the significance of a SaaS backup solution to secure your data. It is time to list the [crucial steps](https://simplebackups.com/blog/how-to-back-up-mongodb-a-complete-guide/) to implement a robust SaaS backup strategy.
1. ### Evaluate Data Criticality
The first step is a meticulous evaluation of the criticality of your data. You need to identify the crucial data that:
* makes your operations run smoothly
* affects your organization the most
* requires the highest level of protection
Prioritize which data you have to back up with the greatest urgency. Thus, you can determine in which order they will be backed up and recovered.
2. ### Assess Backup Frequency
One of the most significant advantages of using automated SaaS backup software is setting a frequency to back up your data. This is why you should assess how often you need your data backed up on its criticality.
You can back up your most significant data daily or in real-time, while less critical data needs a less frequent process. This provides an effective strategy aligning with your business’s specific needs.
3. ### Choose a Suitable SaaS Backup Solution
As mentioned in our Compliance and Regulatory Consideration section, each business has tailored needs regarding backup solutions for SaaS. These needs depend on the industry or the country/region where they operate.
While choosing the most suitable SaaS backup solution for your company, you should consider factors such as
* data retention policies that you are obliged to
* audit capabilities that your SaaS backup software provides you.
Additionally, you should include key features such as:
* Automation
* Encryption
* Easy restoration services
in your SaaS backup solution to guarantee your data security and integrity by aligning the related requirements.
4. ### Training Employees and Creating Awareness
The most essential factor to successfully implementing a solid SaaS backup strategy is that your employees know how to use the solution correctly.
You should educate your employees and create awareness on carrying out the practices effectively and responsibly to optimize your SaaS backup strategy.
## Conclusion
In conclusion, it is necessary to emphasize the importance of a SaaS backup solution to
* Keep your data secure and accurate,
* Run your business operations smoothly,
* Protect and enhance your financial power,
* Build/maintain customer trust.
Instead of implementing SaaS backup software as a “plus,” you must realize that it is an “imperative” for a trustworthy and successful business in today’s digital world.
It is directly associated with protecting your business’ critical assets, minimizing the risks of erupting unpredictably.
Also, please remember that compensating for the data loss/corruption and fighting malicious attacks is more financially challenging than simply investing in backup solutions for SaaS.
---
# How to automate your MySQL Backup - Video tutorial
Source: https://simplebackups.com/blog/how-to-automate-your-mysql-backup-video-tutorial
Published: 2023-10-13
Author: Nour
Summary: In this video tutorial we'll go through the process of creating a MySQL backup job on SimpleBackups and setting up a schedule and retention rules.
In this video tutorial we'll go through the process of creating a MySQL backup job on SimpleBackups and setting up a schedule and retention rules.
---
# Introducing SimpleRestore: Our Solution to Simplify MySQL Database Restoration
Source: https://simplebackups.com/blog/introducing-simplerestore-our-solution-to-simplify-mysql-database-restoration
Published: 2023-09-26
Author: Nour
Summary: Tired of complex database restoration? Discover SimpleRestore.io – the free tool that lets you restore MySQL databases in a single click. Built by developers, for developers, with a serverless architecture and no data storage on our end.
Let's get real, fellow developers. We've all been there – those moments when you have to restore a database on some IaaS platform, and it turns into a maddening, manual headache.
It's like trying to assemble IKEA furniture without instructions.
That's why, as a bunch of tech enthusiasts ourselves, we decided to roll up our sleeves and create a tool that's simple, efficient, and, most importantly, something we'd genuinely want to use. We're excited to introduce you to our brainchild: [SimpleRestore.io](https://simplerestore.io/).
## 🦸🏻♂️ When Frustration Strikes, Tool Emerges
Picture this: you're in the middle of a project, and your database decides to play hide and seek.
Panic sets in. Restoring it shouldn't be this complicated, right?
That's exactly what we thought too.
So, we put our collective frustration to good use and decided to build a solution that made our lives easier.
## 🫡 SimpleRestore.io: Because We Get It
SimpleRestore.io isn't a grandiose attempt to change the world.
It's a down-to-earth, practical tool born from the same daily challenges you face.
Here's why we're excited about it, and we think you will be too:
### No-Nonsense User Experience
We don't want you to waste precious hours deciphering confusing interfaces, you don't need to jump from TablePlus to whatever else you might be using.
SimpleRestore.io is all about simplicity (well.. it's in the name).
It's not meant to be rocket science or full of options, it's meant to work for most cases without having to go through any instructions.
### One-Click Database Restoration
Remember the good ol' days when one click actually meant one click? That's what we bring back with SimpleRestore.io.
No more endless command lines, no more head-scratching configurations.
No need to setup any server to just have access to a remote database.
Just one click, and your MySQL database dump is on its way to revival.
### Built by People Like You, for People Like You
We're not some big corporation with a fancy suite of tools.
We're just a bunch of developers who love solving problems.
We've tested it, used it, and we hope this will help you too.
### It's Free, Because Why Not?
We're not here to nickel-and-dime you. We believe everyone should have access to tools that make their lives easier. So, here it is – SimpleRestore.io, completely free.
No subscriptions, no hidden fees, just a tool that saves you time and headaches.
## 🧑💻 How [SimpleRestore.io](https://simplerestore.io/) Works, Behind the Scenes
For those of you who like to dive into the nitty-gritty tech details, let's take a quick peek under the hood of SimpleRestore.io.
This tool leverages a serverless architecture, meaning there are no cumbersome servers to manage on your end. We handle all the heavy lifting behind the scenes.
It also means we don't store any of your data. Nothing is stored on our end. You make your request, we call a serverless function that will take the necessary steps to get your backup restored, then shuts down; destroying all files used in the process.
In term of stack it's pretty simple: a NextJS frontend coupled to a Fly.io function and bunch of scripts and dependencies.
## ✊Join the Simplicity Revolution
When we started SimpleBackups, we meant to transform the boring backup process into something that is simple, reliable and just works. SimpleRestore.io isn't about changing the world; it's about making your day-to-day developer life a bit less stressful. We invite you to join us on this journey from frustration to simplicity. Give it a spin and let us know how it fits into your workflow.
So, here's to simpler database restoration, fewer headaches, and more time for what you do best – coding and creating amazing things.
Say hello to [SimpleRestore.io](https://simplerestore.io/), your new best friend in the developer's toolkit. Give it a shot and let's keep things simple together.
---
# How to Set Up SaaS Backups?
Source: https://simplebackups.com/blog/how-to-set-up-saas-backups
Published: 2023-09-13
Author: Laurent
Summary: Find out all the details about setting up SaaS data backups and see how you can protect your company's and your customers' data.
Imagine waking up one day and realizing that your SaaS provider has experienced a data breach or system failure. All vital business data is now gone. And though you thought your data is securely stored in their cloud, you’re left grappling with devastating consequences like lost customer information, financial records, or even other operational data.
Informing customers about this irrecoverable loss is challenging. It not only jeapordizes their trust and confidence in your business but it can ultimately cripple your reputation, productivity, and ability to meet deadlines. So, what do backup solutions for SaaS mean in practice? Keep reading to find out!
### Importance of Backing Up Your SaaS Data
A straightforward reason why some businesses don't have SaaS backup files is that they don't understand the associated risks. According to a survey by EMC Corp., 80% of businesses using SaaS have [suffered some form of data loss.](https://siliconangle.com/2016/03/24/report-80-percent-of-companies-using-saas-have-lost-business-data/)
Despite the widespread use of SaaS applications, businesses will continue to permanently misplace, lose, overwrite, or delete important data because they lack an extra protection layer. A [SaaS backup solution](about:blank) is not just a precaution but essential for data protection.
Without a reliable SaaS backup, businesses are vulnerable to critical data loss due to accidental deletion, human errors, malicious activities, or technical failures. SaaS backups act like a safety net for recovery in such situations.
In today’s regulatory landscape, various businesses have to navigate a complex web of compliance mandates including HIPAA (healthcare), GDPR and SOX (finance). These [standards require a tailored approach to data availability](https://www.linkedin.com/pulse/gdpr-compliance-audit-evaluating-your-data-protection-narendra-sahoo/?trk=pulse-article_more-articles_related-content-card), specifically for periodic auditing and reporting. SaaS backup solutions are integral in meeting these standards as they ensure consistent data availability for periodic audits and reporting. Failure to comply with these regulations can result in hefty fines and legal penalties. For instance, severe GDPR violations can lead to a fine of up to 20 million euros or 4% of global turn over, whichever is worth more.
### Evaluating Your SaaS Backup Needs
When strategizing and selecting the best SaaS backup option for you, keep in mind factors like:
* Business Size: Larger businesses have more complex data management needs, including a more extensive data volume and more users accessing their SaaS services. Smaller companies might have simpler requirements. Your business size influences the level of automation required from your SaaS backup software.
* Data Types: What type of data does your organization store within SaaS applications? This might include customer information, financial records, payment details, intellectual property, documents, etc. Classify data based on its sensitivity because confidential data requires thorough backup measures.
* Data Change Frequency: How often does the data within your SaaS applications change? Some businesses continuously modify and generate data, while others have relatively static data. The higher the frequency of data changes, the more backups you will require to prevent data loss.
* Regulatory and Compliance Requirements: Research industry or geo-specific regulations that apply to your firm and ensure your SaaS backup solution aligns with these criteria. Regulations like GDPR and HIPAA require specific data retention and backup practices.
* Recovery Objectives: Define acceptable downtime and data loss thresholds. Choose a [backup method compatible](about:blank) with the maximum downtime and data loss your organization can afford.
* SaaS Application Ecosystem: Different SaaS applications might have distinct backup requirements. Consider the SaaS range your business uses and ensure your backup solution supports these platforms.
* Budget and Resources: Assess the available budget for a SaaS backup solution and the resources you can allocate to its management. Consider upfront costs like infrastructure and ongoing operational expenses like support staff. Also, evaluate if you have knowledgeable IT staff to implement your backup environment or if you will require external support. Perhaps your business is looking to modernize with a custom solution.
* Scalability and Growth Plans: Think about your business' potential growth opportunities. Backup solutions for SaaS should be scalable, flexible, and adapt to your business's growing storage needs. It's important to review and update backup solutions with changing requirements regularly.
### Different Types of SaaS Backup Solutions
Why are you choosing to back up your SaaS data to an external service? The most common reasons are outsourcing maintenance, reducing IT effort, lowering costs, and, most importantly, efficiently recovering from data loss.
SaaS backup software like SimpleBackups offers [flexible options](https://simplebackups.com/features/cloudstorage-backup/) for selecting between external storage or the platform's built-in cloud, SimpleStorage. But how do cloud, on-premise, and hybrid backup solutions for SaaS compare to these requirements?
#### On-Premise Backups
On-premise SaaS backup solutions involve storing files within your physical infrastructure, like a data center. Applications not hosted in the cloud or sensitive data typically use this approach as an additional security layer.
In-house backups are excellent for organizations subjected to strict regulatory and compliance requirements because they give complete control over the infrastructure and data. To minimize downtime, you can also customize backup processes in sync with peak usage.
However, the major downside to these backups is the upfront capital investment for hardware, networking, and other equipment. On-premise backup systems also require ongoing upgrades, maintenance, and management, which can be resource-intensive. Unlike cloud solutions, backup data can't be retrieved remotely online.
#### Cloud-to-Cloud Backups
This [backup strategy](/mysql-backup) involves copying data and applications from the SaaS provider’s cloud to another cloud service. It requires no physical infrastructure and is commonly used for backing up data from cloud-based SaaS applications like Microsoft 365, GitHub Enterprise, and Knack.
Cloud-to-cloud backups offer excellent data protection against data corruption and accidental deletion by leveraging SaaS APIs. It also offers scalability, ensuring your backup grows with your SaaS infrastructure and can be accessed from anywhere with an internet connection.
However, like any web-based platform, cloud-based backups [are prone to cyber-attacks and unauthorized access](https://www.bleepingcomputer.com/news/security/ransomware-attackers-use-your-cloud-backups-against-you/).
#### Hybrid Solutions
Hybrid backup solutions for SaaS use a combination of cloud and on-premise systems for more flexibility. Critical data is stored in a cloud and an in-house backup infrastructure for additional redundancy, offering more strategy customization and data availability.
Storing backup data in multiple locations reduces the risk of data loss. In case of physical site failures, you can always recover data from the cloud backup.
However, hybrid backups are complicated because they require specialized expertise in managing cloud and on-premise systems simultaneously. The expense is also significantly higher than other solutions because it requires investment in cloud subscriptions and local server maintenance.
### Steps to Set Up SaaS Backups
Selecting a backup solution depends entirely on your organization's specific needs. Start by listing the SaaS applications your business relies on, assessing data criticality, and evaluating compliance requirements.
Then, research various SaaS backup software, looking for features like:
* Intuitive, user-friendly interface with easy setup and management.
* Automated, frequent backups.
* Data retention policies.
* Granular restoration for specific files or records rather than entire backups.
* Real-time monitoring and notification capabilities to stay informed about backup status.
Each SaaS backup service has its own configuration process. You can generally configure backups for SaaS emails, attachments, documents, and CRM data like customer information, workflows, and calendar events.
You must generate app-specific tokens to connect SaaS platforms to your selected backup service. Follow the steps below to create and retrieve these keys depending on the SaaS application you use:
**Knack Tokens**
1. Log into your Knack account through the builder API.
2. From the settings tab, access the API & Code options.
3. Copy your Application ID and API Key to your clipboard.
**Github Tokens**
1. Log into your GitHub account and access the settings tab.
2. Locate the Developer settings and tap on Tokens (Classic).
3. Generate a personal access token.
**Gitea Tokens**
1. Login to the Gitea interface using your credentials.
2. Navigate to user settings and select the Applications tab in the left-hand menu.
3. Tap Generate New Token on the Access Tokens page.
#### Configuring and Running your First Backup:
Once you have your SaaS API token, you can set up your first backup through the SimpleBackups platform.
1. Login to your SimpleBackups account. Click "Create Backup" and "Recipe Backups."
2. Select the SaaS application tile and enter your generated token, username, and hostname in the pop-up window.
3. You can choose private or organizational accounts and which repositories you want to back up.
4. Then, select a server. You can choose between SimpleStorage, an external provider, or mounted volumes.
5. After your backup has been validated, all you have to do is set a retention schedule and backup frequency based on your requirements.
#### Your First SaaS Backup
Let's say you work for a software development company that uses Github for code collaboration. After setting up your GitHub token and [selecting a backup tool](/blog/4-most-powerful-mongodb-backup-tools-ultimate-comparison-2023), it’s time to run your first backup.
This step is crucial not only for safeguarding your projects but also for aligning with the [future of software development](https://www.crispysoftwaresolutions.com/post/the-future-of-the-software-development-industry-2024-and-beyond). As the industry evolves, ensuring that your workflows and data are backed up represents a commitment to adaptability and resilience.
The initial backup should copy all repositories and their associated data. A complete backup like this might take time, depending on file size and complexity. For GitHub specifically, our [GitHub backup service](/saas-backup/github) handles this across an entire organization, including repositories created after the initial setup.
After your first “full” backup, you can opt for regular incremental backups. This captures changes since the last backup instead of copying all data again, saving time and reducing the required storage bandwidth for subsequent backups.
#### Backup Frequency and Scheduling
The optimal SaaS backup schedule and frequency depend on various factors, such as the nature of your application, data criticality, compliance requirements, and individual requirements.
Daily backups are standard for SaaS applications that handle frequently changing or highly sensitive data. These backups ensure all changes are captured, minimizing data corruption or loss.
Backing up your SaaS application daily is also a good option when instant or real-time data recovery is required. For example, in SaaS project management, daily backups can protect assignment progress and other time-sensitive data.
However, daily backups take up more storage than weekly backups. If your SaaS data doesn't change as frequently or you can afford a more extended recovery point, weekly backups might be a better option.
Weekly backups are commonly used for less volatile data that doesn't have strict compliance regulations. They are more cost-effective than daily backups and require fewer resources. For instance, SaaS blog management might choose to perform weekly backups because their posts have a slower update cycle compared to real-time collaboration tools.
Ultimately, the choice between weekly and daily backup scheduling depends on thoroughly assessing the SaaS application's requirements and your business's available resources and recovery objectives. You can also combine weekly and daily backups by dividing data based on importance.
### Best Practices for Maintaining SaaS Backups
To secure your backup files and ensure their reliability, thorough maintenance and monitoring are essential.
Access control is fundamental to such upkeep because it involves controlling who can access backup systems and data. Only authorized personnel should be able to access and manage backups. Experiment with a role-based access control (RBAC) policy to allocate user permissions based on job roles.
Adjust these rights to ensure they reflect any organizational changes. Remember to keep access audit logs as a means of security monitoring or for future reference.
Data should be encrypted at rest and in transit. Use reliable algorithms and protocols like RSA keys, SSL, and AES encryption. Your encryption and authentication measures should align with industry standards. Regularly update encryption keys and certificates to maintain confidentiality.
Backup files should be tested periodically to verify that they are complete and recoverable. Simulate real-world scenarios like hacks or deletions to ensure the backup and restoration processes function correctly.
It's crucial to test backups for consistency and completeness, too. Keep track of all test results and identified problems to fine-tune your backup strategy. Also, consider using an automated validation tool to enhance and streamline the testing process.
Monitoring solutions help you keep a watchful eye on all backup processes and hardware. Monitor key performance indicators like backup completion rates, backup times, storage consumption, and resource utilization. Use this data to identify trends and potential areas for improvement. Set up notifications and alerts to detect failures and anomalies in the backup environment.
### Conclusion and Next Steps
A SaaS backup is imperative for protecting vital data from unexpected disasters like data corruption or cyberattacks. Backups can help businesses operate seamlessly without downtime while minimizing the risk of digital asset loss by acting like an automated security mechanism.
Don’t leave your valuable information vulnerable to unforeseen accidents. Instead, consider using a SaaS backup solution like [SimpleBackups](https://simplebackups.com/saas-backup/) to fortify your data protection approach. Follow our socials for more information!
---
# How to create a PlanetScale database backup
Source: https://simplebackups.com/blog/how-to-create-a-planetscale-database-backup
Published: 2023-09-01
Author: Nour
Summary: Master the Art of PlanetScale Database Backups: Step-by-Step Guide 🛡️ Discover the secrets to safeguarding your PlanetScale database with our comprehensive backup tutorial. Learn the step-by-step process to create rock-solid backups effortlessly. Protect your data with confidence!
In this tutorial, we will guide you through creating a backup of your PlanetScale MySQL database using SimpleBackups. We will cover everything from obtaining your PlanetScale database credentials to creating and restoring backups. By following these steps, you can ensure the safety and security of your valuable data.
## Prerequisites:
- Register for a [SimpleBackups](https://simplebackups.com) account, this tutorial uses SimpleBackups as a backup provider.
- An active [PlanetScale](http://planetscale.com) account with a database to backup
## Step 1: Grab your PlanetScale’s database credentials
You’ll need an active PlanetScale account with a database you have access for. **SimpleBackups** requires your [Connection String](https://planetscale.com/docs/concepts/connection-strings), which you can find by going to your [PlanetScale’s dashboard](https://app.planetscale.com/), then clicking on the database you want to backup.
Then click on **Connect** to display your connection string, and copy the connection string displayed bellow
## Step 2: Create a backup on SimpleBackups
After creating your SimpleBackups account, head to your **[Create Backups](https://my.simplebackups.com/backup/create?type=db&db_type=MySQL)** page by clicking on the **Create,** then select **[Database backup](https://my.simplebackups.com/backup/create?type=db&db_type=MySQL)**.

You’ll be greeted by a page where you can connect your database using the connection string, click on Paste in connection string instead, fill in your connection string, uncheck **Database Backup Streaming**, and check **Large Database Backup.** then click on **Validate Connection.**
Select a name for your backup name, set a **Schedule** and a **Storage** to store your backup, then click on **Create backup.**

You’ll be redirected to your backup job’s page, click on **Run now** to test this backup, once the backup runs successfully, you’ll be able to see a **Backup success** indicator.

## How to restore your backups:
### **Step 1: Download the PlanetScale / Vitess Backup File**
First, locate the URL of your backup, and download it to your local system:
```shell
wget 'http://example.com/path/to/your-planetscale-vitess-backup.tar.gz' -O backup.tar.gz
```
### **Step 2: Extract the Backup File**
Extract the downloaded file containing your PlanetScale / Vitess MySQL backup:
```shell
tar -xzvf backup.tar.gz
```
Navigate into the extracted directory:
```shell
cd your_backup_folder
```
### **Step 3: Identify and Import Schema Files**
Schema files ending in `-schema.sql` can be imported as follows:
```shell
for filein *-schema.sql;do
mysql -u username -p'password' -h host -P port < "$file"
done
```
### **Step 4: Identify and Import Data Files**
Import all other .sql files, excluding the schema files, as data files with these commands:
```shell
for filein *.sql;doif [[ ! "$file" == *-schema.sql ]];then
mysql -u username -p'password' -h host -P port < "$file"
fidone
```
## Wrapping up.
We’ve gone through the steps to create a PlanetScale MySQL database backup using SimpleBackups. We covered how to grab your PlanetScale's database credentials, create a backup on SimpleBackups, and how to restore your backups. By following these steps, you can ensure that your database is safe and secure.
---
# MySQL Database Security Best Practices: How to Protect Your Data From Cyber Threats?
Source: https://simplebackups.com/blog/mysql-database-security-best-practices-how-to-protect-your-data-from-cyber-threats
Published: 2023-08-31
Author: Laurent
Summary: The best way to ensure your MySQL database is always safe is to use a third-party tool designed specifically for backups. This article delves into the complex MySQL environment and database security best practices.
Imagine your business uses a MySQL database to store personal customer information like their names, addresses and payment details. One day the database is hacked. All the personal data is subject to identity theft and financial fraud. Such events should prove thoughts about data protection because they reflect the serious consequences of unauthorized data access.
MySQL is a popular open-source database with robust features. It powers the back end of popular websites like YouTube, Booking.com, Spotify, and GitHub. However, MySQL’s widespread use means it is a prime target for cybercriminals and hackers, making database security a top priority.
This article delves into the complex MySQL environment and database security best practices.
## Understanding MySQL Database Security Importance
Cyber-attacks are more common than assumed.someone falls prey to hacker attacks roughly [every 39 seconds](https://eng.umd.edu/news/story/study-hackers-attack-every-39-seconds). That's 2,200 attacks every day!
Cyber threats are consistently becoming more sophisticated in exploiting security weak points for financial gain or espionage. MySQL databases are a prime target for such attacks because they host a wealth of sensitive data, from proprietary business details to personal information.
Consumers are becoming more aware of data protection in light of recent data breaches making headlines. A few prominent cases include:
* In 2013, [Yahoo’s computer network was victim](https://www.nytimes.com/2017/10/03/technology/yahoo-hack-3-billion-users.html) to one of the most significant data breaches. Digital thieves successfully obtained the user names, passwords, birth dates, phone numbers, backup email addresses, and security questions associated with all 3 billion accounts on their platform.
* Target faced a [massive data breach in 2014](/blog/those-3-big-companies-almost-lost-everything-to-data-breaches-here-s-what-helped-them) that exposed confidential information and personal details of their customers. Cybercriminals targeted the payment records and contact information of over 40 million users.
* Over [500 million Facebook users were exposed to an online data leak](https://www.businessinsider.com/stolen-data-of-533-million-facebook-users-leaked-online-2021-4) in 2021. Hackers shared the phone numbers, full names, locations, bios, email addresses, and other records of these users in a hacking forum. In light of the incident, Meta has been fined multiple times, including a [hefty $1.3 billion penalty in Europe for violating GDPR laws.](https://www.nytimes.com/2023/05/22/business/meta-facebook-eu-privacy-fine.html)
Cyber attacks may may cause operational downtime and significant business data loss. To prevent such events, global governments have introduced strict regulations in response to the evolving digital battleground and urgency to protect sensitive data, such as:
* [GDPR (General Data Protection Regulation)](/blog/mastering-gdpr-compliance-the-essential-business-owners-handbook) is applicable to all entities handling the data of EU citizens. It aims to primarily give back control to individuals over their personal data. This regulation mandates user consent, access and deletion rights over their collected personal data. It also highlights that businesses are responsible for securing this data and notifying individuals of breaches within 72 hours.
* For businesses like merchants, service providers, and banks that store credit card information, PCI DSS (Payment Card Industry Data Security Standard) is applicable. This comprehensive security framework aims to prevent unauthorized access to payment details and other sensitive user data for fraud.
* Healthcare providers and related organizations that deal with patient health information are subject to HIPAA. Data is protected through preset structured electronic security controls, audits, and encryption.
Compliance with these rules is a legal obligation but also improves data security and brand reputation. By encouraging transparency on how data is collected, used and stored, you can understand your MySQL database more thoroughly for effective decision-making and automation.
A vigorous MySQL database security system protects user data while boosting customer loyalty and satis because it reflects that you take customer privacy seriously. Even a single security lapse can cause long-term harm in terms of credibility.
Third-party backup tools like SimpleBackups are an excellent option to secure your database files during transfer. An [automated MySQL backup](/mysql-backup) isolates backup files from the production system - even if an attacker gains access to the database, your backup is protected and can be restored quickly.
## Setting Up Secure MySQL User Accounts
If you were wondering how to protect Access database files, MySQL lets you take the first steps during set-up.
The following features help you set a solid foundation to safeguard your MySQL database and confidentiality:
### Principle of Least Privilege
Each MySQL account should access only the data required to perform designated tasks. Don't give in to the temptation to grant broad, global access, as this can put your database at risk.
Identify each user or application's requirements, then customize permissions accordingly. This approach minimizes the impact of cyber threats because attackers can only access resources and operations granted to the account.
[Role-based access controls (RBAC)](https://csrc.nist.gov/glossary/term/role_based_access_control) streamline permissions management by setting predefined roles with specific access. Instead of creating new ones for every user, you can assign these preset roles to ensure consistent and organized access.
### Strong Passwords and Two-Factor Authentication
Your password should be complex and include digits, special characters, and uppercase and lowercase letters. Don't use common words, easily guessable phrases, or personal information. The validate_password command will help you enforce your password policy on all user accounts.
MySQL offers several hashing methods for data integrity. Hashing scrambles converts regular text passwords into a string of numbers and letters using mathematical operations so that it can’t be reproduced.
Traditional hashing stores passwords in the mysql.user table, but this is risky as there is no additional security. The ***caching_sha2_password*** and ***sha256_pasword*** commands encrypt your password using a military-grade SHA-256 algorithm to foster privacy.
2FA (two-factor authentication) adds another layer of security to your MySQL accounts, especially those with high-level access and permissions. In addition to your password, it requires a second verification form like a time-sensitive code or biometrics (fingerprint, face, or retina) scanning. Even if an attacker can crack your password, they can’t access your data without the second layer of protection.
### Account Naming
Create clear, descriptive naming standards for all user accounts. The name should reflect the function and access level associated with the account. When account names follow a consistent pattern, it’s easy for administrators to identify users and prying eyes like hackers.
### Review and Audit Accounts
Maintaining security calls for regular auditing. Auditing involves periodically reviewing account permissions and usage (monthly, quarterly, or change-based). Remember to identify and disable or delete unused accounts and reassign permissions to prevent unapproved access.
Also, maintain a detailed log of account changes - these logs are helpful for accountability if cyber attacks occur at a later time. Proper logging also helps detect abnormal activity and troubleshoot problems.
You can enable the general query to track all SQL statements using ***general_log***. SimpleBackups automatically logs all backup activity to verify when and who accessed your files.
## Implementing MySQL Server Security Configurations
MySQL database security configurations follow a multi-layered approach.
**File Optimization**: File optimization ensures your data is stored, retrieved, and managed effectively within the MySQL database. Start by setting secure file permissions in numeric codes or symbolic notation. The GRANT or REVOKE commands restrict access, so unauthorized people can’t retrieve your data.
On Unix systems, use the ***chmod*** command. The prompt ***chmod 644 filename*** restricts write access to the owner so that others can only read the file.
Regularly perform table maintenance using ***REPAIR TABLE*** or ***OPTIMIZE TABLE***. This reorganizes indexes to match the order of data, reduces disk space usage to run queries, and enhances overall performance.
You can also use table partitioning to split large datasets apart through statements like ***CREATE TABLE… PARTITION BY***.
Ideally, tables should not have large packet sizes or use excessive memory. You can set table and packet size restrictions by configuring the ***max_allowed_packet*** and ***max_heap_table_size settings***.
**Firewalls and Network Security**: Firewalls act as a barrier that shields your server from external threats. Tools like Linux’s ***iptables*** define what traffic is allowed through the port while blocking the rest.
For additional protection, consider binding MySQL to a specific IP address using the bind-address parameter in the database’s my.cnf file. Binding ensures that you have complete control over the database’s availability and exposure.
DNS name resolution translates human-readable domain names into numerical IP addresses that computers use to identify and communicate within a network. However, this process can compromise security.
Attackers can manipulate DNS responses to redirect traffic to malicious servers, leading to data theft; you can turn off DNS name resolution for incoming connections using the ***skip-name-resolve*** command.
The prompt ***max_connect_errors*** sets a limit on the number of failed connection attempts. Multiple login attempts are a tell-tale sign of brute-force attacks that use trial-and-error to guess passwords or encryption keys.
**Disable Unused Features and Services**: Deactivate unused plugins and remove anonymous user accounts. These can serve as potential entry points for malicious attackers. Removing unnecessary features and services reduces your database's attack surface considerably.
Open the MySQL configuration file and use the ***plugin-load*** command to identify the necessary plugins. Then, use the skip-networking and bind-address settings to turn off remote root logins. This prevents remote attackers from gaining MySQL access.
## Database Encryption and Data Masking
According to the [Varonis World in Data Breaches Report](https://www.varonis.com/blog/the-world-in-data-breaches), an average of 7 million data records are breached daily because they are not encrypted. Encryption plays a critical role in securing data at all times.
MySQL offers Transparent Data Encryption (TDE) for data at rest. TDE protects physical files on your database disk from attacker access. It uses military-grade AES (Advanced Encryption Standard) for an additional layer of protection.
Tools like [SimpleBackups also use AES-256 technology](/security-first) to encrypt data, servers, and storage. They automate backups while drastically reducing breach risks using personalized RSA keys, secure Amazon Web Services (AWS) infrastructure, and restrictions on third-party access.
Data passes through numerous routers, network devices, and switches during transit to its final destination. Malicious actors and hackers take advantage of vulnerabilities in the transmission; thus, securing data in transit is also essential.
You can configure MySQL’s SSL(Secure Sockets Layer) and TLS (Transport Layer Security) digital certificates. These protocols authenticate user identities and encrypt the connection between SQL servers and client applications. This guarantees the integrity and privacy of information during transmission.
Data masking is another database protection mechanism. This technique rearranges, replaces, or partially represents original data with false values in unfamiliar environments. For example, credit card numbers might be replaced with fake numbers in the same format to prevent exposure.
MySQL Enterprise Edition has built-in data masking features, but other versions don’t. Instead, you can use custom scripts or third-party tools like:
### Delphix
Delphix is a data management, creation, and protection platform. Regardless of the location of your data, you’ll always have access to the same accurate data. This makes developing and deploying applications that comply with local data regulations easy.
\
Delphix’s data masking capabilities include automatic sensitive data identification, reversible masking, and audit activity logs. The platform uses masking techniques like randomization to retain the statistical properties of your data.
### Redgate Data Masker
Redgate Data Masker is a comprehensive tool for small businesses using platforms like MySQL and Oracle. The software offers several features, including activity report generation and access to past masking details. It also integrates with other Redgate tools like SQL Catalog and Clone. Redgate simplifies data masking through thorough analysis, customized rules, and streamlined database deployment and testing. Its masking techniques can be easily repeated on new data using shuffling, encryption, and substitution algorithms.
### Talend Data Masking
Talend Data Masking is part of the Talend Data Fabric Suite, an all-in-one integration and data management tool. It provides organizations access to features like regulatory compliance, team collaboration, and easy data control.
Talend Data Masking offers automatic database discovery, profiling, and flexible masking rules. These abilities highlight confidential information and implement suitable data masking strategies that align with database security best practices. Its masking approach prioritizes data structures and relationships to maintain integrity and consistency.
## Monitoring and Auditing MySQL Activities
Real-time MySQL monitoring and auditing is essential to maintain security and optimal performance.
A proactive monitoring approach allows users to identify security breaches, unauthorized login attempts, and other suspicious activity. It also alerts administrators of performance bottlenecks, resource inefficiency, and slow queries interrupting operations. By detecting such incidents as soon as possible, you can swiftly prevent data loss and escalation of security issues.
A few practical ways to monitor MySQL databases include MySQL log files. The following files are a rich source of information on database health, status, and efficiency levels.
* **General query log**: Tracks all incoming activity and queries.
* **Error log**: Offers insight on configuration, operational, and startup problems.
* **Slow query log**: Identifies delays and disruptions in system operations.
* **Binary log**: Used to track replication and database changes.
Beyond traditional log files, monitoring tools reveal a complete picture of MySQL's actual performance. They illustrate KPIs (key performance indicators), resource metrics, and query execution time. Here is a list of the top 5 MySQL monitoring tools for your application stack:
### MySQL Enterprise Monitoring
MySQL Enterprise users have access to Oracle’s native monitoring features. This tool can help you track and improve query availability, server speed, and uptime through its tailored features, including:
* Real-time execution time, resource utilization, and server health metrics.
* Insights into query plans and performance for optimization.
* Customizable alerts via email or notification systems.
* Detects potential threats and unauthorized access attempts.
* Interactive graphical dashboard for analysis and decision-making.
### Prometheus
Prometheus is an open-source monitoring and alerting system widely used for time-stamped data. The tool operates on a pull-based model, meaning it regularly scrapes data from sources like MySQL databases, network devices, and application servers.
It aims to provide users with live visibility into applications, system health, applications, and infrastructure components through:
* Dynamic performance metrics from databases at regular intervals
* Flexible data model where metrics are identified by labels for robust queries.
* Personalized alerting rules and notification channels
* Customized metrics collection and exporting
* Local storage with retention policies. Older data is aggregated to a lower resolution for longer retention.
* Grafana compatibility for advanced data visualization
### SolarWinds
SolarWinds is an IT management and observation platform with MySQL monitoring. It offers a comprehensive SolarWinds Database Performance Analyzer (DPA) for optimizing databases. DPA is designed for deep insight into performance for proactive management and threat prevention measures. The key features of Solarwinds are:
* Multi-database support, including MySQL, PostgreSQL, and more.
* Query performance analysis and recommendations through execution plans, indexing, and resources.
* AI-powered anomaly detection. Uses machine learning to alert administrators about deviations from baseline performance.
* Historical data, blocking, deadlock, and wait time to highlight performance trends for strategizing
* Retains historical data to identify patterns for capacity planning
### DataDog
DataDog is an open-source, cloud-based monitoring and analytics platform engineered for organizations with IT infrastructure. It offers a broad toolset for users to monitor and optimize system, application, and other digital asset performance. Datadog collects data from various sources for actionable insights.
Here are a few noteworthy features:
* Cross-platform monitoring, including containers, applications, servers, databases, and cloud infrastructure.
* Easy-to-use interface
* Customizable and shareable dashboards
* Query-level monitoring to alert admins of slow queries, indexing issues, and execution plans
* Database-specific integrations for automation and deeper insights without manual configuration
### SigNoz
SigNoz is a modern application performance management tool that can monitor your entire database infrastructure. It is designed explicitly for host machines, cloud-native apps, microservices, and serverless networks. SigNoz also offers distributed visualization for an overview of user requests to pinpoint specific bottlenecks and latency.
The application includes:
* Root cause analysis through distributed tracing that tracks the flow of requests.
* Provides detailed service performance metrics like response times and error rates
* Dependency visualization allows users to understand how different services interact within complex architectures.
* Open-source and self-hosted so that you can customize it to your security and compliance requirements
* Supports instrumentation libraries for automatic trace collection without code changes
### Auditing Compliance
Database auditing systematically records all activities, events, and changes. This trail documents interactions like user logins, data edits, schema updates, and authorizations to improve security and data integrity. Auditing is also essential to meet regulatory compliance and make forensic analysis easier in the case of security breaches.
MySQL users can comply with auditing standards through:
* **Audit plugins**: MySQL has audit plugins that capture database activities. These plugins can be activated and configured to record relevant events and changes for future reference.
* **Defined Audit Policies**: Create specific auditing policies about what events are audited and where data is stored. These parameters should be based on compliance and data-sensitive requirements.
* **Securing Audit Data**: Store your audit data securely with access controls and encryption to prevent tampering or unauthorized access.
* **Regular Reviews**: Analyzing audit logs frequently to identify unusual activity and intrusions. You can set up automatic alerts for critical situations.
* **Centralized Management**: Consider using centralized monitoring tools like the ones mentioned above to streamline data collection and reporting.
## Backup and Recovery Best Practices
Sometimes, data breaches are inevitable. How can you ensure your business recovers its data without downtime? The solution is to implement a backup strategy based on your data needs.
Your strategy should answer the following:
* Is the database recoverable?
* How much time can be spent on recovery?
* What backup schedule will you follow (Monthly, Weekly, or other)?
* How much storage space is available for backups and log archives?
* Are full backups necessary, or will incremental and differential backups be sufficient?
* Will you require a standby system?
SimpleBackups is designed to simplify and automate MySQL backup and recoveries. Its user-friendly interface streamlines backup strategies, data protection, and encrypted storage. You can use the platform for:
* **Scheduled Backups**: Preschedule automated backups for databases, applications, and servers at appropriate intervals. You can customize your backup calendar based on update frequency and how critical your data is.
* **Full and Incremental Backups**: You can configure full or incremental backups depending on your needs. Full backups capture the entire database, while incremental backups only record changes to reduce storage space and backup time.
* **Multiple Storage Locations**: SimpleBackups supports multiple cloud storage providers and servers, including DropBox, Google, and Digital Ocean. Storing your backup files in different locations ensures multiple copies of your data are always available in case of storage failures.
* **Monitoring and Notifications**: The Anomaly Detector feature automatically notifies users of invalid backups. You can enable and configure notifications to alert you of issues that arise during the backup process for immediate action.
Automated backups reduce the risk of data loss and human errors that impact the backup process. But planning for recovery is just as important. Regularly test your backup files by restoring them to inactive databases to ensure validity. Also, document detailed recovery procedures to restore your MySQL database from different types of backups in an emergency.
## Conclusion: Taking Control of Your Data
When database management meets cybersecurity, the importance of automated backups can't be overstated. Backups protect sensitive information and maintain operations in the face of unforeseen cyber attacks and other data loss.
The best way to ensure your data is always safe is to use a third-party tool designed specifically for backups, with the backup files stored somewhere an attacker who reaches the database cannot also reach.
---
# How to Automate Backups in 4 Simple Steps
Source: https://simplebackups.com/blog/how-to-automate-backups-in-4-simple-steps
Published: 2023-08-31
Author: Laurent
Summary: Find out how to set up automatic backups using a simple 4-step workflow. Create automatic backup files and protect your company's data.
Imagine this: You’re engrossed in work, managing crucial digital and financial information. But disaster strikes without warning, and you loose all this valuable information to a malware attack or accidental deletion.
The result? Irreversible data loss that is genuinely crippling for businesses and individuals alike. This data represents years of progress, critical documentation, and valuable insight, erased instantly, leaving an irreparable void of opportunities.
Here’s how to automate backups to protect data safe from unforeseen loss or corruption.
## Understanding the Importance of Automated Backups
Automated backups involve a preconfigured, scheduled process of duplicating and storing your data in a secure, remote location. These backup files are created at set intervals to minimize downtime. This ensures you protect critical files and [sensitive customer information](https://simplebackups.com/blog/mastering-gdpr-compliance-the-essential-business-owners-handbook/) without requiring constant manual intervention.
Manually copying data has become a thing of the past because of their reliance on human intervention. A manual backup is more prone to oversight, inconsistency, and inconvenience as it requires continuous human user input. A few inherent risks involved with manual backups include:
- **Human Errors**: Manual backups rely heavily on human input, which are prone to errors or forgetfulness. A missed backup, skipping specific folders or files, and selecting incorrect backup destinations could result in permanent data loss. You might also corrupt files while copying and transferring data. Corrupt backup files make it impossible to recover all your data because certain files are compromised or incomplete. This disrupts business processes and continuity.
- **Inconsistent Backup Frequency**: Backup frequency might vary depending on the availability of resources like employees, hardware, software, storage capacity, and your backup recovery plan. With manual backups, you may forget about your backup schedule, affecting the integrity and consistency of your data.
- **Resource Drain**: Manually copying and transferring files is time and effort-intensive, diverting your focus from more strategic tasks like marketing, brand development, and CSR. They rely entirely on user initiative and tools for backing up, like copying files to an external drive. Neglecting or forgetting to complete any one task can put your database at significant risk for data loss. Furthermore, if your system is already running resource-intensive tasks, backing up data might temporarily halt your system entirely.
[Back-up automation](https://simplebackups.com/blog/saas-backups-the-ultimate-guide/) mitigates these risks, paving the way for a smooth workflows. With automated backups, operations run seamlessly in the background. The backup automation tool duplicates your data efficiently and stores it securely without disrupting business activities or processes.
Besides being time-efficient, an automated backup system ensures your data's security and integrity. Every backup captures the latest version of your files, reducing the risk of data loss due to corruption or system failures.
By storing backups in secure locations instead of relying on your primary database, you fortify your defenses against accidental mishaps and cyber threats.
## Common Mistakes to Avoid When Automating Backups
When automating backups, several common pitfalls could compromise the integrity and effectiveness of your strategy. Here are some key points to ensure your backup automation process remains reliable:
- **Incorrect Configurations**: One of the most common mistakes of backup automation is misconfiguring the process. This involves selecting incorrect files or directories and specifying incorrect backup intervals or backup methods.
Incorrect configurations can lead to incomplete or useless backups. You must also plan and verify backup settings before implementation. A few steps you can take to ensure your backups are effective include identifying and prioritizing critical data, implementing backup retention policies outlining duplication frequency and regulations, and defining role-based access to limit authorization.
- **Not Verifying Backups**: If you don’t verify your backups frequently, you might discover issues with your backup files when you need them the most. Incorporate verification processes to check the integrity of your backups routinely. This can involve comparing checksums, testing restoration, or running automated scripts to confirm data availability.
- **Failure to Update Backup Settings after Changes**: Over time, your data and infrastructure evolve.
If you add new files or applications, failing to update your backup settings to accommodate these updates could mean leaving critical data unprotected. Examine and update backup configurations regularly, regardless of changes to your database, to ensure they continue meeting your shifting needs.
- **Relying Solely on One Backup Method**. Depending solely on one backup solution is risky. If your backup method fails, you have no other options for recovering your data.
Common examples of this mistake include relying only on onsite backups without using offsite or cloud backups as well. Or using only one type of backup media rather than a variety for widespread device compatibility.
A comprehensive backup strategy employs various backup methods, including regular onsite backups, remote backups, and cloud-based solutions. This diverse approach reduces the risk of data loss by spreading your data across different locations. Even if one method fails, there are alternative data recovery options.
## Tools and Resources for Automated Backups
Need effortless data protection? Our handpicked selection allows you to streamline your backup processes effectively and ensure your data's safety.
### [SimpleBackups](https://simplebackups.com/)
**Price**: Free first project. Paid subscription starts from $29/ month.
SimpleBackups stands true to its name by offering a user-friendly, accessible, and efficient backup automation software solution. They have you covered for all your backup needs - files, databases, or snapshots,
Trusted by developers, agencies, startups, and nonprofits, SimpleBackups makes data protection easy with a user-friendly setup and reliable features beyond automation like incremental backups, data compression, multiple storage options and continuous reporting on backup activities. Our platform offers different subscription plans with up to 200GB storage capacity and 200 backup jobs. We also offer an unlimited plan with no data, project or team member limits. Users have the added flexibility of selecting a third-party storage provider like Dropbox, Wasabi and Google Drive.
SimpleBackups encrypts all your backup files with 256-bit AES encryption to ensure data is secure from unauthorized access. It also automates backups at pre-configured intervals for up-to-date recovery files protected from data loss.
SimpleBackups is like a virtual safety net that you can always count on. Learn more about how [SimpleBackups](https://simplebackups.com) can streamline your database management by signing up for a free demo!
### [Backblaze](https://www.backblaze.com/)
**Price**: Starts from $7/ month.
Backblaze is a comprehensive automated backup solution for personal and business users. It offers background backups and automatic real-time synchronization to ensure no data is left unprotected.
The setup process is straightforward; users can define their preferences through its settings panel. Backblaze also takes data security seriously and uses multi-layer encryption to protect your files during transit and rest. Users can select multiple recovery methods, including browser-based file access and physical retrieval.
### [Acronis ](https://www.acronis.com/en-us/products/true-image/)
**Price**: Starts from $85/ month.
Acronis is a versatile backup and recovery software that excels in local and cloud-based backup scenarios. This solution offers a range of backup automation, from full-image backups to file-level backups and disk cloning. Continuous data protection and automatic scheduling help maintain the most up-to-date copies of your data for instant restoration.
### [Veeam ](https://www.veeam.com/vm-backup-recovery-replication-software.html)
**Price**: Tailored price plans.
Geared toward enterprise-level users, Veeam has robust backup and disaster recovery capabilities. With support for virtual and physical environments, this tool offers backup and replication services for data availability and disaster recovery. Automated backup verification and recovery testing ensure the reliability of your backup strategy.
### [Aomei Backupper](https://www.aomeitech.com/ab/standard.html)
**Price**: Free version + Professional plan starts from $39.95/ month.
**Backupper** is a comprehensive backup and recovery solution that aims to secure backup data. It allows users to create backups of files, partitions, or entire systems. With flexible features like incremental and differential backups, you can rest assured your data is safe and storage usage is optimized. Backupper also offers system recovery, restoration, and disk cloning options to transfer data seamlessly between drives.
## Conclusion: Taking Control of Your Data
Protecting valuable data has become essential through automated backups. Backups act like, a protective barrier against the lurking threats of data loss. Whether you experience accidental deletion, cyberattacks, or a catastrophe, automatic database backup gives you peace of mind because your data is always protected.
By leveraging the capabilities of automated backups, you're ensuring the security and integrity of your files. Solutions like SimpleBackup are ideal for people looking for consistency and efficiency without manual intervention.
So, take action today. Pick a backup strategy that aligns with your requirements and put it into practice. As you navigate managing your databases, remember that automated backups are not just a precaution but a trustworthy companion. They protect your data from adversities like hardware and software failures, data corruption, cyber attacks, power outages, and natural disasters.
**[Book a SimpleBackups demo](https://simplebackups.com/) now to explore the platform’s features before committing long-term.**
---
# 4 Best MySQL Backup Tools: The Ultimate Comparison
Source: https://simplebackups.com/blog/4-best-mysql-backup-tools-the-ultimate-comparison
Published: 2023-08-10
Author: Laurent
Summary: Explore the top 4 MySQL backup tools in our ultimate comparison guide. Dive deep into features, ease-of-use, and reliability to choose the best solution for your database needs.
MySQL databases are used extensively to store financial, technical, and user data.
But have you ever considered the legal, operational, and financial implications of losing this data? Without a MySQL backup, recovering lost data can be nearly impossible, leading to severe consequences.
This article explores different MySQL backup tools to protect all your data.
## Exploring Different MySQL Backup Methods
Your enterprise backup strategy depends on several factors, like hardware, performance goals, data volume, and storage capacity. MySQL supports several database backup solutions, which can be categorized into logical, physical, and snapshot.
Logical backups are ideal for data migration and selective data restoration. Physical backups are high-performing and restore large databases faster than other types. Snapshot backups minimize disruptions in your workflow.
Let's delve deep into the applications, benefits, and drawbacks of each MySQL Backup.
### Logical Backups:
Logical [backups export data from your MySQL database in readable text format](https://dev.mysql.com/doc/refman/8.0/en/backup-types.html#:~:text=Logical%20backups%20are%20performed%20with,INTO%20OUTFILE%20statement.). Typically, these files represent the database’s schemes and data in MySQL statements like INSERT, DELETE, and UPDATE. This makes it easier to understand, manipulate and recreate the database structure.
These backups are portable and platform-independent, so you can quickly restore your data on selected servers. Logical backup files are easy to understand and allow partial restores and data manipulations making them ideal for small to medium-sized databases.
Logical backups are commonly used for data migration and transfers using the “[mysqldump” utility](https://simplebackups.com/blog/the-complete-mysqldump-guide-with-examples/). But backup and restoration require significantly more time and storage than physical backups - they aren't suitable for large databases.
### Physical Backups:
Physical backups involve copying individual files directly from your database. This backup captures binary representations of [all MySQL data and their structure](https://simplebackups.com/blog/how-to-show-all-mysql-databases/). You can create physical backups using filesystem-level copying (“rsync”) or tools like MySQL Enterprise Backups.
A physical backup contains actual data files and transaction logs, making it more efficient than logical backups. All data is in binary format and doesn’t require SQL processing - restoration is faster.
Physical backups are commonly used for disaster recovery because of their high performance. They are ideal for consistent backups or setting up complete replications of large databases.
However, physical backup files are not easy to read or modify. They are also less portable and server and structure-centric. These features make physical backups less suitable for data migration.
### Snapshot Backups:
[Snapshot backups](https://simplebackups.com/blog/backups-vs-snapshots-with-differences-and-examples/) create point-in-time copies of entire databases or specific volumes without any downtime. Each snapshot captures database files, logs, and its storage system structure.
They are often categorized under physical backups because they operate at the storage layer to capture binary data.
These backups are often used in productive environments where disruptions could impact other activities. Snapshot backups can be part of disaster recovery strategies because they are quick and easy to implement.
But compatibility is essential. If your storage system doesn’t support or have sufficient capacity, snapshot backups aren’t an option for you. Cloud providers like AWS offer limited snapshot features for EBS volumes.
## Comprehensive Review of Top MySQL Backup Tools
As with any database, there are several MySQL backup tools available. Each has strengths and weaknesses, but all aim to prevent data loss or corruption.
The top 5 MySQL backup software include:
### SimpleBackups
**Price:** 1 free project. Scale up from $29/ month.
SimpleBackups is a cloud-based MySQL backup software that automates backups on a schedule. The service is an excellent option for users who want straightforward and quick SQL backups. The highlight is that you can set up your MySQL backup in just a few clicks without coding.
SimpleBackups offers [incremental MySQL backups](https://simplebackups.com/blog/how-to-create-an-incremental-mysql-backup-with-simplebackups/#what-is-an-incremental-mysql-backup) to optimize bandwidth usage and storage file sizes. It ensures all backup files are compact and don’t overload your servers. The platform's top features include the following:
- **Robust Security:** SimpleBackups is GDPR compliant and secures your MySQL backup files using AES-256 encryption to prevent authorized access. Its off-site cloud storage prevents data loss from physical server damage and natural disasters. You can also store your files on internal infrastructure for further peace of mind.
This makes SimpleBackups an excellent choice for organizations that operate in regions with strict data protection regulations, like the USA and Europe.
- **Flexible, Maintenance-Free Backups:** The UI follows a calendar schedule. You can select your timezone, backup frequency, and storage options without bash coding or complex set-up procedures. This feature saves time and effort, ensuring your backups are always up-to-date.
- **SimpleStorage:** Offers dedicated storage built on Amazon AWS infrastructure, so you don't have to purchase additional servers or volumes. Each account comes with a built-in SimpleStorage quota to accommodate your complete MySQL backup file.
SimpleStorage is ideal for users who need to store large amounts of data without adding more tools to their stack.
- **Backup Reports and Statistics**: SimpleBackups offers a variety of backup history, size, errors, and retention reports to help you track progress. These reports give insight into date, time, size, and previous backups for easy restoration. Use this data to identify potential problems and optimize your backup schedule.
- **Multiple Integrations**: Users can connect their SimpleBackups account to third-party MySQL DBaaS service or local hosting. These include Amazon RDS, Digital Ocean, Azure, GoogleCloud, and Percona, to name a few. SimpleBackups can help you integrate and back up your data instantly if you use multiple cloud storage providers.
**Pros**:
- Integrates with multiple APIs to connect your backup to existing workflows.
- Supports multiple cloud storage providers.
- Easy-to-use - ideal for people who aren't tech-savvy.
- Offers 24/7 support via chat and email.
- Extensive knowledge base with documentation, blogs, and guides.
- Incremental backups save storage space.
- Prevents MySQL table locks for zero downtime during backups.
- Offers custom flags for MySQL databases
- Detects and alerts anomalies in backup files like missing tables and files.
- The first project is free.
**Cons**:
- Limited customizations - but it’s something we’re working on improving.
**Notes from the Editor:**
We recommend SimpleBackups for MySQL databases because it's intuitive, affordable, and reliable. It offers various features that protect your data while facilitating easy restorations. [Customers have described the platform](https://www.capterra.com/p/184422/SimpleBackups/) as "super-fast," "super-clear," and "super easy to implement."
Book a SimpleBackups demo or [sign up for a free 7-day trial of any of our plans](https://simplebackups.com/pricing)!
### Percona XtraBackup
**Price**: Free
Percona XtraBackup is a free, open-source hot backup MySQL backup software. It can copy and restore data from InnoDB, XtraDB, and MyISAM MySQL servers by creating a copy of its binary log files.
[Percona XtraBackup](https://www.percona.com/software/mysql-database/percona-xtrabackup) offers many enterprise-ready, real-time backup options. It also works as a migration assistant for disaster recovery or new MySQL servers.
**Features**:
- **Multiple Backup Options**: Percona XtraBackup offers hot, incremental, and differential backups.
MySQL hot backups mean no tables are locked, reducing query interruptions. These backups are ideal for production databases.
Incremental backups only capture changes to the MySQL database since the last backup. Differential backups create a full-first backup file. Then it regularly saves changes to the base backup as per your schedule. These backups save time and space.
- **Point-in-time Recovery**: Restore backups to a specific point in time as per your requirements. This feature is ideal for data corruption or hacking attacks, as you can recover prior data.
- **Cloud and On-Premise Storage**: Percona XtraBackup is compatible with several cloud providers like AWS, Google Cloud, Azure, and DropBox. Your MySQL backup can be fully cloud-deployed or a hybrid solution.
- **Automated Backups**: You can automate your MySQL backups through Percona XtraBackup using shell scripts, cron jobs, or third-party tools.
**Pros**:
- Free to use without data restrictions
- Open-source so you can modify its code to meet your criteria
- A reliable and efficient tool for MySQL backups
- Supports multiple MySQL storage engines
- Easy to use
- Community support from other users and expert developers
- Easy to scale for enterprise use
**Cons**:
- Complex to use - especially for advanced use cases
- Its UI is not as feature-rich as other backup tools
- Slow for large databases, especially when creating full backups.
- Must be used with Percona Server
**Notes from the Editor:**
Percona XtraBackup integrates with Percona Server. It might be worth checking out Percona Server as a MySQB backup software instead of relying on two platforms.
### Ottomatik
**Price**: 1 project or up to 1GB free. Then starts from $14/ month.
Ottomatik is a simple, minimal database backup solution focusing on database protection. Its SaaS cloud package allows users to set up a flexible backup schedule based on their needs.
The system relies on a database dump to extract MySQL data and transfer your backups to multiple cloud storage accounts. Ottomatik offers its proprietary cloud storage as a backup option for an additional cost.
**Features**:
- **Supports Multiple Cloud Storage Providers**: Besides their internal cloud storage, you can use your existing Amazon S3, Google Drive, Drob Box, or BackBlaze accounts. It also offers on-premise backups through its user-friendly dashboard.
- **Encryption Protection**: All data is encrypted at rest and during transfers. It allows customized user permission levels and activity logs using public key authentication for an additional security layer. This means your backups are data protection standards-compliant.
- **Automatic MySQL and BinLog Backups**: Configure your MySQL backups daily, weekly, or monthly through Ottomatik. They offer flexible scheduling options and 1-click recovery. You can also run recurring jobs without downtime.
- **Point-and-Click Restore**: Ottomatik backups store individual statement records. It offers dedicated remote container searches, configuration, and replication for precise recovery down to the second. You can also search and flag individual statements for complete transparency.
**Pros**:
- Simple and easy to use.
- The free edition includes 1GB of storage.
- Easy configuration process.
- Quick data restoration and backup testing
- Offers database dumps or entire server backups
- File backup includes transaction logs
**Cons**:
- Doesn’t offer on-premise backup options
- Unsuitable for large networks and quick recovery
**Notes from the Editor**:
Remember, Ottomatik backups are stored on third-party clouds or require an additional subscription. You need to consider additional costs if you consider backing up your MySQL database using Ottomatik.
### Comet Backup
**Price**: Starts from $2/ month.
Comet Backup uses chunking to break up large database files into smaller pieces conveniently. It also uses client-side deduplication and encryption to reduce file storage space.
The platform's API can be expanded to integrate with other data sources and servers. It offers flexible backup solutions and plans based on usage.
**Features**:
- **Internal and Third-Party Storage**: Comet Backups can be stored on various cloud servers like Wasabi, Digital Ocean, Google Cloud, and Amazon S3. You can also use their internal API or an on-premise backup server. Their versatile options can expand to meet your growing databases.
- **Flexible Scheduling**: You can schedule Comet Backups for MySQL to run recurrently at any time of the day. The platform will notify you when backups have failed or are successful to ensure data protection.
- **Encrypted Backups**: Comet Backups offers multiple encryption methods, including AES-256, 2FA, Role-based access controls, and audit logs. With hardware acceleration to speed up backups, your security will never be compromised.
- **Super-Speedy Disaster Recovery**: MySQL databases can be recovered from any point in time through Comet Backups. You can also select individual files for restoration without manually configuring SSH keys or other coding.
**Pros**:
- Simple UI and tools
- Uses chunking to replicate, backup, and compress data faster
- Ideal for use with bandwidth constraints
- Fast database restoration
- Uses hardware acceleration for quick, interruption-free backups
- Lightweight software
**Cons**:
- Unsuitable for enterprise or large-scale databases
- Slow customer support
- Limited features
**Notes from the Editor:**
Comet Backups interoperates with Wasabi. It offers significant discounts and several deployment options when you use Wasabi Cloud storage.
## Choosing the Right MySQL Backup Tool for Your Needs
MySQL enterprise backup tools are increasingly powering production databases. Here are a few considerations to keep in mind when selecting a MySQL backup software for your environment:
- **Backup Requirements:** Define your recovery point and time objectives. Your RPO is the maximum amount of acceptable data loss, while your RTO defines downtime allowance.
- Your backup tool should align with these objectives because you can't afford significant data loss or downtime. Look for software with quick recovery and frequent backups.
- **Backup Types**: Does your MySQL database require a complete, incremental or differential backup? Depending on storage limitations and your requirements, you might need a tool that supports a combination of backup types.
- **Data Volumes and Storage Requirements**: Regular backups mean large storage requirements. Some tools offer compression and deduplication to reduce backup file sizes.
- **Business Size:** Smaller businesses could benefit from lightweight solutions due to simple backup needs. However, large businesses require robust and scalable tools to expand with their requirements.
- **Backup Speed:** This is critical for large databases and tools with downtime. The longer it takes to complete a backup, the more downtime and resources it requires. Evaluate your tool's backup speed to verify it aligns with your data volume.
- **Security and Encryption:** Data security and encryption are fundamental. If your backup isn't safe, you might risk losing as well as your primary data. Look for features like 2FA, AES-256 encryption, and SSL/TLS to secure your data during transmission. Also, look for access control features so you can limit user authorizations.
- **Costs:** Compare different pricing models to your budget. Remember to regard extra storage costs if your backup tool doesn't offer cloud storage.
Without a thorough backup plan and the right tool, your business might be at risk.
## Understanding the Importance of MySQL Backups
MySQL databases often form the backbone of many businesses. These databases typically store and manage web applications, content management systems like WordPress, business intelligence, and analytics.
A loss of sensitive data can severely impact operations and lead to downtime, reputational damage, and financial losses. According to [IBM’s Cost of a Data Breach 2023](https://www.ibm.com/reports/data-breach), it takes businesses, on average, 204 days to detect and contain breaches.
Such a long time can lead to severe reputational damage, legal consequences, and eroding customer trust. Undetected threats also mean prolonged compromisation and extensive damage.
Regular MySQL backups act as a safety net because they contain critical information needed to resume normal operations. This data can be instantly restored to a new server to ensure quick recovery and minimum disruptions.
Accidental data loss or corruption is unfortunate but expected. The [2023 Thales Data Threat Report](https://cpl.thalesgroup.com/data-threat-report) revealed that roughly 37% of surveyed IT professionals experienced data breaches in the past year. Such incidents lead to business liabilities, including fines, legal penalties, lawsuits, security remediation costs, and intellectual property damage.
Without a MySQL backup, you might miss a data corruption incident. It may lead to flawed decision-making, unnecessary delays, errors, and discrepancies in statistics and numbers.
Many industries also have legal obligations to protect sensitive data. Examples include health care, finance and banking, government agencies, retail, e-commerce, and technology. Providers of these services deal with personal data, like medical records, financial details, and purchase history. USA’s CCPA (California Consumer Privacy Act) and HIPAA (Health Insurance Portability and Accountability Act or Europe’s GDPR data protection laws govern how this data is handled.
Backup solutions like SimpleBackups include robust encryption and access controls that help them meet these criteria. SimpleBackups offers multiple encryption layers while complying with data retention requirements. It also provides a well-documented, auditable backup process to minimize the risk of lawsuits and liabilities.
With MySQL backup tools, businesses can maintain continuity and productivity. Knowing that their critical data is securely backed up and recoverable gives peace of mind to all stakeholders.
## Conclusion: Ensuring Data Security with MySQL Backup Tools
Now that you know all about MySQL backup tools, you can make an informed decision about which one to choose for your needs. After considering their features, pros, and cons, you should have a general idea of which product fits your needs.
No matter your priority, MySQL backups are vital to your business operations. They allow quick recovery, enterprise scaling, and consistent database protection beyond automation.
**\
Why not take advantage of a [free SimpleBackups trial or plan](https://simplebackups.com/mysql-backup/) to test its features within your environment?**
---
# 5 Best MySQL Backup Tools in 2024 – Free And Paid
Source: https://simplebackups.com/blog/5-best-mysql-backup-tools-in-2023-free-and-paid
Published: 2023-08-03
Author: Laurent
Summary: Looking for the Best MySQL Backup Tools? Discover top-rated solutions that ensure your data's safety. Click now to find the perfect tool for you!
MySQL databases are used extensively to store financial, technical, and user data.
But have you ever considered the legal, operational, and financial implications of losing this data? Without a MySQL backup, recovering lost data can be nearly impossible, leading to severe consequences.
This article explores different MySQL backup tools to protect all your data.
## Exploring Different MySQL Backup Methods
Your enterprise backup strategy depends on several factors, like hardware, performance goals, data volume, and storage capacity. MySQL supports several database backup solutions, which can be categorized into logical, physical, and snapshot.
Logical backups are ideal for data migration and selective data restoration. Physical backups are high-performing and restore large databases faster than other types. Snapshot backups minimize disruptions in your workflow.
Let's delve deep into the applications, benefits, and drawbacks of each MySQL Backup.
### Logical Backups:
Logical [backups export data from your MySQL database in readable text format](https://dev.mysql.com/doc/refman/8.0/en/backup-types.html#:~:text=Logical%20backups%20are%20performed%20with,INTO%20OUTFILE%20statement.). Typically, these files represent the database’s schemes and data in MySQL statements like INSERT, DELETE, and UPDATE. This makes it easier to understand, manipulate and recreate the database structure.
These backups are portable and platform-independent, so you can quickly restore your data on selected servers. Logical backup files are easy to understand and allow partial restores and data manipulations making them ideal for small to medium-sized databases.
Logical backups are commonly used for data migration and transfers using the “[mysqldump” utility](/blog/the-complete-mysqldump-guide-with-examples). But backup and restoration require significantly more time and storage than physical backups - they aren't suitable for large databases.
### Physical Backups:
Physical backups involve copying individual files directly from your database. This backup captures binary representations of [all MySQL data and their structure](/blog/how-to-show-all-mysql-databases). You can create physical backups using filesystem-level copying (“rsync”) or tools like MySQL Enterprise Backups.
A physical backup contains actual data files and transaction logs, making it more efficient than logical backups. All data is in binary format and doesn’t require SQL processing - restoration is faster.
Physical backups are commonly used for disaster recovery because of their high performance. They are ideal for consistent backups or setting up complete replications of large databases.
However, physical backup files are not easy to read or modify. They are also less portable and server and structure-centric. These features make physical backups less suitable for data migration.
### Snapshot Backups:
[Snapshot backups](/blog/backups-vs-snapshots-with-differences-and-examples) create point-in-time copies of entire databases or specific volumes without any downtime. Each snapshot captures database files, logs, and its storage system structure.
They are often categorized under physical backups because they operate at the storage layer to capture binary data.
These backups are often used in productive environments where disruptions could impact other activities. Snapshot backups can be part of disaster recovery strategies because they are quick and easy to implement.
But compatibility is essential. If your storage system doesn’t support or have sufficient capacity, snapshot backups aren’t an option for you. Cloud providers like AWS offer limited snapshot features for EBS volumes.
## Comprehensive Review of Top MySQL Backup Tools
As with any database, there are several MySQL backup tools available. Each has strengths and weaknesses, but all aim to prevent data loss or corruption.
The top 5 MySQL backup software include:
### #1 Choice: SimpleBackups
Price: 1 free project. Scale up from $39/ month.
SimpleBackups is a cloud-based MySQL backup software that automates backups on a schedule. The service is an excellent option for users who want straightforward and quick SQL backups. The highlight is that you can set up your MySQL backup in just a few clicks without coding.
SimpleBackups offers [incremental MySQL backups](/blog/how-to-create-an-incremental-mysql-backup-with-simplebackups#what-is-an-incremental-mysql-backup) to optimize bandwidth usage and storage file sizes. It ensures all backup files are compact and don’t overload your servers. The platform's top features include the following:
- **Robust Security:** SimpleBackups is GDPR compliant and secures your MySQL backup files using AES-256 encryption to prevent authorized access. Its off-site cloud storage prevents data loss from physical server damage and natural disasters. You can also store your files on internal infrastructure for further peace of mind.
This makes SimpleBackups an excellent choice for organizations that operate in regions with strict data protection regulations, like the USA and Europe.
- **Flexible, Maintenance-Free Backups:** The UI follows a calendar schedule. You can select your timezone, backup frequency, and storage options without bash coding or complex set-up procedures. This feature saves time and effort, ensuring your backups are always up-to-date.
- **SimpleStorage:** Offers dedicated storage built on Amazon AWS infrastructure, so you don't have to purchase additional servers or volumes. Each account comes with a built-in SimpleStorage quota to accommodate your complete MySQL backup file.
SimpleStorage is ideal for users who need to store large amounts of data without adding more tools to their stack.
- **Backup Reports and Statistics**: SimpleBackups offers a variety of backup history, size, errors, and retention reports to help you track progress. These reports give insight into date, time, size, and previous backups for easy restoration. Use this data to identify potential problems and optimize your backup schedule.
- **Multiple Integrations:** Users can connect their SimpleBackups account to third-party MySQL DBaaS service or local hosting. These include Amazon RDS, Digital Ocean, Azure, GoogleCloud, and Percona, to name a few. SimpleBackups can help you integrate and back up your data instantly if you use multiple cloud storage providers.
**👍 Pros**:
- Integrates with multiple APIs to connect your backup to existing workflows.
- Supports multiple cloud storage providers.
- Easy-to-use - ideal for people who aren't tech-savvy.
- Offers 24/7 support via chat and email.
- Extensive knowledge base with documentation, blogs, and guides.
- Incremental backups save storage space.
- Prevents MySQL table locks for zero downtime during backups.
- Offers custom flags for MySQL databases
- Detects and alerts anomalies in backup files like missing tables and files.
- The first project is free.
**👎 Cons**:
- Limited customizations - but it’s something we’re working on improving.
**Notes from the Editor:**
> _We recommend SimpleBackups for MySQL databases because it's intuitive, affordable, and reliable. It offers various features that protect your data while facilitating easy restorations. [Customers have described the platform](https://www.capterra.com/p/184422/SimpleBackups/) as "super-fast," "super-clear," and "super easy to implement."_
Every plan comes with a free 7-day trial.
### Percona XtraBackup
**Price**: Free
Percona XtraBackup is a free, open-source hot backup MySQL backup software. It can copy and restore data from InnoDB, XtraDB, and MyISAM MySQL servers by creating a copy of its binary log files.
[Percona XtraBackup](https://www.percona.com/software/mysql-database/percona-xtrabackup) offers many enterprise-ready, real-time backup options. It also works as a migration assistant for disaster recovery or new MySQL servers.
**Features**:
- Multiple Backup Options: Percona XtraBackup offers hot, incremental, and differential backups.
MySQL hot backups mean no tables are locked, reducing query interruptions. These backups are ideal for production databases.
Incremental backups only capture changes to the MySQL database since the last backup. Differential backups create a full-first backup file. Then it regularly saves changes to the base backup as per your schedule. These backups save time and space.
- **Point-in-time Recovery:** Restore backups to a specific point in time as per your requirements. This feature is ideal for data corruption or hacking attacks, as you can recover prior data.
- **Cloud and On-Premise Storage:** Percona XtraBackup is compatible with several cloud providers like AWS, Google Cloud, Azure, and DropBox. Your MySQL backup can be fully cloud-deployed or a hybrid solution.
- **Automated Backups:** You can automate your MySQL backups through Percona XtraBackup using shell scripts, cron jobs, or third-party tools.
**👍 Pros**:
- Free to use without data restrictions
- Open-source so you can modify its code to meet your criteria
- A reliable and efficient tool for MySQL backups
- Supports multiple MySQL storage engines
- Easy to use
- Community support from other users and expert developers
- Easy to scale for enterprise use
**👎 Cons**:
- Complex to use - especially for advanced use cases
- Its UI is not as feature-rich as other backup tools
- Slow for large databases, especially when creating full backups.
- Must be used with Percona Server
**Notes from the Editor:**
> _Percona XtraBackup integrates with Percona Server. It might be worth checking out Percona Server as a MySQB backup software instead of relying on two platforms._
### Ottomatik
Price: 1 project or up to 1GB free. Then starts from $14/ month.
Ottomatik is a minimal database backup solution focusing on database protection. Its SaaS cloud package allows users to set up a flexible backup schedule based on their needs.
The system relies on a database dump to extract MySQL data and transfer your backups to multiple cloud storage accounts. Ottomatik offers its proprietary cloud storage as a backup option for an additional cost.
**Features:**
- **Multiple Cloud Storage Providers Supported:** Besides their internal cloud storage, you can use your existing Amazon S3, Google Drive, Drob Box, or BackBlaze accounts. It also offers on-premise backups through its user-friendly dashboard.
- **Encryption Protection:** All data is encrypted at rest and during transfers. It allows customized user permission levels and activity logs using public key authentication for an additional security layer. This means your backups are data protection standards-compliant.
- **Automatic MySQL and BinLog Backups:** Configure your MySQL backups daily, weekly, or monthly through Ottomatik. They offer flexible scheduling options and 1-click recovery. You can also run recurring jobs without downtime.
- **Point-and-Click Restore:** Ottomatik backups store individual statement records. It offers dedicated remote container searches, configuration, and replication for precise recovery down to the second. You can also search and flag individual statements for complete transparency.
**👍 Pros:**
- The free edition includes 1GB of storage.
- Quick data restoration and backup testing
- Offers database dumps or entire server backups
- File backup includes transaction logs
**👎 Cons:**
- Doesn’t offer on-premise backup options
- Unsuitable for large networks and quick recovery
- Not very user-friendly
**Notes from the Editor:**
> _Remember, Ottomatik backups are stored on third-party clouds or require an additional subscription. You need to consider additional costs if you consider backing up your MySQL database using Ottomatik._
### Comet Backup
Price: Starts from $2/ month.
Comet Backup uses chunking to break up large database files into smaller pieces conveniently. It also uses client-side deduplication and encryption to reduce file storage space.
The platform's API can be expanded to integrate with other data sources and servers. It offers flexible backup solutions and plans based on usage.
**Features:**
- **Internal and Third-Party Storage:** Comet Backups can be stored on various cloud servers like Wasabi, Digital Ocean, Google Cloud, and Amazon S3. You can also use their internal API or an on-premise backup server. Their versatile options can expand to meet your growing databases.
- **Flexible Scheduling:** You can schedule Comet Backups for MySQL to run recurrently at any time of the day. The platform will notify you when backups have failed or are successful to ensure data protection.
- **Encrypted Backups:** Comet Backups offers multiple encryption methods, including AES-256, 2FA, Role-based access controls, and audit logs. With hardware acceleration to speed up backups, your security will never be compromised.
- **Super-Speedy Disaster Recovery:** MySQL databases can be recovered from any point in time through Comet Backups. You can also select individual files for restoration without manually configuring SSH keys or other coding.
**👍 Pros:**
- Uses chunking to replicate, backup, and compress data faster
- Ideal for use with bandwidth constraints
- Fast database restoration
- Uses hardware acceleration for quick, interruption-free backups
- Lightweight software
**👎 Cons:**
- Unsuitable for enterprise or large-scale databases
- Slow customer support
- Limited features
**Notes from the Editor:**
Comet Backups interoperates with Wasabi. It offers significant discounts and several deployment options when you use Wasabi Cloud storage.
## Choosing the Right MySQL Backup Tool for Your Needs
MySQL enterprise backup tools are increasingly powering production databases. Here are a few considerations to keep in mind when selecting a MySQL backup software for your environment:
- **Backup Requirements:** Define your recovery point and time objectives. Your RPO is the maximum amount of acceptable data loss, while your RTO defines downtime allowance.
Your backup tool should align with these objectives because you can't afford significant data loss or downtime. Look for software with quick recovery and frequent backups.
- **Backup Types:** Does your MySQL database require a complete, incremental or differential backup? Depending on storage limitations and your requirements, you might need a tool that supports a combination of backup types.
- **Data Volumes and Storage Requirements:** Regular backups mean large storage requirements. Some tools offer compression and deduplication to reduce backup file sizes.
- **Business Size:** Smaller businesses could benefit from lightweight solutions due to simple backup needs. However, large businesses require robust and scalable tools to expand with their requirements.
- **Backup Speed:** This is critical for large databases and tools with downtime. The longer it takes to complete a backup, the more downtime and resources it requires. Evaluate your tool's backup speed to verify it aligns with your data volume.
- **Security and Encryption:** Data security and encryption are fundamental. If your backup isn't safe, you might risk losing as well as your primary data. Look for features like 2FA, AES-256 encryption, and SSL/TLS to secure your data during transmission. Also, look for access control features so you can limit user authorizations.
- **Costs:** Compare different pricing models to your budget. Remember to regard extra storage costs if your backup tool doesn't offer cloud storage.
Without a thorough backup plan and the right tool, your business might be at risk.
## Understanding the Importance of MySQL Backups
MySQL databases often form the backbone of many businesses. These databases typically store and manage web applications, content management systems like WordPress, business intelligence, and analytics.
A loss of sensitive data can severely impact operations and lead to downtime, reputational damage, and financial losses. According to [IBM’s Cost of a Data Breach 2023](https://www.ibm.com/reports/data-breach), it takes businesses, on average, 204 days to detect and contain breaches.
Such a long time can lead to severe reputational damage, legal consequences, and eroding customer trust. Undetected threats also mean prolonged compromisation and extensive damage.
Regular MySQL backups act as a safety net because they contain critical information needed to resume normal operations. This data can be instantly restored to a new server to ensure quick recovery and minimum disruptions.
Accidental data loss or corruption is unfortunate but expected. The [2023 Thales Data Threat Report](https://cpl.thalesgroup.com/data-threat-report) revealed that roughly 37% of surveyed IT professionals experienced data breaches in the past year. Such incidents lead to business liabilities, including fines, legal penalties, lawsuits, security remediation costs, and intellectual property damage.
Without a MySQL backup, you might miss a data corruption incident. It may lead to flawed decision-making, unnecessary delays, errors, and discrepancies in statistics and numbers.
Many industries also have legal obligations to protect sensitive data. Examples include health care, finance and banking, government agencies, retail, e-commerce, and technology. Providers of these services deal with personal data, like medical records, financial details, and purchase history. USA’s CCPA (California Consumer Privacy Act) and HIPAA (Health Insurance Portability and Accountability Act or Europe’s GDPR data protection laws govern how this data is handled.
Backup solutions like SimpleBackups include robust encryption and access controls that help them meet these criteria. SimpleBackups offers multiple encryption layers while complying with data retention requirements. It also provides a well-documented, auditable backup process to minimize the risk of lawsuits and liabilities.
With MySQL backup tools, businesses can maintain continuity and productivity. Knowing that their critical data is securely backed up and recoverable gives peace of mind to all stakeholders.
## Conclusion: Ensuring Data Security with MySQL Backup Tools
Now that you know all about MySQL backup tools, you can make an informed decision about which one to choose for your needs. After considering their features, pros, and cons, you should have a general idea of which product fits your needs.
No matter your priority, MySQL backups are vital to your business operations. They allow quick recovery, enterprise scaling, and consistent database protection beyond automation.
**Why not take advantage of a [free SimpleBackups trial or plan](/mysql-backup) to test its features within your environment?**
---
# 4 Most Powerful MongoDB Backup Tools Ultimate Comparison (2024)
Source: https://simplebackups.com/blog/4-most-powerful-mongodb-backup-tools-ultimate-comparison-2023
Published: 2023-07-29
Author: Laurent
Summary: Optimize data security with 4 essential MongoDB backup tools for 2024. Ensure robustness & resilience in your databases today!
Do you manage several databases? Are you afraid of losing all your valuable data to accidents or hardware failures?
Without an effective MongoDB backup tool, your fears might become a reality. A database backup is essential to prevent data loss in unexpected circumstances. They also ensure you can recover and restore data so your organization can survive.
This article will give you 4 powerful MongoDB backup tools to secure your database.
## Introduction to External MongoDB Backup Tools
MongoDB offers basic backups through its built-in [MongoDump and MongoRestore](https://simplebackups.com/blog/how-to-back-up-mongodb-a-complete-guide/). But these tools lack advanced features offered by third-party alternatives.
An external MongoDB backup tool enhances the general backup and recovery process. Their features include:
* Automate backups to create regular and consistent schedules. Depending on your tool, you can schedule daily, weekly, or monthly backups at a specific time. This way, you don’t have to remind yourself to create data copies.
* Incremental backups instead of full backups. This means saving only changed data to reduce backup time and storage.
* Point-in-time recovery allows users to restore databases at specific times. This is particularly useful in case your data gets corrupted or deleted. You can track changes, manage different versions or roll back to a specific bug-free state.
* File Compression and deduplication for efficient use of available storage. This means the MongoDB backup tool removes duplicate files and stores unique data. It also shrinks your files to reduce overall database backup size.
* Cloud services allow data storage in diverse locations. [Cloud infrastructures](https://simplebackups.com/blog/public-vs-private-vs-hybrid-clouds-cloud-infrastructures-explained/) improve data protection and disaster recovery. Since there are no physical servers, you can access your data whenever, wherever you need, without the extra risk of hardware damage.
* Encryption and data security protect sensitive data, including user information and payment details. Top backup tools like [SimpleBackups use military-grade AES-256](https://simplebackups.com/blog/how-to-encrypt-your-backups-using-simplebackups/#:~:text=At%20SimpleBackups%2C%20we%20use%20AES,on%20its%20way%20to%20storage.) protocols to prevent unauthorized access.
* Verification checks confirm your backup files' accuracy, authenticity, and reliability. Third-party MongoDB backup tools carry out tests to identify problems with backups. This validates that restored files aren't corrupt, damaged, or inaccurate.
* Monitoring and reporting let users check on backup statuses, success rates, and potential errors. Some tools use email or push notifications to warn users of backup failures.
* Data migration support facilitates easy transfers of your MongoDB database backup. For example, you can move your database from a physical, on-premise server to cloud services using these tools.
* Disaster recovery relies on failover mechanisms or multi-region replication. This is a comprehensive data-loss solution. If primary backup replica sets fail, a secondary set is always available for access for optimized data availability.
Simply put, these tools boost security and flexibility. With these criteria and your unique requirements in mind, selecting a MongoDB backup and restore tool becomes pretty simple.
## A Deep Dive into MongoDB Backup Tools
There are many MongoDB backup tools on the market. To help you choose an ideal one, this list explores the top 4 tools and their key features.
### SimpleBackups
As the name implies, SimpleBackups is an easy-to-use MongoDB backup and restore tool. It combines robust security, convenient cloud services, and intuitive scheduling for an optimized backup solution.
#### Features
* **Top-notch security:** All database backups are encrypted using RSA keys, 2-factor authentication, and AES-256. These protocols mean, SimpleBackups always secures your backup data.
* **Multiple Database and Storage Compatibility:** In addition to MongoDB, SimpleBackups also supports MySQL, PostgreSQL, and Redis databases, to name a few.
* **Multiple cloud storage providers supported:** You can back up your MongoDB database to their internal AWS infrastructure or other supported providers,, such asWasabi, Dropbox, Microsoft Azure, or Google Cloud
* **Automated, Customizable Backup Schedule:** Backup scheduling is entirely customizable. Your choices include a pre-set daily, weekly, monthly, or on-demand schedule. You can also trigger backups and restoration remotely with SimpleBackups’ API.
* **Incremental Backups:** Only the first backup includes all files and folders. All subsequent SimpleBackup runs are restricted to changed files. This optimizes data storage and reduces redundancies.
* **Teams, Projects and Users:** With SimpleBackups, you can create a team or project, add members and designate roles. Flexible resource access management is essential if your MongoDB database contains business information or you work with multiple companies.
**Pros**
* Covers backup and restoration processes.
* Integrates with multiple popular databases and cloud services
* Industry-leading security and data encryption
* Straightforward setup without scripts or codes
* Anomaly detection, so you don't have to check in on backups. The interface will automatically notify you via Email, Slack, Discord, PushOver, or webhook if something goes wrong.
* MongoDB optimized using expert-created scripts.
* Offers data analytics and metrics like running backup reports and storage consumption.
**Cons**
* The free version is limited to 1 backup job.
[Sign up for a free SimpleBackups trial](https://my.simplebackups.com/register?sb_source=website&sb_term=navigation&_gl=1*x0ym60*_gcl_au*MTEwOTIwMzQ1LjE2ODg2NDIwMjg.) to explore our features.
### Percona
Percona is an adaptable MongoDB backup tool. It is available as an on-premise bundle that can be deployed to Google Cloud, AWS, Azure, and other cloud services. The software works by replicating the entire original database.
#### Features
* Point-in-Time Recovery: Percona XtraBackup allows you to restore your database to a specific point in time. This feature is crucial for data recovery and minimum data loss.
* Hot Backups Percona’s services are designed to incrementally or fully automate backups without downtime. However, this feature is limited to open-source, physical data backups.
* Advanced Logging and Auditing Persona’s MongoDB backup tool offers configurable audit logging compared to the database’s standard edition. You can monitor and track all activity for compliance and security audits.
* Data-at-Rest Encryption Percona’s data-at-rest encryption is designed for the MongoDB WiredTiger Storage engine. This feature adds an extra layer of security. Even if unauthorized access occurs, data remains protected by a master key.
**Pros**
* Minimum downtime during the backup process
* Open-source server
* Percona community offers extensive support and resources
* Installs on cloud services or Linux
* Free service
**Cons**
* Lacks professional customer support
* Not Windows or macOS compatible
* Uses a command-line system - its interface is complicated for beginners.
### MongoDB Atlas
MongoDB Atlas was designed by the software house to automate backups. Its cloud services are specialized for use with MongoDB databases. Organizations and developers can create, manage, grow, back up, and restore their databases through the platform.
#### Features
* **Multiple Security Measures:** MongoDB Atlas implements various security measures, including network isolation, IP whitelists, access control, and VPC peering. It also offers encryption at the field level and when data is in transit or at rest.
* **Easy Scalability:** Uses ranged, hashed, or zone sharding to scale your MongoDB database and backups without downtime.
* **Native Automation Tools:** Offer automation for several database backup tasks, including configuration, patching, upgrades, monitoring, alerts, and disaster recovery.
* **Real-Time Alerts and Analytics:** Get live alerts through built-in tracking and monitoring. Customized alerts let you solve problems with your backups before they impact performance.
**Pros**
* Fully managed internal service - don't worry about setups or maintenance.
* Automatically deploys to new versions of MongoDB
* Easy-to-use
* Machine learning capabilities
**Cons**
* Unsuitable for complex queries
* No specific UX design for responsive management
* Difficulty working with multiple clusters and collections with hundreds of entries
### MongoDB Ops Manager
MongoDB’s Ops Manager is a straightforward cloud backup tool that manages, monitors, and operates your database. It integrates easily with your MongoDB database to simplify database operations.
#### Features
* **Automated Built-in Backups:** With Ops Manager, you can automate backups. It supports point-in-time recovery, query profiling, and automated replica set deployments.
* **Monitoring Capabilities:** The MongoDB backup tool has extensive monitoring capabilities to offer real-time insight. These include key metrics on query and cluster performance to troubleshoot bottlenecks. Ops Manager also integrates with MongoDB charts to visualize this data.
* **Customized Alerts:** Users can set up customized alerts based on various performance factors. You can also enable proactive monitoring.
* **Security Deployments:** Offers multiple security and encryption layers, including native authentication, TLS/SSL, IP whitelisting, and key management.
**Pros**
* Central management - backup multiple MongoDB databases from a single interface
* Simple restoration process with added data protection
* LDAP and Active Directory integrations
* Automatic scaling with MongoDB clusters
**Cons**
* Locked-in Vendor
* Complicated interface
* Limited customization tools
## Key Factors to Consider When Choosing a MongoDB Backup Tool
When selecting a MongoDB backup tool, you should consider things like:
* Essential features like automated scheduling, point-in-time recovery, data compression, and encryption
* An easy-to-use, intuitive interface
* Scalability to handle the size of your MongoDB database and support future growth
* Performance to minimize downtime and disruptions
* Maximum security and encryption to protect sensitive data
* Multiple, flexible storage options
You must also evaluate the tool's cost and trade-offs to ensure efficient and strategic backups.
A tool with sophisticated features might come at a higher cost. So, ask yourself, do the tool's features align with your needs and justify its costs?
The trade-off between backup frequency and resources might prevent system overloads. Balancing your database size and recovery time for optimal data restoration is essential.
The final consideration is to compare the tool’s security features to its management and implementation processes. This helps you achieve the desired level of protection.
Consider your backup priorities, scalability plans, performance impacts, and vendor reputation to make an informed decision.
## MongoDB Built-in Backup Features
MongoDB offers two native backup tools.
MongoDump is easy to use. It uses a command line interface, making it accessible to developers and administrators. It allows flexible backups, allowing you to select particular databases, collections, or even query results.
By locking the database and modifications during backup, MongoDump delivers data consistency. However, this lock might result in slower performances and downtime.
Furthermore, MongoDump uses single-thread processing. This might slow down large data-intensive MongoDB backups.
MongoRestore is simple and makes restoring data a breeze. It can restore specific collections, subsets, or individual databases for ultimate customization.
Like MongoDump, MongoRestore is single-threaded - this speeds up restoration speeds of small datasets, But MongoRestore is unsuitable for large data sets as it can experience severe disruptions.
## Conclusion - Ensuring Data Safety with MongoDB Backup Tools
MongoDB backup tools are helpful for everyone, from individuals to large businesses. If data protection is vital to you, it's crucial to consider an effective backup mechanism.
With a leading backup tool like SimpleBackups, you can rest assured your sensitive data is safe and always accessible, even during disruptions.
Supercharge your backups and database management with SimpleBackups. You can test the waters with a free account for your first backup project.
---
# MongoDb Backup. A Complete Guide
Source: https://simplebackups.com/blog/how-to-back-up-mongodb-a-complete-guide
Published: 2023-07-18
Author: Laurent
Summary: Unlock the secrets of seamless MongoDB backups with our comprehensive guide. Safeguard your data like a pro. Get started today!
This article will give you an overview of MongoDB and explain how to create secure data backups.

## The Need for Backing Up MongoDB
As with every database, regularly backing up MongoDB is paramount to prevent data loss or compromisation due to malfunctions, human error, cyberattacks, or any disasters.
Additional benefits of regular backups include:
* **[Solid data security](https://simplebackups.com/blog/security-for-saas-applications-understanding-the-benefits-examples-challenges-and-best-practices/) against cyberattacks, breaches, and sprawls**: You can rest assured your backup is stored separately from primary systems by creating multiple data copies. The backup data remains protected and accessible by authorized people despite a compromised production system.
* **Easy management when restoring data:** In the event of critical system issues, having a backup readily available means recovery is a breeze. It helps administrators restore data to specific time stamps to reduce downtime and data loss.
* **Accurate data replica sets:** It's like rewinding in real-time. Replica sets maintain multiple copies of data in different locations. So, data is synchronized to other locations for easy access during hardware or network failures.
* **Compliance with standards and legalities:** Depending on your storage region, different laws apply to backups. For instance, Europe’s GDPR policy protects personal data and emphasizes the need for regular backups and recovery procedures. Another example is USA’s HIPAA (Health Insurance Portability and Security Act). Healthcare providers must have adequate backup and recovery measures that protect health information.
* **Undisrupted performance and uptime:** Incremental backups capture changes since the last backup - this can be at specific time stamps like every hour or once a day during less activity periods. Consequently, this reduces resource usage, the time needed to back up, and interruptions.
## MongoDB Backup Strategies
While choosing a backup strategy for MongoDB, consider the traffic you are handling and your server's CPU, RAM, and disk space when deciding which backup process(es) to deploy.
Depending on your hardware, your options include:
**1️⃣ MongoDump Command ⭐️**
This logical backup compiles data from the client API and dumps it into a designated BSON backup file. File collection at a granular (high-detail and individual level) makes restoration easier. Specific, unnecessary nodes remain accessible during backups.
Remember that this option is better for small to medium-sized deployments, not large systems.
MongoDump uses one CPU core or a single-threaded backup, limiting performance with massive amounts of data.
Space and memory requirements also become difficult to manage.
**2️⃣ MongoDB Cloud Manager/ Atlas**
This cloud-based option uses native snapshots of your data as backups. You can trigger these snaps whenever required or configure a predesignated time for regular, recurring backups.
**3️⃣ MongoDB Ops Manager**
This application runs in your data center to continuously back up data. It provides point-in-time restore options through an agent that connects to your database.
Oplogs consistently compress and encrypt data after initial synchronization. This creates database snapshots every 6 hours and stores them for 24 hours.
You can customize the snapshot schedule, but it depends on network speed. Slow internet connections can be problematic and disrupt uploads.
**4️⃣ Database Files Snapshot**
The most straightforward backup solution instantly copies and stores all data in a secure, physical location.
[MongoDB](https://simplebackups.com/mongodb-backup/) doesn’t automatically pause operations.
*Experts recommend stopping all write operations to ensure consistency. Although you have complete control over snapshots, restoration is complex and only available at breakup points.*
## 1️⃣ Step-by-step Guide to MongoDB Dump
MongoDB Dump is a command-line tool that creates binary backups of your database. It’s the easiest way to back up your data and offers flexibility, low maintenance costs, and easy-back-ups even for beginners.
We've also create a complete guide explaining you [how to use mongodump with examples](/blog/the-complete-mongodump-guide-with-examples/).
We'll cover below the most common use cases for `mongodump`:
### Mongo database Backup with no options
This step generates a dump folder in the current directory. From the system command line, run `MongoDump` using the command:
```shell
mongodump
```
### Remote and Secure MongoDB Instances
Host and port numbers can be customized with the -URI string. Here is an example of the command:
```shell
mongodump --uri="mongodb://:"
```
For a specific port number, use the following:
```shell
mongodump --host="" --port=
```
### Collections and Databases
You can run a -DB instance using:
```shell
mongodump --db=
```
But, to select an entire collection, execute:
```shell
mongodump --db= --collection=
```
To exclude certain collections use:
```shell
mongodump --db= --excludeCollection=.
```
💡 For more information, configuration and example of `mongodump`, check out our [complete guide on mongodump](/blog/the-complete-mongodump-guide-with-examples/).
### Restoring MongoDB from Backup
In addition to its backup tools, MongoDB offers a simple restoration utility called Mongorestore. If you used the MongoDump tool to create your backup, you can enter the following syntax to deploy the restore process:
```shell
mongorestore
```
## 2️⃣ Replication as a Backup Method
In a nutshell, [MongoDB replication](https://www.mongodb.com/docs/manual/replication/) creates multiple copies of the same data on multiple MongoDB servers. To create a new replica set:
### 1. Initiate Mongod
To enable the MongoDB instance you desire, specify its port value and path through system commands using:
```shell
mongod --port 27017 --dbpath /var/lib/mongodb --replSet replicaSet1
```
### 2. Configure Replica Set
Replica sets involve multiple instances communicating with each other. However, you must establish their link by specifying their hostname and IPs. Use the code:
```shell
mongo –host node-2 –port 27017
mongo –host node-3 –port 27017
```
Please note these commands must be used for every server changing their port and path as required.
### 3. Enable Replication
After configuring your replica sets, open the Mongo Shell from your primary instance. Use the command:
```shell
rs.initiate()
```
The Mongo Shell should change to the replica set’s name.
### 4. Add MongoDB instances to the replica set
Once your Replica set is prepared, initialize it by adding instances. To do so, enter the syntax:
```shell
rs.add()
```
You can check the status of the replication using:
```shell
rs.status()
```
To remove an instance, you must shut it down first through:
```shell
db.shutdownserver
```
Then, connect with the primary server and use the following remove command:
```shell
rs.remove("server_name")
```
## Conclusion
Backups are critical for various reasons, including data protection, compliance, and business continuity. Fortunately, MongoDB offers various mechanisms to help back up your data instantly.
The MongoDump feature is the easiest to use for small files and offers flexibility, low maintenance costs, and easy-back-ups even for beginners.
But, [SimpleBackups](https://simplebackups.com/) can automate the process for you, protect your data and eliminate the risk of data loss. You can discover the tool’s reliability with a commitment-free trial.
Remember to back up and test your data and protection measures regularly.
## Frequently Asked Questions (FAQs)
### What are the main differences between MongoDB Dump and MongoDB Export?
The key differences lie in their data format and granularity levels. MongoDB Dump creates binary backups of the entire database or specific collections. It captures data at lower levels, including all data structures and indexes, making it ideal for complete backups or point-in-time recovery.
On the other hand, MongoDB Export exports data in specific formats like JSON or CSV. It allows you to select query results and portions of the database for more granular control. You can also filter fields and other conditions.
### How often should I back up my MongoDB database?
Backup frequency depends on how much data there is, how frequently it is changed, and how critical it is.
### What are the key considerations when choosing a third-party backup tool for MongoDB?
Ensure the tool is compatible with MongoDB and offers backup automation, scheduling, and support features. Also, consider security features, scalability, and ease of use.
### How do I automate the backup process in MongoDB?
Schedule your MongoDB backups using a tool like [SimpleBackups](https://simplebackups.com/blog/backup-as-a-service-how-it-works-benefits-and-challenges/).It will automate the process for you, so all you have to do is enter the basic script on MongoDB's shell.
### What are some common mistakes to avoid when backing up MongoDB?
Common mistakes include not testing the restoration process, neglecting encryption, and not having remote cloud backups to protect data against physical damage.
### What are the steps to restore MongoDB from a backup?
Use the MongoRestore command tool, specifying the backup directory or file. The shell will restore your data, indexes, and configuration automatically.
### What are file system snapshots, and how do they work with MongoDB?
File system snapshots capture a specific point-in-time of the entire data file, including MongoDB files. Operations freeze to create a consistent Xerox copy of the files. This eliminates the need for separate backups on MongoDB.
### How do I ensure the security of my MongoDB backups?
It is recommended to use encryption features like access control and user authentication during backup and upload. Also, using a cloud provider can protect your backup against evolving threats.
### How can I test the integrity of my MongoDB backups?
Perform regular restores and validate that all the data matches your original data. Also, test the functionality of the data in case of file corruption.
### How does replication serve as a backup method in MongoDB?
Replication serves as a backup form, creating data redundancies across multiple servers.
---
# Public vs. Private vs. Hybrid Clouds: Cloud Infrastructures Explained
Source: https://simplebackups.com/blog/public-vs-private-vs-hybrid-clouds-cloud-infrastructures-explained
Published: 2023-07-08
Author: Kuba
Summary: Dive into Cloud Computing! Decode the differences, advantages, and usage of Public, Private, and Hybrid Clouds.
Cloud computing is an easy-to-access networked computing model that delivers digital and IT infrastructure to end users. This technology has grown significantly due to rising security and storage needs.
You probably already use a cloud, as this networked computing model has revolutionized people's work. But each business is diverse and has its own needs. Therefore, there's no one-size-fits-all approach to cloud deployment.
You have three primary options: a public cloud, a private cloud, and a hybrid cloud. This article covers what they are and their key differences.
## Understanding Cloud Computing
Cloud computing refers to a variety of internet-based services. These resources include databases, storage, servers, networks, etc. The cloud relies on remote databases instead of storing files on a local, proprietary hard drive or device. As long as your device connects to the internet, it can access the software required.
There are five essential criteria for cloud services:
1. Deployment and stopping services depend on the customer without provider interaction.
2. Service is available to all devices using the specified network.
3. Easy scaling and rapid expansion.
4. Charges based on usage.
5. Resources pooled and dynamically allocated to all users.
The public cloud is the most common model, with [96% of businesses deploying at least one](https://info.flexera.com/CM-REPORT-State-of-the-Cloud?utm_source=bing&utm_medium=ppc&utm_campaign=cco_nam_2022&campaign=7018Y000001dmk1&utm_source=bing&utm_medium=cpc&utm_campaign=Branded&campaignid=392129421&adgroupid=1326012461457900&utm_term=flexera%20cloud%20computing&https%3A%2F%2Finfo.flexera.com%2FCM-REPORT-State-of-the-Cloud%3Futm_source%3Dbing%26utm_medium%3Dppc%26utm_campaign%3Dcco_nam_2022%26campaign%3D7018Y000001dmk1&_bt=&_bk=flexera%20cloud%20computing&_bm=p&_bn=o&_bg=1326012461457900&msclkid=4714b0ebfad518e3f0add3734b8fc3f2). A public cloud relies on third-party service providers for its resources, including servers and storage. It is often referred to as an IaaS or infrastructure-as-a-service.
The provider owns and manages all software, hardware, and supporting infrastructure and shares it with other cloud tenants or organizations. In addition to storage, a public cloud is typically used to host emails, online applications, and a testing environment. Public cloud solutions include Microsoft Azure, Google Workspace, Dropbox, and streaming services like Netflix.
On the other hand, private cloud resources are exclusively used by one organization. You can have the private cloud on a physical data center in your office or hosted by an external provider. Nonetheless, all infrastructure and services, including hardware and software, and kept on a private, dedicated network, like AWS (Amazon Virtual Private Cloud), Cisco, IBM, and Oracle.
A hybrid cloud is a fusion of public and private deployment. Public and private resources connect and spree across multiple cloud locations. This usually includes "edge" and on-site data centers. Hybrid clouds are versatile and allow you to create many setups supporting digital transformation and expansion.
## Public Cloud vs. Private Cloud
The significant difference between a private and public cloud is its infrastructure. However, the following table illustrates further variations between the two.
### Key Differences
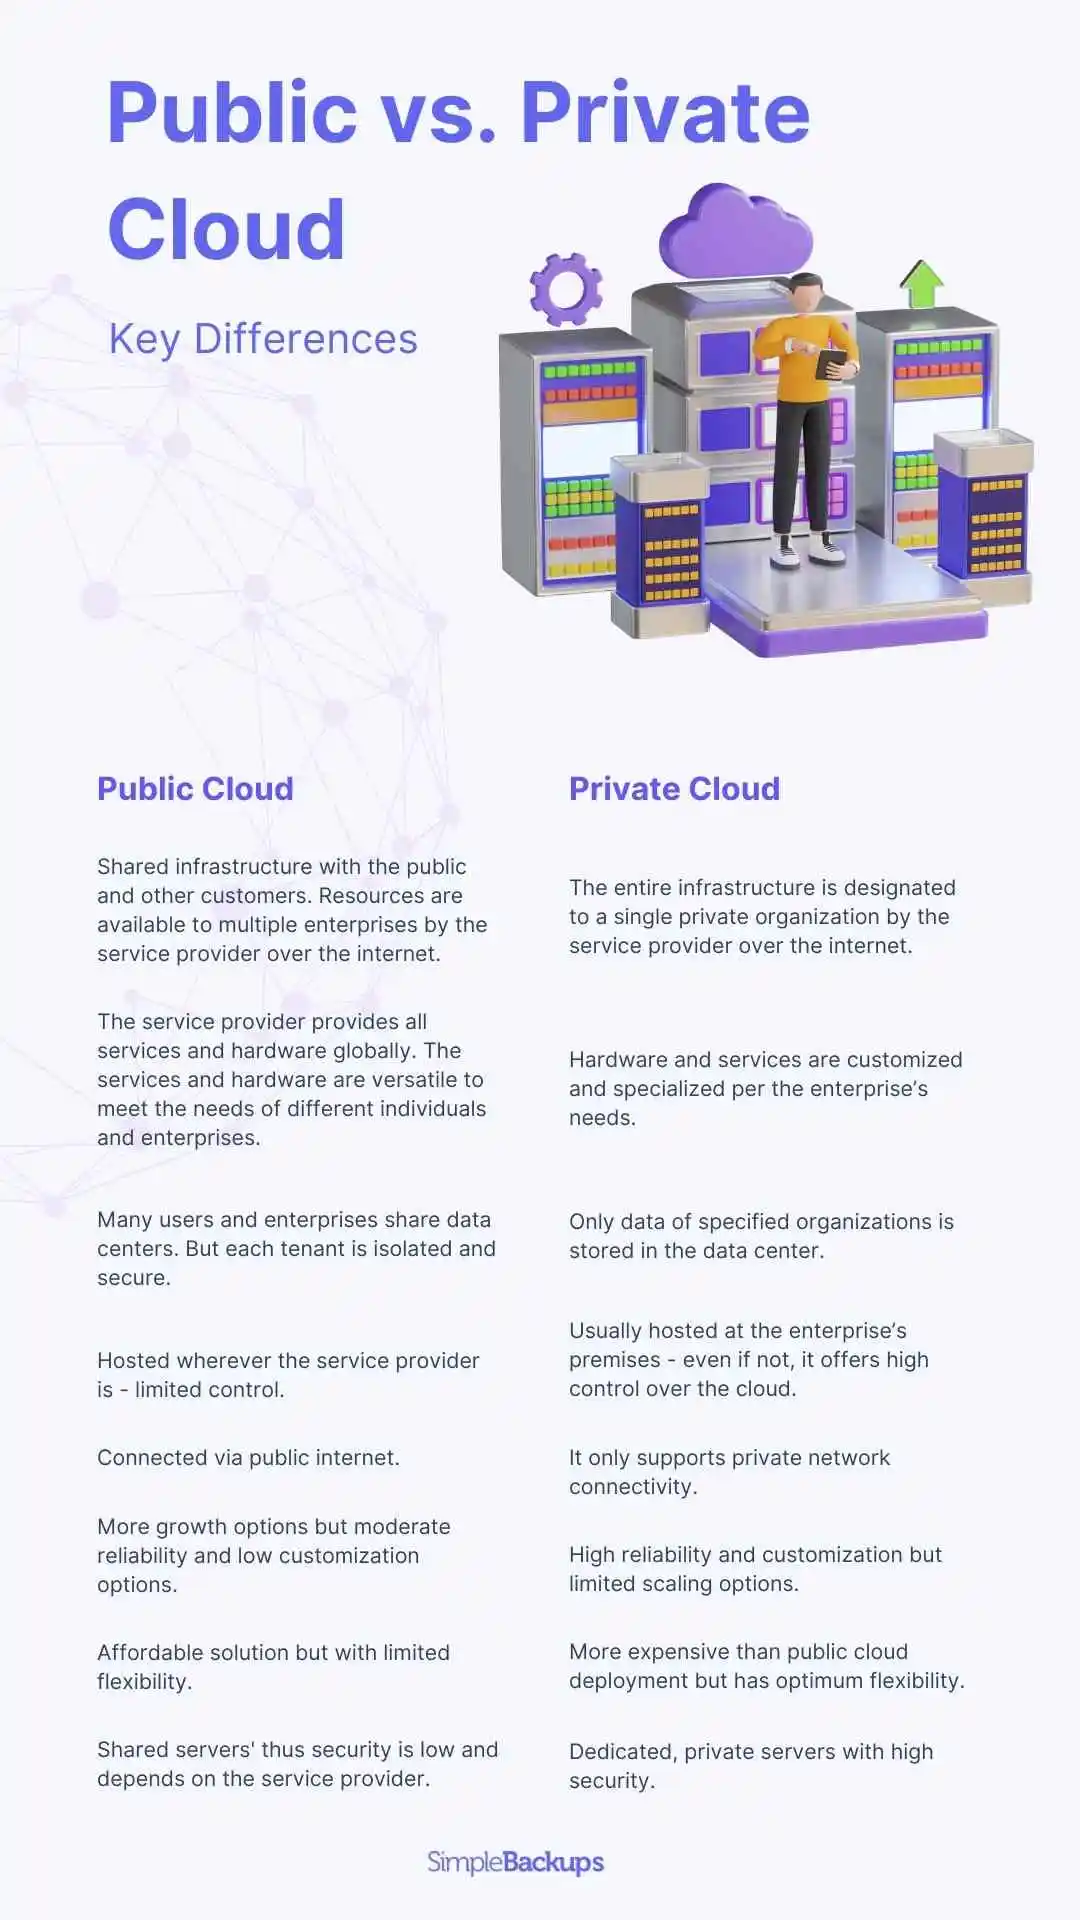
### Cost Comparison
The most significant difference between private and public clouds is their associated costs. Public clouds are affordable but have several drawbacks, like shared resources and low security.
It can be challenging to compare distinct differences; clouds are complex infrastructures that require custom pricing depending on business needs. Costing also depends on how much capacity you require. Public cloud providers usually offer storage in predefined bundles, with extra resources returning to the shared pool.
On the contrary, with private clouds, you can pay as you go or opt for a fixed monthly price for your isolated environment.
## The Pros and Cons of Public and Private Clouds
Now that we have distinguished the main characteristics that set a public and private cloud apart, let's move on to the pros and cons.
### Pros of Public Clouds:
- Public clouds are agile. New computing resources can be deployed and altered easily per the organization's changing needs.
- It's easier to add more computing resources to public clouds because of automated scaling. Organizations don't have to worry about adding storage or investing in hardware.
- Public clouds offer more uptime and continuity because data centers are distant from their premises. In case of natural disasters, this offers additional security.
- A public cloud makes it easier to access high-performance computing resources while only paying for what you use. Unlike smaller businesses, public cloud providers can afford the latest technology and expansion.
- Economies of scale are achieved, keeping costs incredibly low. Users can also save money since no IT staff is required to manage hardware.
- It enables mobility and remote working because you can access cloud services online anywhere.
### Cons of Public Clouds:
- The biggest drawback of public clouds is their security since storage is shared. They are also popular hacking targets because the information might not always be protected.
- There are strict laws and regulations for customer data, and some cloud providers might not be compliant. These laws vary from country to country; thus, a cloud provider that works for one business might not fit the bill for another.
- Pay-per-use model can also skyrocket costs sometimes.
### Pros of Private Clouds:
- High in-house security and control over hardware and infrastructure. Organizations can deploy security measures themselves; however, expertise is necessary; otherwise, public cloud vendors might better secure networks.
- Organizations can customize their internal private cloud and data storage for compliance with local regulations.
- The organization owns all software and hardware; therefore, costs can be predicted.
- The cloud can be accessed from internet-connect devices.
- High data storage and application customization since all resources are owned internally.
- They are more agile and scalable than traditional data centers but do not reach public cloud levels.
### Cons of Private Clouds:
- High costs because organizations must buy and manage all infrastructure. Staff costs and capital investment are much higher than in a public cloud.
- All services that public cloud vendor provides must be handled internally. This includes deployment, monitoring, security, and management of the entire cloud environment.
- Limited scalability because acquiring resources takes long and racks up additional costs.
- Longer refresh cycles and might be unable to stay up-to-date.
## Security Aspects of Public and Private Clouds
Given what you know now, it should be no surprise that major security differences exist between private and public clouds.
With a private cloud, you retain complete control over physical servers and access. On the other hand, when you use a public cloud, you have no control or physical interaction with the resources.
Regardless of the type of cloud, as an end-user, you trade off physical safety for data security. For instance, if you lose your laptop or damage a flash drive, your data remains secure if stored on a cloud. However, you are still one hacked or exposed ID and password away from havoc.
From an enterprise perspective, private clouds might seem more beneficial because you can add firewall protection. Nonetheless, if you are not a network security expert, a public cloud might be a more suitable option as they might have professionals you lack.
## Popular Cloud Service Providers
5 of the top cloud service providers have revolutionized the IT industry forever. Top contenders include Amazon Web Services, Google Cloud, Microsoft Azure, Oracle, and IBM Cloud.
### Overview of Major Brands
1. **Amazon Web Services**
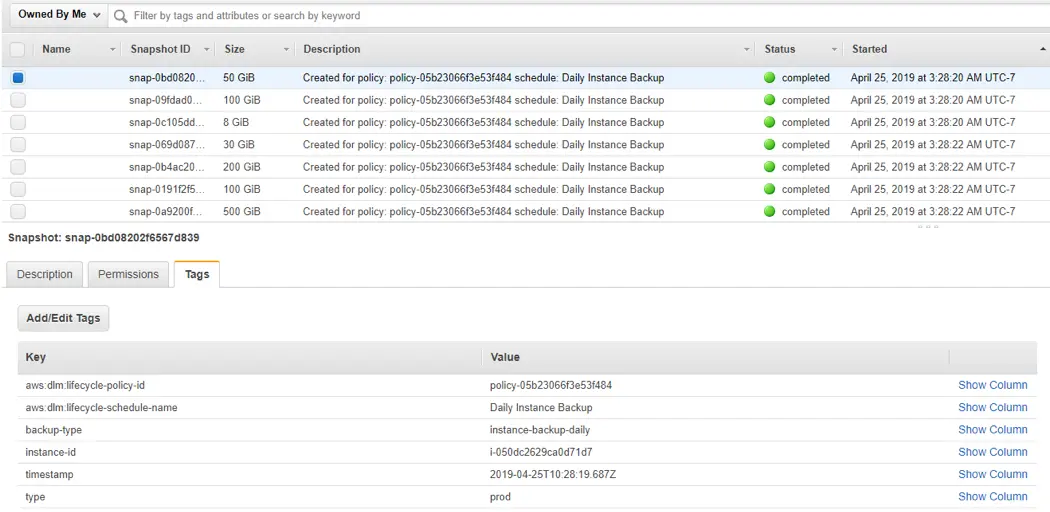
AWS is the world's largest global cloud provider covering over 26 regions and 84 availability zones. AWS offers many use cases from migration, operations, delivery, analytics, and development. It is easy to set up, use and adapt. However, some data source integrations result in errors, and some call patterns are too complex for end users.
2. **Google Cloud Platform**
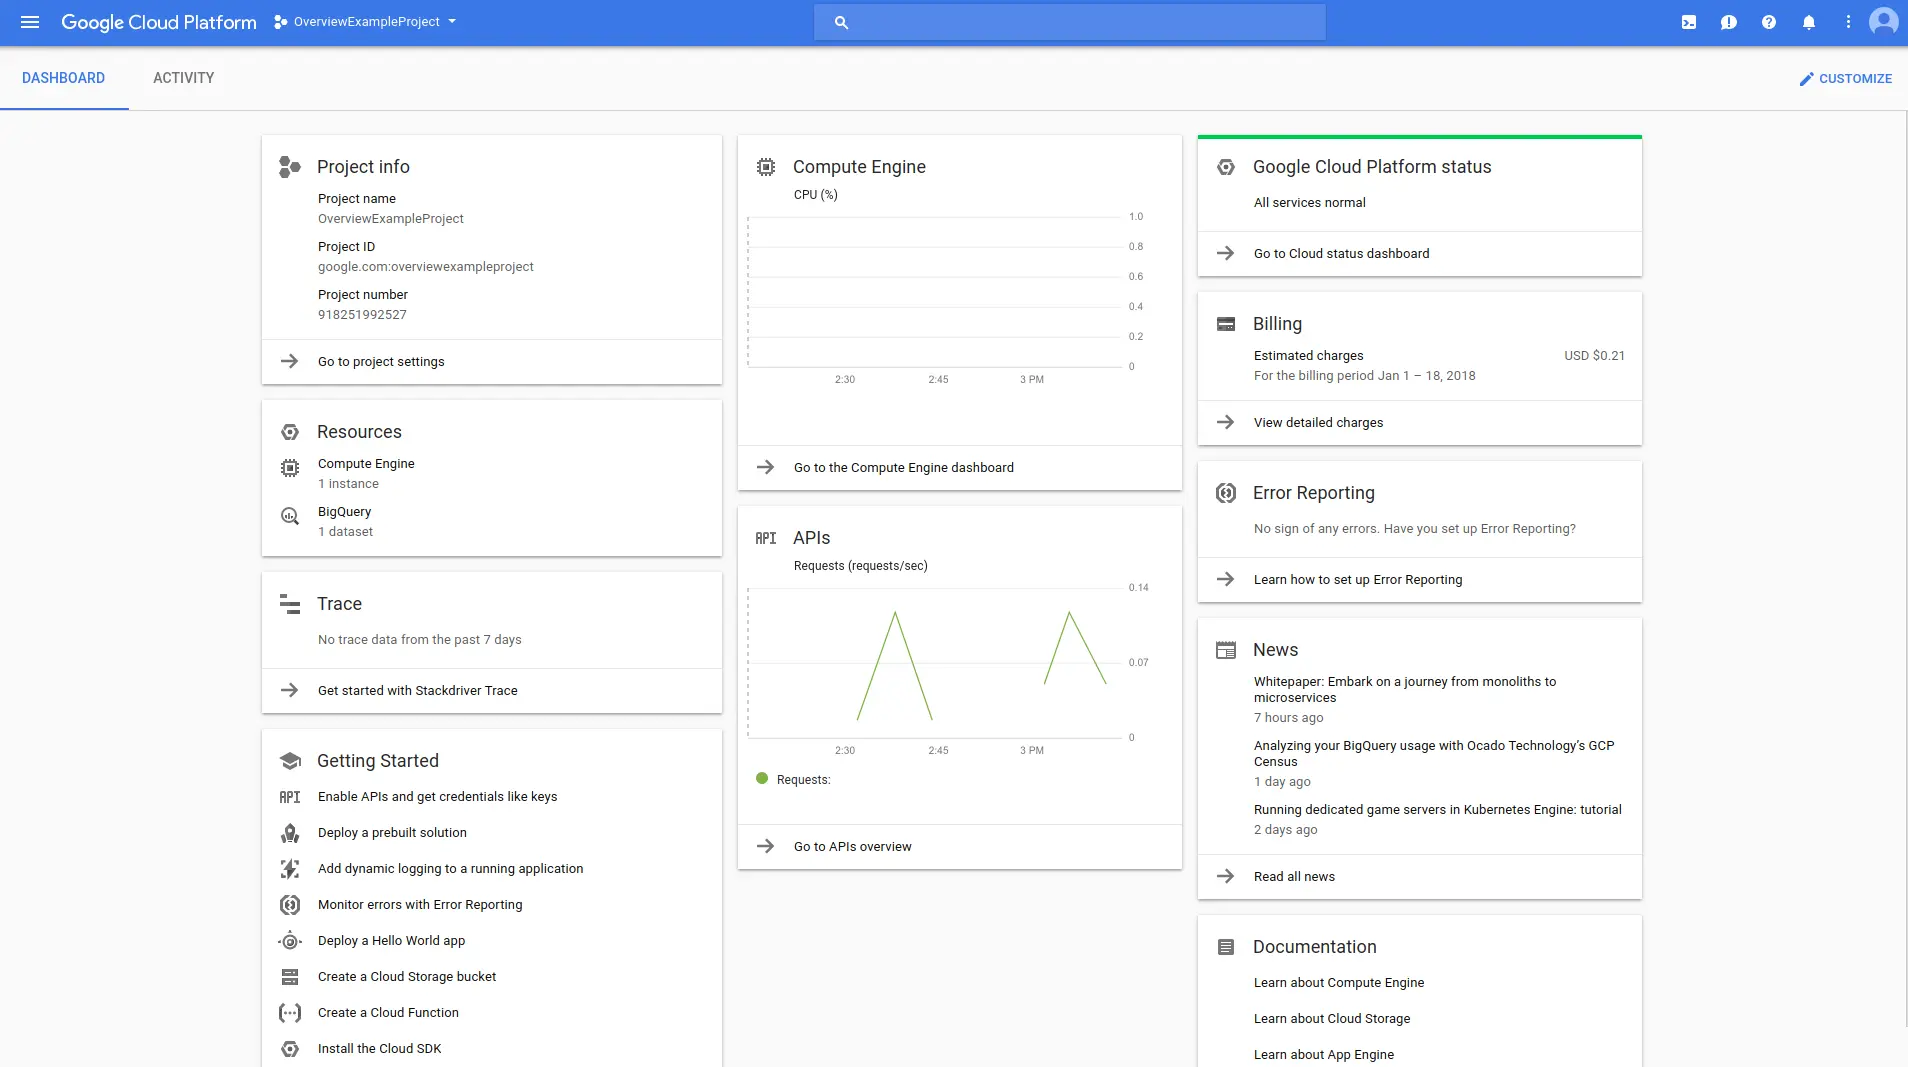
Google Cloud is a straightforward database solution. It remains one of the most user-friendly, convenient, and secure cloud computing platforms. The platform also offers smart analytics and AI to understand insights and scale. However, [Google Cloud does not offer data migration](https://simplebackups.com/storage-backup/google-drive/), which might be too expensive for some users.
3. **Microsoft Azure**
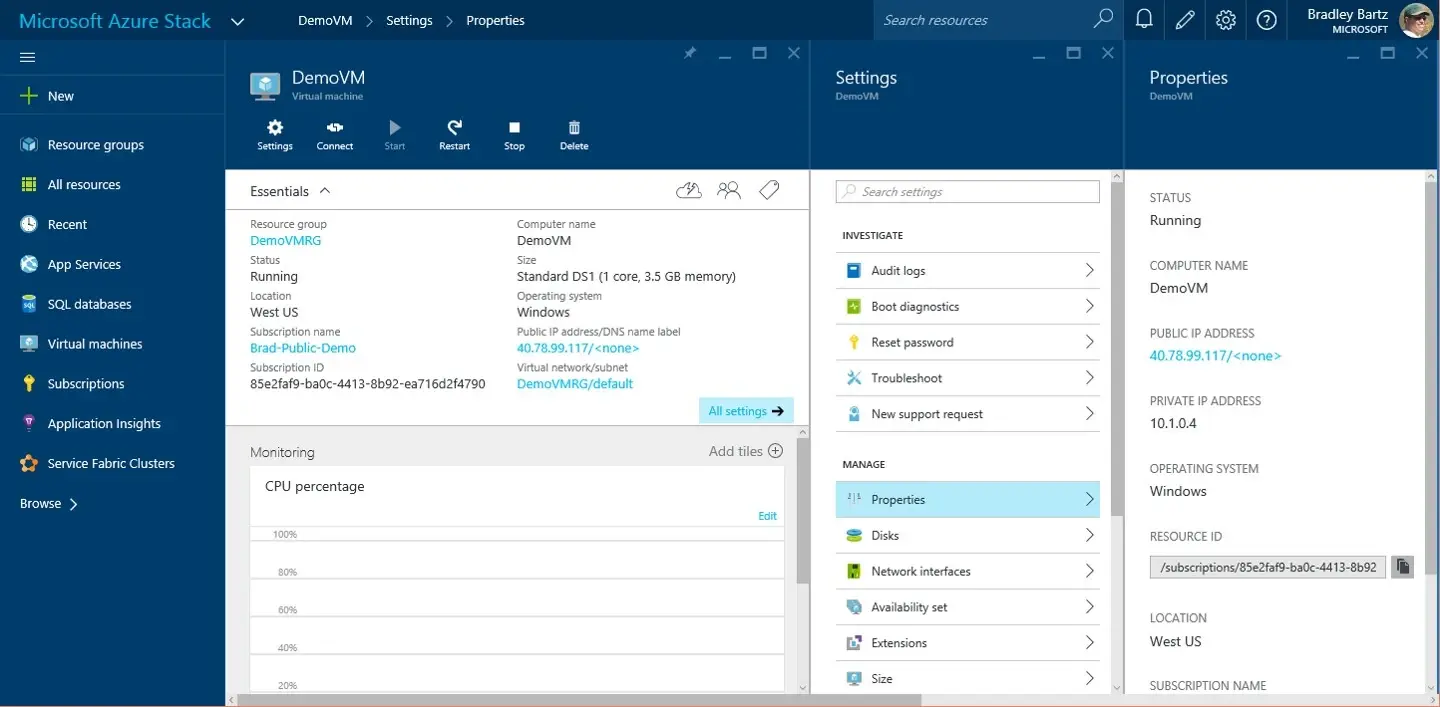
Microsoft offers SQL databases and virtual machines that are highly durable and scalable. Furthermore, Microsoft Azure has a list of comprehensive services, including hybrid cloud services, that make it possible to create cloud applications. However, it lacks a variety of application platforms, and its virtual machine console has some user-reported drawbacks.
4. **Oracle Cloud**
Oracle Cloud is a SaaS for development and IT teams. Unlike most other platforms, it offers [disaster recovery, backups, and easy migration](https://simplebackups.com/blog/saas-backups-the-ultimate-guide/). The FastConnect features allow you to create multi-clouds and hybrid clouds for practical data storage. On the other hand, customer support needs improvement, and for the storage offered, prices are high.
5. **Kyndryl IBM Cloud**
IBM's Cloud offers IaaS, PaaS, and SaaS. It's a customizable hybrid cloud management platform you can use however needed. The IBM cloud also offers data migration and seamless integration with other platforms. However, queries run slowly, and it's difficult for beginners to use.
## The Future: Hybrid Cloud and Multi-Cloud Strategies
As business approaches and the IoT evolve, hybrid cloud and multi-cloud strategies are becoming increasingly popular. A hybrid cloud merges public and private clouds, allowing free data flow. This maximizes on-premise technology, addresses latency problems, and meets data regulations.
On the other hand, a multi-cloud strategy involves using multiple services and providers in a heterogeneous environment. This offers flexibility, reduces risks, and allows optimum flexibility in meeting all your business needs. You can leverage various cloud providers' benefits and services rather than getting locked into one.
## Navigating Your Cloud Migration
Why not automate the process if you are considering migrating to a public or private cloud? [SimpleBackups](https://simplebackups.com/) streamlines your cloud migration from a user-friendly, secure dashboard. You can use our platform to automate backup management on your infrastructure or integrate with popular platforms, including Dropbox, Google Cloud, Azure, and AWS, to name a few.
The SimpleBackups application manages the entire backup and migration process to mitigate user errors, attacks, and data lock-in risks. You can also restore specific data points, recover data and align with regulations like HIPAA and GDPR.
## Choosing the Right Cloud Solution for Your Business
Private clouds are like a subscription service for customers with similar requirements. On the contrary, private clouds are controlled and designed exclusively by and for their organization. We've just scratched the surface here, as cloud architecture is a complex topic that takes years of learning.
And if you decided on your data service provider and need a service to [automate your backups](https://simplebackups.com/) – SimpleBackups supports all major cloud data providers.
## FAQs
### What are the main differences between public and private clouds?
The main difference between the two is ownership and accessibility. Public clouds are owned and operated by external providers accessible to many organizations online. On the other hand, private clouds are dedicated to a single organization for greater control, security, and customization.
### Which is more secure: a public cloud or a private cloud?
This depends on various factors. For instance, the organization can tailor a private cloud to implement strict security measures. However, public cloud providers often have robust security measures and experts available.
### How does the cost vary between public cloud and private cloud services?
Public clouds typically follow a pay-as-you-go model so clients can scale as required. However, private clouds require upfront investments in hardware and IT professionals.
### What are some top providers of public and private cloud services?
IBM Cloud Private, Alibaba Cloud, Dell Technologies, and HPE are a few names that make it to the list in addition to the providers listed above.
---
# Backup Policy: The Livesaver for Modern Businesses
Source: https://simplebackups.com/blog/backup-policy-the-livesaver-for-modern-businesses
Published: 2023-06-27
Author: Kuba
Summary: Dive into the complex world of backup policies. Equip your business with strategic planning and implementation techniques to fortify data security.
Losing data is a real danger to your business. Imagine all crucial customer information, financial records, and internal documents suddenly disappear. It can put your business on hold and ruin your reputation.
To protect your important data and maintain uninterrupted business operations, you need a solid backup policy. This document will guide you and your team through the complexities of data backup, retention, and recovery.
In this article, we’ll show you how to prepare a good backup policy. Let’s dive in!
## What is a Backup Policy?
A backup policy is a document that outlines how the organization protects and replicates its data. It includes the following key elements:
* Identifying what data needs to be backed up
* Determining how frequently these backups should occur
* Specifying where the backups should be stored
* Establishing how long the data should be retained
* Detailing the procedures in case of data loss
The policy emphasizes the importance of data and system backups and lays the foundation for planning, performing, and confirming backups. It also outlines specific tasks to ensure that key data is securely stored and safe.
In essence, a backup and recovery policy serves to delineate the responsibilities, ensuring that important data is not just duplicated, but also effectively managed.
## Why Do You Need a Backup Policy?
Backup policies protect your business from the disastrous effects of data loss. It provides a transparent, logical process for recovery and outlines the strategy your team should follow to maintain the continuity of your operations.
Let’s say one of the CRM providers you use experienced a [data breach](https://simplebackups.com/blog/saas-data-security-101-how-to-protect-your-saas-from-data-breaches/). Without a backup policy, you and your team don’t know what are the next steps because there’s no documented process for this case. So, you wait until your SaaS provider gives you more information – and risk the integrity of your customer’s data.
This doesn’t sound like a great vision, does it?
On the other hand, if you had a proper backup policy in place, you’d probably have implemented a mechanism that backs up the data stored in the software you use. Even when a data breach occurs, and the [SaaS provider loses some of the data](https://simplebackups.com/blog/saas-backups-the-ultimate-guide/), you’re still able to recover it using your own backups.
This gives you peace of mind and establishes the safety of your day-to-day work.
Well-designed backup policies stand as the last line of defense against data loss caused by cyberattacks, hardware failures, or other internal and external threats.
A backup policy also simplifies the process of maintaining data integrity and ensuring compliance with industry regulations.
## Key Elements of a Backup Policy
You should be now aware of what a backup policy is and why it’s important.
But what exactly should a backup policy entail?
Below, we will dive into the key elements of a backup policy and explore each of the critical components of it.
### Scope of the Policy
The first element in a backup policy is to define the scope of the policy. You should clearly outline which systems, departments, and data are covered by the policy.
It might extend to all company data or be limited to specific key systems or departments. It is crucial to clarify these boundaries to avoid any confusion or assumptions about the policy's applicability.
### Objectives
The policy should articulate the specific goals it aims to achieve.
Some of the goals might include ensuring business continuity, ensuring compliance with industry-specific or general data protection regulations, and minimizing the risk of data loss and corruption.
As a result of setting clear objectives, a road map for the implementation of the policy can be developed.
### Data Identification
An important step in the policy creation process is identifying what data to back up.
Decisions must be made regarding the types of data to be backed up: databases, files, emails, applications, etc. This may include all data or specific mission-critical data whose loss would have a negative impact on the business.
It is important for the policy to clearly define what data falls within this category, and what data does not.
### Backup Schedule
The frequency of backups should be specified in the policy, and the schedule should be determined by the nature of the data and its frequency of changes.
In particular, data that is highly dynamic could be backed up every day, while information that is less frequently updated could be backed up weekly or monthly, and critical data could even be backed up in real time.
### Backup Types
The policy should define the [types of backups](https://simplebackups.com/blog/backup-and-disaster-recovery-services-how-to-choose-the-best-for-your-business/#types-of-backup-solutions) to be used.
* full backups, which back up all selected data;
* differential backups, which back up only data changed since the last
full backup;
* incremental backups, which back up data changed since the last any type of backup;
* mirror backups, which create an exact copy of the source data.
The selection will depend on the business requirements and resource availability.
Backup Storage and Retention
The policy should specify the storage locations for the backups and their retention duration.
There are [several options for storing data](https://simplebackups.com/blog/backup-and-disaster-recovery-services-how-to-choose-the-best-for-your-business/#types-of-disaster-recovery-solutions):
* **On-site:** This involves housing backup data and applications within the organization's physical location,
* **In the cloud:** Data and applications are stored on remote servers, allowing businesses to access their resources in the event of a [disaster](https://simplebackups.com/blog/data-disaster-recovery-a-comprehensive-guide-for-business/),
* **Hybrid:** This combines both cloud-based and on-site solutions. It means storing part of your data in an external cloud and keeping some data on-site.
Regulatory requirements and business needs should determine how long backups should be kept.
### Recovery Procedures
The policy needs to lay out the procedures to recover data in the event of loss or corruption.
Procedures should cover steps to restore the data, who to contact for assistance, and the expected recovery timeframes. It should also define the process for testing the recoverability of backups regularly.
### Roles and Responsibilities
The policy should be defined who is responsible for implementing, managing, and overseeing the backup processes. IT staff could handle technical implementation, department heads could ensure team compliance and external vendors could manage backups.
### User Responsibilities
All users should be made aware of their [responsibilities](https://simplebackups.com/blog/how-to-train-your-saas-employees-on-data-protection-practices/) under the policy.
In addition to following the backup policy, they may be responsible for maintaining the integrity of the data they work with, reporting any potential issues they identify, and ensuring their data is backed up properly.
An organizational culture of data protection can be fostered by including user responsibilities in the policy.
### Compliance
Setting up policy [compliance](https://simplebackups.com/blog/mastering-gdpr-compliance-the-essential-business-owners-handbook/) and enforcement is the last step in developing a backup policy.
It's important for every member of the organization to understand the backup policy and the consequences of non-compliance. In the case of serious or repeated breaches, disciplinary action can range from refresher training to reminders.
To make sure backup procedures are being followed and to make sure the backup system is healthy, regular audits could be conducted. For PostgreSQL databases, [automating PostgreSQL backups for compliance audits](/blog/pg-dump-cron-replacement-postgresql-backup) produces the documented procedures and retention logs an ISO 27001 or SOC 2 reviewer expects.
The right enforcement mechanism encourages a culture of data protection and awareness throughout the organization as well as maintains the integrity of the backup process.
### Final Thoughts
Data backup policies outline what kind of backups to do, where to store them, how long to keep data, and how to recover it. As a result, business continuity is ensured, risks are mitigated, and regulations are met.
To create an effective backup policy, you have to define its scope, set clear goals, identify the data to back up and figure out how often to do it. Also, the policy should outline backup types (full, differential, incremental, or mirror), storage and retention plans, recovery procedures, and roles and responsibilities.
Data backups provide a safeguard against data loss disasters, preventing your business from suffering losses.
---
# Top 16 Server Backup Solutions [2024 Updated List]
Source: https://simplebackups.com/blog/top-16-server-backup-solutions-2023-updated-list
Published: 2023-06-16
Author: Kuba
Summary: Discover the Top 16 Server Backup Solutions of 2024 on our updated list. Secure your data with the best tools in the market today.
Your business deals with a lot of valuable info every day, and losing it can severely hurt your bottom line.
But with the right server backup software, data remains accessible even when disaster strikes. Those solutions ensure data integrity, boost efficiency, and keep businesses running smoothly.
But finding a reliable server backup provider isn’t easy. You can quickly get lost in numerous options, each offering a different set of features.
In this article, we’ll examine the best server backup software, highlighting their pros and cons and best use case scenarios for each.
## 🏆 Top Backup Server Software: Simple Backups
[SimpleBackups](https://simplebackups.com/) provides a complete solution to back up your websites and databases, streamlining the process with its user-friendly design.
It's compatible with a variety of popular cloud storage services, making it one of the top server backup software.
SimpleBackups combines the convenience of a cloud server backup service with secure data encryption. As a result, it ensures the protection of sensitive information during transmission and storage.
Pros:
- Compatibility with a wide range of popular cloud storage services, including Google Cloud
- Prioritizes security with data encryption, protecting sensitive information during transfer and storage.
Cons:
- Customization options could be more extensive to meet unique needs.
- The free version has limited backups.
### Key feature #1: Easy Setup
SimpleBackups has an easy setup feature that makes it stand out. It's easy to use, even if you're not techy.
You don't have to worry about complicated setup processes. With a simple user interface and easy instructions, you'll be backing up in no time. For those who prefer a hassle-free setup process, SimpleBackups is perfect.
### Key feature #2: Wide Compatibility
Including Google Cloud, Amazon S3, and Dropbox, SimpleBackups is compatible with [cloud storage](https://simplebackups.com/storage-backup/) services. It allows users to choose whatever storage solution they're most comfortable with or suits their needs best. You don't have to be limited to a single storage service, so you have more flexibility and convenience.
### Key feature #3: High Security
When it comes to data backups, security is key. [Data security](https://simplebackups.com/security-first) is SimpleBackup's top priority, so we encrypt sensitive data while it's being transferred and stored. Backups are protected from unauthorized access and potential data breaches, giving you peace of mind.
### Key feature #4: Automated Backups
Another important feature of SimpleBackups is scheduling backups. By setting a schedule, SimpleBackups will automatically create backups for you so you don't have to remember. You'll always have a recent backup of your data, so you're less likely to make a mistake. Choosing the frequency that works for you, be it daily, weekly, or monthly, further enhances the convenience.
### Key feature #5: Versatility
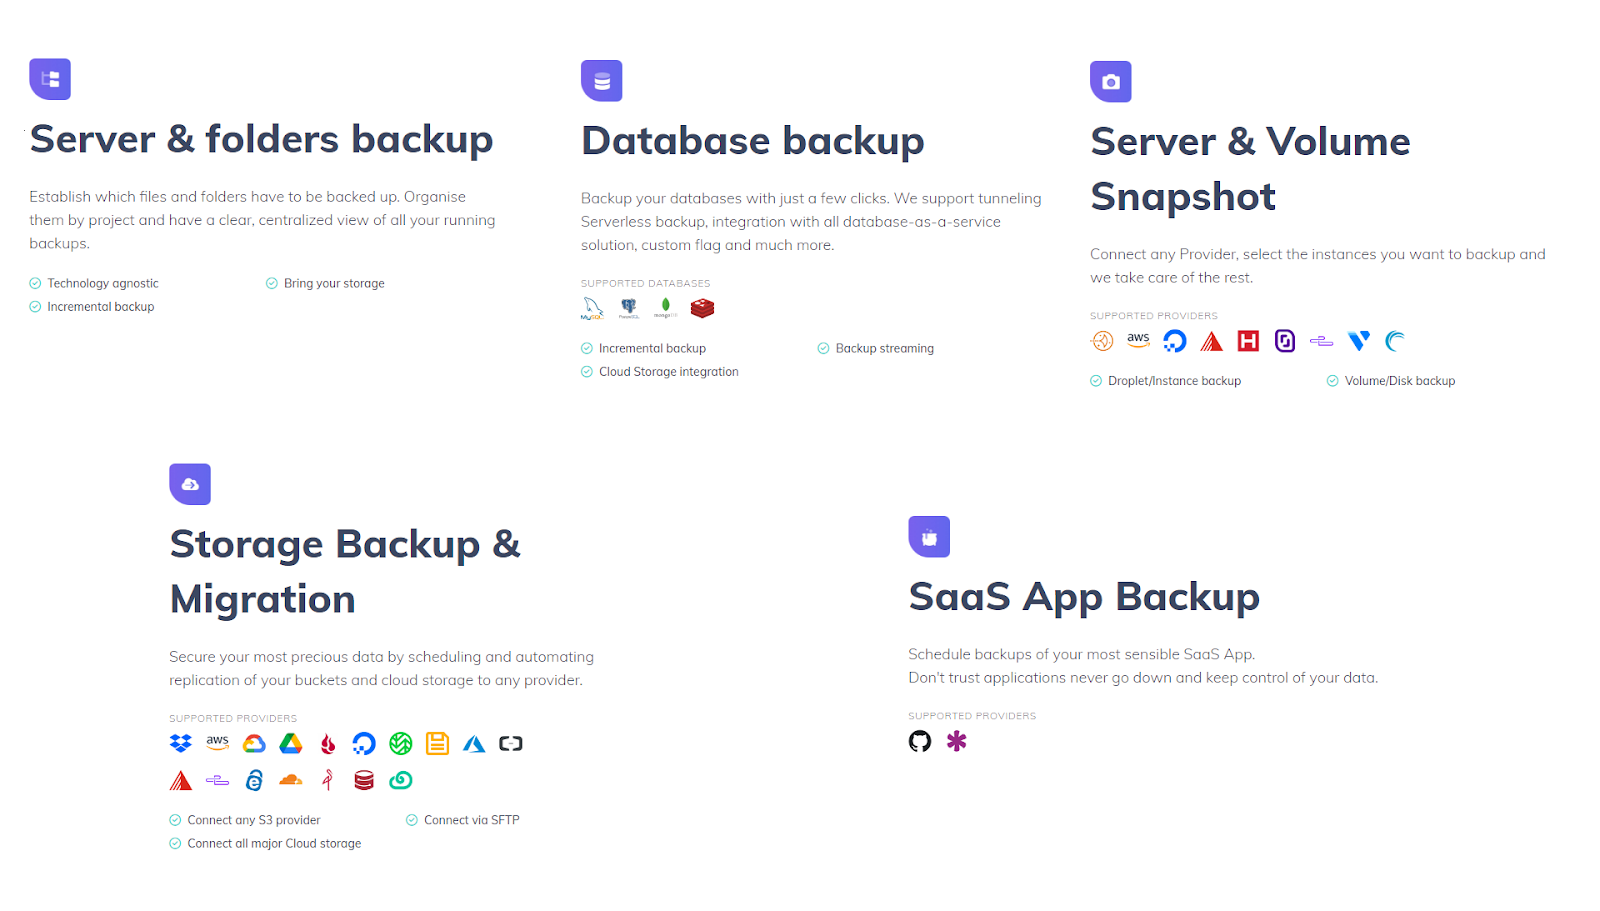
Finally, SimpleBackups backs up both websites and databases. Having this utility lets it serve a wide range of needs. No matter whether you need to backup your website files, database information, or both, SimpleBackups has you covered. By removing the need for multiple backup tools, it's a one-stop backup solution.
SimpleBackups is an excellent tool for those who value convenience, security, and variety in their backup software.
Providing a straightforward process to back up websites and databases, this software ensures data safety in the most user-friendly way.
It is compatible with several popular cloud storage services, enabling users to pick a storage solution that best suits their needs. Whether it's Google Cloud, Amazon S3, or Dropbox, the choice is in your hands. Furthermore, it places high importance on data security.
By encrypting data during transfer and storage, it provides a solid defense against unauthorized access and potential data breaches. The software is also capable of scheduling automated backups, freeing you from the responsibility of manually creating backups regularly. However, the options to customize might feel limited for some, and the free version only offers limited backups.
Despite these potential shortcomings, SimpleBackups stands out for its easy setup, high security and automated backups.
## Duplicator
[Duplicator](https://duplicator.com/) is a solution aimed specifically at WordPress users, offering specialized tools for migrating, copying, moving, or cloning a WordPress site.
While its focus is largely on one platform, Duplicator is not Windows server backup software. Moreover, it doesn't offer differential and full backup options, potentially limiting its usability.
Pros:
- Tailored for WordPress, meeting the specific needs of this platform's users.
- Allows for complete website backups, including plugins, themes, and content.
Cons:
- Limited in its scope, specifically targeting WordPress.
- Lack of automated backup scheduling.
Duplicator offers a specific solution for WordPress users. It provides the tools needed for efficient migration, copying, moving, or cloning of a WordPress site.
It successfully covers all aspects of a website for backups, from plugins and themes to the actual content.
The extensive coverage allows for a comprehensive backup of your website, ensuring you don't lose any part of your hard work. However, the software's main focus on WordPress might feel limiting to some users.
Furthermore, the absence of automated backup scheduling can be a disadvantage. Especialy for users who prefer a more hands-off approach to backups.
## Synology DSM
[Synology DiskStation Manager](https://www.synology.com/en-global/dsm) (DSM) is a robust system accommodating a variety of data storage and backup needs. Nonetheless, the requirement for specific hardware might serve as a disadvantage.
Pros:
- Provides multimedia management for efficient handling of multimedia files.
- Can be extended with various Synology and third-party apps for added functionality.
Cons:
- Hardware-specific; requires a Synology NAS device.
- The initial setup can be complex for non-technical users.
Synology DSM is a versatile and powerful backup system that caters to a wide range of data storage and backup needs. From efficient multimedia management to the availability of a variety of Synology and third-party apps for extended functionality.
The setup process can also be somewhat complex for those who aren't tech-savvy, potentially posing a further disadvantage.
Finally, the lack of direct support for Windows servers and features like backup imaging might limit its appeal for certain users.
## Salesforce Data Backup and Recovery
[Salesforce](https://www.salesforce.com/ap/products/platform/solutions/data-security/backup-restore-data-recovery/) offers a robust data backup and recovery solution as part of its service suite. Though it's primarily tailored for Salesforce data and lacks extensive support for various operating systems, including Windows servers.
Pros:
- Fully integrated with the Salesforce platform, offering convenience for Salesforce users.
- The backup process does not affect the performance of the Salesforce platform.
Cons:
- Specific to Salesforce data, limiting its use for other data types.
- The restoration process can be time-consuming
Salesforce offers a robust and well-integrated data backup and recovery solution as part of its service suite.
Being tailored primarily for Salesforce data, it provides a seamless backup experience for Salesforce users. The backup process is designed to be non-intrusive, ensuring that the performance of the Salesforce platform remains unaffected.
However, its specificity to Salesforce data does limit its use for other data types. Another potential downside is that the restoration process can be time-consuming. It may be a problem in situations where time is of the essence.
## SyncBackPro
For beginners, [SyncBackPro](https://www.2brightsparks.com/syncback/sbpro.html)'s array of features can be overwhelming, as it's a professional backup, restore, and synchronization tool. Although it supports differential and full backups, its support for different operating systems, including Windows servers, isn't explicitly stated.
Pros:
- Supports powerful file filtering for targeted backups.
- Allows versioning to keep multiple versions of a file.
Cons:
- The plethora of features may be overwhelming for novice users.
- Could be more expensive compared to other solutions.
SyncBackPro is a feature-rich backup, restore, and synch tool. It has a powerful file filtering for targeted backups and versioning capabilities. In a result it allows to keep multiple versions of a file.
While the extensive features can be a boon for experienced users, novice users might find it overwhelming to navigate the platform.
The software is more expensive than other options in the market. It makes it a less appealing choice for those on a tight budget.
Moreover, its support for different operating systems, including Windows servers, isn't explicitly stated, leaving users uncertain about its compatibility.
## HYCU Protégé
[HYCU Protégé](https://www.hycu.com/protege) offers multi-cloud data protection, making it versatile for different cloud environments. It provides a unified view for simplified management of backup, recovery, and migration.
Pros:
- Provides multi-cloud data protection.
- Unified view for backup, recovery, and migration
Cons:
- Requires robust network infrastructure for optimum performance.
- Handling large-scale data migrations can be complex.
HYCU Protégé stands out with its multi-cloud data protection and unified management of backup, recovery, and migration. Take note that a robust network infrastructure is needed for optimum performance. Those considering large-scale data migrations might encounter complexities which could require additional technical expertise.
## Veeam Data Platform Premium
[Veeam](https://www.veeam.com/products/data-platform-premium-trial.html) offers a comprehensive suite of tools for data backup and recovery, integrating with many popular cloud storage solutions.
Pros:
- Comprehensive data backup and recovery tools.
- Integrates with popular cloud storage solutions.
Cons:
- May be complex for non-technical users.
- Some users have reported issues with customer support.
In conclusion, Veeam's comprehensive data backup and recovery tools and integration with popular cloud services make it a versatile choice. However, non-technical users may find its functionalities complex, and users should consider some reported issues with customer support.
## TrueNAS Core
[TrueNAS CORE](https://www.truenas.com/truenas-core/) is an open-source network-attached storage (NAS) system that provides users with control over their data storage.
Pros:
- Open-source network-attached storage (NAS) system.
- Robust data protection and recovery features.
Cons:
- Initial setup might be challenging.
- Might not be ideal for small-scale.
TrueNAS CORE offers a powerful open-source NAS system with robust data protection and recovery features. The initial setup may present challenges for non-technical users. Moreover, its advanced features might be overwhelming for small-scale users who require simpler solutions.
## Keepit
[Keepit](https://www.keepit.com/) provides cloud-to-cloud backup solutions with a focus on simplicity and usability.
Pros:
- Provides cloud-to-cloud backup solutions.
- Allows unlimited data retention.
Cons:
- Does not support local backup options.
- Pricing can be high compared to other solutions.
Keepit offers simple and user-friendly cloud-to-cloud backup solutions with unlimited data retention. Users should note its lack of support for local backup options, and its pricing could be higher than other similar solutions in the market.
## IntelligenceBank
[IntelligenceBank](https://www.intelligencebank.com/) offers digital asset management and marketing operations software, streamlining marketing processes and workflows.
Pros:
- Provides digital asset management and marketing operations software.
- Offers integration with various marketing and creative tools.
Cons:
- May require a learning curve for less tech-savvy users.
- Pricing may be prohibitive for smaller organizations.
In conclusion, IntelligenceBank is a comprehensive solution for digital asset management and marketing operations, offering integration with a multitude of marketing tools.
You should consider that fully utilizing its capabilities might require a learning period, especially for those less experienced with such software.
Smaller organizations might find its pricing structure challenging to fit into their budgets.
## NinjaOne (Formerly NinjaRMM)
[NinjaOne](https://www.ninjaone.com/pl/) provides unified IT operations management with centralized control over devices and networks.
Pros:
- Provides unified IT operations management.
- Offers remote monitoring and management capabilities.
Cons:
- Requires some technical expertise for full utilization.
- Advanced features may be complex for smaller businesses.
NinjaOne is a robust solution for IT operations management and remote monitoring. Potential users should bear in mind that effective utilization of its functionalities may require some technical knowledge. Smaller businesses might find its advanced features somewhat complex, which could present a learning curve.
## Identillect Technologies
[Identillect](https://identillect.com/) Technologies provides secure email and information handling, with encryption and data security services that comply with various regulations.
Pros:
- Provides secure email and information handling.
- Compliance with various regulations.
Cons:
- Features may be less extensive than full-suite cybersecurity solutions.
- Might have limitations in integration with other tools.
Identillect Technologies is a sound choice for secure email and information handling, with strong compliance features. Potential customers should be aware that it may not offer as comprehensive a feature set as some full-suite cybersecurity solutions, and there could be limitations when it comes to integration with other tools.
## Macrium Reflect
[Macrium Reflect](https://www.macrium.com/reflectfree) stands out for its comprehensive disk imaging and backup solutions, inclusive of disk and partition cloning capabilities.
Pros:
- Provides disk imaging and backup solution.
- Can clone disks and partitions.
Cons:
- Requires some technical knowledge for advanced features.
- Customer support is limited for the free version.
Macrium Reflect is a robust and reliable tool for those seeking comprehensive disk imaging and backup solutions.
Users should bear in mind that fully leveraging its capabilities might require a certain level of technical proficiency.
Opting for the free version should prepare for limited customer support, which might require self-guided problem-solving.
## Storj
[Storj](https://www.storj.io/) offers a unique take on cloud storage with its decentralized platform, providing an additional layer of security through file encryption and distribution across a global network.
Pros:
- Decentralized cloud storage platform.
- Encrypts and distributes your files across a global network.
Cons:
- New and somewhat untested technology.
- Reliability and speed may vary.
Overall, Storj presents an intriguing option for those looking for a unique, decentralized approach to cloud storage, with added benefits of security through its encryption practices.
The novelty of the technology should be taken into consideration, as it's relatively new and untested in the market.
Additionally, potential users should be prepared for potential variations in reliability and speed, as these could impact the platform's efficiency in data management and retrieval.
## Skyvia
[Skyvia](https://skyvia.com/) supports various data sources and destinations and requires no coding for basic tasks.
Pros:
- Supports various data sources and destinations.
- No coding required for basic tasks.
Cons:
- Limited customization options for complex workflows.
- Speed and performance may vary based on data size.
Skyvia is a versatile cloud-based data integration service suitable for basic tasks without the need for coding. It may not offer sufficient customization options for complex workflows, and performance may vary depending on the size of the data.
## Backblaze
[Backblaze](https://www.backblaze.com/best-online-backup-service.html#af9yzx) offers an unlimited cloud backup service with easy setup. It supports personal and business plans, and even external hard drive backups.
Pros:
- Unlimited cloud backup service.
- Supports external hard drive backup.
Cons:
- No native support for network-attached storage (NAS).
- Limited file versioning capabilities.
Backblaze provides a user-friendly unlimited cloud backup service that caters to both personal and business needs, it lacks native support for NAS systems, and the limited file versioning may be inadequate for users needing extended access to older file versions.
# Final Thoughts
Finding the best server backup solution can be a challenge. Define what set of features is the most suitable for your business needs and test a few solutions to find the best match. If you want a place to start, you can[ sign up for a free 7-day trial](https://my.simplebackups.com/register?sb_source=website&sb_term=navigation) and give SimpleBackups a try.
---
# SaaS Backups: The Ultimate Guide
Source: https://simplebackups.com/blog/saas-backups-the-ultimate-guide
Published: 2023-06-02
Author: Kuba
Summary: Read the ultimate guide about top SaaS backup strategy tips. Understand what SaaS data you should and shouldn't back up an how to implement a third-party backup solution.
## What is SaaS backup?
What exactly is SaaS Backup? SaaS backup is the process of creating copies and securely storing data from SaaS applications. It ensures data safety and easy recovery in case of loss. The data comes from cloud-based SaaS apps, PaaS (Platform as a Service), and IaaS (Infrastructure as a Service).
## What are the three reasons that organizations need SaaS backup?
While working with various SaaS companies building apps for many industries, we identified countless reasons why data backup is important. But three reasons stood out the most to us:
### Protection against malicious attacks
Recently, the number of cyberattacks has risen. They compromise more and more systems, steal data, and even demand ransom in some cases.
SaaS backups are a great way to protect against such threats. You usually store them offsite and encrypt them for extra safety.
This allows you to restore lost or compromised data in case of a [cyberattack](https://simplebackups.com/blog/saas-data-security-101-how-to-protect-your-saas-from-data-breaches/). Backups reduce the threat of ransomware and other attacks, as even in the worst-case scenario, you have a clean, uncompromised version of your data.
### Preventing data lock-in
The term data lock-in refers to the difficulty of moving your data from one provider to another. You might not be able to export data because of proprietary formats, limited portability, or simply because the provider doesn't support it anymore.
This potential issue can be solved with SaaS backup by keeping a copy of your critical data independently.
In other words — you keep control over your data and can move it how you want. Having all your essential data is especially important if you want to switch providers or if the provider goes out of business.
### Eliminating user errors
Accidental deletions, wrong commands, fire outbursts, hardware failures, or even wrong data entry are all common causes of data loss.
In these scenarios, SaaS backup serves as a failsafe. Having a reliable backup ensures that your operations don't stop if data is lost.
You're not only protecting your data, but also keeping your team productive by reducing the time you spend recovering from accidents. A good deal of SaaS backup solutions come with versioning features, allowing you to go back to specific points, enhancing their utility.
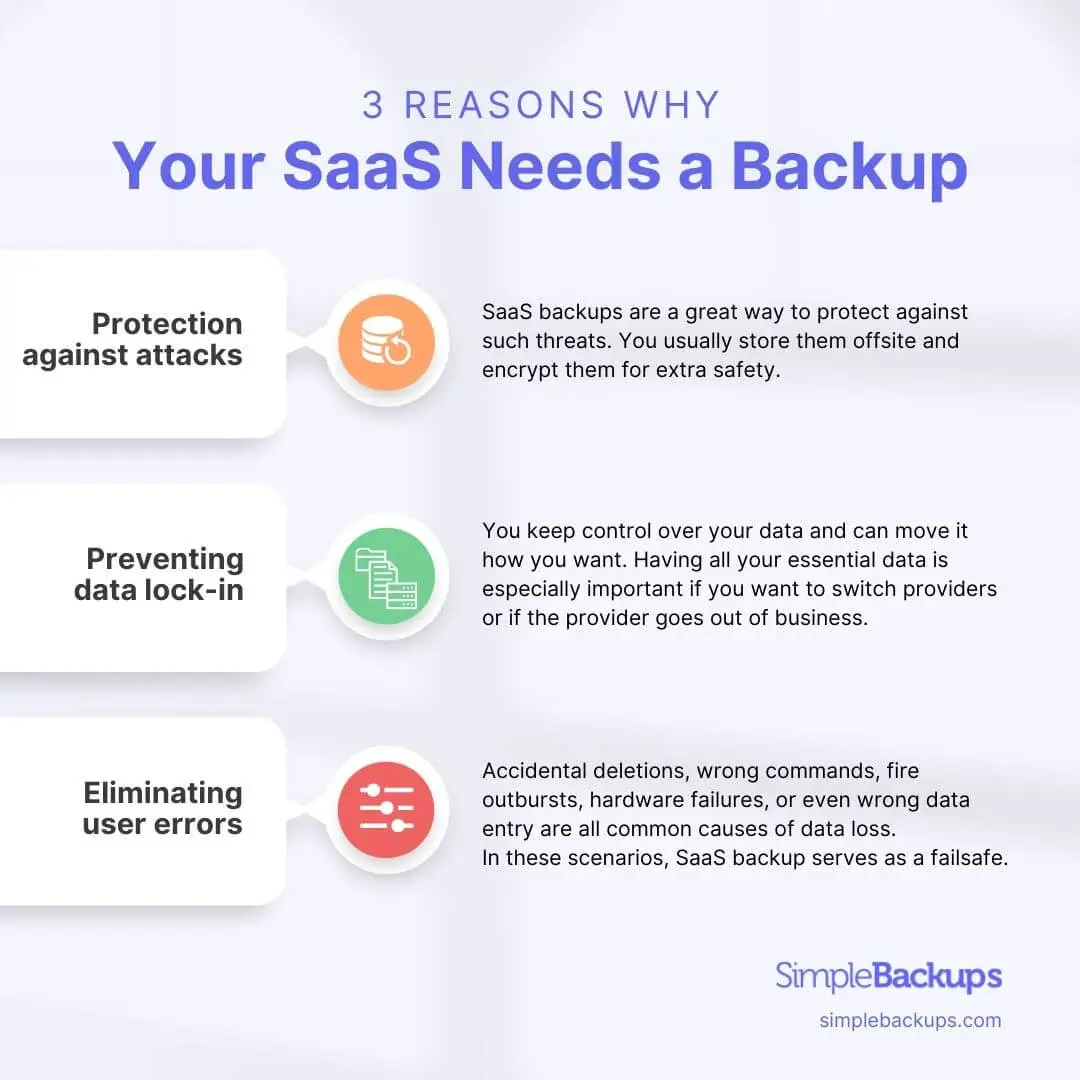
## What are the benefits of SaaS backup?
Backing up your SaaS data has numerous benefits, both for your business and your personal peace of mind. Here are the most important reasons
### Make Your Data Secure
By creating encrypted copies of your data, which are stored off-site, SaaS backup increases your data security. Data corruption, hardware failure, and cyber threats outcomes are minimized. In the event of a data breach or loss, a secure backup keeps your data safe.
### Ensure Minimal Disruption to Workflow
Data loss can be significantly reduced using SaaS backup, since it provides fast data recovery capabilities. Quick recovery means your organization's workflow is not disrupted, ensuring productivity and continuity.
### Verify Authenticity of Your Data
Maintaining a backup allows for verification of the authenticity of your data, ensuring it remains genuine, original, and unchanged over time. This is especially useful in preventing and identifying instances of data tampering or corruption.
### Easy Data Migration Processes
By simplifying data migration processes, transitions between systems or providers become much smoother and hassle-free, reducing potential data loss during migration.
### Restore Specific Data Points
With granular restore capabilities, it is possible to restore specific files or data points instead of the entire data set. As a result, you get more control over your data and recover it faster.
### Quickly Recover from Unexpected Data Losses
Using SaaS backup, you can quickly recover data lost due to things like cyberattacks, natural disasters, or hardware failures. Having your data restored quickly minimizes the impact of such incidents.
### Align with Data Handling and Storage Standards
You're more likely to comply with [data handling and storage standards](https://simplebackups.com/blog/mastering-gdpr-compliance-the-essential-business-owners-handbook/), like GDPR and HIPAA, when you use SaaS backup. Keeping your data handling practices in line with industry regulations and standards avoids legal and compliance issues.
### Mitigate Human Error Impact
The loss of data can be caused by human errors like accidental deletion or improper handling. Backup as a service mitigates the impact of human error on data integrity and operational efficiency in such scenarios by restoring original data quickly.
### Ensure Data Access During Vendor Outages
SaaS backups keep your data accessible in the event of vendor outages or software problems.
### Reduce Time and Resources for Manual Data Management
By automating backups, you can cut down on time and resources spent managing data manually. As a result, your team can focus on more strategic tasks.
### Help Prepare for Audits
Backups help organizations prepare for audits by keeping an accessible history of data. Showing a well-maintained data trail simplifies the audit process and shows your dedication to data integrity.
## How SaaS companies provide backup?
SaaS companies can provide their users with many backup options. Here are the most popular choices:
### Built-In Features
The majority of SaaS companies have built-in backup features.
Data replication is a commonly provided one that copies data and stores it on multiple servers. The replicated data on another server remains intact even if the data on one server gets corrupted or lost.
Another feature lets the system automatically save different versions of data at different points. This feature makes it easy for users to restore data to a previous version in the event of an error or corruption.
### Third-Party Integrations
Some SaaS companies integrate with external, third-party backup services for more advanced backup needs.
Many of these third-party services provide additional features, like scheduling automated backups to eliminate human error, and granular restore options for restoring specific files and folders instead of the whole system.
In addition, these solutions often back up data from different types of software or platforms, making them more comprehensive.
### Manual Exports
Users can also manually export their data from certain SaaS companies. It involves users downloading their data periodically and storing it somewhere else.
Even though this approach gives users direct control over their data, it's time-consuming and doesn't provide the same level of security and reliability as automatic backups.
In this scenario, data loss is more likely if a user forgets to backup or if there's too much time between backups.
### Data Centers
Multi-regional data centers are typically used by SaaS companies to ensure [data availability](https://simplebackups.com/blog/backup-as-a-service-how-it-works-benefits-and-challenges/).
Every data center has a copy of the user's data, so if one center fails or loses data, another can retrieve it. Using a distributed storage system not only improves data availability and access speed, as users can connect to the nearest data center, but also acts as a form of backup.
Data replication ensures that SaaS companies' data is always accessible, even if one site goes down.
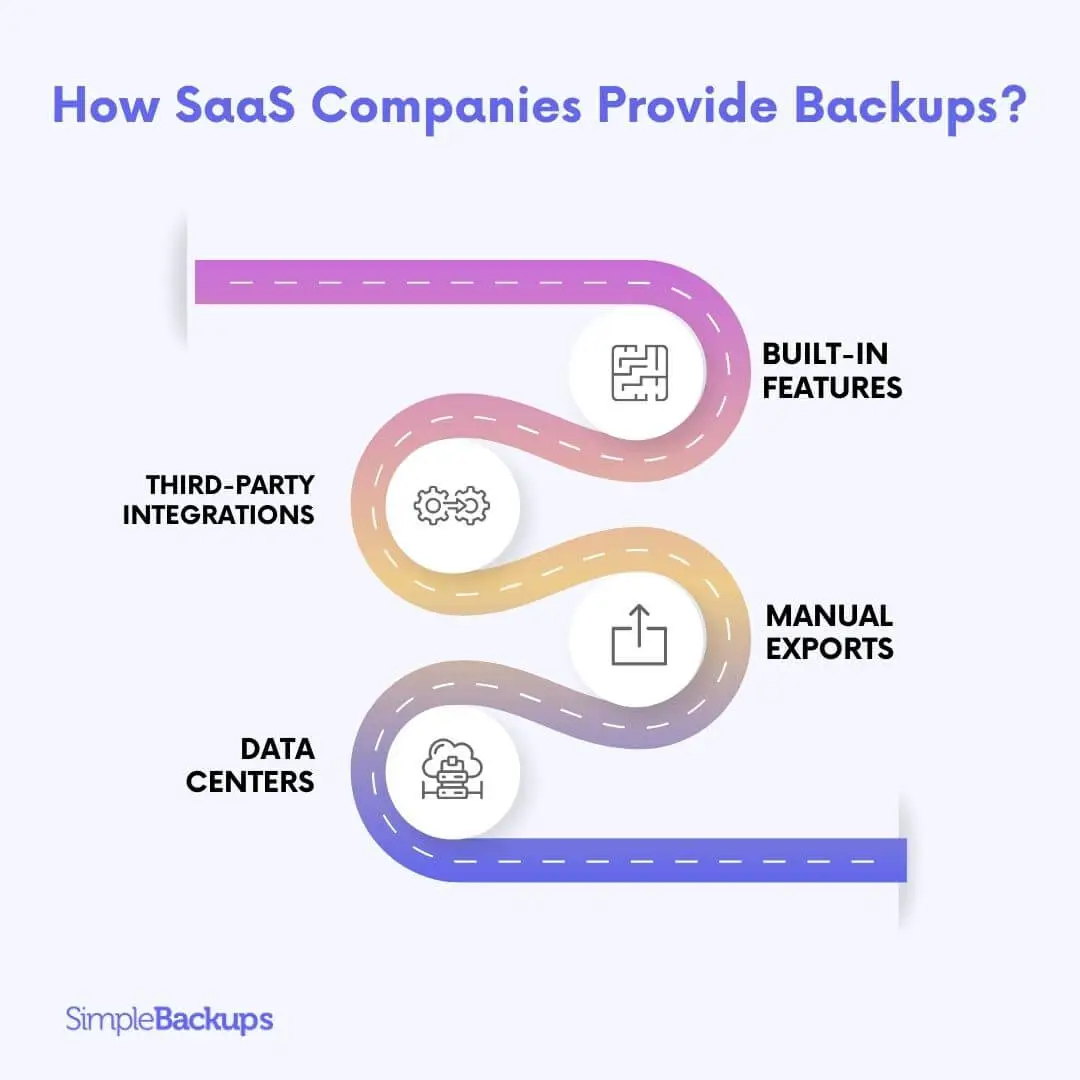
## How can businesses lose their cloud data?
While modern cloud solutions usually include high-quality data protection measures, accidents still happen. We highlighted the most important reasons for data loss below:
### Human Error
One of the most common causes of data loss is user error, like unintentional deletions or overwrites. In most cases, this happens because of a lack of understanding or carelessness. The loss of such data may be impossible to recover without a backup system, causing business disruptions or even financial losses.
### Malicious Actions
Data loss isn't always accidental. Hackers or employees with bad intentions can delete or manipulate data. If not handled promptly and correctly, advanced cyber threats such as ransomware can encrypt data and demand a ransom.
### Software Bugs
It's possible for software to have glitches or bugs that can wipe out your data. They can cause data to be deleted, corrupted, or not saved in SaaS applications. Particularly, when the software is used for business-critical tasks, this is a massive risk.
### Synchronization Issues
Syncing data between multiple devices or apps is a common feature. It's possible to lose data if changes aren't accurately mirrored across all platforms. Synchronization issues can be caused by software bugs, network problems, or user error.
### Vendor Outages
There are risks involved with relying on SaaS providers. Data loss could result if a provider goes bankrupt or has a major outage, especially if there's no independent backup. It's therefore important to choose a SaaS provider who's reliable and stable.
### Insufficient Data Retention Policies
Many SaaS providers have their data retention policies that don't align with businesses' needs. If a provider only keeps data for 30 days, any older data won't be backed up elsewhere, which can be a concern for businesses that require long-term storage.
### Disasters
Data centers can be severely disrupted by natural disasters, such as earthquakes, floods, or fires. Other catastrophic events, like power outages or hardware failures, can also wipe out your data. It's essential to have disaster recovery plans, including geographically distributed backups.
### Third-Party Software Integration Failures
Modern businesses often use multiple SaaS applications together. However, if these integrations fail or are not set up correctly, it can result in data loss or corruption. Therefore, proper setup, testing, and monitoring of these integrations are important to ensure data safety.
### Data Migration Errors
When switching SaaS providers or updating systems, businesses need to migrate their data. This process can be complex and, if not managed correctly, can result in data loss. Ensuring careful planning, execution, and verification of data migration processes can mitigate this risk.
### Legal Actions
In some cases, legal actions like lawsuits or investigations could lead to data being seized or locked down, rendering it inaccessible to the business. Without a backup in place, this data might not be recoverable, which could have significant implications on the business's continuity and reputation.
## Best practices for protecting your SaaS data
Protecting your SaaS data isn't as complicated as it may seem. Here are eight most important steps to keep your data safe:
### Regular Backups
An important part of any [data protection strategy](https://simplebackups.com/blog/security-for-saas-applications-understanding-the-benefits-examples-challenges-and-best-practices/) is creating frequent, scheduled backups. Backups from various SaaS apps need to be thorough, capturing all essential data. You may need backups every day or even every hour, depending on your business. It's also critical to have multiple backup versions stored to allow restoring data from different points.
### Data Encryption
Data encryption involves converting plain text into a code that can only be decoded with a decryption key. Data should be encrypted both when it's at rest (stored on a disk) and in transit (moving across the internet). The encryption makes the data unreadable to anyone without the decryption key, adding a layer of protection against unauthorized access.
### Adopt a SaaS Backup Solution
The process of protecting data can be streamlined using [SaaS backup solutions](https://simplebackups.com/saas-backup). Automated backups reduce the chance of human error. SaaS backup tools allow you to restore specific elements without restoring entire databases.
They also include security features like advanced encryption and anomaly detection could add extra layers of protection.
### Access Management
Data access management involves creating a system that limits access based on roles and responsibilities. Your data should be protected by strict rules about who can access, modify, and delete it. Set up multi-level permissions, user groups, and track and audit sensitive information access carefully.
### Two-Factor Authentication (2FA)
Two-factor authentication involves using two different forms of identification. Users usually need something they know (like a password) and something they have (like a code sent to their phone). By requiring potential attackers to breach two barriers, 2FA significantly reduces the risk of unauthorized access.
### Regular Data Integrity Checks
You need to make sure your backups aren't corrupted or modified unintentionally. Scripts can check for changes in size or structure, checksum comparisons, or even restoring data from backups to a test environment.
### Disaster Recovery Plan
In case of a data loss incident, a [disaster recovery plan](https://simplebackups.com/blog/data-disaster-recovery-a-comprehensive-guide-for-business/) should provide a step-by-step guide. Here are 4 steps you should take while creating it:
1. **Consider different data disaster scenarios:** Consider what would happen if a natural disaster destroyed your data center or a hacker gained access to your organization's data. Plan and prepare for a variety of potential data disasters to protect your data and minimize disruptions.
2. **Identify roles and responsibilities in the recovery process:** A clear plan of action should be established so that everyone knows their specific role in the event of a disaster. It's important to train staff regularly, so they know what to do. Make sure the plan is up-to-date and effective by testing it regularly.
3. **Create a recovery timeline:** The recovery timeline should reflect the estimated time needed to recover from the disruption. It should include steps for implementing the plan and any resources you need. It's also a good idea to keep an eye on the timeline and adjust it as needed.
4. **Develop a communication plan:** A communication plan should provide clear and concise messages to stakeholders, customers, and the public. The plan should also include a way to respond to inquiries and resolve problems. Lastly, it should give an update on the recovery's progress.
### Staff Training
Data protection starts with employee awareness. Employees should get regular training on recognizing cyber threats, handling sensitive data, and following protocols in case of a data breach. If users don't know how to use security software responsibly, even the most sophisticated software won't work.
### Review Vendor's Policies
To align your data management practices with your SaaS vendor's, you need to understand their data protection policies. Make sure you know their backup procedures, data breach protocols, data retention policies, and how they handle legal requests. If you know the limitations of these policies, you can design additional measures to fill them.
## How to choose a suitable SaaS backup solution
It's more important than ever for businesses to have effective and reliable Software as a Service backup solutions.
Choosing the right SaaS backup solution isn't easy. From data integrity checks to regulatory compliance, there are numerous factors to consider.
Here are some valuable insights to help you decide on a suitable solution for your business based on these factors.
1. **Coverage:** Your backup solution should support all SaaS apps your organization uses. This means not just connecting to and backing up data from these apps, but also supporting all the data types these apps use, from files and documents to databases and server configurations.
2. **Data Security:** The backup solution should follow stringent data security protocols. Data is encrypted in transit (from your network to the backup location) and at rest (at the backup location), and secure access controls keep unauthorized people out. Furthermore, the solution should comply with industry regulations like the General Data Protection Regulation (GDPR) and Service Organization Controls 2 (SOC2).
3. **Recovery Capabilities:** A good backup solution should give you the option to restore files or items individually, rather than whole databases or systems. When dealing with specific data loss incidents, this could be crucial. Data recovery speed is also important, since any delay could impact your business.
4. **Automation:** Your backup solution should offer automated backups to minimize human error and ensure consistency. This means that backups are made on a regular schedule without requiring manual intervention.
5. **Scalability**: As your business grows and evolves, so will your backup needs. You should choose a backup solution that can scale up as your needs change, whether that means supporting more data, more users, or more complex configurations.
6. **Integrity checks:** Don't just make backups; make sure they're accurate and usable, too. Identify and fix any errors or inconsistencies in your backup data with regular data integrity checks, which are part of your backup solution.
7. **Easy to Use:** A user-friendly interface makes it easy to set up and manage backups, so errors are less likely to happen and recovering data is easier. This includes clear, intuitive controls, as well as helpful documentation and support resources.
8. **Customer Support:** When you're having problems or require help, reliable customer support can be a lifeline. Find a vendor that offers timely, effective support, preferably with multiple channels of communication (e.g., email, phone, live chat).
9. **Price:** The solution should be within your budget. Keep in mind that sticker prices aren't everything. Don't forget to factor in additional charges, like data recovery, extra storage, or additional services.
10. **Reputation of the vendor:** The reputation of the vendor can give you clues about how reliable and quality a solution is. Take a look at reviews and case studies from other customers, and consider the vendor's longevity, innovation, and customer service.
11. **Compliance** with regulations: Your industry might have specific regulations for data backups and retention. Choose a backup solution that can help you meet these requirements. For example, healthcare organizations in the U.S. must comply with the [Health Insurance](https://compareclub.com.au/health-insurance/) Portability and Accountability Act (HIPAA), which has specific rules for data backups.
In conclusion, SaaS backup is a crucial aspect of data protection for businesses. It helps protect against cyberattacks, prevents data lock-in, and eliminates user errors. SaaS backup offers many benefits. These include secure data storage, minimal disruption to workflow, data authenticity verification, easy data migration, and quick recovery from data losses.
Businesses should adopt best practices to protect SaaS data. These practices include:
- Regular backups
- Data encryption
- Access management
- Two-factor authentication
- Regular data integrity checks
- Disaster recovery plans
- Staff training
- Reviewing vendor policies
When choosing a suitable SaaS backup solution, you should consider coverage, data security, compliance, scalability, and ease of use. Take a look at our solution for SaaS data backup and see how easy data protection can be.
---
# Backup as a Service: How It Works, Benefits, and Challenges
Source: https://simplebackups.com/blog/backup-as-a-service-how-it-works-benefits-and-challenges
Published: 2023-05-24
Author: Kuba
Summary: Discover the workings, advantages, and obstacles of Backup as a Service—a comprehensive overview of this innovative data protection solution.
The importance of data backup comes into play when a company loses vital information because of accidental deletions, hardware failures, or even natural disasters. When disaster strikes, you can recover your precious assets with it, just like an insurance policy for your data.
In this article, we’ll break down the most important aspects of Backup as a Service: features, benefits and potential challenges for this industry.
### What is Backup as a Service?
Backup as a Service, or BaaS, is an online service that backs up your data to a remote, cloud-based server. BaaS providers manage and maintain the backup process, freeing you from the hassle of on-site backup management.
## The Mechanics of BaaS
A key component of BaaS is backups and offsite storage. These mechanics enable BaaS to provide reliable data protection, simplify backup management, and ensure rapid data recovery.
### How BaaS Works
With a cloud-based backup as a service (BaaS), businesses and individuals can back up their data on a provider's servers. As soon as a client signs up with a BaaS provider, a client chooses the level of service they want and is equipped with software to install on their systems. The software identifies and transmits backup data.
Servers of the BaaS provider store encrypted data, which can be accessed at any time or backed up whenever needed. BaaS providers are responsible for storing this data securely and restoring it quickly when required. When a client loses data, they simply request the necessary files from the BaaS provider. These files are then sent back to the client's system, restoring the lost data.
Essentially, BaaS helps businesses safeguard their data, simplify the intricacies of managing backups, and ensure swift data recovery.
### Key Features of BaaS
BaaS offers various features such as:
* **Automatic backups**: Crucial to prevent data loss. BaaS platforms typically provide automatic and periodic backups of your data. At regular intervals, the system creates a copy of your data and stores it in a secure location. Backups are automatically taken, thus eliminating the need for manual intervention.
* **Data deduplication:** A specialized data compression technique used to eliminate redundant copies of data. Deduplication can occur at the file, block, or byte level. The BaaS provider can reduce costs and improve data management by storing only unique instances of data. For example, if you got a dataset consisting of 1, 1, 3, 5 – BaaS will store only the set 3 and 5, as they don’t repeat in the dataset.
* **Version control:** Tracks the changes that have been made to a file or set of files over time so that you can recall specific versions later. BaaS can roll back database changes to a previous state, or manage different versions of your application's backend code. As a result, multiple developers can work on the same project without overwriting each other's work. It also allows developers to revert to a previous version if they spot a bug.
Businesses can rely on BaaS for reliability and robustness because of all these features. Development teams benefit from them by safeguarding data, improving efficiency, and enhancing collaboration.
## Benefits of Backup as a Service
### Cost-Effectiveness
By using the pay-as-you-go model, businesses only pay for the storage they use, avoiding provisioning costs. Many providers also offer tiered pricing, so you can choose a plan that suits your budget as your data needs grow. As a result of BaaS, IT staff spends less time on [backup management](https://simplebackups.com/blog/3-types-of-data-backup-solutions-which-one-do-you-need/) and resolving related issues.
### Scalability and Flexibility
Depending on your business needs, BaaS can easily scale up or down. As your business grows or seasonal fluctuations increase, you can quickly scale up your backup capacity without having to invest in additional hardware or software. On the other hand, if your data storage requires a decrease, you can easily scale down your backup capacity, ensuring you're not paying for unused space.
### Enhanced Security
To protect your data, BaaS offers robust security measures. Regular [security](https://simplebackups.com/blog/security-for-saas-applications-understanding-the-benefits-examples-challenges-and-best-practices/) audits, encryption both in transit and at rest, and secure access controls are often included. Several BaaS providers also offer advanced features like geo-redundancy, which stores copies of your data in different geographical areas to prevent [local disasters](https://simplebackups.com/blog/backup-and-disaster-recovery-services-how-to-choose-the-best-for-your-business/). As a critical component of a comprehensive cyber risk management strategy, BaaS provides additional protection against cyber threats.
### Ease of use
Designed with simplicity in mind, BaaS solutions help you make data backup a seamless part of your operations, eliminating the need for manual work. In addition to intuitive dashboards, many BaaS platforms offer alerts for any backup issues and at-a-glance backup status monitoring. You can focus on your core business activities with the peace of mind that your data is protected, thanks to this ease of use.
For PostgreSQL teams, this is exactly what [replacing pg_dump + cron with a managed backup service](/blog/pg-dump-cron-replacement-postgresql-backup) looks like in practice: scheduling, alerting, and restore verification handled for you instead of maintained by hand.
## Choosing a BaaS Provider
Consider factors such as security measures, recovery times, customer support, and pricing structure when choosing a BaaS provider. To provide you with the best service, a provider must balance all these factors.
### What to Look for in a BaaS Provider
1. Security measures are significant when it comes to trusting a provider with your data. Make sure your BaaS provider offers robust security measures, such as end-to-end encryption and multifactor authentication.
2. A BaaS provider's Recovery Time Objective (RTO) and Recovery Point Objective (RPO) are critical considerations. The RTO indicates the time it takes to restore the data following a disaster, while the RPO indicates the age of the files that must be recovered from backup storage to resume normal operations. Data loss and downtime are reduced when the RTO and RPO are lower.
3. Providing round-the-clock customer support is an essential feature of a reliable BaaS provider. If you have any issues or doubts, you should be able to contact their support team quickly and easily. Make sure providers offer multiple support channels, such as live chat, phone, and email.
4. A clear understanding of the pricing structure is essential for avoiding hidden costs. Consider whether the pricing is based on the amount of data stored, the number of devices backed up, or a flat rate. Pay attention to any additional charges for data retrieval, support, or software updates.
5. Data backup needs will increase as your business grows. In addition to scalability, make sure your BaaS provider supports a wide range of devices as your business grows.
6. Data sovereignty refers to the concept that information is governed by the laws of the country where it is stored. Depending on the country where your data is stored, it may be subject to its laws, which might adversely affect your business.
### Private, public, and hybrid clouds
Understanding the differences between private, public, and hybrid clouds is crucial when choosing a BaaS provider.
1. Private Cloud: Dedicated to a single organization. Data protection is the most secure and provides the most control, but it is also the most expensive. Businesses with sensitive data and strict compliance requirements will benefit from this.
2. Public Cloud: Shared by multiple users or organizations. Compared to a private cloud, it offers less control and security, but it is cheaper and more scalable. The solution is suitable for businesses with fewer sensitive data requirements and a greater degree of compliance flexibility.
3. Hybrid Cloud: A hybrid cloud combines the features of both private and public clouds. Businesses can use the public cloud for less sensitive data while storing sensitive data in a private cloud. Based on cost, security, and compliance considerations, businesses can decide where to store data.
## Potential Challenges with BaaS
While BaaS can be of massive help to businesses relying on data – they're not 100% flawless solution. Here are two crucial aspects of BaaS you should consider before choosing your provider:
### Data Privacy Concerns
When it comes to utilizing BaaS, data privacy poses a significant challenge. Even though such services usually come with [security measures](https://simplebackups.com/security-first) like encryption, third parties still store the data. This situation raises many privacy concerns. Compliance with regulatory requirements is crucial.
Selecting a BaaS provider that complies with all relevant regulations is essential. The growing number of high-profile [data breaches](https://simplebackups.com/blog/those-3-big-companies-almost-lost-everything-to-data-breaches-here-s-what-helped-them/) increases the risk of sensitive data becoming compromised. In spite of the fact that SaaS providers use strong security measures, no system can be 100% secure.
### Dependency on Internet Connectivity
Another challenge of BaaS is the heavy reliance on internet connectivity. Any interruption in internet service can have a substantial impact on backup and recovery processes because BaaS solutions operate in the cloud.
For instance, no internet connection can cause backups and retrievals to be delayed or even impossible. Data recovery can be particularly challenging when there is an urgent need.
There can also be issues related to bandwidth limitations. Data backup and retrieval could be significantly slowed down if your internet connection lacks adequate bandwidth. During peak times, you might not be able to perform these operations effectively.
Lastly, cloud services offer the convenience of accessing data anywhere, but they also restrict your access to areas with reliable internet connectivity. It can be challenging to access your backend services in regions with poor or nonexistent internet service.
## Conclusion
Backup as a Service (BaaS) has emerged as a robust solution for businesses to safeguard their critical data. Its flexibility, cost-effectiveness, and enhanced security features make it an appealing option for businesses of all sizes. However, while choosing a BaaS provider, it's essential to consider the potential challenges and ensure they align with your business needs and[ data privacy regulations](https://simplebackups.com/privacy/#GDPR).
## Frequently Asked Questions (FAQs)
### 1. What is Backup as a Service (BaaS)?
Backup as a Service (BaaS) is an online service that backs up your data to a remote, cloud-based server. BaaS providers manage and maintain the backup process, freeing businesses from the hassle of on-site backup management.
### 2. How does BaaS work?
BaaS works by encrypting and transmitting your data over the internet to a secure, off-site data center. If a data loss event occurs, you can restore your data from these backups.
### 3. What are the benefits of BaaS?
The benefits of BaaS include cost-effectiveness, scalability, flexibility, and enhanced security. It eliminates the need for physical storage equipment and can easily scale with your business.
### 4. What should I look for in a BaaS provider?
When choosing a BaaS provider, consider their security measures, recovery times, customer support, and pricing structure.
### 5. Are there any challenges with BaaS?
While BaaS offers many benefits, potential challenges include data privacy concerns and dependency on internet connectivity. Always ensure your provider complies with data privacy regulations and has reliable connectivity.
---
# Backup and Disaster Recovery Services: How to Choose the Best For Your Business
Source: https://simplebackups.com/blog/backup-and-disaster-recovery-services-how-to-choose-the-best-for-your-business
Published: 2023-05-11
Author: Kuba
Summary: Ensure data safety and business continuity with our advanced Backup and Disaster Recovery Services. Protect your valuable information from unexpected disasters. Get a reliable solution tailored to your needs today.
Data is the most valuable asset for businesses. A single data breach, cyberattack, or natural disaster can lead to devastating consequences. That’s why it’s crucial to have backup and disaster recovery plans in place.
In this article, we'll discuss the importance of backup and disaster recovery services, explore different types of solutions, and provide valuable tips for choosing the right provider and best practices to follow.
If PostgreSQL is part of your stack, you can [compare PostgreSQL backup options for your infrastructure](/blog/pg-dump-cron-replacement-postgresql-backup) alongside the general guidance below.
## The Importance of Backup and Disaster Recovery Services
Backup and disaster recovery services ensure a business can continue operating regardless of data loss or system failure.
Let’s say you fall victim to a data breach due to the internal system error and all your customer’s addresses leaked. Without a proper recovery software (and a proper recovery strategy, of course), you risk things like:
* financial loses
* reputational damage
* legal consequences
All that on top of the fact that your business isn’t actually working. To prevent this, you should invest in a reliable backup solution.
But what does that exactly mean?
## Types of Backup Solutions
There are three main types of backup solutions that businesses can consider for safeguarding their data:
### Full Backup
A full backup involves making a complete copy of all the data in a system.
You should perform this kind of backup regularly, but treating it as an exclusive type of backup isn’t a good idea. For large organizations with large amounts of data, it can be time-consuming and resource-intensive.
Instead, you can choose from different types of backups that don’t require so much time and resources. Here are a few examples:
### Incremental Backup
Incremental backups only save the changes made to data since the last backup. This method is faster and requires less storage space compared to a full backup.
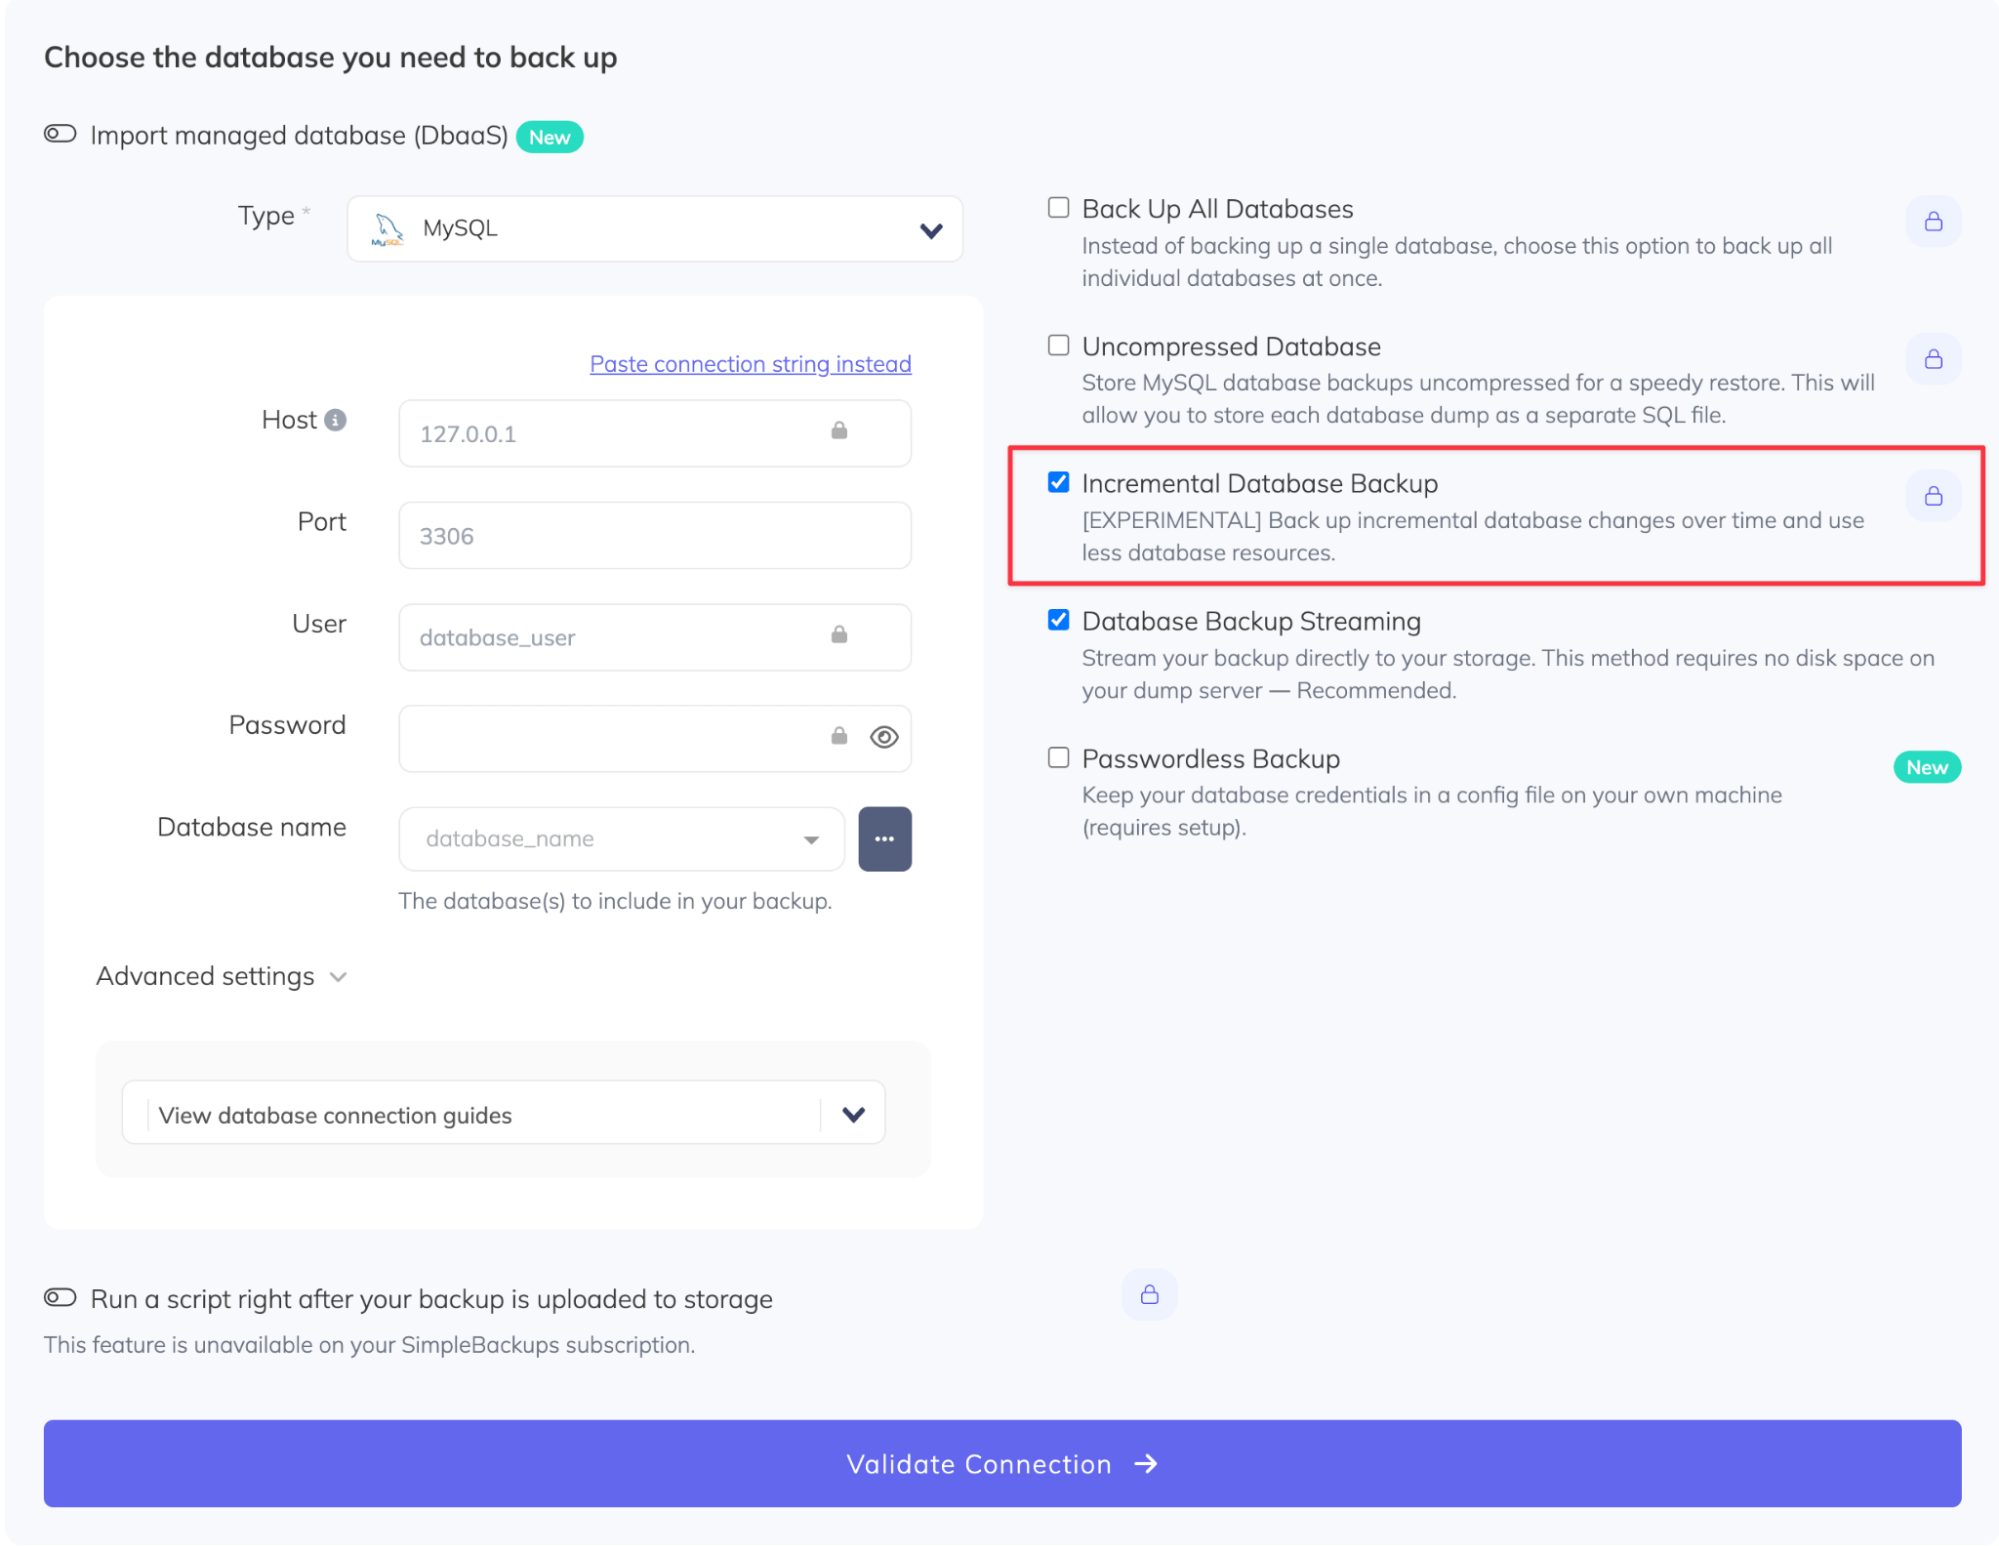
In SimpleBackups, you can set up incremental backups for any types of databases. The first backup run will include all files and folders.
The subsequent runs will only include the changed files. Each backup run outputs one compressed tar file with changed files and is uploaded immediately to your preferred cloud storage.
### Differential Backup
Differential backups save the changes made to data since the last full backup. It is a compromise between full and incremental backups, balancing speed and storage requirements with a more straightforward restoration process.
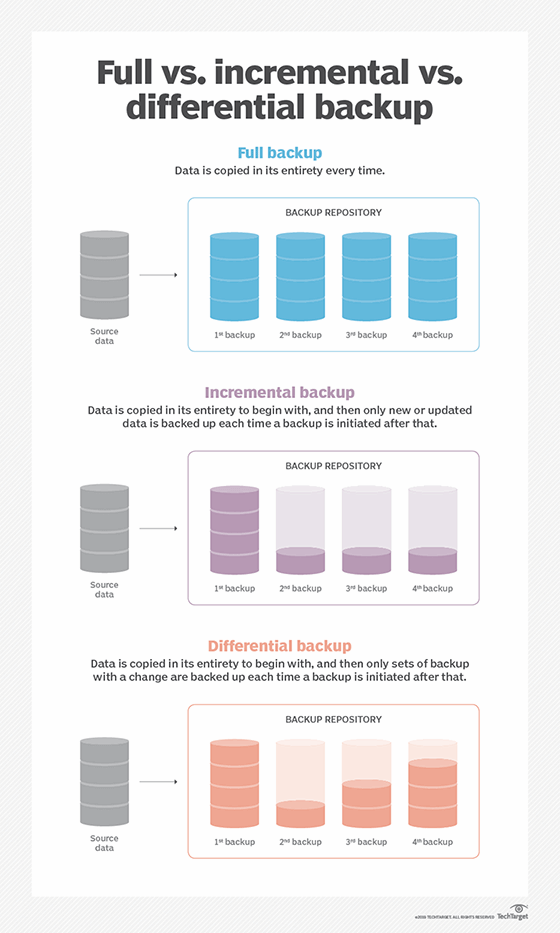
## Types of Disaster Recovery Solutions
When it comes to disaster recovery, businesses have several options to choose from, depending on their needs and resources:
### Cloud-based Disaster Recovery
Cloud-based disaster recovery solutions store data and applications on remote servers, allowing businesses to access their resources in the event of a disaster.
This method is cost-effective and scalable. You don’t need to build any internal backup infrastructure – every backup is stored off-site.
The best part, however, it’s the time you save on setting up your backup schedule. In SimpleBackups you indicate the schedule and retention rate (the number of backups to keep) once, while setting up your backup:
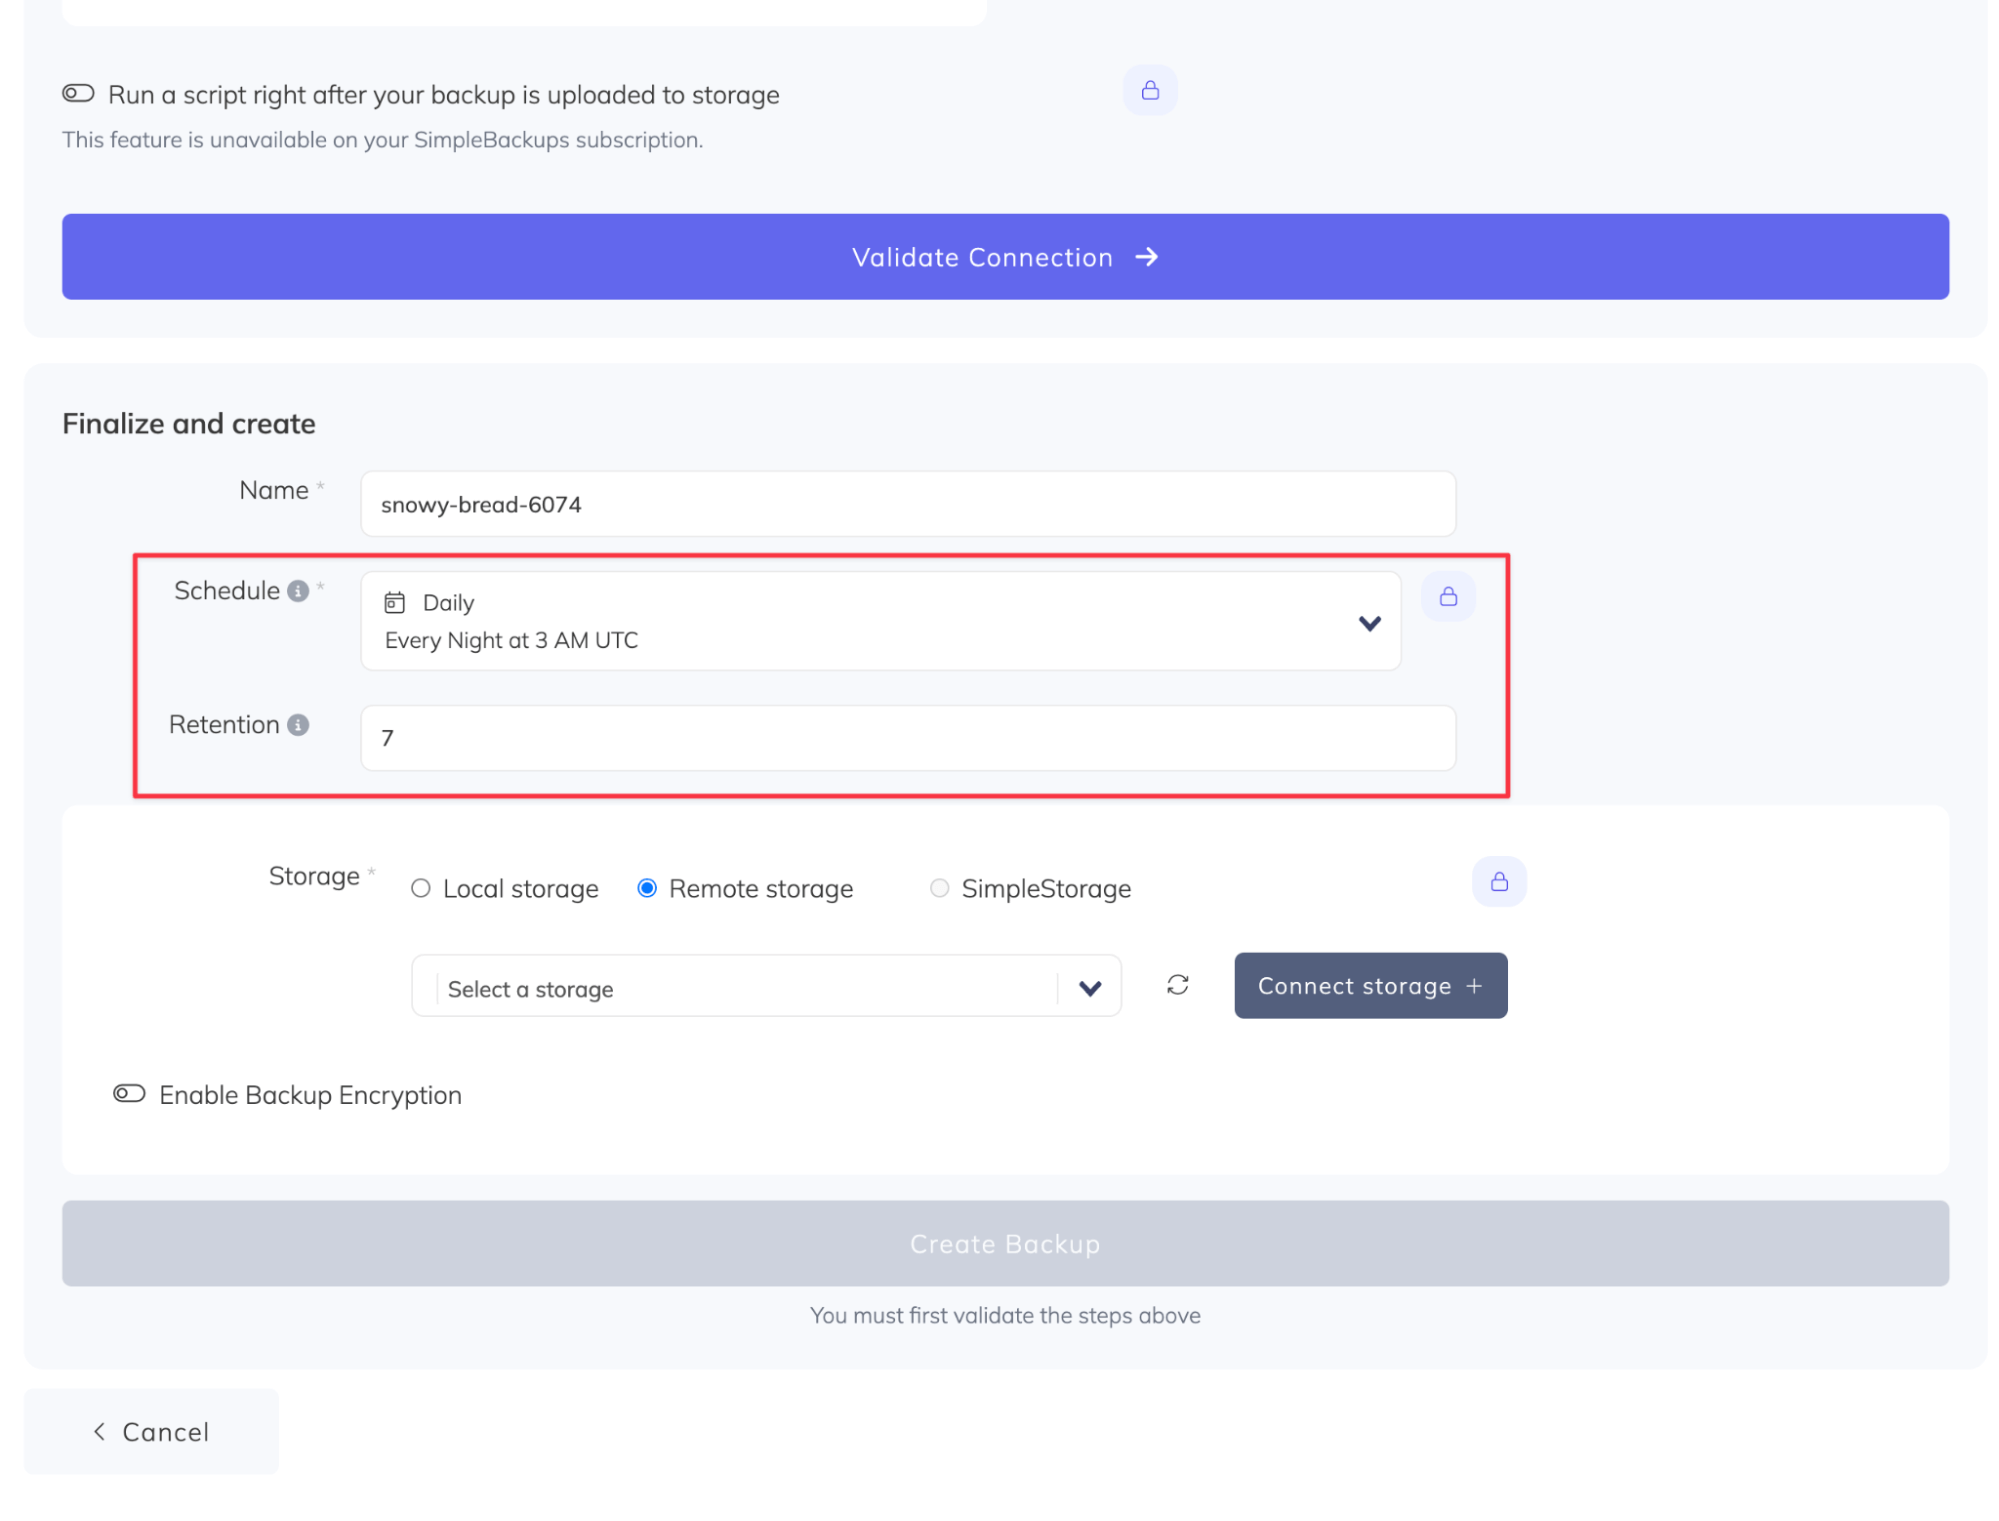
Then, the process becomes fully automated. SimpleBackups takes care of your business data safety, so you can focus on different parts of the business.
### On-site Disaster Recovery
On-site disaster recovery involves housing backup data and applications within the organization's physical location.
On-site backups are usually stored on physical media such as tapes, or hard disks. You can also use an automated software package to automate the backup process.
This method offers increased control and security but can be expensive and vulnerable to local disasters.
### Hybrid Disaster Recovery
Hybrid disaster recovery combines both cloud-based and on-site solutions. It means storing part of your data in an external cloud, and keeping some data on-site.
This technique combines backup and storage methodologies, resulting in a backup configuration that can recover critical data quickly in case of an emergency. Simultaneously it provides a secure repository for data, databases, virtual machines, and applications.
For example, in SimpleBackups you can set up regular backups of all the folders and files on your server, without backing up databases:
This will save space in your SimpleStorage, allowing you to back up more files or keeping the older versions of your files.
## Factors to Consider when Choosing a Backup and Disaster Recovery Service
When selecting a backup and disaster recovery service, businesses should consider the following factors:
* **Budget:** Evaluate the costs associated with various solutions and choose one that fits your organization's budget without compromising on quality or functionality.
* **Storage Capacity:** Assess your organization's storage requirements and choose a solution that can accommodate your data now and as it grows.
* **Security:** Ensure the service provider you choose adheres to the highest security standards to protect your data from breaches and unauthorized access.
* **Compliance:** Confirm that the service provider complies with [relevant regulations](https://simplebackups.com/blog/mastering-gdpr-compliance-the-essential-business-owners-handbook/) and industry standards to avoid legal issues and potential fines.
* **Scalability:** Opt for a service that can easily scale as your business grows or your data storage needs change.
* **Recovery Time Objective (RTO):** Determine the acceptable amount of downtime your organization can tolerate during a disaster and select a solution that meets or exceeds your RTO requirements.
* **Recovery Point Objective (RPO):** Consider how much data your organization can afford to lose during a disaster and choose a solution that offers an RPO within this range.
## Best Practices for Backup and Disaster Recovery
To maximize the effectiveness of your backup and disaster recovery efforts, follow these best practices:
1. **Regularly Test and Update Your Plan:** Test your backup and disaster recovery plans regularly to ensure they remain effective and up to date. Make necessary adjustments as your organization's needs evolve.
2. **Educate Employees:** [Train your employees ](https://simplebackups.com/blog/how-to-train-your-saas-employees-on-data-protection-practices/)on the importance of data protection and their role in safeguarding your organization's assets.
3. **Implement Multiple Layers of Protection:** Utilize a combination of solutions, such as firewalls, antivirus software, and intrusion detection systems, to protect your data from various threats.
4. **Monitor and Manage Your Systems:** Regularly monitor your systems for any signs of potential issues or vulnerabilities and address them promptly.
5. **Create an Incident Response Plan:** Develop a clear, actionable plan for responding to security incidents and data breaches to minimize their impact on your organization.
## Future Trends in Backup and Disaster Recovery Services
As technology continues to evolve, we can expect to see several key trends shaping the future of backup and disaster recovery services:
1. **Increased adoption of cloud-based solutions:** As businesses become more comfortable with cloud technology, cloud-based backup and disaster recovery services will become increasingly popular.
2. **Integration with emerging technologies:** Backup and disaster recovery services will likely incorporate emerging technologies, such as AI, machine learning, and blockchain, to improve efficiency, security, and reliability.
3. **Greater emphasis on cybersecurity:** As cyber threats continue to grow in sophistication, businesses will place a higher priority on securing their data and systems, leading to increased investment in backup and disaster recovery services that focus on cybersecurity.
4. **Automation:** As organizations look for ways to improve efficiency and reduce costs, we can expect to see increased adoption of automation in the backup and disaster recovery process.
5. **Managed services:** More businesses will likely turn to managed service providers for their backup and disaster recovery needs, allowing them to focus on their core competencies while outsourcing these critical tasks to experts.
## Final Thoughts
Backup and disaster recovery services are essential components of any organization's data protection strategy. By understanding the different types of solutions available and carefully considering factors like budget, storage capacity, security, and compliance, businesses can select the right service provider to meet their needs. If you want to start protecting your data right away, get [7 free days of SimpleBackups](https://my.simplebackups.com/register?sb_source=website&sb_term=navigation) and set up your first backup in minutes.
## Frequently Asked Questions
1. What is the difference between backup and disaster recovery?
Backup refers to the process of making copies of data, whereas disaster recovery involves the strategies and solutions put in place to restore data and resume operations in the event of a disaster. Both are essential components of a comprehensive data protection plan.
2. How often should I perform backups?
The frequency of backups will depend on your organization's needs and the nature of your data. Generally, more frequent backups are recommended for critical data and systems, while less frequent backups may be sufficient for less important information.
3. How do I choose the right backup and disaster recovery service provider?
To choose the right service provider, consider factors like budget, storage capacity, security, compliance, scalability, RTO, and RPO requirements. Look for a provider with a solid reputation, strong customer support, and a proven track record of success.
---
# How to Back up Your Gitea Data
Source: https://simplebackups.com/blog/how-to-back-up-your-gitea-data
Published: 2023-05-11
Author: Laurent
Summary: Discover how to back up your Gitea data using SimpleBackups, a cloud-based backup service that can help you protect your code and ensure that your team can keep working even when things go wrong.
Gitea is a self-hosted Git service that allows users to host their Git repositories on their own servers. It is a lightweight and easy-to-use platform that provides many of the same features as other Git hosting services, such as GitHub and GitLab. Gitea is open-source and can be installed on a variety of platforms, making it a popular option for those who want complete control over their Git repositories. In this post, we'll show you how to back up your Gitea data using SimpleBackups, a cloud-based backup service that can help you protect your code and ensure that your team can keep working even when things go wrong.
However, things can go wrong. And, sometimes, they will. In these situations, you’ll need **backups of your Gitea data** to ensure that you have access to your code and that your team can keep working.
In this post, we’ll show you **how to back up your Gitea data with SimpleBackups.**
## What Gitea Data Can You Back up?
Before looking at the backup process in more detail, let’s first look at what data you should back up. Ideally, to ensure your data is properly protected, you should **back up all your repositories, including their related metadata.**
This means you should back up:
* Repositories
* Wikis
* Issues
* Issue comments
* Pull requests
* Pull request comments
* Gists
* Assets
* Releases
Apart from backing up these, you should also consider your needs and requirements, and **schedule** your backups to meet these needs. Combined, this will ensure you have the complete data available should disaster strike.
## How to Back up Your Gitea Data with SimpleBackups
### Step 1: Gitea Setup
Before you can back up your data with Gitea, you’ll need to **create a personal access token that you’ll use to connect Gitea to SimpleBackups.** These tokens allow you to access your Gitea resources when using the Gitea API or command line.
Currently, Gitea supports **two types** of personal access tokens - API tokens and SSH keys.
**Note:** SimpleBackups currently supports the API token.
To create an API token, you can follow[ the steps provided by us here](/docs/saas-app-backup/apps/gitea).
Once you’re done, you should **copy the token** to use later to set up the connection with SimpleBackups.
### Step 2: Getting Started With Your Backup Recipe
Now that your token is saved, you can create your backup on SimpleBackups by **configuring a Gitea recipe.**
To do this, you’ll first **log into your SimpleBackups account.**
To create your backup is to **click on Backups in the top menu.**
On the page that opens, click on Create Backup +.
Once done, you’ll get to the same screen you would have had you used the first method.
Here, it’s essential to **ensure that both the Recipe and Gitea Backup tiles are selected**.
### Step 3: Configuring Your Backup Recipe
For the next step, you’ll need to configure your backup recipe.
Here, you’ll **paste the token** you generated earlier and **enter your Gitea username, and hostname**.
You’ll also select **several options** based on your unique circumstances:
* Whether the backup is for **a private or organizational account**. When you select the private account option, the backup will also include private repositories.
* You can also **select which repositories** you’d like to back up. You can choose between Starred Repos, Watched Repos, and Forked Repos. You can also choose to back up a specific repo.
* Finally, you can also choose **what you’d like to back up**. Based on your needs, you can run full backups, or back up only issues, pulls, wikis, gists, releases, or assets.
In this example, we’ve pasted the token into the relevant text box, entered our Gitea username and hostname, and selected to perform a full backup of a specific repository.
### Step 4: Choose a Server
For the next step, you’ll need to choose the server that will run the backup. You have two options:
* **Serverless**. This option allows you to run the backup on SimpleBackups’ infrastructure and store your backups off-site. There is no setup required, and you’ll save on resources.
* **Own Server.** As the name implies, this option allows you to run the backup using your own infrastructure. This option will enable you to store your backups off-site, locally, or on mounted volumes.
In this example, we’ll use the Own server option. So, we’ll make sure that the correct tile is selected.
You can then click **Validate** to confirm the connection.
### Step 5: Finishing Up and Creating Your Backup
The final step, after you’ve validated the connection, is to choose:
* **Your storage.** Choose one of several options, including Amazon S3, DigitalOcean Spaces, Google Cloud Storage, and more. In this example, we’ll use the same [Dropbox](https://simplebackups.com/blog/how-to-encrypt-your-backups-using-simplebackups/) we used in an earlier post.
* **Retention schedule.** Set your retention schedule to determine how long you’ll keep your backups. Earlier backups will be deleted once the maximum is reached.
* **Backup frequency.** Choose daily, weekly, monthly, on-demand, or even create a custom backup schedule based on your needs and requirements. In this example, we’ll use daily backups.
![]()
## It’s Time You Backed Up Your Gitea Data Quickly and Easily
There you go; now you know how easy it is to back up your Gitea data with SimpleBackups!
But why should you use SimpleBackups?
Well, for one, when using SimpleBackups, you can connect almost any storage you’d prefer. You’ll be in complete control of your data and won't depend on the SimpleBackups platform to recover your data.
When using the platform, you’ll have access to the SimpleBackups notification system. This, in turn, gives you access to email and Slack notifications, task summaries, and even advanced audit logs relating to your backups. You’ll never be in the dark about your Gitea backups.
To learn more about SimpleBackups, our range of innovative features, and how our platform can help you, [get started for free](https://simplebackups.com/) today.
---
# Mastering GDPR Compliance: The Essential Business Owner's Handbook
Source: https://simplebackups.com/blog/mastering-gdpr-compliance-the-essential-business-owners-handbook
Published: 2023-05-05
Author: Kuba
Summary: Learn how to master GDPR compliance with this comprehensive handbook. Protect your business and stay ahead of the competition.
As a business owner, you understand the importance of keeping your company in compliance with laws and regulations. One of the most significant of these is the General Data Protection Regulation (GDPR). GDPR compliance is not only a legal requirement, but it's also essential for building trust with your customers and protecting your business's reputation.
Whether you're a small business owner or the head of a large organization, our Essential Business Owner's Handbook will help you master GDPR compliance. By following our advice, you'll not only protect your business from legal repercussions but also build trust with your customers and improve your reputation in the marketplace.
## **GDPR: Definition**
GDPR is short for "General Data Protection Regulation." It's a regulation that governs access to and use of personal data. It's been adopted by all member states of the European Union and is considered the strictest in the world.
Immediately, let's note that this act applies not just to EU-based companies and individuals, but also to foreign companies doing business in the EU. are processed
You have to comply with GDPR whether you're from the U.S., China, or Europe.
The basis for GDPR was the European Convention on Human Rights. It guarantees everyone the right to respect their privacy and family life. However, technological advancements, such as the development of the Internet - showed that those provisions had become insufficient, so a new document was made.
The GDPR came into effect in May 2018. While it covers a lot of ground, the provisions were written in a way that was easy to understand for the average person. Still, we think a few things need clarification - especially from the perspective of business owners.
## **GDPR: A Glossary for Business Owners**
First, let's discuss some of GDPR's uses. Keep in mind that this is just a small part of GDPR.
* **Personal data** is information about a person that can be used to identify them. For example, you can identify someone if you know their name, surname, and home address. The same applies to data relating to a description of appearance, psyche, economic or cultural situation.
* **Processing** is any action or set of actions done on personal data. Even if these operations are automated, they still count as processing personal data. Processing means gathering, recording, organizing, structuring, storing, changing, retrieving, using, sharing, putting together, removing, erasing or getting rid of. Example: collecting personal data to send newsletters.
* **Data subject**: the person whose data is processed.
* **Profiling** is any type of processing of personal data that uses personal data to look at certain aspects of a person. In general, this means looking at or predicting that person's performance at work. This includes economic situation, health, their preferences, interests, reliability, behavior, location, or movements. For example, you could use personal data to personalize displayed ads.
* A **personal data breach** is a breach of security that leads to personal data destruction, loss, alteration, disclosure, or access. Example: hacking attack on company servers and stealing personal data.
## **Who Is Data Controller, Data Processor, and Joint Controller?**
**The data controller** determines how and why personal data is processed. In addition, they're responsible for protecting personal data and processing it internally. Data controllers are usually companies - sole proprietorships or partnerships.
**Data Processors** process data on behalf of Data Controllers. Data Processors are usually external companies, but sometimes you'll encounter groups of companies where one company processes data for another. A data processor can only process data that's been directly entrusted to him by the controller.
To understand the difference between the two entities, let's look at an example:
Let's say a company sells its goods in the European Union but doesn't have its own warehouse and uses an external one. Who is who in this case?
The **vendor**, i.e. the entity offering its products - is in this case the **controller** of the personal data, as it collects personal information, such as name, address, phone number or email address, before passing it on to a third party, the warehouse owner.
In contrast, the **warehouse** will be the **data processor** - it will process data obtained from the seller to provide the service specified in the contract.
A contract or other legal act must define the relationship between companies regarding personal data. Such an agreement should specify what happens to the data after the termination of cooperation, how data leaks are reported, and how the data is protected.
When two or more companies decide how to process the same person's data, they're called **joint controllers**.
As an example, we have two companies, one that sells renovation materials and the other that finishes interiors. They agree to sell a service that goes with the product, which is to renovate the house using the materials the customer bought.
They create a website with an integrated store, so people's information goes into a database shared by both companies. As a result, both entities become joint controllers of the data set.
## **Objectives, Material, and Territorial Scope**
GDPR protects people's rights and freedoms and regulates how their personal data is used. Additionally, the regulation makes it clear that the flow of data cannot be restricted. As a result, the document is meant to define guidelines and protect consumers, but it's never meant to stop businesses from doing what they do.
The regulation covers any way of processing personal data, whether it's automatic, semi-automatic, or any other method. In addition, the regulations apply to relationships between companies and consumers. As long as the data is purely personal or domestic, it's not subject to GDPR.
To help you understand it better:
Suppose your company is in China, but you sell services or send newsletters in the EU. Do you have to comply with GDPR?
Yes! As long as you process data of citizens from one of the member states, you're covered by the regulation, regardless of where you're based. Retribution is irrelevant - GDPR requires that data of people in the EU be processed accordingly.
## **Sole Proprietorship and Partnerships: What Kind of Data Are Protected?**
Does the GDPR cover the data of a sole proprietor? How about the data of owners of companies listed in national registers?
Basically, it depends on what data is actually disclosed by the member state. For sole proprietorship, if the country's regulations explicitly link the company's name with the individual's name, the individual is also a company. This means the data is protected under the same rules as individuals, so consent is needed.
So, you can tell telemarketers calling your company that you do not consent to personal data processing.
The situation for companies entered into national registries is quite different - in most cases they are separate legal entities, so they are not protected in any way.
However, what about their owners? Company owners are also individuals, so they are fully subject to data protection.
This is a general view of the issue. To clarify all forms of activity, you'd have to trace all possible regulations from each member country.
## **Are credit card numbers personal data?**
Yes… and, no. Using the example of a credit card, let's see what can actually be protected. Does an ordinary person who doesn't work at the bank where your card was issued be able to identify you from it (assuming your name isn't on it)?
Probably not, so we do not treat it as protected personal information.
How about a bank employee with access to the internal info system? Because it can be used to identify the cardholder, the card number will be protected.
If you analyze different cases this way, you can determine whether a data leak is serious, or whether it won't have a big impact on the person whose data was leaked.
Companies must quickly identify if sensitive customer data has been exposed. It is also critical to take the necessary steps to protect it. For example, if your database was hacked, but the only thing leaked were your customers' first names – it's not a major data breach.
But if it was the full names, aka data that can be used to identify your customers, we're talking about a serious data protection violation.
That's why it's critical you ensure that such data leaks do not occur in the first place by implementing strong security protocols and regularly auditing your systems.
## **The Purpose Of Collecting Data And GDPR Guidelines For Data Controllers**
"Why do we really collect personal data?" is an important question for a company. Every time, the data controller must decide what the data will be used for and make sure its scope is only for that. For example, a newsletter only needs an email address and maybe a first name, so the controller shouldn't ask for anything else from the user. GDPR calls this **"data minimization."**
When getting personal data, you need to know exactly what you're going to do with it. In other words, if an individual gives his data to receive marketing info only, it can't be used for anything else. This is called **"purpose limitation"** in the GDPR.
The third rule is to store and process data no longer than absolutely necessary. If someone makes their image available for a single marketing campaign, it can't be stored and processed longer than that campaign lasts.
## **Definition And Conditions Of Consent**
According to the GDPR, consent must be freely given, specific, informed, unambiguous, and revocable. What does this actually mean, and how should consent be expressed?
Let's break it down into individual elements:
1. **Freely given:** consent can't be coerced or manipulated. You can't condition a service on getting consent to process data for marketing purposes, for example. Exceptions to this are when certain data is required to finish a service or order and wouldn't be complete without it.
2. **Specific:** the individual needs to know how his personal data will be used. For example, if we want to get consent for sending newsletters, using an image, and profiling, then each of these needs to be done separately, along with what personal data is needed for each.
3. **Informed:** consent forms must be clear and transparent to the person giving consent. A person must be informed about their rights, as well as terms that are not used every day by the average person, such as jargon and slang.
4. **Unambiguous:** consent must be expressed in a way that makes it clear the subject actually wants it. Silence (i.e., not expressing consent verbatim) cannot be interpreted as consent.
5. **Revocable:** the individual who entrusts data to a controller should have the right to withdraw consent without any conditions.
A great example of the implementation of all the principles:

### **Child’s Consent**
With technology developing so fast and kids having access to the Internet from an early age, it's not insignificant that consent is regulated by the GDPR.
Generally, anyone 16 or older can dispose of their personal data independently. Unless you're a parent or legal guardian, you can't process personal data under this age. However, each member country can regulate this age as long as it doesn't go below 13.
It's the data controller's responsibility to make "reasonable efforts" to verify consent given by a parent or legal
Guardian, considering the technology available.
This means that while the controller must verify the facts, a statement on the website that declares that the person is of a certain age or has parental consent usually suffices - but it can't be pre-checked.
## **When Consent Is Implied And Why Checkboxes In Contract Doesn’t Matter**
What if consenting to data processing is required for the service? Would you need an additional consent or another checkbox?
When that happens, we talk about **implied consent**, i.e. consent where giving certain data to the controller is necessary for the order to be fulfilled.
Let's say someone ordered a washing machine from us, and provided his address. For the goods to be delivered, the buyer needs to provide his name and address - it's logical.
Obviously, the data controller can only use the data for this particular transaction. In contrast, when it's not obvious that the data is inextricably tied to a service or order, the individual needs to be informed and consent to data processing.
How about signing contracts? Do we need more data processing provisions?
It's not necessary if the data processing is strictly related to the contract, like issuing an invoice. On the other hand, if we want to process the data for another purpose, like making a database of customers who get a new catalog every few months, then it'll be necessary.
## **Rights of Data Subjects in GDPR**
The GDPR defines a catalog of rights of data subjects. These are, in turn:
1. **The right to be informed:** giving people precise and easily understandable details regarding how you handle their personal information.
2. **The right of access**: grants individuals various rights to access their personal data, which include: confirmation of whether your personal data is being processed, a copy of your personal data in case it is being processed, additional information concerning the processing of your personal data.
3. **The right to rectification:** any entity has the right to correct or supplement its personal data, without undue delay of the controller of such data.
4. **The right to erasure (“right to be forgotten”):** If certain conditions are met, you are entitled to request the data controller to erase your personal information without undue delay. These conditions are:
* Your personal data is no longer needed for the purpose for which it was initially collected or processed.
* You withdraw your consent for the processing of your data, and there are no other legal grounds for such processing.
* You object to the processing of your data, and there are no overriding legitimate reasons to continue the processing, such as legal claims.
* You object to the processing of your data for direct marketing purposes.
* Your personal data was processed unlawfully.
* Erasure is necessary to comply with a legal obligation.
* Your personal data was collected in connection with the offer of information society services, such as social media, to a child.
5. **The right to restrict processing:** you possess the authority to restrict the processing of your personal information. This lets you confine how organizations employ your data. This is an alternative to requesting the erasure of their data.
6. **The right to data portability**: allows you to acquire and repurpose your personal data across various services. This right allows you to transfer or copy your personal information effortlessly from one IT environment to another, in a secure and reliable manner, without compromising its usability.
7. **The right to object:** gives you the power to prevent the processing of your personal data.
8. **Rights in relation to automated decision-making and profiling:** the data subject possesses the right to avoid being the subject of decisions that solely rely on automated processing, including profiling, and that could result in legal consequences or significantly impact them.
## **Data Protection Officer – Do I Need One?**
DPOs can be appointed at any time for any business, but they are necessary in several cases, regardless of whether you're a controller or processor.
The GDPR requires the appointment of a DPO when sensitive data is processed on a large scale or when people are monitored on a large scale. Behavioral advertising, tracking, and profiling are all examples of monitoring.
The DPO can be a staff member or an external contractor, who provides services under a service contract.
## **Data Protection Impact Assessment**
If a new project poses a high risk to individuals' personal information, a **Data Protection Impact Assessment** (DPIA) is required. You should implement a DPIA, especially when you:
* Use new technology
* Track people's behavior or location
* Monitor public places systematically on a large scale
* Process sensitive categories like race, religion, health, or sexual orientation
The DPIA is also required when processing children's data or when data leaks can cause physical harm.
DPIAs are good practice even when the high-risk standard isn't met to minimize liability and make sure the best data security and privacy practices are being followed.
The DPIA should include a systematic description of the processing operations, the purpose, and the controller's legitimate interests. It must also assess:
* The necessity and proportionality of processing operations in relation to the purposes
* The risks to data subjects' rights and freedoms
* Measures to reduce the risks, including safeguards, security measures, and GDPR compliance mechanisms.
These measures consider the subject's rights and legitimate interests.
## **Penalties for GDPR Violations**
GDPR fines are meant to make non-compliance a costly error for businesses of all sizes. GDPR fines aren't fixed and increase based on company size. Therefore, any organization that doesn't comply with GDPR faces a big fine.
GDPR distinguishes between different levels of violations. Minor infringements can result in fines of up to **€10 million or 2% of the company's worldwide revenue** from the previous financial year, whichever is higher. Violations involve:
* **Data controllers and processors**: these rules cover data protection, lawful bases for processing, and other things that organizations collecting and controlling data (controllers) and companies processing data (processors) have to do.
* **Certification bodies**: they certify organizations and evaluate and assess them in a transparent, unbiased way.
* **Monitoring bodies**: they have to have the right expertise and handle complaints or reported infringements fairly and transparently.
There are less serious and more serious infringements in GDPR, with the latter violating the fundamental principles of privacy and the right to be forgotten. The fine can be up to **€20 million** for these types of violations, or **4% of the organization's global annual revenue**, whichever is higher.
These include violations of articles that govern basic processing principles, consent conditions, data subjects' rights, and data transfers to international organizations. You'll also get fined for violating GDPR laws or not complying with supervisory authorities' orders. Data subjects can also get compensation from organizations that damage them due to GDPR violations under GDPR
In each EU country, the data protection regulator is responsible for administering fines under GDPR. Their decision is based on the following 10 criteria:
1. **Gravity and nature:** This refers to the overall picture of the infringement, including what happened, how it happened, why it happened, the number of people affected, the damages caused, and the timeframe for resolution.
2. **Intention:** Whether the infringement was intentional or the result of negligence.
3. Mitigation: Whether the organization took any actions to mitigate the damage suffered by those affected by the infringement.
4. **Precautionary measures:** The amount of technical and organizational preparation the organization had previously implemented to comply with the GDPR.
5. **History:** Any relevant previous infringements, including those under the Data Protection Directive, as well as compliance with past administrative corrective actions under the GDPR.
6. **Cooperation:** Whether the organization cooperated with the supervisory authority to discover and remedy the infringement.
7. **Data category:** What type of personal data the infringement affects.
8. **Notification:** Whether the organization, or a designated third party, proactively reported the infringement to the supervisory authority.
9. **Certification:** Whether the organization followed approved codes of conduct or was previously certified.
10. **Aggravating/mitigating factors:** Any other issues arising from the circumstances of the case, including financial benefits gained or losses avoided as a result of the infringement.
If an organization commits multiple GDPR violations, regulators will only penalize it for the worst one. This is provided all infringements are part of the same processing operation.
## **GDPR for Business: Best Practices**
Now that you know all the most important aspects of GDPR, it’s time to use your knowledge in practice. Here’s a quick checklist of the best data protection practices to follow:
### **Invest in Awareness and Training**
Understanding the importance of data privacy and being aware of GDPR requirements is essential for employees.
To ensure this, conduct regular [training sessions](https://simplebackups.com/blog/how-to-train-your-saas-employees-on-data-protection-practices/) to keep them updated on the latest developments and best practices.
Also, make sure you adjust the training to your team’s requirements. For example, your customer success team might need different training from your development team.
By investing in awareness and training, you create a culture of data protection within your organization.
### **Implement Data Mapping**
Identify and map all personal data that your business processes, including its:
* Sources
* Storage locations
* Sharing partners
This helps maintain a clear understanding of your data processing activities and identify areas for improvement.
To implement data mapping, create an inventory of all personal data and document its flow throughout your organization. This can be done in a simple spreadsheet or using a dedicated software:
### **Privacy by Design: Integrating Data Protection from the Start**
Implementing privacy principles into the design of your products and services means considering data protection from the very beginning of any project and integrating it throughout its lifecycle.
Here’s how [Krishan Patel](https://www.krishan711.com/), a CTO with 10+ years of experience working in various industries, approaches data protection in his projects:
> *I've always operated from a least-priviledged access practice, i.e. even my first engineers don't have access to all data, they get given permissions as they need them and revoked when not needed.*
>
> *Nobody has in the company has the root credentials except the C-suite. Everything should be made private by default, including databases and servers, code, designs, internal documents, everything. Some say this is hindering but when it's done correctly, nobody should even notice.*
As you can see, embedding privacy by design is about proactively addressing potential risks. If you don’t need to share the data with someone, don’t do it.
### **Data Minimization**
Collect and process only the personal data that is essential for your business activities. Limit the amount of data you collect, store, and process to minimize the risk of breaches and potential fines.
The best way to implement data minimization is to establish clear guidelines for data collection and implement strict access controls.
For example, SimpleBackups is built in a way that no backup data is ever stored or passed through our servers. This drastically reduces the risk of data breach and makes sure we never have access to unnecessary data.
### **Data Protection Officer (DPO)**
Appoint a DPO if your business conducts large-scale processing of personal data or sensitive data. The DPO should be responsible for overseeing data protection strategy and ensuring GDPR compliance.
Here’s what Filip Johnssén, Klarna’s DPO says about his role in the company:
> *A few key ideas drive everything I do as a DPO: One idea is to always keep in mind that data protection and privacy are based on fundamental values. Another idea is understanding that laws represent the voice of the people. For me, this means looking at data protection not as a box-ticking exercise but as what is the right thing to do based on the values and ideas behind a legal requirement.*
By having a dedicated DPO, your organization can better manage data privacy risks and maintain regulatory adherence.
### **Data Breach Response Plan**
A [Disaster Recovery Plan](https://simplebackups.com/blog/data-disaster-recovery-a-comprehensive-guide-for-business/) (DRP) describes how to recover and restore critical data, systems, and infrastructure after a disruption, such as:
* natural disasters
* cyber-attacks
* hardware failure
* human error
This includes notifying the relevant supervisory authority within 72 hours and, in certain cases, notifying affected individuals without undue delay.
By having a response plan in place, you can minimize the impact of a data breach and ensure timely communication with all stakeholders.
### **Regular Audits and Reviews: Maintaining Ongoing GDPR Compliance**
To ensure ongoing compliance with GDPR, it is crucial to conduct regular audits and reviews of your data protection processes.
These audits should encompass all aspects of data handling, including data storage, access controls, and processing activities.
Regular audits and reviews help your organization identify any gaps in your data protection processes and address potential vulnerabilities. By proactively detecting and rectifying these issues, you can mitigate risks, avoid costly fines, and maintain your reputation as a trustworthy business that values data privacy.
## **Final Thoughts**
Staying informed about the latest data privacy regulations and keeping up with changes in the industry is the best way to ensure that your business is compliant.
But without the right tools, staying on top of your data privacy requirements will be almost impossible. With SimpleBackups, you’ll be able to implement and execute a solid data backup strategy effortlessly. Sign up for a free trial today, and start protecting your company’s data.
---
# Security for SaaS Applications: Understanding the Benefits, Examples, Challenges, and Best Practices
Source: https://simplebackups.com/blog/security-for-saas-applications-understanding-the-benefits-examples-challenges-and-best-practices
Published: 2023-04-27
Author: Laurent
Summary: Discover the importance of SaaS security with relevant examples. Learn about the common challenges and best practices to ensure your application is secure.
The use of SaaS is widespread and has become essential for many organizations. It can handle repetitive tasks, reduce manual labor, and operational costs.
However, as a SaaS owner, it is crucial to prioritize security due to the sensitive data being processed and stored. Neglecting security could lead to cybercriminals gaining unauthorized access and potentially misusing the data.
Thankfully, there are solutions available to improve SaaS security and protect against breaches. This article will discuss these solutions and provide best practices for SaaS security.
## What Is SaaS Security?
And since SaaS businesses operate in the cloud. The cloud is a hub for all sensitive information (business and customer), including payment information, personal information, or user accounts.
SaaS companies need to be cautious with security measures, protecting their application from security threats and ensures the confidentiality, integrity, and availability of the tool and all the data it handles.
## Why Should You Prioritize SaaS Security?
SaaS applications are getting more complex with the increasing volume of usage and demands.
One application is being used by HR managers, developers, and C-suite executives. Since they all have different technical capabilities and requirements with the application, each has its own way of using it.
As a result, the security teams find it hard to collaborate with business managers who are managing and shipping new technologies in the SaaS. This opens up many loose ends in the applications, making them vulnerable and inviting unwanted attention.
### Consequences of Compromised SaaS Security
One lousy security breach or a data leak can have severe consequences for your business, which can be hard to recover from:
- Compromised data can erode customer trust, especially if it involves sensitive personal or financial data.
- There can be legal and regulatory issues, including lawsuits, investigations, and fines. Some industries, such as healthcare and finance, are subject to strict regulations governing data security for SaaS applications.
- Downtime due to a data breach can lead to operational disruptions, which can be ugly for your revenue and reputation.
## Biggest Challenges for SaaS Security
Hosting a SaaS application on the cloud invites many security risks, including:
- **Data breaches:** An unauthorized individual gaining access to sensitive or confidential data.
- **Malware attack:** A malicious software that infects a user's device and steals data or provides attackers with access to the device. It spreads through email attachments, downloaded software, or infected websites.
- **Phishing attacks:** Breaches that involve tricking users into giving away their login credentials or other sensitive information. These emails may look like they come from a legitimate source, such as a SaaS provider, vendor, etc. The goal is to make you lower your guard.
- **SQL injection attacks:** SQL injection attacks exploit vulnerabilities in an application's database to gain unauthorized access to data. Attackers can use specially crafted SQL statements to manipulate the database and extract sensitive information.
- **Session hijacking:** Session hijacking involves stealing an active user session to gain unauthorized access to data. This can be done by stealing a user's session ID or by intercepting the communication between the user and the application.
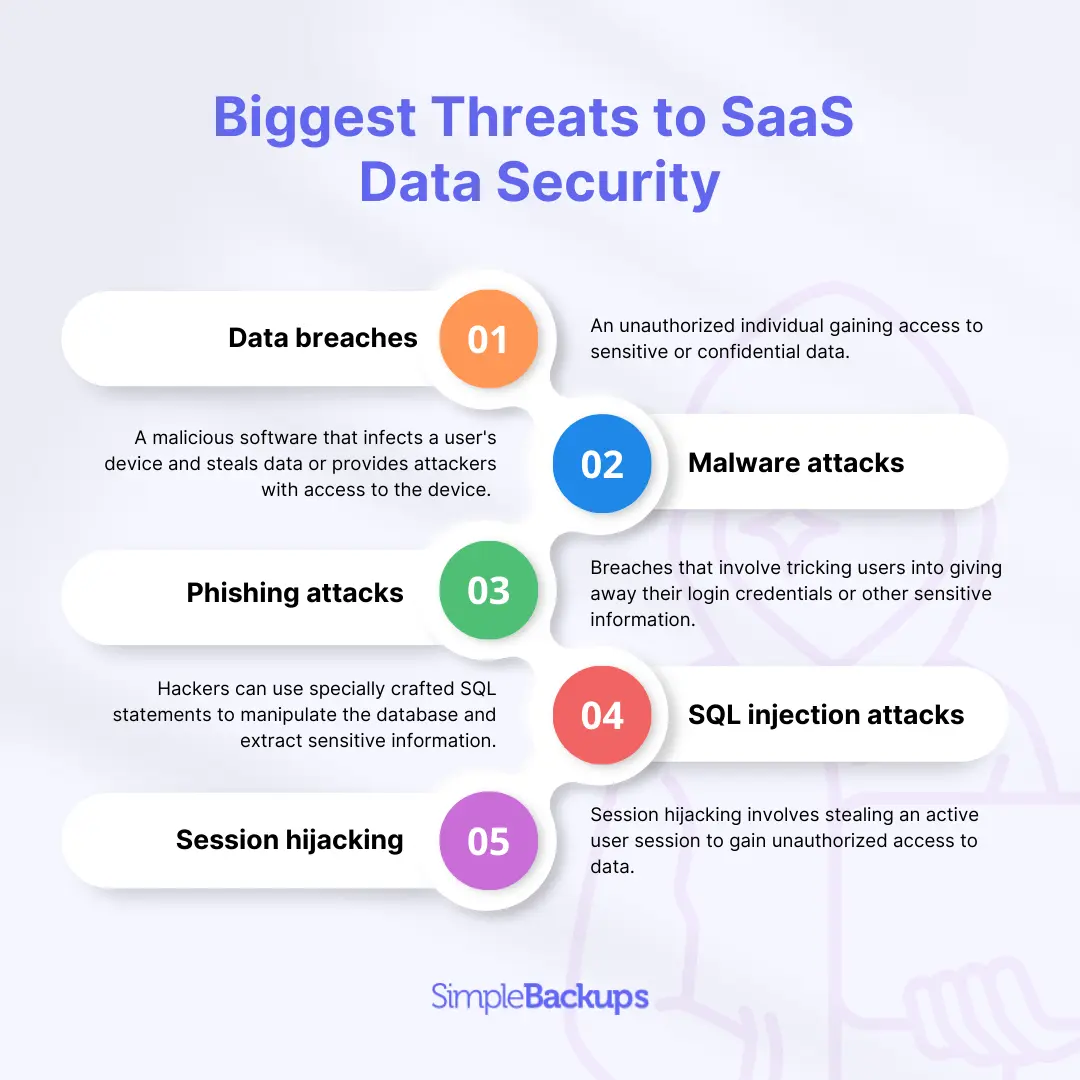
### Examples of High-Profile Data Breaches
#### 1. Zoom’s file of data breaches

A lockdown favorite, Zoom experienced not one but a series of data breaches in 2020.
The first breach occurred in April when it was discovered that Zoom was sending user data, including email addresses and device information, to Facebook without users' knowledge or consent.
Later that year, Zoom had a vulnerability that allowed hackers to [steal users' Windows credentials](https://arstechnica.com/information-technology/2020/04/unpatched-zoom-bug-lets-attackers-steal-windows-credentials-with-no-warning/).
Another Zoom vulnerability was discovered in 2020, allowing hackers to [eavesdrop on Zoom meetings](https://www.theverge.com/2020/1/28/21082331/zoom-vulnerability-hacker-eavesdrop-security-google-hangouts-skype-checkpoint).
As a result, Zoom became a part of many lawsuits and paid millions of dollars worth of fines for several misconducts in data security.
#### 2. Salesforce’s API Error

In 2018, Salesforce warned some of its marketing cloud users about a [potential data leak](https://www.zdnet.com/article/salesforce-warns-customers-of-data-leak-caused-by-api-error/) due to an API error in the application.
The error caused the APIs to improperly retrieve or write data from one customer’s account to another, and Salesforce couldn’t confirm if another user viewed or modified a customer’s data.
While the error was immediately resolved within hours of Salesforce releasing an emergency release, it may have caused information loss to customers, including Nestle, Dunkin’ Donuts, etc.
#### 3. Dropbox’s Data Leakage Fiasco

The breach was caused by a [vulnerability in a third-party software library](https://www.theguardian.com/technology/2016/aug/31/dropbox-hack-passwords-68m-data-breach) that Dropbox used, which allowed hackers to access user accounts and steal the email addresses and passwords of over 68 million users.
The stolen data was then sold on the dark web, which put Dropbox users at risk of identity theft and other cybercrimes.
## SaaS Security Best Practices
Now, these past breaches look ghastly, so how can you ensure your SaaS doesn’t become a victim? First, we need to understand the causes – the loose ends that invite these risks in the first place.
Typically, a SaaS application becomes vulnerable on the internet due to the following factors:
- **Weak passwords and poor authentication:** Weak or reused passwords and poor authentication practices allow hackers to access user accounts and sensitive data quickly.
- **Unsecured APIs:** APIs allow third-party developers to integrate with the SaaS application's functionality, but an unsecured API can become a key for hackers to bypass authentication and authorization measures and access confidential information.
- **Human error:** Mistakes by employees or contractors may lead to security incidents in SaaS applications. For example, accidentally sharing sensitive data or falling for a phishing scam.
- **Outdated software and systems:** Failure to keep software and systems up-to-date can leave SaaS applications vulnerable to security risks.
- **Third-party vulnerabilities:** Third-party vulnerabilities refer to security risks arising from weaknesses in software components, libraries, or other dependencies developed and maintained by third-party vendors.
- **Compliance issues:** Compliance regulations like [HIPAA compliant video conferencing](https://www.profi.io/life-coaching-software), GDPR, and CCPA, among others, establish specific requirements for how companies handle and store sensitive data. If they fail to comply with these regulations, companies may be at risk of suffering a data breach, which could result in significant financial and reputational damage.
Now that you know what typically makes a SaaS ecosystem weak and vulnerable, let’s dive into the solutions and best practices to steer clear of any security misconduct in a SaaS application!
### 1. Implement Two-Factor Authentication in Your SaaS
As you’ve seen, passwords are at high risk of being stolen or misused. This is a significant security risk, as stolen passwords can give unauthorized users access to sensitive information, resulting in data breaches and other security incidents.
To address this risk, implement two-factor authentication (2FA) as an additional layer of security for SaaS applications.
2FA is a security process in which users provide two different authentication factors to verify their identity. These factors can include something the user knows (like a password), something the user has (like a security token), or something the user is (like biometric data).
#### How Does 2FA Work?
With 2FA, a user will enter their password as the first factor, and then a second factor is required, which can vary depending on the implementation. The user might need to enter a code sent to their phone via text message or an app, use a physical security key, or provide a biometric scan like a fingerprint.
With two separate factors, 2FA significantly increases the difficulty of an attacker gaining unauthorized access to a user's account.
For example, Google provides an option for 2FA for all its accounts, including Google Drive, Gmail, Google Calendar, and other services. Users can enable 2FA, which adds an additional layer of security to their accounts. When you want to log into your workspace, you must first enter the credentials and then confirm the login with your phone.
### 2. Invest in SSPM to Level up the Security of SaaS Applications
SSPM, or SaaS Security Posture Management, is a set of SaaS security tools and processes designed to help organizations manage their SaaS security posture and ensure that all SaaS applications are safe.
#### How Does SSPM Work?
SSPM integrates with various SaaS applications using API integration and monitors real-time user activities. It helps security teams manage risks such as:
- Excessive permissions
- Unused accounts
- Other access-related issues
It scans the applications and identifies any potential security risks. It then provides recommendations on mitigating these risks and enforcing security policies on these applications.
These recommendations often include requiring stronger passwords, enabling two-factor authentication, or restricting access to certain features.
### 3. Regularly Monitor and Update the App
Ensure all your tools and third-party apps (or integrations) are patched to the latest update. Then, push the updates to your servers and make them available to the users.
#### SaaS Update Checklist
- Check for updates frequently, or set up automatic updates, to ensure that your software is always up-to-date and secure.
- Before updating, back up all of your data to recover your data in case something goes wrong. This can be done either manually or automatically.
- Before applying updates to a live production environment, it is best to test them in a non-production environment.
- Once updates are released, apply them as soon as possible to protect your software from the latest security threats.
### 4. Incorporate Data Encryption and Secure Data Storage Practices
Data encryption is another fool-proof way for SaaS companies to encrypt all sensitive user data in transit (i.e., while it's being transmitted over the internet) and at rest (i.e., while it's stored on servers).
It involves converting data into code that can only be read with a decryption key. Even if an attacker gains access to the data, they won't be able to read it without the decryption key.
Another thing to note is to store your SaaS data in a safe environment that offers encryption, regular automated backup, identity access controls (2FA), etc.
### 5. Educate Your Employees on Security Best Practices
Change begins at home and, in this case, at your organization. It’s important that [your employees are well-informed](https://simplebackups.com/blog/how-to-train-your-saas-employees-on-data-protection-practices/) about the SaaS security best practices to safeguard your SaaS application.
Follow the steps below to bring your whole team up to speed:
- Develop a concise security policy outlining the company's expectations and guidelines for protecting sensitive data.
- Conduct training sessions that cover the basics of cybersecurity and data protection practices.
- Conduct refresher courses to reinforce the security policy and provide updates on new threats and vulnerabilities.
- Implement access management protocols that restrict employee access to sensitive data and systems based on job responsibilities.
- Develop an incident response plan that outlines procedures for handling security incidents and data breaches.
- Regularly test the security measures to identify vulnerabilities and assess the effectiveness of the training program.
### 6. Develop an Incident Response Plan
Creating an incident response plan is crucial for any SaaS company to respond effectively to security breaches or incidents.
This way, you can quickly identify the scope and nature of the breach and the actions required to contain it if that happens. Moreover, it minimizes confusion and inconsistency in handling security incidents and brings all employees on the same page.
#### 5 Steps to Create an Incident Response Plan
- Identify key stakeholders, including the incident response team, executive management, and other relevant departments. Define their roles and responsibilities in the event of a security incident.
- Identify the different types of security incidents that could occur, such as data breaches, malware attacks, or system failures.
- Create a communication plan that outlines how the company will communicate about the security incident with employees, customers, vendors, and regulators.
- Define the steps the incident response team will follow when responding to a security incident. This includes initial response, containment, eradication, recovery, and post-incident activities.
- Regularly test your plan to ensure it remains effective. This can be done through simulated security incidents or tabletop exercises.
## Shield Your SaaS Against Risks and Vulnerabilities
Taking care of the security requirements for SaaS applications can be tricky, especially for more complex and advanced apps, as their user base increases. The key is to follow a rigorous and systematic approach to identify the potential vulnerabilities in your SaaS and take proactive measures to combat them.
Ensure you have the best security policies in place and regularly audit your application security. More importantly, keep your team informed about the potential risks and create a rock-solid plan to remediate like a pro!
Make [SimpleBackups](https://simplebackups.com/) a part of your SaaS security stack, and stay prepared for the unexpected.
---
# Backup as a Service: The Ultimate Solution for Data Safety You Need
Source: https://simplebackups.com/blog/backup-as-a-service-the-ultimate-solution-for-data-safety-you-need
Published: 2023-04-17
Author: Kuba
Summary: See how Backup as a service protects your data from unexpected loss. Learn how to keep your business running smoothly with reliable data protection.
Backup as a Service (BaaS) is a cloud-based service that provides an efficient and cost-effective solution for data backup and recovery. Data is the backbone of every modern business. It is the lifeblood that keeps it going.
Therefore, it is essential to have a robust backup system in place to ensure that your data is secure and easily recoverable in case of any disaster.
In this article, we will explore everything you need to know about Backup as a Service.
## What is Backup as a Service?
Backup as a Service (BaaS) is a cloud-based service that provides an efficient and cost-effective solution for data backup and recovery. It allows organizations to store their critical data on cloud-based servers that can be accessed from anywhere, anytime. The BaaS provider takes care of all backup and recovery processes, including:
* Storage
* Security
* Maintenance
While you and your business can focus on your core operations.
## How Does Backup as a Service (BaaS) Work?
BaaS works by replicating your data to a cloud-based server. The BaaS provider typically uses a secure Internet connection to transfer the data, which is then encrypted and stored on the cloud-based server. The data is stored in multiple locations so that it can be easily recovered in the event of a disaster.
## Advantages of Backup as a Service (BaaS)
Backup as a Service has many potential benefits for companies of all shapes and sizes. The most important are:
* **Cost-effectiveness:** BaaS is a cost-effective solution because it eliminates the need for expensive investments in hardware and software. It also saves on maintenance costs, as the BaaS provider takes care of all maintenance and upgrades.
* **Scalability:** BaaS is highly scalable, which means organizations can easily increase or decrease their backup requirements as their business grows or changes.
* **Accessibility:** BaaS provides easy accessibility to your data from anywhere, anytime, ensuring that you can quickly recover your data in case of any disaster.
* **Automation:** BaaS automates the backup and recovery process, reducing the risk of human error, which is a common cause of data loss.
* **Security:** BaaS provides high-level security for your data, including encryption, password protection, and multifactor authentication.
## Disadvantages of Backup as a Service (BaaS)
While there are many potential benefits to BaaS, we can’t omit the disadvantages. Here are the most important things to consider while choosing your BaaS provider:
* **Dependency on Internet Connection:** BaaS is entirely dependent on an internet connection. If your internet connection is slow or unreliable, it may affect the backup and recovery process. Your application (or the data you want to backup) is probably anyway requiring an internet connection to run or be accessed, so this is rarely a concern.
* **Data Security:** Although BaaS provides high-level security, some businesses may still have concerns about storing their data on a third-party server.
* **Downtime:** In case of any downtime or server maintenance, your backup data may be temporarily unavailable. That's why having a BaaS that rely on storage you control is key.
## Choosing the Right Backup as a Service (BaaS) Provider
Choosing the right BaaS provider is essential to ensure the security and reliability of your data. Here are some factors to consider when choosing a BaaS provider:
### 1. Reputation
Choose a provider with a good reputation and track record in the industry. This will ensure your BaaS provider is reliable and trustworthy:
[](https://simplebackups.com/case-study/)There is no place for compromises when it comes to your business data. Always make sure to read reviews and [customer testimonials](https://simplebackups.com/case-study/) before choosing your data backup service provider.
### 2. Security
Ensure that the provider offers high-level security for your data, including things like:
* Data encryption
* Password protection
* Multifactor authentication
If your company operates in the EU, you also need to make sure that your BaaS provider complies with GDPR standards. One of the biggest requirements of those regulations is to have a safe, reliable infrastructure, operated in Europe. Make sure your BaaS provider can comply with them.
### 3. Scalability
Choose a provider that offers scalability to accommodate your changing backup requirements. While your company is growing, the backup requirements will change accordingly.
For example, if you’re a [digital agency](https://simplebackups.com/agency-backup-solution/), at the beginning your data infrastructure might not require backups to happen often. But as your clientele grows, and you have to protect more customer data, you’ll need a solution that can keep up with the requirements.
### 4. Customer Support
Ensure that the provider offers reliable customer support. Sometimes, accidents happen. It’s crucial for a BaaS provider to have a responsive, proactive customer support team that’s ready to answer your questions if needed.
This can prove useful, especially if you’re not a very technical person. Setting up your backup workflow can be a challenge if you’ve never done it before. A responsive customer support can help you deal with it faster.
## Conclusion
Backup as a Service (BaaS) is an excellent solution for businesses that want to ensure the security and recoverability of their critical data. With the increasing importance of data in today's digital age, it is essential to have a reliable backup system in place. BaaS provides an easy-to-use, cost-effective, and scalable solution that allows businesses to focus on their core operations while leaving the backup and recovery processes to the experts.
At SimpleBackups, we understand the importance of keeping your data safe and secure. That's why we offer Backup as a Service (BaaS), a managed, third-party solution that provides reliable data protection and recovery.
We are committed to providing our clients with the best possible BaaS solution, tailored to their specific needs. Contact us today to learn more about how BaaS can help your business stay ahead of the curve when it comes to data security.
---
# How to backup MySQL to Leviia
Source: https://simplebackups.com/blog/how-to-backup-mysql-to-leviia
Published: 2023-04-14
Author: Laurent
Summary: Let's explore a simple way to schedule backups for MySQL and store them on Leviia using SimpleBackups.
Let's explore a simple way to schedule backups for MySQL and store them on Leviia using SimpleBackups.
Levia Object Storage is a 100% French 🇫🇷 solution that combines speed and simplicity to securely store your data.
Storing your data on Levia Object Storage is a great way to ensure that your data is always available and secure outside of any GAFAM (Google, Apple, Facebook, Amazon, Microsoft) control and conform to the GDPR.
## Requirements
- Set up a **[SimpleBackups account](https://my.simplebackups.com/register)** with one of our paid plans.
- Have a Leviia account with a created bucket.
- Ensure your server is connected to your account (the one hosting your MySQL database).
## Create your MySQL backup
To begin, you should first schedule your backup by visiting the following link: [https://my.simplebackups.com/backup/create](https://my.simplebackups.com/backup/create).
On this page, you will have the option to configure the data that you wish to backup (in this case, MySQL), where you would like it to be stored (in your Leviia account), and how frequently you would like the backups to occur.
It is important to note that this section will remain the same regardless of which storage option you choose. The benefit of this is that if you decide to switch storage providers (such as Leviia, Backblaze or AWS), all you need to do is select your new provider from the list and you will be ready to proceed.
### What do you want to back up?
- Choose "**Database**" (in this article, we're only creating a backup of MySQL)
- **Choose the server** where your database is hosted
### Select the Database to Back Up
- Choose the type of database you are using, in this case "**MySQL**"
- Complete the database connection form
- Click on **Validate Connection**
## Finalize and create
- Choose a **name for your backup** (this is how it will be displayed in the SimpleBackups interface) and select a storage location.
- Set your retention and Schedule
- Choose Remote Storage, add Leviia as a provider,
- Fill in your Leviia provider token, if you're unfamiliar with how you can retrieve this token please read [this article ](/docs/storage-providers/leviia)
- Click "Create Backup"
That's it! Your MySQL backup is now ready and connected to Leviia. Run it manually once (using the "Run" backup button from the backups list) and you'll trigger your first backup!
---
# How to Train Your SaaS Employees on Data Protection Practices
Source: https://simplebackups.com/blog/how-to-train-your-saas-employees-on-data-protection-practices
Published: 2023-04-06
Author: Laurent
Summary: Learn how to train your SaaS employees on data protection practices with these 5 easy steps. Educate your employees about comprehensive zero-trust policies, Data Loss Prevention (DLP) technology, and Identity and Access Management (IAM) procedures to keep them and their SaaS applications safe.
There has been a fundamental shift in the way software vendors do business in the past few years. They’ve moved away from shipping physical software to providing their products online as SaaS (software-as-a-service) tools. For customers, this means that their software of choice is always available, and, as a bonus, they don’t need to perform any manual updates.
But this change also means that SaaS companies gather, store, and work with vast amounts of customer data. Unfortunately, this exposes both the business’s and customers’ data to security risks. Because of this, your employees should know how to keep data safe.
In this post, we’ll show you how to train your employees effectively on data protection practices.
## Why Should You Train Employees on Data Protection Practices?
We’ve already mentioned the risks your data is exposed to. But how significant are they? Well, there were more than [4,100 data breaches](https://www.cshub.com/attacks/articles/the-biggest-data-breaches-and-leaks-of-2022) that the public knew of in 2022. That equates to more than 22 billion records that have been exposed.
When it comes to these data breaches, some of the most common causes of data breaches are:
- Weak and stolen credentials
- Phishing and malware
- Social engineering
- User errors
- Hacking
When looking at these causes, did you notice something? The first four all apply to your employees. Yes, they’re a major point of failure in your security posture. Fortunately, if you provide proper training, you can eliminate these risks and focus on preventing the ones that aren’t up to you at all (e.g., hacking).
And when a data breach occurs, the consequences can be devastating. For instance, under the GDPR, you can face [fines of up to €20 million](https://gdpr.eu/fines/) when data breaches happen.
## How to Train SaaS Employees on Data Protection Practices
Now that we’ve seen why you should train your employees in data protection practices, let’s look at the steps you should follow!
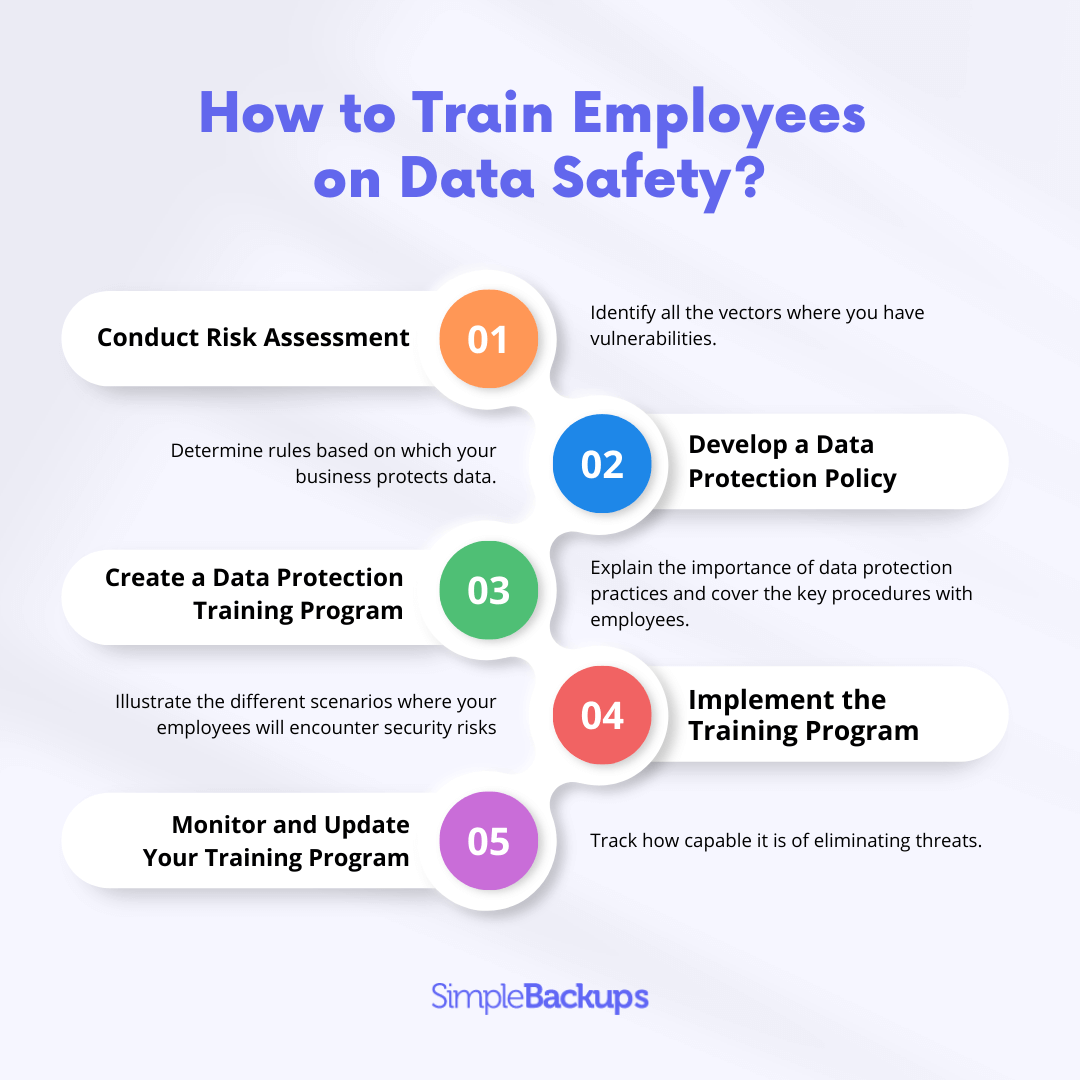
### Step 1: Conduct a Risk Assessment
Your first step would be to conduct a proper risk assessment. During this process, you’ll identify all the vectors where you have vulnerabilities. This means all the departments and employees that handle customers’ data or partake in data processing activities. Similarly, identify your system risks. For example, if you use legacy software, your risk could be higher.
### Step 2: Develop a Data Protection Policy
Next, based on your risk assessment, you should develop a data protection policy. It’s a set of rules and guidelines that determines how your business protects data.
While there’s no set format for these policies, you should ensure that it provides all the relevant data protection rules as well as procedures your employees should follow when working with data.
The [rules and procedures](https://www.personio.com/hr-lexicon/data-protection-policy/) you include in your data protection policy, should be:
- Appropriate for your business, considering its size, processes, and culture.
- Possible to implement in your business.
- Easy to understand and implement for your employees.
- Reviewed where necessary.
Depending on your risk vectors and particularly vulnerable areas, you might create dedicated data protection policies. For example, your Sales team may have a policy different from your Engineering team because they’ll work with customers and their data while your Engineering team will likely focus on product development and, by implication, sensitive internal data.
### Step 3: Create a Data Protection Training Program
Based on your risk assessment and your data protection policy, you’ll be able to create a training program to train the appropriate employees in data protection practices.
This program should explain the importance of data protection practices and cover the key procedures with employees. It should also be simple enough so that it’s easy to understand. When it is, you’ll equip your employees with an understanding of the key concepts of data protection and what they can do to eliminate security risks. Finally, don’t forget to ask for feedback so that you don’t miss any crucial steps.
### Step 4: Implement the Training Program
Once you’ve developed your training program, you can implement it. Here, it's always a good idea to use practical examples. This will illustrate the different scenarios where your employees will encounter security risks and how they need to deal with these different situations.
For example, walk them through a typical social engineering scenario. Your Finance team may get an invoice from an email address that looks like it comes from your well-known customer. Which steps should they take to verify legitimacy? Which processes can you implement to automate the verification?
This practical training instills far more knowledge than a purely theoretical approach. Keep in mind, though, that you can use some [training materials available online](https://iapp.org/train/) to bolster your practical training with the necessary theory.
### Step 5: Monitor and Update Your Training Program
When you’ve implemented your training program, you should consistently monitor and update it. This needs to happen for a few reasons. For instance, when monitoring the program and how your team implements it, you might find some aspects your team struggles with. You’ll then update these aspects.
Also, by monitoring your program, you’ll track how capable it is of eliminating threats. And, as new threats surface, you’ll be able to address them before they can endanger you. This is especially important as the cybersecurity landscape evolves.
## What to Avoid in SaaS Data Protection Training
When creating and implementing your data protection training, there are some things you should avoid. For example, you should:
- Understand that there’s no one-size-fits-all approach. Customize the training for your company and individual members of your team to keep everyone engaged on the highest-priority risks.
- Ensure that the training is engaging and interactive. For instance, when you use a practical training style, as we mentioned earlier, your employees will be more engaged in the learning process.
- Avoid overloading employees with [too much information](https://www.dummies.com/article/technology/cybersecurity/10-ways-to-train-employees-to-be-good-stewards-of-data-267799/). In fact, [studies have proved](https://time.com/2829631/is-it-better-to-learn-something-in-small-frequent-chunks-of-information/) that people retain information better when they receive it in smaller chunks.
- You can rather spread out your training program over several sessions.
- You can also provide training on the basics to your entire team, and then teach specific members more advanced topics based on their functions.
- Avoid not monitoring and updating your program based on how it's implemented or as your needs evolve. This will ensure that your training remains effective and that your team eliminates security risks as far as possible.
## Keep Your Own and Your Customer’s Data Safe!
Keeping your business’s and its customers’ data safe in a world where data breaches are becoming increasingly prevalent is hard. One of the best ways to prevent the majority of security risks is by training your employees on data protection practices.
By customizing your training to the risks you’re most often exposed to and keeping your ears open for feedback, you’ll be able to stay light on your toes when it comes to vigilance and data protection!
---
# Linode Backup, improved performance and 📚
Source: https://simplebackups.com/blog/linode-backup-improved-performance-and
Published: 2023-04-04
Author: Laurent
Summary: Support for Linode server backup, performance improvement for the smoothest backup experience, and guides to help you set up your backups!
We’re continuously releasing updates to improve your overall backup experience and we’re excited to share some of our most recent updates!
## Linode (Akamai) Support
We’re thrilled to announce that we now support Linode snapshot backups!
You’ll now find Linode in our list of providers and include your Linode server snapshot in your backup strategy.
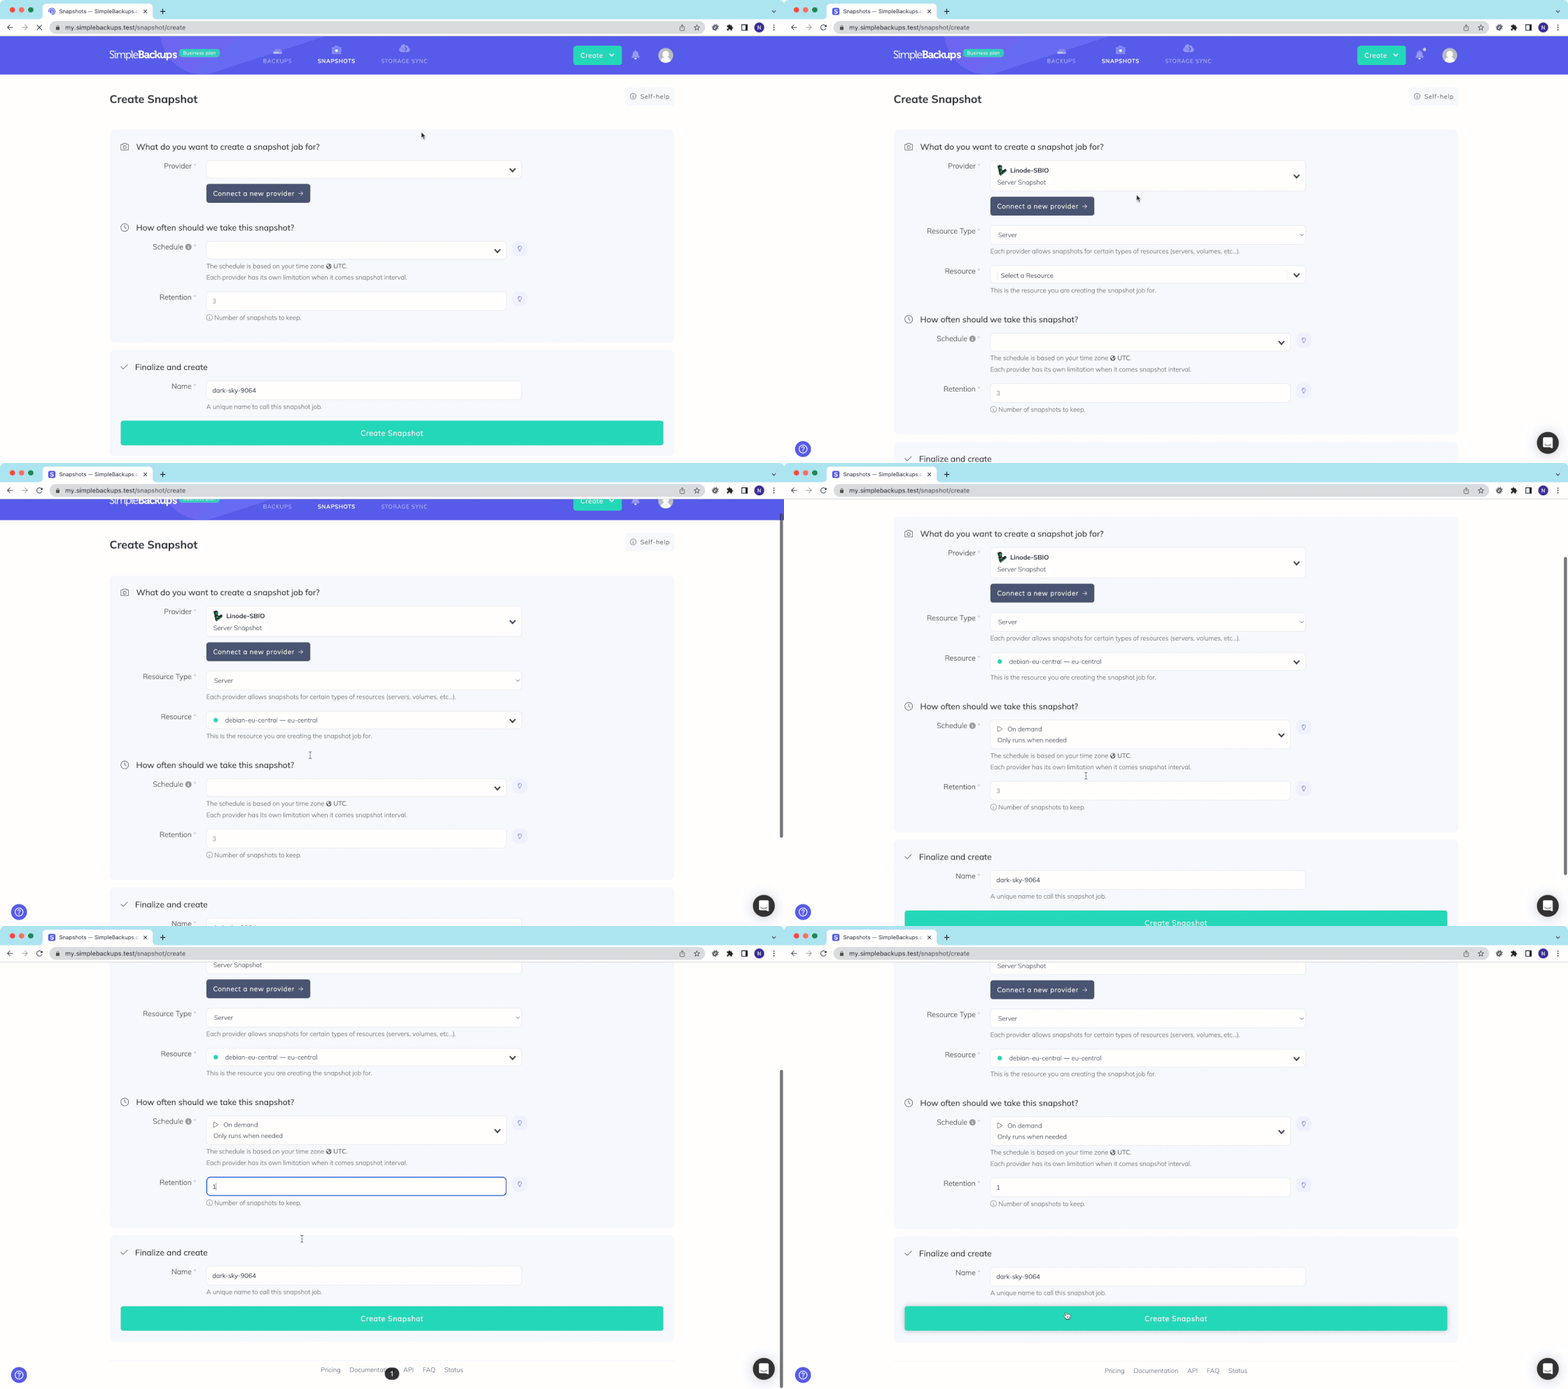
Read more about [how to automate Linode Instance Snapshots in our guide.](https://simplebackups.com/blog/how-to-automate-linode-instance-snapshots/)
## Improved performance
Our user base continues to grow quickly and in order to continue providing the best and smoothest experience possible we’ve made major updates to our infrastructure. We proudly power more than 100k daily backups across most IaaS providers and privately hosted VPS.
We’ve put a big effort into making sure we continue being able to provide accurate backup scheduling and that our Serverless infrastructure keeps up with the demand.
You’ll notice a significant improvement in performance.
## Tweaks & improvements
* GitHub backup now supports specific repository backup on the organization level
* We’ve improved how Knack backups are handled, covering most scenarios and edge cases
* Handling cases where the UpCloud Snapshot size wasn’t properly communicated
* Fix some statistics graphs where backup retries were counted multiple times
* Support for new Backblaze regions
## More guides & content you will love
We’ve released 5 backup guides, to help you get started with SimpleBackups:
* [Back up Your Managed DigitalOcean MySQL Database](/blog/back-up-your-managed-digitalocean-mysql-database/)
* [How to Back Up Your DigitalOcean Managed PostgreSQL Database](/blog/how-to-back-up-your-digitalocean-managed-postgresql-database/)
* [Back Up Your AWS S3 Bucket to Backblaze](/blog/back-up-your-aws-s3-bucket-to-backblaze/)
* [How to automate Linode Instance Snapshots](/blog/how-to-automate-linode-instance-snapshots/)
We’ve also released an updated version of our [“Cloud Storage Price comparator”](https://simplebackups.com/blog/cloud-storage-price-feature-comparison-the-best-providers-in-2023/) where we compare the top providers so you can take a better-informed decision on what provider you need.
---
# How to automate Linode Instance Snapshots
Source: https://simplebackups.com/blog/how-to-automate-linode-instance-snapshots
Published: 2023-03-30
Author: Laurent
Summary: Automated your Linode (Akamai) instance backups using SimpleBackups. Step-by-step guide on how to schedule your first backup.
The following guide will help you, step by step, automate your Akamai’s Linode instance (Linode) snapshots. The steps are very easy and will only involve minimal effort.
Afterwards, you will be able to take snapshots, automatically on your own terms, whether you need to take them daily, weekly, every couple of hours or on-demand using our API. You will also have the option to choose the number of snapshots to keep on your provider to save snapshot storage cost.
Now, let's get started!
## Prerequisites
* Create a **[SimpleBackups account](https://my.simplebackups.com/register?sb_source=docs&sb_term=exoscale_howto)**
* Create an Linode **account**
## Step 1: Create a SimpleBackups Account
Create or login to your SimpleBackups account, then head to the [snapshot creation section](https://my.simplebackups.com/snapshot/create).
## Step 2: Add Linode to SimpleBackups
In this step, we will generate a unique API Key and Secret on Linode that will allow us to automate Linode snapshots from SimpleBackups dashboard.
You'll find a step-by-step illustrated guide on [how to generate a Linode API Key in our documentation](/docs/server-and-volume-snapshot/providers/linode).
Afterwards, create a new provider on SimpleBackups with your Linode API Key by going to the [snapshot creation section](https://my.simplebackups.com/snapshot/create) and click **Connect a new provider** as shown.
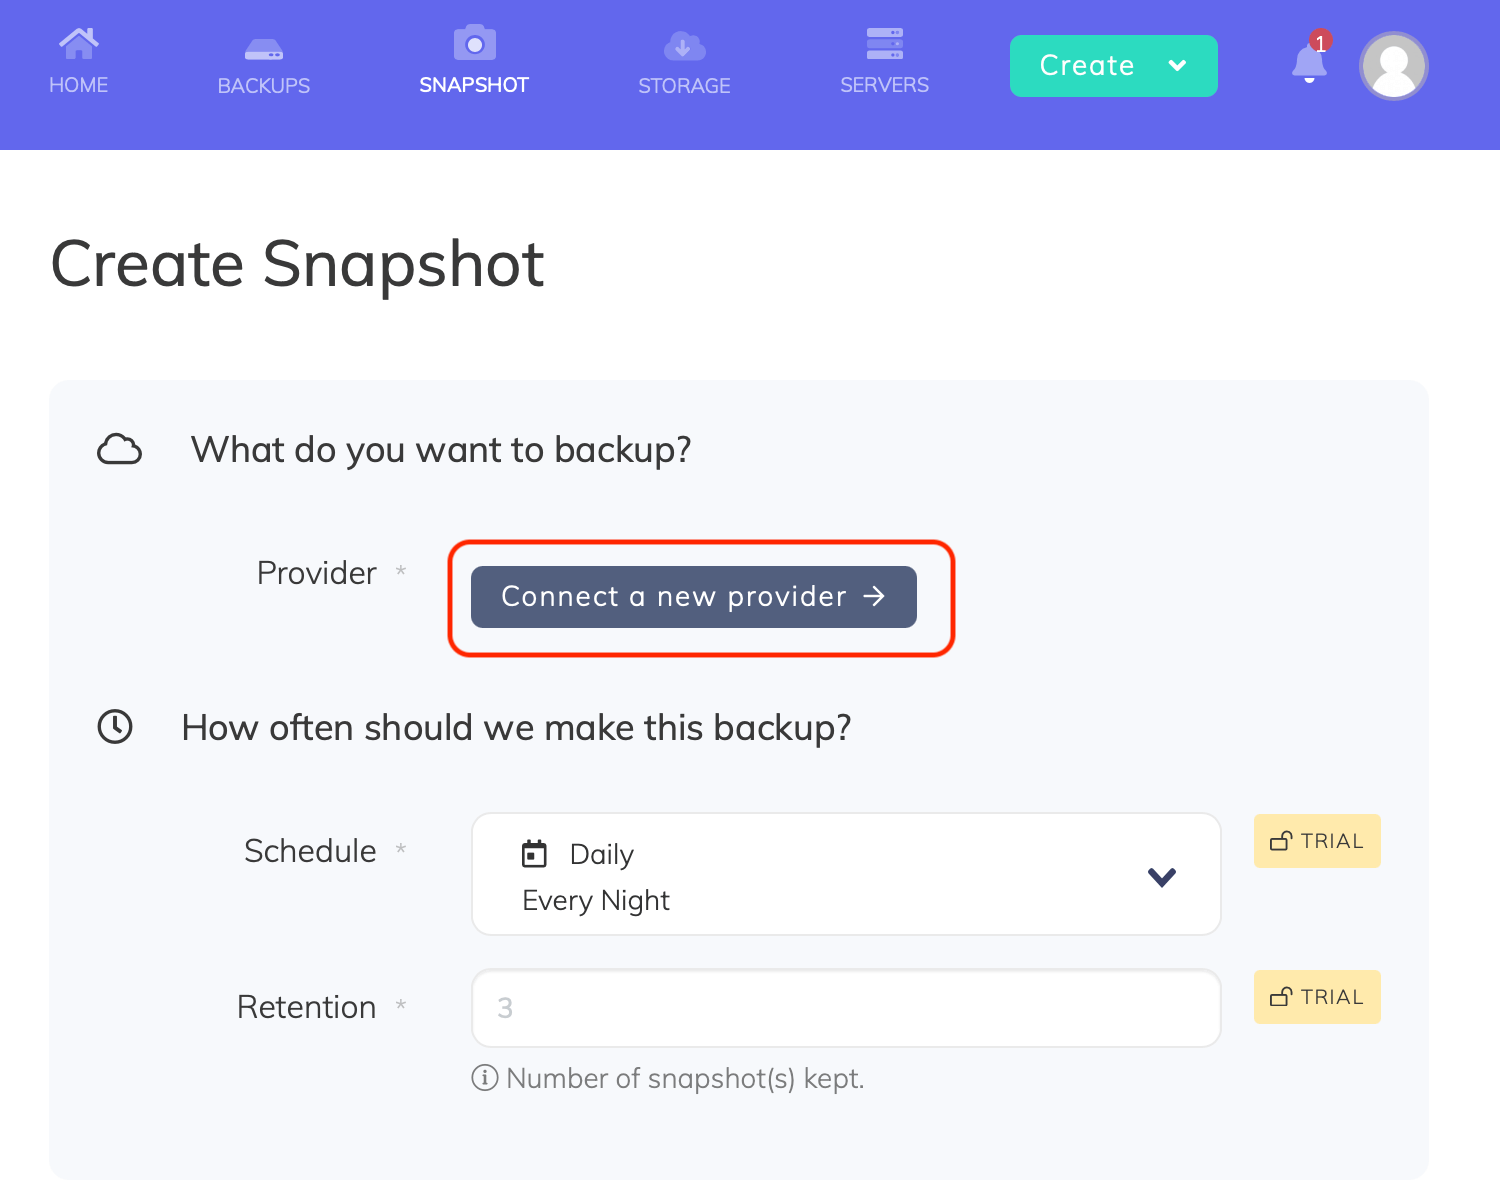
Select Linode from the **Provider** dropdown list, enter a name for your Linode account, then paste the **Token** we obtained in the previous step and click **save provider**.
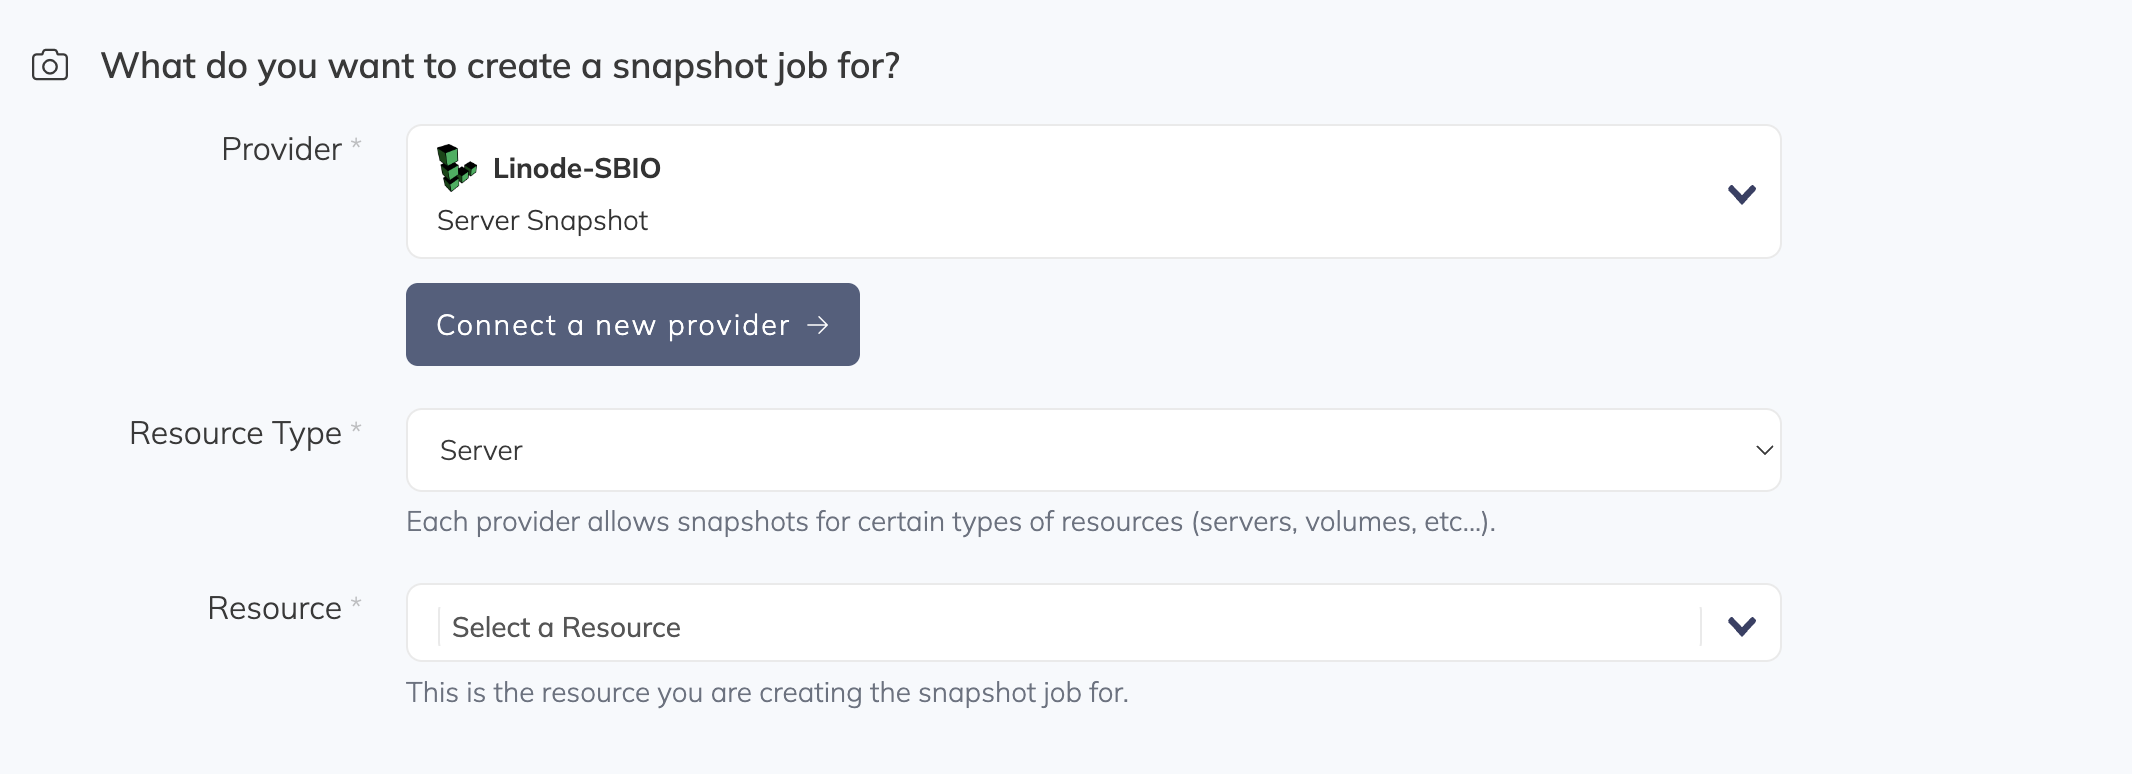
## **Step 3: Create a Linode snapshot backup job**
In this step, and after connecting our Linode account, we will simply create the snapshot backup job and select the needed server or volume.
### **Step 3a: Choose your** Linode **account**
From the list, choose the Linode account you need to take its snapshots. You may add as many Linode accounts as you need under your SimpleBackups account.
### Step 3b: Choose Linode an instance resource
Select "Server" under the **Resource Type**. The **Resource** dropdown will be populated by all the Linode Instances (Cloud Compute) accessible under your Linode account.
### **Step 3c: Set the retention you need**
The **Retention** is a number of snapshots we will keep, anything more than this number will be pruned/rotated automatically for you.
### **Step 3d: Save the snapshot backup job**
Finally, give your snapshot backup job a friendly name, then click **Create Snapshot**.
> Congratulations, you now have an automated Linode snapshot backup.
*Run it once manually (using the "Run" snapshot button from the snapshots list) and you'll trigger your first snapshot backup!*
---
# SaaS Data Security 101: How to Protect your SaaS from Data Breaches
Source: https://simplebackups.com/blog/saas-data-security-101-how-to-protect-your-saas-from-data-breaches
Published: 2023-03-29
Author: Laurent
Summary: Increased popularity also leads to an increased risk of data security risks. SaaS data security issues can have serious consequences for SaaS companies, such as loss of customer trust and legal problems. Let's discuss some practical strategies you can use to protect your SaaS business from data security risks.
It's no secret that SaaS tools are becoming increasingly popular. Customers love them for a variety of reasons, from ease of use to affordability.
Unfortunately, this increased popularity also leads to an increased risk of data security risks. Data breaches can have serious consequences for SaaS companies, such as loss of customer trust and legal problems.
In this blog post, we discuss some practical strategies you can use to protect your SaaS business from data security risks.
## Common Causes of SaaS Data Security Risks
Before you start looking at how to protect your organization from data breaches, it makes sense to first look at the most common causes of data breaches. Simply put, if you know the causes of data breaches, you know how to prevent them.
### Weak Passwords
Weak passwords are arguably the leading cause of data breaches. In fact, 75% of Americans find it difficult to use strong passwords. Of those, about 24% still use common passwords. Even when asked to update their passwords, only 49% make minimal changes.
To give you an idea of how important strong passwords are, it only takes hackers about [two seconds](https://www.purecloudsolutions.co.uk/how-long-will-it-take-to-hack-your-password/#:~:text=On%20average%20it%20only%20takes,into%20a%20seven%2Dcharacter%20password.) on average to crack an 11-digit password that contains only numbers.
### Phishing Scams, Malware, and Ransomware
Other common causes of data breaches for SaaS businesses include phishing, malware, and ransomware attacks.
In phishing, cybercriminals entice victims to disclose personal or business information in emails that often appeal to urgency or the desire to make a profit.
For example, a person might receive an email from PayPal informing them that something is wrong with their account, and they need to log in to fix the problem. They then click on a fraudulent link in the email that takes them to a page where they enter their login credentials. This way, they give their PayPal account details to the criminals.
Malware attacks, in turn, occur when cybercriminals use malicious software to penetrate an organization's system or network. [Ransomware is similar to malware](https://www.checkpoint.com/cyber-hub/threat-prevention/ransomware/the-difference-between-ransomware-and-malware), but it locks users out of their data or system until a ransom is paid. Similar to fishing, fraudulent emails trick recipients into clicking on attachments, which then install malware on their system.
Vigilance is critical when preventing these attacks. It’s essential to:
- Check senders’ email addresses.
- Avoid opening files or clicking on links sent by unknown senders.
- Investigate URLs before clicking on them.
- Avoid untrusted websites.
### App Vulnerabilities
SaaS data security risks frequently occur as a result of unpatched vulnerabilities, too. You can almost think of these vulnerabilities as open doors that give hackers access to a system. Cybercriminals can exploit these to steal personal and company data such as names, emails, bank details, and customer information.
### Incorrect Permission Management
Data breaches can happen if the wrong people have access to the wrong data. To prevent incidents, limit access to your business's data by using proper permission management. Monitor who accesses your systems, where they go, and what they take.
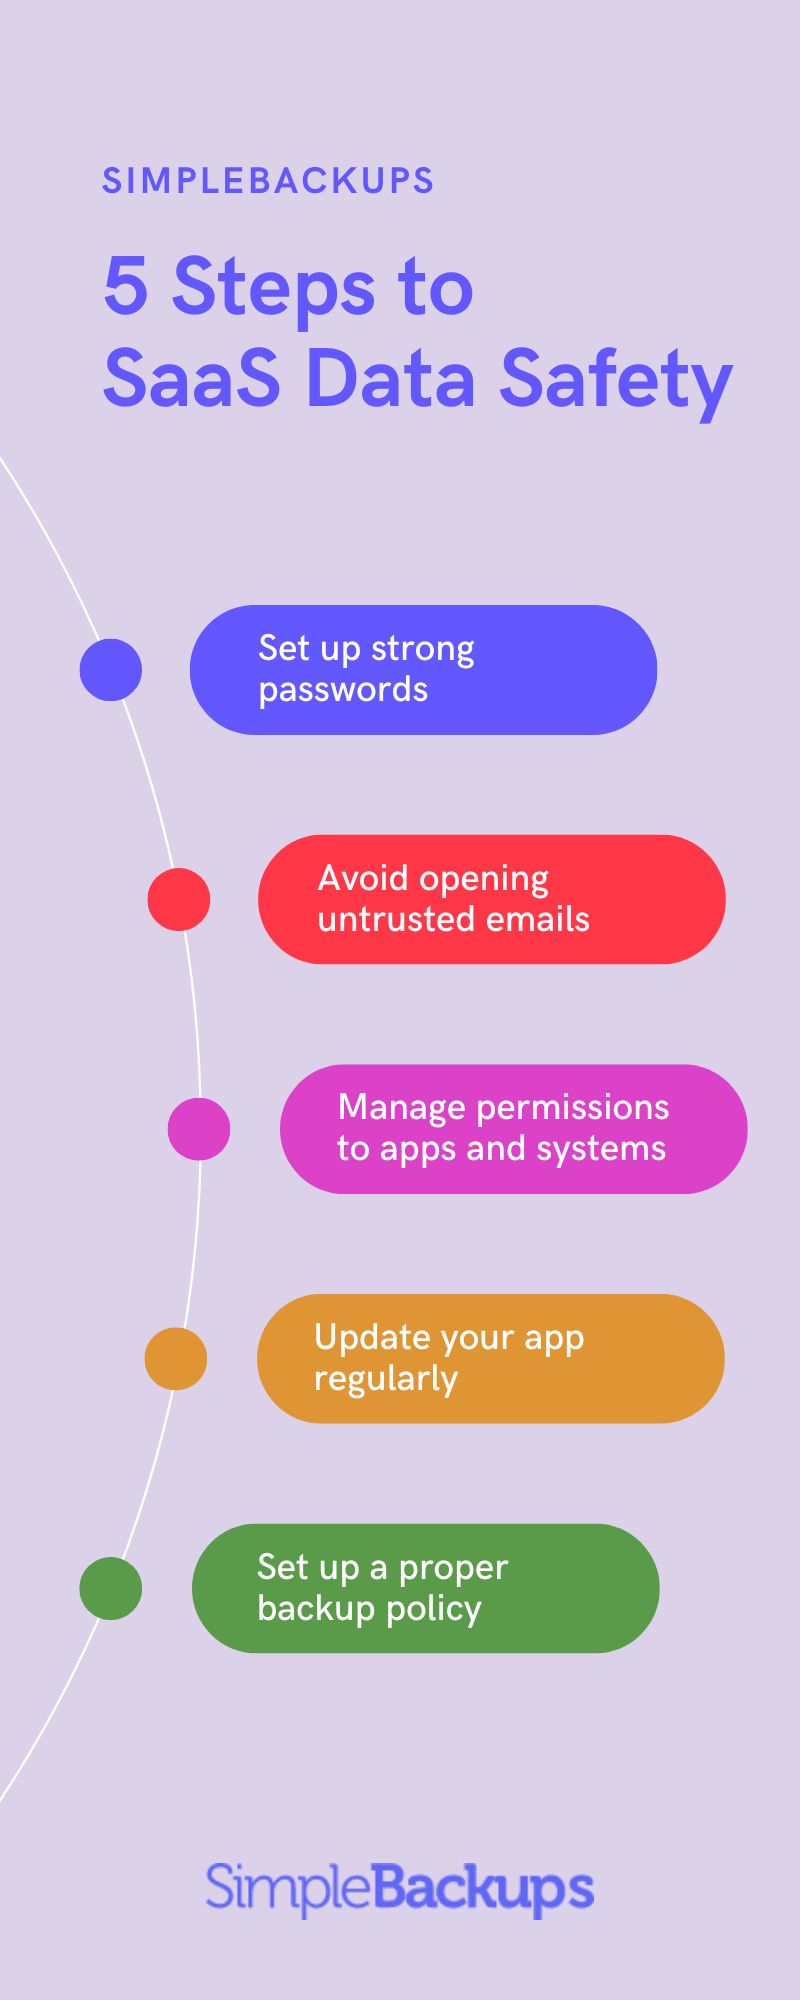
## Best Practices to Prevent SaaS Data Security Risks
Now that you understand some of the common culprits, it’s time to look at the best practices you can use to keep yourself and your business safe.
### Strong Passwords and Multifactor Authentication
One of the best ways to prevent data breaches is to ensure your employees and team use [strong passwords](https://stefanini.com/en/insights/articles/5-effective-ways-to-ensure-saas-data-security). Cybersecurity experts agree that using different cases, numbers, and even special characters, in a single sentence is sufficient for a strong password.
Using a single word, on the other hand, isn't recommended as it could easily be associated with your personal information. If it's a challenge for your team to keep track of their passwords, investing in a reliable password manager could be a sensible solution.
Another way to prevent data breaches is to use multifactor authentication. This requires users to provide two or more pieces of information to confirm their identity (usually a password and a unique code sent to their phone). This method makes it more difficult for hackers and other criminals to gain access to sensitive data.
### Regular Software Updates and Patches
Since app security vulnerabilities often lead to data breaches, it's in your best interest to prevent them. That's why regular software updates and patches are so important. They fix security holes and bugs in the software and make it difficult for hackers to exploit vulnerabilities.
Software updates also introduce new features and improvements that increase the performance and functionality of the software. In summary, this means that regular updates should be an integral part of your IT security strategy.
### Employee Education and Training
As you may have noticed, many data breaches are caused by phishing and malware. This means that your [employees are a major vulnerability](https://www.redteamsecure.com/blog/danger-ranks-7-times-employees-caused-data-breaches) when it comes to data breaches. To prevent such incidents, employee training is critical. Teach them how to recognize suspicious emails, files, and bad actor behavior and avoid becoming victims.
But training has another benefit: it creates a culture of cybersecurity. All of your employees are aware of the risks and are committed to protecting your company's data. This can help prevent cybersecurity incidents and ensure your company is well positioned to thrive in today's digital landscape.
## Incident Response Plan
While the above strategies can minimize risk and prevent data breaches to some degree, they'll never be 100% effective. Nevertheless, data breaches will occur from time to time. This is where your incident response plan comes into play.
It outlines the steps you'll take when a data breach occurs and how you'll mitigate the damage after the breach.
Typically, these will be the key elements of your incident response plan:
1. **Preparation**: During the first step, you’ll conduct a risk assessment, identify potential threats and vulnerabilities, and create an incident response team. Your response team will generally include team members from different departments, and the plan will define the roles and responsibilities of each team member.
2. **Detection and Analysis**: This involves monitoring your systems and networks for potential security incidents. Your plan will identify tools, platforms, and techniques that you’ll use to detect and analyze incidents. It should also set out the criteria for determining the severity of an incident.
3. **Containment, Eradication, and Recovery**: This part of your plan revolves around what happens when an incident is identified. As such, it will determine what your team will do to contain the incident to prevent it from spreading, remove the cause of the incident, and [recover from the subsequent damage](https://simplebackups.com). Your plan will detail the processes during each of these steps.
4. **Post-Incident Activity**: You should also plan what will happen after the incident. This typically involves conducting a post-incident review to identify the vulnerabilities that led to the incident and how to eliminate them. This process will also help you identify areas where you can update and improve your response plan.
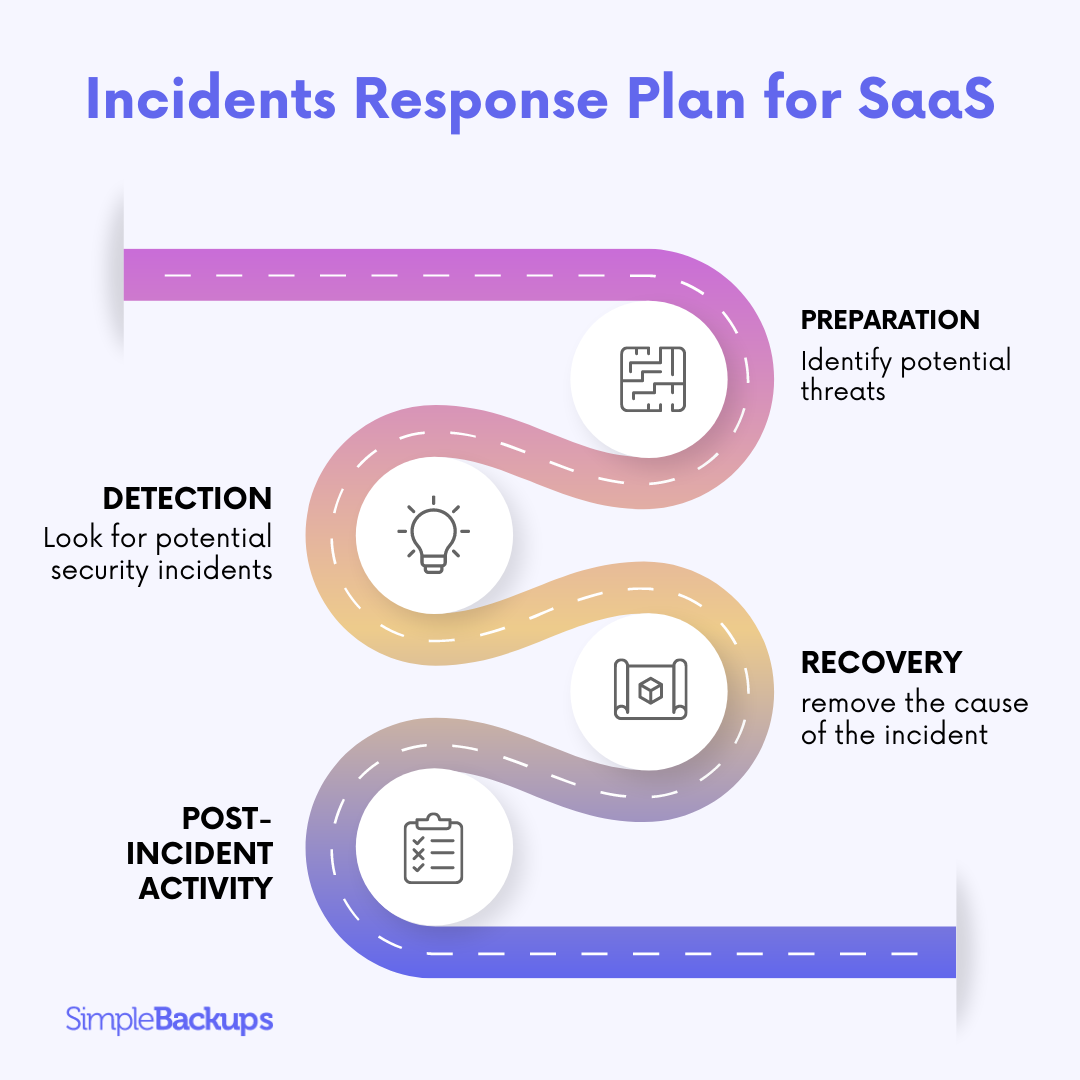
In the end, having a well-thought-out incident response plan helps you identify incidents quicker and more effectively while, at the same time, allowing you to recover faster.
## Conclusion: Prevention Is Better than Cure
Today, it's extremely important to know how to protect your SaaS business from data breaches and how to respond and recover from a breach. One of the easiest ways to protect yourself is to create regular and consistent backups. That's where SimpleBackups comes in. We provide you with an all-in-one solution to ensure your data stays safe. To learn more about SimpleBackups and how it can help you, [get started with your first backup](https://simplebackups.com/) today.
---
# Protecting Your SaaS Data: An In-Depth Look at Creating a Reliable Backup Policy
Source: https://simplebackups.com/blog/protecting-your-saas-data-an-in-depth-look-at-creating-a-reliable-backup-policy
Published: 2023-03-16
Author: Kuba
Summary: Explore our in-depth guide on data security for SaaS, including best practices, backup policies, and effective strategies to protect your data.
An effective backup policy is the cornerstone of data security for Software as a Service (SaaS) owners. But in the large amounts of data modern businesses process every day, making sure the entire process is well-designed is a tough job.
In this article, we’ll provide you with actionable advice on implementing a backup policy that helps protect your critical data and ensures the continuity of your business.
## What are SaaS Data Security and Backup Policies?
SaaS (Software as a Service) data security refers to the measures taken to protect the sensitive and confidential information stored in a SaaS application.
As a SaaS provider, you are responsible for implementing security measures to **protect your customers' data**. Some common **SaaS data security measures** include:
1. **Authentication and access controls:** Using authentication and access controls to ensure that only authorized users can access the data. It may include two-factor authentication, single sign-on (SSO), and role-based access controls.
2. **Encryption:** SaaS providers use encryption to protect data in transit and at rest. This involves using advanced encryption algorithms to scramble data and make it unreadable to unauthorized users.
3. [Backup and disaster recovery](https://simplebackups.com/blog/data-disaster-recovery-a-comprehensive-guide-for-business/): SaaS providers backup data regularly and implement disaster recovery plans to ensure that data can be recovered during a natural disaster or another emergency.
4. **Vulnerability testing and patching:** SaaS providers regularly test their systems for vulnerabilities and patch any security flaws to prevent unauthorized access.
5. **Compliance with industry standards:** SaaS providers must comply with industry-specific regulations and standards, such as HIPAA for healthcare data or PCI DSS for payment card information.
## Importance of Backup Policy for SaaS Businesses
A backup policy for SaaS helps to ensure that critical data and information are protected and can be **easily restored** in the event of a disaster or data loss.
Every SaaS business, regardless of size, must back up its vital data regularly. Here are some reasons **why a backup policy is important** for your SaaS business:
### Protection against data loss.
SaaS businesses rely on data and information to operate and serve their customers. A backup policy ensures **critical data is protected** and can be easily restored in case of data loss. It includes accidental deletion, software errors, or cyber-attacks.
Imagine you have a SaaS business that provides project management software to its customers. Suppose your business doesn't have a backup policy and experiences data loss due to a software error.
In that case, all the project data, including task lists, deadlines, and other critical information, could be lost. This could result in angry customers and lost revenue for the business.
### Compliance requirements:
Many SaaS businesses must comply with various **regulatory data protection and backup requirements**. A backup policy helps ensure that the business complies with these regulations and can provide evidence of compliance if required.
Many SaaS businesses operate in heavily regulated industries, such as healthcare or finance. These industries require businesses to comply with various data protection and backup regulations.
For example, the [Health Insurance Portability and Accountability Act](https://www.hhs.gov/hipaa/for-professionals/privacy/index.html) (HIPAA) requires healthcare providers to have a backup policy to protect patient data. Failure to comply with these regulations can result in significant fines and [legal fees](https://www.hipaajournal.com/what-are-the-penalties-for-hipaa-violations-7096/).
### Customer trust:
SaaS businesses rely on customer trust to grow and succeed. If your SaaS business experiences a data loss or outage, you can **lose customer trust and damage your reputation**.
A backup policy helps to ensure that customer data is protected and can be restored quickly, which can help to maintain customer trust.
Let’s say you’re a SaaS business that provides online accounting software to small businesses. If this business experiences a data loss due to a cyber-attack or outage and cannot quickly restore customer data, it could result in a loss of customer trust. This could lead to customers leaving the platform and the business losing revenue.
### Business continuity:
A backup policy is critical for ensuring **business continuity** during a disaster or data loss. SaaS businesses may experience **prolonged downtime without a backup policy**, which can significantly **impact their operations and revenue**.
For example, if you’re a SaaS business that provides customer relationship management (CRM) software to its clients, a prolonged outage due to a data loss or disaster could significantly impact your operations and revenue.
By having a backup policy in place, your business can quickly restore customer data and ensure the continuity of its operations.
### Cost savings:
A backup policy can also help **save SaaS business costs**. By having a backup policy in place, businesses can avoid the costs associated with data loss and recovery, including **lost productivity**, revenue, and potentially costly legal fees.
Suppose your SaaS business experiences a data loss and does not have a backup policy. In that case, it may have to **spend significant time and money** trying to recover the lost data or even **face legal consequences**.
A backup policy can help you avoid these costs and prepare your business for any potential data loss or disaster.
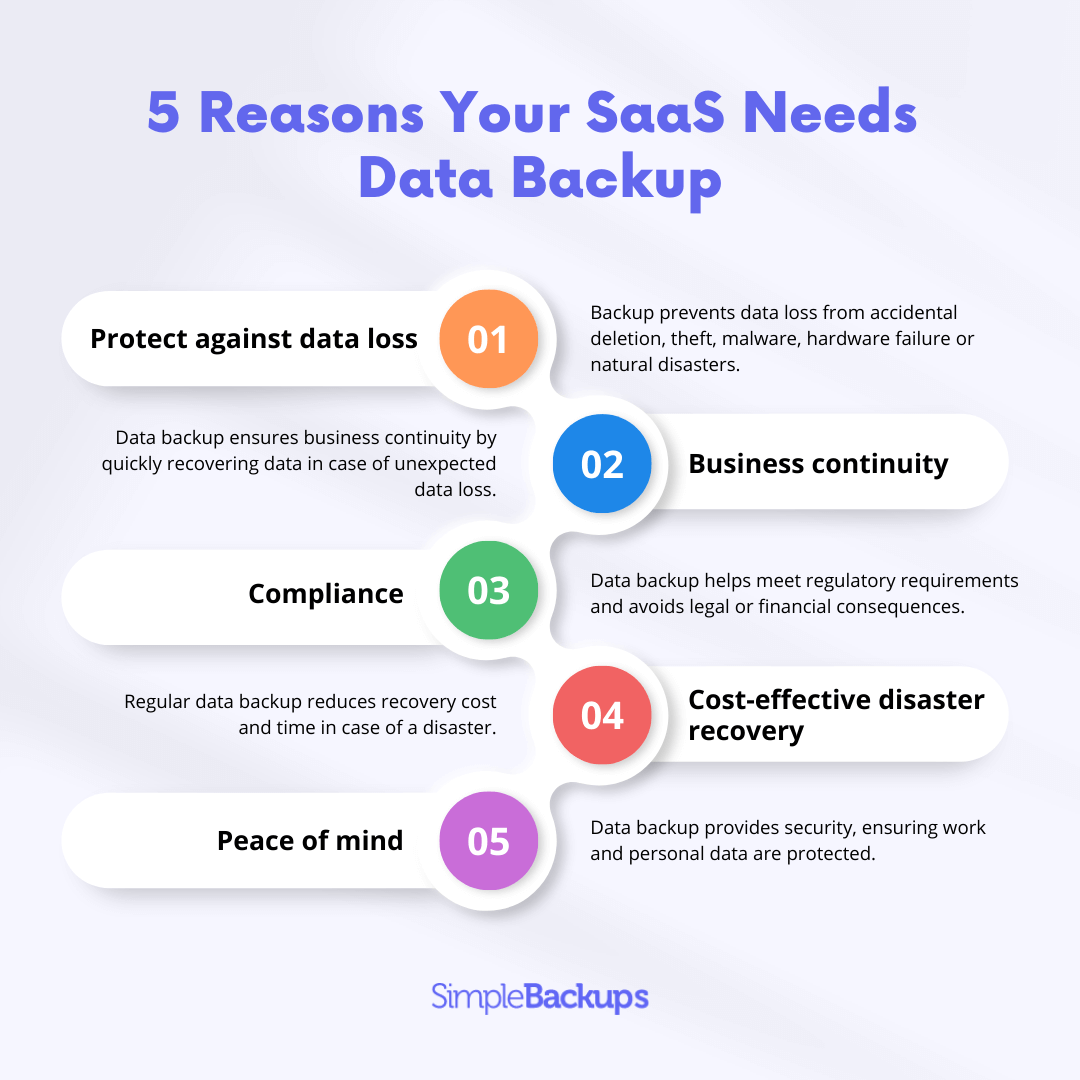
## Risks of Not Having a Backup Policy for SaaS companies
SaaS relies heavily on the availability and integrity of its software and data to provide services to its customers.
Without a backup policy, **your business faces multiple risks**, such as:
- **Blackmailing** from ransomware attacks.
- **Losing customer trust** due to data breaches.
- **Theft** of sensitive data.
- Data loss due to **technical issues** like hardware malfunctions.
- Necessity of **rebuilding databases**, costing time and resources.
- **Legal consequences** of poor data protection
Businesses must comply with data protection regulations like the **General Data Protection Regulation** (GDPR) in Europe and various **state-specific laws in the United States**. Non-compliance can lead to hefty fines and damage to your reputation.
Here are the most important actions you can take to protect your business from violating the data integrity of your customers:
## Best Practices for Implementing an Effective Backup Policy for SaaS Owners
As a SaaS owner, implementing an effective backup policy is crucial to ensure the availability and integrity of your data. Here are some best practices for implementing a backup policy for SaaS owners:
### Identify critical data:
Determine the data critical to your business operations and ensure it is backed up regularly.
Depending on the type of your solution, you might want to look at **different data points**, such as: customer data, financial records, or business-related documents.
One of the most effective ways to determine crucial data points is to perform **data risk assessment**. Doing so will help you identify the potential risks and threats to the data and their impact on your business and the users.
Evaluate the likelihood and severity of these risks and determine the controls needed to mitigate them.
### Choose a reliable backup solution:
Choose a backup solution that is **reliable, secure, and scalable** to meet your business needs. **Cloud-based backup solutions** like [SimpleBackups](https://simplebackups.com/) can automatically **back up your data regularly**.
Data security is also critical when it comes to choosing your data backup solution. SimpleBackups complies with **strict European standards** regarding the safety of the processed data. We use **encryption** and other security measures to protect your data throughout the entire backup process.
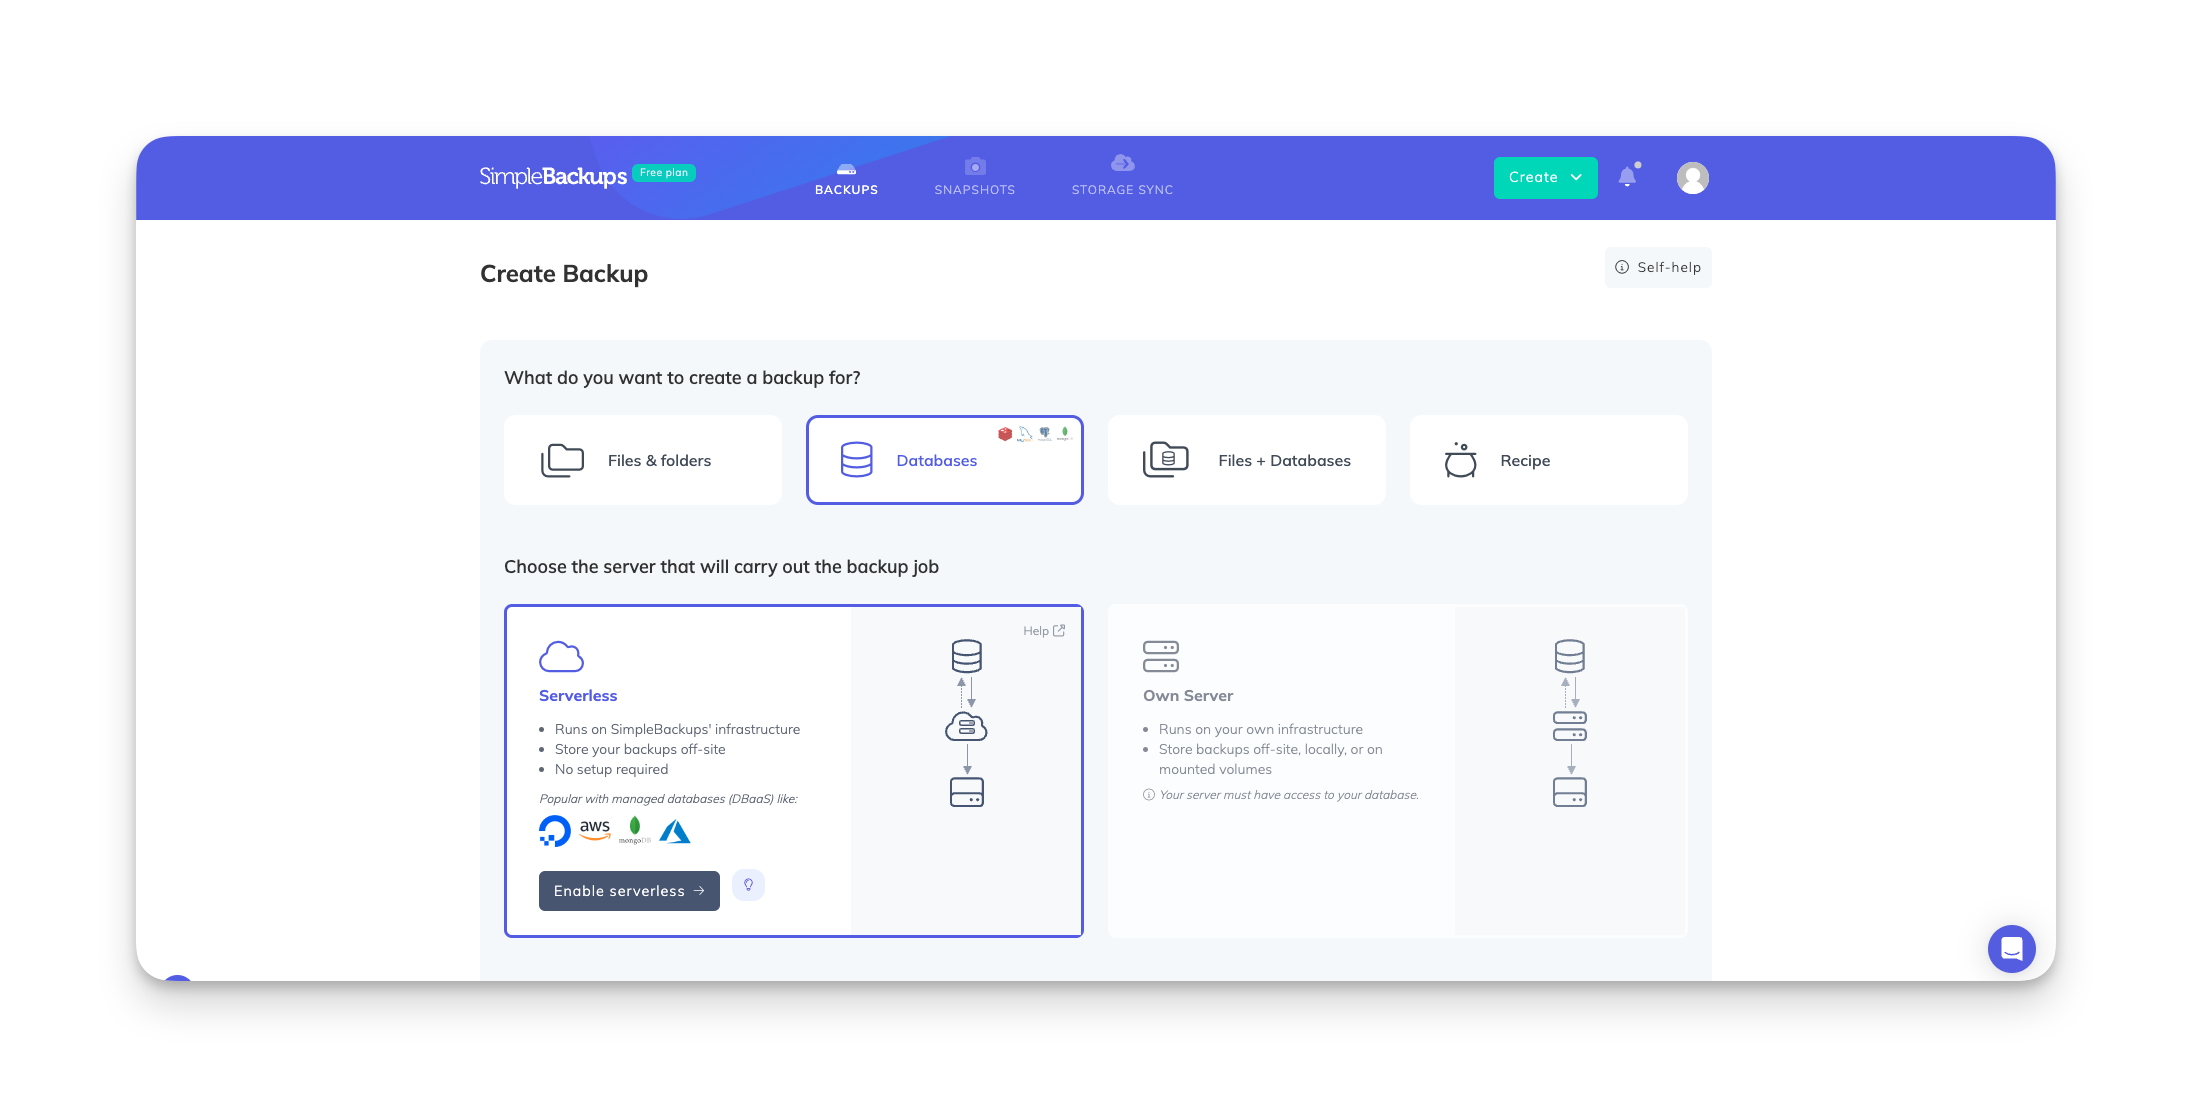
When your business grows, you’ll need additional horsepower to process, backup and protect your business data. That’s why we ensured SimpleBackups could easily scale with your business, allowing you to **manage multiple backups** without compromising data integrity.
### Determine backup frequency:
Find out how often you need to back up your data based on your business needs. The most important factors to consider here are:
1. **Determine the rate at which new data is created:** If new data is created rapidly, backups should be performed more frequently to avoid data loss. For example, if your SaaS application is used for [social media monitoring](https://viralyft.com/blog/social-media-statistics), backups should be performed daily or even hourly.
2. **Consider the organization's risk tolerance:** Some organizations may be more risk-averse than others and may want to perform backups more frequently to minimize the risk of data loss. Determine what level of risk is acceptable for your organization, and use that to guide the backup frequency.
3. **Evaluate regulatory or compliance requirements:** Some industries or jurisdictions have specific regulatory requirements that mandate certain backup frequencies. Review any relevant regulations or guidelines to ensure your backups comply.
### Test your backups:
Regularly test your backups to ensure they work correctly and can be easily restored.
Perform a test restore of your data from a backup to confirm that you can recover your data in case of a disaster. Choose a subset of data to restore, and verify that the data is accurate and complete.
Once you have restored your data, evaluate the restore process. Test your restored data's functionality to ensure it is working as expected.
Lastly, document your backup, restore test results, and report any issues to your provider. Address any issues you find promptly to ensure your data is protected.
### Store backups offsite:
Storing SaaS backups off-site is essential to protect your data from hardware failure, natural disasters, or cyberattacks.
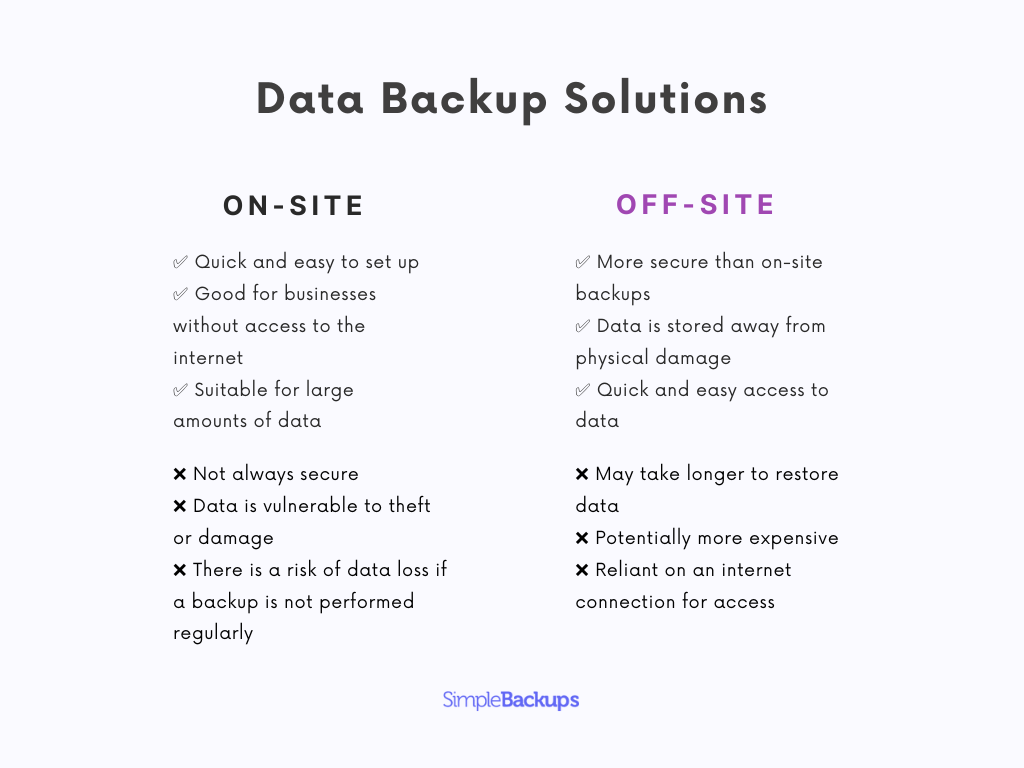
Deciding on the backup solution, the storage location or off-site backup retention should be an integrated part of your data safety policy.
### Train employees:
Remember that you’re not the only person responsible for securing your SaaS data. Your employees should not only be aware of the importance of data security importance but also feel the incentive to comply with best practices regarding data safety.
Companies implementing best-in-class security measures provide their employees with 2 things:
1. **Clear policies and procedures:** Develop written policies and procedures that outline your company's expectations for data security. Make sure these policies are easily accessible to all employees and that they understand the consequences of non-compliance.
2. **Regular training sessions:** Conduct regular training sessions on data security for new employees and ongoing refreshers for existing staff. These sessions can include in-person workshops, webinars, and e-learning modules.
Your employees must understand their role in backing up and restoring data in your SaaS. With the right training and fostering of the “data-safety first” culture, you can maintain the integrity of your business.
### Have a disaster recovery plan:
Have a disaster recovery plan to ensure your business can recover quickly during a disaster. This should include steps to restore your data and get your business up and running quickly.
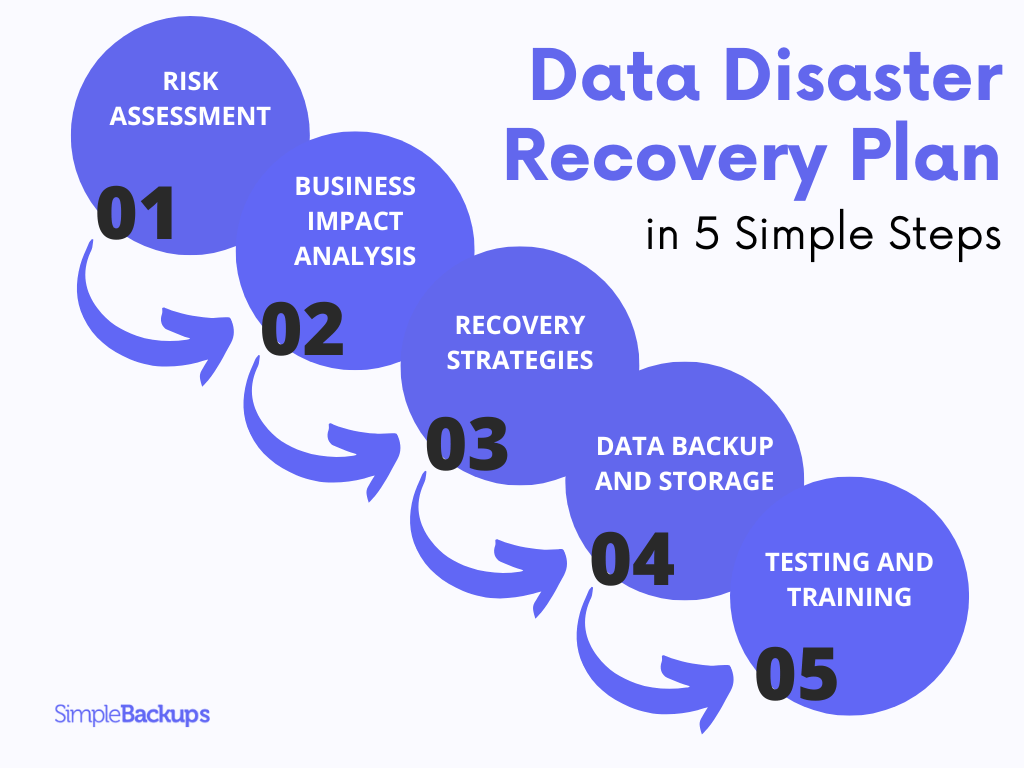
Following these best practices will let you implement an effective backup policy that will help ensure the availability and integrity of your data.
## Conclusion
Implementing an effective backup policy is crucial for data security and business continuity. SaaS owners can protect their valuable data from loss, theft, or damage by understanding their options, choosing the right solution, and establishing frequency and retention policies.
Regular testing and monitoring of backups will further ensure the reliability and effectiveness of your backup strategy.
Don't wait for a disaster to strike – take action now to[ safeguard your business-critical data](https://simplebackups.com/).
---
# Sync AWS S3 Bucket to Backblaze
Source: https://simplebackups.com/blog/back-up-your-aws-s3-bucket-to-backblaze
Published: 2023-03-14
Author: Laurent
Summary: Sync and replicate your AWS S3 buckets to Backblaze B2 with SimpleBackups. Today, we’ll show you how to back up your AWS S3 bucket to Backblaze, so you always have a reliable backup should anything goes wrong.
Back in the day, we stored backups on-site, using everything from servers to removable hard drives. These media, however, were prone to failures that could lead to data loss and its costly consequences.
Fortunately, cloud backups have now become the norm. They allow you to back up your data quickly and easily without needing any maintenance or updates (and with lower failure risks).
But what happens when your cloud provider does suffer a failure? This is where data replication backups come in.
By simply storing the same data across different storage providers, you’ll ensure data accessibility and availability at all times.
In fact, data replication backups should be an essential component of your overall data recovery strategy! [Replicating S3 buckets to Backblaze](https://simplebackups.com/storage/backblaze) provides you with data redundancy and assurance.
So today, we’ll show you how to [sync your AWS S3 bucket](https://simplebackups.com/storage-backup/aws-s3) to Backblaze using SimpleBackups, so you always have a reliable backup should anything go wrong.
## Prepare Your AWS S3 Bucket for Sync
Let’s start by setting up an AWS S3 bucket. To do this, log into your AWS console, click on Storage in the Services menu, and then on S3. Click on Create bucket on the page that opens.

On the page that opens:
* Give your bucket a name.
* Select the AWS region you’d like to use to host your bucket.
* Provide configuration information about the bucket, including determining the level of public access you require for the bucket.
* Click Create bucket when you’re satisfied with all the other settings.

To allow access to SimpleBackups to run the backup, you’ll also need to set up a user with the right permissions. Here:
* Go to your AWS console, click on the Services menu, and then on Security, Identity, and Compliance. Then click on IAM.

* Click on Users in the menu on your IAM dashboard.

* Click on Create User and provide a name for the user you want to create.

* Select the Attach policies directly option, search for S3, and you may select the AmazonS3FullAccess option (**this is discouraged for production accounts, and is not recommended actually, so please ensure you limit access as shown at the end of this article for the minimum permissions needed**).

* Review all your settings on the final page and click Create user if you’re satisfied.
When the user is created, you’ll also need to generate the credentials you’ll use to give SimpleBackups access to your AWS S3 bucket. To do this, click on Users on your IAM dashboard and click on the user in the list of users.

Click on the Security credentials tab, scroll down to Access keys, and click on Create access key. On the next page, click Next, and then provide a description tag and click Create access key. On the confirmation screen, copy and paste the access so you can use it later to connect your bucket to SimpleBackups.

## Prepare Backblaze Bucket for Sync
Next, you’ll need to configure your Backblaze B2 bucket. To do this, log into your Backblaze account and choose Buckets under B2 Cloud Storage in the left menu. Click on Create a Bucket.

Provide the information about the bucket you want to create for your backups and click Create a Bucket.
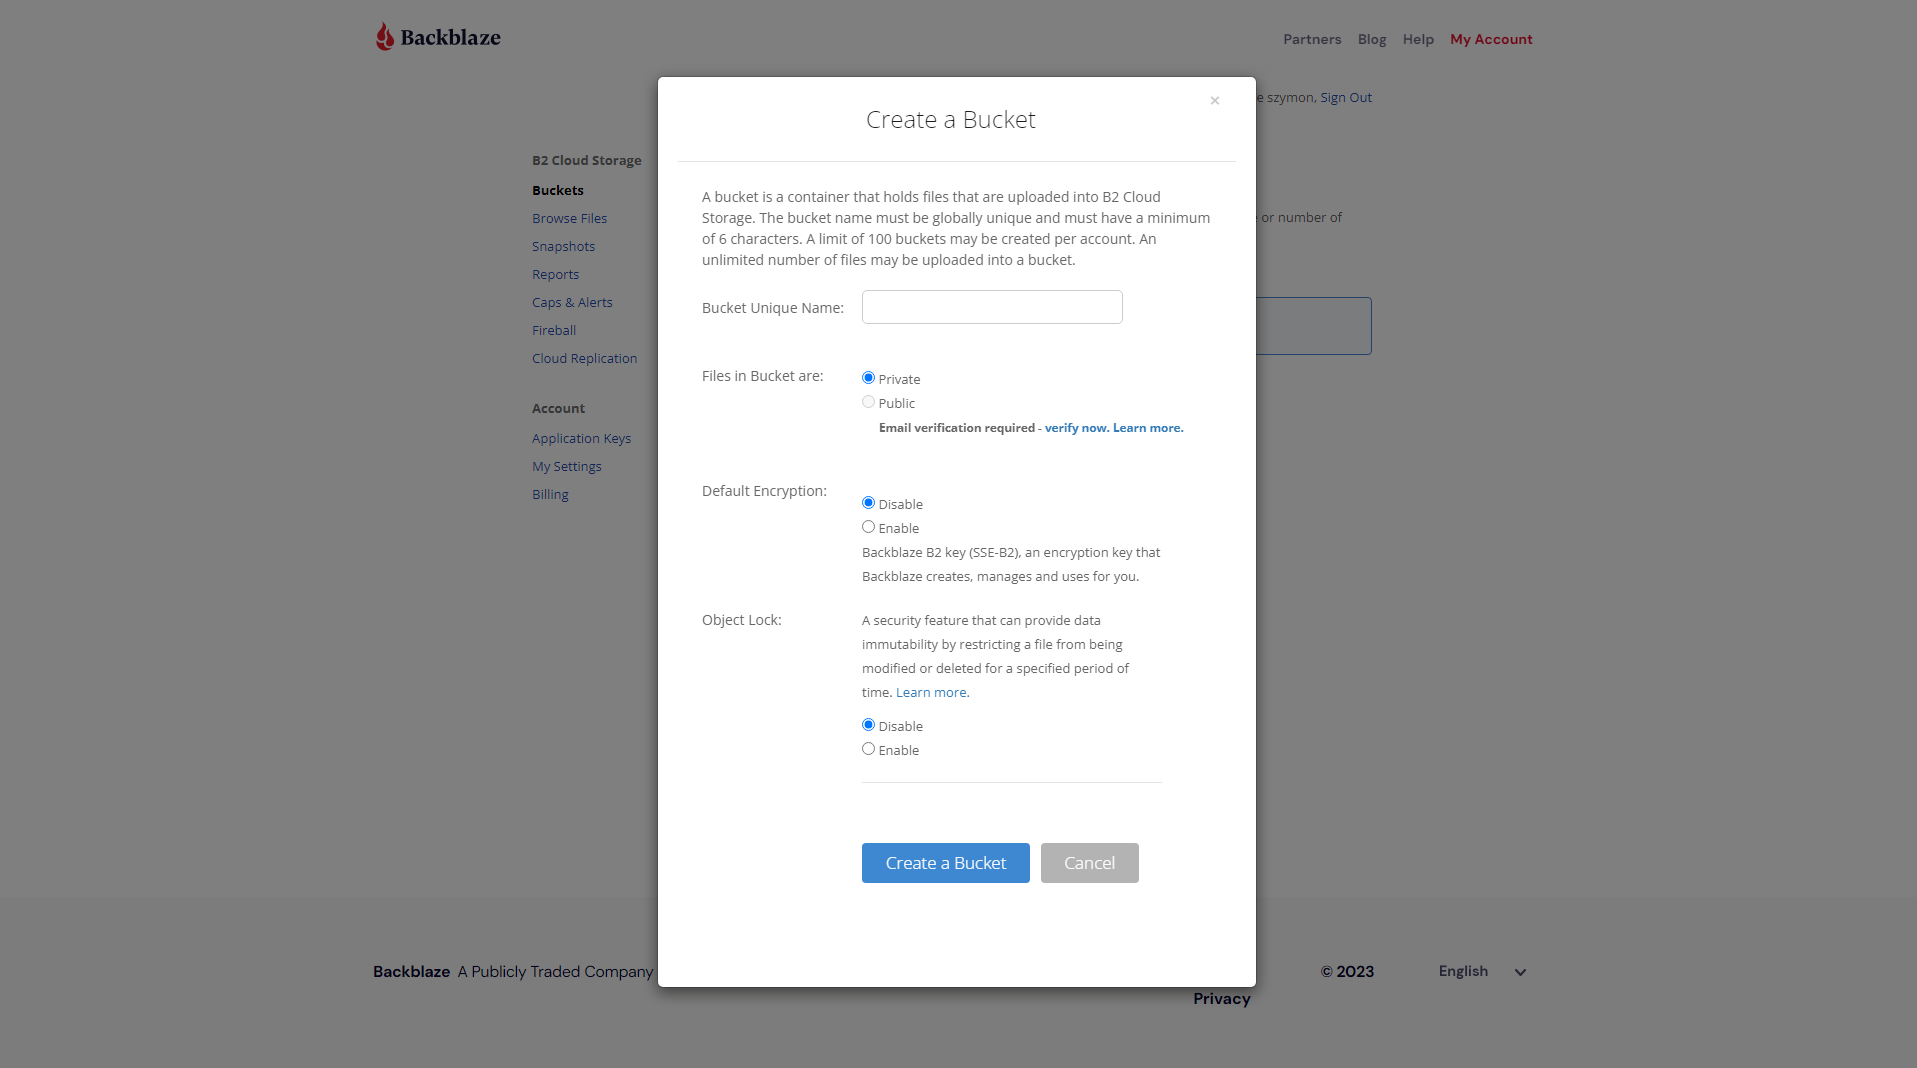
To give SimpleBackups access to your Backblaze bucket, you’ll also need to generate the credentials you’ll use. To do this, go to App Keys in the left menu and click Add a New Application Key.
In the dialog box that opens, provide a name for the key, choose the bucket you’d like to give SimpleBackups access to, and select Read and Write access.
Once done, click Create New Key. You’ll then get the confirmation that your key was generated. Save these credentials because you’ll use them later.
## Replicate your S3 bucket data to Backblaze
Now that we’ve set up both the AWS and Backblaze buckets, we can now back up the S3 bucket to Backblaze.
Here, the first step is to log into your SimpleBackups account and click on Storage Sync in the main menu. On the page that opens, click on Create Storage Sync.
You can also click on Storage Replication Backup further down on the page. Either way, you’ll go to the Create Storage Sync page.

When setting up your backup, your first choice will be whether you’d like to use your own server or use SimpleBackups’ infrastructure to run the backups. Here, you’ll choose either the Own Server or, as is the case in this example, the Serverless option.

Next, you’ll decide when you’d like your backup to run. You can choose between Daily, Weekly, Monthly, Custom, or On Demand based on your unique requirements. In this example, choose Daily from the drop-down list.

During the next step, you’ll choose both your source and destination storage providers. Because you’ve only set up your storage buckets during the earlier steps, you’ll need to connect them first. To connect your AWS S3 bucket as Storage Source:
* Click on Connect storage.
* Choose Amazon S3 as the provider in the dialog box that opens.
* Enter the bucket’s information and the credentials you obtained earlier.
* Once done, click on Validate and then on Save Storage.

You’ll follow the same process to connect your Backblaze bucket as Destination Storage. So, you’ll:
* Click on Connect storage.
* Choose Backblaze B2 from the drop-down list in the dialog box.
* Enter the bucket’s information and credentials.
* Once done, click on Validate and then Save Storage.
Once you’ve connected both buckets to SimpleBackups, click on Validate to validate the connection.
Finally, you’ll give your backup a name. In this example, name it S3toB2Backup.
Once done, click Create Storage Sync to finalize your backup.
## Securing S3 Sync via Policies
> Limit S3 access/scope via IAM policy, and limiting S3 Permissions
To create an S3 storage user for SimpleBackups, the following minimum permissions are required to be available on the backup bucket of your choice:
```json
{
"Version": "2012-10-17",
"Statement": [
{
"Effect": "Allow",
"Action": [
"s3:ListBucket",
"s3:DeleteObject",
"s3:GetObject",
"s3:PutObject",
"s3:PutObjectAcl",
"s3:AbortMultipartUpload",
"s3:CompleteMultipartUpload",
"s3:CreateMultipartUpload",
"s3:ListMultipartUploadParts",
"s3:ListBucketMultipartUploads"
],
"Resource": [
"arn:aws:s3:::MY_BACKUPS_BUCKET/*",
"arn:aws:s3:::MY_BACKUPS_BUCKET"
]
}
]
}
```
The policy above can be used to only allow SimpleBackups to work on the backups bucket of your choice.
Don't forget to change MY_BACKUPS_BUCKET to the actual buckets you create for backups.
**Note #1:**
The following permissions are needed for cleaning up uncompleted uploads and save storage space.
- s3:AbortMultipartUpload
- s3:CompleteMultipartUpload
- s3:CreateMultipartUpload
- s3:ListMultipartUploadParts
- s3:ListBucketMultipartUploads
**Note #2:**
You may fully remove write access and all permissions that allow deleting objects from the bucket if you don't want SimpleBackups to delete any files from the bucket. SimpleBackups allows you to connect read-only and object-locked (immutable) buckets.
## Wrapping up
If you’d like your data to be available at all times, you should implement data replication backups as part of your data recovery strategy. You’ll have peace of mind knowing that your data will be safe, no matter what happens to your cloud storage provider!
Hopefully, this post helped illustrate how you can set up and run backups between Amazon AWS S3 and Backblaze quickly and easily. The only thing left to do now is to get started with [SimpleBackups](https://simplebackups.com/)!
---
# 3 Types of Data Backup Solutions – Which One Do You Need?
Source: https://simplebackups.com/blog/3-types-of-data-backup-solutions-which-one-do-you-need
Published: 2023-03-02
Author: Kuba
Summary: It’s essential to have a reliable data backup solution to ensure that important data is not lost forever. In this blog post, we’ll show you 3 types of data backup solutions available, with all their pros and cons. Based on use cases, we will also recommend which type of backup solution to use.
In today's digital age, data is one of the most valuable assets for both individuals and businesses. But data loss can occur due to various reasons.
Hardware failure, software errors, natural disasters, or simply human error.
That’s why it’s essential to have a reliable data backup solution to ensure that important data is not lost forever. In this blog post, we’ll show you 3 types of data backup solutions available, with all their pros and cons. Based on use cases, we will also recommend which type of backup solution to use.
If you run PostgreSQL, it's worth understanding [why pg_dump + cron isn't a complete backup strategy](/blog/pg-dump-cron-replacement-postgresql-backup) before you settle on one of these approaches.
### Local Backup Solutions
Local backup solutions involve storing data on physical devices such as:
* external hard drives
* USB drives
* tapes
Companies should use local backup solutions to ensure the availability and accessibility of their data in the event of a hardware failure or a security breach. Local backup solutions involve storing a copy of the company's data on a physical device located on-site or nearby, such as an external hard drive, tape backup, or network-attached storage (NAS) device.
Local backup solutions offer several advantages, such as:
* fast backup and recovery times,
* full control over the backup process,
* the ability to store large amounts of data
However, they are also vulnerable to physical damage, theft, and data corruption.
### When should you use Local Backup Solutions?
There are several scenarios in which local backup solutions may be the best option for a company:
1. Limited Internet connectivity: If your company has limited or unreliable internet connectivity, relying on [cloud-based backup](https://simplebackups.com/) solutions won’t be practical.
2. Compliance requirements: In some industries, such as healthcare or finance, regulations may require companies to store their data locally.
3. Cost: Local backup solutions can be more cost-effective than cloud-based ones, especially for small to medium-sized businesses. At the same time, the cost of a potential data breach may be much higher.
4. Security concerns: Some companies may hesitate to store their sensitive data in the cloud due to security concerns and may prefer to keep their data in-house. There have been many myths about the risks regarding cloud-based data solutions. Luckily, many companies providing digital backup solutions have already implemented the highest standards of data security measures in accordance with international regulations.
5. Limited storage capacity: Companies with large data sets may find it more practical to use local backup solutions, as cloud-based backup solutions can become expensive as the amount of data stored increases.
In general, local backup solutions can provide a reliable and cost-effective way to ensure data availability and accessibility for companies that must protect their data against hardware failures or security breaches. However, it is important to ensure that local backup solutions are properly managed and secured to avoid the risk of data loss or theft.
### Cloud Backup Solutions
Cloud backup solutions involve storing data on remote servers managed by third-party providers. Data is transmitted over the internet to these servers and can be accessed from anywhere with an internet connection.
Cloud backup solutions offer several advantages, such as:
* automatic backups
* scalability
* redundancy
### When should you use [Cloud Backup Solutions](https://simplebackups.com/)?
Companies should use cloud backup solutions to protect their important data and ensure business continuity in case of data loss or disaster. Cloud backup solutions offer several advantages over traditional backup methods, including:
1. Scalability: Cloud backup solutions can easily scale up or down based on business needs, allowing companies to store as much or as little data as they require.
2. Accessibility: Cloud backup solutions offer remote access to data, enabling businesses to retrieve and restore data from anywhere in the world.
3. Security: Cloud backup solutions use advanced encryption and security measures to protect data, reducing the risk of data breaches or loss.
4. Cost-Effectiveness: Cloud backup solutions eliminate the need for costly hardware and infrastructure, reducing data backup and storage costs.
Overall, cloud backup solutions are an efficient and effective way for businesses to protect their critical data and ensure business continuity.
### Hybrid Backup Solutions
Hybrid backup solutions combine both local and cloud backup solutions. They involve storing data both on-premises and in the cloud. Hybrid backup solutions offer the best of both worlds, as they provide the speed and control of local backups and the scalability and redundancy of cloud backups.
Hybrid backup solutions can also protect against natural disasters, cyber threats, and human errors that could affect data stored in a single location. Additionally, hybrid backup solutions can allow companies to use different backup strategies for different types of data, such as:
* using the cloud for large datasets
* using local storage for critical data
### When should you use Hybrid Backup Solutions?
1. Compliance: When a company must comply with regulations requiring data to be stored in multiple locations or specific geographic regions.
2. Accessibility: When a company has critical data that requires fast access and minimal downtime but also wants to have a backup in case of a disaster or system failure.
3. Cost: When a company wants to take advantage of the cost savings and scalability of cloud-based backup solutions but also wants to keep some data on-premises for security reasons.
4. Size: When a company has large amounts of data that would be impractical or expensive to store solely in the cloud but can be managed efficiently with on-premises storage.
5. Redundancy: When a company wants multiple redundancy levels and data protection, including local and cloud backups.
Using hybrid backup solutions should ultimately be based on a company's specific needs, budget, and risk tolerance.
### Conclusion
When it comes to data backup solutions, there is no one-size-fits-all approach. Each type of backup solution has advantages and disadvantages, and choosing the right one depends on various factors such as data size, budget, and security requirements. Local backup solutions are ideal for those who require fast backup and recovery times and full control over the backup process. Cloud backup solutions are ideal for those who prioritize scalability and redundancy. Hybrid backup solutions are ideal for those who want the best of both worlds.
---
# Data Disaster Recovery: A Comprehensive Guide for Business
Source: https://simplebackups.com/blog/data-disaster-recovery-a-comprehensive-guide-for-business
Published: 2023-03-02
Author: Laurent
Summary: Modern businesses live in a world filled with data. But surprisingly, most businesses don’t have a proper data recovery plan. This article will show you how to restore your data without putting your baseline at risk.
Modern businesses live in a world filled with data. Most business decisions we make daily are based on an uncountable amount of information available from multiple places simultaneously.
But surprisingly, most businesses don’t have a proper data recovery plan. This means sensitive data is at risk in case of any emergency or disaster, resulting in possible (and relatively large) fines for the company where the data breach occurred.
This article will show the importance of a proper data disaster recovery plan. We’ll give you tips and best practices to make sure you can restore your data without putting your baseline at risk.
Let’s start with the most important question:
## What is a Data Disaster Recovery Plan?
A Data Disaster Recovery Plan is a documented and structured approach to recovering and restoring critical data, systems, and infrastructure after a disruptive event, such as:
- natural disasters
- cyber-attacks
- hardware failure
- human error
The plan consists of procedures and policies that detail the actions to take before, during, and after a disaster to keep the business running and reduce data loss.
## What are the components of a Data Recovery plan?
A Data Disaster Recovery Plan typically includes the following components:
1. **Risk Assessment:** Identify potential risks to critical data and systems. It’ll help you organize the entire data recovery procedure and define the next steps for your business and the people/organizations whose data has been at risk.
2. **Business Impact Analysis:** Evaluate the impact of a disaster on the organization's operations, customers, and financials. A data breach is not just a mishap – each violation of data safety puts your company at risk of facing hurtful (and expensive) consequences. Make sure you know how bad the situation will get, and prepare for it beforehand.
3. **Recovery Strategies:** Develop strategies for recovering and restoring critical data, systems, and infrastructure. You won’t have much time when the data breach happens. But most importantly – the situation will get very stressful fast. Ensure you have figured out the most important steps before anything bad goes down and you lose a clear overview of the situation.
4. **Data Backup and Storage:** Establish a backup and recovery plan, including regular backups and secure offsite storage. Prevention is better than cure. By implementing the right data backup strategies, you ensure the safety of important business data. Remember to keep most vital data in multiple places. It’ll allow you to restore anything you need without much hustle.
5. **Testing and Training:** Regularly test the plan to identify weaknesses and provide training to employees. Remember that each data breach case will be different – you need to ensure your business is ready to face different scenarios.
6. **Communication Plan:** Establish a plan for communication with stakeholders and the public during a disaster. We won’t lie to you: it’ll be a challenging time for your company. You might be facing some public backlash for what’s happened. It’s good to prepare yourself (both mentally and factually) in advance.
Now that you know how to prepare a good data recovery plan, we will show you some benefits of this solution.
## Why should you have a plan for data recovery?
Remember, it’s not just data that is at risk. Such incidents will disrupt your entire business process. But if you incorporate a high-quality data recovery plan, you’ll most likely avoid some of the worst consequences of data safety violations. Here are the most important benefits of having a plan for data recovery in your company:
1. **Minimizing Downtime:** A disaster can strike at any time, and if you don't have a plan in place, it can take a long time to get your systems back up and running. This can result in significant downtime, which can be costly in terms of lost productivity, revenue, and customer satisfaction. According to Veeam’s Data Protection Trends Report, the average downtime cost can rise to [$1,410 per minute](https://www.veeam.com/wp-data-protection-trends-report.html).
2. **Protecting Data:** A disaster can also result in data loss, which can be catastrophic for any business. Having a disaster recovery plan ensures that your data is protected and you can recover it quickly in the event of a disaster.
3. **Meeting Compliance Regulations:** Many industries have strict data protection and disaster recovery regulations. Having a plan in place can help ensure that you are meeting these requirements. If your company needs to comply with GDPR, y[ou’re obliged to implement recovery procedures](https://www.backup-systems.co.uk/6-gdpr-implications-on-data-backup-and-disaster-recovery/) and put them under regular tests.
4. **Reducing Costs:** A disaster can be costly regarding downtime and data loss. A disaster recovery plan can help minimize these costs by reducing the time it takes to recover data and systems and minimizing the risk of data loss.
5. **Ensuring Business Continuity:** A disaster recovery plan ultimately ensures business continuity. By having a plan in place, you can ensure that your business can continue to operate even in the face of a disaster, minimizing the impact on your operations, customers, and bottom line.
If you’re serious about data safety in your company, you must implement the right data recovery strategies. Having a proper system in place can save you money and mental strain in any emergency.
Here are 4 best practices to control data safety in your company:
## Tips for Data Disaster Recovery
1. **Regularly back up all important data:** The first step in data disaster recovery is to [back up all important data regularly](https://simplebackups.com/saas-backup). This ensures that you can still access your data even if a disaster occurs.
2. **Use cloud-based storage solutions:** [Cloud-based storage solutions](https://simplebackups.com/) offer businesses an affordable and scalable way to store their data. It also provides better protection against data loss because data is stored remotely.
3. **Implement a disaster recovery plan:** A disaster recovery plan should include procedures for recovering data after a disaster. It should include backup procedures, recovery procedures, and testing procedures.
4. **Test your disaster recovery plan:** Testing your disaster recovery plan is essential to ensure it works as expected. Regular testing also helps you identify areas that need improvement.
[Automate your off-site backups with Simple Backups](https://simplebackups.com/)
[](https://simplebackups.com/)[](/)Data disaster recovery is an essential aspect of business continuity. A data disaster recovery plan is necessary for businesses to minimize the impact of a potential data breach. Following the tips in this blog post, you can create a successful disaster recovery plan for your business.
---
# Those 3 big companies almost lost everything to data breaches. Here’s what helped them.
Source: https://simplebackups.com/blog/those-3-big-companies-almost-lost-everything-to-data-breaches-here-s-what-helped-them
Published: 2023-03-02
Author: Laurent
Summary: Data breaches happen not only to small businesses – big guys also face the data breach disasters. Their stakes are high, so they need to make sure they survive.Here are 5 examples of big companies that survived data breaches and have come out even stronger on the other side:
All companies worry about data breaches. When they happen, they can cause major business losses. But we know that sometimes, data breaches just happen. Mostly because of human error, but there are other reasons that we sometimes can’t predict.
Those things happen not only to small businesses – big guys also face the data breach disasters. Their stakes are high, so they need to make sure they survive. And surprisingly – they do (most of the time).
How?
Here are 5 examples of big companies that survived data breaches and have come out even stronger on the other side:
## Real-Life Examples of Data Disaster Recovery
### Delta Airlines

In August 2016, Delta Airlines experienced a data center outage that caused the cancellation of over 2,000 flights. The outage was caused by a power failure that resulted in the loss of critical systems.\
Delta Airlines had a [disaster recovery plan ](https://simplebackups.com/blog/why-data-backup-strategy-is-essential-for-your-business/)in place that allowed them to recover their systems within a few hours.
### GitLab

In February 2017, GitLab, a popular code hosting platform, suffered a data loss incident that resulted in the loss of over 300GB of data.
The incident occurred due to a human error in the backup process. One of the technicians accidentally [deleted data from a production database.](https://www.availabilitydigest.com/public_articles/1204/gitlab.pdf)An overload on a GitLab database made it impossible to copy data to its backup system. The overload happened because a task was running to delete a GitLab employee and all of their data after being flagged for abuse by someone pretending to be a troll. The overload was worsened by a spam attack that was happening at the same time.
Unfortunately, some production data which couldn’t be restored. The breach affected roughly [5000 projects, 5000 comments and 700 new users](https://about.gitlab.com/blog/2017/02/10/postmortem-of-database-outage-of-january-31/).
No code repositories and wikis were affected during the outage, thanks to a LVM snapshot created 6 hours before the outage.
### Target

In 2013, Target suffered a massive data breach that exposed the personal information of millions of customers. The cybercriminals stole up to [40 million customers’ credit and debit records](https://www.nbcnews.com/technology/massive-target-credit-card-breach-new-step-security-war-hackers-2D11778083). Along with that, the breach affected contact information for more than 60 million Target customers.
Even facing such massive challenge, Target handled the situation extremely well. They managed to notify their customers only [4 days after](https://redriver.com/security/target-data-breach) they noticed the data breach.
Upon recovering the stolen data, Target issued more secure [chip-and-pin cards](https://www.nytimes.com/2014/04/30/business/after-data-breach-target-replaces-its-head-of-technology.html) that allowed for more secure transaction process. The company executives promoted the new solution and encouraged consumers to protect themselves from data hacks.
## What can we learn from them?
Data breaches are happening more and more often. In 2022 alone, over [400 million people were potentially affected](https://www.pcmag.com/news/cybercrime-in-2022-fewer-data-breaches-but-more-victims#:~:text=The%20good%20news%20is%20that,2021%20to%201%2C802%20for%202022.) by a data threat.
To prepare for this kind of situation, having a disaster recovery plan is really important. The examples in this document show how such a plan can help organizations recover from a data breach.
For example, Delta Airlines was able to recover its systems quickly and minimize downtime and disruption to its operations thanks to its disaster recovery plan. Target handled the situation well by notifying customers and implementing more secure measures, which helped preserve their reputation and customer trust.
However, it's not enough to just have a disaster recovery plan. It's also important to constantly review and improve backup processes to prevent human errors that can happen during the recovery process. GitLab's experience is a warning in this regard. A human error during a backup process led to data loss and reputational damage. Organizations must not only have a disaster recovery plan but also keep refining their backup processes to make sure they can recover their data quickly and efficiently if there is a data breach.
## How to protect your business data?
One of the best ways to protect your data is to automate your data backup process. With SimpleBackups you can create custom backup schedules and retention policies, ensuring that your data is always safe and secure.
SimpleBackups also offers easy-to-use tools for disaster recovery, allowing you to quickly restore your data in the event of a data breach. Don't wait until it's too late – sign up for SimpleBackups today and protect your business from the threat of data loss.
---
# Cloud Storage Price & Feature Comparison – The Best Providers in 2026
Source: https://simplebackups.com/blog/cloud-storage-price-feature-comparison-the-best-providers-in-2023
Published: 2023-02-27
Author: Laurent
Summary: If you’d like to store your data on a cloud storage provider, you’ll need to consider several options. Dive into the ultimate list of all the major cloud storage providers with updated information for 2026. Check out how they compare on pricing and pick the right fit!
If you’d like to store your data on a cloud storage provider, you’ll need to consider several options. Of course, one of the critical criteria will be the pricing. Since every provider has their pricing structure and research can take a lot of time, we’ve done the legwork for you.
Dive into the ultimate list of all the major cloud storage providers with updated information for 2026. Check out how they compare on pricing and pick the right fit!
| Name | Price /GB/month | Min price/month | Price/1000 requests | Price Ingress | Price Egress | Link | Extra |
| --- | --- | --- | --- | --- | --- | --- | --- |
| AWS S3 | $0.023 | \- | $0.005 | $0 | $0.09/GB/month (100GB/m included) | https://aws.amazon.com/s3/pricing/ | 12 first months free - 5GB free |
| AWS S3 – Infrequent access | $0.0138 | \- | $0.01 | $0 | $0.09/GB/month (100GB/m included) | https://aws.amazon.com/s3/pricing/ | |
| AWS Glacier Instant | $0.005 | \- | $0.02 | $0 | $0.01/GB | https://aws.amazon.com/s3/pricing/ | |
| Wasabi | $0.0068 | $6.99 | $0 | $0 | $0 | https://wasabi.com/pricing | Minimum 1TB active storage ($6.99) |
| Backblaze B2 | $0.006 | \- | First 2,500/day Class B/C free | $0 | Free up to 3x storage, then $0.01/GB | https://www.backblaze.com/b2/cloud-storage-pricing.html | First 10GB free |
| DigitalOcean Spaces | $0.02 | $5 (250GB included) | $0 | $0 | $0.01/GB over 1TB | https://www.digitalocean.com/pricing/ | Minimum $5 - 1 TB outbound transfer included - Cold tier at $0.007/GB |
| Dropbox | $0.0024 | $15 (5TB included) | $0 | $0 | $0 | https://www.dropbox.com/plans?tab=work#features | Reference: Standard Plan - Minimum 15$/m |
| Google Cloud Storage | $0.02 | \- | $0.005 | $0 | $0.12 | https://cloud.google.com/storage/pricing | Reference: Standard - 5GB free + 5000 operations |
| Cloudflare R2 | $0.015 | \- | $0.0045 (Write) – $0.00036 (Read) | $0 | $0 | https://developers.cloudflare.com/r2/pricing/ | 10 GB free per month |
| FileBase | $0.0059 | $5.99 | $0 | $0 | 0.0059/GB | https://filebase.com/ | Minimum $5.99/m |
| Azure Blob Storage | $0.018 | \- | $0.0065 (Write) – $0.005 (Read) \[Both per 10,000 operations] | $0 | $0 | https://azure.microsoft.com/en-us/pricing/details/storage/blobs/#overview | Reference: Hot Storage |
| Exoscale | $0.0000275 per hour | \- | $0 | $0 | $0.02 | https://www.exoscale.com/pricing/#storage | |
| UpCloud | 0.02€ | \- | 0,00 € | 0,00 € | 0.01€ | https://upcloud.com/pricing/#object-storage | Reference 250GB plan |
| Vultr | $0.005 | $5.00 (includes 1TB) | $0 | $0 | $0.01/GB (1TB included) | https://www.vultr.com/pricing/#object-storage | Minimum: $5 |
| OVH | £0.006 | \- | $0 | $0 | £0.0072 ex. VAT (public traffic); no charge for internal traffic | https://www.ovhcloud.com/en-gb/public-cloud/prices/ | |
| Linode | $0.02 | $5 (250GB included) | $0 | $1 | $0.01 (1TB included) | https://www.linode.com/pricing/#object-storage | Minimum: $5 (250GB included) |
| Storadera | 0.006€ | 0€ (50GB data limit) | $0 | $0 | $0 | https://storadera.com/pricing | Includes free trial |
| Scaleway | 0.012€ | \- | $0 | $0 | 0.01€ (75GB included) | https://www.scaleway.com/en/pricing/?tags=storage | 75GB Single-AZ Object Storage included |
| Idrive | \- | $2.95 (100GB included) | $0 | $0 | $0 | https://www.idrive.com/pricing | Offers Free plan with 10GB storage |
| Leviia | 0.00599€ | 5.99€ (1 TB included) | $0 | $0 | $0 | https://www.leviia.com/object-storage/ | Minimum 5.99€/TB - Flat 5.99€ per additional TB - Based in Europe (France) |
## Factors to Take into Account When Considering Pricing
Before looking at our cloud comparison, let’s first consider some of the factors you’ll need to take into account when considering every provider’s pricing. To start, you’ll have to look at the different basic price variables that form the basis of the provider’s pricing plan. These are:
* Storage. Storage cost is a significant consideration when looking at pricing. You'll typically pay for storage on a price per gigabyte per month basis. In some cases, the minimal monthly subscription might also include some storage.
* Operations. Next, you'll need to consider how much you'll pay for your storage operations. Typically, the costs for these operations are minimal, and you won't pay much. However, it's worth considering when you carry out a lot of these operations, as they can add up to a substantial amount.
* Data transfer. When you store data on a cloud service provider, you'll need to upload your data. So, consider the cost of these data transfers. Generally, though, when uploading data, your costs will be minimal.
* Download bandwidth. Finally, you should also consider download or egress bandwidth. Here, these fees differ between different providers, and they’ll offer varying thresholds that they’ll include for free.
These variables will give you a great idea of what you’ll pay for a specific provider’s services and, as a result, can help you narrow down your list of possible providers significantly. It doesn’t stop there, however. There are several factors, apart from price, might influence your decision.
### Value Add-ons
We’ve already mentioned that providers might include certain data thresholds you can store or transfer for free. In addition, they might also offer other value add-ons to entice customers to their platform (e.g., first 12 months for free).
It’s worth your while to consider these add-ons, as they could significantly impact your cloud storage costs.
### Security
Security is a vital consideration when storing your data. Fortunately, most cloud providers have robust security measures in place to secure your data. You should consider which provider provides the best security solutions based on your needs.
You should also look at the processes the provider has in place in the event a breach happens.
### Reliability
Most cloud storage providers have had downtime at some stage – it’s a fact that it will happen. Fortunately, most cloud providers have measures and redundancies to keep these outages to a minimum. Depending on your requirements, you should research how often these issues occur at your chosen provider and how quickly they’re sorted out.
### Data Transfer Speeds
Depending on your specific requirements, data transfer speeds might be critical. For example, when you need to upload and download data daily, faster up-and-download speeds might be necessary.
Conversely, transfer speeds might not be that important when using cloud storage to back up your data only once a month.
## Cloud Storage Price Comparison Table
Now that we've seen some of the factors you should consider when looking at different cloud providers’ pricing plans, let's look at how some of the major cloud storage providers out there compare on price! This will give you an excellent starting point for choosing the right cloud storage provider.
---
# How to Back Up Your DigitalOcean Managed PostgreSQL Database
Source: https://simplebackups.com/blog/how-to-back-up-your-digitalocean-managed-postgresql-database
Published: 2023-02-27
Author: Laurent
Summary: It’s critical that you protect your business’s most valuable data and other security risks. To do this, you’ll typically need a data recovery strategy. In this post, we’ll look at a simpler solution for backing up your DigitalOcean PostgreSQL backups.
In this post, we’ll look at a simpler solution for backing up your DigitalOcean PostgreSQL backups.
## Creating Your Backups on the DigitalOcean Platform
Let’s first look at how you’ll create your database backups on the DigitalOcean platform. Luckily, you don’t have to do much; free, automatic backups are included in the managed backup solution. So, to create your backup, you simply need to create a database.
### Creating Your Database
Here are the steps you’ll follow to create a new PostgreSQL managed database:
1. Click on Create on your DigitalOcean Control Panel and select Databases in the drop-down menu.
2. On the Create a Database page, you can choose your database’s configuration.
3. Select the data center for your database cluster in the Choose a data center section.
4. Choose PostgreSQL in the Choose a database engine section.
5. Finally, choose the machine type, the number, and the size of the database nodes in the Choose a database configuration section.
6. Once you’ve configured the database the way you’d like, you can choose a name for your database, the project you’d like to add it to, and add any tags in the Finalize and Create section.
7. To create your database, click the Create Database Cluster button.
### Restoring Your Backup
DigitalOcean’s Managed Databases automatically handle data recovery due to hardware and software failures. It does this by replacing degraded nodes with new ones that resume where the previous ones failed. However, you can also manually restore PostgreSQL database backups.
To do this, you’ll:
1. Click on the name of the PostgreSQL database you’d like to restore from the Databases page.
2. On the database’s Overview page, click the Actions button and then choose Restore from backup from the drop-down menu.
3. A Create a new cluster from a backup window will open. Here, you can choose if you’d like to restore to the latest backup or to a specific moment in time. You’ll also choose a name for the new database.
4. Once you’ve chosen the options above, click Restore to New Cluster.
## Simplify Your DigitalOcean Managed Database Backups With SimpleBackups
DigitalOcean’s Managed Database solution eliminates some of the headaches in managing your database backups, but you should be aware of the cons.
For instance, your backups will be stored on DigitalOcean’s servers. What happens when there’s a complete outage?
DigitalOcean only stores your backups for 7 days. If you’d like to restore backups older than this, this could become an issue.
Fortunately, SimpleBackups offers a solution to these challenges. It allows you to:
* Manage all your backups in one place
* Use the storage solution you prefer
* Choose longer retention periods
Let’s look at how you would set up your backups on SimpleBackups!
### Setting Up Your Backup
To set up your database backup, log into your [SimpleBackups account](https://simplebackups.com).
On your dashboard, you’ll click on PostgreSQL Backup or Database backup.
You can also click on Backups in the main menu at the top of the page. This will take you to the page which lists all your backups. Here, click on Create Backup.
No matter what option you use, you’ll be taken to the Create Backup page, where you can configure your backup.
To start, select Databases under ‘What do you want to create a backup for?’

### Server Options
Next, you’ll choose the server you want to use to run the backup. You have two options – Serverless or Own Server.
In this example, we’ll use Own Server, which allows you to run the backup on your own infrastructure.
SimpleBackups also allows you to store the backups locally, off-site, or on mounted volumes.

When choosing this option, you’ll also need to choose a server from the drop-down list. If no servers are available, you’ll need to connect one first.
### Choosing Your Database
You’ll now choose the database you’d like to back up. Because it’s a DigitalOcean Managed Database, you’ll need to activate the Import managed database (DbaaS) option.
Before you can choose your database, you’ll first need to connect SimpleBackups to your DigitalOcean account. To do this, click on Connect Provider.

In the popup window that opens, choose DigitalOcean as your provider, give the account a name, and then click Connect DigitalOcean. Then, follow the prompts to connect your account.
Once your accounts are connected, you can choose your database without entering any further information. Also, choose the type of backup you’d like by checking the appropriate boxes.
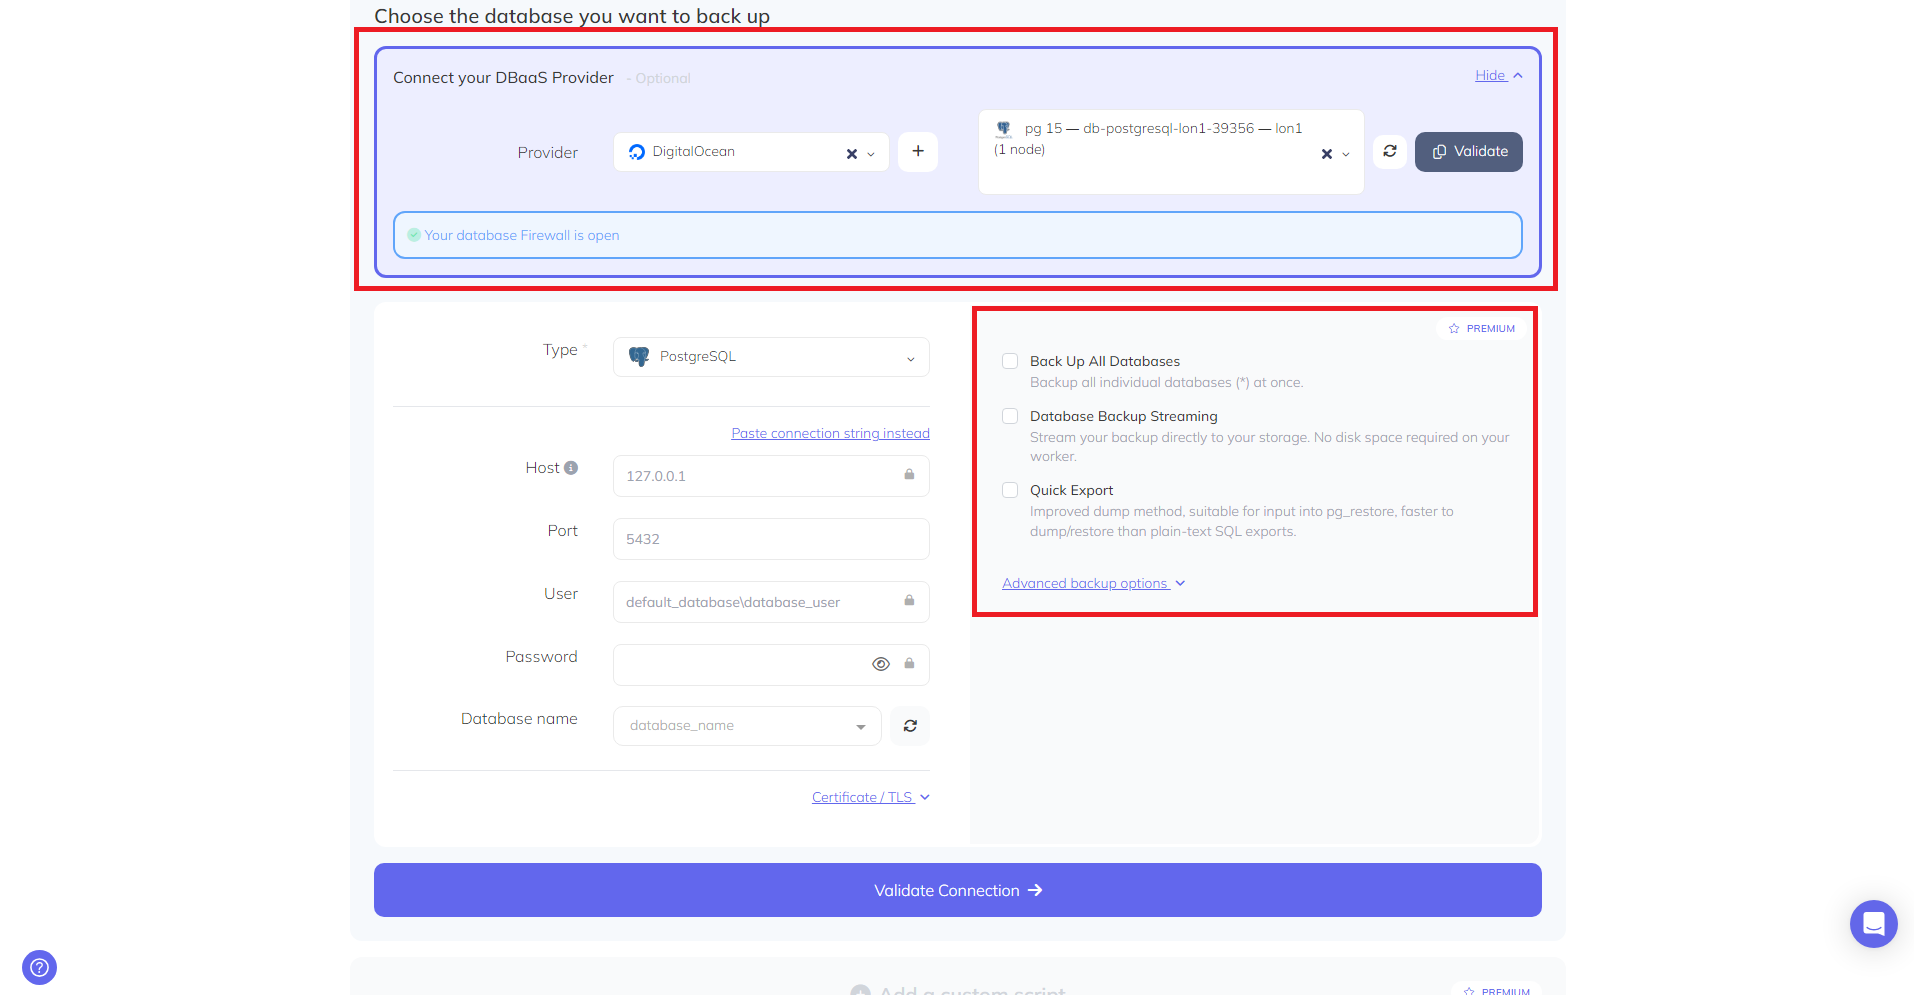
### Scheduling and Retention
Once you’ve configured your backup, you’ll finalize the backup by providing a name. Apart from this, also:
* Decide on a schedule. You can decide how often your backups will run based on your needs and requirements. Choose between Daily, Weekly, Monthly, Custom, or On Demand.
* Configure the retention period. You’ll also decide how many backups you’d like to keep. Older versions will then be deleted once you reach this number. So, if you run your backups on a weekly schedule and you choose to keep 15 backups, you’ll store backups for 15 weeks.
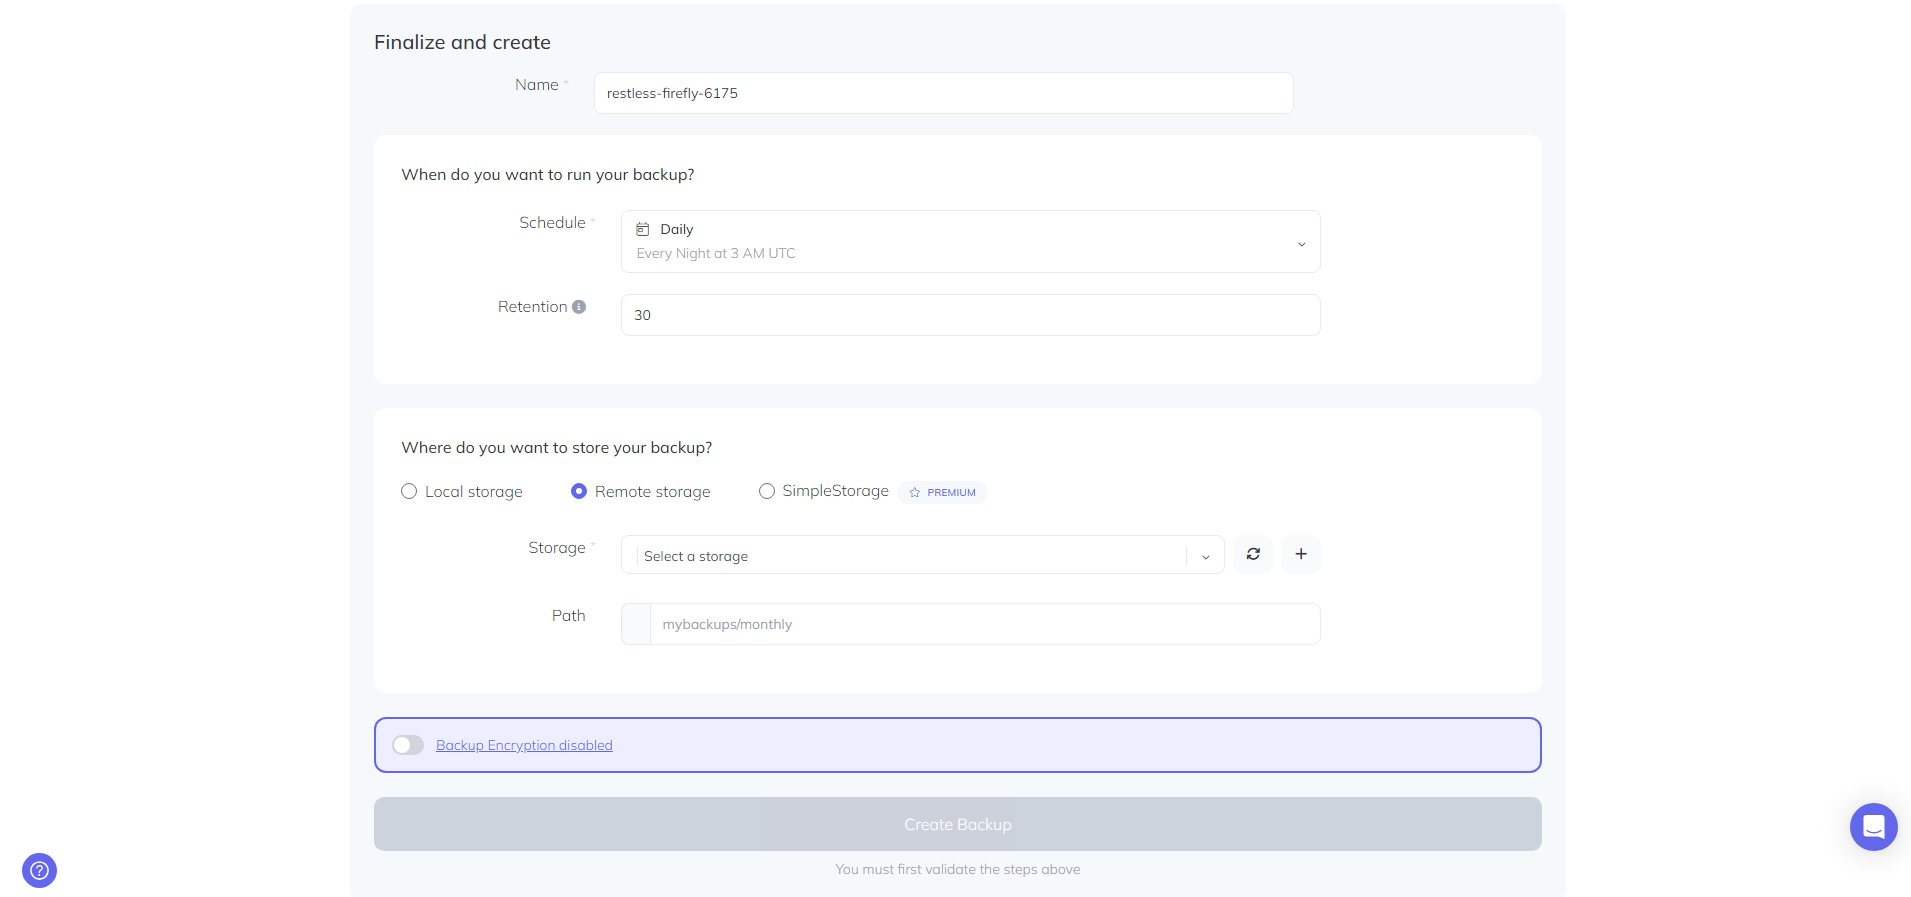
### Storage Options
Finally, you can choose the storage option you’d like to use for your backups. Here, you have numerous options, from local storage to remote storage like Google Drive, Dropbox, Amazon S3, and others.
You can also opt for SimpleStorage, SimpleBackups’ own managed storage solution for your backups.
If you choose:
* Local storage, provide the path to where you’d like your backups to be saved.
* Remote storage, choose the provider from the drop-down list. To add additional providers, use the Connect storage option.
* SimpleStorage, you’ll need to enable SimpleStorage first.
Finally, click on Create Backup to create your backup.
Should you need to restore your backup for any reason, simply choose it from your list of backups to go to the backup’s Overview page. Click on Logs, find the version you’d like to restore, and click on the ‘i’ next to the entry. On the dialog box that opens, find the command you can run to restore your backup.
## The Bottom Line
Isn’t it time you protected your databases with regular, consistent backups? If it is, then SimpleBackups is worth a look. It helps you manage your backups, no matter what the platform, all in one place. As a bonus, you can get started for free. So, [create your first PostgreSQL backup today!](https://simplebackups.com/postgresql-backup/?utm_source=blog)
---
# Back up Your Managed DigitalOcean MySQL Database
Source: https://simplebackups.com/blog/back-up-your-managed-digitalocean-mysql-database
Published: 2023-02-27
Author: Laurent
Summary: Discover how to Set up and Back up Your Managed DigitalOcean MySQL Database
Whether you run a [website or web application](https://solveit.dev/blog/web-app-vs-website) or provide a mobile app to your customers, your databases are critical. They store your website’s content, information about your products or services, and, more importantly, all your customers’ data. The problem is that setting up and maintaining databases can take a lot of time and effort. Luckily, there are some solutions to solve this problem.
A DigitalOcean Managed Database is one of them. In this post, we’ll look at this solution in more detail. More importantly, we’ll show you how to back up your DigitalOcean Managed MySQL Database.
## Table of Contents
## What Is a DigitalOcean Managed Database?
As the name implies, a DigitalOcean Managed Database is simply a database that’s managed for you.
So, DigitalOcean deals with tasks like database setup, backups, updates scalability and maintenance. In doing so, you get more time to focus on other things like [app development](https://risingmax.com/mobile-app-development-company-new-york), maintenance, and support.
## The Problem with DigitalOcean Managed Database Backups
Considering the above, **DigitalOcean’s managed databases** sound like a convenient option if you’d like to save time and focus on other things besides database management.
The automatic backups sound especially attractive because they’re done daily and, as a bonus, completely free.
There are, however, a few issues:
**👎 Storage**. A major disadvantage of the **backups is that they’re stored in DigitalOcean’s data centers**. This presents several problems:
- For instance, one of the aims of backups is to protect against unanticipated outages. When your backups are stored on the same systems as your main database, you won’t be able to restore your backups if there is such an outage.
- Also, because the backups are stored on DigitalOcean’s servers, you won’t be able to restore your backups to local or other cloud servers.
**👎 Security**. Another drawback of these backups is that they’re vulnerable to the same security risks as your main database. So, **if your account is compromised, it will impact all your data and backups**.
**👎 Retention**. Finally, while your data is backed up daily, your backups are only retained for seven days. This could pose a significant problem if you’d like backups older than this.
## Setting up Your DigitalOcean Managed Database
Before looking at a way to eliminate these challenges, let’s first consider a brief overview of setting up a database and restoring a backup on DigitalOcean.
### Creating a DigitalOcean Managed Database
To create a database, go to the Create menu and select Databases. This will take you to the Create a Database page.
On the Create a Database page, you can select the data center region and choose your database’s configuration. In the Choose a data center region section, choose where you’d like to store your database.
In the Choose a database engine section, choose your engine. Here, you’ll choose MySQL.
You’ll then choose your database’s configuration in the Choose a cluster configuration section. Here, you’ll be able to choose your configuration from a list that displays the machine type, the number of database nodes, and its monthly cost.
Finally, once you’ve completed all the sections above, you’ll choose a name for your database cluster in the Finalize and Create section. You’ll also select a project and add tags. In this example, the database’s name is example-database, the project is left as the default, and no tags are added. When done, you can click the Create a Database Cluster button.
### Configuring the Database
To manage and configure your database, you’ll first need to connect to it from your local machine. To do this, you’ll first need to obtain your database’s connection details.
You’ll then download your database’s SSL certificate and, once done, connect to your database.
You can connect either with MySQL, the MySQL Shell or through your preferred MySQL GUI (we do like TablePlus). [Read here](https://docs.digitalocean.com/products/databases/mysql/how-to/connect/) for a more detailed explanation of this process.
Once you’re connected, you can manage your database through your local system’s command line. For the sake of the demonstration, you can also create a basic table and add a few records.
## Restoring a Backup of a DigitalOcean Managed Database
When you’d like to restore a backup, select the database you’d like to restore from the Databases page. This will take you to the database’s Overview page, where you click on the Actions button and then choose Restore from backup from the menu.
In the Create a new cluster from a backup window that opens, you can choose to restore the latest backup or choose a backup from a specific day. Once you’ve chosen what you’d like to restore, you can click Restore to New Cluster to start the restoration. Remember, as mentioned earlier, you can’t restore the backup to any other systems, and you can only choose a backup from the previous seven days.
## Managing Your DigitalOcean Managed Databases With SimpleBackups
There is a better solution to eliminate these problems – you can use SimpleBackups to manage all your backups in one place. Here are the steps you’ll need to follow to do this.
### Getting Started
The first step is to log into your SimpleBackups account. To create a backup, click on Backups in the main menu at the top of the page. This will take you to a page that lists all your backups. Here, you’ll click on Create Backup.
On the next screen, you’ll be able to configure your database backup. So, at the top of the page, ensure that the Databases option is selected.
### Choosing a Server
The next option is to choose the server you’d like to use to run the backup. Here, you can choose between Serverless and Own Server. With Serverless, you’ll run the backup using SimpleBackups’ infrastructure, which is ideal if you don’t have a dedicated server or if you’d like to save on storage space.
Conversely, Own Server allows you to run the backup using your own infrastructure. In this case, your server needs access to your database, and you can store your backups locally, off-site, or on mounted volumes. In this example, we’ll choose Own Server.
### Choose the Database that Needs to be Backed Up
Next, you’ll choose the database that you’d like to back up. Because it’s a DigitalOcean managed database, you need to activate the Import Managed database (DbaaS) option.
You’ll then click on Connect Provider. On the pop-up that opens, you’ll choose Digital Ocean as the provider and give the account a name. In this example, we’ll name it DO Database. Once done, you can click on Connect DigitalOcean and follow the prompts to connect your account.
Once you’ve connected SimpleBackups to your DigitalOcean account, you can choose the database you’d like to back up from the provided dropdown list. You’ll also select the type of backup you’d like from one of the options.
### Finalize and Create the DigitalOcean Backup
To finalize your backup, you’ll:
- Provide a name. You need to provide a name for your backup to identify it amongst all your other backups. In this example, we’ll name it DO Backup.
- Pick a schedule. Next, you’ll define how often the backup should run. You can choose between Daily, Weekly, Monthly, On Demand, and Custom. In this example, we’ll choose Daily.
- Define the retention period. Here, you’ll choose how long you’d like to keep the backup. In the example, we’ll choose 30 days.
- Select your storage. Finally, you’ll need to choose your storage. Here, we’ll once again use the Dropbox we’ve used in some of our other examples.
Once done, click on Create Backup to create the backup.
### Restoring Your Backup
To restore your backup, you’ll choose it from the list of backups. This will take you to the Overview page for your backup.
On this page, you can click on Logs and find the version of the backup that you’d like to restore, and click on the i next to the entry.
In the dialog box that opens, you’ll find the command you can run to restore your backup.
## Conclusion
Now that you know how to back up your DigitalOcean Managed Database, you should also know that the service has some serious drawbacks.
Get rid of these drawbacks with an alternative to the DigitalOcean backups. Consider SimpleBackups, which fits the bill perfectly. [Get started](https://simplebackups.com/) by creating your first backup today!
Further Reading:
Here are some other resources you can use to learn more about SimpleBackups:
- [How to create a Passwordless MySQL Backup](/docs/database-backup/mysql-backup/overview#passwordless-authentication)
- [Restore a MySQL backup](/docs/database-backup/mysql-backup/restore-a-mysql-backup)
- [How to Back up AWS RDS (MariaDB) with SimpleBackups](https://simplebackups.com/blog/how-to-back-up-aws-rds-mariadb-with-simplebackups/)
- [How to Back up AWS RDS (MySQL) with SimpleBackups](https://simplebackups.com/blog/how-to-back-up-aws-rds-mysql-with-simplebackups/)
- [Learn how to Create an Incremental MySQL Backup with SimpleBackups](https://simplebackups.com/blog/how-to-create-an-incremental-mysql-backup-with-simplebackups-news/)
---
# Why Data Backup Strategy is Essential for Your Business?
Source: https://simplebackups.com/blog/why-data-backup-strategy-is-essential-for-your-business
Published: 2023-02-09
Author: Kuba
Summary: Learn the latest data backup strategy best practices to safeguard your important files and ensure business continuity. Discover expert tips and tools for a robust backup plan.
Every day, countless businesses suffer from data loss due to inadequate backup systems. Imagine losing everything you've worked hard to build because of a data disaster. This is a concern that keeps many business owners up at night. That's why we prepared a full guide on data backup strategy for you to sleep soundly knowing your data is protected.
## What is Data Backup Strategy?
A data backup strategy covers everything connected to data management in your company, like:
- data storage methods
- locations
- costs
- recommended backup frequency
Additionally, it includes employee training, roles, and responsibilities. Usually, top vendors, products, and market trends are also discussed.
Creating a backup and recovery plan should start with a risk assessment and business impact analysis. The risk assessment looks at things that could affect an organization's business operations. They are important for disaster recovery plans and can help you determine what and how often you should back up your data.
## Why Is Data Backup Important to Your Business?
Data backup is a critical process that every business should prioritize. It involves creating copies of important data and storing them in a secure location. But why is data backup so important to your business? Let's find out.
### Protect Your Business from Data Loss
Data loss can happen due to various reasons, such as:
- hardware failure
- natural disasters
- cyber-attacks
- human error
If your business experiences data loss, it can be catastrophic. You may lose important client information, financial records, and other critical data. This can damage your reputation, cause legal problems, and even lead to business failure.
However, with a data backup strategy, you can recover lost data quickly and minimize the impact of data loss.
### Ensures Business Continuity
In case of a disaster, having a backup of your data ensures business continuity. You can restore your data and continue operations without losing valuable time or resources.
This is especially important for businesses that rely heavily on data, such as e-commerce stores, financial institutions, and healthcare providers.
### Helps You Make Informed Decisions
Data is an asset that can help you make informed business decisions. By analyzing data, you can identify trends, opportunities, and areas that need improvement.
But if you lose your data, you lose the ability to analyze it. With a data backup and recovery strategy, you can access your data anytime and make informed decisions based on accurate information.
### Compliance and Legal Requirements
Many businesses are required by law to keep certain types of data for a specific period.
For instance, [SaaS apps](https://simplebackups.com/blog/saas-data-security-101-how-to-protect-your-saas-from-data-breaches/) dealing with other businesses data need to use security measures that prevent harm of their customers' data safety. Failure to comply with these regulations can result in hefty fines and legal problems.
With a data backup strategy, you can ensure that you meet compliance and legal requirements.
## How Often do companies suffer from cybersecurity attacks?
According to Security Magazine, there are over [30,000 websites hacked every day](https://techjury.net/blog/how-many-cyber-attacks-per-day/#gref). It means that by the time you read these words, at least 1 cyberattack happened somewhere.
Crazy, right?
But an even more worrying statistic comes from Cybnit. According to their research, 95% of all digital breaches result from human error. Well, that isn't a huge surprise – modern businesses process and transform endless amounts of data daily. A potential human error is inevitable in such conditions.
This is why having a solid Data Backup strategy is crucial.
## What Should Be Included in a Data Backup Plan?
2 metrics should be included in a data backup plan:
- the data the organization must back
- the frequency of backups.
Less significant data might not need backup and recovery at all, while critical data may require continuous data protection. Without a proper data backup plan, your business risks having large and unwieldy backup sets. The main goal should be to make backup management as easy as possible. It'll make sure the recovery process is reliable and frictionless.
The plan also describes the process of performing data backup in your company. The most important things to include are:
- who is involved
- which programs and products you use
- the location of the backups
- the procedure for testing, reviewing and updating the process
The plan should also provide the cost of the data backup strategy, but make sure to update this section frequently, as prices and workload volumes change regularly.
## Data backup solutions: On-site vs. Off-site
When it comes to data backup solutions, there are two main options: on-site and off-site.
### Why Should Data Be Stored On-Site
**On-site backups** involve storing data backups where the company's located, usually on a computer or external hard drive. This is a good option for businesses that don't have access to the internet or need to back up large amounts of data quickly.
However, it's important to note that on-site backups are not always secure, as the data is vulnerable to theft or damage.
### Why Should Data Be Stored Off-Site
**Off-site backups** involve storing data backups remotely, such as in the cloud. This is a suitable option for businesses that need to back up data quickly and securely. Off-site backups solutions also provide an added layer of security, as the data is stored away from physical damage.
These backups may take longer to restore, as the data must be retrieved from the remote location.
No matter what data backup solution you choose, make sure it meets the requirements of your business. From the most basic on-site backup to the most complex off-site backup, it's essential to make sure the data is secure, reliable, and easily accessible.
Additionally, it's critical to regularly test the backup system and review the data backup plan to make sure it is up-to-date. With the right data backup strategy, your business can rest assured that its data is safe and secure.
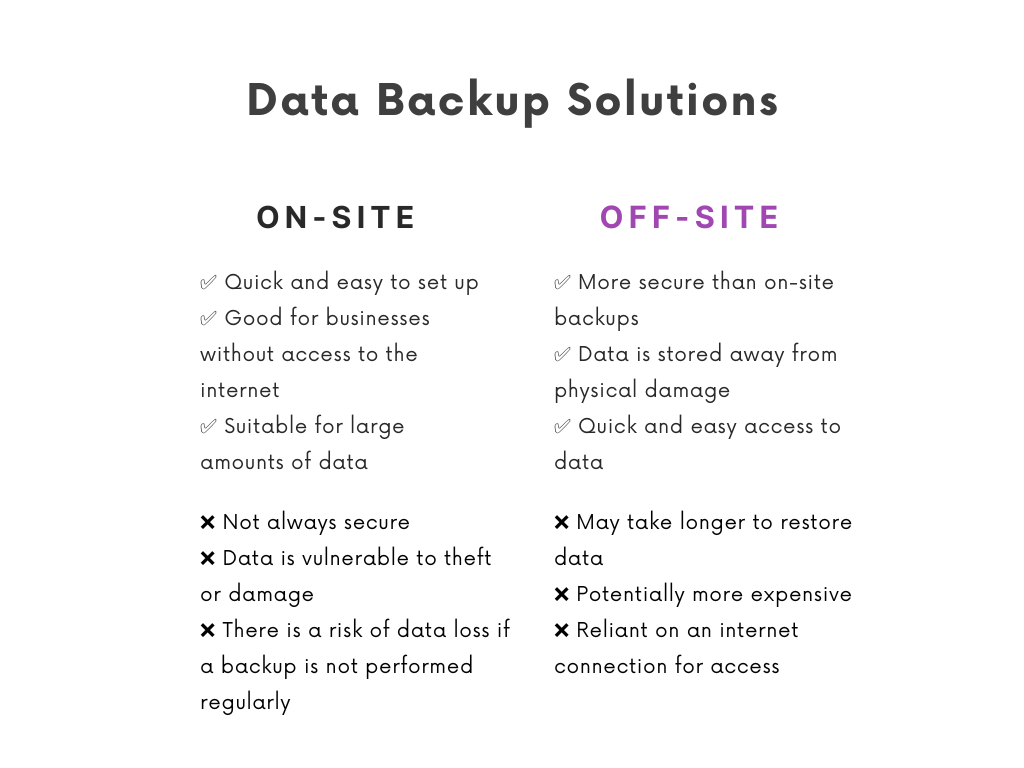
## How to automate data backup management?
Automating backup management can help streamline the entire process and make it more efficient. Automation tools can be used to [schedule regular backups](https://simplebackups.com/features/), run checksums to detect any data corruption, and manage multiple backup systems. They can also be used to monitor the status of the backup system, alert the team to any issues, and keep track of the data stored in the backup system.
By automating the backup process, the team can save time and ensure the data is always secure and up-to-date.
With SimpleBackups, you can automate all your [server](https://simplebackups.com/server-backup/), database, and cloud storage backups. Using a simple-to-use interface, you can:
- Establish which files and folders to back up
- Organize them by project
- Have a clear, centralized view of all your running backups.
[Trust your backups – free for 7 days](https://my.simplebackups.com/register)
Data backup is an essential part of any business. Creating a data backup plan should start with a risk assessment and business impact analysis. This plan should include the data that needs to be backed up and the frequency of backups. It should also describe the process of performing data backup, the roles, and responsibilities of the team, and the cost of the data backup strategy.
By implementing the right data backup strategy and automation tools, businesses can protect their data and ensure it is always secure.
---
# New docs, guides & Storage replication
Source: https://simplebackups.com/blog/new-docs-guides-storage-replication
Published: 2023-02-01
Author: Laurent
Summary: Brand new documentation & guides to help you set up your backups step-by-step. And a big update to our Storage backup product.
Over the past few weeks, we’ve been actively working on improving how we support our users.
We always thrived to provide the best customer support experience to all our users and not just our enterprise customers.
With more than 6000 users today, support and replying to all our users required some serious effort and that’s why we prioritize some big things there!
## New, shiny docs!
What’s better than self-served documentation? Well, a [shiny one](/docs)!
We’ve been working with [https://www.helpkit.so/](https://www.helpkit.so/) to provide you with a nice documentation, which we too the time to fully re-organize.
This is an ongoing effort and we’ll continue filling in the gaps.
## Moooore “how-tos”
We’re constantly working on creating “how-tos” to help you create your first backups, step-by-step.
You can now find them all in our new blog: [https://simplebackups.com/blog/using-simplebackups](https://simplebackups.com/blog/using-simplebackups)
Just a few how-tos we’ve recently created:
* [How to Back up AWS RDS (MariaDB) with SimpleBackups](https://simplebackups.com/blog/how-to-back-up-aws-rds-mariadb-with-simplebackups/)
* [How to Back up AWS RDS (PostgreSQL) with SimpleBackups](https://simplebackups.com/blog/how-to-back-up-aws-rds-postgresql-with-simplebackups/)
* [How to Back up Your GitHub Data](https://simplebackups.com/blog/how-to-back-up-your-github-data/)
* [How to Back up Your Knack Data](https://simplebackups.com/blog/how-to-back-up-your-knack-data/)
## Storage Backup v2!
Our storage backup (aka storage sync & replication) has been fully updated.
It is now faster, and optimized for each provider.
We’ve added a “warmup” step that help us optimizing your backups while also showing some information about the job itself.
## Tweaks & Improvements
* Improved handling of multipart uploads
* Numerous improvements to storing backups on your local server
* Dropbox & IDrive E2 storage connector updates
* [RSync.net](http://RSync.net) support as SFTP provider
---
# How to Back up Your Knack Data
Source: https://simplebackups.com/blog/how-to-back-up-your-knack-data
Published: 2022-12-05
Author: Laurent
Summary: Learn how to back up your Knack data quickly and easily with SimpleBackups! Review our step-by-step guide.
**Knack’s** cloud-based database management platform allows you to build and access databases online through an API. Apart from databases, you can also create workflows and business process automation for almost anything you do in your business.
Ultimately, it gives you all the tools you need to build business applications quickly and easily.
However, the platform will house a lot of essential data since you’ll use it for more than just databases. And that means you’ll need **backups**.
In this post, we’ll show you **how to back up your Knack data with SimpleBackups** quickly and efficiently.
## What Knack Data Will You Back up?
You’ll have to use the Knack API to back up your Knack data. It gives you full access to create, retrieve, update, and delete your apps’ records.
To accomplish this, you’ll use Knack’s object-based requests that give you full CRUD capabilities for records. This means you’ll back up all the objects you’ve created for a specific Knack app.
## How to Back up Your Knack Data Using SimpleBackups
### Step 1: Preparation
Before you back up your Knack data, you’ll first need to do some prep work to get the Knack API key and your Knack Application ID. You’ll use this information to read and write data to the Knack API and, as such, back up your data.
To get this information, you’ll need to log into your Knack account and go to the App that you want to back up with SimpleBackups. Here, you’ll click on **Settings**.
On the page that opens, you’ll then **click on API & Code.**
You’ll then get **the API key and your Application ID** for using the Knack API. You should make a note of these because you’ll use them to configure your backup in SimpleBackups.
### Step 2: Getting Started with Your Backup Recipe
Now that you have your API key and Application ID, you can create your backup in SimpleBackups by **configuring a Knack recipe.**
The first step to do this is to log into your SimpleBackups account. On your dashboard, you’ll then have a few options for creating your backup.
One of the simplest options is to scroll down to the bottom of your dashboard and then click on **Create on the Knack Backup tile.** If the tile isn’t there, you’ll need to click on Show all to show it.
Another way is to click Backups in the top menu of your dashboard.
On the page that opens, you’ll click on **Create Backup +.**
Either option will take you to the screen where you can set up your Knack backup. Here, it’s crucial to ensure that both the Recipe and Knack Backup tiles are selected.
### Step 3: Configuring Your Backup Recipe
Next up, configure your Knack backup recipe. This is where you’ll use the credentials you gathered earlier. So, when configuring your Knack backup recipe, you’ll **enter your Application ID and the API key.**
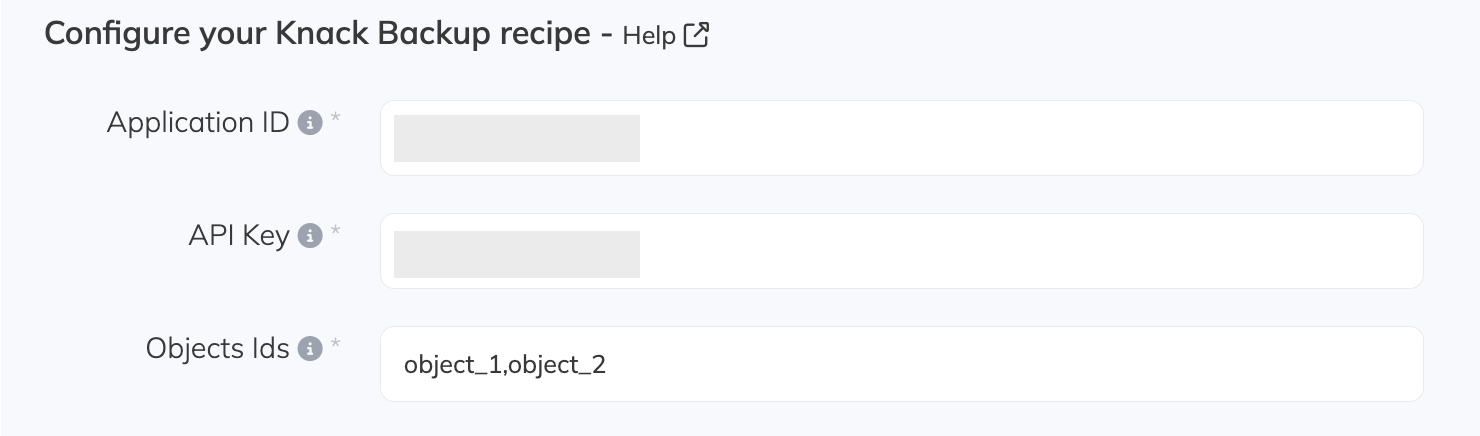
As you can see, you’ll also **enter the object Ids** of the objects you would like to back up. You can find these Object Ids by clicking on the specific object and then checking your URL.
When you enter these Ids into SimpleBackups, you’ll **only enter all the number parts** of the Id of all the objects you’d like to back up, separated by a comma.
So, if the Id is object_1, you’ll only enter 1.
### Step 4: Choose a Server
Next, you need to choose a server to run the backup. The two options you have are:
- **Serverless**. This option lets you run the backup on SimpleBackups' equipment and store your backups off-site. The benefit here is that no setup is required, and you don't need many of your own resources.
- **Own Server.** As the name suggests, this option allows you to run the backup using your own infrastructure. It allows you to store backups off-site, locally, or on mounted volumes.
We will use the serverless option in this example. To do this, we’ll make sure that the right tile is selected.
You can then click **Validate** to ensure the connection works.
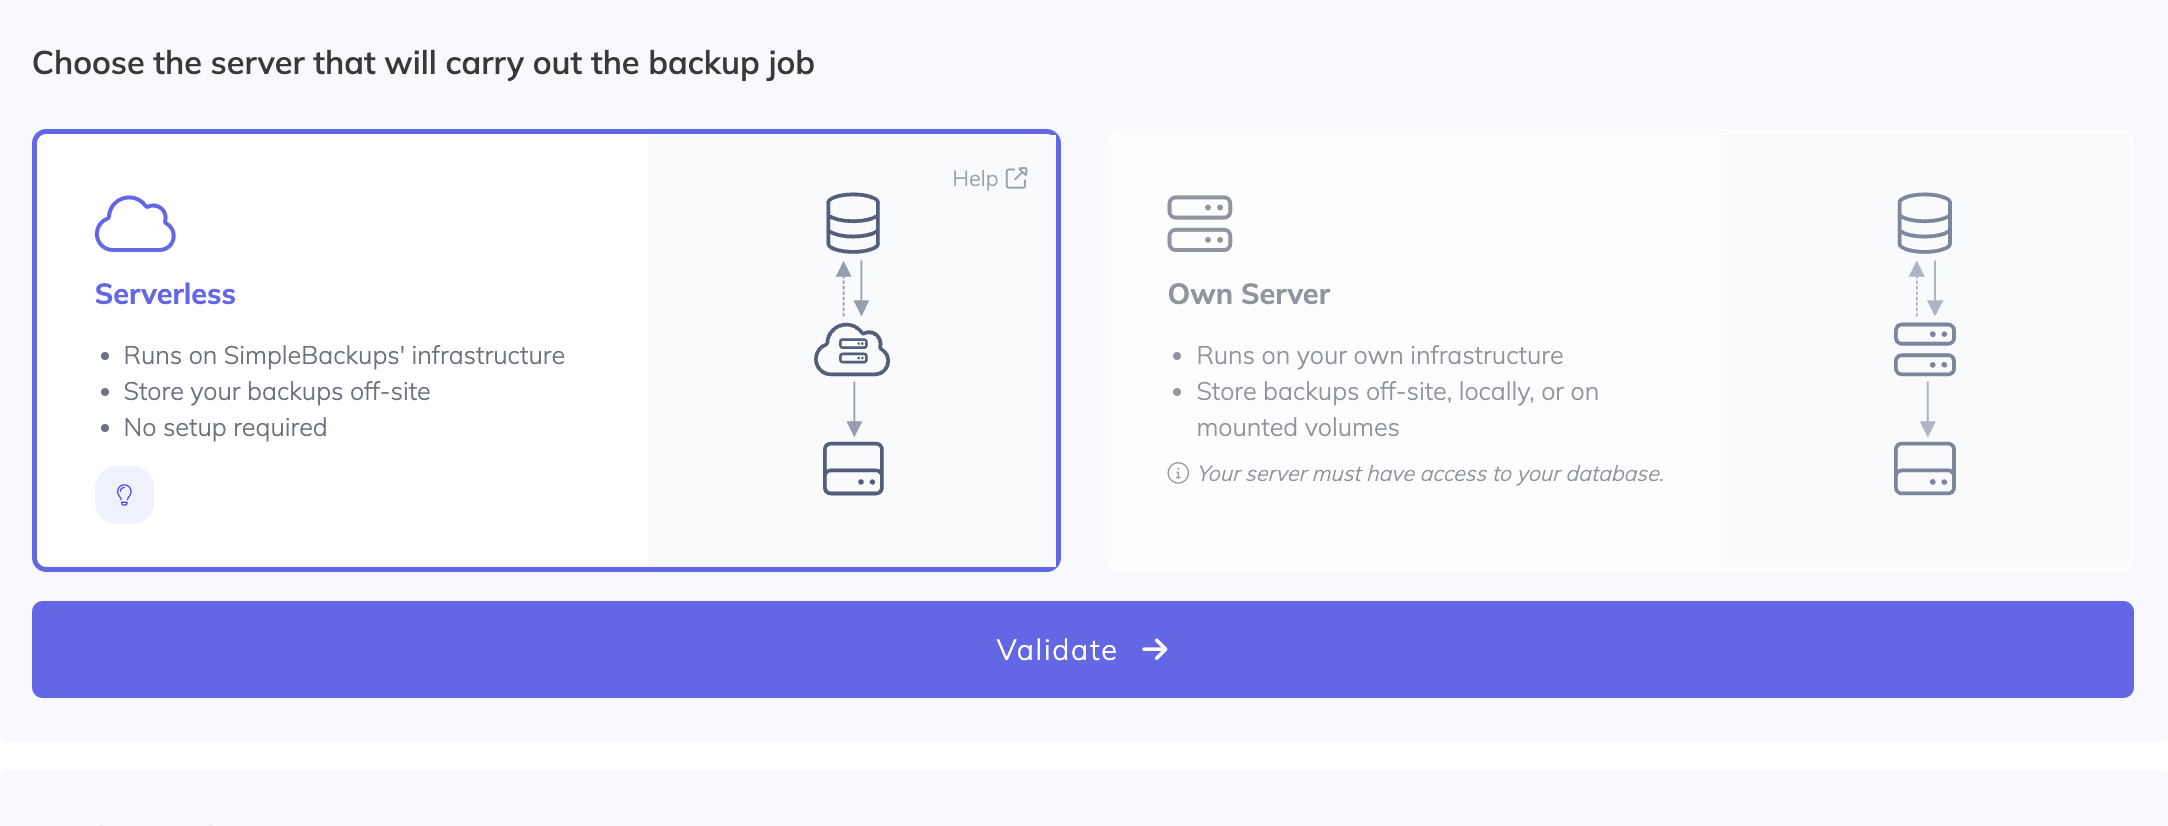
### Step 5: Finishing Up and Creating Your Backup
The final step, after you’ve validated the connection, is to choose:
- **Your storage.** You can choose one of several options, including Amazon S3, DigitalOcean Spaces, Google Cloud Storage, and more. In this example, we’ll use the same Dropbox we used in a few of our earlier posts.
- **Retention schedule.** You’ll set your retention schedule to determine how long you’ll keep your backups. Earlier backups will be deleted once the maximum is reached.
- **Backup frequency.** You can choose between daily, weekly, monthly, on-demand, or even create a custom backup schedule based on your needs and requirements. In this example, we’ll use weekly backups.
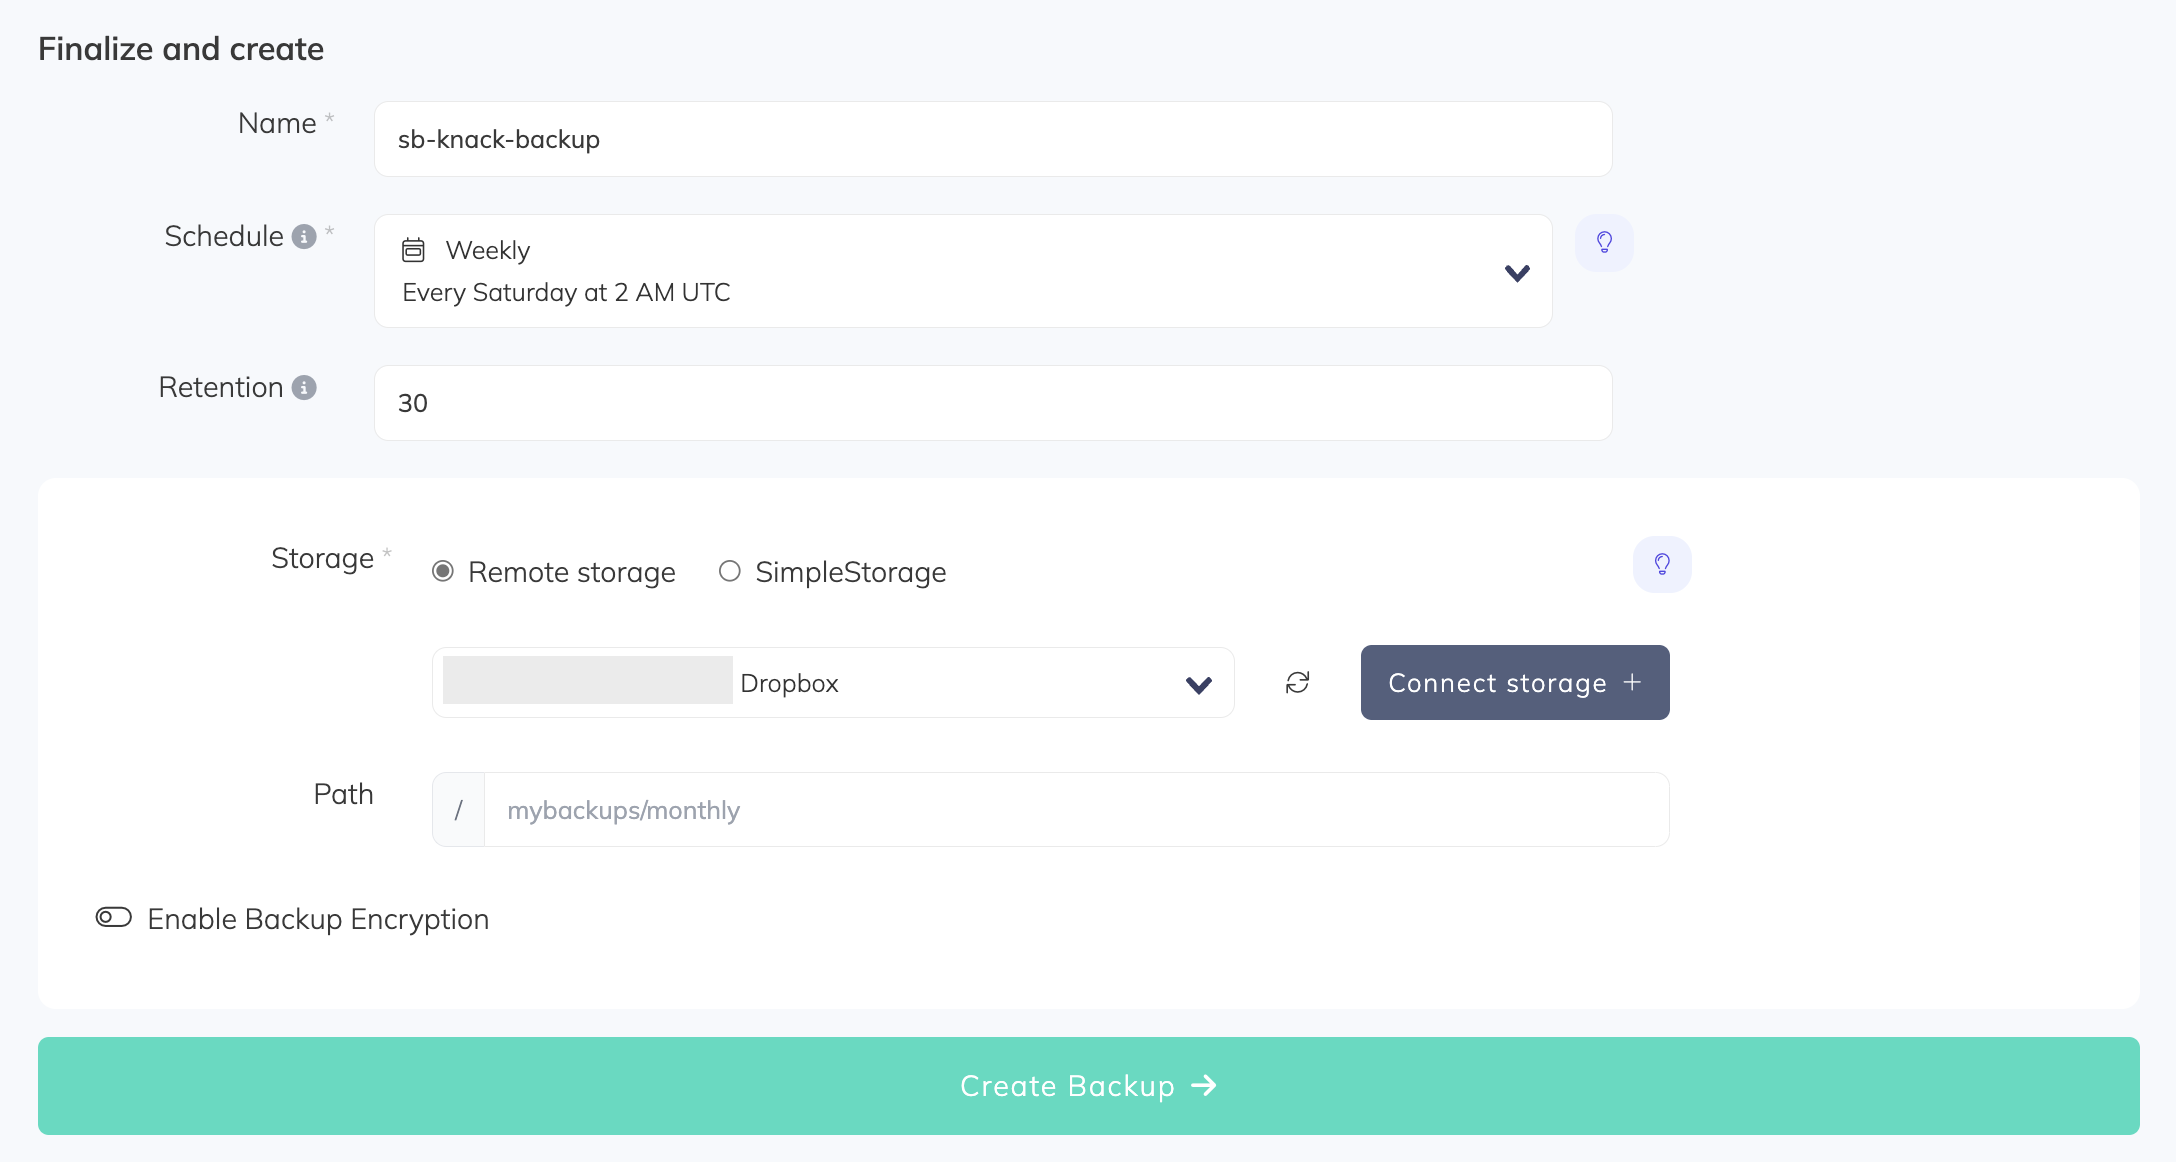
Once done, you can click on **Create Backup.**
## It’s Time You Backed up Your Knack Data Quickly and Easily
Hopefully, this post helped illustrate how you can back up your Knack data quickly and easily. But the question is: Why should you consider using SimpleBackups in the first place?
Firstly, SimpleBackups allows you to **use almost any storage** you’d prefer. You'll be in complete control of your data and won’t be locked into a single platform. Also, when using the platform, you'll have **access to various other tools that make managing your data easier**, including notifications, task summaries, audit logs, and more.
To learn more about SimpleBackups, our range of innovative features, and how our platform can help you, [get started for free today](https://simplebackups.com/).
---
# What a Git Clone Misses in Your GitHub Backup
Source: https://simplebackups.com/blog/how-to-back-up-your-github-data
Published: 2022-11-25
Author: Laurent
Summary: A git clone captures code and history, and stops there. Here is the full scope of a GitHub backup, what the mirror leaves behind, and who needs more.
To back up GitHub data, you need three things: a mirror clone of each repository (all branches and tags), a separate clone of any wikis, and an export of metadata such as issues, pull requests, and project data, which a plain git clone won't capture.
SimpleBackups automates all three, stores backups off-site in the destination you choose, and monitors every run. The honest answer is that a one-time manual clone covers a real scenario: personal projects, light usage, content you could reconstruct quickly. The pattern we see is that teams find out what's missing at the worst possible time: a deleted repo, a compromised account, a provider incident. Automating it costs less than discovering the gap does.
## What Does 'GitHub Data' Actually Include?
GitHub holds more than source code. A complete backup covers:
- **Commit history**: every change, with author and timestamp
- **Branches and tags**: all refs, not just the default branch
- **Git LFS objects**: large files stored separately from the repo itself
- **Wikis**: stored as separate Git repositories under the same account
- **Issues and pull requests**: discussions, decisions, and review history
- **Metadata**: labels, milestones, webhooks, collaborator settings
A git clone captures the first two. It doesn't capture LFS objects, wikis, or any of the metadata above. That distinction is worth drawing clearly: "I have a clone" and "I can restore this project" are different things. Backup-as-a-Service (BaaS) tools like SimpleBackups are built to cover the full surface, not just the bits a bare git clone hands you.
If you want the hands-on version of this, with the exact `git clone --mirror`, API, and CLI commands, see [The Ultimate Developer's Guide to GitHub Backups](/blog/the-ultimate-developers-guide-to-github-backups). This page focuses on the decision: what to back up, and how to choose an approach.
## Who Needs More Than a Manual Git Clone?
This page is for developers, technical founders, and DevOps engineers responsible for GitHub repositories in a production context: organizations where losing repo history, issue threads, or PR discussions would cost something real.
Specifically: teams running multi-repo GitHub organizations; SaaS companies where the codebase is the product and historical context lives in issues and PRs; teams under ISO 27001, SOC 2, or HIPAA audit pressure that need documented, provable backup procedures; and anyone who has watched a cron job or DIY script fail quietly without alerting anyone.
If you're a solo developer with public repos you could re-push from local, a `git clone --mirror` to an external drive is probably enough. Draw that line yourself. This page covers all the options so you can make the call.
## 5 Things to Evaluate in Any GitHub Backup Approach
1. **What data is included?** Code and history are the baseline. Confirm whether wikis, issues, PRs, labels, and webhooks are covered, or just the Git repository itself.
2. **Where are backups stored?** Same-account copies aren't off-site. The 3-2-1 rule applies: three copies, two storage types, one off-site. If your GitHub account is suspended or breached, a backup stored inside that same account goes with it.
3. **Does it monitor and alert?** A backup that silently broke three weeks ago is not a backup. You need confirmation on every run, or an alert the moment one fails.
4. **Can you actually restore it?** Restore time is the real metric, not setup time. Confirm the tool produces a restorable artifact, not just a compressed archive no one has ever unpacked.
5. **Who sees the data in transit?** For security and compliance reviews, backup data flowing through a third party's infrastructure can be a non-starter. Confirm whether data flows directly to your storage or passes through the vendor's systems.
## How SimpleBackups Handles GitHub Backups
SimpleBackups is Backup-as-a-Service: it triggers, schedules, automates, and monitors backups across servers, databases, storage, and SaaS, [GitHub](/saas-backup/github) included, from one control plane. That matters when GitHub is one of several sources you're responsible for and you don't want a separate tool or dashboard for each.
A few specifics worth knowing:
- Backup data flows server-to-storage directly. SimpleBackups never sees or stores it.
- AES-256 end-to-end encryption with your own private key (BYOK). The encryption story holds up in a security review.
- ISO 27001 certified since 2023, audited annually. Audit exports covering retention, encryption and restore history, which is what ISO 27001 and SOC 2 reviewers ask for. See our [security-first](/security-first) approach.
- Storage destination is your choice: S3, Backblaze B2, Wasabi, OVH, Leviia, Storadera, or any S3-compatible endpoint. Belgium-based, EU/GDPR jurisdiction.
- One-command restore from the CLI, REST API, or [native MCP server](/docs/mcp/overview). Your AI agents can drive it without you owning the reliability overhead.
SimpleBackups protects data for 3,200+ teams, from Indie SaaS to Fortune 500. GitHub backup sits alongside database and server backup in the same dashboard: no separate script, no separate monitoring.
## Manual, Scripted, or BaaS: An Honest Trade-off
Three approaches come up when teams think about GitHub backups.
**Manual git clone --mirror.** Works for point-in-time copies of individual repos. Doesn't monitor itself, doesn't alert on failure, doesn't capture wikis or metadata, and doesn't scale to multi-repo organizations without scripting. For personal projects: a valid starting point. For production organizations: not a defensible answer.
**DIY scripts and cron.** The setup most teams inherit. Cron doesn't tell you when it broke. A script that worked six months ago may fail silently after a GitHub API change. You also inherit maintenance for every new org, repo type, or storage destination you add. Auditors will ask you to prove restorability, and a cron log doesn't do that.
**Backup-as-a-Service.** Tools in this category automate scheduling, monitoring, alerting, and multi-destination storage. The criteria that split them: whether they capture metadata beyond the Git repository, whether backup data passes through the vendor's systems, and whether the compliance story holds up under ISO 27001 or SOC 2 scrutiny. SimpleBackups falls in this category, with data flowing directly server-to-storage and BYOK encryption.
For a deeper look at the threats these approaches protect against, and how the main tools compare, read [The Ultimate Guide to GitHub Backup](/blog/protecting-github-code-and-data-backup-2025). If your driver is audit readiness, see [why you need independent backups for ISO 27001 and SOC 2](/blog/github-vs-compliance-why-you-need-independent-backups-for-iso-27001-and-soc-2).
## Why Teams Trust SimpleBackups for GitHub
- SimpleBackups protects data for 3,200+ teams, from Indie SaaS to Fortune 500, across servers, databases, cloud storage, and SaaS sources including GitHub repositories.
- ISO 27001 certified since 2023, audited annually. Audit exports covering retention, encryption and restore history, which is what ISO 27001 and SOC 2 reviewers ask for.
- Backup data flows server-to-storage directly. SimpleBackups never sees or stores it. AES-256 end-to-end encryption with customer-owned private key (BYOK).
- One control plane: GitHub backup sits alongside MySQL, PostgreSQL, MongoDB, Redis, Linux servers, and cloud storage. No separate tool, no separate monitoring dashboard.
- Belgium-based, EU/GDPR jurisdiction. Customer-chosen storage region: EU-only (Leviia, Storadera, OVH), US-only, or any region you prefer.
## Start Automating Your GitHub Backups
SimpleBackups automates GitHub backups: off-site, AES-256 encrypted with your own key, monitored on every run. Connect a GitHub organization, set a schedule, and have a running backup in a few minutes. If GitHub isn't the only source you need covered (databases, servers, cloud storage), it all runs from the same control plane. See what's included at each tier on the [pricing page](/pricing).
## FAQ
---
# How to Back up AWS RDS (PostgreSQL) with SimpleBackups
Source: https://simplebackups.com/blog/how-to-back-up-aws-rds-postgresql-with-simplebackups
Published: 2022-11-23
Author: Laurent
Summary: Back up AWS RDS (PostgreSQL) with SimpleBackups quickly and easily!
Amazon’s Relational Database Service (RDS) is a managed relational database service provided by AWS. As such, it’s a perfect solution to store and organize your data in a SQL database in the cloud.
However, you should back up your databases regularly to ensure reliability. And when it comes to backing up your AWS RDS and getting the most from the platform, SimpleBackups is the perfect solution.
This post will show you **a step-by-step guide to backing up your RDS PostgreSQL database using SimpleBackups**.
## Obtaining Your RDS Connection Credentials
Before you get started, you’ll need your **RDS connection credentials.** These will allow you to enable remote PostgreSQL connections for AWS RDS. You’ll first go to your Databases page on your AWS RDS account.
On this page, you’ll see a list of your database instances.
You can then **choose your PostgreSQL database** from the list of instances.
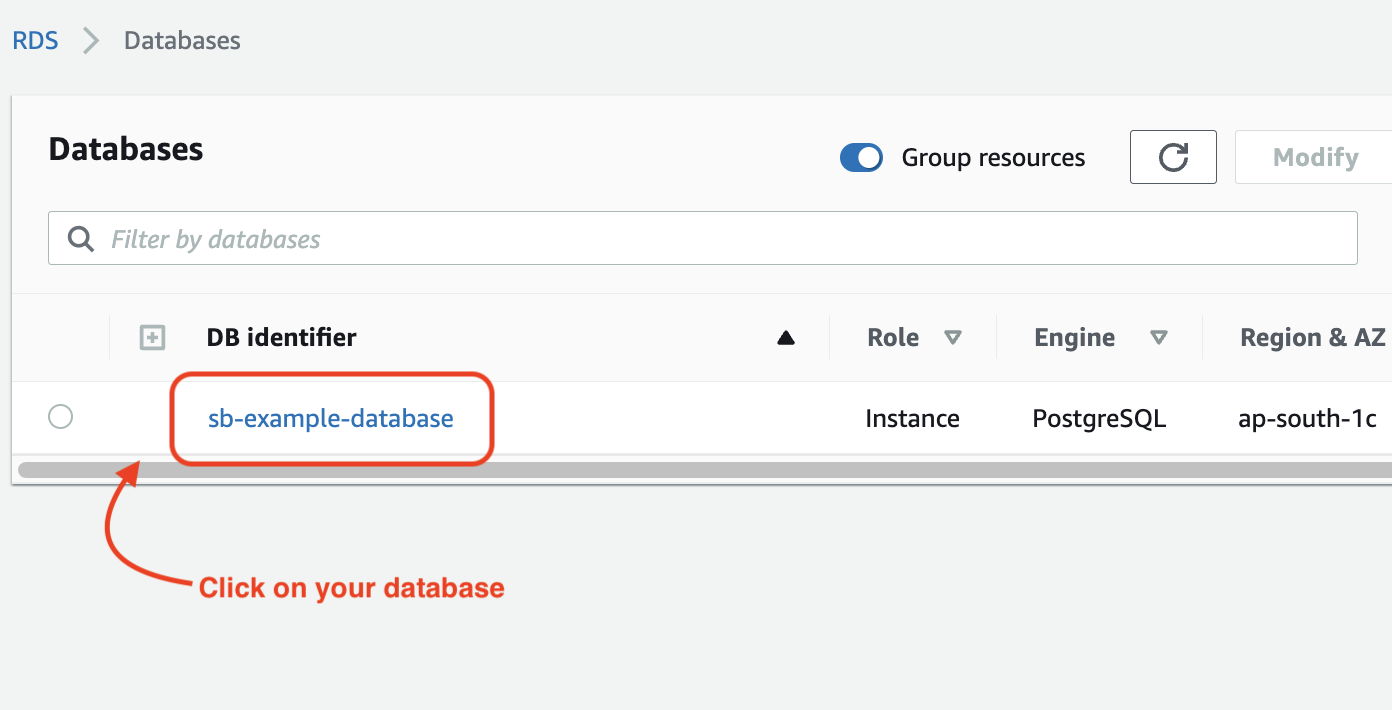
Once you’ve clicked on the database instance, a page will open where you’ll find the information for your database.
From here, you’ll need a few pieces of information. First, you’ll need **the endpoint and the port of your database**. You can get this information under the **Connectivity & Security tab.**
You’ll also need the **database name and username**. You can get these under **the Configuration tab.**
## How to Create Your AWS RDS (PostgreSQL) Backup
Once you’ve obtained your RDS connection credentials, you can set up your backup in SimpleBackups. We’ll now look at the steps you’ll follow to do this.
### Step 1: Getting to Your Dashboard
The first step is logging into your SimpleBackups account.
You have **a few options for creating a PostgreSQL backup.**
You can either click on Backups in the menu bar, click Create on the PostgreSQL Backup tile, or click on Database backup in the right menu.
If you click on the Backups option in the menu bar, you’ll be taken to another screen which displays a list of your backups.
To get started, you can then click **Create Backup.**
No matter which option you choose, you’ll get to a screen where you can configure and create your backup.
On this screen, you should **ensure that the Databases option is selected.**

### Step 2: Choose Your Server
The first step in configuring your backup is deciding what server you’d like to use. Here, you have two options:
- **Serverless**. This option allows you to perform the backup using SimpleBackups’ infrastructure and does the job of securely backing up your database and uploading it to your remote storage without needing to add your own server. It’s the ideal option if you don’t have a dedicated server. It’s also helpful when your database is larger than the available space on your server.
- **Own Server.** With this option, you’ll add your own server and the backups will run on your infrastructure. In this case, your server needs to have access to your database, and you can store your backups off-site, locally, or on mounted volumes.
Depending on your unique requirements and whether you have your own server with enough space, you can then select the appropriate option.
Apart from choosing one of these options, you should also **select if your database is publicly available**.
When it comes to RDS, you’ll typically decide whether the database is publicly available when you create it on AWS.
Finally, depending on your unique setup, you might also need to **whitelist SimpleBackups’ IP addresses**. Doing this allows SimpleBackups to schedule and run your database backups.
We’ve [provided instructions](https://support.simplebackups.com/en/articles/2479553-how-to-enable-remote-mysql-connections-for-amazon-rds) to do this in our support documentation. In the support documentation, we’ve also provided the [IP addresses](/docs/help-tips-and-troubleshooting/connecting-a-server/simplebackups-ip-addresses-firewall) that you should whitelist.
### Step 3: Connect Your RDS Database
The next step is to **connect SimpleBackups to your database**. To do this, there are several steps you’ll need to follow:
- **You’ll select PostgreSQL from the Type dropdown** list if it’s not already selected.
- In the **Host text box**, you’ll paste the endpoint that you’ve obtained earlier.
- You’ll enter **the port number for the connection in the Port text box.** When setting up your database on AWS, it will also set port 3306 as the default. However, if you’ve changed the port number when setting up your database, you should enter it here.
- In the **User text box**, you’ll enter the username for your database that you’ve obtained earlier.
- In the **Password text box**, you’ll enter the password you set when setting up your database on RDS.
- Finally, you should **provide the database name in the Database name text box**. You’ve also obtained this information when you retrieved the connection credentials earlier.
As you can see from the screenshot, you can also choose **the type of backup you’d like to run**.
As you can see from the screenshot, you can also choose the type of backup you’d like to run. For example, stream your backups directly to your storage to save disk space, or perform **a PostgreSQL Quick Export** that provides an improved dump method.
\
Once you’ve provided all the details of your database and selected the type of backup you’d like, you can **click on Validate Connection.**
### Step 4: Schedule Your RDS Backup
With your database connection set up, you can now perform the final tasks to create your backup. Firstly, you’ll need to provide **a name** for your backup. Next, you can **schedule your backups** based on your requirements.
There are a few options. For instance, you can run your backups on demand. You can also run them daily, weekly, or monthly at specified times. It’s also possible to define a custom backup schedule, which allows you to schedule backup intervals of as little as 1 minute.
At this stage, you should also set your **backup’s Retention**. This is the number of recent backups that you’ll keep. If you reach this threshold, older backups will automatically be deleted.
### Step 5: Choose Your Storage
The final step in creating an RDS backup is **choosing your storage**. You can choose if you’d like to use your own remote storage or SimpleBackups’ own storage solution, SimpleStorage.
If you choose to use your own remote storage, you can choose from several options, including Amazon S3, Dropbox, Google Cloud Storage, DigitalOcean Spaces, and more. To add your storage, you’ll click on the Connect storage button.
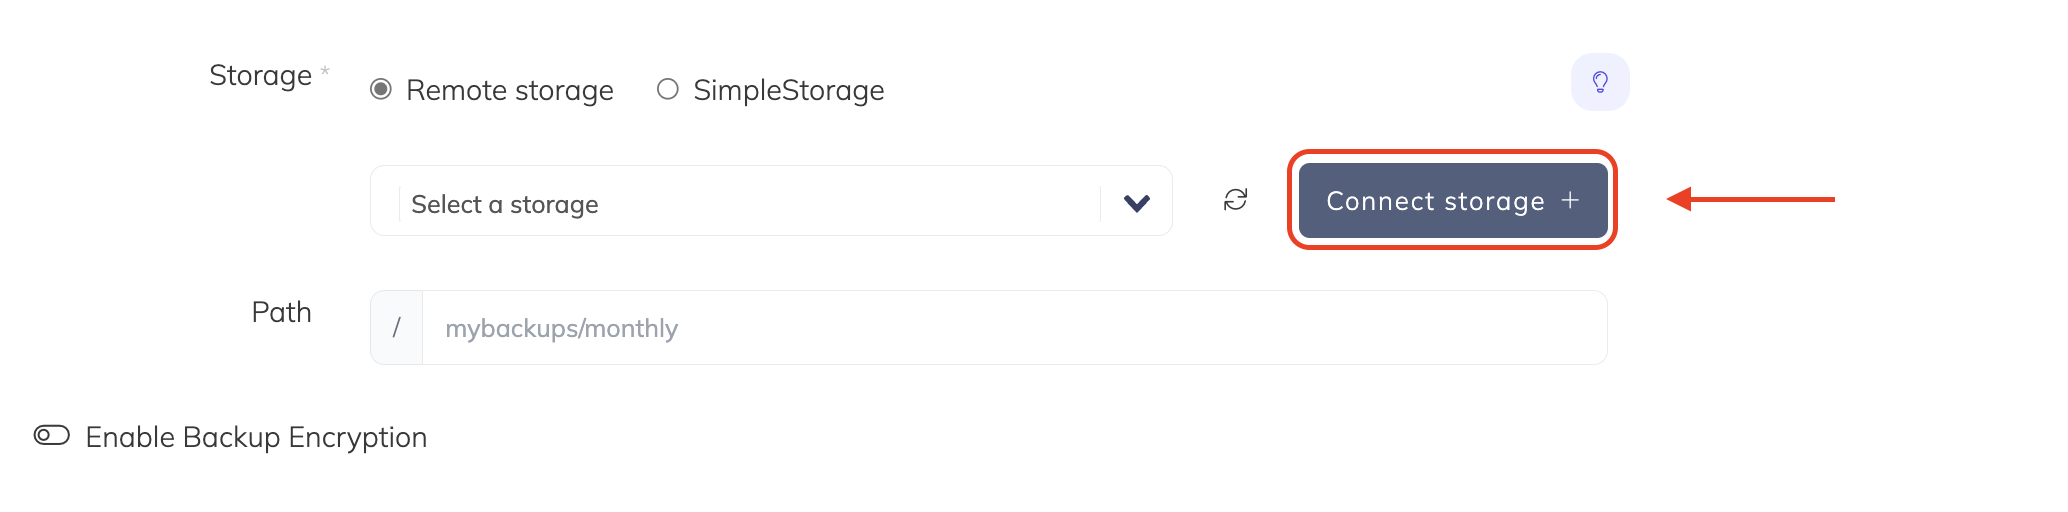
This will take you to a dialog box where you can provide the credentials for your storage in order to connect it to SimpleBackups. You’ll also need to provide the path where you’d like your backups to be stored.
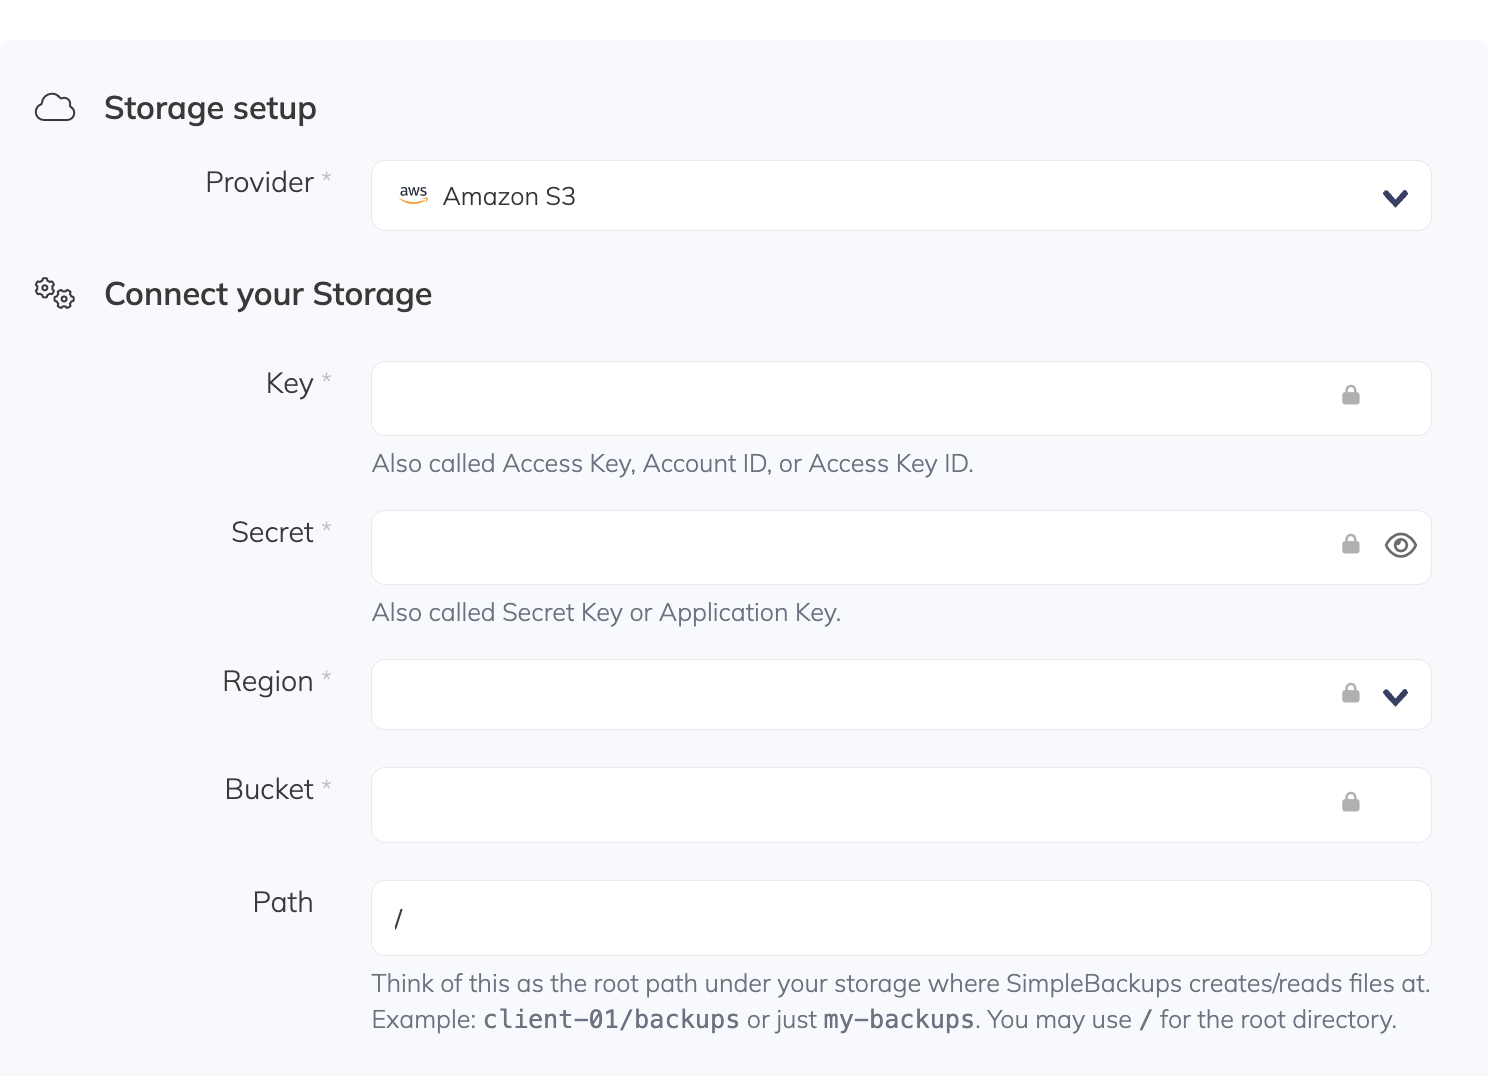
Once you’ve chosen and configured your storage, you can click on **Create Backup.**
## Conclusion
Make sure you can always recover quickly should disaster strike. You don’t even need your own server! And if you’re looking for more robust solutions, SimpleBackups allows you to back up servers and files, replicate your storage across different storage solutions, and get server and volume snapshots.
To learn more about [SimpleBackups](https://simplebackups.com/) and how it can help you, create your first backup today.
---
# How to Back up AWS RDS (MariaDB) with SimpleBackups
Source: https://simplebackups.com/blog/how-to-back-up-aws-rds-mariadb-with-simplebackups
Published: 2022-11-23
Author: Laurent
Summary: Back up AWS RDS (MariaDB) with SimpleBackups quickly and easily!
Amazon’s Relational Database Service (RDS) is a managed relational database service provided by AWS. As such, it’s a perfect solution to store and organize your data in a SQL database in the cloud.
However, you should back up your databases regularly to ensure reliability. And when it comes to backing up your AWS RDS and getting the most from the platform, SimpleBackups is the perfect solution.
This post will show you **a step-by-step guide to backing up your RDS MariaDB database using SimpleBackups.**
## Obtaining Your RDS Connection Credentials
Before you get started, you’ll first **need your RDS connection credentials.** These will allow you to enable remote MySQL connections for AWS RDS. You’ll first go to your Databases page on your AWS RDS account.

On this page, you’ll see a list of your database instances.
You can then **choose your MariaDB database** from the list of instances.
Once you’ve clicked on the database instance, a page will open where you’ll find the information for your database.
From here, you’ll need a few pieces of information. First, you’ll need **the endpoint and the port of your database**. You can get this information under the **Connectivity & Security tab.**
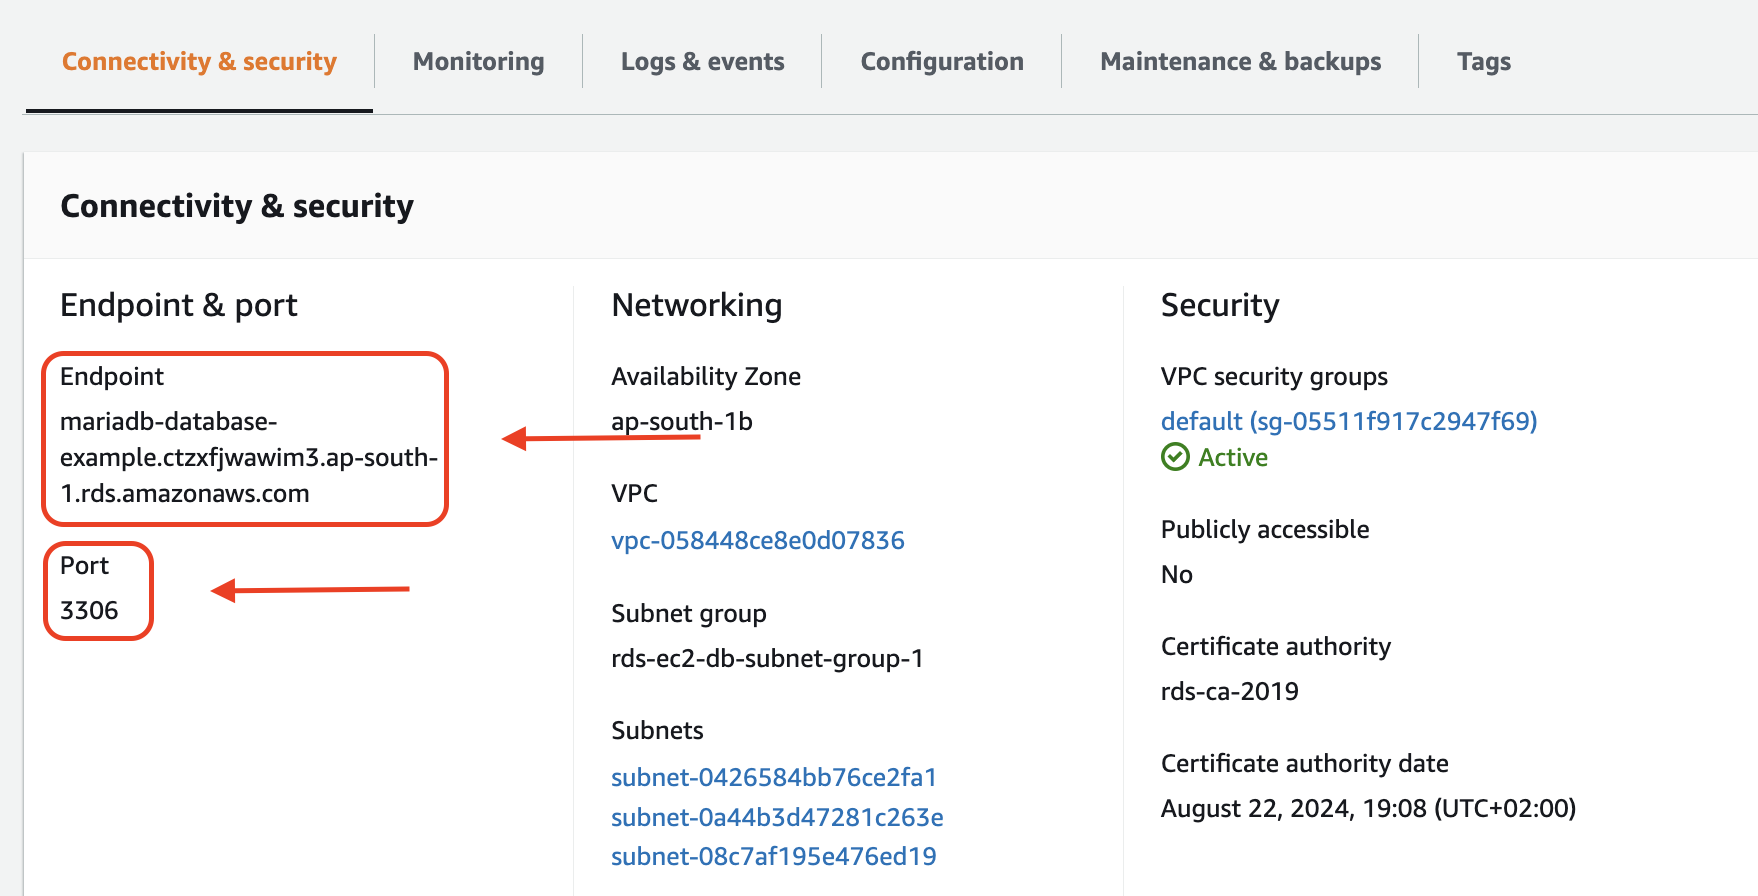
You’ll also need the **database name and username**. You can get these under **the Configuration tab.**
## How to Create Your AWS RDS (MariaDB) Backup
Once you’ve obtained your RDS connection credentials, you can set up your backup in SimpleBackups. We’ll now look at the steps you’ll follow to do this.
### Step 1: Getting to Your Dashboard
The first step is logging into your SimpleBackups account. On your dashboard, you have a few options for creating a MySQL backup. You can either click on Backups in the menu bar, click Create on the MySQL Backup tile, or click on Database backup in the right menu.
If you click on the Backups option in the menu bar, you’ll be taken to another screen which displays a list of your backups.
To get started, you can then click **Create Backup.**

No matter which option you choose, you’ll get to a screen where you can configure and create your backup.
On this screen, you should **ensure that the Databases option is selected.**

### Step 2: Choose Your Server
The first step in configuring your backup is deciding what server you’d like to use. Here, you have two options:
- **Serverless**. This option allows you to perform the backup using SimpleBackups’ infrastructure and does the job of securely backing up your database and uploading it to your remote storage without needing to add your own server. It’s the ideal option if you don’t have a dedicated server. It’s also helpful when your database is larger than the available space on your server.
- **Own Server.** With this option, you’ll add your own server and the backups will run on your infrastructure. In this case, your server needs to have access to your database, and you can store your backups off-site, locally, or on mounted volumes.
Depending on your unique requirements and whether you have your own server with enough space, you can then select the appropriate option.

Apart from choosing one of these options, you should also **select if your database is publicly available**.
When it comes to RDS, you’ll typically decide whether the database is publicly available when you create it on AWS.

Finally, depending on your unique setup, you might also need to **whitelist SimpleBackups’ IP addresses**. Doing this allows SimpleBackups to schedule and run your database backups.
We’ve [provided instructions](https://support.simplebackups.com/en/articles/2479553-how-to-enable-remote-mysql-connections-for-amazon-rds) to do this in our support documentation. In the support documentation, we’ve also provided the [IP addresses](/docs/help-tips-and-troubleshooting/connecting-a-server/simplebackups-ip-addresses-firewall) that you should whitelist.
### Step 3: Connect Your RDS Database
The next step is to **connect SimpleBackups to your database**. To do this, there are several steps you’ll need to follow:
- You’ll **select MySQL** from the Type dropdown list if it’s not already selected. But, **why not MariaDB?** You’ll note there’s no MariaDB option. This is because MariaDB is a fork of MySQL, created by the original MySQL developer. As such, it’s very similar to MySQL and works much the same.
- In the **Host text box**, you’ll paste the endpoint that you’ve obtained earlier.
- You’ll enter **the port number for the connection in the Port text box.** When setting up your database on AWS, it will also set port 3306 as the default. However, if you’ve changed the port number when setting up your database, you should enter it here.
- In the **User text box**, you’ll enter the username for your database that you’ve obtained earlier.
- In the **Password text box**, you’ll enter the password you set when setting up your database on RDS.
- Finally, you should **provide the database name in the Database name text box**. You’ve also obtained this information when you retrieved the connection credentials earlier.
As you can see from the screenshot, you can also choose **the type of backup you’d like to run**.
For example, you can update all your databases at once, store your backups uncompressed to make restore quicker, stream your backups to your storage to save storage, or perform incremental backups to save resources.
Once you’ve provided all the details of your database and selected the type of backup you’d like, you can **click on Validate Connection.**
### Step 4: Schedule Your RDS Backup
With your database connection set up, you can now perform the final tasks to create your backup. Firstly, you’ll need to provide **a name** for your backup. Next, you can **schedule your backups** based on your requirements.
There are a few options. For instance, you can run your backups on demand. You can also run them daily, weekly, or monthly at specified times. It’s also possible to define a custom backup schedule, which allows you to schedule backup intervals of as little as 1 minute.
At this stage, you should also set your **backup’s Retention**. This is the number of recent backups that you’ll keep. If you reach this threshold, older backups will automatically be deleted.

### Step 5: Choose Your Storage
The final step in creating an RDS backup is **choosing your storage**. You can choose if you’d like to use your own remote storage or SimpleBackups’ own storage solution, SimpleStorage.
If you choose to use your own remote storage, you can choose from several options, including Amazon S3, Dropbox, Google Cloud Storage, DigitalOcean Spaces, and more. To add your storage, you’ll click on the Connect storage button.

This will take you to a dialog box where you can provide the credentials for your storage in order to connect it to SimpleBackups. You’ll also need to provide the path where you’d like your backups to be stored.

Once you’ve chosen and configured your storage, you can click on **Create Backup.**
## Conclusion
There you go, now you know how to create a backup of your AWS RDS MySQL databases. In doing so, you’ll ensure that you can always recover easily should disaster strike. But SimpleBackups’ range of products doesn’t stop with backups. You can also back up servers and files, replicate your storage across different storage solutions, and get server and volume snapshots.
To learn more about [SimpleBackups](https://simplebackups.com/) and how it can help you, create your first backup today.
---
# SimpleBackups Partners with Baobab as Part of Its Cybersecurity Insurance Solution
Source: https://simplebackups.com/blog/simplebackups-partners-with-baobab-as-part-of-its-cybersecurity-insurance-solution
Published: 2022-11-16
Author: Laurent
Summary: SimpleBackups is proud to announce its partnership with Baobab in providing more holistic and in-depth cybersecurity solutions, including first-class backups.
Cybercrime is becoming a more prevalent and worrying problem. In fact, it’s estimated that [losses due to cybercrime](https://www.prnewswire.com/news-releases/cybercrime-to-cost-the-world-10-5-trillion-annually-by-2025--301172786.html) will reach $10 trillion globally by 2025. That’s more than 300% from the $3 trillion in 2015.
More significantly, attackers are now increasingly targeting small and medium-sized enterprises because these businesses often don’t have the budget to protect against these attacks and hardly ever have insurance against threats like ransomware, DDOS, and data breaches.
Baobab wants to solve this problem and aims to make small and medium-sized enterprises more resilient against cyber threats by combining cyber insurance and protection measures in a single risk management solution.
We’re proud to announce that [Baobab has chosen SimpleBackups as its preferred backup partner](https://www.baobab.io/partner), joining the ranks of 1Password, okta, and others, to offer robust risk management solutions to Baobab’s customers.
## How Does Baobab Help Businesses Manage Cybercrime Risks?
Named after the Baobab tree, one of the most resilient plants on earth, Baobab’s mission is to make its customers as resilient as this well-known tree. It believes a new approach that hinges on comprehensive insurance, risk management, and advice is the only way to tackle the cybersecurity challenges many businesses face.
In turn, Baobab implements this approach by using state-of-the-art technology.
For this reason, Baobab decided to offer its customers, in addition to comprehensive cyber insurance, a wealth of free cybersecurity services, including:
- Continuous monitoring of the business and up to four suppliers to provide a broader view of all the business risks.
- A cybersecurity strategy that dynamically updates based on the prevailing threat intelligence and the business’s risk posture.
- Access to exclusive programs of Baobab’s range of partners that all serve to provide increased resilience in several key vectors.
- Free cybersecurity advice from Baobab’s team of cybersecurity experts.
By providing these services, Baobab ensures that SMEs are better capable of improving cybersecurity within their given budget constraints.
## What Does Being a Baobab Partner Means for SimpleBackups?
As mentioned earlier, Baobab has chosen SimpleBackups as its preferred backup solution partner to help its customers protect themselves against cyberattacks.
Being a partner also means that Baobab ensures its customers implement our range of data backup solutions as part of its holistic insurance and cyber risk management program.
Ultimately, by partnering with us and service providers like okta and 1Password, Baobab is now the first company in Europe to combine cyber insurance with holistic cybersecurity measures to help companies mitigate against the increasing risk of cyberattacks.
To learn more about this partnership or the range of services that [SimpleBackups](https://simplebackups.com/) and [Baobab](https://www.baobab.io/) offer to fortify your cybercrime defenses, please get in touch with our representatives.
---
# GitHub Backup, Storadera partnership and product "tapas"
Source: https://simplebackups.com/blog/github-backup-storadera-partnership-and-product-tapas
Published: 2022-11-08
Author: Laurent
Summary: September 2022: GitHub Backup & product tapas
Let's address the elephant in the room, what are product "tapas" 🧐?

Well, we've enjoyed a Spanish retreat during the past few days 🇪🇸, and like their tapas, we came with a variety of delightful and tasty updates across the entire product!
*..Well .. try finding an original name for the release note before judging this one! 😂*
## Store your backups on Storadera
[Storadera](https://storadera.com/) is now a supported storage provider allowing you to store any of your backups to their Object Storage solution.
We've recently [partnered with Storadera](https://storadera.com/blog/simplebackups-and-storadera-integrate-to-provide-a-simple-way-to-automate-your-backups), and their team is putting together a European S3-compatible solution that is affordable!
## Back up your GitHub data
Built on top of our new "Backup Recipe" engine, you can now back up all your Github data. As for any backup, you can define, when to run it, where to store it, and even where the backup is executed from. You can use
**GitHub backup to back up:**
* Your account data
* All you repositories
* Issues
* Wikis and much more!
We'll take more time to share with you a how-to guide shortly!
## Tweaks & Improvements
* Support for 6 new Wasabi regions
* Improved upload speeds to Azure blob storage
* Support for authentication if a Redis client requires a password
* We now support running a single backup for up to 24 hours, giving more time for huge amounts of data to be transferred
* Using the API you can now switch to which team you want to use the API for and list teams. There are also methods now to run and pause backup jobs.
* Support for Passwordless SFTP Public Key Authentication
---
# How to Back up AWS RDS (MySQL) with SimpleBackups
Source: https://simplebackups.com/blog/how-to-back-up-aws-rds-mysql-with-simplebackups
Published: 2022-10-31
Author: Laurent
Summary: Quickly and easily back up your AWS RDS MySQL databases with SimpleBackups! Discover the step-by-step process in our guide.
Amazon’s Relational Database Service (RDS) is a managed database service provided by AWS. As such, it’s a perfect solution to store and organize your data in a SQL database in the cloud.
However, you should **back up your databases regularly** to ensure reliability. When it comes to backing up your AWS RDS and getting the most from the platform, [SimpleBackups is the perfect solution](https://simplebackups.com/).
This post will show you **a step-by-step guide to backing up your RDS MySQL database using SimpleBackups**.
## Obtaining Your RDS Connection Credentials
Before you get started, you’ll need your RDS connection credentials. These will allow you to enable remote MySQL connections for AWS RDS. You’ll first go to **your Databases page on your AWS RDS account** to get these credentials.
On this page, you’ll see a list of your database instances. You can then choose your RDS database from the list of instances.
Once you’ve clicked on the database instance, a page will open where you’ll find the information for your database.
From here, you’ll need a few pieces of information. First, **you’ll need the endpoint and the port of your database.** You can get this information under the Connectivity & Security tab.
You’ll also need the database name and username. You can get these under the Configuration tab.
## How to Create Your AWS RDS (MySQL) Backup
Once you’ve obtained your RDS connection credentials, you can set up your backup in SimpleBackups.
### Step 1: Getting to Your Dashboard
The first step is [logging into your SimpleBackups account](https://simplebackups.com/).
You have a few options for creating a MySQL backup on your dashboard.
You can either click on Backups in the menu bar, click **Create on the MySQL Backup tile**, or click on Database backup in the right menu.
If you click on the Backups option in the menu bar, you’ll be taken to another screen which displays a list of your backups. To get started, you can then click **Create Backup.**
No matter which option you choose, you’ll get to a screen where you can configure and create your backup. On this screen, you should **ensure that the Databases option is selected.**

### Step 2: Choose Your Server
The first step in configuring your backup is deciding which server you want to use.
Here, you have two options:
- **Serverless backups.** This option allows you to perform the backup using SimpleBackups’ infrastructure and does the job of securely backing up your database and uploading it to your remote storage. It’s the ideal option if you don’t have a dedicated server or when your database is larger than the available space on your server.
- **Create a backup on your own server.** With this option, you’ll add your own server, and the backups will run on your infrastructure. In this case, your server needs access to your database, and you can store your backups off-site, locally, or on mounted volumes.
Apart from choosing one of these options, you should also **select if your database is publicly** available.
When it comes to RDS, you’ll typically decide whether the database is publicly available when you create it on AWS.
Finally, depending on your unique setup, you might also need to **whitelist** SimpleBackups’ IP addresses. Doing this allows SimpleBackups to schedule and run your database backups.
We’ve [provided instructions](https://support.simplebackups.com/en/articles/2479553-how-to-enable-remote-mysql-connections-for-amazon-rds) and the [IP addresses](/docs/help-tips-and-troubleshooting/connecting-a-server/simplebackups-ip-addresses-firewall) you should whitelist in our support documentation.
### Step 3: Connect Your RDS Database to SimpleBackups
The next step is to connect SimpleBackups to your database:
- You’ll **select MySQL from the Type** dropdown list if it’s not already selected.
- In the **Host text box**, you’ll paste the endpoint that you obtained earlier.
- You’ll **enter the port number for the connection in the Port text box**. When setting up your database on AWS, it will also set port 3306 as the default. If you’ve changed the port number when setting up your database, enter it here.
- In the **User text box,** you’ll enter the username for your database that you obtained earlier.
- In the **Password text box,** you’ll enter the password you set when setting up your database on RDS.
- Finally, you should **provide the database name in the Database name text box.** You also obtained this information when you retrieved the connection credentials earlier.
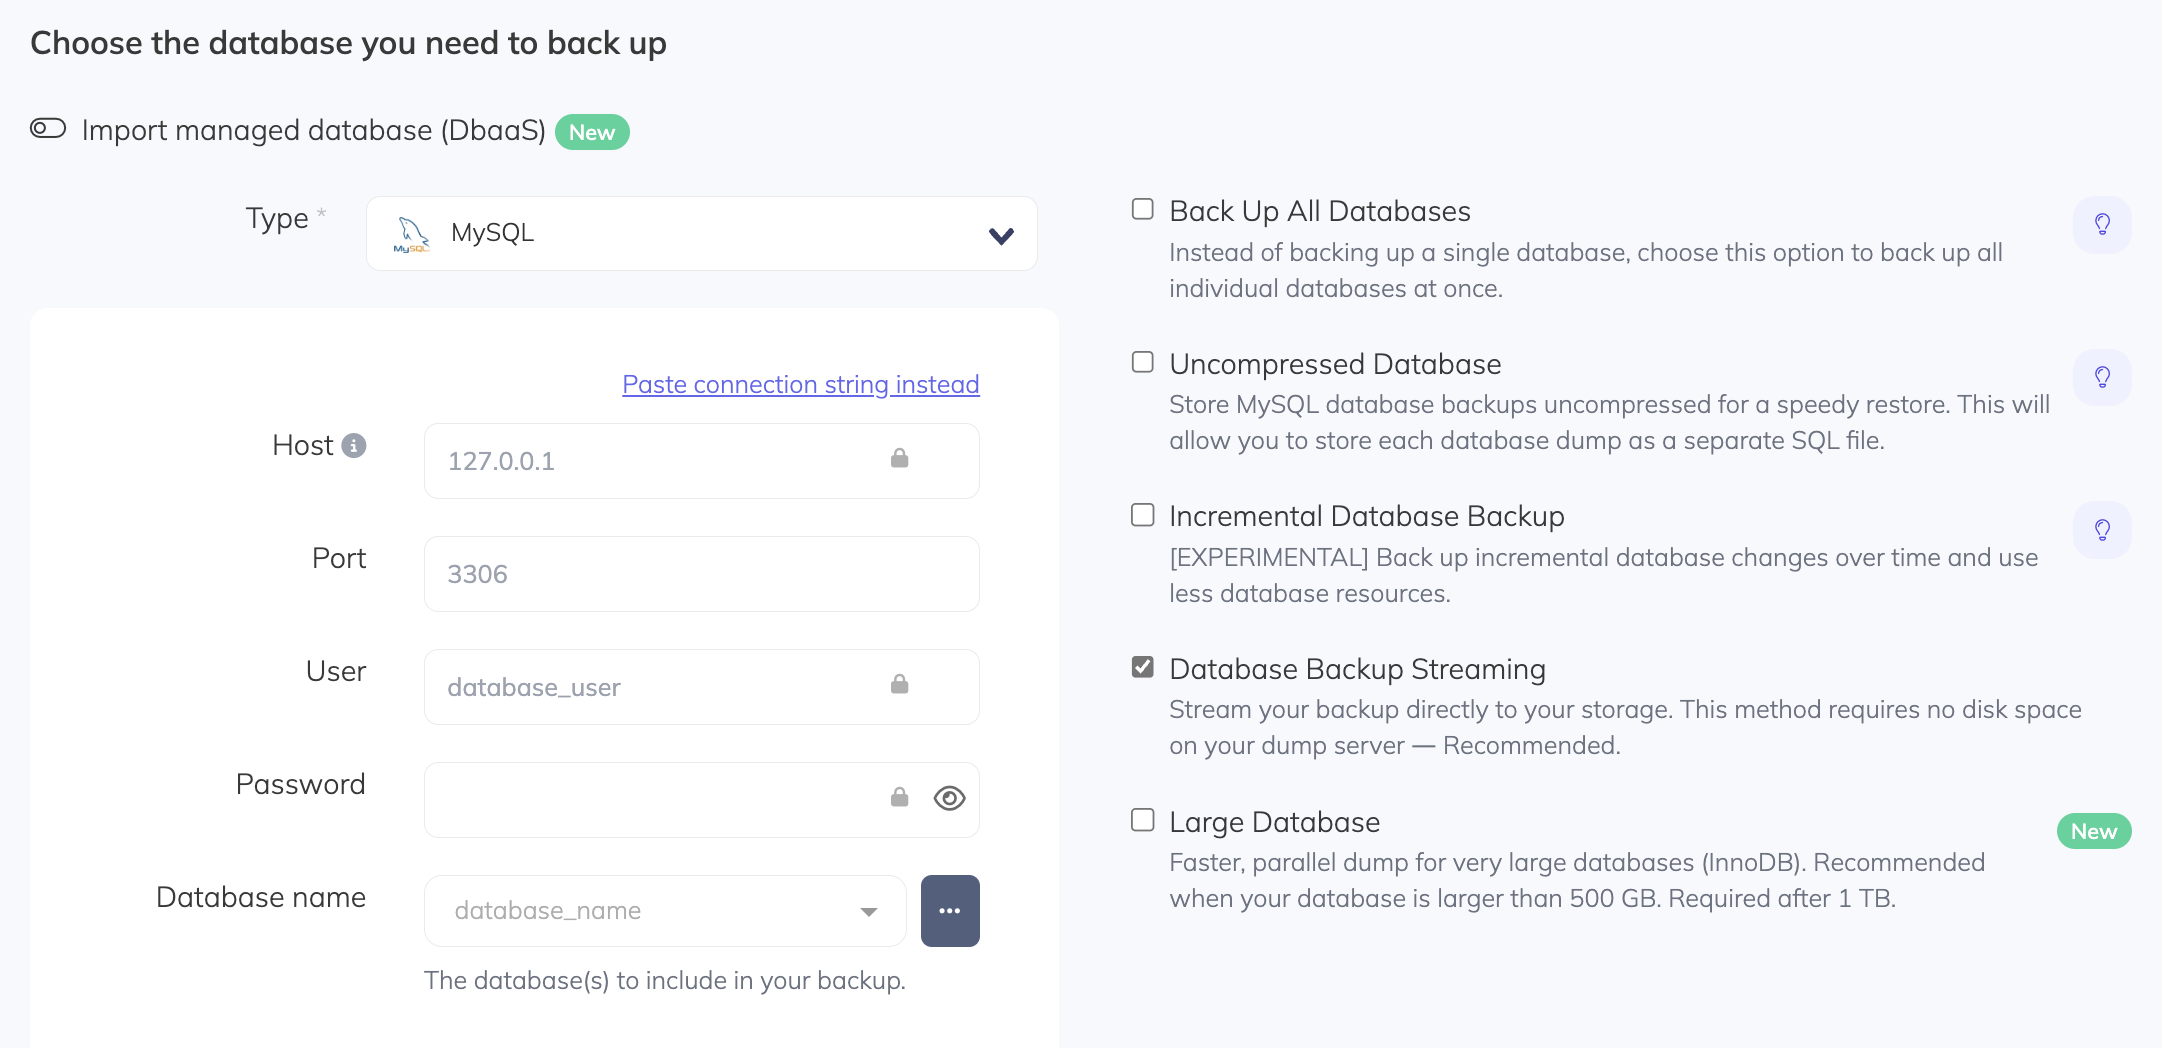
As you can see from the screenshot, you can also **choose the type of backups** you’d like to run.
For example, you update all your databases at once, store your backups uncompressed to restore backups quicker, stream your backups to your storage to save storage or perform incremental backups to save resources.
Once you’ve provided all the database details and selected the type of backup you’d like, you can click on **Validate Connection.**
### Step 4: Schedule Your RDS Backup
With your database connection set up, you can now perform the final tasks to create your backup.
Firstly, you’ll need to provide a name for your backup.
Next, you can **schedule your backups** based on your requirements.
For instance, you can run your backups on demand. You can also run them daily, weekly, or monthly at specified times. It’s also possible to define a custom backup schedule, which allows you to schedule backup intervals of as little as 1 minute.
At this stage, you should also **set your backup’s Retention.** This is the number of recent backups that you’ll keep. If you reach this threshold, older backups will automatically be deleted.
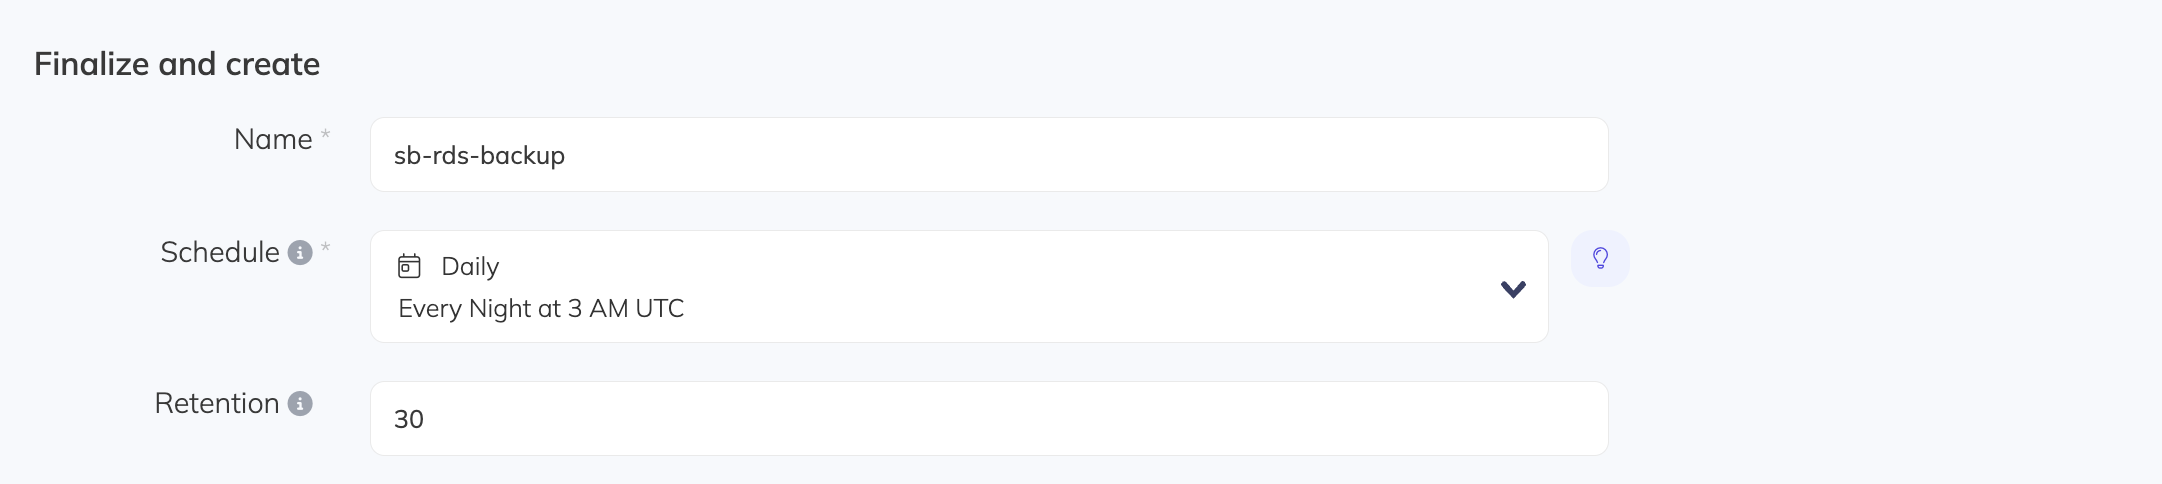
### Step 5: Choose Your Storage
The final step in creating an RDS backup is choosing your storage. Choose if you’d like to **use your own remote storage** or SimpleBackups’ storage solution, **SimpleStorage.**
If you choose to use your own remote storage, you can choose from several options, including Amazon S3, Dropbox, Google Cloud Storage, DigitalOcean Spaces, and more.
To add your storage, you’ll click on the **Connect storage** button.
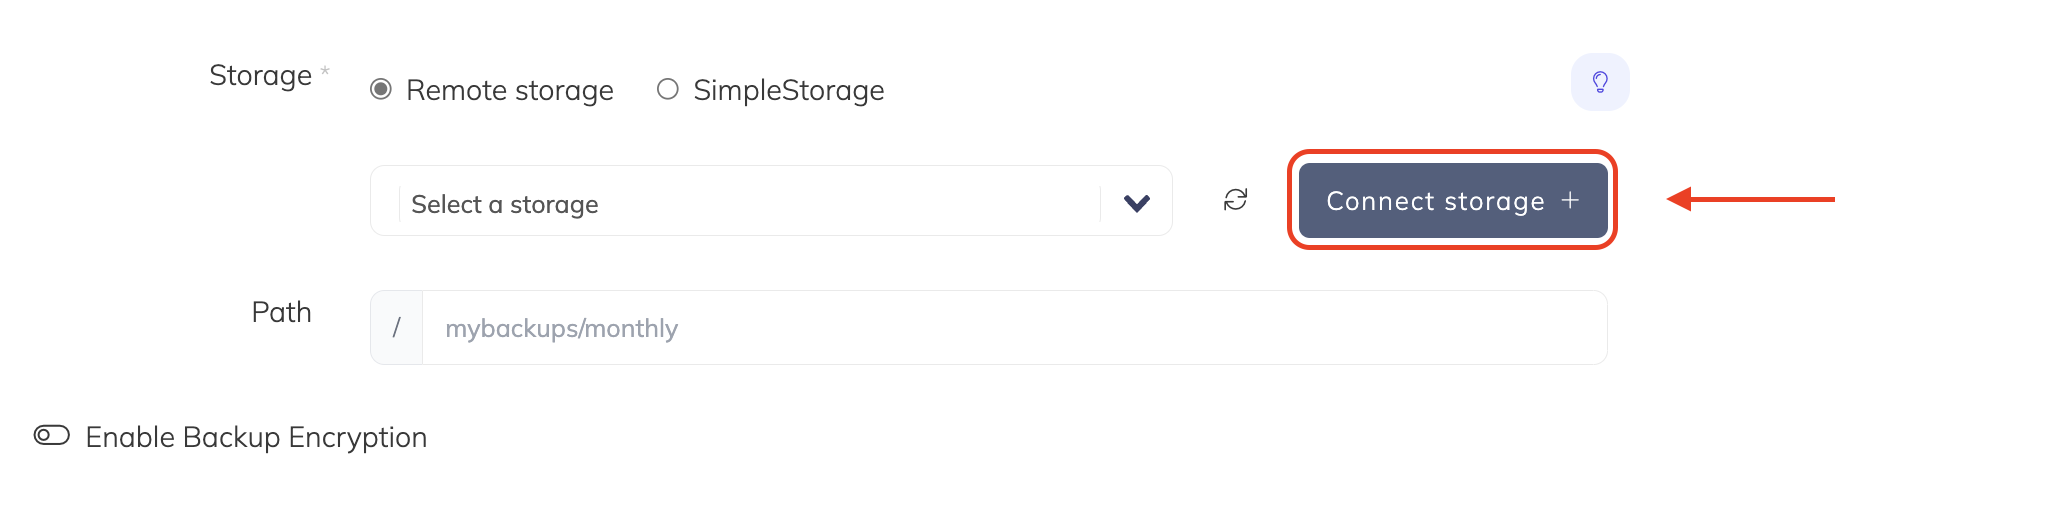
Provide the **credentials** for your storage to connect it to SimpleBackups and the **path** where you’d like your backups to be stored.
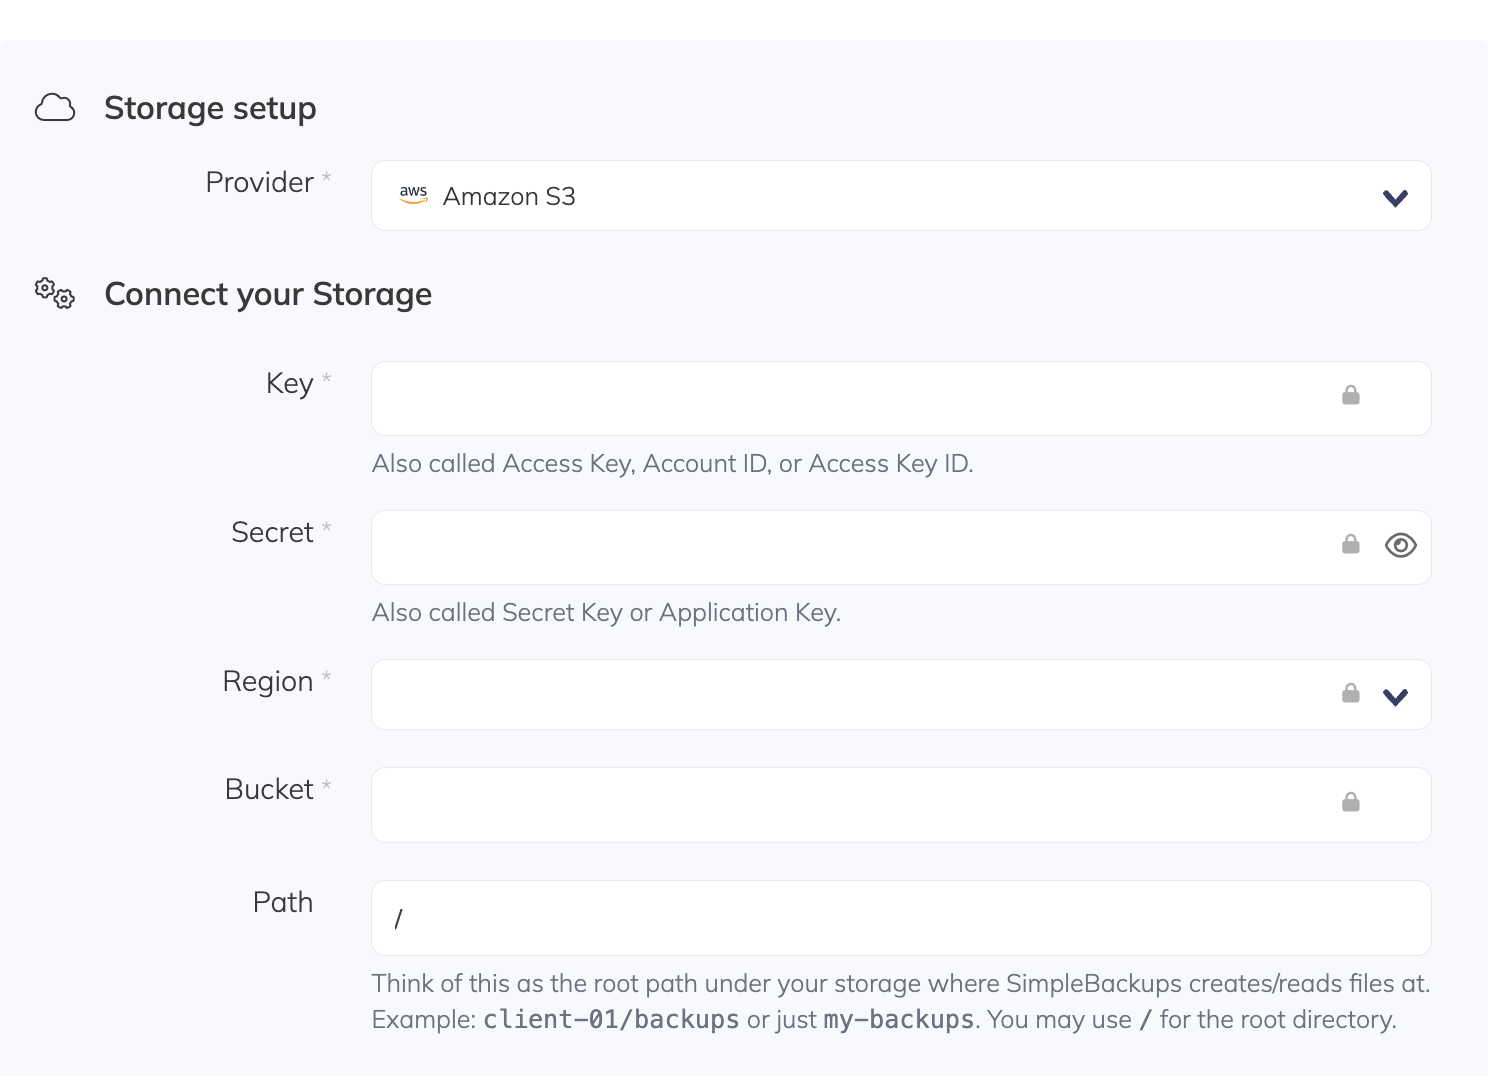
Once you’ve chosen and configured your storage, you can click on **Create Backup.**
## Conclusion: Backing Up Your AWS RDS Doesn’t Have to Be Hard!
Make sure you can always recover quickly should disaster strike. You don’t even need your own server! And if you’re looking for more robust solutions, SimpleBackups allows you to back up servers and files, replicate your storage across different storage solutions, and get server and volume snapshots.
[Create your first backup today!](https://simplebackups.com)
---
# Learn how to Create an Incremental MySQL Backup with SimpleBackups
Source: https://simplebackups.com/blog/how-to-create-an-incremental-mysql-backup-with-simplebackups-news
Published: 2022-10-18
Author: Laurent
Summary: Create an Incremental MySQL Backup with SimpleBackups - What is a MySQL Incremental Backup - When to use one - How to configure it
## Save time, storage, resources with incremental backups
Over time, MySQL databases can grow so large that they strain your server, which means you’ll typically need to schedule your backups overnight. In turn, you could end up losing data if these backups are not scheduled regularly.
Fortunately, **incremental MySQL backups** solve this problem and help you secure your data. In this post, we’ll show you how to create them with SimpleBackups.
## How to get started with MySQL Incremental backups?
With SimpleBackups, you can set up your MySQL backup as an incremental backup by the click of an option.

Find out more about what a MySQL Incremental backup is and a complete guide showing you step by step how to configure your MySQL Incremental Backup.
---
# What Is The Right Backup Plan for Your Digital Agency?
Source: https://simplebackups.com/blog/what-backup-plan-for-digital-agencies
Published: 2022-10-17
Author: Laurent
Summary: Don't wait for disaster to strike - prepare your digital agency backup plan ahead of time and focus on running a profitable business!
As a digital agency, you’ll work on a lot of projects and, by implication, a lot of data. Let’s look at a simple **example**:
Let’s assume you run a digital agency, and you have 30 customers and work on 60 projects at any given time. Some of these projects are simple websites, some are eCommerce platforms, and you work with tools like WordPress, WooCommerce, Slack, SQL, and more.
**_So what would happen if your systems crashed?_**
Yes, you’ll need back up your projects. But here’s the problem: making and managing backups take a lot of time and effort, especially when working on a lot of projects. Maybe you’ve written a small script that makes the process easier, but are you confident it works consistently and reliably?
Ultimately, **you need to have a backup plan** in place.
When you do, you’ll ensure that when you run into issues that could affect your ability to run your business and serve your customers, you can get up and running in no time. Simply put, your agency’s backup plan ensures continuity and that, no matter what happens, **_your clients will be protected, you’ll sleep better, trust that your backups are running, and save time._**
Now, you might have a few questions: how do you create a backup plan for your digital agency? What are some things you should consider in the process?
Luckily, backups are what we at SimpleBackups do, and in this post, we'll show you everything you need to know!
## Why Does Your Digital Agency Need a Backup Plan?
Before looking at these questions, let's first look at why your digital agency needs a backup plan. We've already mentioned that your backup plan protects you and your clients when disaster strikes. But what are these disasters?
Your backup plan protects you against the following:
- **Human errors.** Let's face it; people make mistakes. Your team will make them too. These mistakes could include something as simple as entering incorrect data or deleting a file. It could also include more severe cases where employees, for instance, leave their laptops in a restaurant or on public transport. No matter what mistake they make, you’ll want a plan in place so that you can correct these mistakes and recover from them. And here, a backup plan is invaluable.
- **System crashes.** People typically say that there are only two things certain in life; death and taxes. In business, you could also say that two things are certain; mistakes and system crashes. Now, we've already dealt with errors and, as is the case with them, system crashes happen, often at the most inconvenient times. There's also the risk of ransomware, malware, and viruses. Your backup plan can protect against these things when they happen.
- **Theft.** Did you know that employees could take essential documents and data with them when they leave a company? In fact, [a study found](https://www.entrepreneur.com/science-technology/with-data-theft-by-employees-on-the-rise-dont-look-at/272319) that 85% of employees admitted that they took company documents and information they created when employed at the company. Also, 30% of employees admitted they took company documents and information they didn't create. Even worse, when employees are fired, they're 20% more likely to take documents and information to hurt the company. So, it would help if you were prepared when this happens.
- **Natural or unnatural disasters.** Finally, disasters, both natural and man-made, happen. Watching the news for only a day or two will show you that floods, storms, fires, earthquakes, and other disasters happen all the time. For instance, it’s difficult to forget the fire at OVHcloud in 2021 that wiped out the data stored in four data centers. When you have a good backup plan in place, you don't have to worry that these disasters will lead to a loss of data, documents, or information.
## Creating Your Agency’s Backup Plan
We’ve now seen why you need a backup plan for your digital agency, so let's look at the steps you’ll follow to create a backup plan for every project. In outlining these steps, we’ll also focus on how you can use SimpleBackups to execute your plan.
However, remember that these steps are merely guidelines. They’re not cast in stone and might differ because every project has unique needs and requirements.
The first step in creating a backup plan for every project is determining the project’s needs. This involves several considerations:
- What type of data do you want to back up?
- How often do you need to back up your data??
- Should you use your own storage, your customer’s storage account, or other?
- How often, at what time, and how many backups should you keep?
And more!
### What do you want to back up?
Regarding what data you would like to back up, you'll likely need to back up **website code and databases, creative assets, images, project storage, and servers.** Depending on the project, you might also need to back up other data. In some cases, it might also be necessary for your customers to have access to the backups.
No matter the project’s requirements, [SimpleBackups](https://simplebackups.com/agency-backup-solution/) gives you granular control of what you would like to back up, and [what access the customer will have](https://simplebackups.com/blog/let-your-agency-customers-own-their-backups/) to the backup. SimpleBackups also gives you the ability to **encrypt** your backups.
The next step is to decide how you’ll back up the project. This, in turn, hinges on three aspects.
#### Where do you want to back up your data?
The first aspect you should consider is **where you want to back up the project’s data.** In other words, you’ll need to consider the different storage options.
Your first option is **on-premises storage.** It offers convenient and quick access to your data, but it could be prone to data loss when you, for example, use external hard drives that can be lost to back up your data. When you use a physical server, you’ll also have maintenance costs.
Another option is **cloud storage.** When it comes to scalability, security, and data availability, this is likely your best option. Remember, though, that cloud storage [could become expensive](https://www.techtarget.com/searchdatabackup/Create-your-data-backup-strategy-A-comprehensive-guide#:~:text=Backup%20protects%20data%20from%20several,t%20blindsided%20when%20something%20happens.) depending on the amount of data you store. However, you can also use SimpleBackup’s **Simple Storage** feature, which gives you up to 200 GB of storage in your subscription.
#### How much storage will you need?
Compare your needs to the storage option you chose to find the right pricing plan for you.
To illustrate this, let’s look at a simple **example**. Let's assume you only want to back up a simple website. Then, a free Dropbox account that offers 2 GB of storage might be suitable for you. However, if you need to back up contracts, client information, creative assets, and more, 2 GB will likely not be enough, and you’ll have to consider a Dropbox pricing plan that offers more storage.
Keep in mind, though, as mentioned earlier, you have the option of using Simple Storage and, when you use an external cloud provider, SimpleBackups doesn’t limit you on the amount of storage you can use.
#### How often do you want to back up your data, and how many backups do you want to keep?
Finally, consider **how often** you want to back up the project’s data. This will depend on the project, the data you want to back up, and how frequently it's updated. For example, if your customer runs a static website, it could be appropriate to back up the website when you change some information on it.
Conversely, when your customer runs a more dynamic website where more changes are made more frequently, you might need to back it up more often as the information changes. In this instance, you might back up the folder daily.
Fortunately, with SimpleBackups, you have several options available for you to **schedule backups:**
- Daily, which you could use to do backups for a project that has a lot of content but less traffic at certain times of the day.
- Weekly, which you could use for sites with less dynamic content that doesn’t change that much during a week.
- Monthly, which you could use for static sites that are almost never updated.
- Custom, which allows you to schedule your backup based on the project’s requirements.
To choose the right option for you, you’ll select it from the **Schedule** dropdown list when [creating a backup in SimpleBackups](https://simplebackups.com/blog/how-to-encrypt-your-backups-using-simplebackups/).
Apart from these options, you can run your backup on demand.
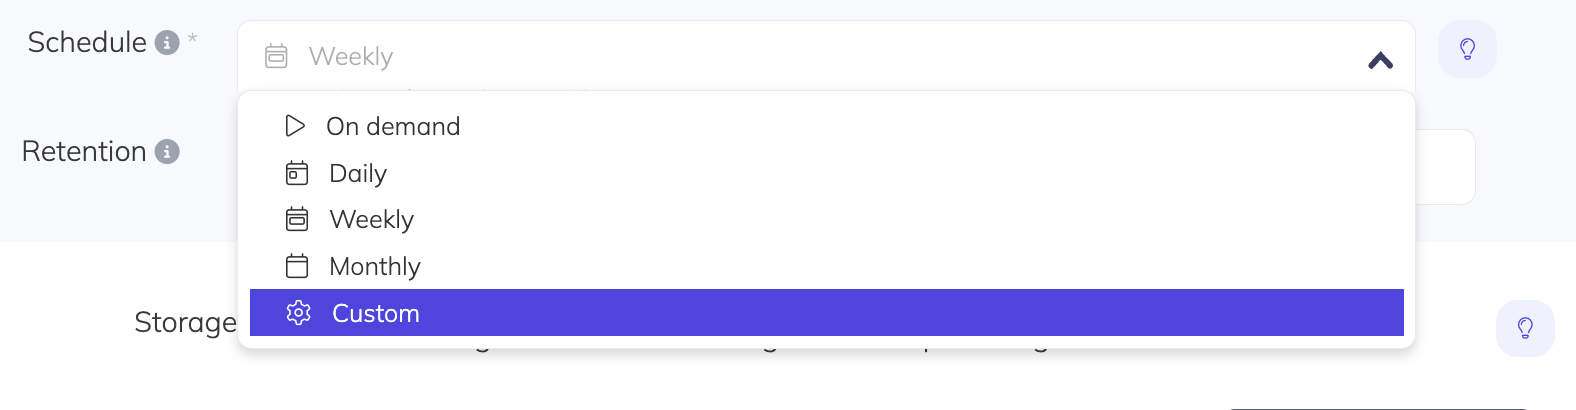
Another consideration when it comes to how often you want to back up your data is **bandwidth costs.** Think about **data retention;** how many backups of the same project do you want to keep?
For example, let's assume you back up 1 GB of data daily to your cloud storage. This means you’ll transfer 30 GB of data per month, which could become expensive over time. Luckily, SimpleBackups has a solution for this, too – [incremental backups](https://simplebackups.com/features/incremental-backup/).
### Create a Recovery Plan
The next step when creating your backup plan is to create a recovery plan:
- How will you perform recovery?
- What data will you recover?
- Where is the data located?
- Other steps you might need to take depending on your circumstances and the project.
Fortunately, no matter what the storage options you've selected or data you’ve backed up, **SimpleBackups simplifies restoring backups.**
Suppose you created an incremental database backup. Now you need to restore it. You'll simply go to your backup and click on the 'i' next to it.

On the dialog box that opens, you’ll scroll down to the command you’ll need to restore your backup. Then, you'll copy & paste it to run the command on your server.
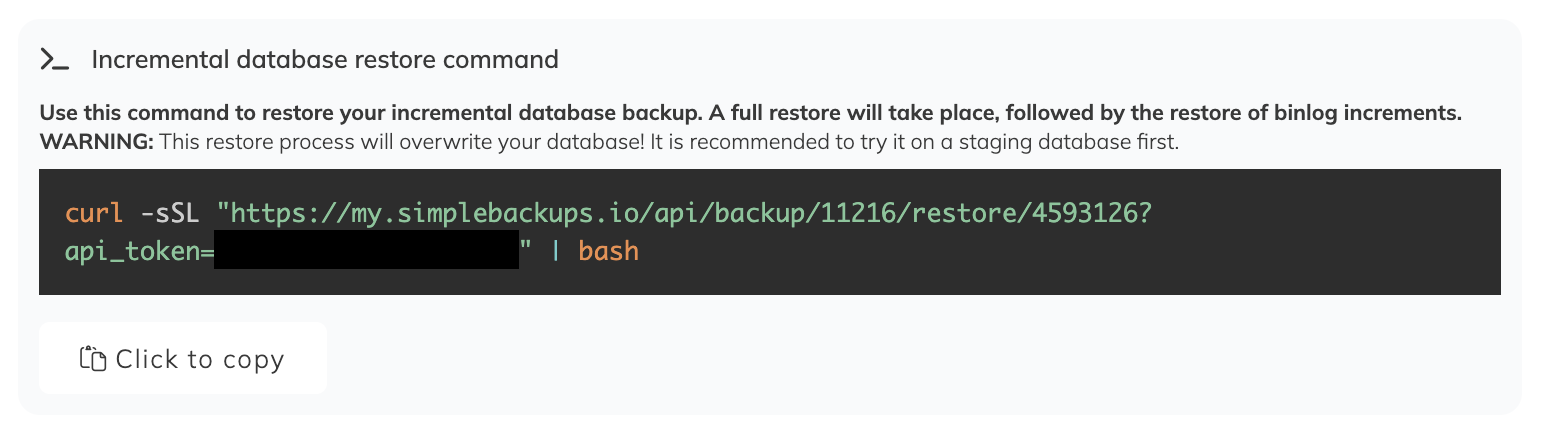
Another consideration is making sure you always have easy access to your data. SimpleBackups also offers a few tools to help:
- **Server and volume snapshots.** [Server and volume snapshots](https://simplebackups.com/server-snapshots/) take a snapshot in time of your server or storage volumes, which, in turn, makes it easy to restore them should they crash.
- **Storage replication.** With storage replication, you can sync a project’s storage across different storage providers and keep it up to date. If you cannot access the project’s data through one provider, you can always do so easily through another.
### Test Your Plan
The final step in creating your backup plan is to **test** it regularly.
Depending on your circumstances, these tests can happen monthly or quarterly and include all the steps you’ll take when disaster strikes.
No matter how often you test, these tests are vital to make sure that your backups work and that you can recover your data seamlessly. You can also test if your storage syncs wholly and accurately. It's the only way to identify and resolve issues before they affect your data safety.
SimpleBackups also simplifies this process by offering [unlimited backup notifications](https://simplebackups.com/blog/unlimited-backup-notification-channels/) to your email, Slack, Discord, and more. This ensures that you always know your backups are running seamlessly.
## Have Confidence in Your Backups
Don't just focus on marketing - keep your data safe, too! You don't need to be a tech wiz to do it, either. SimpleBackups makes creating a robust backup plan for your digital agency easy.
With our platform, you don’t have to worry about backup scripts or maintenance, as we take care of everything for you. It’s as straightforward as creating and scheduling your backups, choosing your storage, and you’re good to go.
Simply put: with [SimpleBackups](https://simplebackups.io), you’ll always trust and have confidence in your backups.
---
# How to restore a Snapshot on an existing DigitalOcean Droplet
Source: https://simplebackups.com/blog/how-to-restore-a-snapshot-on-an-existing-digitalocean-droplet
Published: 2022-10-13
Summary: How to restore a Snapshot on an existing DigitalOcean Droplet
In the DigitalOcean Control Panel click Images from the top menu to restore a Droplet from a snapshot.
You'll see a list of all the available snapshots in your account.
Select Restore Droplet on the More menu to restore the Droplet from the snapshot you want.
You'll see a confirmation window stating that the existing Droplet will be replaced with the older snapshot image.
---
# Experience SimpleBackups like never before with Raycast, supercharge your productivity
Source: https://simplebackups.com/blog/experience-simplebackups-like-never-before-with-raycast-supercharge-your-productivity
Published: 2022-10-11
Author: Islam
Summary: Check, run, download, restore your backups from anywhere on your Mac. Supercharge your productivity, experience SimpleBackups like never before with Raycast
# Overview
*"Raycast is Raycast is a blazingly fast, totally extendable launcher. It lets you complete tasks, calculate, share common links, and much more."* ― [raycast.com](http://raycast.com/)
[This integration](https://www.raycast.com/islamessam/simplebackups) adds a SimpleBackups command to let you manage (view, open, run, download, restore) your backups in a snap, using a couple of keystrokes on your Mac. No need to login, navigate, just do what you need, much faster.
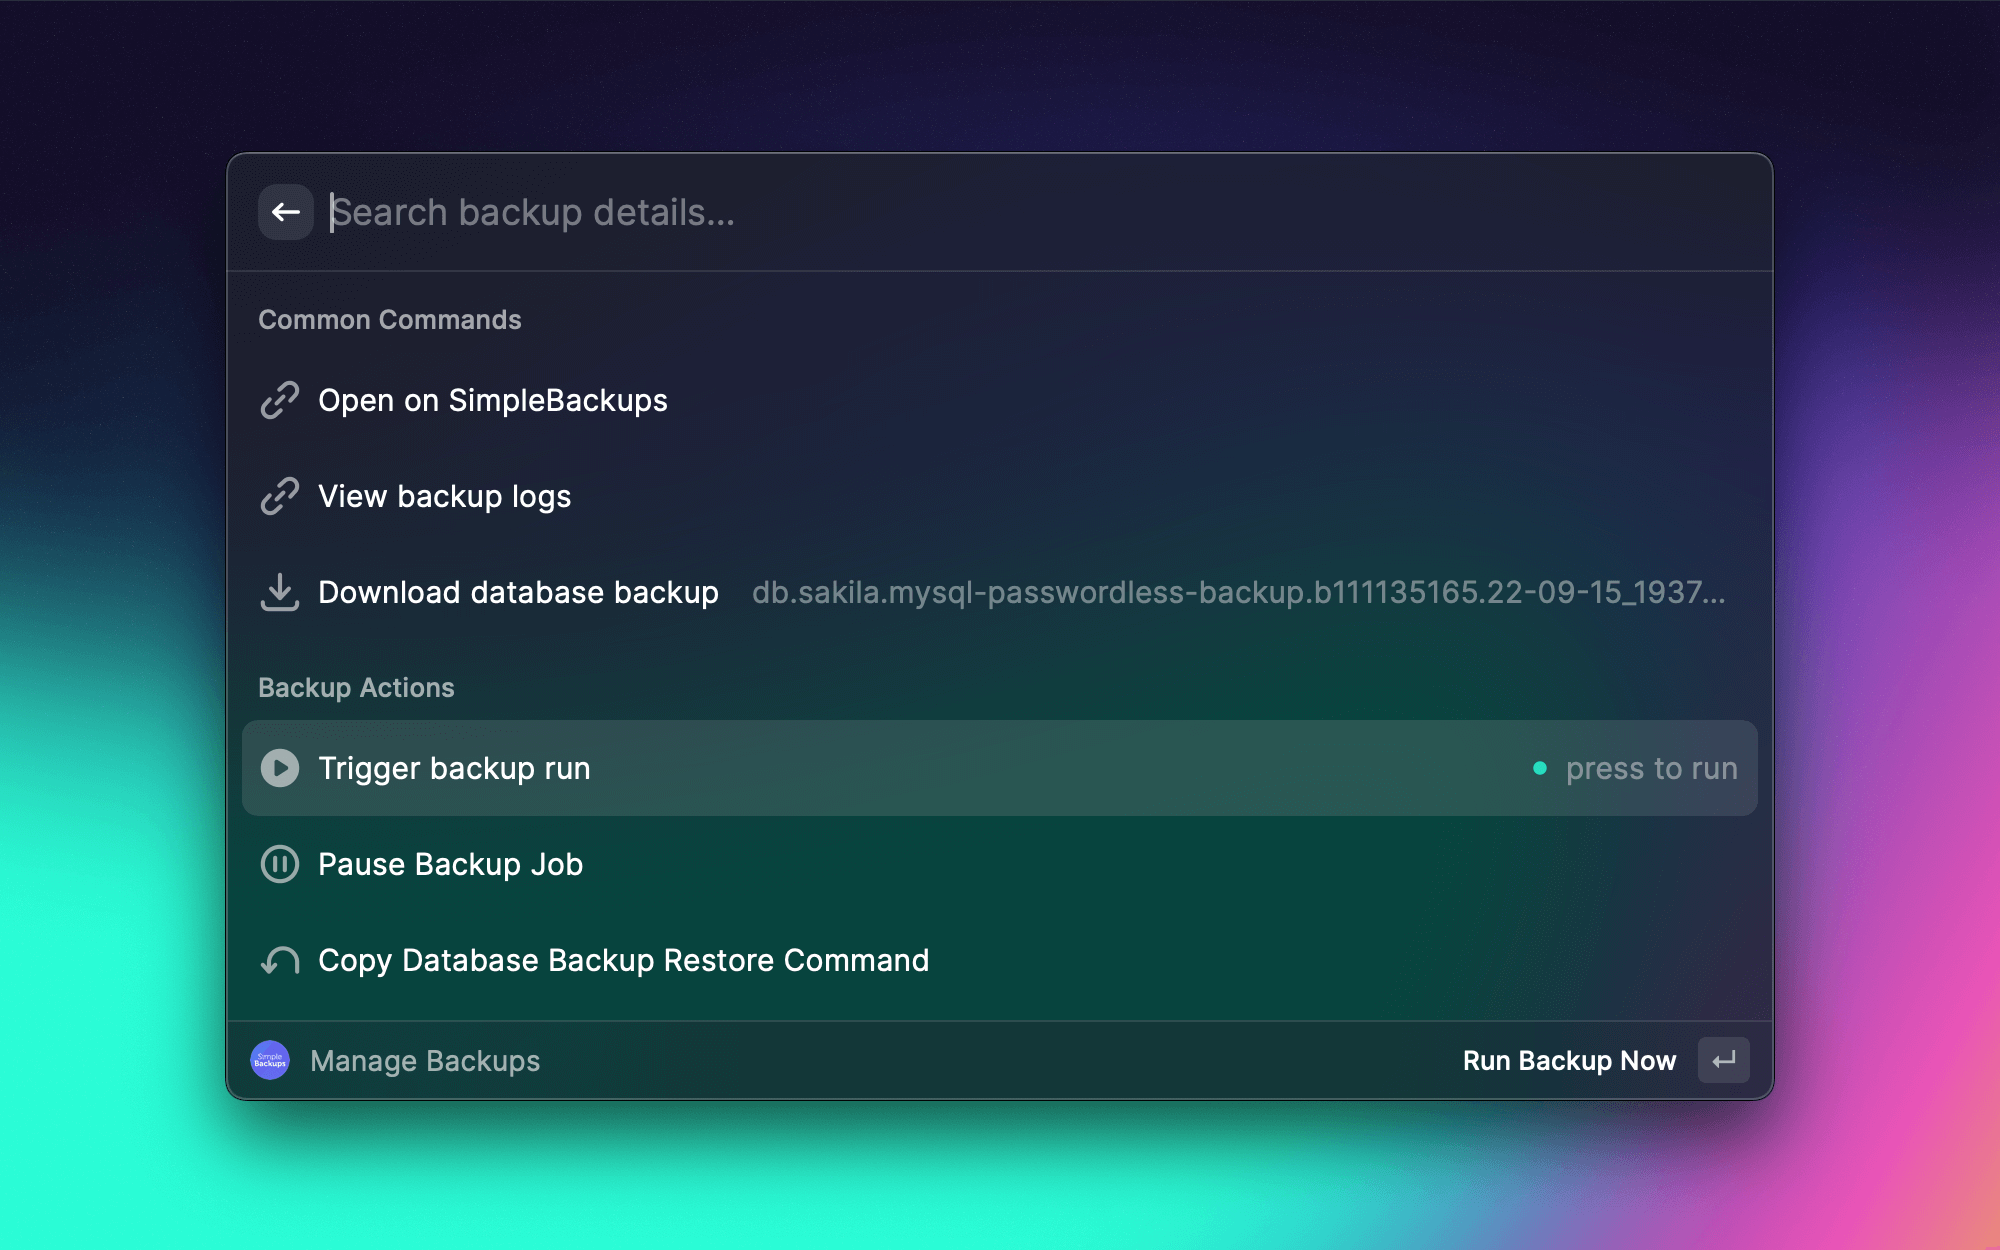
# How SimpleBackups Raycast integration works?
Using SimpleBackups in Raycast is simple. After installing the integration, open the "Manage Backups" command or search for SimpleBackups to use it.
Since Raycast is globally available on your Mac using your pre-assigned hot-key, it becomes ultra quick to view and go through your backups without getting distracted. Maybe you are deploying a new version of your app and want a very quick backup run? Maybe you want to quickly grab that database and restore it locally? ...
# Available Features
- View backup details
- Trigger new backup runs
- Pause/Resume backups jobs
- Download last file/database backup
- Quickly open backups/logs in browser
- Copy database/file backup restore command to run in terminal
- Support for teams and the ability to switch to different team on your account
# How to configure in Raycast?
Install the [SimpleBackups integration](https://www.raycast.com/islamessam/simplebackups) from the Raycast Store. Grab your Raycast API token from your [SimpleBackups account](https://my.simplebackups.com/settings#/api). Then, search for SimpleBackups in Raycast to familiarize yourself with the available command for managing backups.

If you have any ideas, share with us what you think and how we can make things even more interesting and easier for you!
---
# September 2022: Recipe, one-click DbaaS support, and xxxl databases!
Source: https://simplebackups.com/blog/september-2022-recipe-one-click-dbaas-support-and-robots
Published: 2022-10-07
Author: Laurent
Summary: Release notes: No-code application backup, Large MySQL database backup solution, and more.
Another busy month for the team at SimpleBackups!
We’re proud to finally deliver our “Recipe Backup”, which will unleash an even broader spectrum of backups, as well as a lot of product improvements and support for (much) larger backups.
All of that together with some major performance boost and UI improvements.
Let’s dive into it.
## Backup no-code and cloud services, with backup recipes!
Backup Recipe is now live with the first integration to Knack!
So what do we call “recipe”?
Pretty simple. You’re probably (70% of businesses are) using SaaS. Whether it is via an online database like Knack or Airtable, a versioning system like GitHub, or a workspace service like Notion.
Same as your database, or server files, you’ll want to backup this data and well… now you can.
We’ve released the support to Knack backup, and will soon release many others. Make sure to let us know the one you’d want us to prioritize.
## More, more, more: Support for (very) large MySQL databases

You can now backup databases with a size of several terabytes!
Conventional backup methods are not optimized to work for very large databases and we’ve closed that gap.
Just check the “Large Database” option and optimized, parallel dump will be enabled.
## Back up DBaaS/Managed Databases got even easier
Next time you’ll back up a managed database, it will be even easier than it was so far.
You can now directly connect your provider account and select the database you want to back up without having to figure out the credentials.
## Tweaks & Improvements
* Support for password-less MySQL database
* Use your TLS/SSL certificate for database backups
* One-click PostgreSQL backup restore method
* One-click MongoDB backup restore method
* Support for password-less SFTP servers and storage with public key connections
That’s a wrap for this product update!
We have a few partnerships that we’ll soon be proud to announce, but that will be for another article!
---
# How to Create an Incremental MySQL Backup
Source: https://simplebackups.com/blog/how-to-create-an-incremental-mysql-backup-with-simplebackups
Published: 2022-09-22
Summary: Create incremental MySQL backups with SimpleBackups, and stop worrying! Find out how to do it quickly in our handy tutorial.
They say there are two types of people: those who back up their databases and those who need to. Simply put, if you want to protect your most valuable data, it’s vital that you **back up your MySQL databases.** And those who need to will soon learn how important it is.
The problem is that over time, MySQL databases can grow so large that they strain your server, which means you’ll typically need to schedule your backups overnight. In turn, you could end up losing data if these backups are not scheduled regularly.
Fortunately, **incremental MySQL backups** solve this problem and help you secure your data. In this post, we’ll show you how to create them with SimpleBackups.
## Table of Contents
## What is an Incremental MySQL Backup?
Before we look at how you can create incremental backups with SimpleBackups, let’s first recap what **an incremental backup** is. As the name implies, incremental backups only back up the data that has changed since your previous backup. If it's a full database dump you're after instead, have a look at [the complete mysqldump guide](/blog/the-complete-mysqldump-guide-with-examples).
So, for example, if you have a MySQL database with 1,000 records and only 12 records change, an incremental backup will only backup those 12 records. This approach has several benefits. For one, it ensures that your backups are always up-to-date. It also keeps your backups small, reduces bandwidth, and won’t overload your server.
It’s important to remember, however, that on SimpleBackups, when your backup is executed for the first time, a full backup (level-0 backup) will be created. As such, this will be a large backup. Subsequent backups will be created on top of the level-0 backup. For example, level-1, then level-2, level-3, and so on for every following backup job.
If you have set a **retention** of 7 days, and you run your backup daily, once you get to level-6, a new level-0 will be created.
**Example:**
- Day 1: level-0 backup - 2GB
- Day 2: level-1 backup - 25MB
- Day 3: level-2 backup - 25MB
- Day 4: level-3 backup - 25MB
- Day 5: level-4 backup - 25MB
- Day 6: level-5 backup - 25MB
- Day 7: level-6 backup - 25MB
- Day 8: level-0 backup - 2.2GB
- …
Keep in mind, though, that there are some preparations you’ll need to do to perform incremental MySQL backups.
These relate to **[configuring MySQL to deal with binary logs](https://support.simplebackups.com/en/articles/6226925-how-to-enable-binary-log-for-mysql-or-mariadb)**, and we’ve dealt with these aspects in more detail.
---
## How to Create an Incremental MySQL Backup
### Setting Up MySQL Server 8
To get started with MySQL database server version 8, you can begin by installing it using the following command:
```bash
sudo apt-get install mysql-server -y
```
Once the MySQL server is successfully installed, you can initiate the MySQL service and configure it to launch automatically upon system reboot with these commands:
```bash
sudo systemctl start mysql
sudo systemctl enable mysql
```
This will ensure that your MySQL server is up and running efficiently for your development needs.
Certainly, here's the content rephrased in a friendly and professional tone for developers:
### Enabling Binary Logging
To enable incremental backups, the first step is to activate binary logging. This can be achieved by editing the MySQL default configuration file. Open the file for editing:
```bash
sudo nano /etc/mysql/mysql.conf.d/mysqld.cnf
```
Within the configuration file, you'll need to add or modify the following lines based on your preferences:
```ini
Log_bin = /var/log/mysql/mysql-bin.log
expire_logs_days = 10
```
After making these changes, save and exit the file. To apply the configuration changes, restart the MySQL service with the following command:
```bash
sudo systemctl restart mysql
```
You can verify the MySQL binary log directory path by using this command:
```bash
ls -l /var/log/mysql/
```
In the resulting output, you will see the MySQL binary log file, typically named "mysql-bin.000001". This file is where all modifications to your MySQL databases are recorded, making it essential for incremental backups.
### Creating a Database and Table
In this step, we will create a test database and a table, and then insert some sample data into the table.
To begin, let's connect to MySQL using the following command:
```bash
mysql
```
Once you've successfully connected, you can create a new database called "mydb" with the following command within the MySQL shell:
```sql
mysql> CREATE DATABASE mydb;
```
Now, switch to the "mydb" database and create a new table named "my_tbl":
```sql
mysql> USE mydb;
mysql> CREATE TABLE my_tbl (
my_id INT NOT NULL AUTO_INCREMENT,
my_field VARCHAR(100) NOT NULL,
submission_date DATE,
time_created TIMESTAMP NOT NULL DEFAULT CURRENT_TIMESTAMP,
PRIMARY KEY (my_id)
);
```
With the table in place, you can insert some sample rows into it using the following commands:
```sql
mysql> INSERT INTO my_tbl (my_field) VALUES ('val1');
mysql> INSERT INTO my_tbl (my_field) VALUES ('val2');
mysql> INSERT INTO my_tbl (my_field) VALUES ('val3');
```
Once you've completed these steps, you can exit the MySQL shell:
```sql
mysql> exit;
```
You've now created a database, defined a table, and inserted sample data, setting the stage for further development and testing.
Certainly, here's the content rephrased in a friendly and professional tone for developers:
### Taking a Full MySQL Database Backup
In this step, we will perform a full backup of the current MySQL database. You can achieve this by executing the following command:
```bash
mysqldump -uroot -p --all-databases --single-transaction --flush-logs --master-data=2 > full_backup.sql
```
The `--flush-logs` option closes the current log file (typically named "mysql-bin.000001") and initiates a new log file (usually named "mysql-bin.000002"). To confirm the creation of the new MySQL binary log file, you can use the following command:
```bash
ls -l /var/log/mysql/
```
You should see an output similar to this:
```bash
-rw-r----- 1 mysql adm 6117 Jul 20 09:13 error.log
-rw-r----- 1 mysql mysql 2036 Jul 20 09:25 mysql-bin.000001
-rw-r----- 1 mysql mysql 156 Jul 20 09:25 mysql-bin.000002
-rw-r----- 1 mysql mysql 64 Jul 20 09:25 mysql-bin.index
```
From this point on, all database modifications will be recorded in the "mysql-bin.000002" file.
To further illustrate the concept, let's log in to MySQL once more and insert additional rows:
```sql
mysql> USE mydb;
mysql> INSERT INTO my_tbl (my_field) VALUES ('val4');
mysql> INSERT INTO my_tbl (my_field) VALUES ('val5');
mysql> INSERT INTO my_tbl (my_field) VALUES ('val6');
mysql> exit;
```
After the full backup, these new database changes will be saved in the "mysql-bin.000002" file, ensuring the continuity of your incremental backup strategy.
### Deleting and Restoring a MySQL Database
In this section, we'll demonstrate how to delete a MySQL database, recreate it, and then restore it from a full backup.
1. You can delete the "mydb" database with the following command:
```sql
mysql> DROP DATABASE mydb;
```
2. Now, let's create the "mydb" database again:
```sql
mysql> CREATE DATABASE mydb;
mysql> EXIT;
```
3. To restore the database from the "full_backup.sql" file, use this command:
```bash
mysql -u root -p mydb < full_backup.sql
```
4. Log back into the MySQL shell and check the contents of the table:
```sql
mysql
mysql> USE mydb;
mysql> SELECT * FROM my_tbl;
```
You should observe only three rows in the table.
5. Next, to restore data from the binary log saved in "mysql-bin.000002," execute the following command:
```bash
mysqlbinlog /var/log/mysql/mysql-bin.000002 | mysql -uroot -p mydb
```
6. Reconnect to MySQL and check the table's contents again:
```sql
mysql
mysql> USE mydb;
mysql> SELECT * FROM my_tbl;
```
You should now see that all rows have been successfully restored.
Congratulations! You've learned how to delete, recreate, and restore a MySQL database, as well as how to set up MySQL incremental backups.
---
## How to Create an Incremental MySQL Backup with SimpleBackups
Now that we’ve recapped what binary logs and incremental backups are and looked at how you should configure the binary log for incremental backups, it’s time we look at the process of creating the backup with SimpleBackups.
### Logging Into SimpleBackups
The first step is logging into SimpleBackups.
Once logged in, on your dashboard, you'll choose to create a database backup. To do this, you have several options:
1. You can click on Create in the MySQL Backup tile.
2. You can click the Database backup option to the right of the tiles.
3. You can click Create in the navigation bar and select Database Backup from the dropdown list.
For this example, we’ll use the first option. So, we’ll click on **Create** in the **MySQL** Backup tile.

### Configuring the Backup
On the screen that opens, we’ll select **Databases** under What will your backup include? We’ll also choose Own Server as the option under Choose the server that will carry out the backup job.
This means the backup will run on our local or cloud server. Keep in mind, though, that you can also choose Serverless, which allows you to run the backup on SimpleBackups’s infrastructure.
### Selecting the Server
In the Own Server box, we’ll also need to **select our server** in the dropdown box. At this stage, it might be necessary to configure the server first.
To do this, we’ll **click on the + to add a server**.
In the dialog box that options, there are **several options** to connect SimpleBackups to the server; Automated SSH, Manual, and Tunnel/Bastion Host, which is ideal for private databases.
In this example, we’ll use Automated SSH. So, we’ll copy and run the provided command into our server’s terminal.
Once the command has been executed, and the connection confirmed in the terminal, we can click **Validate** to confirm the connection.
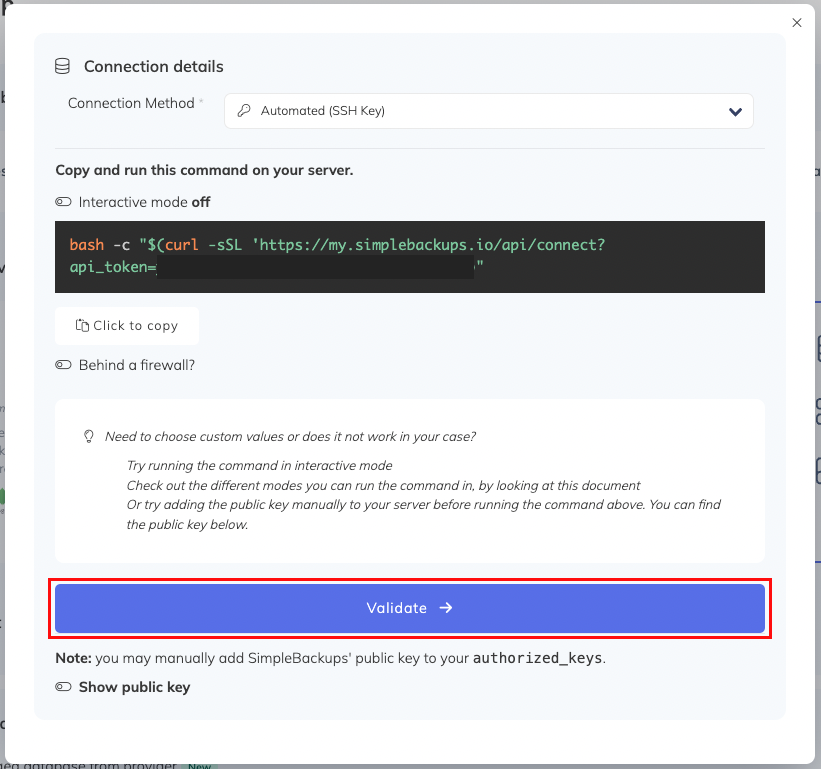
### Selecting your MySQL Database
Once we’ve connected our server, the next step is **selecting the database we want to back up.**
In this example, we’ll use a MySQL database residing on an AWS web server, so the first step is to select MySQL from the available options.
We’ll then need to provide the details of the database we’d like to back up:
- **Host**. Here, you must provide the host's IP address where the database resides. Because our database is on the server we chose earlier, we can enter the local host’s IP address, 127.0.0.1
- **Port**. We’ll also need to provide the port of the MySQL server. The default port for MySQL is 3306, so you’ll enter this port number here. If you’ve changed it, you should enter the new port number.
- **User**. Here, you’ll have to provide the user you’ve configured in MySQL.
- **Password**. Apart from the username, you’ll also need to provide the user’s password.
- **Database name.** Finally, you’ll need to provide the name of the database you would like to back up. If you want to back up more than one database, you can enter their name here. In this example, we’ve created an example database, mysql_bc_test, that we’ll back up.
You also have the option to configure **advanced** settings should you need them. However, in this example, we’ll leave the defaults as is.
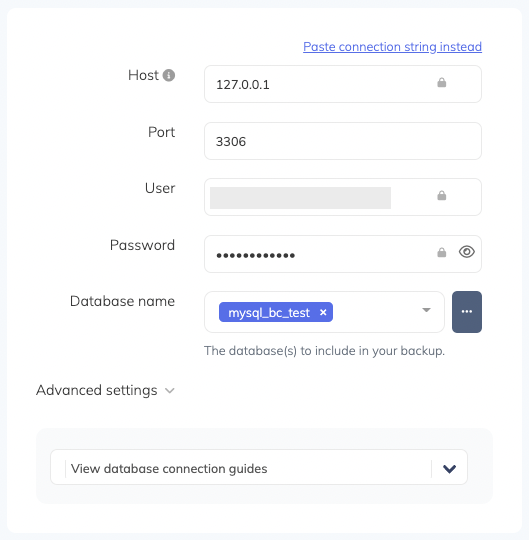
### Choosing the Type of Backup
Once we’ve entered all the database’s details, we can choose **the type of backup** we need. Here, we can choose between:
- **Back Up All Databases.** This option allows you to update all the databases on your server at the same time.
- **Uncompressed Database.** With this option, you’ll store your MySQL backups uncompressed. When you do, it speeds up the restore process.
- **Incremental Database Backup.** This is the option we’ll use to create incremental backups, as described earlier.
- **Database Backup Streaming.** With this option, you’ll stream your backup directly to your storage and, as such, requires no disk space.
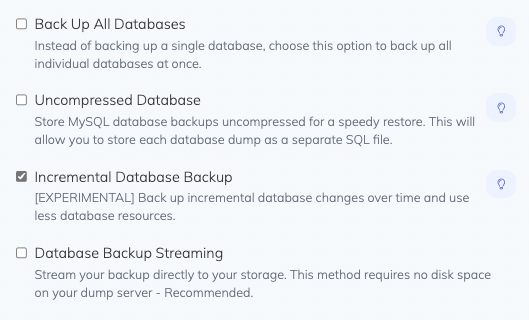
### Validating the Connection
Once we’ve entered all the information necessary, we can also **add a script that will be executed after the backup is uploaded to our storage option.**
In this example, we won’t add a script and just proceed to click **Validate** Connection.

### Choosing where to store the backup
The final stage is to decide **where we want to store the backup.**
The first step is providing a name for our backup.
In this example, we’ll use my-first-mysql-backup. For our backup schedule, we’ll choose Daily.
Depending on your requirements, you also have other options, including Weekly, Monthly, On-Demand, and Custom. We’ll also specify that we want to keep backups for 30 days.
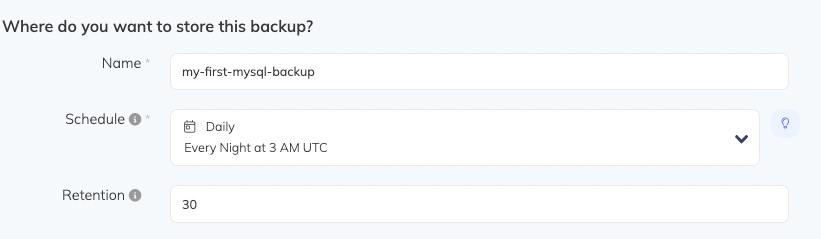
Finally, we’ll need to choose **where we would like to store the backup.**
In this example, we’ll use the same Dropbox account we used when we showed you how to encrypt your backups, so we’ll select this option from the dropdown list. We’ll also leave the path empty. Once done, we can **click on Create Backup.**
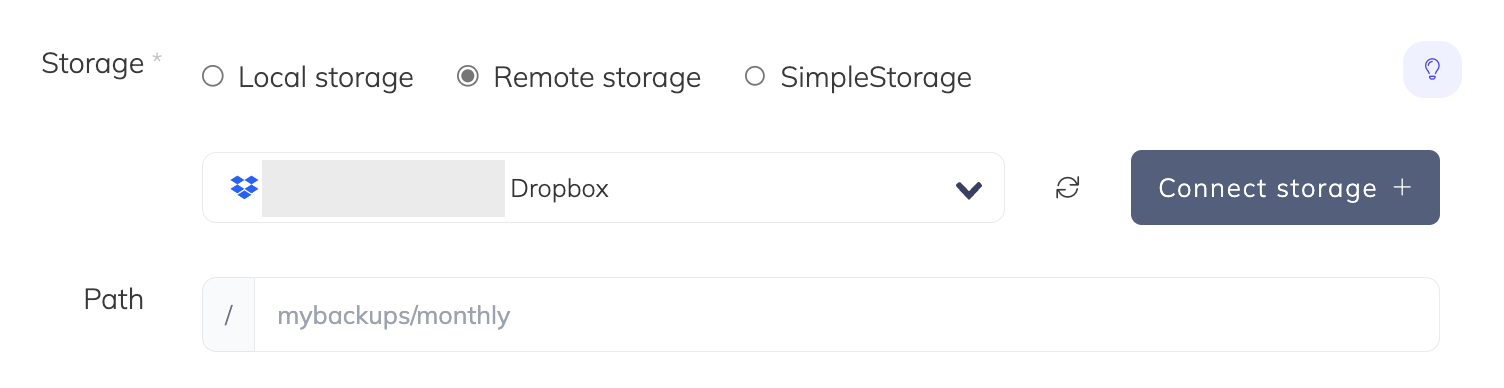
### Finalizing the Backup
Once we’ve clicked Create Backup, we’ll be taken to a confirmation screen that gives an overview of the backup we’ve just created. From here, we can **click Run now** to run the backup if we don’t want to wait for the scheduled backup.
### Restoring Your Backup
If something happens to go wrong with your database, we’ll be able to **restore** it as easily as we created it.
To do this, we’ll **go to the Overview page for our backup**.
Here we’ll select **Logs in the top menu.**
On the screen that opens, we’ll **click on the i** to the right of the latest backup log entry.

A dialog box will open, and if we scroll down, we’ll find the **command** we can run to restore our incremental backup.
We just need to copy and paste this command into our server’s terminal to initiate the restore. By running this command on our server, we’ll rebuild our database from the level-0 backup, including all the increments that were backed up since the level-0 and the selected log.
Here, it’s important to remember that the restore will overwrite our existing database on our server. If we’d like, or it’s necessary to avoid this, we can also run the command on another server, which won’t overwrite the source database.
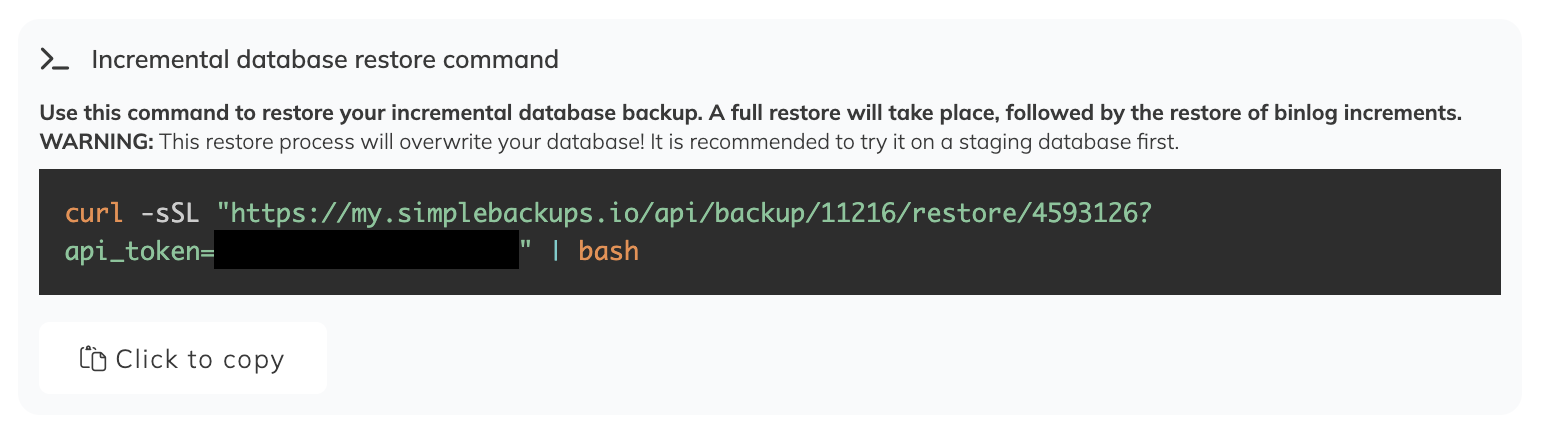
## Start Creating Incremental MySQL Backups Today
Now you know how you can create incremental MySQL backups quickly and easily, so there’s no reason to put your valuable data at risk.
Incremental is one option among several. If a nightly full dump is closer to what you need, [a MySQL backup script](/blog/the-ultimate-mysql-database-backup-script) will do it, and either way you should test [restoring a MySQL dump](/blog/how-to-restore-a-mysql-backup) before you rely on the schedule. Our [automated MySQL backups](/mysql-backup) cover both modes and alert you when a run fails.
---
# How to Create a Storage Replication With SimpleBackups
Source: https://simplebackups.com/blog/how-to-create-a-storage-replication-with-simplebackups
Published: 2022-09-22
Summary: Quickly and easily create a DigitalOcean or AWS storage replication with SimpleBackups! Learn how in our tutorial.
Where do you store your important files, documents, media, and the like? Nowadays, you could use cloud storage for this. Maybe you’re using on-site storage? Either way, have you considered what will happen to all your documents, files, and media if something should go wrong? If you don’t take the necessary precautions, this could be disastrous.
This is where **storage replication** comes in. It’s an efficient, effective, and safe way for you to ensure that you always have important documents and files available, no matter what happens. Moreover, if disaster should strike, it will also be easy for anyone who needs these files and documents to find them.
With that in mind, let’s look at **how you can create a storage replication with SimpleBackups. **
## Why is Storage Replication Important?
There are actually quite a few benefits of storage replication, including:
- **Data availability.** By replicating your data, files, and documents, you’ll store it across several locations. You’ll thus ensure that you always have access to your data, even if you experience technical difficulties or failures. As such, no matter what happens, your users, employees, and applications will always have access to the data they need. As a result, you’ll improve the reliability and resilience of your systems.
- **Eliminates human error.** When working with files and documents, your team will mostly do this manually. And doing things manually could introduce errors. For example, someone might work on a document and file in one storage and forget to save it. Even worse, someone could delete the file altogether. Storage replication prevents this.
- **Storage migration.** When you want to migrate your storage from one provider to another, storage replication offers a simple and efficient way to do this without needing to do it manually.
- **Improved disaster recovery.** Nowadays, data breaches and loss are increasingly common occurrences. Fortunately, storage replication allows you to keep a complete copy of your data in several locations, which means it can help you recover lost data in the event a breach or loss occurs.
## Creating a Storage Replication With SimpleBackups
Now that we’ve seen why storage replication is important, let’s create a storage replication with SimpleBackups.
In this example, we’ll sync the bucket content from DigitalOcean Spaces to AWS S3 storage.
To start, you’ll log into your SimpleBackups account. On your dashboard, you’ll click on **Storage Sync.**
Clicking Storage Sync will take you to all the replications you’ve set up before.
However, in this case, we’ll be setting up our first, so the list will be empty. To create a new storage replication, you’ll click on **Create Storage Sync +.**
On the next screen, you’ll be able to configure the sync.
The first step is **choosing between Serverless,** which runs on SimpleBackups’s infrastructure, **or Own Server,** which requires that you have your own server.
In this example, we’ll use Serverless. To do this, you’ll make sure the Serverless box is selected and click on Enable Serverless.
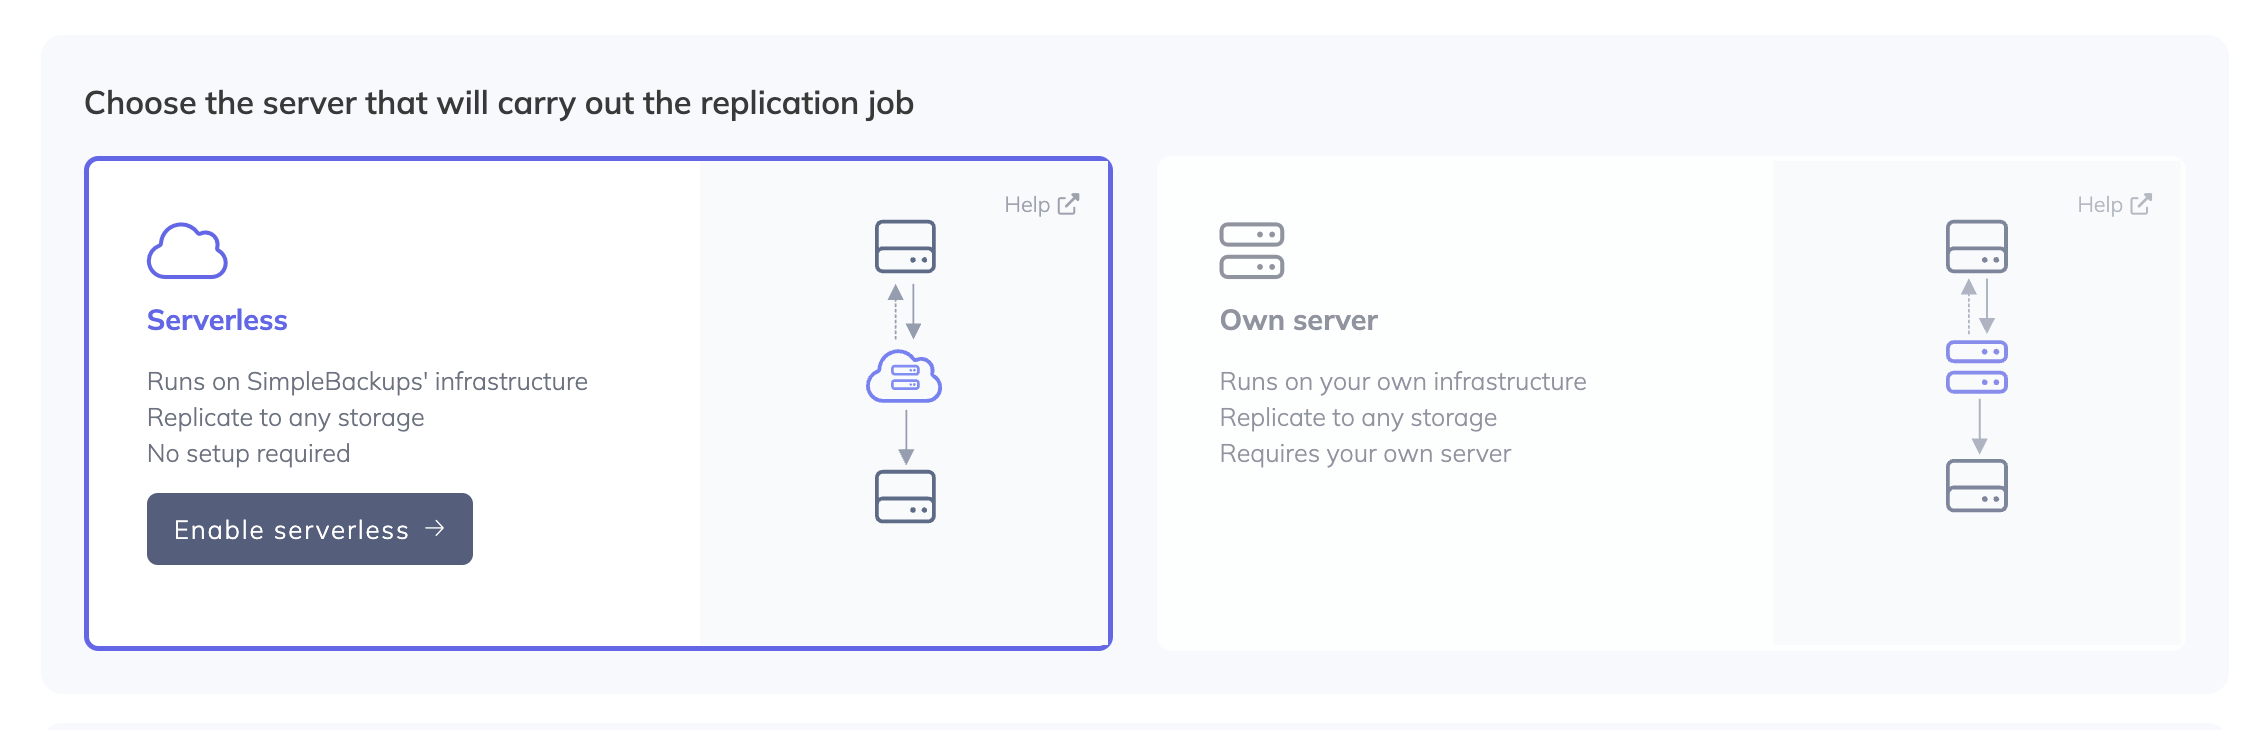
The next step is to **choose when you want to run the storage replication.** Here, you can choose between on-demand, daily, weekly, monthly, and custom, where you can specify backup intervals of as little as 1 minute.
Ultimately, the option you choose here will depend on your unique requirements. In this example, though, we’ll choose Daily, which will replicate the storage every evening at 3 am UTC.

The next step is to **set up both the Source Storage and Destination Storage.**
Here, you’ll either need to select a storage option that was set up previously, or you’ll need to connect a new storage option.
Because, in this example, we’re setting up a new replication with new storage, we’ll choose Connect Storage + in both cases.
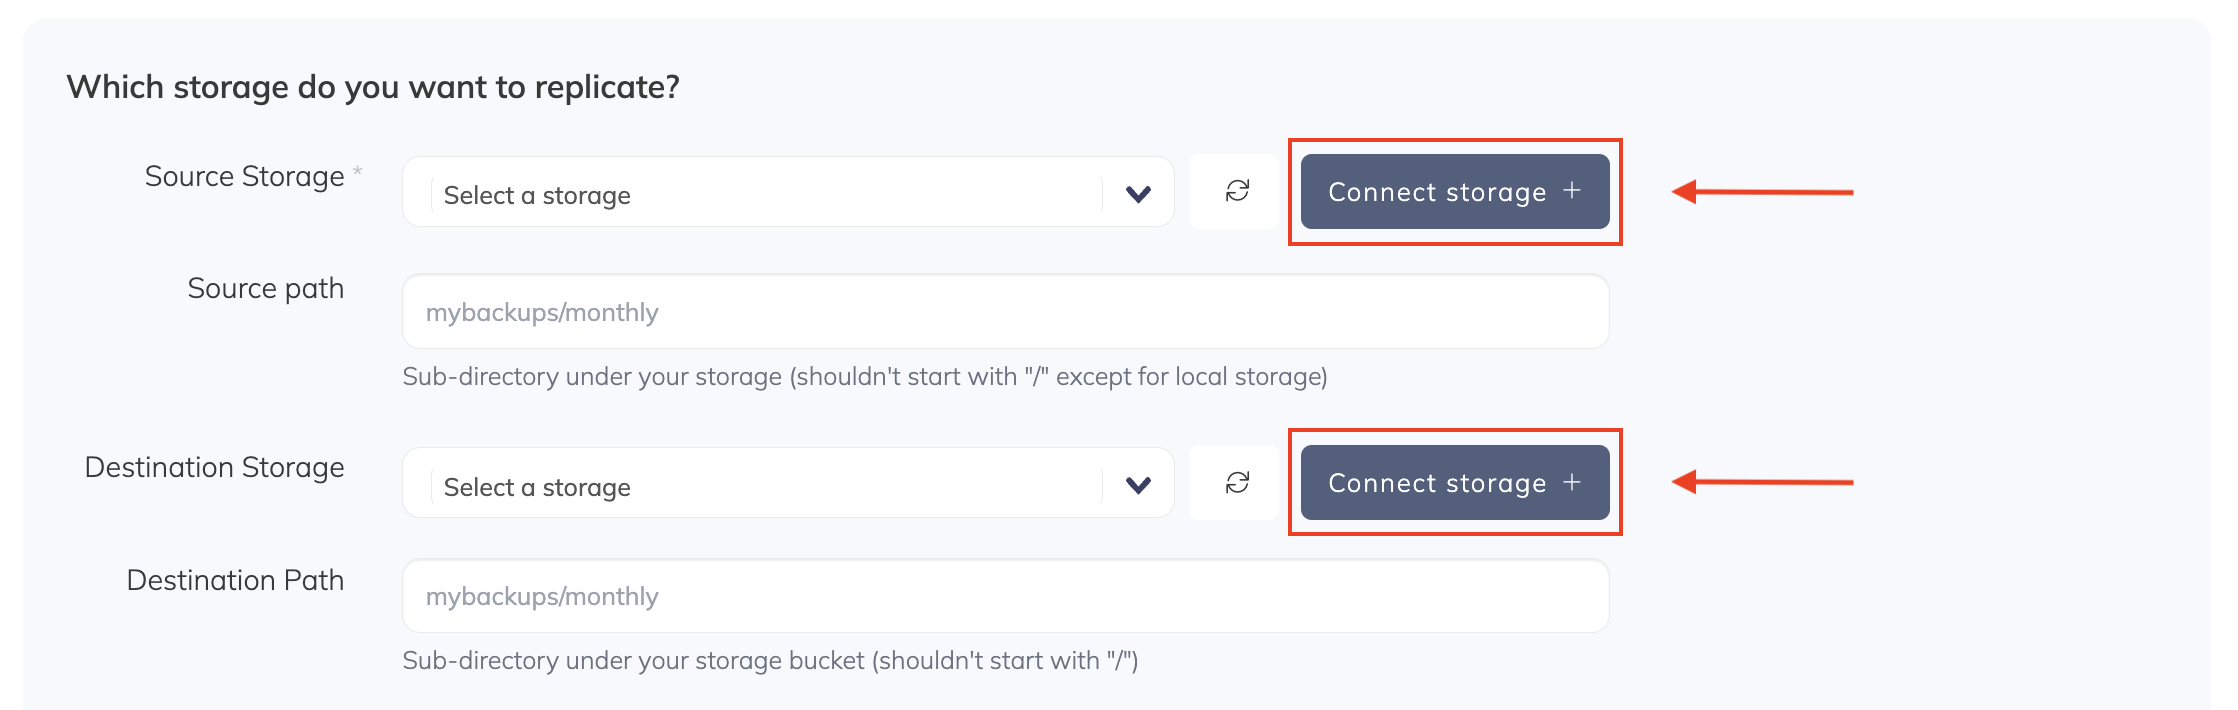
To **connect DigitalOcean Spaces as a Storage Source,** you’ll need to select it from the dropdown list and provide the necessary details, including your DigitalOcean Spaces credentials, region, path, and the bucket you would like to replicate.
To create your credentials, you can follow the instructions we’ve provided [here](/docs/storage-providers/wasabi). Once you've completed all the fields, you can click on Validate.
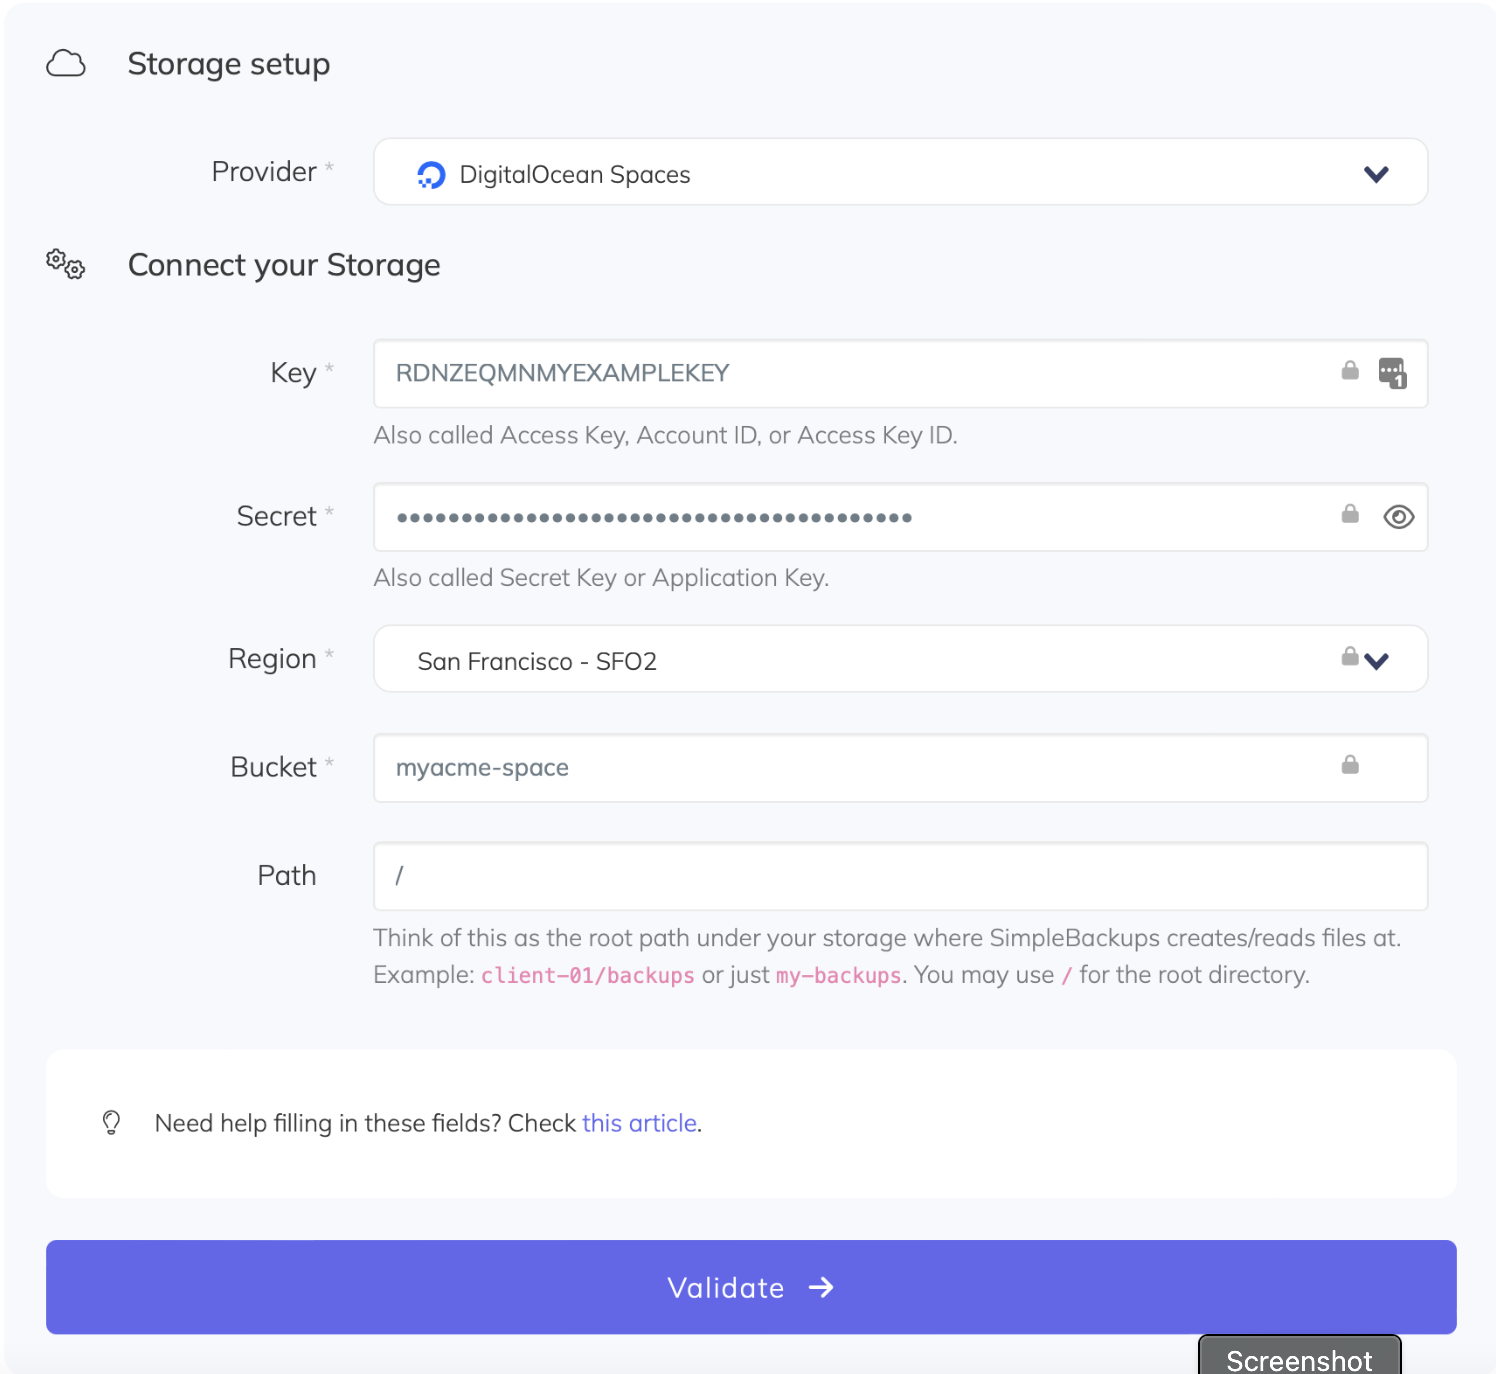
To **connect AWS S3 as the Destination Storage,** you’ll follow the same process. As such, you’ll provide your credentials, region, path, and the bucket you would like to use as destination storage. You can create your AWS S3 credentials by following the instructions we’ve provided [here](/docs/storage-providers/aws-s3).
You’ll also click Validate once you’ve completed all the fields.
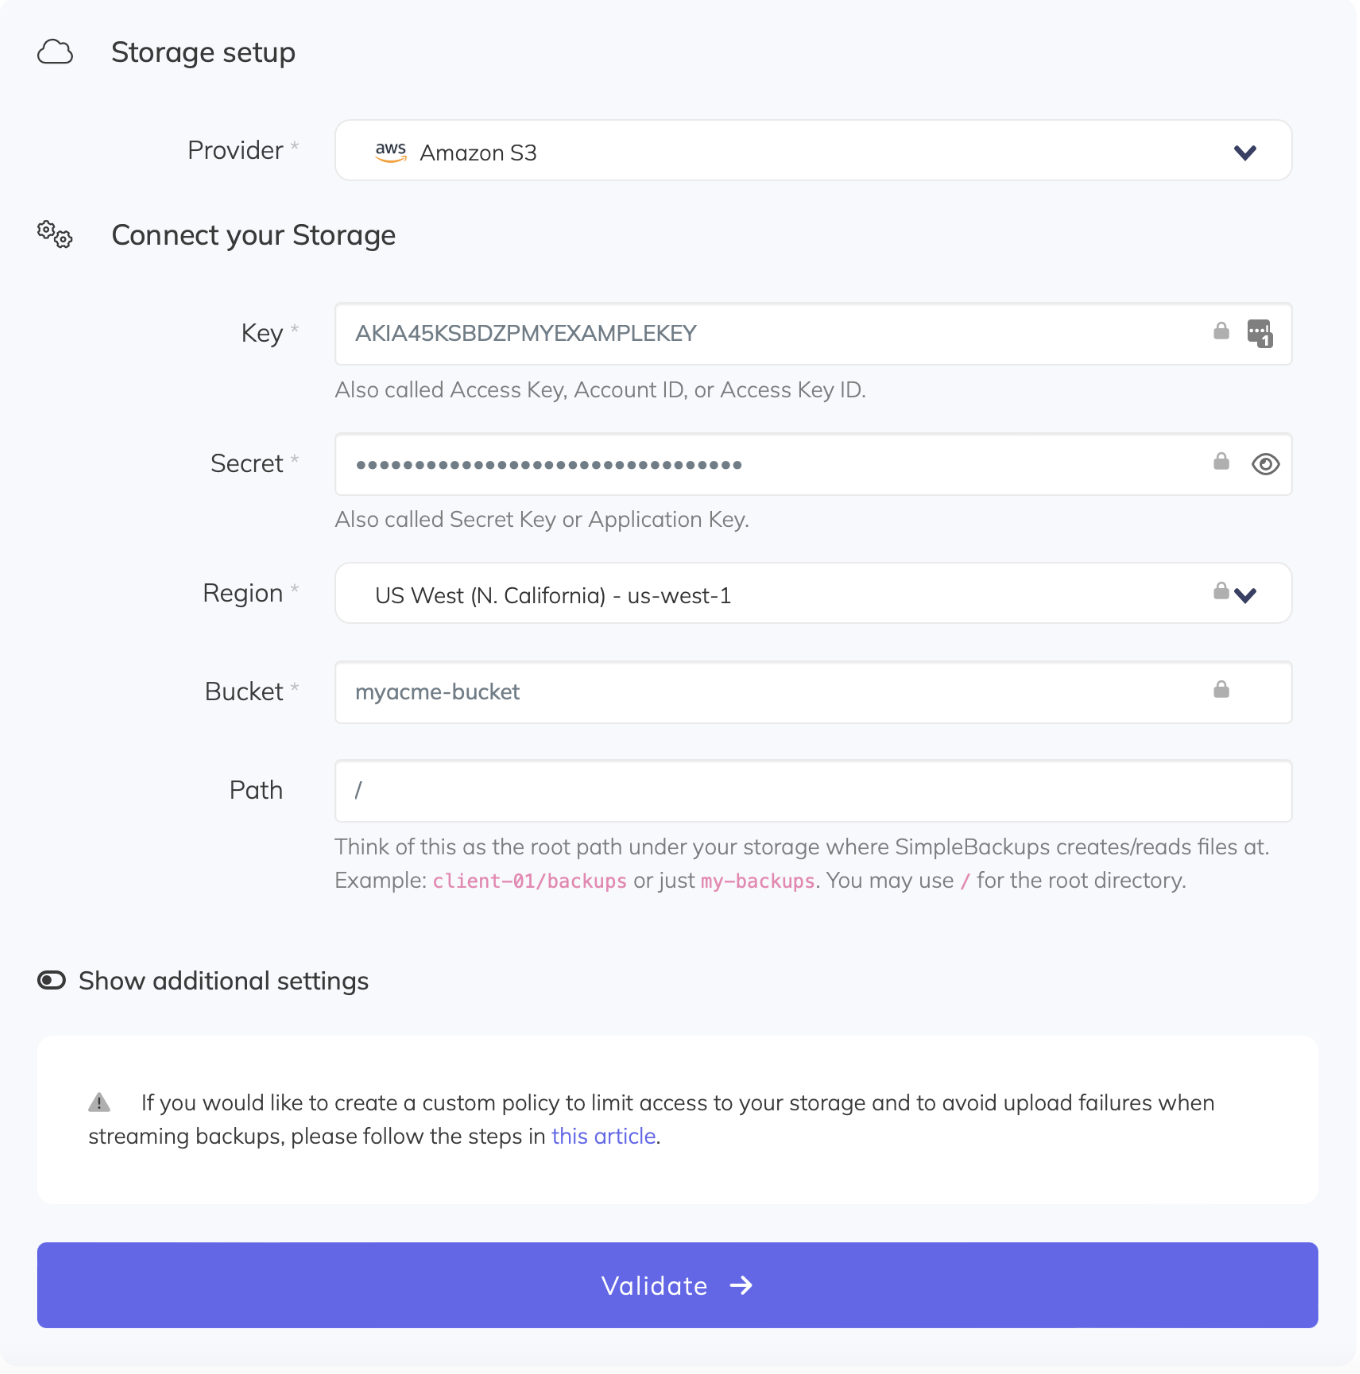
Once you’ve selected both storage options, you’ll also need to **provide the source and destination paths.**
So, you’ll need to select the folder on the source storage that you want to replicate and the folder on the destination storage you would like to replicate it to, if you haven’t already done so. Once you’ve provided these paths, you can click on Validate.

Finally, once you’ve validated the replication as mentioned above, you can finalize and **save the Storage Sync.**
To do this, you’ll need to provide a name for the replication in the box provided and then click on Create Storage Sync.

A page showing the details of the storage replication you’ve just created will then open.
From here, you can choose to run the replication, or it can run based on the schedule you chose earlier. Every time it runs, the replication will copy content from Spaces to S3.
## Start Creating Storage Replications Now
If you want to ensure consistent data availability and access, higher server performance, and a robust disaster recovery strategy, you should replicate your storage across several providers.
When you do, you’ll protect your most precious data. To get started, create your first storage replication on [SimpleBackups](https://simplebackups.com/) today.
---
# Replicating your Storage (S3, Dropbox, Wasabi...) with SimpleBackups
Source: https://simplebackups.com/blog/how-to-replicate-your-storage-s3-dropbox-with-simplebackups
Published: 2022-09-19
Author: Laurent
Summary: How to Create a Storage Replication With SimpleBackups.
## Why Storage Backup Matters
While these cloud storage solutions are generally secure and come with built-in replication and backup features, it's essential to have an additional layer of protection for your data.
Data loss can occur due to various reasons, including accidental deletion by team members or data corruption.
In such scenarios, a reliable backup solution becomes your lifeline to quickly recover and resume operations.
## Introducing SimpleBackups Storage Replication
This is where SimpleBackups comes into play.
SimpleBackups is a versatile and user-friendly backup solution that empowers you to safeguard your data stored across various providers.
Whether you are using [AWS S3](https://simplebackups.com/storage-backup/aws-s3/), [Wasabi](https://simplebackups.com/storage-backup/wasabi/), [DigitalOcean Spaces](https://simplebackups.com/storage-backup/digitalocean/), [Google Cloud](https://simplebackups.com/storage-backup/google-cloud-storage/), [Azure](https://simplebackups.com/storage-backup/azure/), or [other storage services](https://simplebackups.com/catalog), SimpleBackups supports them all.
## Storage Sync Made Easy
One of the standout features of SimpleBackups is its seamless storage replication capability.
With just a few clicks, you can set up a replication process that ensures your data is continuously mirrored across different storage providers. An example of that is having a 100% replication of your S3 bucket on your [Dropbox synced](https://simplebackups.com/storage-backup/dropbox/) account.
This redundancy provides you with peace of mind, knowing that your critical documents and files are always accessible, regardless of unforeseen events.
## Migrate From Cloud Providers with Confidence
You're on AWS S3 and realised you could benefit from moving to Filebase or Wasabi? Maybe you need your data to be stored in a European data center at Hetzner?
With that in mind, let’s look at how you can create a storage replication with SimpleBackups.

In conclusion, when it comes to ensuring the safety and accessibility of your valuable data stored in the cloud, SimpleBackups provides a user-friendly and comprehensive solution.
With its storage replication and migration capabilities, you can safeguard your data and seamlessly transition between storage providers as needed. Don't leave your data vulnerable; choose SimpleBackups for peace of mind and data security.
---
# How to fix MySQL lost connection
Source: https://simplebackups.com/blog/how-to-fix-mysql-lost-connection
Published: 2022-09-13
Author: Laurent
Summary: Fix MySQL lost connection error when running a long query or mysqldump
When running a long or complex query on MySQL you might encounter the error below:
```
Error 2013: Lost connection to MySQL server during query
```
This error is often faced when running *mysqldump* on a large database.
In order to fix this error, you will have to update the default MySQL query timeout limits as explained below.
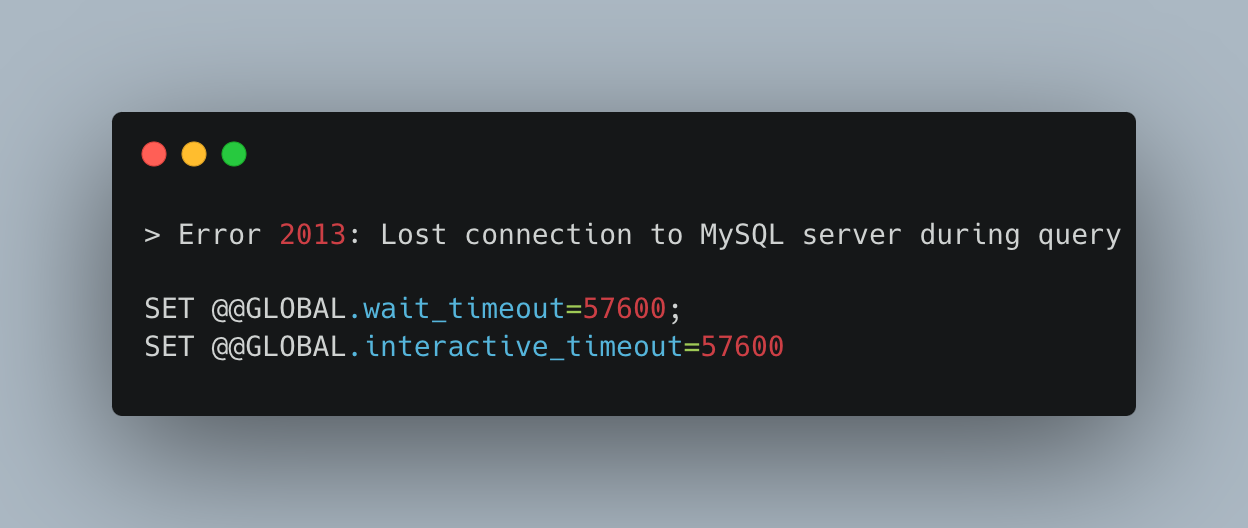
## Understanding the Problem
MySQL lost connection errors occur when the client cannot maintain a stable connection to the database server.
The reasons might be varied – network issues, server overloads, configuration limits, or even improper client operations can lead to this error.
Pinpointing the exact cause is the first step toward a solution.
## Increase the 'wait_timeout' and 'interactive_timeout'
MySQL servers have a default setting that closes idle connections after a certain period. If your application has connections that are idle for longer than this period, increasing the 'wait_timeout' and 'interactive_timeout' variables file can help.
Before updating the timeouts, let's check their current values.
```
SHOW SESSION VARIABLES LIKE 'wait_timeout';
SHOW SESSION VARIABLES LIKE 'interactive_timeout';
```
* [wait_timeout](https://dev.mysql.com/doc/refman/5.6/en/server-system-variables.html#sysvar_wait_timeout) : The number of seconds the server waits for activity on a noninteractive connection before closing it.
* [interactive_timeout](https://dev.mysql.com/doc/refman/5.6/en/server-system-variables.html#sysvar_interactive_timeout): The number of seconds the server waits for activity on an interactive connection before closing it.
For each the default value is 28800 (seconds) so 8 hours.
**Update MySQL timeout via a query**
If your queries require more time than the default values returned in the previous step, you can update them as follow:
```
SET @@GLOBAL.wait_timeout=57600;
SET @@GLOBAL.interactive_timeout=57600
```
In this example, we've doubled the timout to 16 hours.
**Update MySQL timeout by updating my.cnf**
```
[mysqld]
wait_timeout = 57600
interactive_timeout = 57600
```
## Enlarge the 'max_allowed_packet' Size
A 'MySQL server has gone away' error can be the result of a packet being too large for the current 'max_allowed_packet' setting. Increase this value in your MySQL configuration file:
```ini
[mysqld]
max_allowed_packet=64M
```
## Optimize Queries and Tables
Sometimes, the cause is as simple as a poorly optimized query or a table that needs repair. Use the 'OPTIMIZE TABLE' command for defragmenting a table, and ensure your queries are efficient and not causing timeouts.
## Monitor Server Resources
Resource exhaustion on the server – such as running out of memory or hitting CPU limits – can cause the server to drop connections. Monitor your server's resources and upgrade if necessary.
## Configure 'max_connections'
If your server's 'max_connections' setting is too low, new client connections may be refused. Increasing this limit can help, but be cautious of the resources available on your server.
```ini
[mysqld]
max_connections = 500
```
## Check for Server-Side Closures
The server logs can indicate whether the MySQL server itself is terminating connections due to errors. Checking the error logs can give you specific insights.
```bash
tail -f /var/log/mysql/error.log
```
## Conclusion
Lost connections in MySQL are a common issue but one that can often be resolved with careful configuration and server management.
By following the troubleshooting steps outlined above, you can ensure your MySQL server maintains stable connections, thereby providing a reliable database service to your applications.
Remember to back up your database before making any changes and test your adjustments in a controlled environment whenever possible. [The complete mysqldump guide](/blog/the-complete-mysqldump-guide-with-examples) covers producing that dump, and the `--quick` and `--single-transaction` flags it documents are the two that keep a long export from hitting this same error.
If the connection dropped during a restore rather than a dump, [restoring a MySQL dump](/blog/how-to-restore-a-mysql-backup) covers the import side. If it dropped inside a scheduled job, [the ultimate MySQL backup script](/blog/the-ultimate-mysql-database-backup-script) shows where to put these flags in a cron-driven dump. And if you would rather not tune timeouts around a nightly cron job at all, our [automated MySQL backups](/mysql-backup) handle long-running exports and tell you when one fails.
Remember that keeping your MySQL server healthy is an ongoing process.
---
# August 2022: Redis, SFTP, and shiny things!
Source: https://simplebackups.com/blog/august-2022-redis-sftp-and-shiny-things
Published: 2022-09-05
Author: Laurent
Summary: SimpleBackups release note for August 2022. Redis backups support; SFTP support; New user interface and more!
## We’ve re-designed our forms to be even easier
SimpleBackups grew a lot in the past year and many features have been added to our user interface. We took the time to make sure our options are still clear and simple, and we made some improvements to our UX!
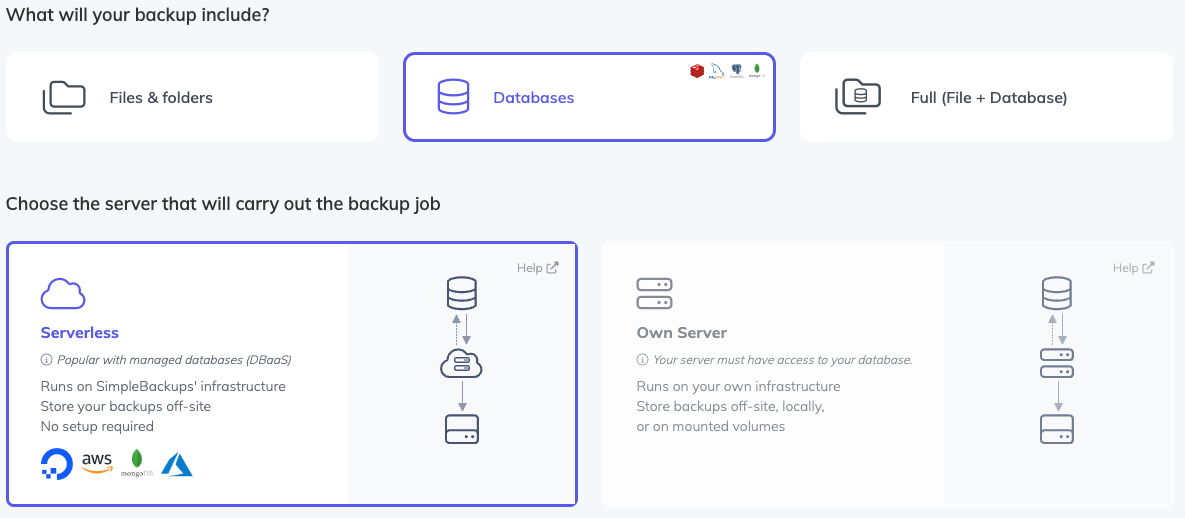
## Redis database backup support
You can now back up your Redis database like you’re used to for MySQL, MongoDB, and PostgreSQL.

## Support for SFTP storage
You can plug your SFTP server into SimpleBackups and use it like any other storage provider. This means you can now:
* Store your backups directly on your SFTP server
* Use your SFTP server for replication, meaning any bucket can be replicated to your SFTP server and the other way around! 😎
## Anomaly detection
Get automatically notified if we suspect a backup to be invalid.
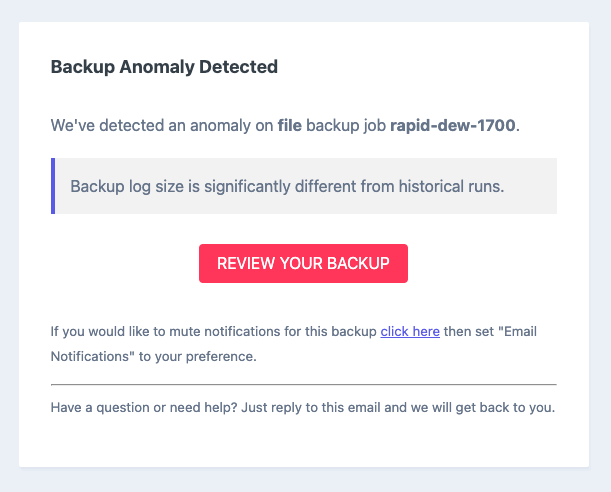
## Tweaks & improvements
* MySQL binlog backup now works with SimpleBackups serverless! → You don’t need your server to process the backups; it works perfectly with managed database services.
* You can now use Google to securely sign to SimpleBackups (together with GitHub and DigitalOcean)
Oh and also, did you know you can make money by referring user to us? All it takes is to share your affiliate link to them. Check out our [affiliate program](https://simplebackups.com/affiliate-program/), to learn more.
As always, thanks to everyone who has shared their feedback!
*ps: For the happy users, willing to share a review about SimpleBackups, Capterra is kind enough to offer you a $15 Amazon gift card if you use [this link](https://reviews.capterra.com/new/184422/9f6ab556-8486-4be0-9e56-2b5fcd0103a1?lang=en).*
---
# How to create, grant and show user permissions in MySQL
Source: https://simplebackups.com/blog/how-to-create-and-grant-permissions-to-a-mysql-user
Published: 2022-08-31
Author: Laurent
Summary: Discover how to effectively manage user permissions in MySQL with our step-by-step guide.
Discover how to effectively manage user permissions in MySQL with our step-by-step guide.
Learn to create, grant, and display MySQL permissions with ease.
> 🧑💻 All the code in this article is bundled in this [Gist](https://gist.github.com/SimpleBackups/bb6c09c3b78cb837c66b8a0aae9e1a05).
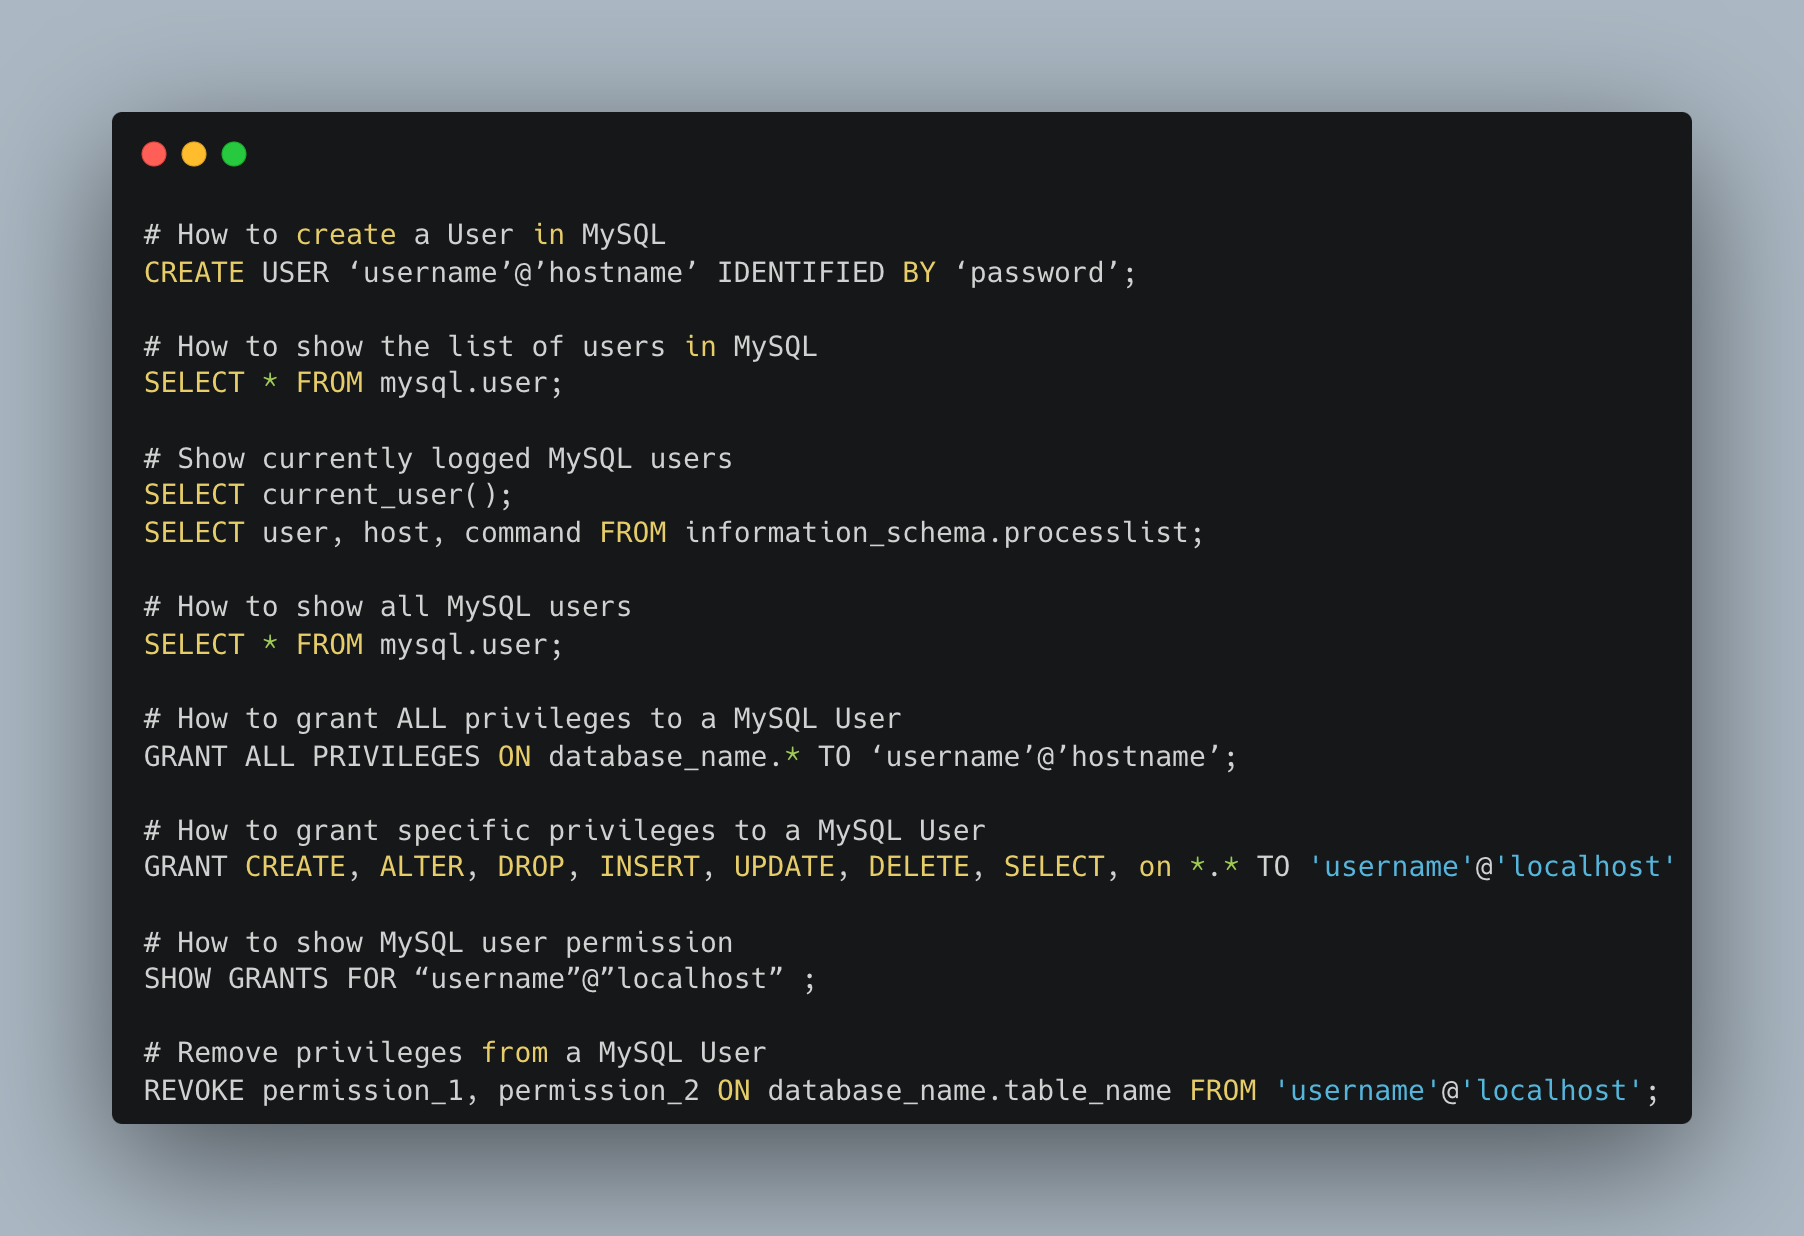
## How to Access MySQL command line
In order to perform these actions you'll need to **access MySQL command line with root access**.
```
sudo mysql
```
If your administrator account requires a password you'll need to use the below command:
```
mysql -u YOUR_USER_NAME -p
```
Now that you're logged in, you'll be able to perform below actions from MySQL command line.
## How to create a MySQL User
You need to consider 3 elements while creating a user:
- `username`
- `password`
- `hostname` - If you only need to access this database locally use the value "localhost"
```
CREATE USER ‘username’@’hostname’ IDENTIFIED BY ‘password’;
```
If you need a user to only have access to your database from a certain I, use the following:
```
CREATE USER ‘username’@’10.0.0.3’ IDENTIFIED BY ‘password’;
```
Where `10.0.0.3` is the IP the user will be able to access the database.
## How to show the list of users in MySQL
To display the list of users in a MySQL database, you can query the `mysql.user` table, which contains information about all users and their privileges. Here's how you can retrieve the list of users:
```
SELECT * FROM mysql.user;
```
Note that this will return all user attributes, a shorter output can be obtained with the below statement:
```
SELECT User, Host FROM mysql.user;
```
## Show currently logged MySQL users
Show the list of users currently connected to your MySQL instance with the following command:
```
SELECT current_user();
```
To gain additional insights, you can tailor your query to show users who are presently connected to the server along with their activity status. This is particularly useful for identifying idle users who may be consuming excessive resources.
Execute the following SQL command to achieve this:
```
SELECT user, host, command FROM information_schema.processlist;
```
## Understanding MySQL Privileges
MySQL privileges allow you to define the rights given to a user to perform certain actions on your MySQL instance. You'll see in the screenshot below that these rights can be scoped down with granularity on some specific actions and resources.
You can define MySQL privileges on 2 levels:
- Global Privileges: Administrative privileges and privileges applied to all databases
- Database Privileges: Privileges applied to specific databases
MySQL offers a [large granularity of privileges](https://dev.mysql.com/doc/refman/5.7/en/grant.html) some of which are: `ALL PRIVILEGES`, `INSERT`, `SELECT`, `UPDATE`, `DELETE`, `CREATE`, `ALTER.`
The most common permissions are:
- **CREATE** – Allows users to create databases/tables
- **SELECT** – Allows users to read data
- **INSERT** – Allows users to insert data
- **UPDATE** – Allows users to update existing data
- **DELETE** – Allows users to delete data
- **DROP** – Allows users to drop databases/tables
## How to show all MySQL users
To list all users of your MySQL instance, use the following statement:
```
SELECT * FROM mysql.user;
```
## How to grant ALL privileges to a MySQL User
In some cases you might want to provide full access to a MySQL User, which can be done as follow:
```
GRANT ALL PRIVILEGES ON database_name.* TO ‘username’@’hostname’;
```
Make sure to replace `database_name` with your database name, `username` with your user name and `hostname` with your hostname or IP address (as described above).
Note that in most cases, and for obvious security reasons, you'll need to grant only specific privileges to a given user on a specific database.
## How to grant specific privileges to a MySQL User
You can grant one or multiple privileges to a user using the below statement:
```
GRANT CREATE, ALTER, DROP, INSERT, UPDATE, DELETE, SELECT, on *.* TO 'username'@'localhost'
```
## How to show MySQL user permissions
You can list all permissions/privileges granted to a user running the `SHOW GRANTS` statement:
```
SHOW GRANTS FOR “username”@”localhost” ;
```
This will output something like:
```
+-----------------------------------------------------------------------------+
| Grants for username@localhost |
+-----------------------------------------------------------------------------+
| GRANT USAGE ON *.* TO 'username'@'localhost' |
| GRANT ALL PRIVILEGES ON 'database'.* TO 'username'@'localhost'.|
| REVOKE ALL PRIVILEGES ON * . * FROM 'username'@'localhost'; |
+-----------------------------------------------------------------------------+
3 rows in set (0.00 sec)
```
## Remove privileges from a MySQL User
You can remove privileges from a MySQL User using the below command:
```
REVOKE permission_1, permission_2 ON database_name.table_name FROM 'username'@'localhost';
```
Replace permission_1, permission_2 with the [permission](https://dev.mysql.com/doc/refman/5.7/en/grant.html)s you want to revoke (like `INSERT`, `SELECT`).
You can remove all privileges with one simple statement, like below:
```
REVOKE ALL PRIVILEGES ON *.* FROM 'usernale'@'localhost';
```
## The backup user is the one that trips people up
The most common reason to create a MySQL user is to give a backup job its own credentials instead of handing it root. That user needs `SELECT`, `SHOW VIEW`, `LOCK TABLES` and `RELOAD`, which [the complete mysqldump guide](/blog/the-complete-mysqldump-guide-with-examples) explains in the context of the dump itself. Get one of them wrong and the dump fails with `Error 1044`.
Restoring needs a different set. A user that can dump a database cannot necessarily write it back, which is why the permissions error usually surfaces halfway through [restoring a MySQL dump](/blog/how-to-restore-a-mysql-backup) rather than at the start.
Two related checks: [list all MySQL databases](/blog/how-to-show-all-mysql-databases) as that user to confirm it can actually see what you expect, and if you are wiring the job up for real, our [automated MySQL backups](/mysql-backup) take the same credentials and handle the schedule and the offsite copy.
---
# How to show a list of all MYSQL databases
Source: https://simplebackups.com/blog/how-to-show-all-mysql-databases
Published: 2022-08-30
Author: Laurent
Summary: How to show all MySQL databases, using "show databases", "information_schema", "mysqlshow", "show schemas" or a GUI client.
In this post, I will show you how to list all databases on MySQL or MariaDB.
There are multiple cases where these commands will come in handy, for example listing all the MySQL databases you might need to backup. Once you know what is on the server, [the complete mysqldump guide](/blog/the-complete-mysqldump-guide-with-examples) covers dumping one of them, or all of them at once.
One thing to know before you start: these commands only show the databases your user is allowed to see. A short list is often a permissions problem rather than an empty server, so check [MySQL user permissions](/blog/how-to-create-and-grant-permissions-to-a-mysql-user) if a database you expect is missing.
> 🧑💻 All the code in this article is bundled in this [Gist](https://gist.github.com/SimpleBackups/b0ea2eccc5284b3890bcd932af30cac7).
## How to show a list MySQL databases with `mysqlshow`
`mysqlshow` is a little client that can be used to easily show databases, tables and even more.
> **[mysqlshow](https://dev.mysql.com/doc/refman/8.0/en/mysqlshow.html "4.5.7 mysqlshow — Display Database, Table, and Column Information")** provides a command-line interface to several SQL [`SHOW`](https://dev.mysql.com/doc/refman/8.0/en/show.html "13.7.7 SHOW Statements") statements. See [Section 13.7.7, “SHOW Statements”](https://dev.mysql.com/doc/refman/8.0/en/show.html "13.7.7 SHOW Statements"). The same information can be obtained by using those statements directly. For example, you can issue them from the **[mysql](https://dev.mysql.com/doc/refman/8.0/en/mysql.html "4.5.1 mysql — The MySQL Command-Line Client")** client program.
To show all databases using `mysqlshow`, run below command in your terminal:
```
mysqlshow -u YOUR_USER_NAME -p
```
You will see a list of databases similar to this:
```
+--------------------+
| Database |
+--------------------+
| information_schema |
| mysql |
| performance_schema |
| sys |
| wordpress_project |
+--------------------+
5 rows in set (0.00 sec)
```
This comes in handy when you need to execute this from scripts and can easily be filtered from there.
## How to show a list MySQL databases with `SHOW DATABASES`.
First, you'll need to access the MySQL database and then execute the `SHOW DATABASES` command.
To open the MySQL shell, run the following command:
```
mysql -u user -p
```
Then run the following command:
```
SHOW DATABASES
```
You will see a list of databases similar to this:
```
+--------------------+
| Database |
+--------------------+
| information_schema |
| mysql |
| performance_schema |
| sys |
| wordpress_project |
+--------------------+
5 rows in set (0.00 sec)
```
### Filter the list of databases
The `SHOW DATABASES` command can be filtered using the `LIKE` clause.
```
SHOW DATABASES LIKE 'wordpress%';
```
All databases with a name starting with 'wordpress' will be returned
```
+--------------------+
| Database |
+--------------------+
| wordpress_project |
+--------------------+
1 rows in set (0.00 sec)
```
## How to show a list MySQL databases with `SHOW SCHEMAS;`
The `SHOW SCHEMAS` command is a synonym for `SHOW DATABASES`,
```
SHOW SCHEMAS;
```
The output will be the list of all databases, similar to this:
```
+--------------------+
| Database |
+--------------------+
| information_schema |
| mysql |
| performance_schema |
| sys |
| wordpress_project |
+--------------------+
5 rows in set (0.00 sec)
```
## How to show a list MySQL databases in one mysql command line
To display all MySQL databases in one single command line using the MySQL client, you can directly pass the SQL statement through the command line. Here's the command:
```sh
mysql -u username -p -e "SHOW DATABASES;"
```
You'll need to replace `username` with your MySQL username. After executing this command, you'll be prompted to enter your password, and then the list of databases will be displayed. If you want to avoid the password prompt and you're running this on a secure and private system, you can include the password in the command (although this is generally not recommended for security reasons):
```sh
mysql -u username -ppassword -e "SHOW DATABASES;"
```
Make sure there is no space between `-p` and `password`. This command will output the list of databases immediately.
## How to show a list MySQL databases with `information_schema`
The `INFORMATION_SCHEMA` database (sometimes referred to as a data dictionary or a system catalogue), provides access to database metadata, such as the name of a database or table, the data type of a column, or access privileges.
This table can also be used to query the list of databases, with more flexibility than the `SHOW DATABASES` described above.
```
SELECT schema_name
FROM information_schema.schemata
WHERE schema_name LIKE 'wordpress%' OR
schema_name LIKE 'wp%';
```
Which can also be ran in one single command line:
```sh
mysql -u username -p -e "SELECT SCHEMA_NAME FROM information_schema.SCHEMATA;"
```
## List all MySQL databases using GUI
For those who prefer a graphical interface to manage MySQL databases, several top-tier GUI clients can simplify the process:
- **phpMyAdmin**: A widely-used, web-based tool that allows you to manage MySQL databases from your browser.
- **MySQL Workbench**: The official MySQL GUI, offering extensive tools for database management and development.
- **TablePlus**: A modern, native GUI client that supports multiple databases, including MySQL.
We compare these and a few others in our roundup of [MySQL GUI tools](/blog/5-best-mysql-GUI-tools-in-2023).
## Backing up what you just listed
Listing databases is usually step one of something larger. If that something is a backup, you have two routes: write and schedule [a MySQL backup script](/blog/the-ultimate-mysql-database-backup-script) yourself, or hand the schedule to a service. Our [automated MySQL backups](/mysql-backup) run the dump for every database on the server and send it to the cloud storage you pick.
---
# Why You Should Trust Your Backups Without a 2nd Thought
Source: https://simplebackups.com/blog/why-you-should-trust-your-backups-without-a-2nd-thought
Published: 2022-08-26
Author: Laurent
Summary: Trust that your backups are valid and running fine, with SimpleBackups advanced notification system and anomaly detection.
If you’re a business owner or a developer, there’s a good chance that you’ve heard the advice to trust your backups without a second thought.
This advice is common for a couple of reasons—many businesses and individuals don’t regularly check their backups to verify their integrity, and even fewer test those backups in a simulated disaster recovery situation.
However, this doesn’t mean that trusting your backups is always the best course of action.
How can you know if trusting your backups is advisable? Keep reading to find out!
## **Backing up is one of the most important things you can do.**
This is a no-brainer, right?
The main reason why people don't back up their data is that they want to avoid this "boring task", not because they don't understand it is important.
When you back up your data, you’re making copies of files and storing them in a different location so that you can recover those files if they get deleted or corrupted.
If you don’t have a good backup solution, you could lose large amounts of data if your server suffers a catastrophic event.
So there is really no need to convince anyone on this, and we can categorise people this way:
- "Procrastinators": they know they need to configure their backups, but it can wait
- "Hackers": let's build a backup script and automate it
- "Pros": let's configure backup, and have the proper processes to fully trust them
I hope you're part of the last 2 categories, and if you're in the "hackers" one, that you're taking the time it requires to have validation and proper notification in place.
## **You should perform regular backups checks, even if you trust them.**
Since you don’t know how your data will be affected by an event, you should always back up your data.
This will give you a complete copy of your data that you can use to restore your server or database to its previous state.
**If you have a trusted, regular backup, you should regularly verify that it’s still valid.**
There are a few ways to do this, including running a verification process, manually checking that your backup data is correct, or testing a simulated disaster recovery scenario.
- What often happens, is that you'll configure your backup, run it, test it and you'll be happy with the results. Your backup works, the topic is closed ... but is it?
- What if a recent update breaks your scheduler?
- What if your storage is not reachable because someone changed the access key?
- What if a change in the database configuration makes a backup impossible?
Well, these cases have to constantly and automatically be tested.
**→ You should be notified whenever your backup is not able to run properly and clearly understand the action you have to take.**
There is actually even more worth than that: the **"silence failure"**.
Your backup is running and is generating an archive every day, on schedule, but this backup for any reason is suddenly half the size of what it should be.
Maybe it cannot back up one of the databases, but still generates an archive for what worked.
**→ You need to be made aware whenever a backup failure or a silence failure occurs.**
There is plenty of other cases where something might go wrong with your backup:
- you may not be able to trust your backup is that you might have accidentally or unknowingly corrupted the backup data
- you may also have mismanaged your backup schedule, resulting in large backups that won’t finish in a reasonable amount of time.
- ...
If any of these issues apply to you, you may not be able to trust your backups, even if you trust them now.
**Bottom line, make sure that:**
✅ Your backups are running accordingly to your schedule
✅ You're being notified in case of a backup failure
✅ You're being notified in case of a backup silent failure
💡For the one in the "Hackers" category: make sure to send the notification to the right channels, not be considered as spam, and stand out (not hidden in between 50 other notifications or accessible via a dashboard no one uses).
## **Always validate your backups by doing a recovery exercise.**
There are a few reasons that you may not be able to trust your backup.
The first is that you may not have a valid backup. If you don’t verify that your backup is accurate, you won’t trust it.
The best way to validate your backup is valid, is to proceed with a full recovery exercise.
Let's say you're backing up a WordPress website.
Go ahead and create a new server, and try recovering your backup (file and database). If you're able to access your website on that newly recovered instance, you're good.
This will also give you confidence and build a real **recovery plan** with, **recovery duration** and **proven steps**.
The last thing you want to do in the event of a crash, is to have to try a recovery for the first time.
**Take away:**
✅ Every backup should have been recovered and validate at least once
✅ Have a clear recovery plan, highlighting the steps, commands (if needed), and time it takes
## **So, how to trust your backups?**
You need a backup system that helps you with:
- Creating your backups right away - Simple interface, no need to code or maintain anything. No excuses.
- Top-notch notification system - You need to be alerted at the right place, every time something fails and not end up in a spam folder or the wrong Slack channel.
- Smart anomaly detection - You need to be made aware of any "silence failure" and visually track the health of your backups.
- All without requiring any maintenance from your end
On top of that, always run a manual recovery process to test that your backup is valid.
## **Conclusion**
Backups are essential to keeping your data safe, but you can’t trust them without a second thought.
With SimpleBackups we've recently released an **"Anomaly Detector"** feature, which will automatically notify you if we suspect a backup to be invalid.
You'll receive an email like this one:
Note that you can also configure it to be sent via Slack, Discord, Pusher or any Webhook.
We built SimpleBackups to help you easily configure your backups, but the real mission is to help you sleep better by trusting your backups are running fine.
We can do this with the help of **"Anomaly detector"**, our **advanced notification system**, and all **the tools we've built to ensure backups are running fine**, on time and are **continuously optimised**.
---
# How to Encrypt Your Backups Using SimpleBackups
Source: https://simplebackups.com/blog/how-to-encrypt-your-backups-using-simplebackups
Published: 2022-08-25
Summary: How to automate and encrypt your website and database backups using SimpleBackups.
Backups have always been essential to every security and disaster recovery strategy. However, due to the ever-increasing risks of data loss and breaches and because backups contain most, if not all, of your business’s data, encryption is now also an important consideration.
But here’s the thing. Encrypting your backups is tedious and can take the time you could instead spend on running your business. Luckily, there is a more efficient option, and in this post, we’ll show you how you can encrypt your backups quickly and easily with SimpleBackups.
## Table of Contents
## Encrypting Your Backups Using SimpleBackups
To encrypt your backups using SimpleBackups, you’ll either create a new backup or edit an existing one you’ve already made. To illustrate the encryption process, however, we’ll use the process of creating a new backup.
### Creating a New Backup
So, to start, let’s first create a new backup. You’ll log into your SimpleBackups account and select **BACKUPS** on the navigation menu.
On the Backup Jobs screen, you’ll click the **Create Backup** button.
On the **Create Backup** screen, you’ll configure your new backup. The first step is to select your backup type and select a server.
If you’ve not connected a server yet, you’ll need to do so by clicking the **Connect a new server** button. On the dialogue box that opens, you can select your connection method. In this example, we’ll use Automated SSH and, as such, run the command below on our server.
If the command is run successfully, the server will be added, and you can select it in the dropdown box. If not, you might have a firewall, so you’ll need to safelist the provided IP addresses. It could also be that you need a password to connect to your server in addition to your SSH key. In this case, you’ll likely need to use the manual connection method.
For the next step, you’ll need to choose when backups will be made, how many backups you’ll keep, and you can add a pre-backup script. Here, you have several daily, weekly, or monthly options. However, for this example, we’ll use the **On demand** option.
Once you’ve selected your backup schedule, you’ll decide what files and folders you want to back up. For this example, we’ll back up a folder named **sbtestdata** on our web server by adding the file path to the folder. We can also exclude any folder we want to avoid backing up.
During this step, you can also choose whether you would like to stream file backups, prefer incremental backups, if you’d like your backups to be compressed or not, and more.
Once you’ve completed all the information above, you can click the **Validate** button. Once the backup has been validated, you can name your backup and decide where you want to store it. Here, you have a few options, including:
- **Local storage**. This option will save the backup to your local machine, and when using this option, you’ll need to provide the path to the folder where you would like to save your backup.
- **Remote storage**. This option allows you to save your backup to external storage solutions like Amazon S3, Google Cloud Storage, Google Drive, Dropbox, and more. When using this option, you’ll need to connect SimpleBackups to the storage provider if you haven’t done so.
- **SimpleStorage**. With this option, you’ll save your backup to your included SimpleBackups storage, and you’ll need to enable SimpleStorage before doing so.
In this example, we’ll use the Remote storage option and save our backup to Dropbox. We’ll also add the path to where we want to save the backup.
### Encrypting the Backup
The final step in encrypting your backups is to select the **Enable Backup Encryption** option. At SimpleBackups, we use AES-256 to encrypt your backups, which means no one else but you can read these backups. At runtime, we use an RSA asymmetric private key to encrypt a random passphrase and encrypt your backup on its way to storage.
As a result of the above, when you choose to encrypt your backup, you’ll need to provide your RSA public key in PEM format and copy and paste its contents into the dialogue box.
To generate your RSA asymmetric key pair, you’ll run this command in your terminal to generate a private key.
You’ll then need to enter a passphrase to secure your private key.
Once your private key is generated, you’ll need to obtain the public RSA key to encrypt your backup.
Once your public key is generated, you’ll need to get the content of the _public-key.pem_ file we just created. This command will output the content to the terminal, which you can copy and paste into the earlier dialogue box.
Once you’ve pasted the file's contents into the dialogue box, you can click on **Create Backup**. Once created, you’ll be taken to the **Overview** page of your backup. And, because we chose the **On demand** option earlier, we can now run the backup by clicking on the **Run now** button.
### Decrypting Your Backup
After you’ve run your backup, you’ll find it in the storage option you chose. In this example, we used Dropbox, so if we go to Dropbox, we’ll see that our backup is stored under a SimpleBackups.io folder.
When we open the folder, we see that two files have been stored. One is the backup archive, and the other is the encrypted passphrase that was generated during the backup.
We’ll download both the encrypted backup and the encryption passphrase to decrypt the backup. We’ll then decrypt the passphrase using the RSA private we generated earlier.
In this command, the filename _file.empty-tooth-0434.b10968.22-08-16 \_090622.tar.gz.pass_ is unique to this backup and will differ for each backup. Once we’ve decrypted the passphrase, we can then decrypt the backup.
As is the case with the passphrase, the _file.empty-tooth-0434.b10968. 22-08-16_090622.tar.gz_ filename in the command is unique to the backup we just created, and the file name will differ for every backup. After this process, you’ll have access to your backup’s data.
When encrypting your backups, you should keep a few things in mind, though. Firstly, once you’ve created and run a backup, you’ll be unable to change the encryption key. In this case, you’ll need to clone or duplicate your backup to use another encryption key.
Also, if you lose your encryption key, you won’t be able to decrypt the backup, and you’ll lose access to it and, by implication, your data. For this reason, it’s vital that you keep your private key safe and never lose it.
## Encrypt Your Backups Today
There you go; now you know how to encrypt your backups quickly and easily with SimpleBackups. Whether you’d like to back up your website data or database, get server and volume snapshots, or simply replicate storage from one cloud service to another, SimpleBackups is the tool you need to keep your data safe.
To learn more about [SimpleBackups](https://simplebackups.com/) and how it can help you, create your first backup for free today.
---
# The Complete Redis Backup Guide (with examples)
Source: https://simplebackups.com/blog/the-complete-redis-backup-guide-with-examples
Published: 2022-08-09
Author: Laurent
Summary: Learn how to use redis-cli to dump and restore redis database. Learn about the common errors and pitfalls in this complete guide having a lot of examples.
In this article, we’ll see how you a real case example of a Redis backup process, end-to-end.
We'll cover **how to configure a Redis backup**, which binaries you should use and the most important settings you need to be aware of, as well as how to store your backup remotely and how to restore it.
Let's get started!
## Table of Contents
## What is Redis?
Redis is an open source in-memory key-value store written in C.
Redis stands for Remote Dictionary Server and is used as a database, cache, queue system, and message broker.
Redis is fast because its data is stored in memory, meaning, unlike traditional databases Redis doesn't need to access the disk.
While writing this article I learned that Redis is often called a "Data Structure Server" because it provides data types that are similar to those in modern programming languages.
Some data structures that Redis provides are Strings, Lists, Sets, Hashes, and Sorted Sets.
[Redis Data Types →](https://redis.io/topics/data-types)
### What is Redis used for?
Even though Redis could be used as your primary Database it's usually not what it is used for.
Here are the most common use cases for Redis:
- **Cache:** Redis is used as a cache, which is a fast way to store data in memory.
- **Session storage:** Redis is used to store session data. Writing and reading data out of Redis is super fast which makes it an ideal candidate for session storage.
- **Message queue**
There are a lot of different use cases for Redis, but these are the most common ones.
### Where is Redis database stored?
As stated above Redis is storing its data in memory. But depending on your use case Redis can copy the data on your disk.
This comes obviously handy when you have a large amount of data, and you need to be able to restore it and this is also why you might be needing to back it up.
Redis regularly dumps its data to an RDB file on the disk based on how snapshots are configured.
**Redis configuration**
The `redis.config` file contains your Redis configuration.
The configuration file is located at `/etc/redis/redis.config` and straighforward: it's a list of instructions.
You'll find a section called `#### SNAPSHOTTING ####` on which you can define if Redis should snapshot its data to the dis and how often it should do it.
```redis.config
save 60 1000
```
_This configuration will make Redis dump the dataset to the disk every 60 seconds if at least 1000 keys are changed._
[Learn more about Redis Configuration →](https://redis.io/docs/manual/config/)
Redis also works with AOF (Append-Only File) which is a way to store the data on the disk by logging all write operations received by the server.
AOS won't be covered in this article but it is worth knowing it exists, especially when you'll need to backup and restore your data.
## How to back up Redis data
Making a Redis backup is pretty easy. You'll need to make a fresh copy of the RDB file, compress it and save it somewhere safe.
Redis offers 2 methods to "force" a snapshot:
- `SAVE`: This will force a snapshot to be taken synchronously.
- `BGSAVE`: This will force a snapshot to be taken asynchronously.
The easiest way is to use the `SAVE` method but it will block all other operations until the snapshot is done.
Using `BGSAVE` will make the server continue to accept commands and will not block other operations but you'll have to figure out when the snapshot is this one is asynchronous.
**So, if you want to make a backup you'll need to do the following:**
1. Review / update your Redis configuration.
2. Create a snapshot for your Redis data (known as a "dump"/"rdb file").
3. Save the RDB file to a remote location
### 1. Review / update your Redis configuration.
You'll need to know where your snapshot file will be generated using the redis-cli command described below.
The default location of your Redis config file is `/etc/redis/redis.config`.
You can also use this command to find the location of your Redis config file: `redis-cli config get dir`.
You can find the configuration file here [https://redis.io/topics/config](https://redis.io/topics/config).
### 2. Create a snapshot for your Redis data.
#### Using redis-cli `SAVE` command
This method will work synchronously to make a snapshot of your Redis database.
Just ssh into your server and run the following command:
Log in to the database command line interface:
```
redis-cli
```
You might have to authenticate to your database:
```shell{promptHost: 127.0.0.1}
auth YOUR_PASSWORD_HERE
```
```bash
SAVE
```
The output will be something like this:
```bash
OK
(1.23s)
```
You can then exit the redis-cli by typing `exit`.
At this stage, the `RDB` file will be saved in `/var/lib/redis/` and will be named `dump.rdb`.
#### Using redis-cli `BGSAVE` command
Using the asynchronous dump function, you'll need to make sure you are aware of the end of the process.
One way to do it is to use `inotifywait` which will notify you when a change to the dump file is made.
### 3. Automate your Redis backups and store them on AWS S3
As stated in [Redis documentation](https://redis.io/docs/management/persistence/), it's safe to copy the RDB file even if used by your running server:
> Redis is very data backup friendly since you can copy RDB files while the database is running: the RDB is never modified once produced, and while it gets produced it uses a temporary name and is renamed into its final destination atomically using rename(2) only when the new snapshot is complete.
>
> This means that copying the RDB file is completely safe while the server is running. This is what we suggest:
>
> - Create a cron job in your server creating hourly snapshots of the RDB file in one directory, and daily snapshots in a different directory.
> - Every time the cron script runs, make sure to call the find command to make sure too old snapshots are deleted: for instance you can take hourly snapshots for the latest 48 hours, and daily snapshots for one or two months. Make sure to name the snapshots with date and time information.
> - At least one time every day make sure to transfer an RDB snapshot outside your data center or at least outside the physical machine running your Redis instance.
We'll create a script that will create our dump file, then upload to Amazon S3.
#### Create a shell script that will dump the Redis database
```shell
cd ~
mkdir scripts
cd scripts
nano redis_backup.sh
```
Copy and paste the script below to it:
```
#!/bin/bash
rdb_file="/FOLDER_TO_YOUR_REDIS_DUMP_FILE/redis/dump.rdb"
redis_cli="/usr/bin/redis-cli"
DIR=`date +%d-%m-%y`
DEST=~/redis_backups/$DIR
mkdir $DEST
echo save| $redis_cli
exit 1
```
#### Send the Redis DUMP to an AWS S3 bucket
Append to `redis_backup.sh` the following:
```shell
BUCKET_NAME="YOUR_S3_BUCKET_NAME"
aws s3 cp $rdb_file s3://YOUR_S3_BUCKET/redis_backups/ && echo "Backup copied to S3"
```
#### Schedule the script to run every day at midnight
First, let's CHMOD the script to make it executable:
```shell
chmod +x ~/scripts/db_sync.sh
```
Then create a cron job to run the script every day at midnight:
```shell
crontab -e
```
```shell
0 0 * * * ~/scripts/redis_backup.sh # take a backup every midnight
```
## How to restore a Redis backup
Now that you've made a backup, we'll see how to restore it from a `.rdb` file.
**We recommend you first try this on a fresh Redis server**
### Make sure AOF is disabled
AOF stands for Append-Only File, which will instruct Redis to log all operations in a `.aof` file.
Since we're restoring a backup, we need to disable AOF before restoring the data as we don't want Redis to log all these operations.
Open your configuration file (`redis.config`) and make sure `appendonly` is set to `no`.
```
appendonly no
```
### Stopping the Redis server
Before being able to replace the `dump.rdb` file, you'll need to stop the Redis server.
```shell
sudo service redis-server stop
```
### Restoring the Redis database
Prior to restoring the database, you can rename the existing dump.rdb file in order to have a restore point in case something goes wrong.
```shell
sudo cp /home/redis/dump.rdb /home/redis/dump.rdb.bak
```
You can then copy the backup rdb file as follows:
```shell
sudo cp /redis_backups/20220810/dump.rdb /home/redis/dump.rdb
```
And finally make sure to apply the right permissions to the dump.rdb file:
```shell
sudo chmod 660 /home/redis/dump.rdb
```
### Re-starting Redis server
```shell
sudo service redis-server start
```
## Additional Resources
- Official Redis documentation: [https://redis.io/docs/management/persistence/](https://redis.io/docs/management/persistence/)
- Service to automate your Redis backups: [https://simplebackups.com/redis-backup/](https://simplebackups.com/redis-backup/)
## Conclusion
We've seen how to back up your Redis database and restore it, and we've seen how to automate the process.
_[SimpleBackups](https://simplebackups.com) will save you a lot of time setting up scripts, ensuring they run without problems, all without code or maintenance.
It will alert you when things go wrong, and allows you to store your backups on many cloud storage services like Google, DigitalOcean, Wasabi, Dropbox, and more…_
---
# Automated Amazon Lightsail instance and disk snapshots
Source: https://simplebackups.com/blog/automated-amazon-lightsail-backup-snapshots
Published: 2022-08-05
Author: Laurent
Summary: Automate all your Amazon Ligthsail instance and disk snapshot minus the AWS console complexity.
SimpleBackups is now fully integrated with **Amazon Lightsail**!
This means you can easily connect your AWS account using their secured IAM credentials and leverage SimpleBackups to manage
your instances and disks snapshots.
We all love AWS products, but let's be fair... their console is complex and pricing not clear.
We fixed all of that and are happy to be a part of the AWS community.
### Amazon Ligthsail are now fully integrated!
We've developed a connector to Amazon Lightsail allowing you to select it as a new Snapshot provider.
### What does it mean?
You're now able to:
✅ **Backup Amazon Ligthsail instances** (which will include all attached disks automatically)
✅ **Backup Amazon Lightsail disks individually**
💡 We've also created a step-by-step guide to help you create [your first Amazon Ligthsail backup](/blog/how-to-automate-amazon-lightsail-snapshots/).
---
# July 2022: New Dashboard, AWS Lightsail, and custom backup scripts
Source: https://simplebackups.com/blog/july-2022-release-notes-new-dasbhoard-aws-lightsail-backup
Published: 2022-07-30
Author: Laurent
Summary: Release note for July 2022 - New Dashboard, AWS Lightsail, and custom backup scripts
## A new dashboard is here!
We redesigned the dashboard to save you time. Just a single look and you will be able to figure out:
- how backups and snapshots are doing
- backup health over the last days
- the total size of backups
- and overall account statistics.

On top of this we've improved our "Plan usage" section to highlight what you're using, what features might be exceeding and what is the plan that fits you best.
Oh... you can also request more SimpleStorage quota from this window.
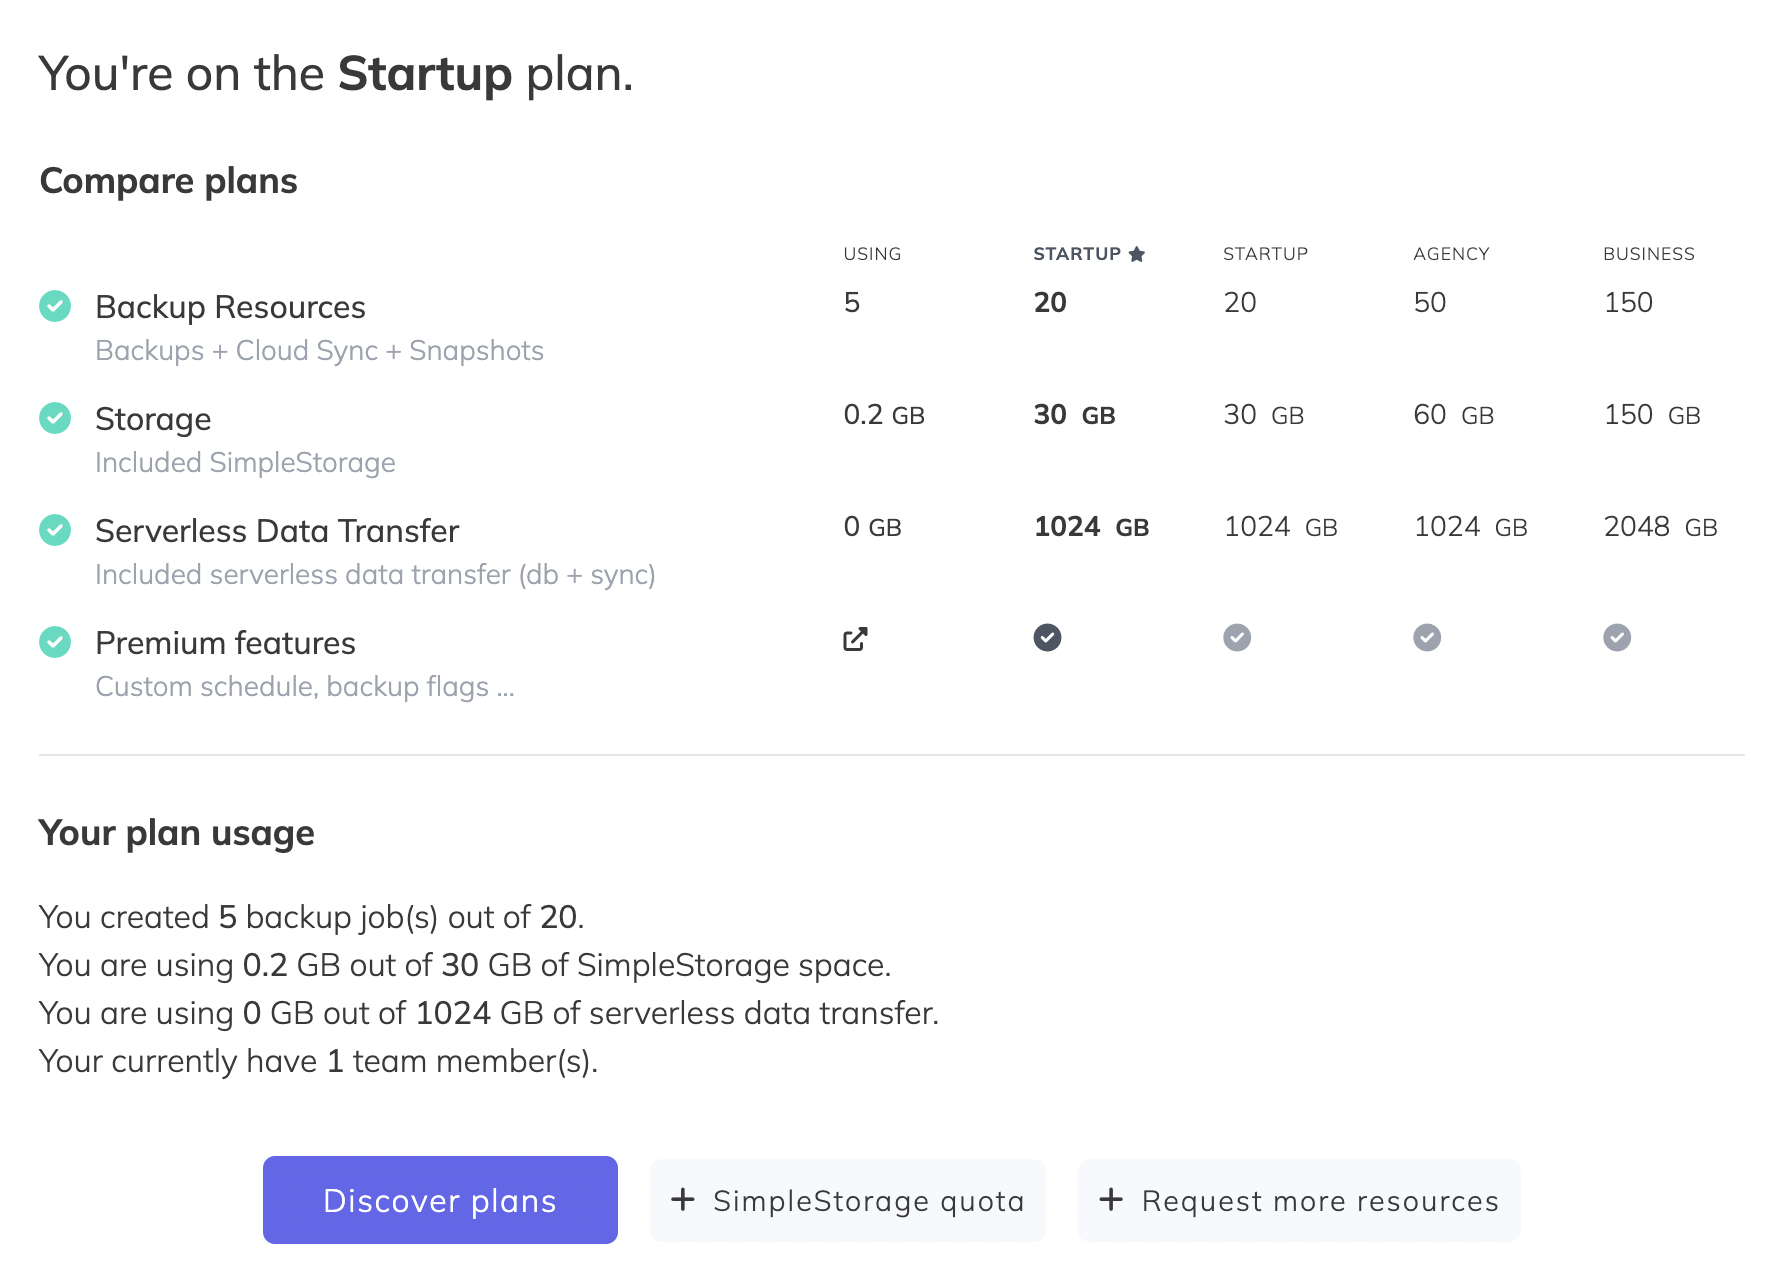
On top of the improved UX we've also worked on performance and the application will now feel faster than ever.
## AWS Lightsail backup support
Amazon Lightsail is now a supported snapshot provider, allowing you to:
- Automate Lightsail instance snapshots (includes attached disks as well)
- Automate Lightsail disk snapshots individually
→ Check out our step-by-step guide on [how to Automate Amazon Lightsail Snapshots](https://simplebackups.com/blog/how-to-automate-amazon-lightsail-snapshots/).
## Pre & Post Backups script
Ever needed to run some script before or after a backup?
Well, you can now do that for every backup using the Pre & Post Backups script feature.
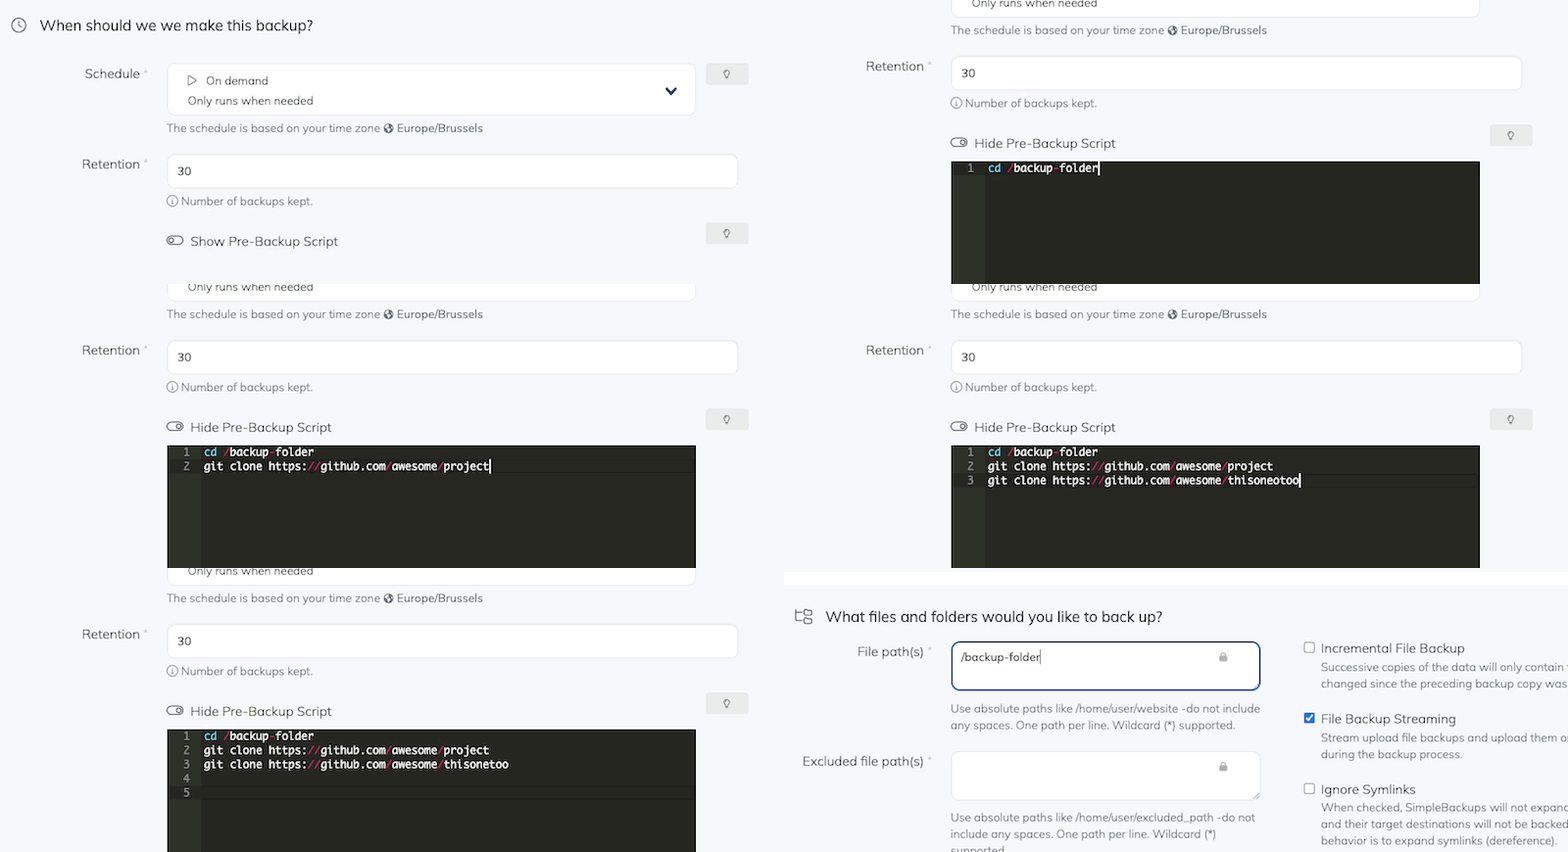
---
# How to automate Amazon Lightsail Snapshots
Source: https://simplebackups.com/blog/how-to-automate-amazon-lightsail-snapshots
Published: 2022-07-22
Summary: Step-by-step guide to automate Amazon Lightsail instance and disk snapshots on a custom schedule.
The following guide will help you, step by step, automate your Amazon Lightsail server snapshots & volume backups.
Afterwards, you will be able to take snapshots, automatically on your own terms, whether you need to take them daily, weekly, every couple of hours or on-demand using our API.
You will also have the option to choose the number of snapshots to keep on your provider to save snapshot storage cost.
## Table of Contents
## Prerequisites
- Have a **[SimpleBackups account](https://my.simplebackups.com/register?sb_source=docs&sb_term=lightsail_howto)** account ready
- Have an **AWS account** with a Lightsail instance or disk volume
## Create your AWS credentials
In order for SimpleBackups to manage your Amazon Lightsail Snapshots, a IAM Users to be created with the right policies.
We will create a custom policy first to allow us to manage your Amazon Lightsail Snapshots. The policy will include the least required permissions to manage snapshots.
### Create a custom Lightsail policy for snapshots
- Connect to your **AWS Console**
- Head to **[IAM/Policies management](https://console.aws.amazon.com/iam/home#/policies)** page
- Click on **"Create policy"**
- Click on **JSON** and paste the custom policy below:
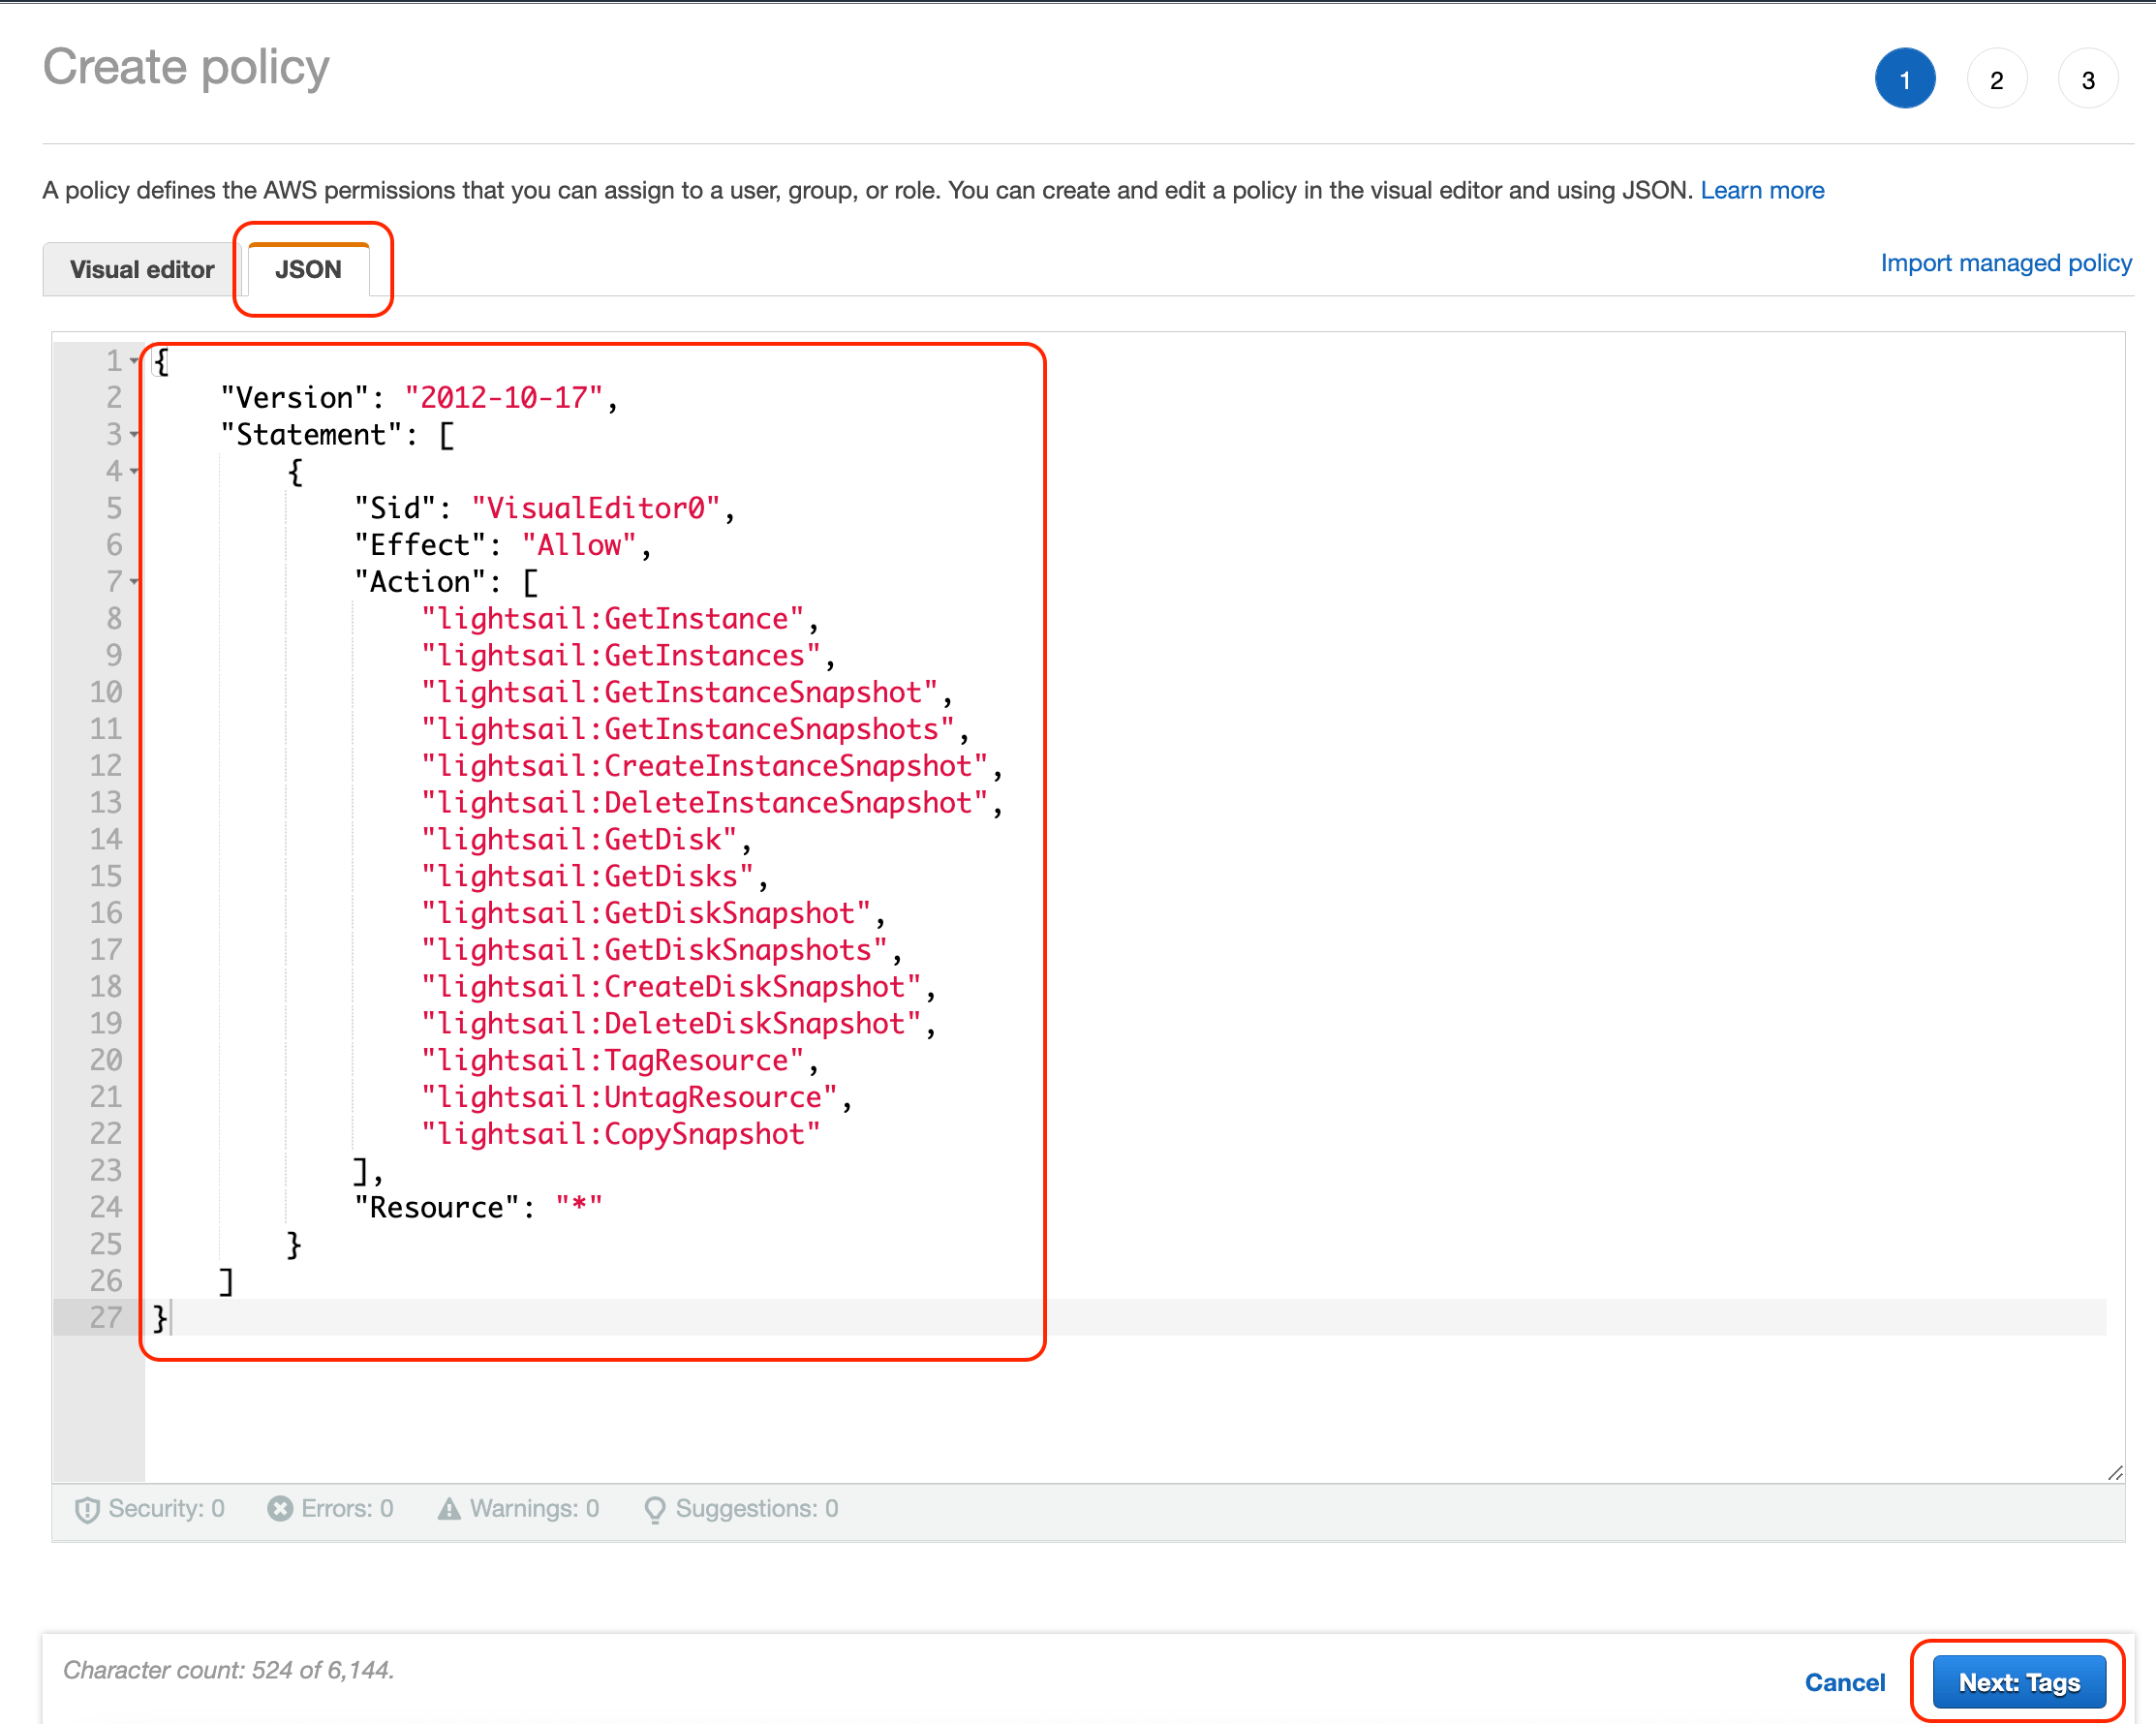
_For your reference, here is the policy to copy and paste:_
```json
{
"Version": "2012-10-17",
"Statement": [
{
"Sid": "VisualEditor0",
"Effect": "Allow",
"Action": [
"lightsail:GetInstance",
"lightsail:GetInstances",
"lightsail:GetInstanceSnapshot",
"lightsail:GetInstanceSnapshots",
"lightsail:CreateInstanceSnapshot",
"lightsail:DeleteInstanceSnapshot",
"lightsail:GetDisk",
"lightsail:GetDisks",
"lightsail:GetDiskSnapshot",
"lightsail:GetDiskSnapshots",
"lightsail:CreateDiskSnapshot",
"lightsail:DeleteDiskSnapshot",
"lightsail:TagResource",
"lightsail:UntagResource",
"lightsail:CopySnapshot"
],
"Resource": "*"
}
]
}
```
- Click on **"Next: Tags"** then **"Next: Review"**
- Give the policy a name, "LightsailSnapshotsPolicy" then click on **"Create policy"**
### Create a Lightsail user for snapshots
- Head to **[IAM/Users management](https://console.aws.amazon.com/iamv2/home?#/users)** page
- Click on **"Add users"**
In the "Add user" form fill in information shown below:
#### Step 1: Set user access
- Define a name to your user.
- Choose "Access key - Programmatic access" for "Select AWS Credential type".
#### Step 2: Attach policy to user
- Select "Attach existing policies directly" and select "LightsailSnapshotsPolicy" (we created in the earlier step).
- Select "Create user without a permission boundary" in the "Set permissions boundary" section.
#### Step 3: Finalize user creation
- You don't have to add any specific tag, just click "Next".
- Review and create the user.
#### Step : Copy your access and secret keys
Copy your **"access key id"** and secret **"access key"**.
With this done, you know have a IAM User with an access key and secret that we'll be able to use in SimpleBackups to automate your Amazon Lightsail Snapshots.
## Connect your AWS Lightsail Account to SimpleBackups
We now have everything we need to connect your AWS account to SimpleBackups.
- Connect to your SimpleBackups account
- Head to the **[Snapshots/Create](https://my.simplebackups.com/snapshot/create)** page
- Click on **"Connect a new provider"**
In the "Select your provider" form, fill in the information below:
- **Provider**: Select Amazon Lightsail
- **Name**: Internal name. It doesn't necessarily have to match your AWS IAM User Name
- Enter the **"Access Key"** and **"Secret"** generated in the previous step
- **Save**
If saving this provider returns an error, make sure to validate that the IAM User associated to the Access Key you used has the right priviledges.
> You're good to go! You can now configure and schedule your Amazon Lightsail instance & disk snapshots.
---
# May 2022: Backup Encryption, DigitalOcean Marketplace ...
Source: https://simplebackups.com/blog/may-2022-release-notes
Published: 2022-06-10
Author: Laurent
Summary: Release Notes - Cloud-Sync, API, Incremental MySQL backups
After almost 2 months of daily "I'm on it", we have some cool product upgrades to share!

## Encrypt your backups like a pro!
You can now encrypt all your backups with your own RSA Key, right from our interface, without a sweat.
_We use AES-256 to encrypt your backups using your key via OpenSSL. Using this method is highly recommended since you are the only one who can actually read your own backups, no one else can._
## Mooore supported providers!
We actively work on bringing all your preferred shiny providers ✨ in SimpleBackups and in this release we brought:
- [IDrive E2](/docs/storage-providers/idrive-e2)
- [Cloudflare R2](/docs/storage-providers/cloudflare-r2)
- [MinIO](/storage-backup/minio/)
## Hello DigitalOcean Marketplace!
DigitalOcean released its marketplace just about 1 month ago.
As a proud partner, we're excited to be part of the first few to join them!
## File Backup Restore Automation
All types of file backups can be now restored via our one-line command method, including those encrypted backups.
So the whole decryption part is completely removed from your shoulder!
## Deeper support for storage Immutability
You can now use your “Read-only” and “Object-locked” storage easily. This allows you to create your backups on one bucket, replicate it on a different geo-separated, immutable/locked-locked bucket for ultimate security against data accidental deletion or loss.
Or you could just connect your source storage as “Read-only” and replicate it somewhere else without giving SimpleBackups “write” access to the source!
## Tweaks & improvements
- Improved Point-in-Time restores for incremental backups
- and much shiny product polishing 💅!
## And a big shoutout to...
Thanks a lot to all of the users that participated in our feedback calls, we now have a nice list of product improvements and new features to work on!
Special thanks to [Philippe from BookAndLink](/case-study/bookandlink/) who shared with us how he uses SimpleBackups for his Hospitality Software.
---
# How to connect IDrive e2
Source: https://simplebackups.com/blog/how-to-connect-idrive-e2
Published: 2022-05-31
Summary: How to connect IDrive e2 to SimpleBackups and use it as a storage for database and website backups.
## 1. Create your IDrive e2 Bucket
* [Log into your IDrive account](https://app.idrivee2.com/)
* Go to the [Buckets page](https://app.idrivee2.com/buckets)[](https://app.idrivee2.com/buckets) and click on **Create Bucket**
* Fill in your Bucket name, select a region and create the Bucket
Good job, your bucket is created!
*Don't leave the Idrive interface yet, we'll now have to create your credentials.*
**Information you'll need in step 3:**
* Your **Bucket name**, in this case "acme-bucket"
## 2. Create your Bucket credentials
Now that we have a Bucket, we need to create the credentials required to access it.
* Go to the ["App Keys" page](https://app.idrivee2.com/access-key) and click on "Create Access Key" button
**Fill in the form with:**
* **Name of the Key:** we like to use a reference of the Bucket we're creating the credentials for
* **Allow access to Bucket(s):** Access to "All Buckets" is less secure, we strongly recommend that you select the bucket you want to use only.
* **Assign permissions:** Read and write - Allows write backup archives but also to retrieve them during the backup restore process
You'll get a confirmation message including your **KeyID** and **applicationKey**, which is what we need to connect your storage to SimpleBackups.
**Information you'll need in step 3:**
* **Endpoint Key**
* **Access Key**
* **Secret Key**
## 3. Connect your Bucket to SimpleBackups
So far we have created a Bucket and have created the required credentials to get access to this it.
The only remaining step is connecting this new storage to SimpleBackups.
* Log into SimpleBackups and head to the [connect your storage](https://my.simplebackups.com/storage/create) page
* Select **"IDrive e2"** as storage provider and fill in the "Connect your storage" form with the information from step 1 and 2.
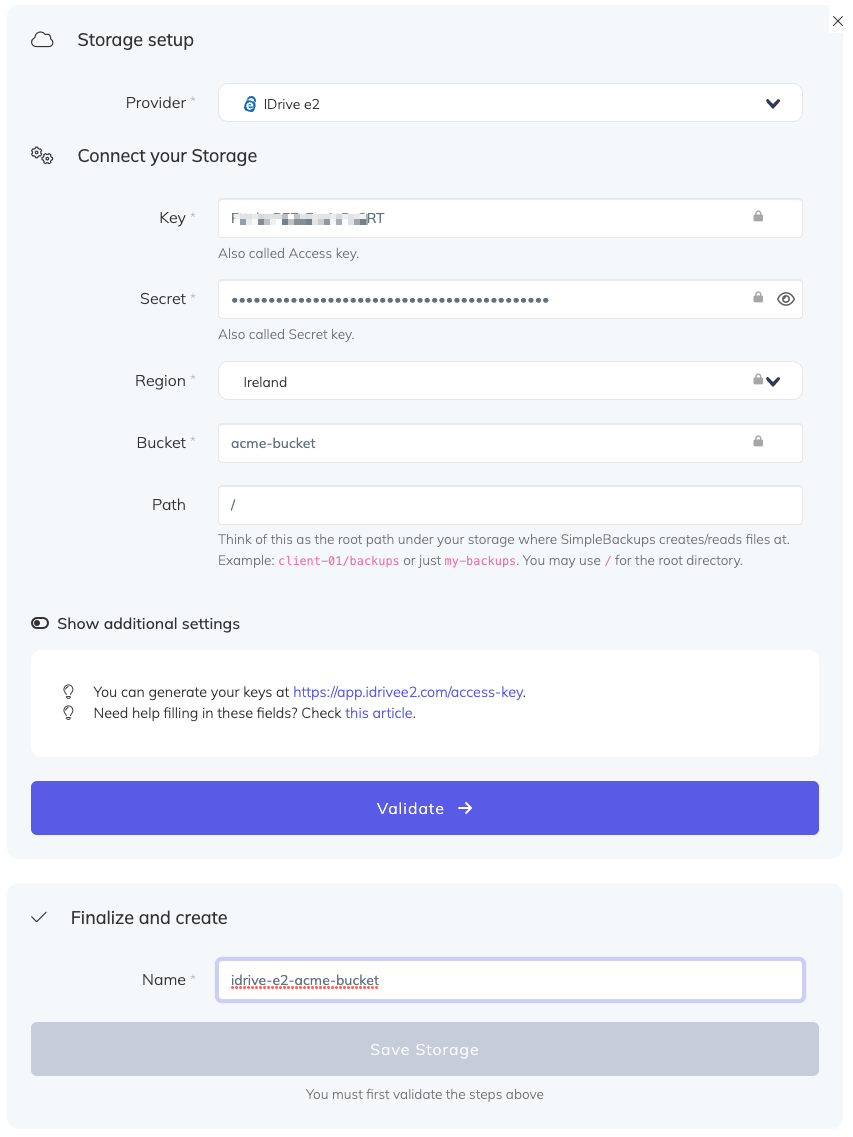
You'll have to input :
* **Key**: Access Key described in (step 2)
* **Secret**: Secret Leu described in (step 2)
* **Endpoint**: Endpoint url generated in step 2, preceded by "https://"
* **Bucket**: Bucket name described in (step 1)
* Give your storage a **name** (usually we like to use the Bucket name) and click on "Save new storage".
Once saved, your IDrive e2 bucket will be available as a storage destination for your backups.
---
# How to back up MongoDB to Google Drive
Source: https://simplebackups.com/blog/how-to-backup-mongodb-to-google-drive
Published: 2022-05-26
Summary: How to automate MongoDB backups and store them on Google Drive. Tutorial for SimpleBackups and Google Drive.
> Backup your MongoDB database(s) using SimpleBackups and store it on Google Drive.
If you're already using Google Drive, leveraging it to store your backups is one of the easiest integration.
In this article we'll focus on how to connect your Google Drive account to store database (MongoDB) backups, but this can work for any kind of backups as well.
## Prerequisites
* Create a **[SimpleBackups account](https://my.simplebackups.com/register)**
* Have an **Google Drive account** (I'll show you how to create your Google Drive Bucket below)
## Create your MongoDB backup
Let's now go to SimpleBackups and [get that backup configured](https://my.simplebackups.com/backup/create).
From this screen you'll be able to configure what data you're backing up (MongoDB in this case), where you want it to be saved (in this case your Google Drive Bucket), and how often you want this to be done.
*FYI this section will be the same, no matter what storage you pick.*
*And that's the beauty of it, if you want to change storage, just select another one from the list (Backblaze, AWS, or whatever you might prefer), and you'll be good to go.*
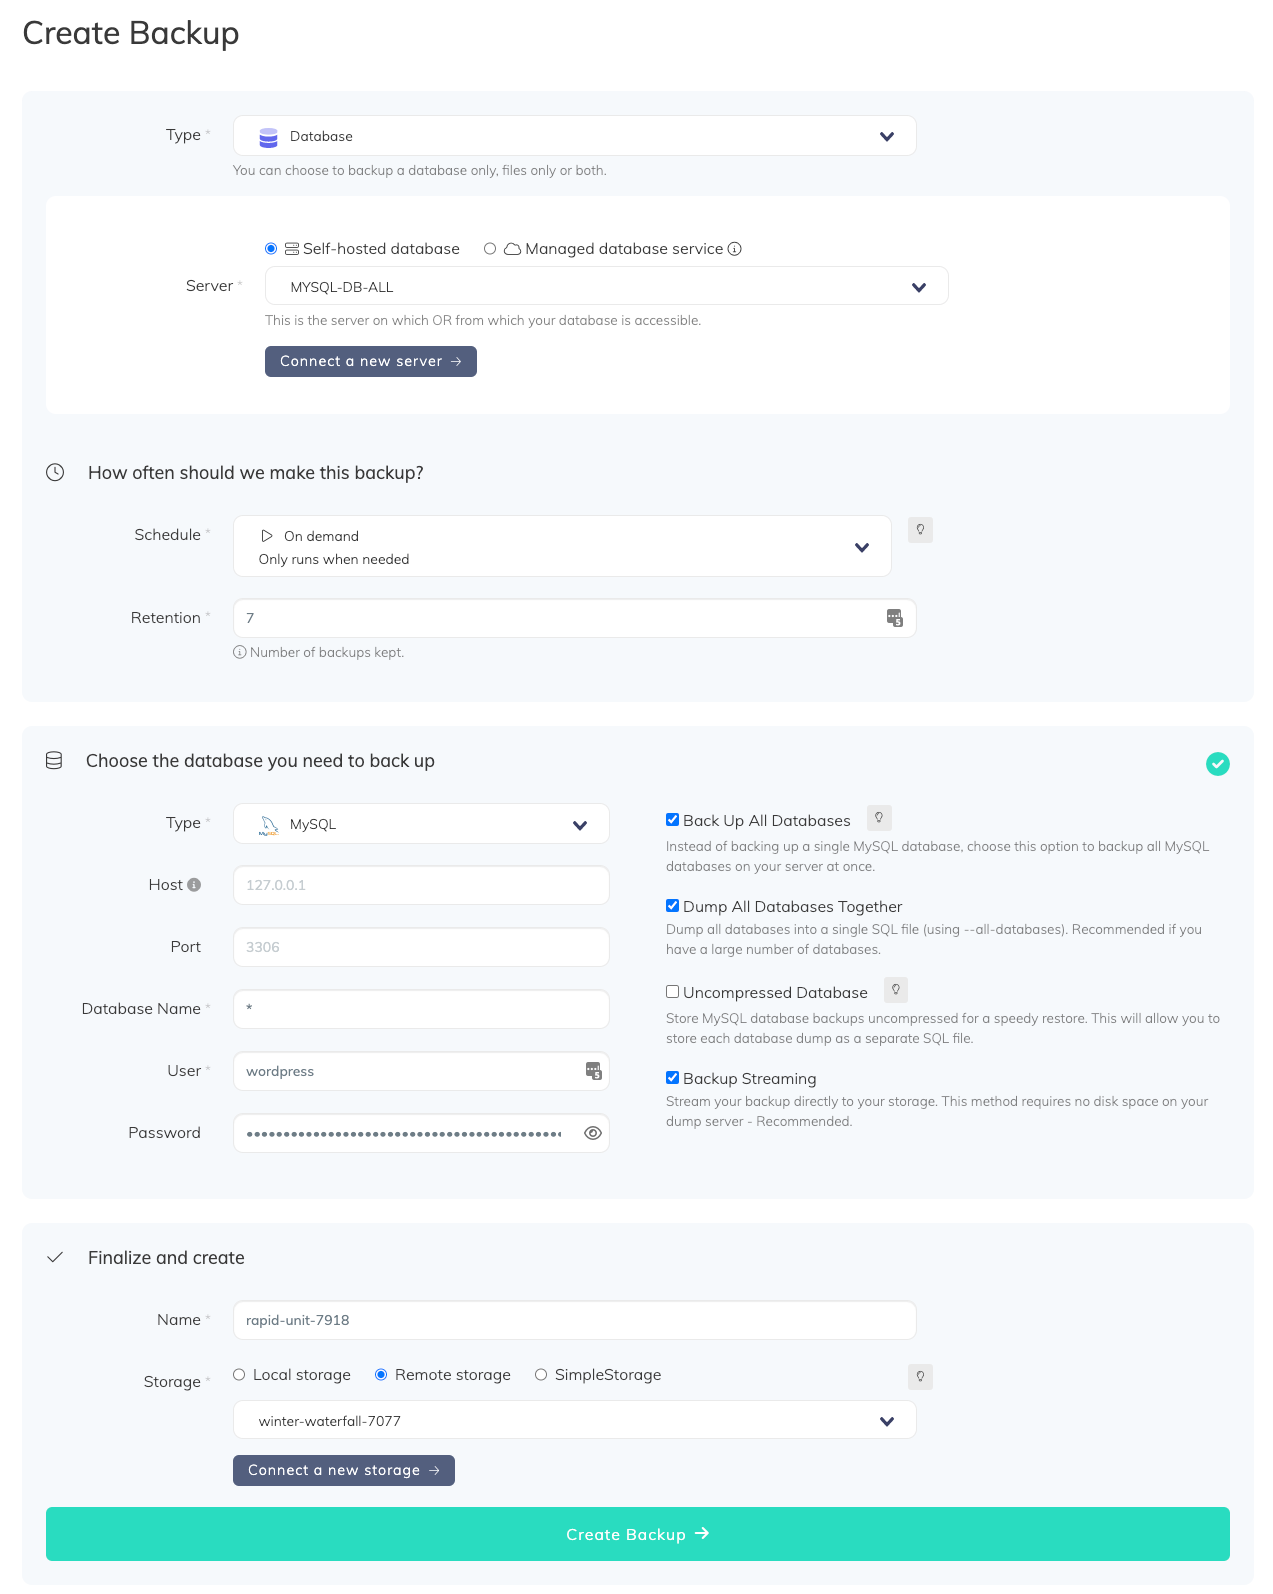
### What would you like to back up?
* Select "**Database**" (in this article we're creating a MongoDB backup only)
* **Select the server** on which your database is hosted
### How often should we make this backup?
* Select your **schedule** option (here we picked a daily schedule)
You can select a pre-defined schedule (daily, weekly, monthly) or a custom option allowing you to schedule it whenever you want to use CRON syntax.
* Example of CRON schedule for "20:00 every Tuesday" = `0 22 * * 2`
Finally, the "On demand" option won't schedule anything but will allow you to trigger the backup manually or using our API.
* Define the [**backup retention**](/docs/getting-started/features/retention), which is the number of backups you want to keep (kind of the history length of your backup if you prefer)
### Choose the database you need to back up
* Select the type of your database, in this case "**MongoDB**"
* Fill in the database connection form
* Validate this step (we'll make sure we can access to your database(s) before moving to the next step)
## Finalize and create
* Pick the **name of your backup** (this is how it will be displayed in SimpleBackups interface) and where you want to store it.
* Select your **Storage** (see below)
## Connect your Google Drive
* In the "Finalize and create" step, select **"Remote storage"** and click on **"Connect a new storage"**.
* Select **"Google Drive"** as storage provider and fill in the "Connect your storage" form with the information from step 1.
* Select the folder where your backup will be stored (relative to the root of your Google Drive).
*Note that SimpleBackups will only have access to the folders created from a backup.*
Congratulations, you now have your MongoDB database backed up on Google Drive!
*Run it once manually (using the "Run" backup button from the backups list), and you'll trigger your first backup!*
---
# How to back up MySQL to Google Drive
Source: https://simplebackups.com/blog/how-to-backup-mysql-to-google-drive
Published: 2022-05-26
Summary: How to automate MySQL backups and store them on Google Drive. Tutorial for SimpleBackups and Google Drive.
> Backup your MySQL database(s) using SimpleBackups and store it on Google Drive.
If you're already using Google Drive, leveraging it to store your backups is one of the easiest integration.
In this article we'll focus on how to connect your Google Drive account to store database (MySQL) backups, but this can work for any kind of backups as well.
## Prerequisites
- Create a **[SimpleBackups account](https://my.simplebackups.com/register)**
- Have an **Google Drive account** (I'll show you how to create your Google Drive Bucket below)
## Create your MySQL backup
Let's now go to SimpleBackups and [get that backup configured](https://my.simplebackups.com/backup/create).
From this screen you'll be able to configure what data you're backing up (MySQL in this case), where you want it to be saved (in this case your Google Drive Bucket), and how often you want this to be done.
> _FYI this section will be the same, no matter what storage you pick._ > _And that's the beauty of it, if you want to change storage, just select another one from the list (Backblaze, AWS, or whatever you might prefer), and you'll be good to go._

### What would you like to back up?
- Select "**Database**" (in this article we're creating a MySQL backup only)
- **Select the server** on which your database is hosted
### How often should we make this backup?
- Select your **schedule** option (here we picked a daily schedule)
You can select a pre-defined schedule (daily, weekly, monthly) or a custom option allowing you to schedule it whenever you want to use CRON syntax.
- Example of CRON schedule for "20:00 every Tuesday" = `0 22 * * 2`
Finally, the "On demand" option won't schedule anything but will allow you to trigger the backup manually or using our API.
- Define the [**backup retention**,](/docs/getting-started/features/retention) which is the number of backups you want to keep (kind of the history length of your backup if you prefer)
### Choose the database you need to back up
- Select the type of your database, in this case "**MySQL**"
- Fill in the database connection form
- Validate this step (we'll make sure we can access to your database(s) before moving to the next step)
## Finalize and create
- Pick the **name of your backup** (this is how it will be displayed in SimpleBackups interface) and where you want to store it.
- Select your **Storage** (see below)
## Connect your Google Drive
- In the "Finalize and create" step, select **"Remote storage"** and click on **"Connect a new storage"**.
- Select **"Google Drive"** as storage provider and fill in the "Connect your storage" form with the information from step 1.
- Select the folder where your backup will be stored (relative to the root of your Google Drive).
_Note that SimpleBackups will only have access to the folders created from a backup._


Congratulations, you now have your MySQL database backed up on Google Drive!
_Run it once manually (using the "Run" backup button from the backups list), and you'll trigger your first backup!_
---
# How to back up PostgreSQL to Google Drive
Source: https://simplebackups.com/blog/how-to-backup-postgresql-to-google-drive
Published: 2022-05-26
Summary: How to automate PostgreSQL backups and store them on Google Drive. Tutorial for SimpleBackups and Google Drive.
> Backup your PostgreSQL database(s) using SimpleBackups and store it on Google Drive.
If you're already using Google Drive, leveraging it to store your backups is one of the easiest integration.
In this article we'll focus on how to connect your Google Drive account to store database (PostgreSQL) backups, but this can work for any kind of backups as well.
## Prerequisites
* Create a **[SimpleBackups account](https://my.simplebackups.com/register)**
* Have an **Google Drive account** (I'll show you how to create your Google Drive Bucket below)
## Create your PostgreSQL backup
Let's now go to SimpleBackups and [get that backup configured](https://my.simplebackups.com/backup/create).
From this screen you'll be able to configure what data you're backing up (PostgreSQL in this case), where you want it to be saved (in this case your Google Drive Bucket), and how often you want this to be done.
> *FYI this section will be the same, no matter what storage you pick.*
*And that's the beauty of it, if you want to change storage, just select another one from the list (Backblaze, AWS, or whatever you might prefer), and you'll be good to go.*

### What would you like to back up?
* Select "**Database**" (in this article we're creating a PostgreSQL backup only)
* **Select the server** on which your database is hosted
### How often should we make this backup?
* Select your **schedule** option (here we picked a daily schedule)
You can select a pre-defined schedule (daily, weekly, monthly) or a custom option allowing you to schedule it whenever you want to use CRON syntax.
* Example of CRON schedule for "20:00 every Tuesday" = `0 22 * * 2`
Finally, the "On demand" option won't schedule anything but will allow you to trigger the backup manually or using our API.
* Define the [**backup retention**,](/docs/getting-started/features/retention) which is the number of backups you want to keep (kind of the history length of your backup if you prefer)
### Choose the database you need to back up
* Select the type of your database, in this case "**PostgreSQL**"
* Fill in the database connection form
* Validate this step (we'll make sure we can access to your database(s) before moving to the next step)
## Finalize and create
* Pick the **name of your backup** (this is how it will be displayed in SimpleBackups interface) and where you want to store it.
* Select your **Storage** (see below)
## Connect your Google Drive
* In the "Finalize and create" step, select **"Remote storage"** and click on **"Connect a new storage"**.
* Select **"Google Drive"** as storage provider and fill in the "Connect your storage" form with the information from step 1.
* Select the folder where your backup will be stored (relative to the root of your Google Drive).
*Note that SimpleBackups will only have access to the folders created from a backup.*


Congratulations, you now have your PostgreSQL database backed up on Google Drive!
*Run it once manually (using the "Run" backup button from the backups list), and you'll trigger your first backup!*
---
# Your backups on IDrive E2 with SimpleBackups
Source: https://simplebackups.com/blog/backups-on-idrive-e2-with-simplebackups
Published: 2022-05-20
Author: Laurent
Summary: Connect your IDrive e2 storage to SimpleBackups and store your websites, files and database backups on IDrive.
We’ve recently had a surge of requests from user mentioning IDrive E2 as a S3 storage solution and asking whether they could use SimpleBackups with this provider.
The answer is ... **yes**!
With SimpleBackups you can connect most of the cloud providers (Google Drive, Dropbox, DigitalOcean, Amazon ...), and you can connect any S3 compatible storage provider.
Just click **“connect a new storage”**, select **“S3-Compatible Storage”** and fill in your Access Key information.
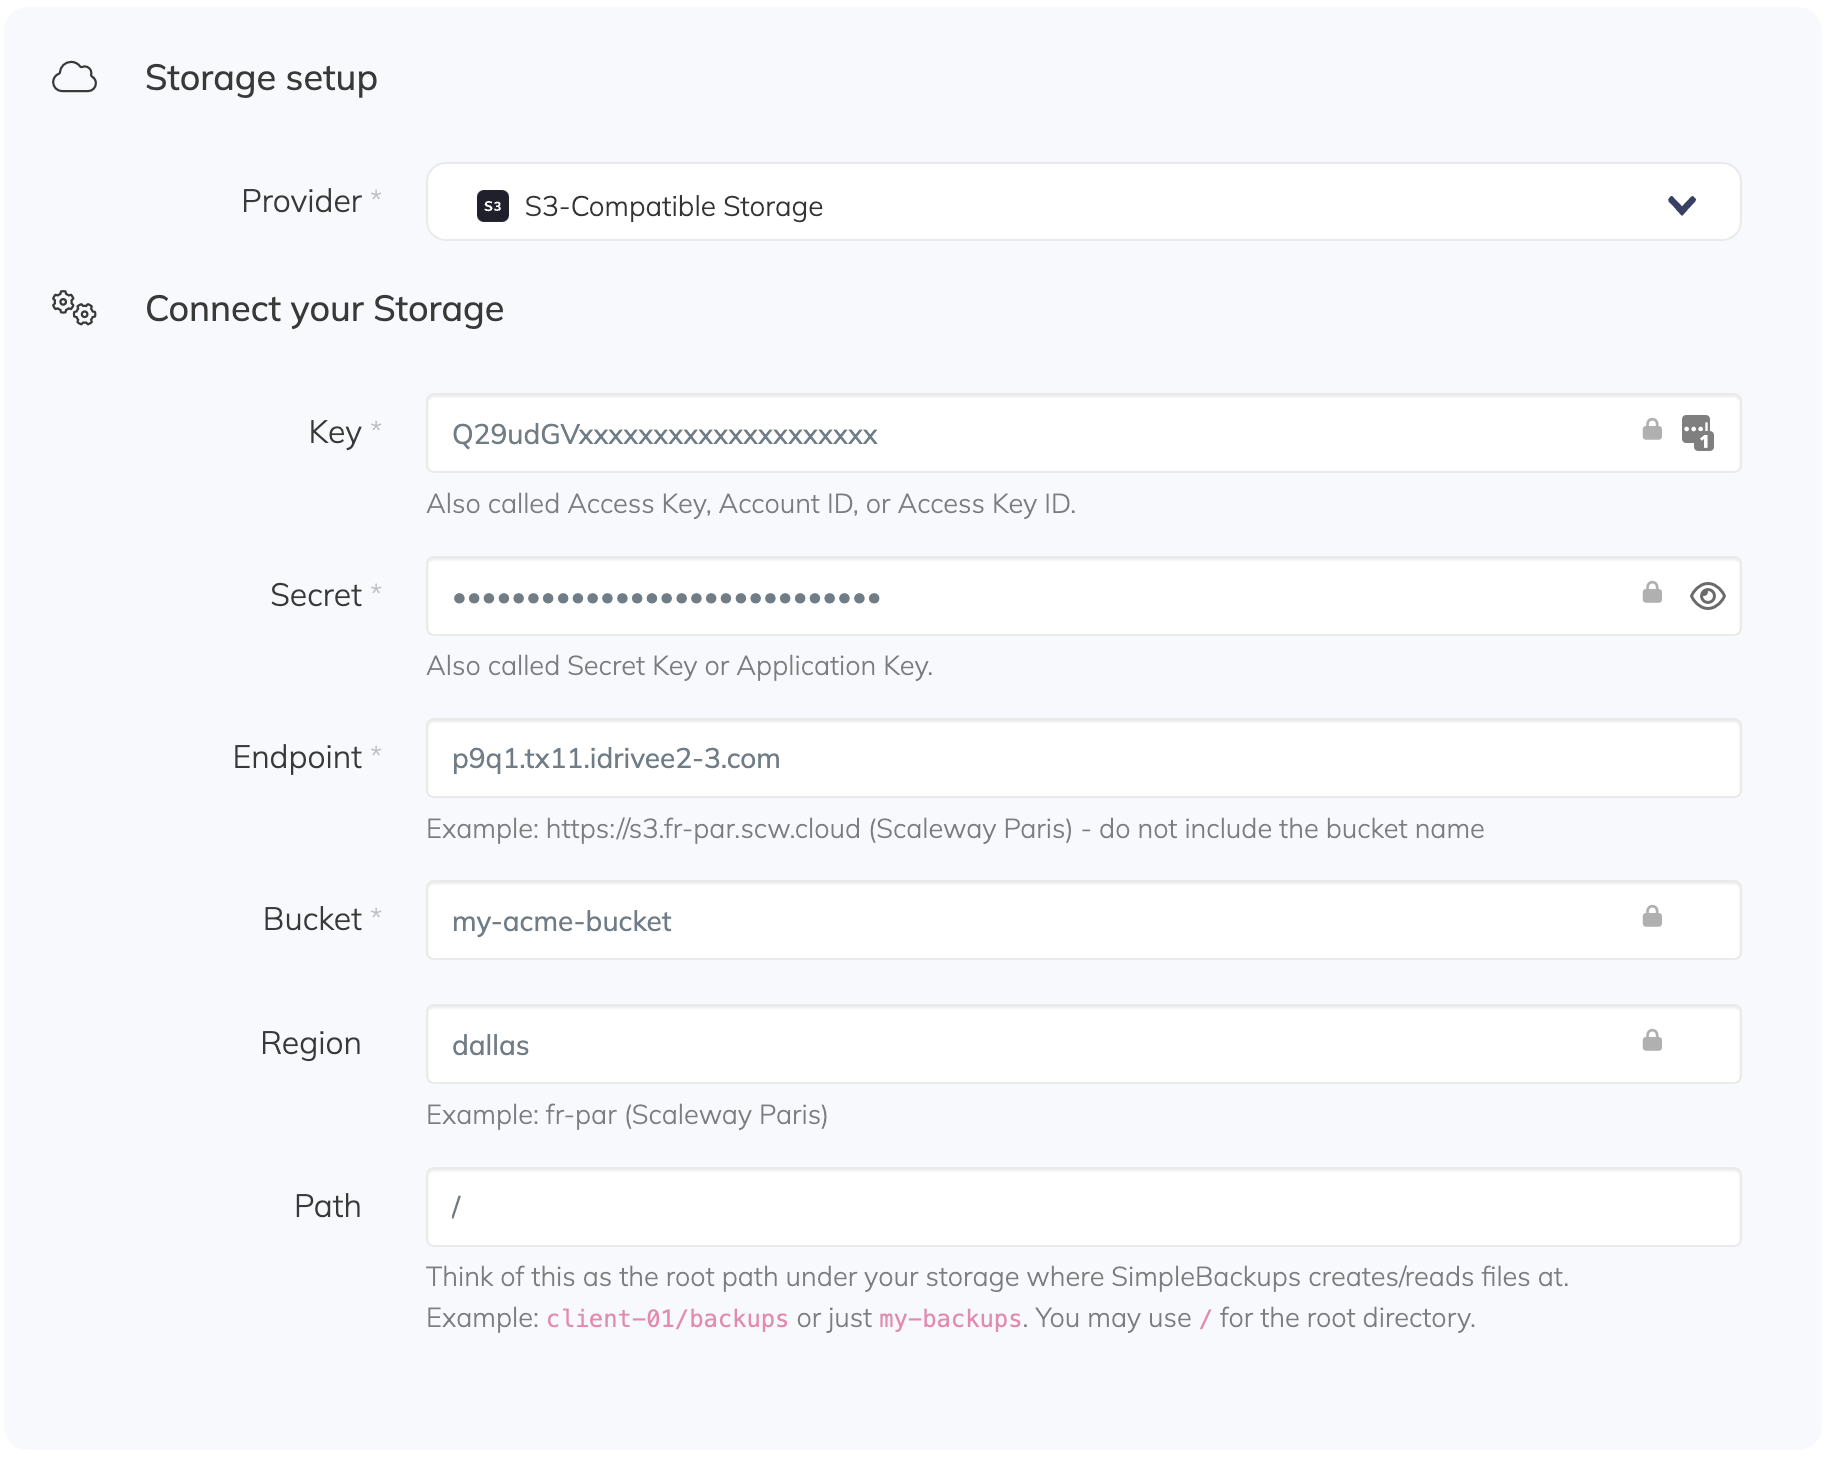
## How does IDrive e2 compare to other providers?
IDrive seems to offer a good quality of service for a decent price.
Their price seem very competitive (this is valid on the 20/05/2022 and subject to change).
One remark though, they seem to [advertise “first year” price with a discount of 90%](https://www.idrive.com/e2/pricing).
- They advertise a storage price of $0.004/GB/Month which is one of the lowest we’ve seen.
- They include 10GB/free per month
- They don’t charge for Ingress traffic.
- They only charge Egress traffic if less or equal to 3x the storage volume. After that they charge $0.01/GB/month.
## FAQ
---
# DigitalOcean Backups Explained
Source: https://simplebackups.com/blog/digitalocean-backups-explained
Published: 2022-04-22
Author: Laurent
Summary: DigitalOcean Backups service explained. How it works - How much it costs - When to use it.
Let’s dig into DigitalOcean Backups service and understand what it is about, how it works, and what it can be used for.
At SimpleBackups we thrive to provide a full-featured solution for managing all your web application backups.
Some solutions provided by PaaS like DigitalOcean are actually great and might be sufficient for your own usage and it is worth knowing when to use them.
Let’s figure out how it works and if it fits your needs!
## What is a DigitalOcean Backup?
Backups is a fully integrated solution provided by DigitalOcean to create (as the name states) a backup of your DigitalOcean Droplets or Volumes.
DigitalOcean Backups is a “system-level” backup that creates an entire Snapshot of your system and stores it in DigitalOcean infrastructure.
The backup process will run on a “live” instance and thus does not require the instance to be paused.
This solution, when enabled on a Droplet/Volume, will automatically create backups at weekly intervals and will be retained for 4 periods.
After the 4th period, the backups will automatically be rotated.
**Some important points to understand:**
- Backing up a Droplet won’t back up attached Volumes. These need to be configured individually
- You should not use DigitalOcean Backups for Droplet with heavy I/O workload like databases
- Backups are automatically deleted once a new Backups is completed (DigitalOcean will always keep 4 active Backups)
- Your Backups generate an image that is not stored on your actual Droplet
- _If your Droplet is deleted, all associated backups will be removed as well_
- The Backup is stored in the same DigitalOcean Region as your Droplet
### 📆 How to define DigitalOcean Backup schedule?
You can’t.
A DigitalOcean Backup is always scheduled weekly, and DigitalOcean will automatically assign a time frame at which your backup will run.
When looking at your Droplet or Volume you’ll see something like:
“The backup is enabled and will run between Sunday XX/XX 10:00 PM and Monday XX/XX 4:00 AM.”
As for the scheduling, the retention policy (number of backups you can keep) can’t be changed and will be of 4 active backups per Droplet/Volume.
It’s important to notice that you don’t have control over this, which for production applications will quickly be a deal-breaker.
### 👍 What can DigitalOcean Backups be used for?
You can use DigitalOcean Backup service for:
- DigitalOcean Droplets backup
- DigitalOcean Volume backup
DigitalOcean also offers a backup solution for its managed databases.
This is part of the Managed Database product and is not considered a DigitalOcean Backup per se and will be covered separately.
### 👎 What cannot DigitalOcean Backups be used for?
You cannot use DigitalOcean Backup service for:
- DigitalOcean Spaces backup
- Specific files & folders backup
- Database backups (at least a self-hosted one)
- Create Droplet/Volume backups at a certain schedule
### 💰 How much does DigitalOcean Backup costs?
Pricing is straightforward: 20% of your Droplet/Volume cost.
_Actually, to be accurate, it’s 5% of your Droplet/Volume cost for each Backup Run. As they keep 4 of them active at any time it translates to 20% (even though it will be less during the first 3 weeks)._
**Example:**
For a $48/m Droplet attached to a $10/m Volume, the bill will be $11.6/m.
## When should you use DigitalOcean Backups, and where does it fit in your backup strategy?
Don’t get me wrong, DigitalOcean Backup is a great solution and more precisely a very convenient one: you don’t need to maintain any scripts not really think about it all, it just works in the background and doesn’t require any additional tool.
I would say that for small projects, where data doesn’t change often or is less sensible it will do the job just fine.
But for more serious/sensible, or large projects this can’t be a solution if not combined with other tools & strategies.
First, let’s see for who this solution is suited and when you shouldn’t rely on it.
### ✅ When should you use DigitalOcean Backup Solution?
- When a Droplet is used for a single and not sensible project (example: a single website “vitrine” hosted on a Droplet)
- When sensitive technical blocks of your application are already backed up properly and your Droplet is only used for hosting application code (using a remote & backed up database and your data is stored on remote S3 storage)
### ❌ When you should not use DigitalOcean Backup Solution?
- When your Droplet hosts your database (with heavy I/O operations)
→ DigitalOcean discourages using its service in that case as it will be degrading the performance of your backup and application.
- When you need to run your backup at a specific time
→ DigitalOcean doesn’t allow you to define your schedule or retention policy
- When you host more than one project on your Droplet/Volume
→A DigitalOcean Backup restore will restore your entire Image. You can’t select an individual file/database/project to be restored without impacting everything hosted on that instance.
- When your data is changing often
→In this case, you need to be able to have more frequent backup and a more efficient one
- When you work on a project that requires a real backup strategy
→ You’ll need control over your backup, combining efficient database backups with files and snapshots while also leveraging external storage
- When your DigitalOcean bill is > $150/m
→At that moment, using a service like SimpleBackups will save you money and offer you much more freedom and control
One thing to consider as well is that relying on DigitalOcean Backup without combining it with any other Backup system will mean your infrastructure and backups are tight under the same roof, which obviously is not something you should do.
## Conclusion
As you understood, DigitalOcean Backup solution is a great tool that can be used in some conditions but it's critical to understand when and why you shouldn't not only rely on this.
SimpleBackups is a proud and fully integrated partner of DigitalOcean.
We focus specifically on bringing the best backup solution tied with the same pleasant experience we all enjoy while using DigitalOcean products.
If you’re working on sensible projects or if you’re dealing with multiple projects for multiple clients, give it SimpleBackups a try for free!
## FAQ
---
# DigitalOcean Snapshot Pricing 2024
Source: https://simplebackups.com/blog/digitalocean-snapshot-pricing
Published: 2022-04-02
Summary: The pricing of DigitalOcean Snapshots is simple. DigitalOcean Snapshots cost $0.06/GB of your Snapshot size per month.
One of the things developers overlook when they start using DigitalOcean Snapshot, is the cost.
Some developers only rely on Snapshots as a backup method, and to be aware of the costs involved when you take Snapshots for your Droplets,
we will give a couple an example of how much it costs to store your Droplet/Instance Snapshots on DigitalOcean.
This is unrelated to the DigitalOcean Backup feature which charges you a flat 20% of your server cost.
## What is the cost of DigitalOcean Snapshots?
The pricing of DigitalOcean Snapshots is simple: **$0.06/GB of your Snapshot size per month. **

## Examples
### Example 1
You have 10 Snapshots of your Droplet, each one has a size of 100 GB, then you will be charged **$25 a month** for storing these 10 Snapshots on DigitalOcean in addition to the Droplet cost.
### Example 2
It's important to note that the size of your Snapshot is different from the total storage allocated to your Droplet.
You need to look at the used storage on your Droplet.
In order to check your Droplet used storage, SSH into your server and type:
```df -h /```
```
Filesystem Size Used Avail Use% Mounted on
/dev/vda1 25G 11G 14G 44% /
```
In this example your Snapshot size will be **11GB**.
Here how pricing would be calculated with 3 different backup policies:
- 7 retention policy for daily backups: 7 * ~11 * 0.06 = ~$4.62/m
- 4 retention policy for a weekly backup: 4 * ~11 * 0.06 = ~$2.64/m
- 12 retention policy for a monthly backup: 12 * ~11 * 0.06 = ~$7.92/m
## Good to know
- Creating a Snapshot of a Droplet does not capture volumes attached to the Droplet. These have to be created separately.
- DigitalOcean Snapshots are limited to 25 per volumes and to 1 per minute (for a given volume).
- When you destroy a Droplet, Snapshots from that Droplet remain accessible on the Images page in the Snapshots tab.
---
# Use Google Drive to store your backups
Source: https://simplebackups.com/blog/google-drive-backup-and-storage
Published: 2022-03-23
Author: Laurent
Summary: Automate all your Scaleway server and volume snapshot in one place for all your accounts.
We're super excited to release the support for Google Drive in SimpleBackups!
One of our simplest storage integration, which literally only requires a few clicks to be enabled.

### Google Drive fully supported!
We've developed a connector to Google Drive allowing you to select it as a new Storage provider.
### What does it mean?
You're now able to:
✅ **Store your backups on Google Drive**
✅ **Sync other cloud storage to Google Drive**
_Note that we don't yet support cloud-sync of Google Drive to other providers._
💡 We've also created step-by-step guides to help you create your first backups and store it on Google Drive:
- [File backup stored on Google Drive](/blog/how-to-backup-files-to-google-drive/)
- [Database (MySQL) backup stored on Google Drive](/blog/how-to-backup-mysql-to-google-drive/)
[→ Read more about our Google Drive integration](/storage-backup/google-cloud-storage/)
As always thanks to all our users 🤩 helping us make SimpleBackups their preferred backup solution!
---
# March 2022: MongoDB Streaming, CloudSync updates and new API endpoints
Source: https://simplebackups.com/blog/march-2022-release-notes
Published: 2022-03-14
Author: Laurent
Summary: Release Notes - Cloud-Sync, API, Incremental MySQL backups
Another release, with some features we know you'll love!
Thanks again to all of you who shared some great feedback, ideas and helped us improve SimpleBackups!
## Cloud Storage Synchronization improvements
### Cloud-Sync goes serverless
Cloud-sync was released recently and at that time was only supporting sync leveraging your own "middle man" server.
In this release, we brought "Serverless" support for Cloud-Sync. This means you don't need any server in-between, we take care of the all process.
We also greatly improved performances and syncing millions of objects will work like a breeze.
### Backup an entire bucket
You can now use Cloud-Sync to synchronize entire buckets (right from their root folders).
Which makes it a no-brainer solution to create redundancy across multiple providers.
## MongoDB backup streaming
You can now stream your MongoDB backup right to your storage.
When using this option, you'll require less storage on your server as data will be streamed by a chunk of 50MB.

## Incremental MySQL backups for RDS & remote servers
Incremental MySQL backups were introduced earlier this year but are only available for local database servers.
It now fully supports remote servers including RDS and other managed services.
## New API endpoints for Backup Statistics
The business plan offers access to the "Backup API" which allows you to interact with backups using our restful API.
We've added 3 new endpoints:
1. Resource Activity
Returns all your resources (backups, snapshots, or cloud-syncs) with the list of logs ordered by date, information about its server, storage, and the next planned schedules.
2. Logs Activity
Returns all your logs order by date.
3. Report Activity
For each resource, returns the number of successful jobs, error jobs, storage used, and available backups stored.
We’re soon creating a dedicated post explaining this in detail.
We've also worked on improving the application, fixing some bugs, and improving performance.
As always, we prioritize work based on your feedback and requests so make sure to reach out to us if you need something!
---
# Automated Scaleway server and volume snapshots
Source: https://simplebackups.com/blog/automated-scaleway-backup-snapshots
Published: 2022-03-11
Author: Laurent
Summary: Automate all your Scaleway server and volume snapshot in one place for all your accounts.
Scaleway support was on our roadmap for some time, but we were waiting for more users to request it before prioritizing it.
The latest on the list was Priscillien who expressed his need to have Scaleway snapshots supported right in SimpleBackups, and here we are with a new release making it the latest provider we support.
### Scaleway Snapshots are now fully integrated!
We've developed a connector to Scaleway allowing you to select it as a new Snapshot provider.
### What does it mean?
You're now able to:
✅ **Backup Scaleway servers** (which include all attached volumes automatically)
✅ **Backup Scaleway EC2 volumes individually**
💡 We've also created a step-by-step guide to help you create [your first Scaleway backup](/blog/how-to-automate-scaleway-server-backups).
As always thanks to all our users 🤩 helping us make SimpleBackups their preferred backup solution!
---
# January 2022: Cloud Storage Sync & MySQL Binlog support
Source: https://simplebackups.com/blog/january-2022-release-notes-cloud-storage-sync-mysql-binlog-support
Published: 2022-02-04
Author: Laurent
Summary: Release Notes - Cloud Storage Synchronization & MySQL BinLog support
To kick off this year, we've been working on some great new features that we're excited to share!🤩
Shoutout to all of you who shared some great feedback, ideas and helped us improve SimpleBackups!
## 🪣 Cloud Storage Synchronization
In most modern applications we're now leveraging cloud-storage solutions to host files. While these solutions are usually very reliable, they still have to be properly included in your backup policy.
And that's why you can now synchronize your storage across providers & regions.
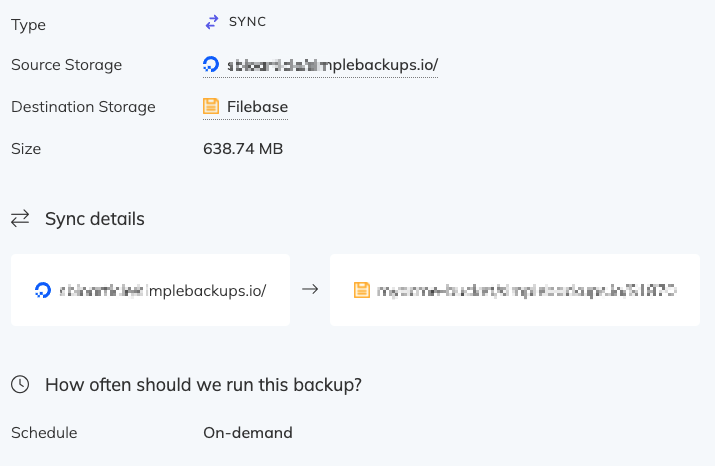
### →How does it work?
It's really simple, check this out:
* Connect & select the storage you want to backup (let's say an Amazon S3 bucket)
* Select where you want to copy this storage over (why not a DigitalOcean Spaces)
* Select when the synchronization has to occur
And that's it, you're done!
### → When to use it?
We recommend using this for all your applications relying on external storage.
It's a big relief to know your data will be safe, if anything gets messed up on your external storage.
It also comes in handy if you want to migrate to another provider.
*Note that this will create a 1-on-1 copy for your storage in another bucket and won't compress or store multiple occurrence of your storage.*
*We're also working a backup-to-archive solution for storage, we'll keep you posted!*
## 💪 Incremental backup for MySQL
With the support of MySQL binlog, you can now make incremental backups for your MySQL databases!

### → When to use it?
It's the perfect match for anyone having fairly large databases (2gb+). This will allow you to save backup time (and thus server resources) as well as storage quota.
We'll write more in-depth articles to showcase this new feature and how you can use it.
As always, we prioritize work based on your feedback and requests! Make sure to reach out to us if you need something!
---
# How to automate AWS EC2 Snapshots
Source: https://simplebackups.com/blog/how-to-automate-aws-ec2-snapshots
Published: 2022-02-01
Summary: Step by step guide to automate AWS EC2 server snapshots & volume backups on a custom schedule.
The following guide will help you, step by step, automate your AWS EC2 server snapshots & volume backups.
Afterwards, you will be able to take snapshots, automatically on your own terms, whether you need to take them daily, weekly, every couple of hours or on-demand using our API.
You will also have the option to choose the number of snapshots to keep on your provider to save snapshot storage cost.
## Table of Contents
## Prerequisites
- Have a **[SimpleBackups account](https://my.simplebackups.com/register?sb_source=docs&sb_term=hetzner_howto)** account ready
- Have a **AWS account** with an EC2 instance
## Create your AWS credentials
In order for SimpleBackups to manage your AWS EC2 Snapshots, a IAM Users to be created with the right policies.
- Connect to your **AWS Console**
- Head to **[IAM/Users management](https://console.aws.amazon.com/iamv2/home?#/users)** page
- Click on **"Add users"**
In the "Add user" form fill in below information:
- **Step 1:**
- Define a name to your user.
- Choose "Access key - Programmatic access" for "Select AWS Credential type".
- **Step 2:**
- Select "Attach existing policies directly" and select "AmazonEC2FullAccess".
- Select "Create user without a permissions boundary" in the "Set permissions boundary" section.
- **Step 3: **
You don't have to add any specific tag, just click "Next".
- **Step 4: **
Review and create the user.
- **Step 5: **
Copy your **"access key id"** and secret **"access key"**.
With this done, you know have a IAM User with an access key and secret that we'll be able to use in SimpleBackups
to automate your AWS EC2 Snapshots.
## Connect your AWS Account to SimpleBackups
We now have everything we need to connect your AWS account to SimpleBackups.
- Connect to your SimpleBackups account
- Head to the **[Snapshots/Create](https://my.simplebackups.com/snapshot/create)** page
- Click on **"Connect a new provider"**

In the "Select your provider" form, fill in the information below:
- **Provider**: Select AWS EC2
- **Name**: Internal name. It doesn't necessarily have to match your AWS IAM User Name
- Enter the **"Access Key"** and **"Secret"** generated in the previous step
- **Save**
If saving this provider returns an error, make sure to validate that the IAM User associated to the Access Key you used has the right priviledges.
> You're good to go! You can now configure and schedule your AWS instance & volume snapshots.
---
# The Data You Didn't Know You Need to Keep Safe
Source: https://simplebackups.com/blog/the-data-you-didnt-know-you-need-to-keep-safe
Published: 2022-01-18
Author: Laurent
Summary: cloud storage is not cloud storage backup, and it's essential to understand the difference between the two
Many companies rely on cloud storage as their default backup solution. They've reverted to this backup mechanism because of the promises made with cloud storage.
## Table of Contents
Those promises were compelling. Cloud storage solutions (such as Amazon S3, Microsoft Azure, and Google Cloud) are easy to use. They offer an affordable option for increased storage. They make files available from anywhere, and don't require specialized staff.
Before these solutions, companies had to set up their own data farm. They needed complicated rules to allow employees and clients to access the data. It also required highly skilled personnel to set up, maintain, and monitor 24 hours a day.
This type of solution was too costly for most small businesses. They had to set up a homegrown solution while hoping and praying that nothing would go wrong.
Thankfully, those days are mostly behind us. Today all businesses have access to low-cost storage that is always available. In fact, more than half of the world's corporate data resides in [cloud storage services](https://www.statista.com/statistics/1062879/worldwide-cloud-storage-of-corporate-data/). The move to a work-from-home model means this trend is here to stay.
With cloud storage, a third party handles the hard work of making data available at all times. These providers have invested a lot put in place an easy-to-use infrastructure that works all the time. Their solutions are reasonably secure and mostly hassle-free.
Based on those facts, companies assume that putting their data on cloud storage services is sufficient.
But is it really?
## Cloud storage vs cloud storage backups
Simply said, cloud storage is not cloud storage backup, and it's essential to understand the difference between the two.
Cloud storage is when you take data that you could put on your computer and store it online instead. If you save a file on OneDrive or Google Drive, for example, it looks like it’s stored on your computer. In reality, it’s stored on a remote computer in the cloud.
Cloud storage is not some type of magic trick. In the end, all of your data is stored on a computer. The primary benefit is that you don't manage those computers, and you're not the one who needs to make sure they're always up and running.
If one of those remote computers fails, it's similar to when your own computer fails: whatever is on it disappears. And if you don't have a backup, you lose the data.
That said, cloud storage providers store the same copy of your data on multiple computers, so losing data to corruption is not a big problem. If one computer fails, the data exists elsewhere, and the cloud storage service will make that available to you.
Cloud storage backup is making a copy of your data—whether this data resides on cloud storage or not—on a cloud service. Unlike cloud storage, cloud storage backups don't give you immediate access to your files. If you want to access a file that has been backed up, you need to request that file from the backup system's restore tool. This tool will allow you to select the version of a file—or multiple files—to "bring it back to life" so you can use it. This is crucial when someone has accidentally deleted or corrupted the file.
The restore tool must make it easy to bring back files that come from a specific cloud storage, without forcing you to jump through hoops. SimpleBackup’s integration with the most popular cloud storage services gives you that ease of use.
We typically talk about the 3-2-1 model for storing backups. You need three copies of your backup: one on your device, one on a secondary device (this could be a thumb drive or cloud storage), and one that is off site. If the only copy of your data resides on cloud storage, then you are missing at least two more versions.
Data backups should be part of the daily activities conducted by any business. They should run automatically at regular intervals. SimpleBackups makes copies of your important data automatically. After setup, it requires no specific action on your part. That way, you can never forget.
Furthermore, a good system also encrypts your backups. If there is a breach—and if 2021 is any indication, it's not "if" you suffer a breach but "when" you suffer a breach—bad actors won't be able to read your data.
This is even more critical if you deal with sensitive data, such as Social Security numbers, emails, passwords, or home addresses.
For most companies, it is often more affordable to use a commercial cloud storage system than it is to set up their own infrastructure. While it's not free, the ongoing costs usually pale in comparison to the salaries that would need to be paid otherwise.
However, consideration should not stop at cost only.
## Cloud storage services aren't foolproof
Even though these systems are built for resilience, they aren't perfect.
Most cloud storage systems are set up to prevent failures. There is a redundancy of services and servers throughout a provider's infrastructure. This means that if one computer server or disk fails, another will be available to take over.
Or if there is too much load on one part of the system, it can automatically offload some of the services to another system. This ensures almost 100% availability.
However, the past has shown that this is not a guarantee. Facebook and Amazon had major outages that lasted several hours in 2021. Overall, that may not seem like much, but if your business depends on the availability of that data, it can have serious consequences.
If an outage lasts a few minutes, most of the time you won’t realize it. When it lasts for hours, and you need to access some of the files, your only option may be to access a backup that is on a separate infrastructure.
But even if cloud storage providers guarantee the availability of your data, you are never fully protected from user error. If someone accidentally deletes data on the cloud storage, you will lose that data unless you have a backup.
2021 has also seen a gigantic arise in cyberattacks such as phishing, ransomware, supply chain attacks, and more. If you store your data in a single cloud storage environment, and bad actors manage to take over that environment, you lose all access to that data.
Having backups of your cloud data in a separate environment reduces this risk. Instead of focusing on a single environment, attackers must also infiltrate and attack multiple points of entry. Such an attack becomes more complicated when your backups are stored in a completely different environment.
SimpleBackups provides you with a simple, secure, and affordable solution that allows you to protect your data in case of a disaster. It allows you to create another copy of your cloud storage data in a different environment. If there is a problem with your regular data storage provider, your backup copy won't be affected.
You can even migrate your data to another cloud storage. It gives you the freedom to change providers if their terms and conditions change.
## What to back up
What should you be backing up even if it's on cloud storage? Here are some examples.
- **Application data**: Application data is anything that an application needs to work properly. This includes information such as database files and configuration files, or other artifacts. If you need to reinstall and reinitialize the software, you can take the backup copy to avoid starting from scratch.
- **User files and assets**: this includes things like pictures, spreadsheets, word processor documents, presentations, and so on. Any file that a user created and stored on cloud services (for example, Dropbox, Google Drive, OneDrive) should be backed up elsewhere. If you decide to change service providers or if the files are accidentally deleted or corrupted, having a backup can make a big difference.
- If you are a creator, you can back your original art, such as:
- photographs (photos with your phone are also stored on cloud services such as iCloud and Google Photos)
- drawings
- manuscripts
- audio recordings
- video recordings
- marketing assets such as logos
- and more
Regular backups of these files will protect you against the dreaded "that was the only copy" catastrophe. Having said that, there are [temporary storage](https://macpaw.com/how-to/clean-up-other-storage-on-mac) and other clutter you can remove before backing them up to save available backup capacity
While we've been covering the backup process, just as important is the restore process. If you can't restore your backups because they are corrupt, they are useless. Similarly, if you can only restore a single file after wading through hours of backups to locate the right file, your backup loses its usefulness. SimpleBackups provides easy-to-use commands to find and restore any file in minutes. And our backup approach ensures that your backups will never be corrupt.
## Next steps
Take time to evaluate the state of your cloud storage data. Are you relying entirely on online storage as your backup process? If that's the case, or if you are unsure, contact us or try SimpleBackups [free for 7 days](https://my.simplebackups.com/register?sb_source=website).
If disaster strikes—and we hope it never happens to you—you'll be happy to have taken the steps to protect your most important data.
---
# Let your agency customers own their backups
Source: https://simplebackups.com/blog/let-your-agency-customers-own-their-backups
Published: 2022-01-11
Author: Laurent
Summary: Provide access to your backups and snapshots to a restricted set of users. Manage these resources using projects, and define what team member can access them.
So far it was possible to share access to your team account by adding members to it.
This works great when you need to provide access to your account to different people from your company, but until today it wasn't possible to restrict the access to certain resources to a selected group of users.
It's now easy to create "projects" which can contains any number of backups or snapshots and share them with a group of defined users.
## "How can I give access to the backups of my customer.. to my customer?"
That's a question we've often been asked, and it's now easy to do.
You'll first need to invite a user to join your team, nothing new here, you can do it from the team management page like you're used to.
As a team owner, you now can also create what we call **"Projects"**.
A **Project** is a simple entity allowing you to **group resources** under its belt, and providing view access to these resources to a **selected group of team members**.
With this in place you can easily organise you backups under projects for each of your customers and provide them with a view access to their backup.
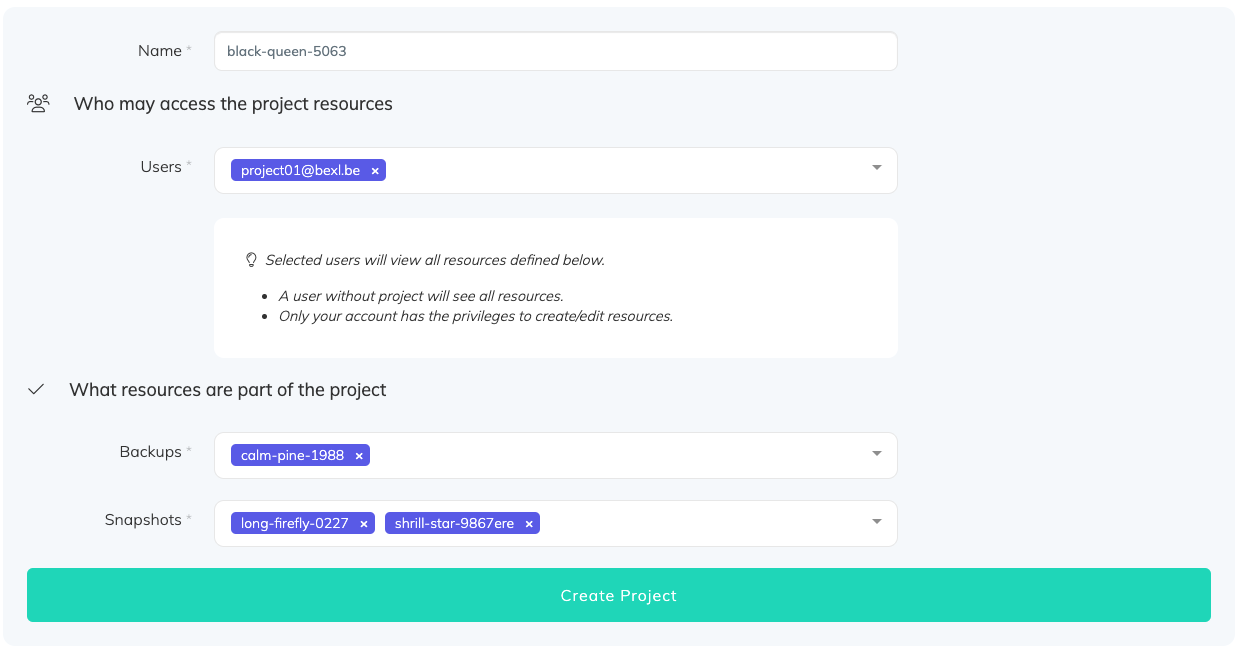
## Digging further
\- A Team member not assigned to any project will have access to ALL resources, across all projects
\- Only the team owner can create projects and assign users to it
\- In our first release, project member only have a view access to the resources they can see
*Note that this is a first version of our "project" feature and it will be improved over the coming weeks.*
Looking forward to get your feedback on this new feature!
---
# November 2021 Release Notes
Source: https://simplebackups.com/blog/november-2021-release-notes
Published: 2021-11-30
Author: Laurent
Summary: SimpleBackups Release Notes for November 2021
And ... ENTER!
Our November release (actually October & November) bundle!
**🚀 NEW**
* [Bucket sync](https://simplebackups.com/storage-backup/) is now in beta
* Backup summary report
✨ **IMPROVEMENTS**
* [Notification revamped](https://simplebackups.com/blog/unlimited-backup-notification-channels/)
* Cheat-sheet on all forms
* Support of SRV records for database hosts
* Linux ARM64 support
* "Backup all databases" for MongoDB
* Backup statistics now with monthly data
**🐛 FIXES**
* Minor bug-fixes
* Overall infrastructure upgrade
---
# Unlimited Backup Notification Channels
Source: https://simplebackups.com/blog/unlimited-backup-notification-channels
Published: 2021-11-19
Author: Laurent
Summary: Be notified on Slack, Discord, Email, Pushover, or even via webhook for the backups you need. A flexible solution, to bring backup notifications to the right team at the right time.
Our backup notification system started feeling a bit dusty and we really wanted to dive into it and bring it to another level 🚀 (yes ... another rocket icon, ... I know ).
As always, when our users ask for something this is the moment we know we have to jump on it and make it happen, that's what happened and it is now live!
By the way, thanks to everyone who participated in sharing what they wanted to see happening in our "notification" release 🙏🏻 !
## What notification channels can you set up?
Previously you were bound to one global notification email defined on your team, and the other channels were defined individually on each backup (and snapshot).
We streamlined it, and now you can create as many channels as you like and from any type.
They'll all be available in your "Team" and activable individually on each backup.
This means that you could notify a certain email when backup A and B fails, but another email when backup C fails for example.
* Email
* [Slack](https://slack.com/)
* [Discord](https://discordapp.com/)
* [PushOver](https://pushover.net/)
* Webhook
## How to configure a notification channel?
Things changed on that level!
When you create a Notification Channel it will be made available for your entire team and thus across all your backups and snapshots.
**Default behavior:**
By default we create a "Default Email Channel" using your Team email, this channel will be used to send you notifications when a backup or snapshot fails.
You can edit it anytime by clicking on its name.
**Create a new Channel**
From your backup page, click on the "Notifications" tab.
Then click on the "Add Notification Channel" button.
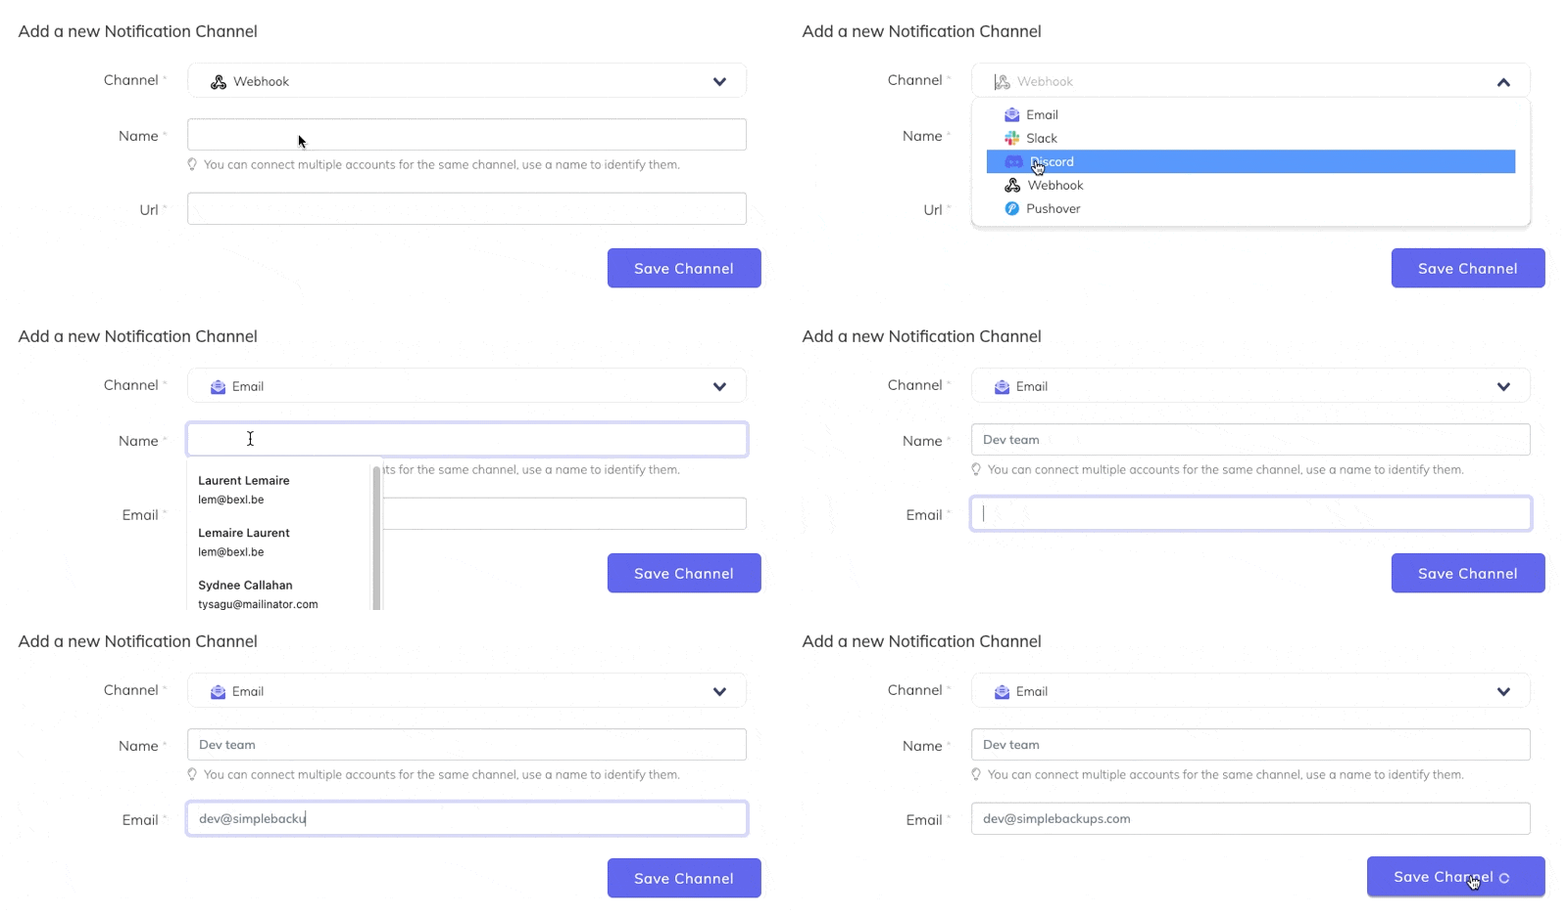
When a channel is created it will not receive any notification yet. You'll first have to select the event(s) you want this channel to subscribe to.
Note that this is managed on a backup level, allowing you to notify certain emails (or any other connected channels) in the context of a given backup.
**Subscribe a Channel to backup events**
From your backup notification window, simply toggle the event you want to listen to.
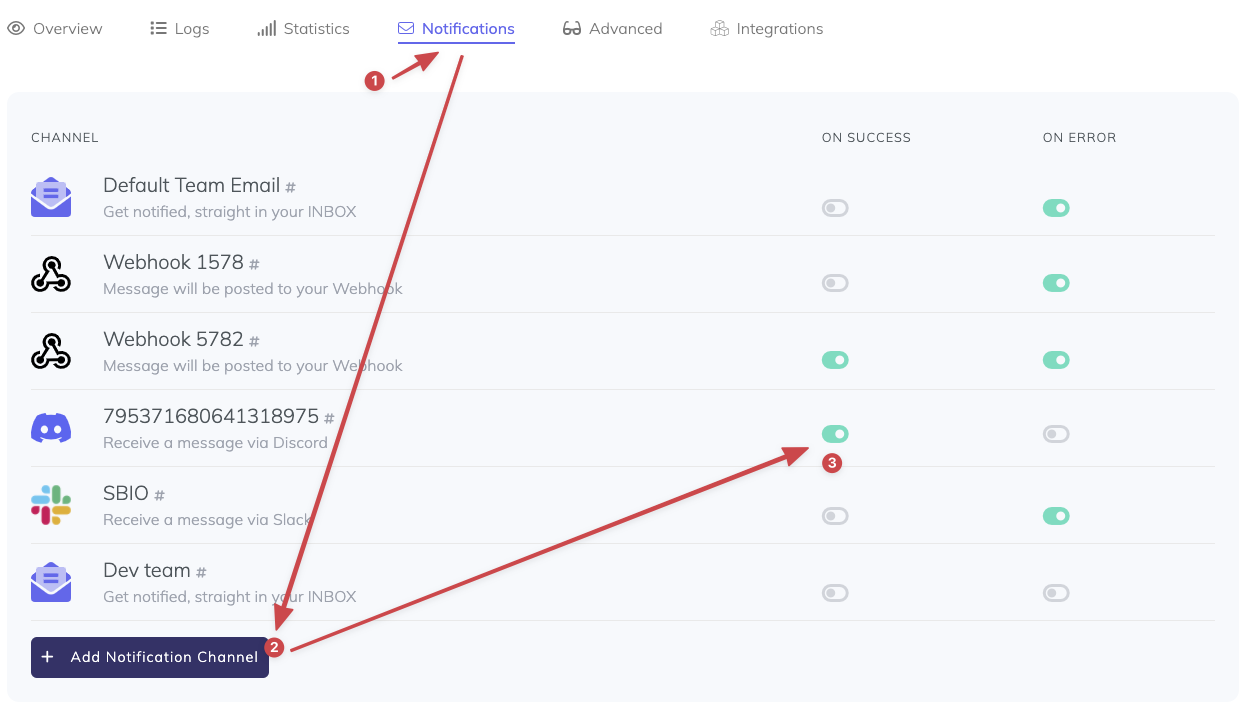
If you need any new notification channel integration, just [let us know](mailto:hello@simplebackups.com)!
As always, we welcome any feedback and our next release will once more be inspired by what you share with us!
---
# Remote MySQL Database Backup/Dump
Source: https://simplebackups.com/blog/remote-mysql-database-backup-via-ssh-tunneling
Published: 2021-11-05
Author: Islam
Summary: Explanation of SSH Tunneling, what it is, how to use it, how to connect to mysql via ssh tunnel, and back up and restore MySQL databases using an SSH Tunnel with examples.
Once a MySQL server is set up, the first task on any database administrator's list is to prepare for backups. To execute backups, sysadmins can run them directly on the server. In most instances, though, they will access the server remotely.
> 🧑💻 All the code in this article is bundled in this [Gist](https://gist.github.com/SimpleBackups/a9a6a1ff69950c565cc2a438a129d6e3).
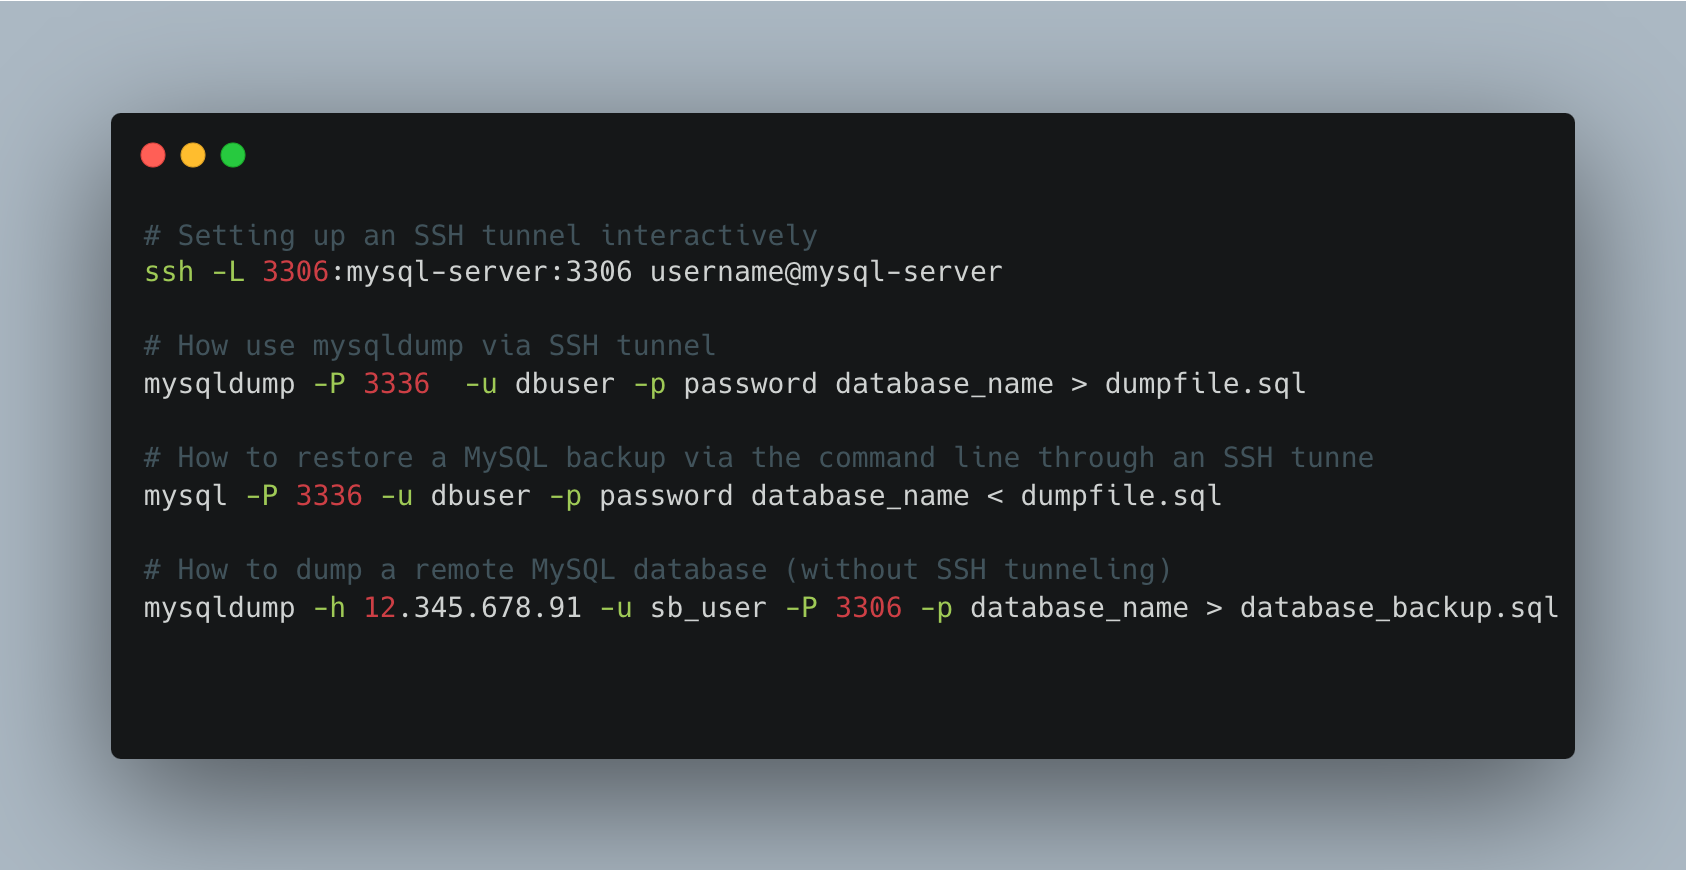
## Table of Contents
DBAs can do this using the MySQL Workbench or an application like phpMyAdmin. But beforehand, sysadmins must install and configure the applications for use. This adds new maintenance and support work. It also introduces another potential point of failure in the MySQL stack. Third-party applications require extra software. These requirements increase the possibility of introducing a security bug.
A simpler approach is to use command-line tools to access the MySQL server to execute backup/restore command. MySQL comes with a suite of command-line tools specifically for that purpose. They have no dependency on external providers. When a security bug is discovered, it will be patched automatically as part of regular updates. Command-line tools also have an added benefit: they can be added to a script and executed without human intervention.
In most situations, administrators don't have physical access to database servers. Sometimes, they might not be allowed to login to the server directly. Instead, they must execute all commands remotely from their desktop computer. They need an approach that allows them to connect to the server remotely and securely.
In this post, we will look at such an approach to back up and restore a MySQL database: SSH tunneling.
## Connect to a remote MySQL via SSH tunnel
### What is SSH Tunneling?
As companies rely on a hybrid model for work, the use of secure connections becomes essential. The more privileges the user has, the more critical a secure connection becomes. As the workforce becomes more mobile, businesses cannot ensure that sysadmins are in a secure location (for example, inside the office). A secure tunnel for connecting to sensitive servers becomes essential. SSH is an excellent tool to establish such secure connections.
Secure shell (SSH) tunneling allows for secure remote access to resources without exposing them to the world. It provides end-to-end data encryption, meaning that an unwanted party cannot intercept data. This makes it ideal for applications where security is required.
An SSH tunnel is a way of connecting to a remote computer and sending data across an insecure network via a secure connection. It is primarily used to connect to a remote server and access data on it as if connected directly. SSH does this by creating a secure connection between the local computer and the server to access remotely.
The encrypted connection provides privacy and security to the application that uses it. The application can transmit data securely over an insecure or untrusted network such as a home network or a public Wi-Fi network.
With SSH tunneling, sysadmins and DBAs can connect to a private network or computer without sharing files and settings. Once they have established an SSH connection with a remote server, they can use commands as if accessing the server locally.
### What is local port forwarding?
Local port forwarding is a technique that allows a user to redirect traffic from their computer to a remote server. The server can be on the same network or on the internet. Users to set up a connection between two devices without exposing the connection information. It works by opening ports between the client (e.g., a laptop) and a remote server (e.g., a MySQL database server).
Once the two devices establish a connection, a user can execute commands locally, but those commands execute on the remote server. Local port forwarding simplifies system and database administration.
Without local port forwarding, a system administrator has to login remotely to a server to execute commands. By using local port forwarding, they can behave as if they logged onto the remote server. Server maintenance agencies often utilize local port forwarding to securely manage and maintain their clients' remote servers without requiring direct internet exposure.
### How to connect to mysql via ssh tunnel
To back up a MySQL database using local commands, you first need to set up secure local port forwarding to the MySQL server. This will prevent other from intercepting the data flowing between the system administrator's machine and the MySQL server.
Local port forwarding can be set up interactively (on the command line or in a script) or with a specific configuration file. With an interactive setup, users control the SSH tunnel from the command line. They can easily cut the connection between machines.
If sysadmins often reuse the same tunnel, a configuration file can be a better option. Configuration files can also be useful for executing the same backup and restore commands on different servers. The commands don't change, only the SSH tunnel configuration does.
### Setting up an SSH tunnel interactively
To begin, local port forwarding requires a valid SSH server installation on the remote server. The examples below use the Linux/Mac command-line tool, but Windows users can use Cygwin or PuTTY to obtain the same behavior.
Open a terminal and execute the following command:
```
ssh -L 3306:mysql-server:3306 username@mysql-server
```
where:
- `username` is the SSH username on the remote MySQL server
- `mysql-server` is the host name or the IP of the remote MySQL server
- `3336` is the port that `msqldump` will use to connect to the remote MySQL server (TIP: to simplify, use 3306, which is the MySQL default. We use 3306 to avoid confusion between the local port and the remote port.)
- `3306` is the port on which the MySQL server is listening. This is the default port and should be adjusted to the MySQL server configuration settings.
As long as the window remains open, the SSH tunnel will remain functional. It's also possible to keep the tunnel running in the background by using the `-f` option. If the terminal is closed by accident, the SSH tunnel will remain active until the ssh process is stopped.
### Setting up an SSH tunnel configuration
The SSH configuration file setup for local port forwarding looks as follows:
```
## Sample local port forwarding options
LocalForward 3336 mysql-server:3306
```
To use this configuration automatically, save it in `/etc/ssh/ssh_config` or `~/ssh/config`. Alternatively, using `-F config_file` allows the use of a specific configuration file for a command. When the SSH configuration becomes more complex, this approach becomes more useful.
When using a configuration file, the SSH tunnel can be started as follows:
```
ssh username@mysql-server [-F config_file]
```
### How use mysqldump via SSH tunnel
Once the SSH tunnel has been configured correctly, it is possible to execute a backup of the remote MySQL server by using local commands.
- Open a new terminal (or use the same one if using the `-f` option).
- Type the command below
```
mysqldump -P 3336 -u dbuser -p password database_name > dumpfile.sql
```
where
- `3336` is the local port used to configure ssh in the previous section. (TIP: If using the default port, this is not required.)
- `dbuser` is the MySQL database user on the remote server (TIP: This is the MySQL user, not the remote user used when starting the SSH tunnel.)
- `password` is the password of `dbuser`. If this is not provided on the command line, `mysqldump` will prompt for it.
- `database_name` is the name of the MySQL database to backup.
- `dumpfile.sql` is the name of the file that will contain the backup data. (TIP: put a timestamp on the file or put the file in a time-stamped folder.)
The resulting file will contain all the information needed to recreate the database and populate it with the existing data at the time of the backup. Backup time depends on the amount of data in the database.
### How to restore a MySQL backup via the command line through an SSH tunnel
A backup using `mysqldump` creates a standard text file with a series of SQL statements that reinsert the data into a database. Therefore, restoring data consists of executing these statements.
The process to restore a MySQL backup is like the one used to create the backup. First, set up the SSH tunnel, then execute the restore command for MySQL, as follows:
Open a new terminal (or use the same one if using the `-f` option).
Type the command below:
```
mysql -P 3336 -u dbuser -p password database_name < dumpfile.sql
```
where
- `3336` is the local port used to configure the SSH tunnel (not needed if using the default port).
- `dbuser` is the MySQL database user on the remote server.
- `password` is the password of `dbuser`.
- `database_name` is the name of the MySQL database to restore.
- `dumpfile.sql` is the name of the file that contains the data to restore.
If the database does not exist and `dumpfile.sql` does not contain the appropriate SQL `CREATE` command, then `database_name` must be created first.
## How to dump a remote MySQL database (without SSH tunneling)
The utility mysqldump provides the flexibility to export databases from a remote server. Below, we'll guide you through the process for exporting a specific database, multiple databases, or all databases from a remote host. Every flag used here is covered in [the complete mysqldump guide](/blog/the-complete-mysqldump-guide-with-examples), and if you need to know what is on the remote host first, see [how to list all MySQL databases](/blog/how-to-show-all-mysql-databases).
Before proceeding, ensure you have the necessary information: MySQL username, password, host IP address, and port number of the remote database server. For demonstration, we will use the following sample details:
- host: 12.345.678.91
- user: sb_user
- port: 3306 (the default port for MySQL)
Remember to substitute these placeholders with your actual credentials.
**Export a Single Database**
To export a single database, you can use the following command, which will prompt you for the password:
```shell
mysqldump -h 12.345.678.91 -u sb_user -P 3306 -p database_name > database_backup.sql
```
**Export Multiple Databases**
For exporting several databases at once, the command slightly alters to include the `--databases` option followed by the list of databases:
```shell
mysqldump -h 12.345.678.91 -u sb_user -P 3306 -p --databases database_one database_two > databases_backup.sql
```
**Export All Databases**
To backup all databases from the remote server in one go:
```shell
mysqldump -h 12.345.678.91 -u db_user -P 3306 -p --all-databases > all_databases_backup.sql
```
In all instances, after initiating the command, you'll be prompted to enter the user's password for security reasons. These commands are straightforward yet powerful tools for backing up your MySQL databases from a remote location.
## Final words
It's important to run [automated MySQL backups](/mysql-backup) regularly to ensure that it is possible to recover in case of an emergency. While there are many methods to back up databases, one of the easiest options is to use SSH tunneling. By creating an SSH tunnel and using local port forwarding, it is easy to back up MySQL databases regularly, using a schedular.
The same tunnel works in the other direction, which is how you get a dump back onto a remote machine. See [restoring a MySQL dump](/blog/how-to-restore-a-mysql-backup) for the import side.
Remote backup of MySQL databases using SSH tunneling allows the backup client to connect securely to the remote server. The remote server appears like a local machine. This makes it easier to create and maintain backup scripts.
SSH tunneling for backups easy to put in place and can expand as a company's database backup needs grow.
> NOTE: We focused on command-line Linux/Mac commands. Some of the links provided were specific to Linux.
---
# Ransomware-Proofing Your Business With Immutable Cloud Backups
Source: https://simplebackups.com/blog/ransomware-proofing-your-business-with-immutable-cloud-backups
Published: 2021-11-04
Author: Islam
Summary: Your organization is protected against data corruption, accidental deletions, malicious malware attacks, and ransomware with immutable backups and Air-Gap technology. You can rest assured knowing that your data is safe and sound on an air-gapped server in case of any of these unfortunate events.
Ransomware attacks are becoming more common and pose a severe threat to all businesses. One scary statistic states that a new organization will fall victim [to ransomware every 11 seconds in 2021 at the cost of $20 Billion.](https://www.natlawreview.com/article/ransomware-attacks-predicted-to-occur-every-11-seconds-2021-cost-20-billion)
## Table of Contents
Recently, ransomware attacks have increased by [more than 235%](https://www.infosecurity-magazine.com/news/attacks-on-banks-spike-238-during/) within some industries during the Coronavirus pandemic. Over 25% of the attacks this year targeted the healthcare or financial industries.
It is easy to establish baseline safeguards and policies, such as anti-spam solutions, macro disabling, keeping all systems up-to-date, and restricting and monitoring internet access. Cybercriminals are highly skilled and persistent today. They are increasingly finding new ways to hack into IT systems. All it takes to get the hook is one mistake or an unsavvy person. It doesn't matter if your organization will be attacked or not; it's just a matter of when.
A ransomware attack doesn't necessarily mean that it can't be avoided.
An effective backup strategy and ransomware plan are essential in case of disaster. If designed correctly, an effective backup strategy will help you recover from any locker or crypto-ransomware attack.
And that's when Immutable Cloud Backups come into play. We will talk about it later in the article, so make sure you stick till the end to get all your doubts cleared about ransomware attacks and how to protect your business from them.
## What is Ransomware Attack?
Ransomware ( malicious software ) is a form of malware that threatens to publish data or block access to computer systems. It usually encrypts the victim's computer until they pay a ransom to the attacker. Ransomware is often accompanied by a deadline, and the ransom increases if the victim fails to pay the ransom within the deadline.
Ransomware attacks have become all too common. It has affected large companies across North America and Europe. Cybercriminals can attack any consumer or business, and victims come from all industries.
Many government agencies, including the FBI, recommend against paying ransom to stop the ransomware cycle. Half of the ransomware victims who pay the ransom get affected by repeated ransomware attacks if the system is not cleaned correctly.
Ransomware can quickly paralyze entire organizations and is often spread through a network, target database, and file server. Ransomware is a growing threat that can cause havoc in organizations. It's generating [Billions of dollars,](https://www.ic3.gov/Media/PDF/AnnualReport/2018_IC3Report.pdf) Inflicting substantial damage and expense for businesses and government organizations by making payments to cybercriminals.
### How Does Ransomware Attack Work?
Ransomware uses asymmetric encryption. This cryptography employs a pair of keys that encrypt and decrypt files. The attacker creates the public-private pair of keys for the victim. The private key is used by the attacker to decrypt files on his server. The attacker may only give the victim the private key after they have paid the ransom. However, this is not always the case as we've seen with ransomware attacks. Without the private key, it is nearly impossible to decrypt files held hostage by ransomware.
Ransomware comes in many forms. Ransomware and other malware can be distributed via targeted attacks or email spam campaigns. To establish its presence at an endpoint, the malware needs an attack vector. Once the malware is detected, it remains on the system until it's removed.
After exploiting the vulnerability, ransomware drops malware and executes it on infected computers. Ransomware then seeks out and encrypts critical files, such as Microsoft Word documents, images and databases. Ransomware can also spread via system and network vulnerabilities, potentially affecting whole companies.
Ransomware asks users to pay ransom within 24 to 48 hour after files are encrypted. Files will be permanently deleted if they are not paid. If a backup is unavailable or encrypted, the ransom will be payable to retrieve your personal files.
### Who is the Target For Ransomware Attacks?
Every device that is connected to the internet could become the next ransomware victim. Ransomware scans any device connected to the internet and any network-connected storage. This means that vulnerable devices can also make the local network a victim. Ransomware can encrypt sensitive documents and files in the local network that are owned by a business. This could cause disruptions to productivity and services.
Any device connected to the internet must have the most recent software security patches installed. Additionally, anti-malware should be installed as this will detect and stop ransomware. Organizations operating with older operating systems, such as Windows XP, are more at risk.
Furthermore, there are many ways that attackers choose which organizations to target with ransomware. Sometimes, it's just a matter of opportunity. For example, attackers may target universities due to their smaller security teams and diverse user base, who share more files. This makes it pretty easy for them to penetrate their defenses.
On the other hand, some organizations are more attractive targets as they will pay a ransom in a short time. Government agencies and medical facilities, for instance, often require immediate access to files. So they will be willing to pay soon to get all the essential and critical data back.
### The Impact of Ransomware Attacks to the Businesses\*
Ransomware can cause data loss and productivity losses of thousands of dollars for businesses. Blackmailers who have access to ransomware will threaten victims by releasing data and exposing the breach. Organizations that don't pay quickly could suffer brand damage or litigation.
Ransomware can stop productivity, so containment is the first step. The organization has two options after containment: [restore from backups](https://simplebackups.com/features/find-and-restore-backup/), or pay the ransom. While law enforcement investigates ransomware, tracking down, ransomware authors take time and research that delays recovery. The root-cause analysis determines the vulnerability; however, any recovery delay can harm productivity and business revenue.
### Why are Ransomware Attacks Spreading So Fast?
Threat actors have increased their use of phishing as more people work from home nowadays. Ransomware infection starts with phishing. Phishing emails are targeted at employees of both low-privileged and high-privileged users. Email is easy and inexpensive, making it a convenient tool for attackers to spread ransomware.
Ransomware attacks are evolving quite fast, and also their variants.
● It is easy to locate malware kits that can create new malware samples upon demand.
● Use well-known generic interpreters to create cross-platform ransomware
● New techniques such as encryption of the complete disk rather than selected files are present.
Today's thieves don't need to be technical savvy. Cybercriminals can find malware strains on the internet via ransomware marketplaces. These ransomware marketplaces also provide additional income for malware authors, who often ask for a portion of the ransom proceeds.
### Why You Shouldn't Pay Ransomware?
Ransomware encrypts files and displays a screen telling the user that files have been encrypted and the amount to be paid. The ransomware usually gives victims a time limit or increases the ransom. The attackers may also threaten to expose businesses, revealing that they have been ransomware victims.
It might seem tempting to agree to a ransom request, but there are many reasons why this is not a good idea.
1. **You might never get the decryption key:** You are supposed to receive a decryption code in return for paying a ransomware demand. You are relying on criminals' integrity. Many ransom-paying individuals and organizations have received nothing in return.
2. **You might receive another ransom demand:** Once you pay a ransom, there is quite a possibility that you might receive another demand from ransomware because they know you are at their mercy. They might ask a little more or a lot to give you the key.
3. **You might become the target for the ransomware community:** Criminals will know that you are a good investment once you have paid a ransom. A ransom-paying organization with a track record of paying ransoms is more appealing than one that might pay. How will you stop the same group of criminals from attacking again within a year? or logging onto a forum to announce to other cybercriminals that you are an easy target?
### Examples of Ransomware Attacks
There are many varieties of ransomware Malware. We have listed a few malware types that significantly impacted the world and caused extensive damage.
1. **WannaCry:** WannaCry is a ransomware encrypting program that exploits vulnerabilities in Windows SMB protocol and allows it to infect other computers. WannaCry was a rapidly spreading ransomware that affected 230,000 computers in 150 countries and caused an estimated $4 billion damage.
2. **Locky:** Locky can encrypt 160 file types. These are primarily files used for designers, engineers, and testers. It was released for the first time in 2016. It is mainly distributed by exploit kits Or phishing--attackers email users encouraging them to open Microsoft Office Word or Excel files with malicious macros or a ZIP file that extracts the malware.
3. **Cerber:** It is ransomware-as-a-service (RaaS) accessible for cyber criminals who carry out ransomware attacks and share their loot with malware developers. Cerber was pretty successful when it first came out in 2016, earning attackers $200,000 in July 2016. To infect networks, it took advantage of a Microsoft security flaw.
4. **Cryptolocker:** Cryptolocker was first discovered in 2017 and has since affected more than 500,000 computers. It is most commonly transmitted via email, file sharing sites, and unprotected downloading.
5. **NotPetya:** Petya is ransomware that infects a computer and encrypts the entire drive. It does this by accessing the Master File Table. The whole drive is rendered inaccessible, although the files themselves are not encrypted. Petya was first discovered in 2016. It was spread via a fake job application that linked to a Dropbox-infected file.
6. **Ryuk:** It first appeared in 2018 and was used to attack hospitals and other vulnerable organizations. It is often combined with malware such as TrickBot.
7. **GrandCrab:** GrandCrab was first released in 2018. This ransomware-based extortion attack is used by threatening victims' porn-watching habits. Many versions target Windows computers. This ransomware is perhaps the most lucrative ever. The program's developers sold it to cybercriminals and claimed more than $2 billion in victim payouts by July 2019.
8. **WysiWye:** It was discovered in 2017 and scanned the internet for open Remote Desktop Protocol servers. The malware then attempts to steal RDP credentials and spread the virus throughout the network.
9. **Thanos:** Unlike the MCU villain, who has been ruling the Marvel Universe for eternities, this is the new one. This ransomware was discovered in January 2020. This ransomware is the first to use the RIPlace technique, bypassing most anti-ransomware techniques.
### 4 Emerging Ransomware Threat Groups to Know
Palo Alto Networks Unit 42's new research has revealed four ransomware groups with the potential to grow into more significant problems. These include **AvosLocker, Hive Ransomware, HelloKitty, and LockBit 2.0.**
1. **AvosLocker:** AvosLocker was discovered first in July 2021. AvosLocker operates under the ransomware-as-a-service (RaaS) model and is controlled by avos. It advertises its services on the dark web forum Dread. The ransom note contains information and an ID that are used to identify victims. It instructs those infected to visit AvosLocker Tor for data recovery and restoration.
2. **Hello Kitty:** In 2020, the HelloKitty family was observed. It primarily targets Windows systems, and Its name derives from the use of HelloKittyMutex. Palo Alto discovered a Linux (ELF) sample named funny_linux.elf in 2021 that had a ransom note containing verbiage identical to ransom notes found in later HelloKitty for Windows samples. Additional samples were found, and they started targeting ESXi in March, a popular target for ransomware.
3. **Hive Ransomware:** According to the report, Hive Ransomware began operations in June 2021 and was detected attacking healthcare organizations and other businesses that are ill-equipped for cyberattacks. Hive Leaks published the first victim of Hive Ransomware and then posted details about 28 more victims. Researchers wrote that "When this ransomware executes, it drops two batches of scripts."
The first script, called "hive.bat," tries to delete itself and "Shadow.bat," which is responsible for deleting all shadow copies of the system. Hive ransomware adds \[randomized characters].hive to encrypted files and drops a ransom note entitled HOW_TO_DECRYPT.txt with instructions and guidelines to prevent data losses.
4. **LockBit 2.0:** LockBit 2.0, formerly known as ABCD ransomware, is another RaaS group. It's been in operation since 2019, but Palo Alto discovered recent changes in the group's tactics. The actors claim that their current version is the most secure encryption software available. The group has compromised 52 organizations worldwide since June.
Once executed, LockBit 2.0 begins file encryption and also appends the .lockbit extension. When the encryption is done, a ransom note appears titled "Restore-My-Files.txt notifying the victims of the compromise and advises how to proceed further.
## How To Protect Your Business With Ransomware Attacks?
Ransomware has affected many businesses. Many of these companies had backup files encrypted as well as the live version. When backup data gets compromised (encrypted), the companies are forced to pay the ransom or risk losing all their data. One successful phishing email can compromise your whole network.
**So What is the solution?**
**Answer: Offsite backups on Cloud Storage supporting Immutable and Air-Gapped technology.**
Rely on a secure backup system that uses immutable backups and Air-gap technology to protect your archived data.
### What is Immutable Data BackUp?
An immutable backup or storage is a way to ensure that your data is safe, secure, and cannot be deleted.
Any company that needs to have an immutable backup of their data is advised to do so. This will ensure that the data is always available and safe from unplanned or unexpected events.
These characteristics are, by definition, an offline, separate copy of your data, and Immutability goes one step further. This adds a layer of security to protect data from any changes. You can even enable immutability in your backups to effectively block any changes for a specified period.
### Why is Immutable Data Backup Critical?
Why is immutability important? It is impossible to alter, modify or remove immutable data. This approach is used by law enforcement for digital video and audio surveillance footage because the authenticity of the data is so important. EHRs for healthcare providers must be immutable in both their primary and archival systems. Organizations of all types are now adopting immutability to avoid paying the ransom, securing critical information, enforcing retention policies, streamlining compliance, and preventing them from having to pay the ransom.
Immutable backups are a defense against ransomware attacks. An immutable backup cannot be encrypted, modified, or deleted, which are all common cybercrimes tactics. A company can use an immutable backup to recover from a ransomware attack immediately.
### How to Implement Immutable Backup Strategy in Your Business?
Companies mostly fight ransomware with a resilient and robust defense system. Being prepared is one thing that every company should adopt to tackle the worst scenario when a company's defense system fails.
An immutable backup strategy can be the best way to secure your data and provide a quick response to cyber attacks without needing to pay a hefty ransom.
Ransomware attacks can be repelled by many best practices in data backup and recovery.
For instance, Ransomware protection is not provided by data replication to remote data centers because continuous backups can cause files to be overwritten with encrypted versions. It is therefore difficult to pinpoint the exact source of the infection.
The **3-2-1 backup strategy** requires at least three copies of data. Two copies of the data are on local media, but they are on different media. One copy is off-site, such as an immutable, air-gapped backup on the cloud.
### Best Practices for Implementing Immutable Backup
1. **Multi-Level Resiliency:** A solid defense strategy includes immutable data backups, the most recent cybersecurity technology, and employee training.
Platforms with soft delete or excess deletion prevention options ensure that there is always a copy of your data, even if ransomware infects the system.
2. **Data Integrity:** Platforms with soft delete or excess deletion prevention options ensure that there is always a copy of your data, even if ransomware infects the system.
3. **Automate Response:** Ransomware attacks mostly happen months after a system is infected. Ransomware spreads quietly, so attackers wait that long to locate backups. It then steals your data from you when you are not at work.
To quarantine infected systems, even if nobody is present at the time of an attack, you can implement an automated reaction system as part of your backup solution.
4. **Zero Trust Model:** The Zero trust model requires strict identity verification to allow anyone to access your data backups over a private network. This holistic approach is based on several technologies and principles that provide advanced backup security and safety.
5. **Clean Restore Point:** To prevent infection, make sure that your backups are free of malware. Before restoring data, scan the backups for malware and indicators of compromise (IOC). To protect your immutable data backups and to ensure a quick recovery, you can store them in the WORM (Write Once Read Many) formats.
## What is Air-Gapping Technique & Why is it necessary with Immutability Backup?
IT professionals often think of backups when considering data security. But, the truth is that it is not enough. Even if you have a backup, data can still be accessed. Protecting your data ultimately against theft is possible by using backups and air-gapping.
Air-gapping stops hackers from remotely accessing your data. However, immutability means that no one can modify or delete your files once they're uploaded to the cloud.
### What is Air-Gapping Technique?
It's pretty simple. As part of your backup strategy and recovery plan, an air-gapped copy is a backup of your organization's offline and inaccessible data. It's impossible to hack or corrupt your backup device remotely without an internet connection. This leaves you with only one option: a physical attack to access your data.
Air gapping was traditionally referred to as tape backups. However, today's options for backing up to the Cloud offer a virtual version of an air-gapped cassette. However, the cloud's object-based storage defenses can be extremely powerful. A physically air-gapped backup will still be your last line of defense.
### How Does Air-Gapping Work?
Air-gapped backups use air-gapped target storage volume to store backups and replicas and redundant copies of business-critical volumes. Air-gapped volumes are automatically turned off and made inaccessible by default. This ensures that the data is safe from any potential disaster that could affect the primary production environment.
Air-gapped volumes can easily be turned on in the event of a disaster, and data can be used quickly and seamlessly to restore operations - without fail.
### Why is Air-Gapping Important?
If you have backups on your network in the event of a ransomware infection, it is already too late.
Air-Gapped Backups air gap the rest of the world from your data: A [backup server](https://simplebackups.com/server-backup/) that doesn't have any links to your production servers and storage systems can't be infected via file shares or network connections. Air-Gapping prevents ransomware infections from spreading to your backups by default. So this makes Air-Gapping quite essential to adopt in your ransomware-proofing strategy.
### Why Do You Need Air-Gapping with Immutable Storage?
Backups are no longer the best way to protect your data in case of a cyber-attack. While tapes may be convenient and cost-effective, I would agree that they are more affordable than SSDs or HDDs these days. However, they don't offer enough protection. This means that you must have multiple layers of security to protect your data from ransomware.
Cybercrime protection is the future, not backup-centric recovery strategies. Forget about the past and update your protection strategy accordingly. Concentrate on preventing ransomware infection from ever happening, such as by using immutable and air-gapped storage volumes.
## Summary
Your organization is protected against data corruption, accidental deletions, malicious malware attacks, and ransomware with immutable backups and Air-Gap technology. You can rest assured knowing that your data is safe and sound on an air-gapped server in case of any of these unfortunate events.
Ransomware is now able to get into your backup servers. Your IT teams are diligent in blocking these attacks. However, immutable backups ensure that you remain protected if ransomware attempts to evade these security measures.
So implementing Immutable backups and Air-Gap technology will keep your data safe and secure.
---
# 8 Cloud Storage Providers for 2022
Source: https://simplebackups.com/blog/8-cloud-storage-providers-for-2022
Published: 2021-11-04
Author: Laurent
Summary: Cloud storage pricing comparison, best cloud storage summary and explanations, common uses, list of the top providers and pricing.
> _[We prepared an updated version of this article for 2023. Check it out!](https://simplebackups.com/blog/cloud-storage-price-feature-comparison-the-best-providers-in-2023/)_
[](https://simplebackups.com/blog/cloud-storage-price-feature-comparison-the-best-providers-in-2023/)Cloud storage has become a more complicated area, with many providers joining the fray. It can be challenging to research all of the options and find the right provider for you.
Many people end up choosing one of the big names: S3, Google Drive, and Dropbox. This is what we've done: we have looked at many of the options and put together 8 of the cloud storage providers to choose from in 2022.
But before we move forward to the comparison, let’s understand a bit of cloud storage, its benefits & how it’s the complete solution for data redundancy.
## Table of Contents
## What is Cloud Storage?
Cloud storage allows you to store data on remote servers that can be accessed via the internet or the cloud. Users pay a monthly or per-use consumption rate to remotely access, manage, and back up the data.
Cloud storage is a data center with large computer servers that store data and make it accessible online via the internet. Remote users can upload and store their data and then retrieve it as needed. Cloud makes it possible to store and retrieve data remotely from any location.
## How Does Cloud Storage Work?
Cloud storage works simple and straightforward. Cloud storage stores information in any data center around the globe and is maintained by a third party. Because the data is hosted on servers, it can be accessed via a web interface.
Cloud storage is a network of servers that includes a master control server and other storage servers. All the servers are linked together and can be used depending on your requirements and usage. Cloud storage is a great way to save money. Otherwise, you'd have to invest in more powerful servers as your business grows. Cloud storage is a cost-effective way to store your data.
Cloud storage supports many file types of all sizes. This allows you to upload important documents, videos, photos, and music. After signing up for cloud storage, upload your files and sync with your smartphone, tablet, or another mobile device for quick access.
Cloud storage solutions are unique because you can upload files and download them anywhere in the world, even without your laptop. All you need is internet access and a mobile device to download the app from your service provider. Log in to your account to upload or download files.
## Benefits of Cloud Storage
Here are some of the benefits of using cloud storage.
1**Accessibility & Usability**
All cloud services have an intuitive user interface that allows you to drag and drop. You can think of iDrive from Apple or Google drive from Google. Both have an easy interface that allows you to upload files directly to your online drive with ease.
2. **Cost-Effective**
The cloud storage service is the best option for businesses; the online storage of data allows the company to reduce the costs of internal resources. The cloud storage vendor manages all the data, and the company does not have to do any of the management or support. Some of the cloud storage services provide cloud storage for a lifetime at an affordable price. This is a win-win deal for both small businesses and individuals.
3. **Ease in File Sharing**
Each cloud storage service offers file-sharing capabilities that allow you to share files with other users. You can send a file to another person or invite multiple people to view your data. Most vendors offer a cloud environment where two users can share data. However, there are a few service providers that provide cross-platform file sharing.
4. **Security**
Safety is the most important thing when it comes to the internet. This is why both large and small businesses use cloud storage services. Businesses must know what level of security the cloud storage service providers offer and get the best security.
Cloud storage stores your data across redundant servers. This means that even if one data center is down, the other data centers will manage your data, making your data secure and monitored.
5. **Synchronization**
Every storage vendor offers the sync function. You can sync your cloud storage data with any device using synchronization. It's possible that you can access your data from any device, anywhere in the world; however, synchronization is required to make this possible. You can access all your data stored in the cloud storage by logging in with your credentials and making good use of your data anytime, anywhere.
6. **Automation**
Cloud storage is like a hard drive on your computer that allows you to store any file you wish in the cloud. Multiple users can use cloud storage services. The current task of one user will not affect another's, as all tasks are managed and automated through the cloud vendor.
7. **Disaster Data Recovery**
Every company has backup storage that stores all of its data. They can access their backup storage in case of a data loss or collapse. Cloud storage is the best way to solve this problem and the best option to deal with disaster data recovery.
## Drawbacks of Cloud Storage
Cloud storage has its negatives. However, they are not as severe as you might think. So here are some of them.
1. **Internet Connection**
You must be connected to the internet to use the cloud. Although you can sync files offline to access them, accessing the cloud requires an internet connection for sure. Also, if there is a connection problem, then your data might get corrupted while downloading.
2. **Cost for Extra Storage**
Cloud storage plans are mainly designed for business purposes, and hence they are expensive. Once you use all the storage limits, you might have to pay for extra storage space that can cost a lot.
3. **Data Security & Privacy**
Many cloud storage providers lack privacy and data security fields. There are also many instances where data from cloud storage is leaked that makes things worse. So it's essential to choose the cloud storage provider with the best data security in place.
## How Has Cloud Storage Become A Great Solution For Data Redundancy?
**Cloud storage** is a growing option for data protection. Many companies will take extra precautions to ensure they have data backups on their local servers and user computers. Information technology professionals recommend that backups be kept in case of network or hard drive failure. While this is a good practice, many companies fail to realize that they might not be able to access their data in the case of a disaster such as a flood or fire. Data backups are useless if they are not stored in the same physical place as the original data.
Since the inception of IT, data redundancy has been a buzzword. However, cloud storage technology has made it easier for any organization to use. Cloud storage allows companies to store and archive important documents, critical databases, and allow [off-site backups](https://simplebackups.com/server-backup/).
Companies are starting to recognize the benefits of cloud-based backups and recovery (often called "BURR"). A [survey](https://www.ontrack.com/en-us/press) showed that 16 percent of businesses that suffered data loss used cloud-based backup solutions. Cloud storage is an excellent alternative to tape or disk-based backups. Companies can quickly retrieve lost data using tools provided by their cloud service provider.
Users may also experience fewer operational difficulties and lower total costs of ownership due to redundancy. Cloud backup services can automatically duplicate essential files without any human interaction. Backups of data are not required to be replaced or maintained. This makes it safer and more secure for staff and also makes backups more manageable.
It is essential to have a backup plan to ensure data availability in case of system failures and other unforeseen circumstances. Although tape drives and legacy hard drives can be effective, cloud-based backups have many benefits and offer a reliable and safe data solution for data redundancy.
## Best Cloud Storage Providers in 2022
Cloud storage best for personal and business data allows users to store, share securely, and even backup their critical data. Cloud storage has substantial advantages in today's working environment. This is despite ongoing debates about local storage vs. cloud storage.
Our recommendation ensures that your service provider offers the storage capacity you need, high-level security, professional customer support, and the best possible price.
Here we have listed a few providers for your ease of choice as per your requirement.
### 1. Amazon S3, Infrequent Access, Glacier
Amazon Simple Storage Service (or Amazon S3) provides object storage to businesses. It offers affordable and scalable online storage.
AWS is the most popular infrastructure-as-a-service (IaaS) provider today. It offers [web hosting](https://appscribed.com/software_cat/web-hosting-and-domain/), cloud computing, and development services all in one package. Amazon S3 is an essential part of this because it stores all files your company requires to create content in AWS.
Although it is called Simple Storage Service, the pricing model for this service is complex. The company offers four main plans. Prices can rise if you exceed certain storage thresholds, depending on which plan you choose. There are 23 regions where prices can vary.
Amazon S3 is just like many IaaS options. You are charged when you store a file and when you use it. There may be API call fees in some cases.
**[AWS S3 Pricing](https://aws.amazon.com/s3/pricing/)**
### 2. Wasabi
**Pricing:** $5.99 Per TB Per Month
Wasabi Hot Cloud Storage, an enterprise-class bit-bucket storage service that is tier-free and compatible with Amazon's S3 cloud storage solution, is comparable to Amazon S3. Wasabi Hot Cloud Storage charges $5.99 per terabyte per month for 1 TB storage. This is based on $.0059 gigabyte, or GB, per month. Your monthly charge for less than 1TB of storage will be $5.99.
**[Wasabi Pricing](https://wasabi.com/cloud-storage-pricing/#cost-estimates)**
### 3. Backblaze
**Pricing:** $60/Year - Unlimited Backup
Backblaze is a cost-effective option for those who only have one computer. Backblaze costs $60 per year and provides unlimited cloud backup storage for one PC. The service can also be purchased for $110 every two years. Backblaze does not offer a permanent, free account level like IDrive, but you can have a 15-day trial.
**[Backblaze Pricing](https://www.backblaze.com/backup-pricing.html)**
### 4. DigitalOcean Spaces
**Pricing:** Starting from$5/Month
DigitalOcean Spaces is an S3-compatible object storage service that allows users to store and serve large amounts of data. It uses the concept of buckets, where each bucket is a Space that users can store and serve files. Spaces also provides users with a free built-in CDN which minimizes page load times, improves performance, and reduces bandwidth and infrastructure costs.
**[DigitalOcean Spaces Pricing](https://www.digitalocean.com/products/spaces/)**
### 5. Dropbox
**Pricing:** Starting from $10/Month
Dropbox cloud storage offers three personal plans-- **Basic, Plus, and Family** and three business plans-- **Professional, Standard, and Advanced**. Like many cloud storage providers, Dropbox offers a basic plan that provides 2GB storage and limited features. If you opt to be billed annually, you will save money on all paid plans.
**[Dropbox Pricing](https://www.dropbox.com/plans)**
### 6. Google Cloud Storage
Google Cloud Storage pricing includes a flat storage rate and a network usage rate. Project storage usage and bandwidth consumption are expressed in gigabytes, i.e., 1 GB equals two 30bytes.
Google Cloud Storage charges you for bandwidth and storage usage each day, but they only bill you at the end of the month. Unbilled monthly usage can be viewed in the Billing menu for your project in the [Google Development Console](https://console.developers.google.com/).
**[Google Cloud Storage Pricing](https://cloud.google.com/storage/pricing)**
### 7. Filebase
**Pricing:** Starting from $5/Month
Filebase is a unique cloud storage tool that can be accessed anywhere. It's S3 compatible and claims to deliver object storage capabilities.
The file base tool is protected with Blockchain technology. This makes it immutable. On the other hand, smart contracts ensure that files are encrypted and replicated around the world for maximum privacy and redundancy.
Filebase allows users to store all of their worlds on Filebase, ensuring the highest performance and availability.
Filebase charges a monthly optimal fee to store 1TB of data, compared to Amazon S3.
**[Filebase Pricing](https://filebase.com/)**
### 8. Azure Blob Storage
**Pricing:** Starting from $0.00099
Azure blob storage is highly scalable object storage that is both secure and extensible for cloud-native workloads. Azure Blob Storage allows you to create data lakes for your analytics and storage to build mobile and cloud-native apps. Tiered storage reduces costs and allows you to scale up for machine learning and high-performance computing workloads. Blob storage was designed from the ground up for developers of mobile, web, and cloud-native applications. It supports the security and availability requirements.
Blob storage supports the major development frameworks like Java,.NET, and Python. It is also the only cloud storage service to offer a premium SSD-based object storage tier that can be used for interactive and low-latency scenarios.
**[Azure Blob Storage Pricing](https://azure.microsoft.com/en-in/pricing/details/storage/blobs/)**
## What is Ingress & Egress in Cloud Storage & How They Affect the Extra-Charges?
### Data Egress
Egress is a common term that refers to data being transferred from a network to another location. Data egress can be considered network activity, but it poses a threat to organizations if sensitive data is exposed to unintended or unauthorized recipients.
Egress takes place when data leaves an organization's network. This could be via email messages, uploads to the cloud, websites, file transfers onto removable media such as USB drives, external hard drives, via File Transfer Protocol, or Hypertext Transfer Protocol transfers.
Egress filtering allows organizations to monitor traffic and detect suspicious or malicious activity. This allows businesses to limit and block high-volume data transfers and prevent sensitive data from being transferred outside corporate networks.
### Data Ingress
Ingress traffic originates from a public [Internet Protocol address](https://www.techslang.com/definition/what-is-ip-address/) and goes to a private network. It is not an answer to an internal network request, contrary to what it might be defined as within a private network. So requests for ingress traffic unless it contains a configuration that would allow access.
Ingress traffic filtering is a security measure that protects against cyber threats like distributed denial of service (DDoS), attacks using IP spoofing. Cyberattacks that use IP spoofing can cause system crashes or impede cloud services' performance.
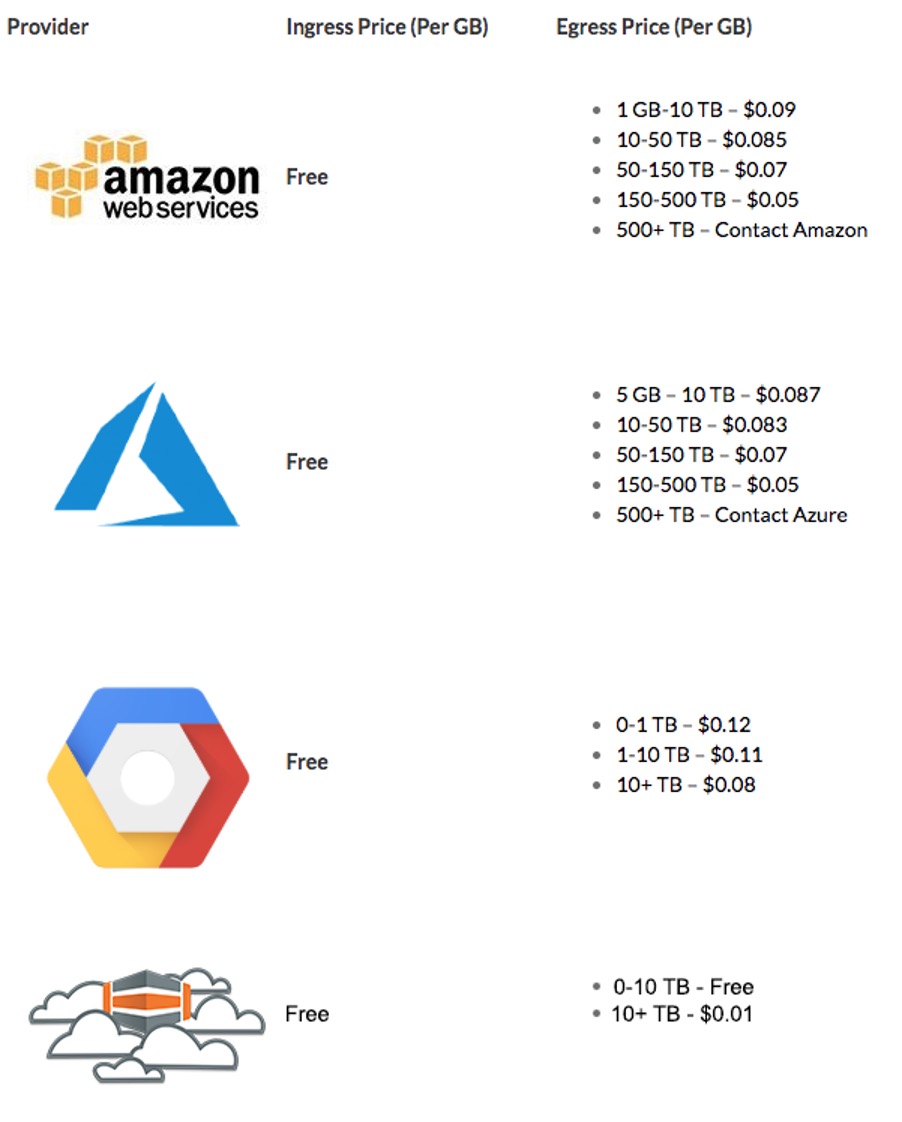
### What are the Data Ingress & Data Egress Charges?
It is usually very affordable to move data to the cloud. Although, Infrastructure and operations (I&O) leaders tend to forget about the high costs resulting from data movement within and between clouds.
Data egress is the process of transferring data from the cloud. This is also known as "data transfer out." All cloud providers charge data egress fees. Data egress costs in gigabytes per month transferred "out" from a particular system or cloud service.
Data egress fees are one of the most hidden costs in the cloud, and they can be devastating for small businesses and large enterprises. They tend to cost thousands of dollars each year.
Most cloud providers will allow you to input your data free of charge (ingress) but charge you hefty network fees to move it elsewhere (egress).
Data removal from the cloud can often require a large data transfer. Cloud providers usually charge between 5 to 20 cents per gigabyte for each data transfer from their cloud storage location to your on-premises location. Although this isn't a problem for the average cloud user, it can be quite costly for large businesses that move terabytes to and from AWS.
Let's take a look at the cloud providers that provide domestic data egress per calendar month.
It’s not much if you are transferring things on a low level. Imagine that you want to transfer 25 TB of data from your location to a client, partner, or consultant. Now you are looking at $2500 per TRANSFER in fees that may or may not be known. This is just domestic. If you transfer this data internationally, the cost will be significantly higher.
Cloudflare recently [announced R2 storage](https://simplebackups.com/blog/early-look-cloudflare-r2-vs-S3-pricing-backups/), an S3-compatible service that stores large data volumes with no egress bandwidth charges. To facilitate integration or transition of existing AWS deployments, automatic migration of objects between Amazon S3 and Cloudflare R2 will be offered.
## How Safe Is Cloud Storage?
You might wonder if your data will be safe if it is stored in the cloud infrastructure. Your files, photos, and videos are stored on servers that you do not control. These servers could be vulnerable to cyberthieves, you might think.
But here's the truth: Cloud service providers' data may be more secure than information on your hard drive. Hackers can use malware or phishing emails to steal your data and may try to freeze your computer and demand a ransom to unlock the files and data they have frozen.
Larger companies that offer cloud services will likely use more robust security measures than those you have for your computer and devices.
### So What Makes Cloud Security Robust?
**Why is cloud storage so secure?** First, cloud storage servers are often located in warehouses that workers do not have access to. The files on cloud servers are encrypted. It means that the files are encrypted and scrambled, which makes it much harder for cybercriminals.
Here are some security measures cloud providers use to protect your data.
**Regular Security Updates**
Cloud storage means that the security measures should be regularly updated by the companies responsible for monitoring the servers. It won't matter if you forget to update. Your cloud service provider will update its security procedures regularly.
**Use of AI Programs**
Cloud providers are turning to artificial intelligence (or AI) to protect your data. This is crucial: It can be difficult to find security experts who are qualified to supervise data. Instead, cloud providers can use AI to address at least the initial level of security analysis. These programs use built-in algorithms for identifying and detecting security vulnerabilities.
**Built-in Firewalls**
Firewalls can be either software- or hardware-based and apply rules to all traffic that enters a network. These rules are used to filter out suspicious traffic and keep your data behind the firewall. Hackers will find it harder to get malware or viruses through the security features of your cloud service provider.
**Data Redundancy**
Redundancy is a common practice among cloud providers. They will copy your data multiple times and store them in many data centers. You can access your files from another server in case one goes down. This protects your data from power outages, hardware failures, or large-scale unfortunate disasters.
## Summary
The best cloud storage solution for your company requires you to look for reliable and secure systems that will protect your data at all times. STaas products offer enhanced cloud sync and collaboration features that allow seamless digital workflows and increased employee cooperation.
You should also be aware of the powerful administrative features available, including access management, system auditing, and 2FA. These are especially important for medium- to large-sized companies.
Moreover, you can go through the above guide to find a suitable cloud storage option for yourself.
---
# Connect Intercom to Notion like rockstar
Source: https://simplebackups.com/blog/intercom-application-notion
Published: 2021-11-01
Author: Laurent
Summary: Customer Support with Intercom + Notion. How to build an Intercom App integrated with a Notion database.
This week, we decided to create an integration between Intercom and our Notion database used to track Customer Support requests. This was easy to set up (took a few hours) and it helps us in our day-to-day Customer Support effort, so we decided to share our insights in this article.
Want to go straight to the code? Check out our [app repository](https://github.com/SimpleBackups/intercom-to-notion-app).
## Customer Support, tools & systems
### Intercom for interacting with users
At SimpleBackups we have been using Intercom for a few years, and we love it! This tool became our go-to users and leads management tool and we extensively use it daily. Our customers can reach out to us via chat or email, to ask questions, report an issue, or request new features.
### Notion for everything else
We are also big [Notion](https://notion.so/) fans and are extensively using since they released their first version (#fanboys). We use it for note-taking, to describe our internal systems, keep track of all our ideas, but also use databases to record and track marketing efforts, and more recently for Customer Support. Because so much of our business runs on it, we also [back up our Notion workspace](/saas-backup/notion).
### Our Customer Support System
SimpleBackups grew a lot recently, and dealing with support, with multiple team members requires a system in place to avoid missing frequent frictions, or helping identify product improvement opportunities.
The goal for us is to have one central place, where all interactions with users are recorded. This has to be structured and searchable, with clear categorizations of what requests are about (bug, feature, product question, UX issues ...).
## Our Notion Customer Support database
If you're not familiar with Notion, you have to give it a try and start playing with it. It's very easy to get started and offers a lot of flexibility.
Our Customer Support database looks like this:
And each request is documented as below:
In addition to the common fields helping us identify the user and the intercom conversation. We also include the below attributes for every request:
* **Tags**: this is used to filter requests when we do some longer-term analysis
* **Category**: "Pricing", "Feature Request", "Clarity/UX", "User mistake", "Expected Manual task", "Product Question", "Admin", "Assistance".
* **Action/Priority**: "Low", "Medium", "High", "no action", "Won't do"
* **Pending action**: For every request, we think an improvement in our product or content could prevent this request to be asked again, we list the actions that would have to be taken
## How does our Customer Support system work?
Our approach is very simple: we kept the tools we were already using, added some structure and a quick tool to bridge them together.
Our system goes as follow:
* Users reach out to us via Intercom (chat and email)
* We answer their questions/requests right away
* We fill in our Intercom to Notion bridge application with the right categories, tags, priority, and pending actions
* On a bi-weekly basis, we review our notion "Customer Support - Report".
* we identify the requests with pending actions
* we identify the requests with multiple occurrences
* we review/assign the right priority
> Our main goal during that session is to identify what should be worked on next.
With this system in place, when we work on our "sprint planning", we have a clear and up-to-date view of all the requests, that if addressed will improve the overall experience for our users. Of course, this had to be balanced with our roadmap, and the ideas we want to bring to life as well.
## Lack of integrations leads to broken systems
For a few months, we worked without any integration between Intercom and Notion. We manually created each request in notion. The problem with this was that we ended up not closing Intercom conversations until they were documented in Notion, which lead to conversations not being dealt with the right way and time wasted reviewing each conversation at the moment we logged them in notion.
In this context, creating an integration helped a lot, it was very simple to set up and streamline the system avoiding any friction in the way we used it.
I'll share below how this integration was built!
## Intercom to Notion bridge
We built one very simple [Node application](https://github.com/SimpleBackups/intercom-to-notion-app) with 2 endpoints. The first one (/initialize) is used by Intercom to define how the built-in app should work. The second one (/submit) is used to handle to map ou newly built Intercom app to a Notion database, using their API.
I won't cover how to get started with Node in this article, but one quick way to test all of this without having to build your own server/endpoint is to use a service like [https://glitch.com](https://glitch.com/).
### Create your Notion API access
Head to [https://developers.notion.com](https://developers.notion.com), login, and create a new integration. Copy your secret key, this will be used in our node app to connect to the API. The integration will now show up as a user you can share access to.
### Create your Notion Database
To create your notion database, simply create a new page of type "Table". Once created, you'll need to get its ID. Open the page and use the Share menu to Copy the link. Now paste the link in your text editor so you can take a closer look. You'll get an URL like `https://www.notion.so/workspace_name/PAGE_ID?v=some_version_id`, where the `PAGE_ID` is what will help us identify the database.
→ This is well described in [Notion Documentation](ttps://developers.notion.com/docs/working-with-databases)
You'll now need to give access to your API user. Go to the sharing settings of your page and select the integration user from the list (the one created in the previous step).
That's it you now have everything you need to use Notion API in our Node script. Create a .env file, which will contain our `NOTION_KEY` and the `NOTION_DATABASE_ID`.
```
NOTION_KEY=secret_ABCD
NOTION_DATABASE_ID=PAGE_ID
```
### Create the Intercom App
Ok so the notion part is ready, we now need to follow the steps defined on this [page](https://developers.intercom.com/building-apps/docs/build-an-app-for-your-inbox). Two endpoints have to be accessible and defined in your Intercom Application configuration (note that a DNS is required as Intercom doesn't accept IP addresses).
### Initialize endpoint (/initialize)
Will define the application structure (form, labels, buttons ...) using Intercom [Canvas Kit](https://developers.intercom.com/building-apps/docs/canvas-kit). You can create your form based on our GIST, it's really simple to customize.
Make sure your code is deployed; Intercom will query that endpoint every time a conversation is loaded.
```
app.post("/initialize", (request, response) => {
const body = request.body;
response.send(canvas);
});
```
→ check the [repository](https://github.com/SimpleBackups/intercom-to-notion-app/)
### Submit endpoint (/submit)
Intercom will post data to that endpoint, once you click on your form "submit" button. You'll have to manipulate Intercom data stucture which includes your form data together with data about the conversation the form is sent from.
```
exports.addItem = async function (item) {
try {
const object = buildObject(item);
const response = await notion.pages.create(object)
} catch (error) {
console.error(error)
}
```
→ check the [repository](https://github.com/SimpleBackups/intercom-to-notion-app/)
### Add the application to the Intercom interface
That's it! You now have an Intercom Application interacting with your Notion Customer Support Database!
Let us know if you want us to write more about the internal tools and systems we use in SimpleBackups!
---
# 5 Ways to Reduce Your Backup Storage Costs
Source: https://simplebackups.com/blog/5-ways-to-reduce-your-backup-storage-costs
Published: 2021-10-20
Author: Laurent
Summary: Some strategies to save and reduce backup storage cost, using incremental backups, cold storage like S3 Glacier, what Amazon S3 Glacier is and how to use it
If you've ever cleaned out a packed attic or garage, you understand how challenging storage can be. The situation is more complex when dealing with data, and companies seem to be having it worse by the day for several reasons.
## Table of Contents
One, organizations are gaining access to more and more data as they use ERP and CRM systems to gather customer information. [IDC predicts](https://www.forbes.com/sites/tomcoughlin/2018/11/27/175-zettabytes-by-2025/) that global data generation will reach a massive 175 zettabytes by 2025. When this data accumulates quickly, it results in fluctuating storage needs.
Two, there's a high decentralization of server points (endpoints) following the pandemic. More employees are [working remotely](https://jooble.org/jobs-no-experience-work-from-home/Abroad), creating loads of data in branch offices, home offices, and other primary data centers. That means admins have even more responsibility to store, secure, and backup data across thousands of endpoints.
Still, organizations must retain petabytes of data for years to i. meet regulatory requirements and ii. maintain a competitive advantage by turning data into insights. All while ensuring the backed-up data is protected, without any risks of getting lost or damaged.
Unfortunately, maintaining stored data is both expensive and time-intensive. It has been for ages. And the more the data, the more the [backup storage](https://simplebackups.com/features/cloudstorage-backup/) and its associated headaches and costs. Hence the need for strategic ways to handle the ever-increasing volume of data without incurring more costs or adding more complexity to data storage.
Here are five easy ways your organization can reduce its backup storage costs.
## 1. Adopt an Incremental Backup Strategy
First and foremost, you should give thoughtful consideration to what data you're backing up. That is, what methods are you applying to what data sets? Relative to change rates and recovery needs?
While at it, identify or establish data lifecycles. The goal is to archive the 'right' data and execute backups at the 'right' intervals. You also want to confidently delete any obsolete data that your organization no longer uses. And add backup storage space only when it's necessary.
That also means identifying storage areas you could downgrade.
With [incremental backups](https://simplebackups.com/features/incremental-backup/), you basically just back up the data that changed since the previous backup. Resulting in less backup storage needs over time.
## 2. Use a Software-Defined Backup Storage
Executing data backups efficiently; can prove challenging, more so when the said data is fanned out across different vendors and environments. Because then, there's a high risk of:
- Omitting data
- Leaving some data unprotected, or
- Lacking access to timely backups (especially in case of emergencies)
While using a hyper-converged infrastructure solution helps handle the organization's data in a single, easy-to-manage system. It creates a need to integrate such a system with a data archiving solution. (However, doing so only complicates your data backup process.)
To ease the process, deploy software solutions which i. are specifically designed for backing up data and ii. support your hyper-converged system. In other words, use a single solution for storing, archiving, and restoring your data.
To reduce storage costs, get a bundled solution from one vendor.
## 3. Use SRM Tools with Deduplication Capabilities
Storage resource management (SRM) tools help handle complex data storage environments.
The tools help find and remove duplicated data (otherwise known as deduplication), cutting down data storage space. For example, if you've saved two identical PDF files, SRM systems ensure that only the critical content in the second file is saved.
As such, any additional information that makes the PDF files readable is ignored (slush not backed up.) When opening the second file; therefore, your SRM tool will retrieve the missing data from the first file – making the second file readable.
Such tools also help identify obsolete copies of files and data, further decreasing the data storage and storage cost.
## 4. Backup Storage on Amazon S3 Glacier (Or Other Cold Storage Options)
Amazon Glacier is specially designed for the long-term digital storage and archiving of data. And while it's not built for frequent utilization, it's highly reliable, secure, and an excellent option for large data backups.
Its use cases involve:
- Long-term archival of log files
- Long-term backup of enterprise backups
- Long-term storage of source data (for processing purposes)
With Amazon S3 glacier, you pay nothing upfront, just a substantially low price as per use basis. It's no wonder that this system is termed the best backup storage on AWS glacier.
Being a cloud storage solution, S3 Glacier eliminates limitations associated with hardware backup systems. For example, it removes the need for resource planning. (As well as availing the necessary on-premise equipment for archiving data.)
It also eliminates any concerns related to troubleshooting hard-disk systems in a bid to maintain hardware-based servers in good working condition.
Users can store up to 10GB of data per month for free. And pay for any additional storage space for as little as a cent per 1GB. (Now, that's a substantial saving compared to on-premise and cloud systems. In fact, the system's price point is currently the lowest available for cloud storage and highly competitive with that of on-premise tape systems.)
Amazon S3 Glacier provides different options for accessing and archiving data:
- **Standard retrievals:** allows access to the archived data within 3-5 hours.
- **Bulk retrieval:** allows access to petabytes of data within 5-12 hours.
- **Expedited retrievals:** allows quick access to archived data. You can access data within 1-5 minutes (except for huge archives.)
As seen from the above timelines, one downside to this system is archive retrieval speed. (Which is understandable as Amazon Glacier is built for long-term storage processes and not frequent removals or retrievals.)
Your organization may opt to combine the S3 and Glacier systems under the AWS umbrella to increase data storage efficiency. Or rather, better archiver data for long periods to maintain regulatory compliance. Here, the data in S3 buckets are configured with lifecycle policies to transfer to the Glacier system once it reaches the set age.
To create an S3 Glacier vault to archive data:
- Open your AMS Management Console
- Head to Amazon S3 Glacier service and click on the "create vault" button
- Choose your location (Region) and name your vault
- Then click on "Next step."
- Next, click on "Do not enable notifications" and hit "Next."
- Review your content, and if okay, click on "Submit" (That automatically creates an Amazon S3 Glacier vault)
- Next, click on "Setting" to view and change Retrieval policies
- Here, set your policies to "Free tier" and save the changes
- Next, you'll need to specify compliance policies for the vault
Amazon S3 Glacier Vault Lock helps deploy and enforce compliance controls for single Glacier vaults within the Lock policy. For example, when you specify a "write once read many" option, it helps lock the policy from future edits.
Note, a lock policy differs from an access policy.
While both policies control access to the Glacier vault, a lock policy helps prevent any future changes. (Which, in turn, provides 'strong' enforcement for the set compliance controls.)
In contrast, a vault access policy helps implement non-compliance access controls. That is access controls that are subject to modifications.
**To lock the vault:**
First, attach the lock policy to the vault to initiate the locking process. (Doing so will i. return a lock ID and ii. sets the lock to an in-progress state.) Note, the lock ID expires after 24 hours, so you have that much time to verify your vault lock policy.
Next, use the ID to complete the process. In case of any errors, abort the lock and restart the process from the beginning. If everything is 'working' as expected, add the lock policy by hitting the "Initiate vault lock" button.
## 5. Use SimpleBackups to Store Backups on Amazon S3 Glacier
Perhaps, the easiest way of all, is letting SimpleBackups do the work for you. You can just rely on SimpleBackups to store your [file backups](https://simplebackups.com/features/cloudstorage-backup/) or [database backups](https://simplebackups.com/features/#database-backup) on S3 Glacier. There is minimal effort involved and you will not need to create any Glacier vaults as shown in the method above.
## Reduce Your Backup Storage Cost
As noted, backup storage is getting complex by the day as organizations gain access to more and more data. That, in turn, translates to costlier data archiving strategies. (In a situation where organizations already tend to over-pay for data backup storage to ensure enough room for their ever-fluctuating storage needs.)
---
# An Early Look at Cloudflare R2 vs. S3
Source: https://simplebackups.com/blog/early-look-cloudflare-r2-vs-S3-pricing-backups
Published: 2021-10-19
Author: Islam
Summary: Cloudflare's announcement of R2 storage. What is R2, using R2 vs S3, and how backup storage can be less expensive and more redundant with Cloudflare R2
There is a new kid on the block! Cloudflare has recently announced their new cloud object storage platform called Cloudflare R2. Cloudflare aims to syphon off some of Amazon’s S3 customers by providing their service at a lower price point. By providing a lower priced solution that is just as feature-rich and reliable as S3, Cloudflare is putting themselves in a prime position to cut into the S3 market share for cloud object storage.
Let's take a look at Cloudflare R2 pricing, R2 vs S3, and more.
## Table of Contents
Amazon S3 has been the default online storage solution for developers for some time now. S3 is flexible, allowing for developers to store an object of any type. Whether you’re looking to store a full web app for hosting or simply backup up data, S3 does the job well. There are other similar storage providers such as Google Cloud Storage and Azure Blob storage, but S3 has the largest market share of all.
The biggest problem most developers have with S3—and other providers such as Google Cloud Storage— is the cost. For larger data buckets, [S3 pricing](https://aws.amazon.com/s3/pricing/) can quickly become very costly and lead to unexpectedly large invoices. The storage of data alone is not the only expense either, as transferring data out of S3 makes up a large portion of the cost associated with S3.
We wrote a short summary [comparing all storage providers](https://simplebackups.com/blog/object-storage-providers-comparison-2021/) if you want to take a look.
What exactly is R2, though, and how does it compare to Amazon S3? Is it a better solution? How much cheaper is it? Let’s take a deeper look into the potential Cloudflare R2 vs S3 showdown to answer some of these questions, based on the very early information we have on the upcoming cloud platform.
## What is R2?
The new cloud storage service is designed to store large amounts of data at a reasonable cost. Because S3 is so deeply engrained in the developer community, R2 will have full compatibility with the S3 API. This will allow for a seamless transition using the same tools you’re accustomed to, and it will allow for an easy transition for applications that are already written with S3 storage as a consideration.
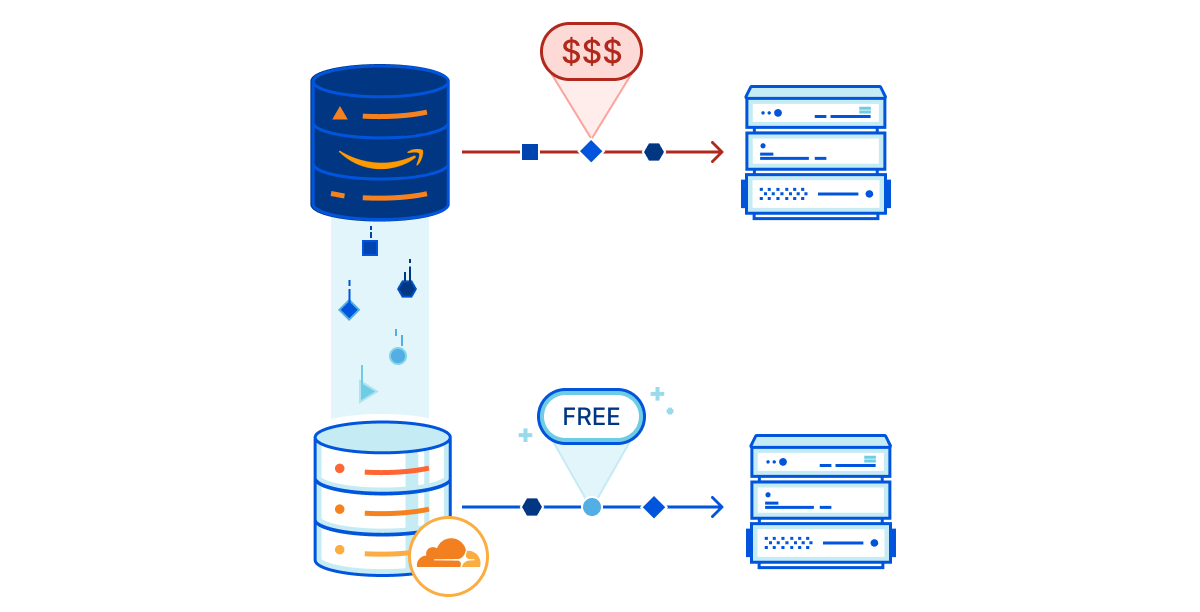
Any type of unstructured data can be stored on R2 and can easily be retrieved. This part, the retrieval, is the primary pain point that Amazon S3 users suffer. While the storage fees may not be massive, it is the data egress fees that really hit the wallet hard when utilizing Amazon S3 with large amounts of data. This is particularly difficult to manage for data that needs to be frequently accessed.
This pricing structure is where Cloudflare R2 is looking to come to the rescue of frustrated S3 users. Cloudflare is looking to join a couple of other cloud services, such as Backblaze B2 and Wasabi, in attempting to compete with Amazon S3 and combat bandwidth fees at the same time. Due to the popularity of Cloudflare, they may be in the best position of anyone to actually take on the behemoth known as Amazon Web Services.
## Cloudflare R2 Pricing
While the R2 storage fee of $0.015/GB is a modest savings over Amazon S3’s Standard $0.023/GB per month for the first 50TB, it is the egress fees that make all the difference. Amazon S3, like many other alternatives, charges for moving data out of S3 storage. This means that with S3, you’ll need to not only pay fees to store data, but then also must pay more to retrieve that stored data.
As of right now the base cost on data transfer out of S3 is $0.09/GB. For large amounts of data this could add up at a shocking pace.
Cloudflare is committed to the [bandwidth alliance](https://www.cloudflare.com/bandwidth-alliance/). This is a group of cloud providers who pledge to discount or completely waive data transfer fees for customers who are shared by members of the alliance. With Cloudflare’s commitment to the alliance, it should come as no surprise that the R2 storage will uphold this low-to-no cost data transfer mindset by not charging for R2 data retrieval.
R2 will provide zero cost infrequent storage operations up to a certain threshold, which is planned to be in the single digit requests per second range. Above this threshold, R2 will charge but the charges will be significantly less than other major players, including S3. This is a cost saving that becomes more substantial as the amount of data you store and access increases.
Specifics are still not fully available as R2 is still in the early access phase. From everything we know based on [Cloudflare’s R2 announcement](https://www.cloudflare.com/press-releases/2021/cloudflare-announces-r2-storage/), though, the new platform should result in a non-trivial savings compared to S3, as well as Google Cloud. The savings in bandwidth cost alone will give the edge to R2 for users with hundreds of gigabytes worth of data stored.
## Possible Use Cases for R2
There are a number of situations in which R2 is a great solution, especially when you consider that it will very easily integrate with Cloudflare’s other service offerings. This deep integration with their already fantastic offerings is truly the ace up Cloudflare’s sleeve.
For example, CDN asset and media file storage should be good candidates for R2 storage to be used. Because R2 is able to extend cache lifetimes drastically for bigger files, this means speedy retrieval at a low cost due to the cutting of egress fees. This storage, in combination with the Cloudflare Cache API and Workers serverless runtime, means dynamic caching for global access becomes simple and efficient.
In comparison to S3 and most other providers, frequently accessed content storage is the most beneficial. The zero-cost egress bandwidth means the savings will be substantial for this frequently accessed storage.
## Using R2 for Backups
Large R2 backups can be restored at a minimal cost due to the waived egress fees, which is a contrast to S3’s fees. This alone could be a very enticing proposition for those considering a switch away from S3. For those who have large amounts of frequently accessed data, Cloudflare R2 looks as though it will present a massive savings.
Another advantage of Cloudflare R2 backups, would be having more redundant backups without additional effort. That would be possible when the announced R2 caching feature is used, which will cache files at R2 in addition to having them stored on other [cloud storage providers](https://simplebackups.com/features/cloudstorage-backup/) as well.
## Is Cloudflare R2 Reliable?
Cost savings are vital, but it means little if the service is not reliable. According to a post from the [Cloudflare blog](https://blog.cloudflare.com/introducing-r2-object-storage/), R2 will provide 99.999999999% annual durability. In a nutshell, this indicates that if you were to store one million objects in R2 storage, only one will be lost every 100,000 years. This is incredible to think about and is in line with the other big players in the cloud storage space
Furthering the goal of reliability, R2 will have redundancy across many regions. Again, the reliability should not come as a surprise as Cloudflare is a giant in the tech industry and their rise to these heights is a direct result in the reliability of their networks.
## Migrating to R2
Cloudflare aims to make it simple for current S3 users to migrate their data blobs over. R2 storage is set to include automatic migration from S3 compatible cloud services. This includes AWS among others. You will simply specify the storage bucket on your existing platform, and R2
will send the requests to the bucket to retrieve the objects. The migrator tool will immediately begin saving you egress costs.
Allowing for easy migration was a prudent decision by Cloudflare. They know that a massive portion of their potential user-base is currently using S3 as their cloud object storage solution, and if they’re going to make any headway in this space, they need to make the migration process as seamless and intuitive as possible.
## Thoughts on Using CloudFlare R2
Cloudflare is a major player in the tech game, with its services already connected to roughly 25% of global networks. They have the resources and infrastructure to battle Amazon on the cloud storage front and should still turn a profit even without charging egress fees. The easy integration with other Cloudflare services, such as Workers serverless runtime and their Cache API, certainly could make R2 an attractive storage option.
From a pricing perspective, the storage fees alone are a savings compared to S3. When you add in the additional savings of the waived egress fees, you’re looking at a storage solution that could present a very substantial savings.
Now, there are other options available, such as the aforementioned Wasabi, that also have low storage and egress fees. However, Cloudflare has the brand recognition and the level of trust among developers that they have already gained in the tech world that plays in their favor.
Being in early access, we still do not know exactly how R2 will ultimately stack up against the AWS tech giant, but there is plenty of reason for optimism that they can hold their own in this battle. If nothing else, having additional competition in this space can only be a positive for the consumer. Greater competition, in theory, could potentially see prices decrease among other cloud storage providers in order to try to prevent loss of market share.
If you’re considering giving R2 a try, you’ll need to sign up to be added to their [early access](https://www.cloudflare.com/r2-storage/) wait list.
---
# Announcement 🎉 - SimpleBackups.com is our new domain
Source: https://simplebackups.com/blog/simplebackups-com-new-domain-announcement
Published: 2021-10-13
Author: Laurent
Summary: SimpleBackups.io becomes SimpleBackups.com. The database and file backup solutions for developers, agencies and startups.
During the past 4 years we’ve been working hard building the backup solution, we would have loved to use ourselves, when we ran our own web agency.
Something that started as a database backup tool to help fellow web developers, grew up into what SimpleBackups is today.
To be honest, we initially didn't plan on building this full-featured solution.
But month after month, user after user, we realised that there was a need and a place, for SimpleBackups.
We now have a strong solution for database backups supporting [MySQL](/mysql-backup/), but also [PostgreSQL](/postgresql-backup/) and [MongoDB](/mongodb-backup/).
On top of that we offer [file backups](/server-backup/), with [incremental backups](/features/incremental-backup/), backup streaming and more [awesome features](/features/). And finally we implemented [snapshot management](/server-snapshots/) with a strong integration with the main cloud providers around.
### SimpleBackups is mature and here to stay
During that time our product changed a lot. We now proudly support more than 2000 web-developers, larger web agencies and startups.
We're really proud of the work achieved, especially that our roadmap is closely built with the feedback provided by our users, so thanks everyone who has participated in this journey 🙏!
Today we’re making a small step for our users but a big one for us:
**SimpleBackups.io now becomes SimpleBackups.com** and we do so to show our users that we grew up, will continue to grow and that we are not planning on going anywhere.
All previous urls and emails have been migrated to our new domain but old ones will continue to work as well - You can now reach out to us at [hello@simplebackups.com](mailto:hello@simplebackups.com) 😎.
### So... what's next?
We've always prioritised delivering the best experience possible, tight with ta real "boutique startup" experience when it comes to support. This remains our goal and will continue to be the same.
That’s why we’ve hired Andrea, who will help us make sure we're always ahead in terms of support!
We have plenty of ideas, our roadmap is filled with things we know you'll like and we're also working on a complementary solution we are looking forward to showing you 🚀!
As always, make sure to reach out to us for any inquiry, feedback or just to chat about something we can help you with.
---
# Restore MongoDB Atlas Collection using MongoDB Compass
Source: https://simplebackups.com/blog/restore-mongodb-atlas-collection-using-mongodb-compass
Published: 2021-10-06
Author: Islam
Summary: So you already have your backup and decided to restore this on your MongoDB Atlas database? In this article, we will tackle how to restore a MongoDB Atlas Collection using MongoDB Compass.
So you already have your backup and decided to restore this on your MongoDB Atlas database? In this article, we will tackle how to restore a MongoDB Atlas Collection using MongoDB Compass.
## Table of Contents
## Prerequisites
- MongoDB Atlas Cluster
- MongoDB Compass Installed
- A MongoDB database collection backup; if you don't have one, SimpleBackups can help you [backing up your MongoDB Atlas](https://simplebackups.com/mongodb-backup/)
**MongoDB Atlas** is a fully-managed cloud database developed by the same people that build MongoDB.
**MongoDB Compass** is a GUI that allows you to analyze your documents and displays rich structures within your collections.
In this article we will go through connecting to our MongoDB Atlas database using MongoDB Compass and importing a sample collection into your MongoDB Atlas database.
---
## Grab your MongoDB Atlas Database Credentials
Head over to [https://cloud.mongodb.com/v2/](https://cloud.mongodb.com/v2/) then choose your MongoDB cluster and click on "Connect" on the cluster you want to connect to.
[](https://downloads.intercomcdn.com/i/o/399577689/01912fa8a9361f3f373a6f58/SimpleBackups-Mongo-NewConnection1.png)
When the list of option pops up, make sure you choose the MongoDB Compass option.
[](https://downloads.intercomcdn.com/i/o/399579719/e016bf02d42f282d9c9b8bde/SimpleBackups-Mongo-NewConnection5.png)
From this screen, you can copy the connection string at the bottom which includes the connection details (username, password placeholder, database host and so on).
**Note:** this is the connection string you can add to SimpleBackups when backing up your MongoDB Atlas database.
[](https://downloads.intercomcdn.com/i/o/399580536/abb31ea82d837e8c1e9fb60a/SimpleBackups-Mongo-NewConnection6.png)
---
## Connect to MongoDB Atlas via MongoDB Compass
Paste the connection string you obtained from the previous step.
**Note:** make sure you replace `` from the connection string by the actual password of your MongoDB Atlas user.
[](https://downloads.intercomcdn.com/i/o/399581169/96937fff4f94951ae6ff1ae6/SimpleBackups-Mongo-NewConnection.png)
---
## Import MongoDB Atlas collection via MongoDB Compass
When you connect successfully, you will see all databases under your MongoDB on the left as shown above. Select the database and the collection you want to import the data into. In this case, we had a MongoDB database called `myDatabase` and a collection called `myCollection`.
When you select the target collection form the left-hand side, click "ADD DATA" and then "Import File".
[](https://downloads.intercomcdn.com/i/o/399586765/a4883f5271b33704e7fa5abd/SimpleBackups-MongoDB-Atlas-Import-Compass-NewConnection1.png)
Finally, on the screen below, you can select the JSON document (MongoDB collection) you want to import.
[](https://downloads.intercomcdn.com/i/o/399586810/6cdb1d200047e5b1a86b7171/SimpleBackups-MongoDB-Atlas-Import-Compass-NewConnection2.png)
---
---
# Cloud Storage Comparison - Best Providers 2021
Source: https://simplebackups.com/blog/object-storage-providers-comparison-2021
Published: 2021-09-21
Author: Laurent
Summary: Updated comparison of most Cloud Storage Providers. Price, specifications, and link to source.
We've created a list of all major (and our preferred) providers, together with their prices using the region **US-EAST-1** as reference.
If you're looking to store your data on a Cloud Storage Provider, you've got plenty of choices.
Prices are often changing and what each provider offer is different.
Once you know your needs in terms of storage/frequency of access (...), you'll easily be able to identify which provider fits you the best.
This list doesn't contain all the specificities each provider offers as we tried to summarize what most people are looking for when it comes to evaluating an Object Block Storage provider.
If you want to see any additional information in this comparison [just let us know](https://simplebackups.com/contact-us/).
## Object Storage Providers Comparison
| Name | Price /GB/month | Min price/month | Price/1000 requests | Price Ingress | Price Egress | Link | Extra |
|------------------------------- |-------------------- |------------------------ |------------------------ |------------------ |------------------------------------ |------------------------------------------------------------------------------ |--------------------------------------------------------------------------------------------------- |
| **AWS S3** | $0.02 | - | $0.01 | $0.00 | $0.09/GB/month (1GB/m included) | https://aws.amazon.com/s3/pricing/ | - 12 first months free - 5GB free |
| **AWS S3 - Infrequent access** | $0.01 | - | $0.01 | $0.00 | | https://aws.amazon.com/s3/pricing/ | |
| **AWS Glacier** | $0.004 | - | $0.03 | $0.00 | $0.01/GB | https://aws.amazon.com/s3/pricing/ | |
| **Wasabi** | $0.01 | - | $0.00 | $0.00 | $0.00 | https://wasabi.com/cloud-storage-pricing/#cost-estimates | |
| **Blackblaze** | $0.01 | - | $0.00 | $0.00 | $0.01/GB | https://www.backblaze.com/b2/cloud-storage-pricing.html | |
| **DigitalOcean Spaces** | $0.02 | $5 (250GB included) | $0.00 | $0.00 | $0.00 | https://www.digitalocean.com/pricing/ | - Minimum 5$ - 1 TB of outbound transfer (additional $0.01/GB) - Additional storage $0.02/GB |
| **Dropbox** | - | $12 (5TB included) | $0.00 | $0.00 | $0.00 | https://www.dropbox.com/plans?tab=work#features | - Reference: Plan standard - Minimum $12/m |
| **Google Cloud Storage** | $0.02 | - | $0.01 | $0.00 | $0.12 | https://cloud.google.com/storage/pricing | - Reference: Standard - 5GB free + 5000 operations |
| **FileBase** | $0.01 | - | $0.00 | $0.00 | $0.0059/GB (1TB included) | https://filebase.com/ | - Minimum $5.99/m |
| **Azure Blob Storage** | $0.02 | - | $0.0065-$0.0005 | $0.00 | n/a | https://azure.microsoft.com/en-us/pricing/details/storage/blobs/#overview | - Reference: Hot Storage |
| **Exoscale** | $0.02 | - | $0.00 | $0.00 | $0.02 | https://www.exoscale.com/pricing/#storage | |
| **UpCloud** | $0.02 | - | $0.00 | $0.00 | $0.01 | https://upcloud.com/pricing/#object-storage | - Reference 250GB plan |
| **Vultr** | $0.02 | - | $0.00 | $0.00 | $0.01/GB (1TB included) | | - Minimum: $5 (250gb) |
_**last update: 20/09/2021**_
---
# Hello Multi-Databases Backup!
Source: https://simplebackups.com/blog/hello-multi-databases-backup
Published: 2021-09-10
Author: Laurent
Summary: Database backups now enabled with multi-databases feature all in one backup.
One of our top requested feature is part of our "fresh out of the oven" release ✨ !
> "I'd love to select database names without having to type them!"
We heard you and it's now live!
✅ You can now **select the database names** you want to back up from our smart field.
No need to type their name, we show you the list of all the databases available on your server.
*This feature works for **MySQL**, **PostgreSQL**, **MongoDB** database backups!*
✅ You can also select **multiple databases in one backup**.
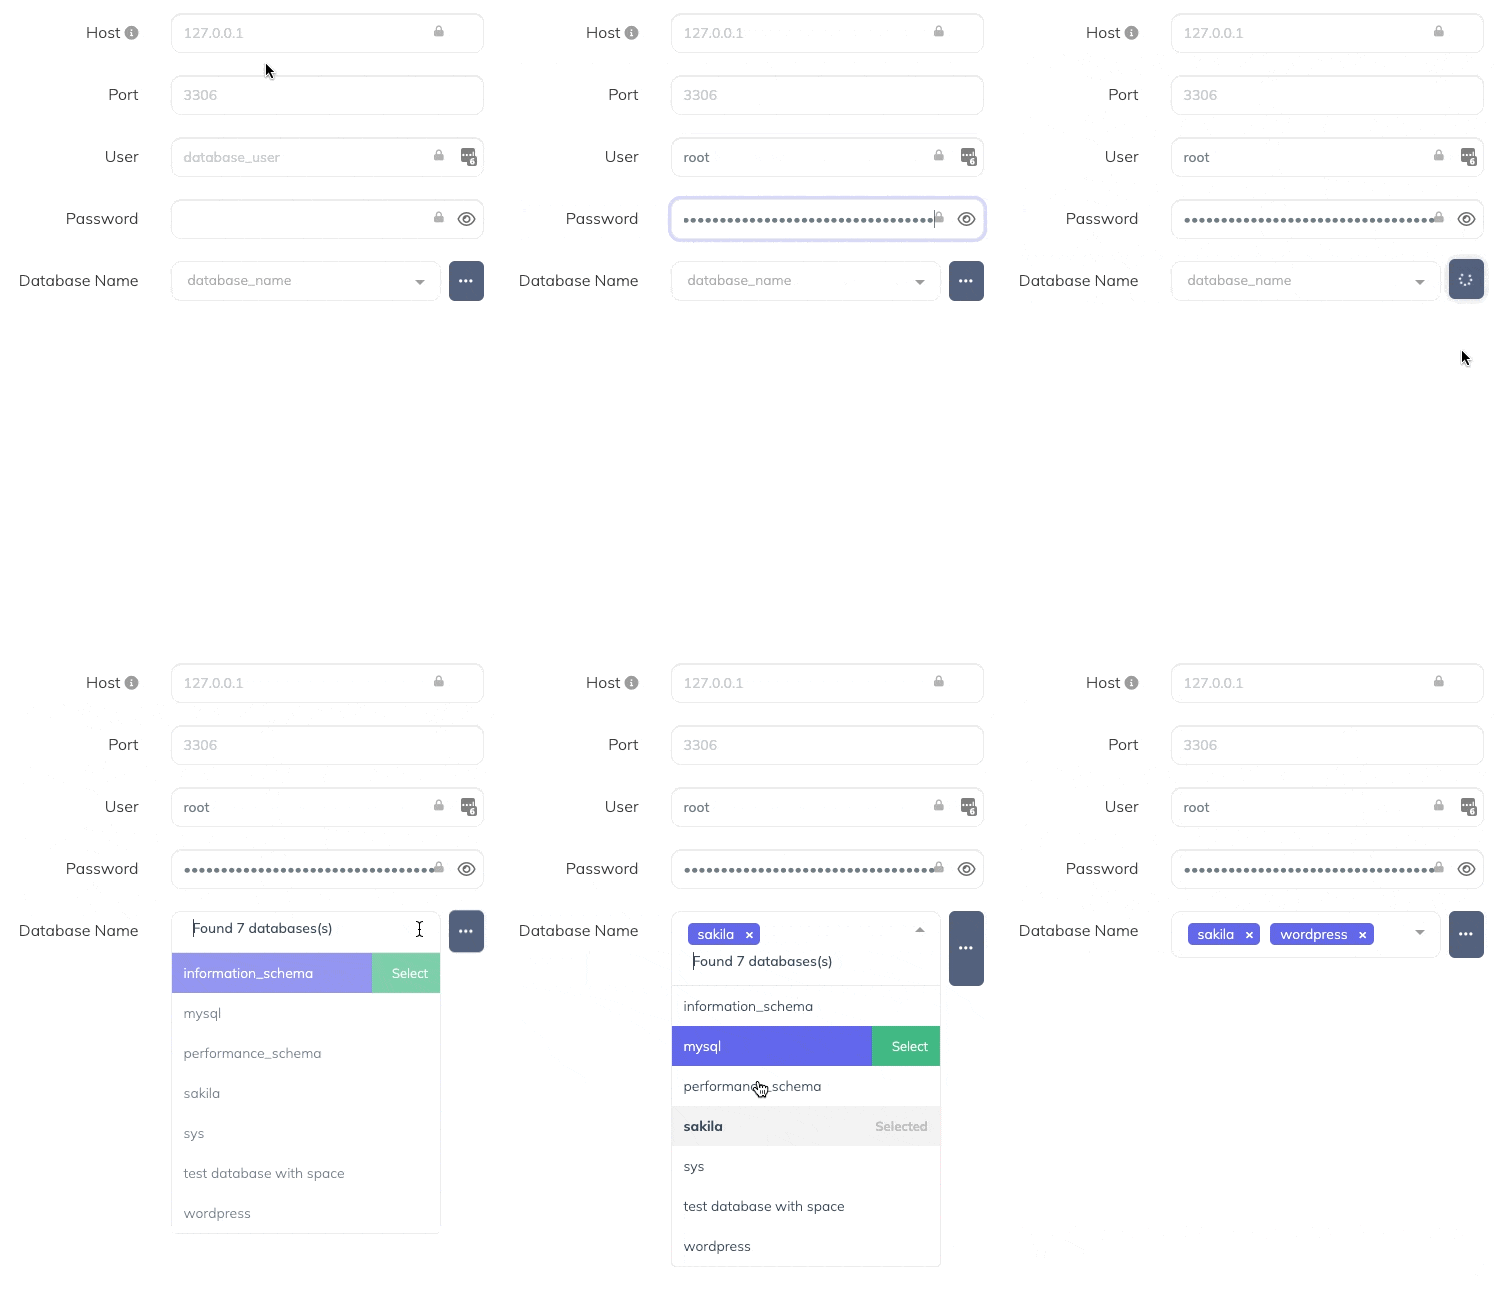
---
# Automated AWS EC2 and volume snapshots
Source: https://simplebackups.com/blog/automated-amazon-aws-ec2-backup-snapshots
Published: 2021-09-01
Author: Laurent
Summary: Automate all your AWS EC2 and volume snapshot in one place for all your accounts.
Thanks to your multiple requests to support AWS EC2 instances and volume Snapshot,... we (finally) did it!
**It's now fully integrated!**
We've developed a connector to AWS EC2 allowing you to select it as a new Snapshot provider.
What does it mean?
You're now able to:
* **Backup AWS EC2 instances** (which include all attached volumes automatically)
* **Backup AWS EC2 volumes individually**
It was time to get AWS EC2 connector rolled out and this opened door to new features for the close future 🤓.
As always thanks to all the users 🤩 that have requested this feature!
---
# How to connect Exoscale
Source: https://simplebackups.com/blog/how-to-connect-exoscale
Published: 2021-07-14
Summary: How to connect Exoscale to SimpleBackups and use it as a storage for database and website backups.
## Prerequisites
* Create a **[SimpleBackups account](https://my.simplebackups.com/register)**
* Have an **Exoscale account** (I'll show you how to create your Exoscale Bucket below)
## 1. Create your Exoscale Bucket
* Sign in your Exoscale account at https://portal.exoscale.com/login
* Navigate to "Object Storage" and click on **"Add"**
* **Name** your bucket 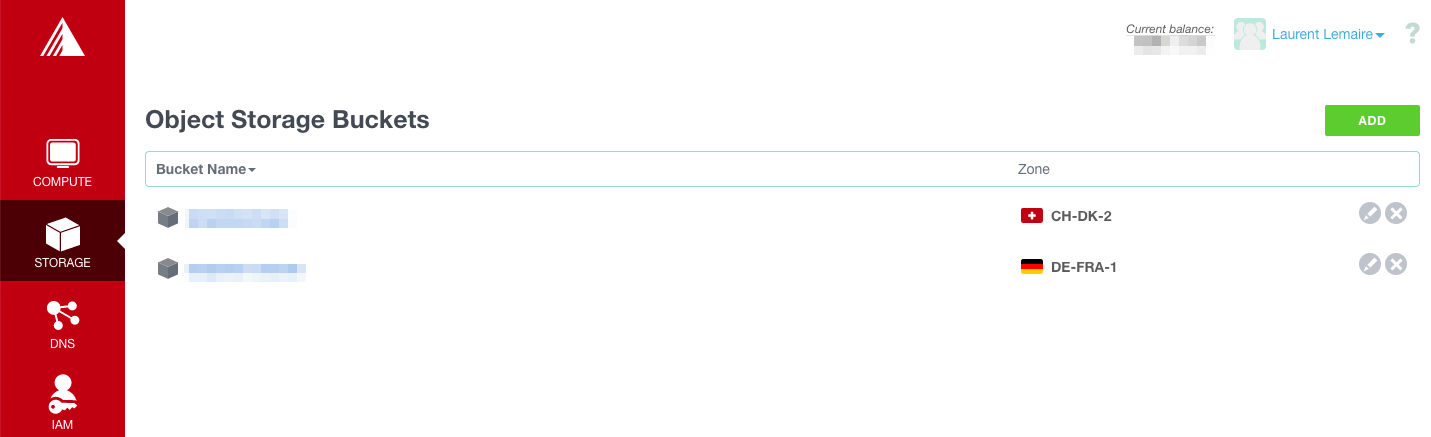
* Select the **zone** for your bucket
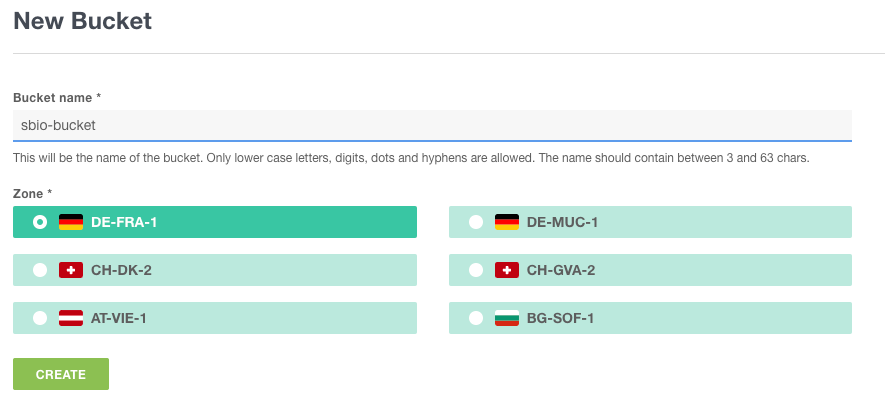
Good job, **your Exoscale bucket is created!**
## 2. Create your Exoscale credentials
You'll now need to create Exoscale credentials that will be used to connect to you newly created storage from SimpleBackups.
* Click on **"IAM"** on the left menu and then **"Add"** on the top right
* Create a new Key
**Information you'll need in step 3:**
* Your **Bucket name**
* Your **Bucket region**
* Your **Bucket key**
* Your **Bucket secret**
## 3. Connect your Exoscale bucket to SimpleBackups
* Go to the [connect your storage](https://my.simplebackups.com/storage/create) page
* Select **"Exoscale"** as storage provider and fill in the "Connect your storage" form with the information from step 1.
You'll have to input :
* **Key**: Access Key described in step 2
* **Secret**: Secret Key described in step 2
* **Region**: Bucket location described in step 1
* **Bucket**: Bucket name described in step 1
* **Endpoint**: Storage endpoint described in step 1.
* Give your storage a **name** (usually we like to use the Bucket name) and click on "Save new storage".
You'll be redirected to the list of storage where you'll find your newly connected storage.
---
# How to connect UpCloud
Source: https://simplebackups.com/blog/how-to-connect-upcloud
Published: 2021-07-14
Summary: How to connect UpCloud to SimpleBackups and use it as a storage for database and website backups.
## Prerequisites
- Create a **[SimpleBackups account](https://my.simplebackups.com/register)**
- Have an **UpCloud account** (I'll show you how to create your UpCloud Bucket below)
## 1. Create your UpCloud Bucket
- Sign in your UpCloud account at https://hub.upcloud.com/
- Go to [https://hub.upcloud.com/login?next=/object-storage/new](https://hub.upcloud.com/login?next=/object-storage/new) or navigate to "Object Storage" and click on **"New Object Storage"**
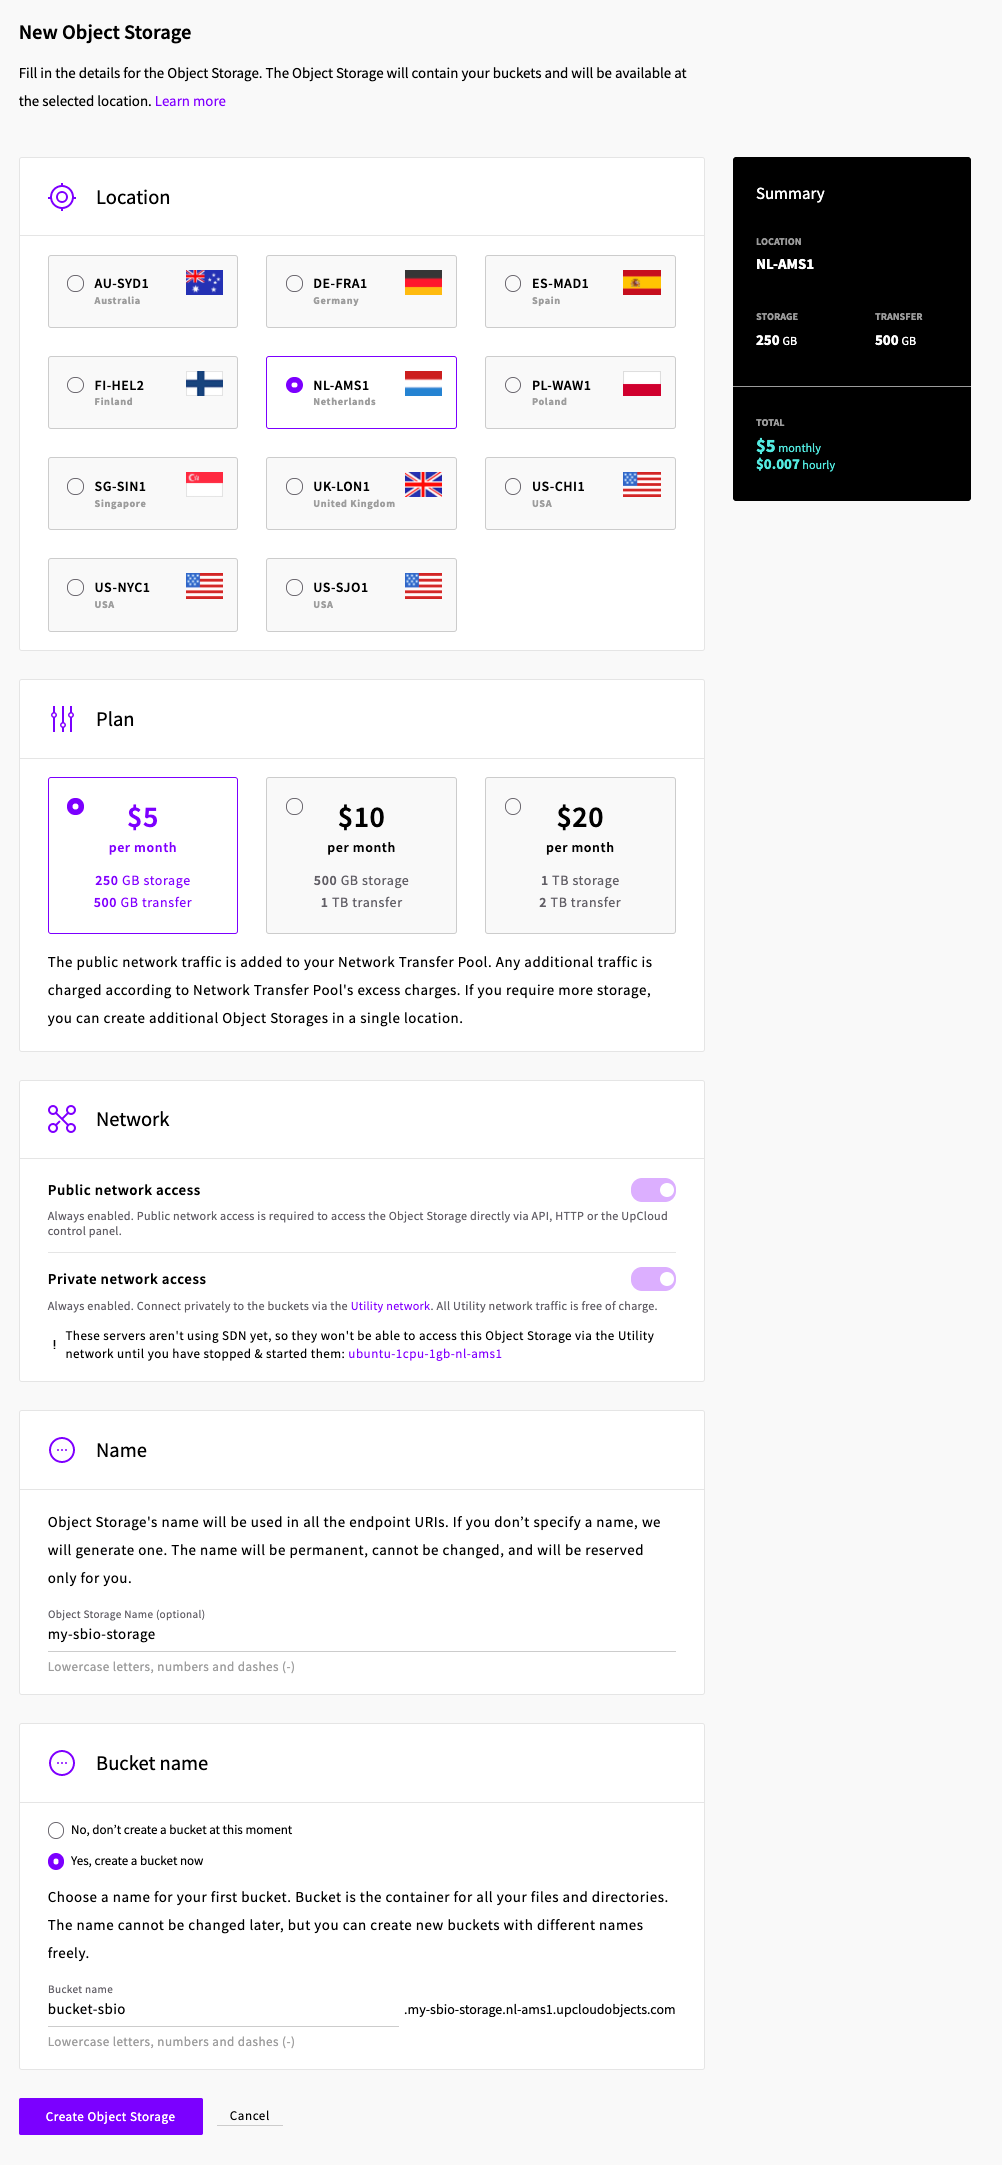
- Select the **location** for your storage (think about GDPR rules, if you're an EU company)
- Make sure to keep **"Public network access"** option enabled
- **Name** your storage
- Select **"Yes, create a bucket now"** and finally give your bucket a name
Good job, **your UpCloud bucket is created!**
**Information you'll need in step 2:**
- Your **Bucket name**, in this example "bucket-sbio"
- Your **Bucket region**, in this example "nl-ams1"
- Your **Bucket endpoint**, in this example "my-sbio-storage.nl-ams1.upcloudobjects.com"
- Your **Bucket access key**
- Your **Bucket secret key**
## 2. Connect your UpCloud bucket to SimpleBackups
- Go to the [connect your storage](https://my.simplebackups.com/storage/create) page
- Select **"UpCloud"** as storage provider and fill in the "Connect your storage" form with the information from step 1.
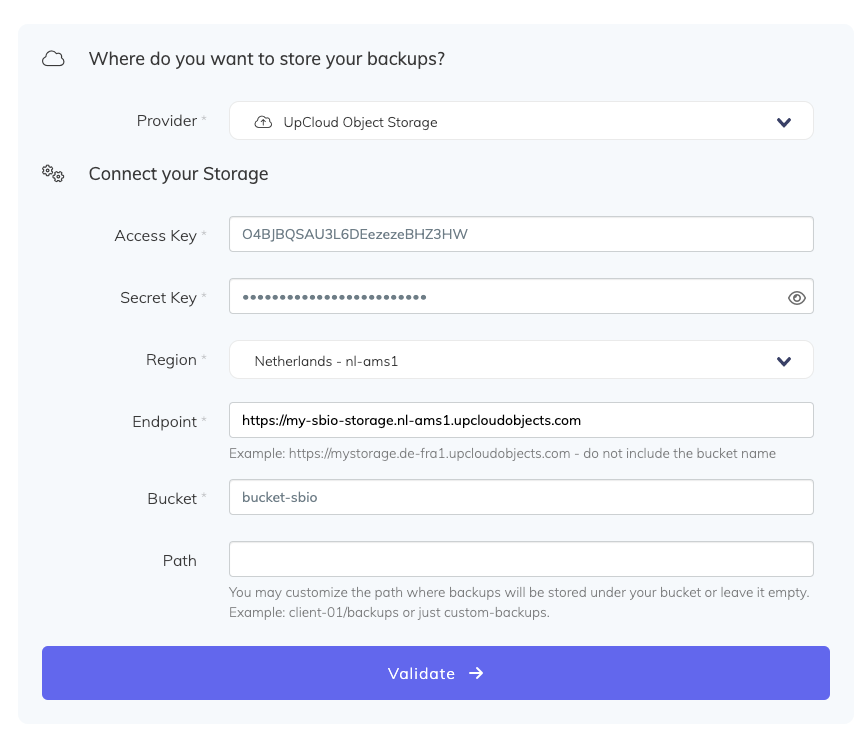
You'll have to input :
- **Key**: Access Key described in step 1
- **Secret**: Secret Key described in step 1
- **Region**: Bucket location described in step 1
- **Bucket**: Bucket name described in step 1
- **Endpoint**: Storage endpoint described in step 1, make sure not to include the bucket name but only the storage (as described in the helper).
- Give your storage a **name** (usually we like to use the Bucket name) and click on "Save new storage".
Congratulations, you have now connected your UpCloud storage!
---
# Automated server & database backups + storage snapshots to UpCloud
Source: https://simplebackups.com/blog/automated-server-database-backups-storage-snapshots-to-upcloud
Published: 2021-06-25
Author: Laurent
Summary: Automate files and databases backups as well as UpCloud Storage Snapshots while storing them on UpCloud
In the past few months we've received multiple requests from users to support UpCloud Storage in SimpleBackups.
**Guess what? It's now fully integrated!**
We've develop a full connector to UpCloud allowing you to select it as a new **storage location** as well as **scheduling your UpCloud Storage Snapshots**, all in one place.
What does it mean?
You're now able to:
* **Backup files and/or databases and store them on your UpCloud Storage directly**
* A**utomate the snapshots of your UpCloud Storage instances** (known as "Backup" in UpCloud console)
We're super excited to start working with this excellent provider and are looking forward for your to connect SimpleBackups and UpCloud!
---
# The Ultimate PostgreSQL Database Backup Guide
Source: https://simplebackups.com/blog/the-ultimate-postgresql-database-backup-script
Published: 2021-06-09
Author: Laurent
Summary: A working PostgreSQL backup script, from pg_dump to an S3 upload and a cron schedule, plus the three gaps a shell script leaves open however well you write it.
This article is part of “The Ultimate Backup Script” series we are creating to provide you with database backup scripts that not only allow you to create database backups, but also upload the backup dumps to Amazon S3 and automate the process daily.
## Why PostgreSQL Backup is Crucial
A backup is a copy of your data that lives somewhere the database does not. That last part is what makes it a backup rather than a second copy of the same risk: a dump sitting on the database host disappears with the host.
PostgreSQL backups protect against the four things that actually take databases out, in roughly the order we see them: human error, data corruption, device failure, and a bad deploy. Only one of those is dramatic, and the boring ones are more common.
## How to automate Postgres database Backup
We'll develop a straightforward script to back up your PostgreSQL database and store it in your Amazon S3 bucket. Additionally, we will automate this process using Cron.
**Key Points to Understand Before We Begin:**
> **Why Choose Amazon S3?**
> In this tutorial, we've selected **Amazon S3** for its widespread use and reliability.
> If you prefer a different cloud storage provider, feel free to make that choice. The steps will remain largely similar as long as the chosen provider is compatible with S3.
> **What is Cron?**
> Cron is a time-based job scheduler on Unix-like operating systems. Developers use it to run commands or shell scripts at set intervals, daily, weekly, or any other frequency you need.
> **Understanding Chmod**
> Chmod, short for ‘change mode’, is a command used to set file handling rules. Through the “chmod” system call, an administrator can alter access permissions of file system objects.
🧑💻 Let's get down to coding now. You can **automate the creation of postgres database backup and storing it to Amazon S3** following these steps
1. Crafting a script to automate the creation of a PostgreSQL backup directory.
2. Uploading/synchronizing the backups with Amazon S3.
3. Setting up Cron to execute this backup command daily.
### 1. Create a backup script that dumps the PostgreSQL database
**Navigate to Your Home Directory and create a directory for your script:**
```shell
cd ~
mkdir scripts
cd scripts
nano db_backup.sh
```
**Create the PostgreSQL database backup script:**
```bash
#!/bin/bash
set -euo pipefail
DIR=$(date +%F)
DEST="$HOME/db_backups/$DIR"
mkdir -p "$DEST"
PGPASSWORD='postgres_password' pg_dump \
--format=custom \
--username=postgres_user \
--host=postgres_host \
--port=postgres_port \
postgres_database_name > "$DEST/dbbackup.dump"
```
Be sure to replace the following variables with your own values: `postgres_password`, `postgres_user`, `postgres_host`, `postgres_port`, and `postgres_database_name`.
Four details in that script are doing real work:
- **`set -euo pipefail`** makes the script stop on the first error instead of carrying on and exiting 0. Without it, a failed `pg_dump` still leaves a file behind and cron reports success.
- **`mkdir -p`** creates `~/db_backups` on the first run. Plain `mkdir` fails when the parent does not exist yet.
- **The dump is written into `$DEST`**, not the current working directory. Cron runs with a different working directory than your shell, so a bare `> dbbackup.sql` puts the file somewhere you did not intend.
- **`--format=custom`** produces a compressed archive that `pg_restore` can restore selectively. The `--inserts --column-inserts` combination is far slower to restore and much larger on disk, so use it only when you genuinely need portable `INSERT` statements.
Putting the password inline works, but anyone able to run `ps` on that machine can read it while the dump runs. A `~/.pgpass` file with `chmod 600` keeps it out of the process list and out of your shell history.
**Now chmod the backup script to allow it to for execution**
```shell
chmod +x ~/scripts/db_backup.sh
```
Now, you possess a fully operational shell script tailored for automating PostgreSQL database backups.
Next step is to automate it and to store the postgres backup on Amazon S3.
### 2. Configure the AWS CLI
We'll use the AWS CLI to sync the backup files with Amazon S3.
**Install the AWS CLI (v2)**
The v2 installer is a self-contained bundle, so there is no Python or `pip` dependency to manage:
```bash
curl "https://awscli.amazonaws.com/awscli-exe-linux-x86_64.zip" -o "awscliv2.zip"
unzip awscliv2.zip
sudo ./aws/install
aws --version
```
**Set up AWS key & Secret**
The quickest route is `aws configure`, which prompts for the four values and writes both files for you:
```bash
aws configure
```
If you would rather write the credentials file directly:
```bash
mkdir -p ~/.aws
nano ~/.aws/credentials
```
Paste in your access key and secret as shown below:
```ini
[default]
aws_access_key_id=AKIAIOSFODNN7EXAMPLE
aws_secret_access_key=wJalrXUtnFEMI/K7MDENG/bPxRfiCYEXAMPLEKEY
```
Those two values are AWS's own documentation placeholders. Replace them with a key belonging to an IAM user scoped to the one bucket you are writing to, and `chmod 600 ~/.aws/credentials` so other users on the machine cannot read it.
### 3. Sync the postgres backup to AWS S3
Now, let's build the script that will allow you **to sync your PostgreSQL database backups with Amazon S3**.
This script will be used in conjunction with the script you created in the previous section.
Copy and paste the script into `db_sync.sh`.
```bash
#!/bin/bash
set -euo pipefail
# Set your AWS CLI path (update with your actual path if needed)
AWS_CLI_PATH="/usr/local/bin/aws"
# Set your Amazon S3 bucket name
S3_BUCKET="my-bucket-name"
# Specify the source directory where your backups are stored
SOURCE_DIR="$HOME/db_backups"
# Synchronize the backups with Amazon S3
"$AWS_CLI_PATH" s3 sync "$SOURCE_DIR" "s3://$S3_BUCKET"
```
Save the file and exit the text editor.
**Make the script executable:**
```bash
chmod +x ~/scripts/db_sync.sh
```
Now you have a shell script that syncs your Postgres database backups to your Amazon S3 bucket.
Replace `"my-bucket-name"` with your actual bucket name, and update `AWS_CLI_PATH` if `which aws` reports a different location.
`SOURCE_DIR="~/db_backups"` looks right and silently is not: a tilde inside double quotes is never expanded, so the sync targets a literal directory called `~`. Use `$HOME` whenever the path is quoted.
### 4. Schedule your PostgreSQL database backup with CRON
The last step is to automate the process of PostgreSQL database backup with CRON. To do this, follow these steps:
```bash
crontab -e
```
Paste the below commands at the bottom to automate the process. Use absolute paths: cron does not expand `~` reliably and runs with a minimal `PATH`.
```bash
0 0 * * * /home/youruser/scripts/db_backup.sh >> /home/youruser/backup.log 2>&1
0 2 * * * /home/youruser/scripts/db_sync.sh >> /home/youruser/backup.log 2>&1
```
This way the backup script will run and also sync with Amazon S3 daily, and both scripts append their output to one log file you can actually read after a failure.
## Conclusion
Hence, by using these scripts you can achieve 3 goals:
1. Creating the database backup via a shell script
2. Uploading the dump to Amazon S3
3. Automating this process using Cron.
A few things this script deliberately leaves out. It dumps in whichever format you pass to `pg_dump`, and [custom vs plain export](/blog/postgresql-backup-formats) is worth reading before you settle on one. The upload step is covered in more detail in [how to back up Postgres to AWS S3](/blog/how-to-backup-postgres-to-s3) if you want to go beyond a bare `aws s3 sync`. And the flags themselves are all in the [pg_dump and pg_restore guide](/blog/postgresql-pgdump-and-pgrestore-guide-examples). It also assumes `pg_dump` can reach the database directly, which is not the case when Postgres runs in a container: [backing up Postgres in Docker](/blog/docker-postgres-backup-restore-guide-with-examples) covers the `docker exec` version of the same commands.
What it does not do is tell you when it stops working. Cron will not email you when the dump fails, the script will not notice that last night's file is zero bytes, and nothing here verifies the dump still restores. [Beyond pg_dump and cron](/blog/pg-dump-cron-replacement-postgresql-backup) covers what closes those gaps, whether you build it yourself or use [PostgreSQL backup as a service](/postgresql-backup).
## FAQ
---
*This article is part of [The complete guide to PostgreSQL backup](/learn/postgresql-backup#automate-schedule), an honest, practical reference from the team that backs up PostgreSQL every day.*
---
# The Ultimate MongoDB Database Backup Script
Source: https://simplebackups.com/blog/the-ultimate-mongodb-database-backup-script
Published: 2021-06-08
Summary: Learn how to backup your MongoDB database and store it remotely on Amazon S3. This tutorial will show you how to automate the process using a shell script and Cron.
This article is part of “The Ultimate Backup Script” series we are creating to provide you with database backup scripts that not only allow you to create database backups, but also upload the backup dumps to Amazon S3 and automate the process daily.
## Table of Contents
## MongoDB Backup process - What are we going to do?
Our goal in this tutorial is to back up your MongoDB database and store it remotely, all on autopilot.
In this example we'll focus on storing the backup on Amazon S3, but you can use any cloud storage provider you want as long as it's S3 compatible.
**🧑💻 So here are the steps we'll follow:**
1. Create your MongoDB backup and store it locally
2. Connect to your Amazon S3 account and upload the backup
3. Automate the process using a shell script and Cron
**ℹ️ Key Points to Understand Before We Begin:**
> **Why Choose Amazon S3?**
> In this tutorial, we've selected **Amazon S3** for its widespread use and reliability.
> If you prefer a different cloud storage provider, feel free to make that choice. The steps will remain largely similar as long as the chosen provider is compatible with S3.
> **What is Cron?**
> Cron is a time-based job scheduling software utility, supporting Unix-based operating systems. Developers utilize Cron to schedule tasks, like executing commands or shell scripts, at specific intervals. These intervals can be set to daily, weekly, or any other frequency according to your needs.
> **Understanding Chmod**
> Chmod, short for ‘change mode’, is a command used to set file handling rules. Through the “chmod” system call, an administrator can alter access permissions of file system objects.
## How to back up your Mongo database
We'll be using `mongodump` to create your backup.
In this tutorial we'll keep it simple, but we've also written a [detailed guide on `mongodump`](/blog/the-complete-mongodump-guide-with-examples/), which I'm sure will be useful to you.
Here is the command to create a backup of your MongoDB database:
```shell
mongodump -h localhost:27017 -d my_db_name -o my_backup_dir
```
Because we want to automate the process, we'll create a shell script `db_backup.sh` that will run this command for us.
```shell
cd ~
mkdir scripts
cd scripts
nano db_backup.sh
```
Copy and paste the script below to it
```shell
#!/bin/bash
DIR=`date +%d-%m-%y`
DEST=~/db_backups/$DIR
mkdir $DEST
mongodump -h localhost:27017 -d my_db_name -o $DEST
```
Now chmod the script to allow it to for execution
```shell
chmod +x ~/scripts/db_backup.sh
```
## Storing your Mongo backup on a remote storage
Now that we have a script that creates a backup of our MongoDB database, we need to upload it to Amazon S3.
Note that you can use any cloud storage provider you want as long as it's S3 compatible.
And if you're looking for a simple way to automate this process, you can use [SimpleBackups](https://simplebackups.io) to do it for you.
First, let's make sure we have the proper tools installed.
### Configure the AWS CLI
We'll use the AWS CLI to sync the backup files with Amazon S3.
Before installing the AWS CLI you need to **install `python-pi`**. Type the following commands:
```shell
apt-get update
apt-get -y install python-pip
curl "https://bootstrap.pypa.io/get-pip.py" -o "get-pip.py"
```
**Install the AWS CLI**
Type the following command:
```shell
pip install awscli
```
**Set up AWS key & Secret**
Configuration and credential file settings
```shell
cd ~
mkdir .aws
nano ~/.aws/config
```
Paste in `key_id `and `secret_access_key` as shown below
```shell
[default]
aws_access_key_id=AKIAIOSFODNN7EXAMPLE
aws_secret_access_key=wJalrXUtnFEMI/K7MDENG/bPxRfiCYEXAMPLEKEY
```
### Syncing the backup with Amazon S3
Now that AWS CLI is installed and configured, we can sync the backup with Amazon S3.
For this, we'll create a new script `db_sync.sh` that will sync the backup directory with Amazon S3.
Copy and paste the script below to it
```
#!/bin/bash
/usr/local/bin/aws s3 sync ~/db_backups s3://my-bucket-name
```
Now chmod the script to allow it for execution:
```
chmod +x ~/scripts/db_sync.sh
```
## Schedule your MongoDB backup script
At this stage, we have a script that creates a backup of our MongoDB database and another script that syncs the backup with Amazon S3.
Now it's time to automate the process using Cron.
```shell
crontab -e
```
Paste the below commands at the bottom to automate the process
```shell
0 0 * * * ~/scripts/db_backup.sh # take a backup every midnight
0 2 * * * ~/scripts/db_sync.sh # upload the backup at 2am
```
This way the backup script will run and also sync with Amazon S3 daily.
## Conclusion
Here you go! You now have a shell script that can be executed to backup your MongoDB database and sync it with your specified Amazon S3 bucket.
---
_Have you tried [simplebackups.com ](https://simplebackups.com/) yet?_
_SimpleBackups will save you a lot of time setting up scripts and ensuring they run without problems. It will alert you when things go wrong, and allows you store your backups on many cloud storage services like Google, DigitalOcean, Wasabi, Dropbox, and more…_
---
# How to automate Exoscale Instance Snapshots
Source: https://simplebackups.com/blog/how-to-automate-exoscale-instance-snapshots
Published: 2021-03-22
Summary: Step by step guide to automate Exoscale instance and back them up on a custom schedule, daily, hourly, weekly, etc.
The following guide will help you, step by step, automate your Exoscale instance (Compute Instance) snapshots. The steps are very easy and will only involve minimal effort.
Afterwards, you will be able to take snapshots, automatically on your own terms, whether you need to take them daily, weekly, every couple of hours or on-demand using our API. You will also have the option to choose the number of snapshots to keep on your provider to save snapshot storage cost.
## Table of Contents
Now, let's get started!
## Prerequisites
- Create a **[SimpleBackups account](https://my.simplebackups.com/register?sb_source=docs&sb_term=exoscale_howto)**
- Create an **Exoscale account**
## Step 1: Create a SimpleBackups Account
Create or login to your SimpleBackups account, then head to the [snapshot creation section](https://my.simplebackups.com/snapshot/create).
## Step 2: Add Exoscale to SimpleBackups
In this step, we will generate a unique API Key and Secret on Exoscale that will allow us to automate Exoscale snapshots from SimpleBackups dashboard.
### Step 2a: Obtain Exoscale API credentials
1. Go to https://portal.exoscale.com/ and click on **IAM**,
2. Click **Add**
3. Then click **Copy API Key to Clipboard**
[](/images/uploads/simplebackups-exoscale-create-api-key1.png "simplebackups-exoscale-create-api-key1")
[](/images/uploads/simplebackups-exoscale-create-api-key2.png "simplebackups-exoscale-create-api-key2")
[](/images/uploads/simplebackups-exoscale-create-api-key3.png "simplebackups-exoscale-create-api-key3")
Afterwards, create a new provider on SimpleBackups with your Exoscale API Key by going to the [snapshot creation section](https://my.simplebackups.com/snapshot/create) and click **Connect a new provider** as shown.
[](/images/uploads/simplebackups-exoscale-connect-add-provider-step1.png "ssimplebackups-exoscale-connect-add-provider-step1")
Select Exoscale from the **Provider** dropdown list, enter a name for your Exoscale account, then paste the **Token** we obtained in the previous step and click **save provider**.
[](/images/uploads/simplebackups-exoscale-connect-add-provider-step2.png "simplebackups-exoscale-connect-add-provider-step2")
## Step 3: Create a Exoscale snapshot backup job
In this step, and after connecting our Exoscale account, we will simply create the snapshot backup job and select the needed server or volume.
[](/images/uploads/simplebackups-exoscale-connect-add-provider-step3.png "simplebackups-exoscale-connect-add-provider-step3")
### Step 3a: Choose your Exoscale account
From the list, choose the Exoscale account you need to take its snapshots. You may add as many Exoscale accounts as you need under your SimpleBackups account.
### Step 3b: Choose Exoscale an instance resource
Select "Instance" (Compute Instance) under the **Resource Type**. The **Resource** dropdown will be populated by all the Exoscale Instances (Cloud Compute) accessible under your Exoscale account.
### Step 3c: Set the retention you need
The **Retention** is a number of snapshots we will keep, anything more than this number will be pruned/rotated automatically for you.
### Step 3d: Save the snapshot backup job
Finally, give your snapshot backup job a friendly name, then click **Create Snapshot**.
[](/images/uploads/simplebackups-exoscale-create-snapshot.png "simpleBackups-exoscale-create-snapshot")
> Congratulations, you now have an automated Exoscale snapshot backup.
_Run it once manually (using the "Run" snapshot button from the snapshots list) and you'll trigger your first snapshot backup!_
---
# How to automate Scaleway Server and Volume Backups
Source: https://simplebackups.com/blog/how-to-automate-scaleway-server-backups
Published: 2021-03-22
Summary: Step by step guide to automate Scaleway server and volume and back them up on a custom schedule, daily, hourly, weekly, etc.
The following guide will help you, step by step, automate your Scaleway server backups.
These exact steps can be followed to configure your volume backups as well.
The steps are very easy and will only involve minimal effort.
Afterwards, you will be able to take snapshots, automatically on your own terms, whether you need to take them daily, weekly, every couple of hours or on-demand using our API.
You will also have the option to choose the number of snapshots to keep on your provider to save snapshot storage cost.
## Table of Contents
## Prerequisites & context
To get started make sure to be connected to your [SimpleBackups](https://my.simplebackups.com/snapshot/create) and Scaleway account.
With Scaleway you can configure "servers" sometimes referred to as "instances" and "volumes."
Using the tutorials below, you'll easily be able to automated backups for each.
To clarify the context around how Snapshots are taken, it's important to understand that a server will be bound to one ore more volumes.
When making a server backup, we will take care of creating a backup of your serve (known as an image) and also an snapshot of each connected volumes (known as snapshot).
SimpleBackups will make this transparent to you and the creation of these resources as well as their rotation will be fully managed.
## Obtain Scaleway API credentials
1. Go to https://console.scaleway.com/project/credentials or click "credentials" from the account menu
2. Under **API Keys**, click on **Generate a new API Key**
3. Save your **key** and **secret**, these will be required in SimpleBackups
[](/images/uploads/simplebackups-scaleway-1.png "simplebackups-scaleway-1")
## Connect your Scaleway account
1. Go to SimpleBackup and [create a new Snapshot](https://my.simplebackups.com/snapshot/create)
2. Click on **Connect a new provider**
3. Give a name to your provider, enter your API key and secret, generated on previous step and select your region
4. Once saved, this Scaleway account, will be available in SimpleBackups and will allow you to create many snapshots
[](/images/uploads/simplebackups-scaleway-2.png "ssimplebackups-scalewaye-connect-add-provider-step1")
## Create a Snapshot job
In this step, and after connecting our Scaleway account, we will simply create the snapshot backup job.
1. Select your newly created Scaleway provider
2. Select the type of resource & the resource you want to backup (server or volume). _Note that a server backup will trigger a snapshot of all its connected volume as well_
3. Define the schedule at which your backup should run
4. Define your retention policy (number of backup that will be kept)
5. Save
[](/images/uploads/simplebackups-scaleway-3.png "simplebackups-scaleway-3")
> Congratulations, you now have an automated Scaleway snapshot backup.
_Run it once manually (using the "Run" snapshot button from the snapshots list) and you'll trigger your first snapshot backup!_
---
# How to automate Vultr Instance Snapshots
Source: https://simplebackups.com/blog/how-to-automate-vultr-instance-snapshots
Published: 2021-03-22
Summary: Step by step guide to automate Vultr instance and back them up on a custom schedule, daily, hourly, weekly, etc.
The following guide will help you, step by step, automate your Vultr instance (Cloud Computing) snapshots. The steps are very easy and will only involve minimal effort.
Afterwards, you will be able to take snapshots, automatically on your own terms, whether you need to take them daily, weekly, every couple of hours or on-demand using our API. You will also have the option to choose the number of snapshots to keep on your provider to save snapshot storage cost.
## Table of Contents
Now, let's get started!
## Prerequisites
- Create a **[SimpleBackups account](https://my.simplebackups.com/register?sb_source=docs&sb_term=vultr_howto)**
- Create a **Vultr account**
## Step 1: Create a SimpleBackups Account
Create or login to your SimpleBackups account, then head to the [snapshot creation section](https://my.simplebackups.com/snapshot/create).
## Step 2: Add Vultr to SimpleBackups
In this step, we will generate a unique API Token on Vultr that will allow us to automate Vultr snapshots from SimpleBackups dashboard.
### Step 2a: Obtain Vultr API credentials
1. Go to https://my.vultr.com/settings/#settingsapi,
2. Click **API**
3. White-list [SimpleBackups IP addresses](/docs/help-tips-and-troubleshooting/connecting-a-server/simplebackups-ip-addresses-firewall) or allow access from all IPV4 ()
4. Then click **Copy API Key to Clipboard**
[](/images/uploads/simplebackups-vultr-create-api-token.png "SimpleBackups-Vultr-Create-API-Token-Credentials-Step1")
> Afterwards, create a new provider on SimpleBackups with your Vultr API Key by going to the [snapshot creation section](https://my.simplebackups.com/snapshot/create) and click **Connect a new provider** as shown.
> [](/images/uploads/simplebackups-vultr-connect-add-provider-step1.png "simplebackups-vultr-connect-add-provider-step1")
> Select Vultr from the **Provider** dropdown list, enter a name for your Vultr account, then paste the **Token** we obtained in the previous step and click **save provider**.
> [](/images/uploads/simplebackups-vultr-connect-add-provider-step2.png "simplebackups-vultr-connect-add-provider-step2")
## Step 3: Create a Vultr snapshot backup job
> In this step, and after connecting our Vultr account, we will simply create the snapshot backup job and select the needed server or volume.
> [](/images/uploads/simplebackups-vultr-create-snapshot-instance-backup-job.png "simplebackups-vultr-create-snapshot-instance-backup-job")
### Step 3a: Choose your Vultr account
From the list, choose the Vultr account you need to take its snapshots. You may add as many Vultr accounts as you need under your SimpleBackups account.
### Step 3b: Choose Vultr an instance resource
Select "Instance" (Cloud Compute) under the **Resource Type**. The **Resource** dropdown will be populated by all the Vultr Instances (Cloud Compute) accessible under your Vultr account / project.
### Step 3c: Set the retention you need
The **Retention** is a number of snapshots we will keep, anything more than this number will be pruned/rotated automatically for you.
### Step 3d: Save the snapshot backup job
Finally, give your snapshot backup job a friendly name, then click **Create Snapshot**.
[](/images/uploads/simplebackups-vultr-create-snapshot.png "simpleBackups-vultr-create-snapshot")
> Congratulations, you now have an automated Vultr snapshot backup.
_Run it once manually (using the "Run" snapshot button from the snapshots list) and you'll trigger your first snapshot backup!_
---
# Docker Postgres Backup/Restore Guide (with examples)
Source: https://simplebackups.com/blog/docker-postgres-backup-restore-guide-with-examples
Published: 2021-02-18
Author: Laurent
Summary: Learn how to back up and restore docker postgres databases, with plenty of examples and commands. Dump docker PostgreSQL db with ease and restore it.
Backing up a Postgres database running in Docker uses the same `pg_dump` and `pg_restore` commands as anywhere else. The difference is that they live inside the container, so every command has to be routed through `docker exec`, and the dump file lands in a place the host cannot always see.
This guide covers the Docker Postgres backup and restore commands for both directions, with the two mistakes that account for most failed restores: copying the dump to the wrong volume, and using `pg_restore` on a file that needs `psql`.

## Before you begin
Two container facts drive everything below.
First, you run commands inside a container from the host with `docker exec`:
```bash
docker exec
```
Second, paths inside that command are resolved **inside the container**, not on your host. So a `pg_restore` reading `/backups/dump.sql` is reading the container's `/backups`, which only exists if a volume is mounted there. That is why the restore section below spends time on `docker inspect` and `docker cp`: the file has to physically reach the container before any restore command can see it.
Redirection is the exception. In `docker exec ... pg_dump ... > postgres-backup.sql`, the `>` is interpreted by **your** shell, so the dump lands on the host. That asymmetry is worth holding onto: dumps come out to the host, restores need the file copied in.
## Back up a Docker PostgreSQL database
As long as you are on a Linux machine with Docker installed, this is the procedure to back up a database.
The Docker backup command for a local or remote PostgreSQL database is:
```bash
docker exec -i postgres /usr/bin/pg_dump \
-U > postgres-backup.sql
```
**Note:** you can set the database host by adding `-h ` to the dump command.
## Back up all Docker PostgreSQL databases
You can use `pg_dumpall` to back up all Docker Postgres databases at once, here is the command:
```bash
docker exec -i postgres /usr/bin/pg_dumpall \
-U > postgres-backup.sql
```
You can find more [examples of pg_dumpall](/blog/postgresql-pgdump-and-pgrestore-guide-examples).
## Back up and compress a Docker PostgreSQL database with gzip
The command shifts when you need to use compression. The command will backup a remote or local PostgreSQL database. In Docker with gzip compression, the command is:
```bash
docker exec -i postgres /usr/bin/pg_dump \
-U | gzip -9 > postgres-backup.sql.gz
```
## Example when using a PostgreSQL password
You can include the PostgreSQL password as an environment variable. The command then looks like this:
```bash
docker exec -i -e PGPASSWORD= postgres /usr/bin/pg_dump \
-U | gzip -9 > postgres-backup.sql.gz
```
## Back up PostgreSQL inside docker container
You can also back up PostgreSQL databases that are in containers.
To do this, you need to create a compressed file with gzip and docker.
The command looks like this:
```bash
docker exec /bin/bash \
-c "/usr/bin/pg_dump -U " \
| gzip -9 > postgres-backup.sql.gz
```
Perform the same command while using the PostgreSQL password environment variable.
The command looks like this:
```bash
docker exec /bin/bash \
-c "export PGPASSWORD= \
&& /usr/bin/pg_dump -U " \
| gzip -9 > postgres-backup.sql.gz
```
## How to restore data using pg_restore (detailed)
If you just need to skip all the details, you can directly go to [Postgres Restore Database Command on Docker](#postgres-restore-database-command-on-docker).
Otherwise, continue and you will understand some key aspects like:
- How to find the name of the container
- How to determine how much room is free for the restore
Find the name and id of the Docker container hosting along with the Postgres instance. You can do this by running the `docker ps` command to locate this information.
The command and retrieved info will look something like this:
```bash
docker ps
```
_Example output:_
```text
CONTAINER ID … NAMES
abc985ddffcf … my_postgres_1
```
Then, with the info retrieved, the next step is to find the volumes available in the Docker container.
This information is critical to determining how much room is free to use for the restore.
You will need to use the `docker inspect` command. The basic command looks like this:
```bash
docker inspect -f '{{ json .Mounts }}' | python3 -m json.tool
```
Using that command, you will be looking at the volume paths under the key destination.
```bash
docker inspect -f '{{ json .Mounts }}' abc985ddffcf | python3 -m json.tool
```
_Example output:_
```json
[
{
"Type": "volume",
"Name": "my_postgres_backup_local",
"Source": "/var/lib/docker/volumes/my_postgres_backup_local/_data",
"Destination": "/backups",
"Driver": "local",
"Mode": "rw",
"RW": true,
"Propagation": ""
},
{
"Type": "volume",
"Name": "my_postgres_data_local",
"Source": "/var/lib/docker/volumes/my_postgres_data_local/_data",
"Destination": "/var/lib/postgresql/data",
"Driver": "local",
"Mode": "rw",
"RW": true,
"Propagation": ""
}
]
```
The volume paths here are `/backups` and `/var/lib/postgresql/data`. When you have the volume, you will then copy your dump into one of those paths. Run the docker cp command:
```bash
docker cp :
```
By picking the /backups volume for the copy location, the command then becomes:
```bash
docker cp postgres-backup.sql my_postgres_1:/backups
```
The database owner will need to run the restore command using `docker exec`.
This assumes that the Postgres database already exists. If it doesn't, you will have to create one before you can perform the restore.
Which restore command you need depends on how the dump was taken, and this is where most Docker restores go wrong:
- **A plain `.sql` file**, which is what the `pg_dump` commands earlier in this guide produce, is restored with `psql`.
- **A custom, directory or tar archive**, produced with `pg_dump -F c`, is restored with `pg_restore`.
Pointing `pg_restore` at a plain `.sql` file fails with `input file appears to be a text format dump. Please use psql.` The file is fine; the command is wrong.
So the restore command inside the container is either:
```bash
psql -U -d -f
```
or, for an archive-format dump:
```bash
pg_restore -U -d
```
These are the most generic commands that are available even when you don’t know the database owner.
If you already know who the owner is, then you can move forward.
## Find out the owner of a Postgres database on Docker
You can find the owner by retrieving a list of the databases along with their owners.
This uses a `psql -U postgres -l` command.
You will use this command at the same time as the `docker exec` command.
The final command will give you a result that looks like this:
```bash
docker exec my_postgres_1 psql -U postgres -l
```
_Example output:_
```text
List of databases
Name | Owner
-----------------+----------
some_database | postgres
```
## Postgres Restore Database Command on Docker
You will be able to run the restore after retrieving the information.
Because the backup commands earlier in this guide produced a plain `postgres-backup.sql`, the restore goes through `psql`:
```bash
docker exec my_postgres_1 psql -U postgres -d some_database -f /backups/postgres-backup.sql
```
If you took the dump in custom format instead (`pg_dump -F c`), use `pg_restore` against the archive:
```bash
docker exec my_postgres_1 pg_restore -U postgres -d some_database /backups/postgres-backup.dump
```
## Conclusion
You now have both directions covered: a dump that lands on the host, and a restore that copies the file back into a mounted volume and runs the command matching the dump's format.
Test the restore into a throwaway container before you need it. `docker run --rm -d --name pg_test postgres:16` gives you a scratch database, and a dump that restores cleanly there is a dump you can trust.
Two things are worth doing next. Restoring outside a container follows different rules once you are dealing with ownership and existing objects, and [how to restore a PostgreSQL backup](/blog/how-to-restore-a-postgresql-backup) covers those. And a dump sitting on the Docker host is still one machine away from being lost, so the step most people skip is [sending PostgreSQL backups to S3](/blog/how-to-backup-postgres-to-s3).
A container makes one problem worse rather than better: a cron entry running `docker exec` fails silently the moment the container name changes or the container is not running, and nothing tells you. [Beyond pg_dump and cron](/blog/pg-dump-cron-replacement-postgresql-backup) covers that blind spot and what closes it.
If you would rather not wire that up per container, SimpleBackups runs [scheduled PostgreSQL backups](/postgresql-backup) against containerised databases and ships them to storage you control.
## FAQ
---
*This article is part of [The complete guide to PostgreSQL backup](/learn/postgresql-backup#docker), an honest, practical reference from the team that backs up PostgreSQL every day.*
---
# Docker Container Backup/Restore Guide
Source: https://simplebackups.com/blog/docker-container-backup-restore-guide
Published: 2021-02-17
Summary: Learn how to back up and restore docker containers databases, docker backup strategy, what to back up and some background.
Multiple languages, frameworks, architecture, and disjointed interfaces between the tools for each lifecycle stage of a product creates massive complexity.
Docker has revolutionized the software development industry, and simplifies and accelerates developers’ workflow, while giving them the freedom of their choice of tools, application stacks, and deployment environments for each project.
By using a docker container, developers are able to package all the code for an application and all its dependencies into one package that runs smoothly and reliably, irrespective of the computing environment.
So, because docker containers isolate software from its hardware environment and ensures that it works uniformly, containerized software always run the same, regardless of the infrastructure.
Because of this, the question often arises whether docker containers should be backed up.
At first glance, and because a running container is just temporary, it may seem that they don't. On closer inspection, though, it does make sense to back up docker containers to protect against disaster.
With this post, we'll look at some of the instances when containers should be backed up, what needs to be backed up, and how a backup is done.
We’ll also look at how a backed up image is restored. However, before looking at this, will briefly recap on some docker container basics.
## Table of Contents
## Docker Container Basics
Containers are a type of virtualization and Docker is the most popular container platform that developers use to run their applications.
It's an open platform for developing, shipping, and running applications that enables developers to separate their applications from their infrastructure so that they can deliver software quickly.
In other words, by using docker's methodologies for shipping, testing, and deploying code quickly, developers can reduce the delay between writing code and running it in production.
## Why Docker Needs A Backup?
Historically, backups comprised of an agent placed in a server that needed to be backed up. However, virtualization broke that model, so a new model was created where the agent runs at the hypervisor level and backs up the virtual machines as images.
Unfortunately, containers don't offer any of these options. Despite this, containers, under some circumstances, do need to be backed up, so let's take a look at when developers should look at backing up their containers.
Because high availability is built into every part of the container infrastructure, many container advocates often point out that a backup is not necessary.
In addition, they say, Kubernetes is always run in a cluster and containers are spawned and killed off as necessary. Unfortunately, in thinking this way, many confuse the high availability built into containers with the ability to recover from a disaster, should it occur.
Sure, a typical container does not need to have its running state backed up and most containers are stateless. In other words, there's no data stored in the container and it's just another running instance of a given container image that's already saved somewhere else.
But what happens if an error takes out an entire cluster, container nodes, and associated persistent storage. This would mean that a developer would have to replicate their entire Kubernetes and Docker environment, something that is not likely without a backup.
In simpler terms, depending on how the application and its data is implemented, there might be a need for a backup.
## What Needs To Be Backed Up For Docker?
In the event of one of those cases where a backup is necessary, what should be backed up? Let's take a look.
### Container Images Backup
A container image is a lightweight, stand alone, executable package of software that includes everything needed to run the application from the code to the runtime, system tools, system libraries, and settings.
Because docker container images become containers when they run on Docker Engine, they do not change.
So, if any libraries or code for a given container changes, a new image would be created for that container. For this reason, images are often protected using a repository and, in turn, that repository should be protected.
### Attached storage or databases Backup
When there is a need to make applications in containers more persistent, for instance, when running databases within a container ecosystem, developers basically have two options.
One would be to create a stateless container where the database is copied into the container when it is created. Another would be to store the data on a file system or volume and attach it to the container at startup.
This should be backed up, and when it is, the docker backup volume will restore the data when the volume is restored.
### Persistent Volumes Backup
Kubernetes pods are increasingly using persistent storage. This means a backup may be necessary to protect the persistent storage and the data created on it.
### Deployments Backup
A Kubernetes Deployment is used to tell Kubernetes how to create or modify instances of the pods that hold a containerized application.
They can also scale the number of replica pods, enable rollout of updated code in a controlled manner, or rollback to an earlier version of the Deployment if necessary. Deployments are described and stored in YAML (or JSON) files and these files need to be backed up.
### Kubernetes etcd Backup
The Kubernetes central database is etcd, and it needs to be backed up. It's a small file and Kubernetes provides the tools necessary that dumps its contents into a file that you can back up.
### Kubernetes resources Backup
Because developers create resources in Kubernetes, those resources needs to be backed up with the right group and version.
Not everything needs to be backed up, though. For example, a running stateless container is only temporary and was spawned from a container image, so it does not need to be backed up. Keep in mind, though, that any data it creates should probably be backed up.
Likewise, since pods are just groups of running containers, they don't need to be backed up.
In respect of the elements that should be backed up, each offers a native tool that can be used to back it up to local or remote storage. In light of this, let's look at the procedure to back up a Docker container.
## How To Back Up Docker Containers
Before we back up a docker container, we need the `container ID` of that specific container. Here, will use the `ps` command to get the IDs of all the running containers.
From here, we can copy the `container ID` of the container we need to back up.
So, to list all the IDs of all the running containers, use the following command:
```
docker ps -a
```
In the results, we'll look for the `container ID` of the docker container that we want to back up, copy it, and then use it with the Docker `commit` command. The format for this command is:
```
docker commit −p
```
So, for example, if the `container ID` of our container is `5c7d78fcb634`, and the name of our backup is `our-docker-backup`, the command will be:
```
docker commit −p 5c7d78fcb634 our-docker-backup
```
With this command we've first paused a running container with the `-p` option, and we've made a commit to save the entire snapshot as a docker image with the name `our-docker-backup`.
We can also save the image as a `tar` file on our local machine by using the command:
```
docker save −o ∽/our-docker-backup.tar our-docker-backup
```
We can check whether the file has been saved by using the command:
```
ls −l ∽/our-docker-backup.tar
```
When it saved as a `tar` file we can move it do any other desired docker host system for a deployment.
We can also redeploy our `our-docker-backup` image on another docker host system by using the push command to push the image to a private docker repository.
To do this, will use the command:
```
docker login
docker push our-docker-backup
```
Now that we've backed up our Docker container, let's look at the procedure to restore Docker containers, either locally or on another machine.
## How To Restore A Docker Backup
If we've saved the `tar` file on our host machine, we can restore it by using the docker `load` command. To do this, we’ll use the command:
```
docker load −i ∽/our-docker-backup.tar
```
To make sure that the image was restored successfully, we can then list all the images using the following command:
```
docker images
```
If we've pushed the backup image to a docker repository, we can use the `pull` command to pull the data from the repository.
Here, we'll use the command:
```
docker pull our-docker-backup:tag
```
Once we've restored the backed up image on our local machine, we can use the `run` command to run a new instance of the restore docker image. to do this we use the command:
```
docker run −ti our-docker-backup:tag
```
## Final Thoughts
Now we've shown how to backup and restore a docker container. This is helpful when developers want to migrate a docker container which is running on their host machine to another machine and when they want to back up their docker container for the reasons mentioned above.
Hopefully, this guide was helpful in showing when a docker container needs to be backed up, what should be backed up, and how it should be done.
---
# How to automate DigitalOcean Server and Volume Snapshots
Source: https://simplebackups.com/blog/how-to-automate-digitalocean-server-and-volume-snapshots
Published: 2021-02-14
Summary: Step by step guide to automate DigitalOcean droplet and volume snapshots and back them up on a custom schedule, daily, hourly, weekly, etc.
The following guide will help you, step by step, automate your DigitalOcean droplet and volume snapshots. The steps are very easy and will only involve minimal effort.
Afterwards, you will be able to take snapshots, automatically on your own terms, whether you need to take them daily, weekly, every couple of hours or on-demand using our API. You will also have the option to choose the number of snapshots to keep on your provider to save snapshot storage cost.
## Table of Contents
Now, let's get started!
## Prerequisites
- Create a **[SimpleBackups account](https://my.simplebackups.com/register?sb_source=docs&sb_term=digitalocean_howto)**
- Create a **DigitalOcean account**
## Step 1: Create a SimpleBackups Account
Create or login to your SimpleBackups account, then head to the [snapshot creation section](https://my.simplebackups.com/snapshot/create).
## Step 2: Connect DigitalOcean to SimpleBackups
In this step, we will connect DigitalOcean to SimpleBackups simply using the authorization flow (just login to DigitalOcean and authorize SimpleBackups), that will allow us to automate DigitalOcean snapshots from SimpleBackups dashboard.
> Go to the [snapshot creation section](https://my.simplebackups.com/snapshot/create) and click **Connect a new provider** as shown.
> [](/images/uploads/SimpleBackups-DigitalOcean-Connect-Add-Provider-Step1.png "SimpleBackups-DigitalOcean-Connect-Add-Provider-Step1")
> Select DigitalOcean from the **Provider** dropdown list, enter a name for your DigitalOcean account, then click **Connect DigitalOcean**.
> [](/images/uploads/SimpleBackups-DigitalOcean-Connect-Add-Provider-Step2.png "SimpleBackups-DigitalOcean-Connect-Add-Provider-Step2")
### Step 2a: Authorize SimpleBackups to Connect to DigitalOcean
You will be redirected to login screen of DigitalOcean.
> ✅ Make sure you are logged in to the DigitalOcean account you would like to connect
>
> ✅ Make sure you leave the checkbox next to your account email address checked
>
> ✅ Click **Authorize application** to complete the connection step
> [](/images/uploads/SimpleBackups-DigitalOcean-Connect-Add-Provider-Step3.png "SimpleBackups-DigitalOcean-Connect-Add-Provider-Step3")
## Step 3: Create a DigitalOcean snapshot backup job
> In this step, and after connecting our DigitalOcean account, we will simply create the snapshot backup job and select the needed server or volume.
> [](/images/uploads/SimpleBackups-DigitalOcean-Create-Snapshot-Volume-Backup-Job.png "SimpleBackups-DigitalOcean-Create-Snapshot-Volume-Backup-Job")
### Step 3a: Choose your DigitalOcean account
From the list, choose the DigitalOcean account you need to take its snapshots. You may add as many DigitalOcean accounts as you need under your SimpleBackups account.
### Step 3b: Choose DigitalOcean server or volume resource
You could either choose a server under the **Resource Type** or choose a volume. The **Resource** dropdown will be populated by all the DigitalOcean resources accessible under your DigitalOcean account / project.
### Step 3c: Set the retention you need
The **Retetion** is a number of snapshots we will keep, anything more than this number will be pruned/rotated automatically for you.
### Step 3d: Save the snapshot backup job
Finally, give your snapshot backup job a friendly name, then click **Create Snapshot**.
[](/images/uploads/SimpleBackups-DigitalOcean-Create-Snapshot.png "SimpleBackups-DigitalOcean-Create-Snapshot")
> Congratulations, you now have an automated DigitalOcean snapshot backup.
_Run it once manually (using the "Run" snapshot button from the snapshots list) and you'll trigger your first snapshot backup!_
---
# How to automate Hetzner Server Snapshots
Source: https://simplebackups.com/blog/how-to-automate-hetzner-server-snapshots
Published: 2021-02-14
Summary: Step by step guide to automate Hetzner server snapshots backups then back them up on a custom schedule, daily, hourly, weekly, etc.
Hetzner is one of the leading cloud providers. The following guide will help you, step by step, automate your Hetzner server snapshots backups. The steps are very easy and will only involve minimal effort.
Afterwards, you will be able to take snapshots, automatically on your own terms, whether you need to take them daily, weekly, every couple of hours or on-demand using our API. You will also have the option to choose the number of snapshots to keep on your provider to save snapshot storage cost.
## Table of Contents
Now, let's get started!
## Prerequisites
- Create a **[SimpleBackups account](https://my.simplebackups.com/register?sb_source=docs&sb_term=hetzner_howto)**
- Create a **Hetzner account**
## Step 1: Create a SimpleBackups Account
Create or login to your SimpleBackups account, then head to the [snapshot creation section](https://my.simplebackups.com/snapshot/create).
## Step 2: Add Hetzner to SimpleBackups
In this step, we will generate a unique API Token on Hetzner that will allow us to automate Hetzner snapshots from SimpleBackups dashboard.
### Step 2a: Obtain Hetzner API credentials
1. Go to https://console.hetzner.cloud/projects/ and choose your project,
2. Click **Security**
3. Click **API Tokens**
4. Then click **Generate API Token**
[](/images/uploads/SimpleBackups-Hetzner-Create-API-Token-Credentials-Step1.png "SimpleBackups-Hetzner-Create-API-Token-Credentials-Step1")
> Choose the **Read & Write** permission, enter a name for your token, then click **Generate API Token** > [](/images/uploads/SimpleBackups-Hetzner-Generate-API-Token-Credentials-Step2.png "SimpleBackups-Hetzner-Generate-API-Token-Credentials-Step2")
> Your token will be shown once. Make sure you copy it and immediately add it to SimpleBackups.
> [](/images/uploads/SimpleBackups-Hetzner-Create-API-Token-Credentials-Step3.png "SimpleBackups-Hetzner-Generate-API-Token-Credentials-Step3")
> Afterwards, create a new provider on SimpleBackups with your Hetzner API Token by going to the [snapshot creation section](https://my.simplebackups.com/snapshot/create) and click **Connect a new provider** as shown.
> [](/images/uploads/SimpleBackups-Hetzner-Connect-Add-Provider-Step1.png "SimpleBackups-Hetzner-Connect-Add-Provider-Step1")
> Select Hetzner from the **Provider** dropdown list, enter a name for your Hetzner account, then paste the **Token** we obtained in the previous step and click **save provider**.
> [](/images/uploads/SimpleBackups-Hetzner-Connect-Add-Provider-Step2.png "SimpleBackups-Hetzner-Connect-Add-Provider-Step2")
## Step 3: Create a Hetzner snapshot backup job
> In this step, and after connecting our Hetzner account, we will simply create the snapshot backup job and select the needed server.
> [](/images/uploads/SimpleBackups-Hetzner-Create-Snapshot-Volume-Backup-Job.png "SimpleBackups-Hetzner-Create-Snapshot-Backup-Job")
### Step 3a: Choose your Hetzner account
From the list, choose the Hetzner account you need to take its snapshots. You may add as many Hetzner accounts as you need under your SimpleBackups account.
### Step 3b: Choose Hetzner server resource
You can choose a server under the **Resource Type**. The **Resource** dropdown will be populated by all the Hetzner resources accessible under your Hetzner account / project.
### Step 3c: Set the retention you need
The **Retention** is a number of snapshots we will keep, anything more than this number will be pruned/rotated automatically for you.
### Step 3d: Save the snapshot backup job
Finally, give your snapshot backup job a friendly name, then click **Create Snapshot**.
[](/images/uploads/SimpleBackups-Hetzner-Create-Snapshot.png "SimpleBackups-Hetzner-Create-Snapshot")
> Congratulations, you now have an automated Hetzner snapshot backup.
_Run it once manually (using the "Run" snapshot button from the snapshots list) and you'll trigger your first snapshot backup!_
---
# How to automate UpCloud Storage Backups
Source: https://simplebackups.com/blog/how-to-automate-upcloud-storage-backups
Published: 2021-02-14
Summary: Step by step guide to automate UpCloud storage snapshots and back them up on a custom schedule, daily, hourly, weekly, etc.
UpCloud is one of the leading cloud providers.
The following guide will help you, step by step, automate your UpCloud storage snapshots.
The steps are very easy and will only involve minimal effort.
Afterwards, you will be able to take snapshots, automatically on your own terms, whether you need to take them daily, weekly, every couple of hours or on-demand using our API. You will also have the option to choose the number of snapshots to keep on your provider to save snapshot storage cost.
## Table of Contents
## Prerequisites
- Create a **[SimpleBackups account](https://my.simplebackups.com/register?sb_source=docs&sb_term=upcloud_howto)**
- Create a **UpCloud account**
## Now, let's get started!
Create or login to your SimpleBackups account, then head to the [snapshot creation section](https://my.simplebackups.com/snapshot/create).
## Step 1: Add UpCloud to SimpleBackups
In this step, we will generate a unique API Token on UpCloud that will allow us to automate UpCloud snapshots from SimpleBackups dashboard.
### Step 1a: Obtain UpCloud API credentials
1. Go to https://hub.upcloud.com/people/create and click on **"Add member"**
2. Under **"Permissions"** set **"API Connections"** to **"All addresses"** OR [whitelist all SimpleBackups IP](/docs/help-tips-and-troubleshooting/connecting-a-server/simplebackups-ip-addresses-firewall) by selecting "Address range"
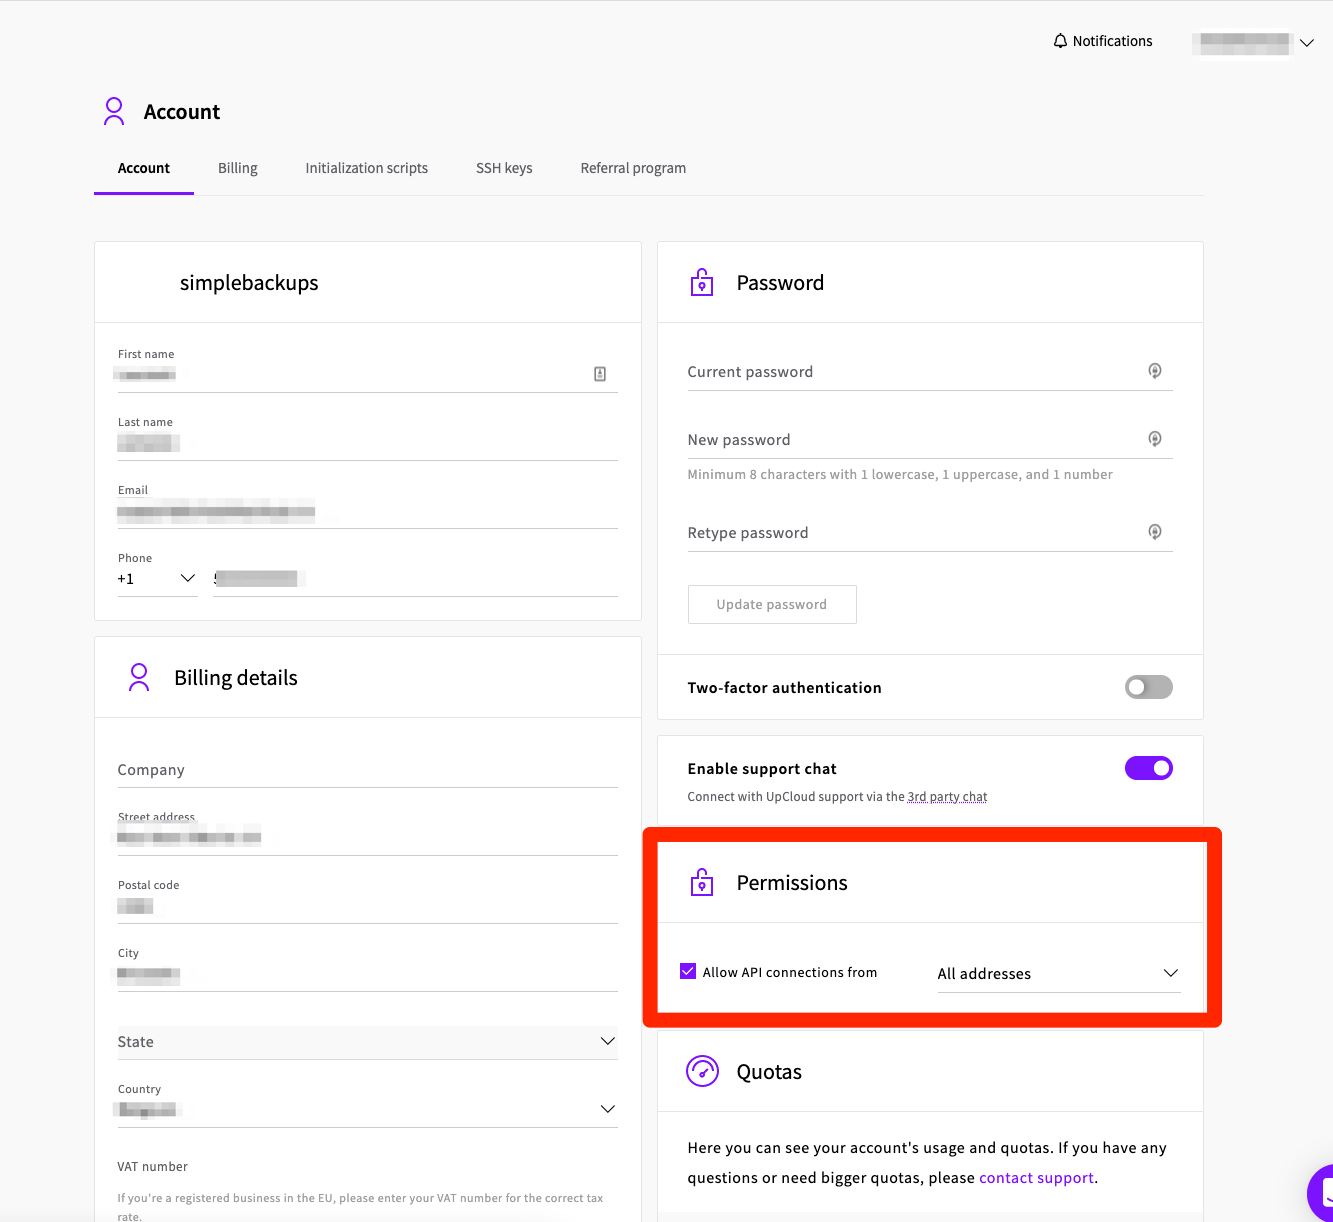
The **Username** and **Password** required while connecting your UpCloud account to SimpleBackups are the same you used to login in your UpCloud console.
> Note that if you use your main user account (rather than creating a new one like described above), you might have to disable 2FA for it to work.
## Step 2: Create a UpCloud snapshot backup job
Let's now create your UpCloud Storage Backup.
- Go to [https://my.simplebackups.com/snapshot/create](https://my.simplebackups.com/snapshot/create)
- Click on **"Connect a new provider"**
### Step 2a: Connect your UpCloud account
- **Name**: the name we'll use to identify your UpCloud account in SimpleBackups
- **User**: your UpCloud username (see step 1)
- **Password**: your UpCloud password (see step 1)
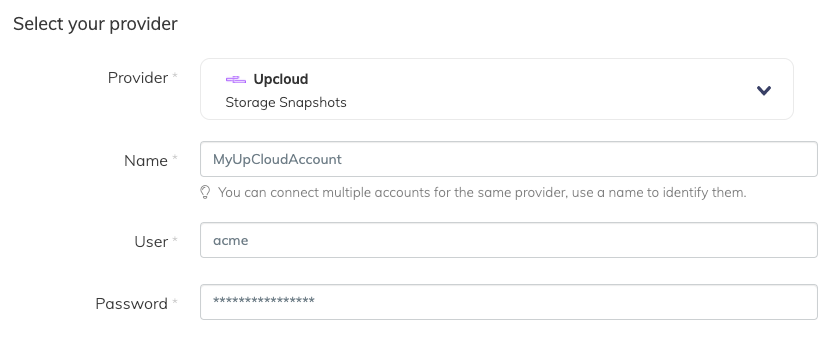
### Step 2b: Choose your UpCloud account
From the list, choose the UpCloud account you need to take its snapshots. You may add as many UpCloud accounts as you need under your SimpleBackups account.
### Step 2c: Choose UpCloud server or volume resource
You could either choose a server under the **Resource Type** or choose a volume. The **Resource** dropdown will be populated by all the UpCloud resources accessible under your UpCloud account / project.
### Step 3d: Set the retention you need
The **Retention** is a number of snapshots we will keep, anything more than this number will be pruned/rotated automatically for you.
### Step 3e: Save the snapshot backup job
Finally, give your snapshot backup job a friendly name, then click **Create Snapshot**.
["SimpleBackups-UpCloud-Create-Snapshot"](/images/uploads/simplebackups-upcloud-create-snapshot.png)
> Congratulations, you now have an automated UpCloud snapshot backup.
_Run it once manually (using the "Run" snapshot button from the snapshots list) and you'll trigger your first snapshot backup!_
---
# Automated server & database backups to Filebase with SimpleBackups
Source: https://simplebackups.com/blog/automated-server-database-backups-to-filebase-with-simplebackups
Published: 2021-02-03
Summary: Website & Database backups powered by blockchain
We've now been working for quite sometime with [Filebase](https://filebase.com/?ref=simplebackups), but today, with the release of Filebase 2.0 we wanted to highlight this awesome integration and spread the word.
## Website & Database backups powered by blockchain
As with any SimpleBackups storage integration, you can use Filebase to store your File, MySQL, PostgreSQL, MongoDB, and Redis backup smoothly without having to worry about who owns your data
What is exciting about Filebase integration, is that you'll leverage blockchain technology to store your backups.
On top of that Filebase is really cost-efficient and you can [get started for free](https://console.filebase.com/signup?ref=simplebackups) with up-to 5GB.
You can find more information about how Filebase technology works on their [website](https://filebase.com/).
---
# Backups vs Snapshots: Differences and Examples
Source: https://simplebackups.com/blog/backups-vs-snapshots-with-differences-and-examples
Published: 2021-01-20
Summary: Learn the difference between server snapshots and server backups with the pros and cons of each, and some examples of when to use them.
**Last Update: April 29, 2022**
Data storage security is as important as ever, no matter what industry you are a part of. Unfortunately, too many businesses lack efficient and modern technologies that can keep their data safe.
Data loss can be a major roadblock on the path to successful scaling and development. No matter the size of the company.
In fact, data loss can be caused by quite a few different factors.
From malware and viruses to power outages to accidental damage, data loss is much easier than you would think.
Because of this, it's necessary to secure an enterprise's data.
Luckily, there are a ton of options out there.
Two popular options involve Backup and Snapshot.
Both of these processes are used to reduce data loss scenarios by essentially "backing up" your data.
However, they are both very different from one another and each boasts its own use cases.
In this quick guide, we'll be breaking down Snapshot vs Backup and their key differences.

## Table of Contents
## What is a Server or a File Backup?
A server backup (or what we often call a file backup) is simply a copy of a system or server's files.
When you create a Backup, it essentially creates an archive of some or all files of your server.
These files, bundled in an archive, are kept in a different location than the original source, which makes them quite dependable in the case of file corruption or data loss.
The main difference between a Backup and a Snapshot is that Backups are isolated copies of data.
They aren't connected to your virtual machine.
That means that they won't offer an entire virtual machine image that you could restore but rather will allow you to restore individual files/folders that might have been compromised.
Backups can be easily moved to the cloud or an off-site data center, unlike snapshots.
## The Pros of Server Backups
- If you upload backups to the cloud, they can be accessed from anywhere at any time.
- They can easily be moved to the cloud, an off-site location, or a data center.
- Server backups are highly efficient, reliable, and ideal for long-term data center protection.
- They are an excellent choice for disaster recovery.
- Server backups do not require both on-site and off-site storage.
## The Cons of Server Backups
- The backup process can take longer to complete, depending on the volume of data you are backing up.
## When to Use Server Backups
Ideally, you should always consider file backups if you want to invest in long-term data protection.
If you host multiple projects on a server, it allows you to back them up and thus restore them individually without impacting other projects
Backups aren't just ideal for business continuity. They can also provide features that snapshots simply cannot. Think of image-level backups. They offer a slew of recovery options and can recover entire virtual machines or applications.
For less dire scenarios, you can use [incremental backups](https://simplebackups.com/features/incremental-backup/) in order to only back up the data that has changed recently, so you can save up on storage space.
## What is a Snapshot?
A Snapshot is a quick "photo" of your server's file system for a specific period.
This photo of your file system is typically used to restore entire servers in the event of data loss or corruption.
Snapshots can be quite useful in some scenarios, and certainly ideal when combined with Server Backup.
## The Pros of Snapshots
- Snapshots are small and can be made quickly and easily without too much of an effect on the server.
- They allow for better app availability, quick recovery, simplified backup management of big data volumes, and reduced exposure to data loss.
- Snapshots can be scheduled and used when necessary for system backup.
- They can nearly eliminate the need for backup windows and lower the cost of ownership.
- Data that is corrupted or has been deleted can be brought back through snapshots. (Just as well, you can revert back to an older version of a snapshot in the event of file corruption.
- Rather than restoring a whole system, one can switch to replicated Snapshot copies since they are already in their native format.
- You can start the restore a server from a snapshot instantaneously.
## The Cons of Snapshots
- Snapshot backups rely on the system's cloud provider and have to be on the server provider cloud-only. This means if something wrong happens in your provider data center your risk losing your Snapshots as well.
- For in-house snapshots, if a server has too many snapshots, the system will slow down product volume. It's worth noting that this only happens through copy-on-write snapshot data. Most snapshot systems have negligible lag.
## When to Use Snapshots
When thought Snapshot backup has its downfalls, the advantages are quite good.
It's a very practical solution for system backup if it's used with both on-site and off-site backup systems.
If your startup or enterprise already has these storage systems in place, snapshots can be a great solution to data backup and security. However, they are best used for short-term situations.
## Summary: What are the Key Differences Between Snapshots and Backups?
A backup is a duplicate of a file or any type of data usually stored in an archive.
Once a backup is initiated, it will copy your files. These copies are kept in a separate location. Backup processes time will vary depending on the volume of data you are backing up.
Snapshots are an immediate sort of "photo" of your server's file system. This photo captures everything about the server exactly when it was taken. Snapshots can be used to restore servers by reverting them to the state they were in when the snapshot was taken.
To summarize, here are the main differences between a server/file backup and snapshots:
- Backups can be stored in additional locations, the same drive, or even the same server. They do not require off-site and on-site storage. Snapshots require both on-site and off-site storage and must always be stored in the same places where the original system data is located.
- Backups can have differences between when the backup began and ended. Snapshots are "photos" of your server that preserve it exactly as it was at a given time.
- The process of creating backups can be long and tedious. Snapshots are instantaneous and take a lot less time to complete. Snapshots take less time to copy data as well.
- Backup files only include the file system. Snapshots can be made of different types of systems. These include files, apps, settings, etc.
- Backups exist in different specific locations and can easily be restored. Backups are also usually verifiable. Snapshots are not exactly backups. They can be used as part of the backup process (and should be) but are mostly short-term solutions. Snapshots are deleted when a backup is complete.
Both snapshots and backups have their own pros and cons. However, it's generally recommended to opt for backups if you need long-term coverage. Snapshots are designed for short-term use and storage. They are generally only useful if you need to revert to a very recent version of your server on the same infrastructure.
When it comes down to it, both Snapshots and File Backups can be used together for different levels of data protection, and in fact, this is the most recommended setup for a bullet-proof backup strategy.
---
## Automated File Backups and Snapshots using SimpleBackups
[simplebackups.com](https://simplebackups.com/) SimpleBackups will save you a lot of time setting up and managing [snapshots](https://simplebackups.com/server-snapshots/). It helps you schedule point-in-time snapshots for DigitalOcean Droplets, AWS EC2, Exoscale, Lightsail, Hetzner, and more providers. Servers may fail at any time, take action, and avoid permanent data loss!
---
# The Complete mongodump Guide (with examples)
Source: https://simplebackups.com/blog/the-complete-mongodump-guide-with-examples
Published: 2020-12-31
Summary: Learn how to use mongodump and mongorestore to dump and import monogodb collections, learn about the common errors and pitfalls in this complete guide having a lot of examples.
There have been a whole host of tools that have been built to make the process of maintaining databases easier.
Using these powerful tools and commands, complex operations that have to be done repeatedly are accomplished quickly and cleanly.
A single command can back up or restore the entire database, or specified portions of it.
When working with MongoDB databases (collections), you can use mongodump to accomplish this.
In this guide, we are going to walk you through what mongodump and what mongorestore are, how to use them, and provide some clear examples along the way so that you can use both tools to back up and restore your collections easily.
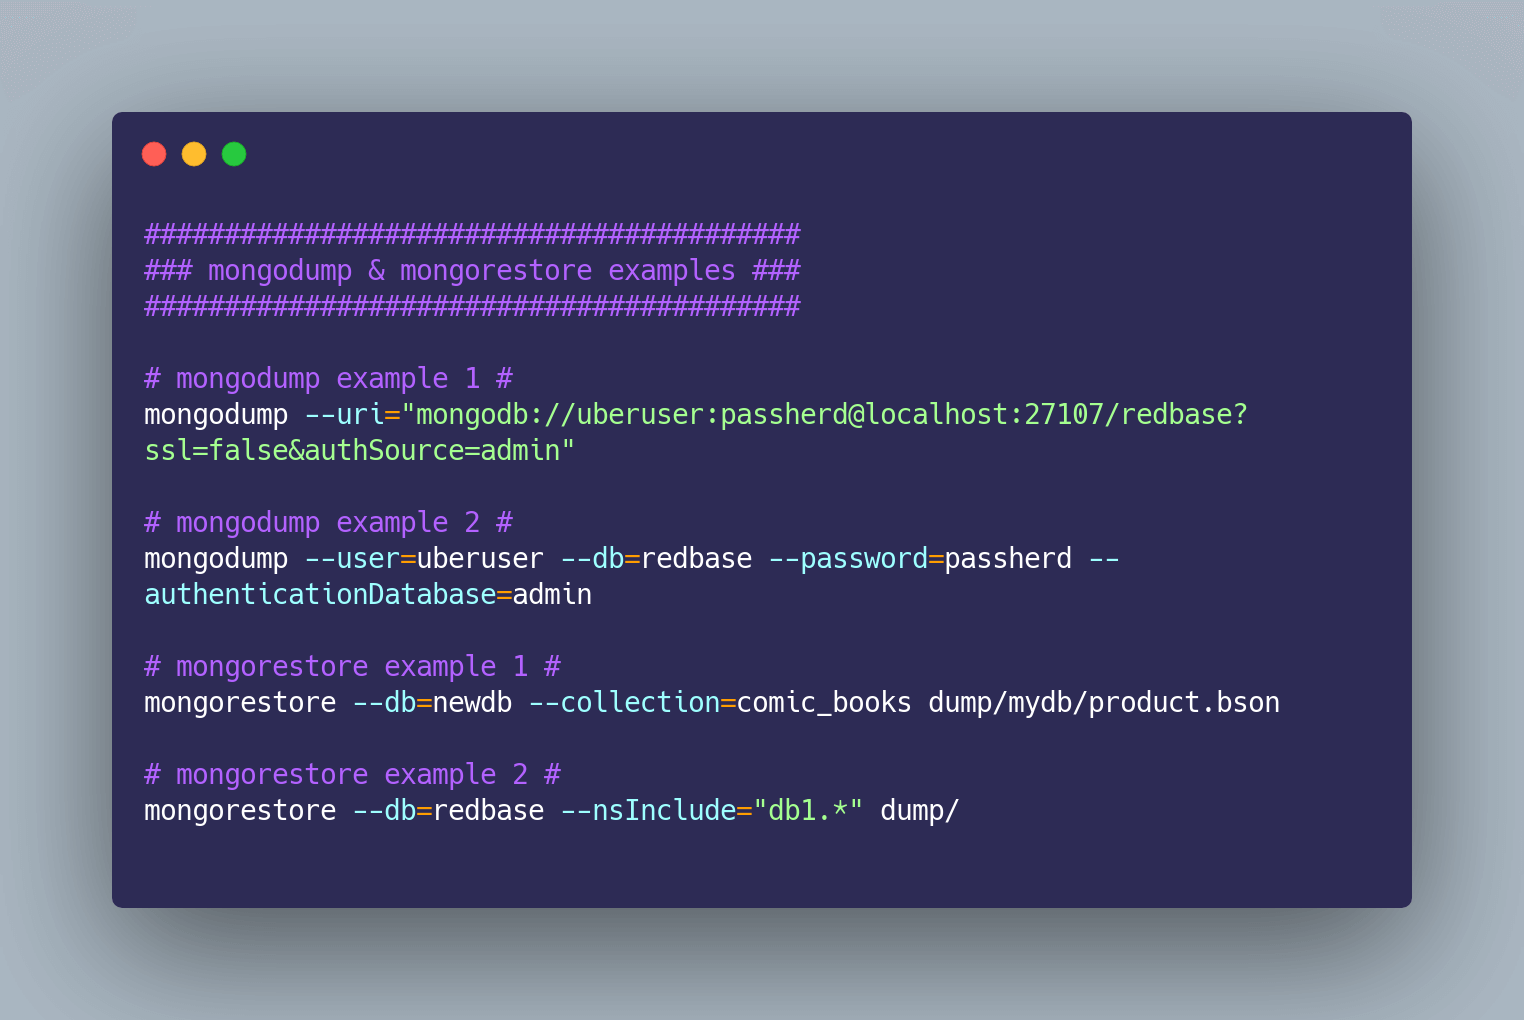
## Table of Contents
## What is mongodump
Mongodump works as a utility to take the contents of a database and create a binary export.
The tool is used with mongod and mongos instances. Running mongodump allows the user to export data from a standalone, replica, set, and sharded cluster deployments.
Mongodump used to be updated, and new versions were released whenever the MongoDB Server itself was updated. However, since, MongoDB 4.4, the utility has separate versioning.
The tool serves as a backup strategy. For IT professionals looking to schedule backups of databases on a daily basis, this one of the methods for them to back up and restore databases (collections).
Mongodump can save everything in a single file, while mongorestore can later be used to completely restore the database.
## The mongodump command
You can run the mongodump command from the system command line, not the mongo shell.
This is the general mongodump command structure:
```shell
mongodump
```
The user can connect to a mongo database using the `--uri` and a correctly formatted string or flag options like `--user`, `--db`, and `--password`. The user isn't allowed to combine the two into a single command.
## How to use mongodump to back up a collection
While using the localhost, mongodump is able to dump a collection called `redbase` with the following command while using a URI format and the following user information:
- Database name: `redbase`
- Username: `ubersuser`
- Password: `passherd`
```shell
mongodump --uri="mongodb://uberuser:passherd@localhost:27107/redbase?ssl=false&authSource=admin"
```
Another example mongodump command using the standard flags would look like this:
```shell
mongodump --user=uberuser --db=redbase --password=passherd --authenticationDatabase=admin
```
It is also possible to run the database backup to an archive file.
- The `--archive` flag makes it possible to specify the name of the archive. _The option creates one file that can be used to reimport the database with mongorestore._
- Use the `--authenticationDatabase` flag to specify the database that holds the user's credentials.
> The standard mongodump process involves dumping the entire database into a single `dump`
> This working directory will be placed in the working directory that your ran the command in. The directory has a sub-folder that is named after the database.
> In the previous example, this would be `redbase` so the new structure looks like `./dump/redbase`.
Two different files for the collection in the database will be in the specific folder. This includes a **BSON file**, and a **JSON file**.
- Following the same pattern, the `.metadate.json` file will contain the metadata like `options`, `indexes`, and `ns` to correspond with the namespace for the collection.
- The BSON file contains the `.bson` will hold the data in the collection. In mongodump the specific behavior of the output can be changed by the user.
**The `dump` directory** can use flags like `--out` that specify the name of the directory where you want the database dumped. For instance, the name of the dump directory could be `dumbbase` instead of dump. The command would look like this.
```shell
mongodump --user=uberuser --db=redbase --password=passherd --authenticationDatabase=admin --out=dumbbase
```
All the collections are dumped into the output folder by default.
### Working with mongodump and collections
**Using the `-collection` flag** allows the user to say which collection needs to be dumped.
If the only collection called `action_figures` should to be dumped, then an example mongodump command would look like:
```shell
mongodump --user=ubersuser --db=redbase --password=passherd --authenticationDatabase=admin --out=dumbbase --collection=action_figures
```
The following folder structure would also be created with the command:
```
.
|_dumbbase
|_redbase
|_action_figures.metadata.json
|_action_figures.bson
```
Using that command, it's possible to back up one collection at a time, as many times as the user desires. These commands won't overwrite any contents for the output folder.
Adding the `older` collection to the out dump folder would look like:
```shell
mongodump --user=uberuser --db=redbase --password=passherd --authenticationDatabase=admin --out=action_figures --collection=older
```
That command would spit out the `database/redbase` folder with the `older.metadata.json` and `older.bson` files added, making a structure that looks like the following:
```
.
|_action_figures
|_redbase
|_action_figures.metadata.json
|_action_figures.bson
|_older.metadata.json
|_older.bson
```
### Using mongodump to dump all databases
It's also possible to run the backup and have all files in an archive. This is in contrast to dumping everything into a dump directory.
When transferring files between hosts or sending backup files between servers is when this option works best.
It uses the `--archive` flag so that the user can specify the name of the archive file. This option creates a single file that can be used to reimport the database with `mongorestore`.
The user isn't allowed to use both the `--archive` and `--out` flags in tandem because of this.
The following mongodump command example below, will dump all databases (collections):
```shell
mongodump --db=redbase --username=uberuser --password=passherd --authenticationDatabase=admin --archive=redbase.archive
```
## How to restore a mongo database
The opposite of the mongodump utility is the `mongorestore`, which allows users to restore the database.
The program loads data from the mongodump utility or any binary database dump.
The program differs from mongoimport in that mongorestore will only insert data. The program can't overwrite documents in the database that already exist. This includes updates.
💡 If the id for the document already exists, then the document won't be overwritten. Otherwise mongorestore can create a new database or add data to an existing one.
When executing mongorestore, the only requirement is to have the path to the dump directory, the following mongorestore example can be used:
```shell
mongorestore dump/
```
If localhost is used as the host, and the names of the databases created have the same names of the sub-folders in the `dump` directory. The command is only slightly more complicated when using a remote host.
The user will have to specify the `--uri` flag or include all the standard connection flags like:
```
--host
--db
--username
--port
--password
```
The program also doesn't require that the entire database get restored. It is possible to restore only a specific collection or list of collections. The user has the option to specify the `--collection` flag, the `--db` flag and include the path to the BSON file. In this case, `--collection` means the name of the collection in the database:
```shell
mongorestore --db=newdb --collection=comic_books dump/mydb/product.bson
```
However, while this command works, it isn't ideal The preferred method to restore different collections is the use the option `--nsInclude`.
This option allows the user to choose a namespace pattern to restore the collections for a mongo database.
Here, if the `dump` directory dumped databases called `db1` and `db2`, then the final folder structure would look like this:
```
.
|_dump
|_db1
|_product.metadata.json
|_product.bson
|_order.metadata.json
|_order.bson
|_db2
|_product.metadata.json
|_product.bson
|_order.metadata.json
|_order.bson
```
By using -nsInclude, the `db1` database could be isolated and imported to restore in the local environment. The command would look like:
```shell script
mongorestore --db=redbase --nsInclude="db1.*" dump/
```
**Note:** The above command would restore all the collections contained in `db1` that was dumped from the database called `redbase`. However, the command wouldn't restore anything found in `db2`, even though the data is stored in the same dump directory.
## Conclusion
Mongodump is a useful tool that helps you back up collections with minimal commands. One command allows the entire collections to be spit out into a single file.
The tool is versatile enough to back up the parts of the database that is needed and comes with a variety of options to change the data you need to save.
---
# The Complete mysqldump Guide (with examples)
Source: https://simplebackups.com/blog/the-complete-mysqldump-guide-with-examples
Published: 2020-12-07
Summary: Learn how to use MySQLDump to dump and import mysql database, learn about the common errors and pitfalls in this complete guide having a lot of examples.
There are many database solutions out there, but MySQL is one of the most popular. Using MySQL is vital to keeping these databases secure and running smoothly.
Managing and backing up servers and databases can all be done in MySQL.
To help these complex processes run smoothly, utilities have been developed. Mysqldump is one of those tools meant to make the lives of developers easier.
In this guide, we are going to walk you through what mysqldump is, how to use it, identify some common errors, and provide some clear examples along the way so that you will be able to use mysqldump effectively.
> 💡 This guide is part of our ["MySQL Guides" section](/blog/guides/mysql) where we bundle all the MySQL related guides we have on our blog.
> 🧑💻 All the code in this article is bundled in this [Gist](https://gist.github.com/SimpleBackups/febe9cd4974abb8181b394316d97dc22).
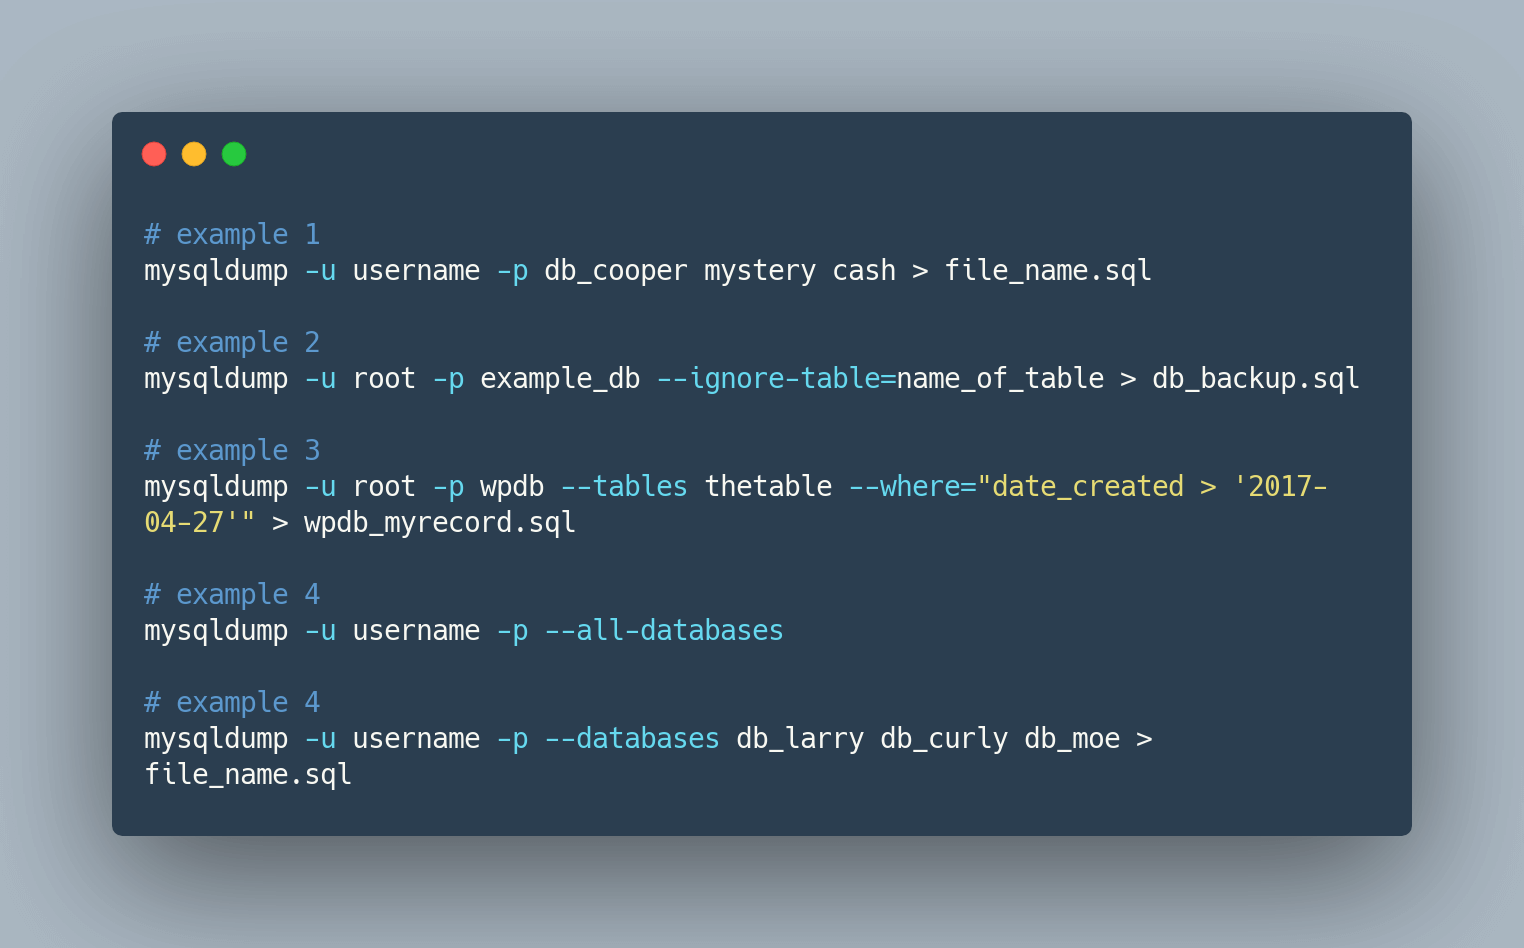
## Table of Contents
## The importance of backing up MySQL database
Let's first dive into the world of MySQL and why 'mysqldump' should be your trusty sidekick. You already know how vital it is to safeguard your data in the digital realm, and 'mysqldump' is your ally in achieving just that.
In the tech realm, data can be unpredictable. It's not just major disasters; even the little hiccups can throw your code for a loop. This is where 'mysqldump' steps in.
Think of it as your 'Ctrl+Z' for databases. When things take a wrong turn, you can effortlessly roll back to a safer point. It's like having a version history for your data, ensuring you're never stuck with unintended changes.
Plus, whether you're shifting to new servers or setting up different development environments, 'mysqldump' is your assurance against data loss. It's like moving your tech world without misplacing a single piece. Your digital realm stays intact and always ready for action. Make 'mysqldump' your go-to companion in the world of data security.
## What is mysqldump?
MySQL is a database system that has been around for years and continues to be one of the most popular choices for websites. It's open-source and agile. Developers can use these databases to store anything a website may need. The information stored in online databases can range from consumer info and simple text to picture galleries to network information.
Mysqldump is part of the relational database package for MySQL.
It is used to back up all the data in a database into a single text file. These files or "dumps" can be generated for individual databases or a collection of them. The text in the file is displayed as a set of SQL statements that can later be reconstructed into its original state.
The purpose of this tool is to export a database to a backup file or to move the database to another web host. Other delimited text formats like XML and CSV can also be generated with mysqldump. These simple queries make the backup process easier.
### What should you use mysqldump for?
- **MySQL Database Backup:** Use mysqldump to create secure backups, protecting your data against loss or corruption.
- **MySQL Database Versioning:** create versions of your database, kind of like GIT tags you can revert to at any stage
- **MySQL Database Migration:** mysqldump simplifies database transfers, ensuring data integrity during server or environment transitions.
- **Setting up Development Environments:** mysqldump aids in replicating production data for consistent and reliable development and testing setups.
### Format of exported data
- **SQL Statements:** The default format generates a SQL script that can be used to recreate the database structure and data.
- **Compressed Files:** mysqldump can produce compressed output files in formats like .gz (gzip) or .bz2 (bzip2), which save space.
- **XML Format:** It can also generate XML-formatted data for easier integration with other systems or data interchange.
- **Tab-Delimited Text:** You can use `--tab` option to create tab-delimited text files, which are useful for data export and import.
- **CSV (Comma-Separated Values):** By using the --fields-terminated-by and `--lines-terminated-by` options, mysqldump can produce CSV files, which are commonly used for data exchange.
- **Custom User-Defined Formats:** You can define your own custom output format using the `--tab` option and specifying custom delimiters and formats.
---
## How to use mysqldump?
As a developer, you can use mysqldump to get a hold of the .sql file, which acts as a comprehensive database backup.
To use this tool, you'll require access to the MySQL server running the database instance, along with the **necessary privileges for exporting data**. Don't forget to have your **database user credentials** handy, including the **username** and **password**.
### How to access mysqldump?
The mysqldump command-line tool typically comes bundled with either the MySQL client or MySQL server installation. To verify if mysqldump is available on your local system, you can run the following command:
```bash
which mysqldump
```
If the tool is not installed, this command will yield an error message.
To check the version of mysqldump installed on your system, use the following command:
```bash
mysqldump --version
```
For guidance on using the mysqldump command, you can access its help documentation by running:
```bash
mysqldump --help
```
### What are the privileges required to use mysqldump?
You will need a valid database user with -at minimum- full read access privileges. This should do for basic options, but more advanced commands may require additional privileges. If you need to create that user first, or check what it can already do, see our guide to [MySQL user permissions](/blog/how-to-create-and-grant-permissions-to-a-mysql-user).
To use mysqldump, you typically need the following privileges:
1. SELECT privilege: Required for reading data.
2. SHOW VIEW privilege: Needed for accessing view definitions.
3. LOCK TABLES privilege: Necessary for table locking.
4. RELOAD privilege: Used with --flush-privileges option.
---
## Export your MySQL database using mysqldump
We'll see below how to use mysqldump to perform the following MySQL tasks:
1. [Backup specific tables in a MySQL database](#backup-specific-mysql-tables-via-mysqldump)
2. [Backup a single table in a MySQL database](#backup-a-single-mysql-table-via-mysqldump)
3. [Backup specific MySQL databases](#backup-specific-mysql-databases-via-mysqldump)
4. [Backup a single MySQL database](#backup-a-single-mysql-database-via-mysqldump)
5. [Backup the entire MySQL server (all databases)](#backup-a-mysql-server--all-databases-)
6. [Backup MySQL database excluding specific tables](#backup-mysql-database-excluding-specific-tables)
7. [Backup MySQL database structure only](#backup-mysql-database-structure-only)
For each of these tasks, we will provide the command line to use, and we will also explain the different options you can use to customize your mysqldump command.
Make sure you are on a machine that has [mysqldump is installed](#how-to-access-mysqldump).
ℹ️ By default, `mysqldump` dumps all tables in a MySQL database, but there are certain types of tables that it does not include in the dump. These are:
1. **Temporary Tables:** `mysqldump` does not include temporary tables in the dump.
2. **System Tables:** It also excludes system tables, which are used internally by MySQL and are not meant for regular user data.
3. **Performance Schema Tables:** `mysqldump` does not include tables from the Performance Schema database.
4. **Information Schema Tables:** Tables from the Information Schema database are also not included.
It's important to note that `mysqldump` provides options that allow you to customize the dump behavior. For example, you can use the `--ignore-table` option to exclude specific tables from the dump, including regular user-created tables. You can also use the `--no-data` option to exclude table data while preserving the table structure.
### Backup specific MySQL tables via mysqldump
Match your inputs to conform to the following mysqldump command structure:
```shell script
mysqldump [options] db_name [table_name ...]
```
For the live command, replace `[options]` with the valid option names or flags.
These will most likely include `-u` and `-p`, which stands for user and password.
ℹ️ Check out the comprehensive table of [all the options that mysqldump supports](https://dev.mysql.com/doc/refman/8.0/en/mysqldump.html).
⚠️ When using more than one option, be careful of the order they are listed in because they will be processed in order from first to last.
Here, `[table_name…]` will be replaced by the name of the table you are exporting.
⚠️ Different tables must be separated by spaces.
The following example is for backing up tables called `mystery` and `cash`, and the name of the database is `db_cooper`.
```shell script
mysqldump -u username -p db_cooper mystery cash > file_name.sql
```
You will then provide the password for the database user because it is not passed along with the `-p` flag.
The `>` character indicates the output redirection that will create the dump file. Here, `file_name` is what the final file will be called.
### Backup a single MySQL table via mysqldump
As described in the [previous section](#export-specific-mysql-tables-via-mysqldump), you can export a single table by listing it after the database name.
The following example is for backing up tables called `mystery` and the name of the database is `db_cooper`.
```shell script
mysqldump -u username -p db_cooper mystery > file_name.sql
```
### Backup specific MySQL databases via mysqldump
The steps for exporting a database are very close to those for exporting a table. There is just a small change in the format of the command.
Match your inputs to conform to the following mysqldump command structure:
```shell script
mysqldump -u username -p --databases db_larry db_curly db_moe > file_name.sql
```
The databases you will export comes after the `--databases` option.
⚠️ The space character separates multiple databases.
### Backup a single MySQL database via mysqldump
Very similar to exporting multiple databases, you'll just need to specify one database name.
Match your inputs to conform to the following mysqldump command structure:
```shell script
mysqldump -u username -p --databases db_larry > file_name.sql
```
The database you will export comes after the `--databases` option.
### Backup a MySQL server (all databases)
The command is very similar for entire servers as well.
Match your inputs to conform to the following mysqldump command structure:
```shell script
mysqldump -u username -p --all-databases > all_databases.sql
```
The command itself is pretty basic, with `--all-databases` indicating that everything on the server should be dumped.
💡 Adding `-compatible` will make the file that gets exported compatible with older MySQL servers or database systems.
💡 Developers using PowerShell on Windows will need to include `-result-file` as an option. This will specify the file name and make sure that the output is in ASCII format so that it will load correctly later.
Other common options include adding `--no-data` will only back up the database structure, using `--no-create-info` backs up the database without any structure.
If the server you are dumping is not the machine you are sitting at, see [remote MySQL backup via SSH tunneling](/blog/remote-mysql-database-backup-via-ssh-tunneling) for the connection side of it.
### Backup MySQL database excluding specific tables
To back up a MySQL database while excluding specific tables, you can use the `mysqldump` command with the `--ignore-table` option. Here's the command format:
```bash
mysqldump -u username -p database_name --ignore-table=database_name.table1 --ignore-table=database_name.table2 > database_backup.sql
```
Replace the placeholders with the following:
- `database_name`: The name of the database you want to back up.
- `table1`, `table2`, etc.: The names of the specific tables you want to exclude from the backup.
By using the `--ignore-table` option and specifying the database name and table names to be excluded, you can create a backup of the entire database while leaving out the specified tables.
### Backup MySQL database structure only
To back up the structure of a MySQL database (without data), you can use the `mysqldump` command with the `--no-data` option. Here's the command to do this:
```shell script
mysqldump --no-data -u username -p database_name > database_structure.sql
```
Replace the following placeholders:
- `database_name`: The name of the database you want to back up.
When you run this command, it will create an SQL file (`database_structure.sql`) that contains the database's structure, including table schemas, indexes, and other structural elements, but without the actual data.
---
## How to restore / import a MySQL mysqldump dump file?
There are different methods and tools to import your MySQL dump file into a database.
> Check our mini guide on [how to import SQL files](/blog/how-to-import-sql-file-in-mysql) for more dump restore options.
If you want the restore side covered in full, including partial restores and the errors that show up mid-import, we walk through how to [restore a MySQL dump](/blog/how-to-restore-a-mysql-backup) in its own guide.
We'll here cover how to do it using the **mysql command line tool**.
Importing a .sql file is straight forward, the only kink is to make sure the target server has a blank database before importing anything.
**Step 1:** Make sure you have a MySQL database created on the target machine.
```shell script
mysql -u root -pYOUR_PASSWORD -e "CREATE DATABASE destination_db
```
This command will create your database on the target machine.
**Step 2:** Import the dump file into the database you just created.
```shell script
mysql -u root -pYOUR_PASSWORD destination_db < db_backup.sql
```
⚠️ Note that this command will overwrite the content of the `destination_db` database.
---
## MySQL Backup complete examples
### Backup and restore all MySQL databases
**Step1:** First, let's create a mysql backup by generating a dump file for all databases on the server.
```shell script
mysqldump -u username -p --all-databases > all_databases.sql
```
Now that we have our dump file ready, let's restore it to a new server.
**Step 2:** We'll first create a new database on the target server.
```shell script
mysql -u root -pYOUR_PASSWORD -e "CREATE DATABASE destination_db
```
**Step 3:** End finally, we'll import the dump to that new database.
```shell script
mysql -u root -pYOUR_PASSWORD destination_db < db_backup.sql
```
That's it! You now have a full backup of your MySQL server.
### Backup and restore a single MySQL table
**Step1:** First, let's create a mysql backup by generating a dump file of the single table `my_table` from the database `db_cooper`.
```shell script
mysqldump -u username -p db_cooper my_table > single_table_dump.sql
```
Now that we have our dump file ready, let's restore it to a new server.
In this case we won't create any database, as we're willing to only restore that single table into an existing database.
**Step 2:** Let's import the dump to that new database.
```shell script
mysql -u root -pYOUR_PASSWORD destination_db < single_table_dump.sql
```
That's it! You now have a full backup of your MySQL server.
### Restore a MySQL database on a remote MySQL server
Ever needed to restore a MySQL backup on a remote server? Well the simple solution is to use [simplerestore.io](https://simplerestore.io/), a free tool that allows you to privately restore a MySQL database from a backup dump directly to a remote MySQL server.
This doesn't require you to have access to import tools and builds up a temporary SSH tunnel to the remote server to restore the database.
---
## Advanced mysqldump tips and tricks
### What does the mysqldump --quick flag do?
Mysqldump can operate in one of two ways.
1. The tool can go grab all data at once, buffer it in memory, and then dump it.
2. It dumps the tables row by row.
The second method is important when dealing with large tables.
By using the `--quick` flag, **mysqldump reads large databases without needing large amounts of RAM to fit the full table into the memory**.
This ensures that the databases will be read and copied correctly on systems with small amounts of RAM and large data sets.
### Dump without locking tables and the --skip-lock-tables flag
Using `--skip-lock-tables` prevents table locking during the dump process. This is important when backing up a production database that you cannot lock it down during the dump.
Generally it is recommended to use `--skip-lock-tables` whenever you are dumping InnoDB tables. However, for MyISAM tables, you may need to lock tables for the sake of data consistency.
So should I use `--skip-lock-tables`?
- If you are backing up InnoDB tables, yes. Combine it with `--single-transaction` for best results.
- If you are backing up MyISAM tables, on a production server, do not use `--skip-lock-tables` unless you can keep your database tables locked during the backup process.
```shell script
mysqldump -u root -pmypassword my_database --skip-lock-tables > my_database.sql
```
### What does the --single-transaction flag do?
In short, the `--single-transaction` allows MySQL InnoDB dumps to have a consistent state of the database. It tells MySQL that we are about to dump the database, thus, breaking changes like table structure queries will be blocked to preserve data consistency. Note that this only applies for InnoDB tables.
```shell script
mysqldump -u root -pmypassword my_database --single-transaction > my_database.sql
```
**Note:** MyISAM tables will not benefit from this flag and should be locked if you want to preserve their dump integrity.
### How to dump large tables?
To dump large tables, you could combine the following two flags, `--single-transaction` and `--quick`.
```shell script
mysqldump -u root -pmypassword my_large_db --single-transaction --quick > my_large_db.sql
```
**Note:** This is ideal for InnoDB tables. Since it will use less RAM and also produce consistent dumps without locking tables.
### How to ignore tables using mysqldump?
Using the `–-ignore-table` option, you can ignore a table when using mysqldump.
Here is an example that will just allow you to ignore one table:
```shell script
mysqldump -u root -pmypassword my_db –-ignore-table=my_db.table_to_ignore > my_db.sql
```
As you seen, the format is as following: `–-ignore-table=DATABASE_NAME.TABLE_TO_IGNORE`.
To ignore all tables in a database (or a whole database when dumping all your databases), you have to repeat the argument to include all the tables you want to ignore.
```shell script
mysqldump -u root -pmypassword –-ignore-table="my_db.table1" –-ignore-table="my_db.table2" –-ignore-table="my_db.table3" > all_databases.sql
```
### How to dump binary BLOB data?
Sometimes you may face issue with the resulting dump if it has binary data. For this reason, you could use the following mysqldump flag `--hex-blob` when you dump a MySQL database having binary data.
Under the hood, it dumps the binary strings it finds (BINARY, VARBINARY, BLOB) in a hexadecimal format which represents these data structure in a reliable way.
Here is a mysqldump example to dump binary data correctly:
```shell script
mysqldump -u root -pmypassword my_bin_db --hex-blob > my_bin_db.sql
```
### Does the "where" clause work with mysqldump?
Yes, this clause works with the command line.
This makes it easy to set conditions on the data you need to dump from the database.
If there is a large enterprise that has been in business for decades that wants to pull the information after April 27, 2017, then this clause allows that to happen.
The where clause passes a string for the condition and grabs the specific records requested.
```shell script
mysqldump -u root -pmypassword wpdb --tables thetable --where="date_created > '2017-04-27'" > wpdb_myrecord.sql
```
### MySQL command without password prompt
While there is a more secure way to do this (hint: updating your .my.cnf file), you can use the following command to run MySQL commands without being promped to type in the password every time.
```shell script
mysql -u root -pYOUR_PASSWORD`
```
You'll need to replace `YOUR_PASSWORD` with your actual password.
---
## Troubleshooting common errors
Along the way you may face some [MySQL common errors](/blog/extensive-mysql-common-errors-list) that are -to some degree- easy to mitigate. We will share below some of these errors and how to solve them.
### Error 2013: lost connection to mysql server during query when dumping table
To fix this issue, you need to go into the MySQL configuration file and increase some values. When those are added, save and close the file, then restart MySQL for the changes to take effect.
The values you need to adjust are:
- max_allowed_packet
- net_write_timeout
- net_read_timeout
- innodb_buffer_pool_size
The adjustments to the file will be under the `[mysqld]` and `[mysqldump]` sections and will look like this:
```
[mysqld]
innodb_buffer_pool_size=100M
max_allowed_packet=1024M
```
```
[mysqldump]
max_allowed_packet=1024M
net_read_timeout=3600
net_write_timeout=3600
```
### Error 2020: got packet bigger than 'max_allowed_packet' bytes when dumping table
If the database you need to back up is large, and the file size ends up bigger thant the maximum allowed packet size, this error pops up.
This error can be fixed by going into the MySQL configuration file and increasing max_allowed_packet value in the `[mysqld]` and `[mysqldump]` sections. Save and close the file when finished, then restart MySQL for the changes to take effect.
The changes will look like this:
```
[mysqld]
max_allowed_packet=desired-value
```
```
[mysqldump]
max_allowed_packet=desired-value
```
### Table does not exist (1146), couldn't execute 'show create table x'
There may be times when you delete a table during backing up. If this is the case, you can restrict certain tables from the mysqldump command with the `--ignore-table` option. To identify the table, you will have to state both the database and table names.
```shell script
mysqldump -u root -pmypassword example_db --ignore-table=name_of_table > db_backup.sql
```
By listing the option multiple times, you can ignore multiple tables:
```shell script
mysqldump -u root -pmypassword example_db --ignore-table=table --ignore-table=tableaux > db_backup.sql
```
### Selecting the database returns 'unknown database'
This error happens most often when you use the `-p` flag in the command line with the password and there is a space in between `-p` and `mypassword`. If this happens when using "root" as the user with a password of "base-face", there will be an error stating "Unknown database base-face."
The correct input would look like this:
```shell script
mysqldump -u root -pbase-face wpdb > wpdb_backup.sql
```
### Error 1044 when selecting the database
If the user trying to do the dump doesn't have the privileges necessary to access the database, this error occurs. Logging into MySQL and assigning those privileges to the user will fix the issue. Enter command:
```shell script
mysql -u root -p
```
Then enter the correct password, and proceed to grant privileges to the selected user.
```mysql
GRANT ALL PRIVILEGES ON wpdb.* TO 'not_a_hacker'@'inconspicuous_host';
```
After that, flush the privileges and exit from MySQL by entering the command:
```mysql
FLUSH PRIVILEGES;
EXIT;
```
### Access denied for user when trying to connect to mysqldump
This error has several possible causes. Here's three of the most common causes of the issue.
**1. Wrong mysqldump command**
If you are using the wrong command, then this error will appear. The command may be mostly correct but it's missing a critical ingredient in the mysqldump format. The basic command will look like this:
```shell script
mysqldump -u user -pmypasword database > database.sql
```
If you fail to specify a username or password then it will spit back the following message:
```shell script
mysqldump: Got error: 1045: "Access denied for user 'user' @ 'localhost' (using password: NO)" when trying to connect
```
**2. Remote host not allowed to connect to database**
This error comes up if the backup is trying to be done on a remote server. The configurations for MySQL are set to disallow external connections. Here, the localhost is the only one allowed to make a backup. This is a security measure, so it's a good measure to have but if you need to change this, go to configurations and change MySQL to allow connections from a remote host.
**3. Wrong user credentials**
If you try to use the wrong username and password combination while connecting to the database, this error happens. MySQL can't verify that the request is authentic and returns the error. You'll have to make the request again with proper credentials, make sure there aren't any typos in your original command as that is the easiest mistake to make.
---
## Conclusion
Mysqldump is a useful tool to help back up databases with minimal commands. One command allows the entire database to be spit out into a single text file. The tool is versatile enough to back up the parts of the database that is needed and comes with a variety of options to change the data you need to save.
## Automated MySQL Backup as a Service
Running mysqldump by hand is fine until it has to run every night, on schedule, with the dump landing somewhere other than the server it came from. At that point you either write and maintain [a MySQL backup script](/blog/the-ultimate-mysql-database-backup-script) yourself, or you pick one of the [MySQL backup tools](/blog/5-best-mysql-backup-tools-in-2023-free-and-paid) that already does it.
We built our [automated MySQL backups](/mysql-backup) for the second case: schedule the dump, send it to the cloud storage of your choice, and get an alert when a run fails.
---
# PostgreSQL pg_dump & pg_restore Guide
Source: https://simplebackups.com/blog/postgresql-pgdump-and-pgrestore-guide-examples
Published: 2020-12-01
Author: Laurent
Summary: Extensive guide about pg_dump and pg_restore commands, how to use them to back up and restore postgresql databases (pg_dump + pg_restore examples), common pg_dump options and what they do, and common errors.
Backing up and restoring a PostgreSQL database is an essential task for any system administrator. Fortunately, there are built-in `pg_dump` and `pg_restore` utilities to make these tasks easier to complete.
## Introduction
These utilities produce **logical** backups, locally or against a remote server. They are the right tool for full dumps, migrations and selective restores. They cannot do incremental or continuous backup: that needs WAL archiving and physical backups, which is a [separate mechanism](https://www.postgresql.org/docs/current/continuous-archiving.html) entirely.
Three utilities cover the ground between them:
| Utility | Backs up | Restores with |
| --- | --- | --- |
| `pg_dump` | One database | `psql` (plain) or `pg_restore` (archive) |
| `pg_dumpall` | Every database plus roles and tablespaces | `psql` |
| `pg_restore` | Nothing; it reads archives produced by `pg_dump` | n/a |
Below we cover what each one does and work through examples. These commands assume you already have a Linux server running with PostgreSQL installed, and credentials that can connect to it.
## The PostgreSQL pg_dump command
```shell
pg_dump
```
The `pg_dump` command extracts a PostgreSQL database into a script file or another archive file. This utility is for backing up databases. The utility makes consistent backups even if the database is being used concurrently. Readers, writers, and other users won't be blocked from using the database while using `pg_dump`.
Only a single database will be dumped. If there is a cluster of databases that need to be dumped, scroll down to the `pg_dumpall` command.
### The output of pg_dump
The outputs are either script or archive files.
A **script dump** is a plain text file that contains SQL commands which can reconstruct the database to the exact state it was in when it was saved.
Feeding the file to psql will restore these scripts. Script files can be restored on different machines and architectures, and across PostgreSQL versions.
With some editing, a plain dump can be adapted for other SQL database products, though it is PostgreSQL dialect by default and the conversion is rarely trivial.
**Archive file** formats aren't as universal and must be used by `pg_restore` to get the database back. While not as generic, this format allows the user to be selective of what gets restored. The user can even reorder items before restoring them, which makes this format ideal for porting the database across architectures.
> **Output format of pg_dump**
> There is also flexibility when it comes to archiving and transferring information. Using the archive format with `pg_dump` and bringing it back in with `pg_restore` allows for more specific restoration. `pg_dump` will back up the entire database, then `pg_restore` will then select which parts of the database to archive or restore.
Using output file formats like "custom" and "directory" allows for the greatest flexibility. These formats support reordering archived items, parallel restoration, and automatically come compressed. If you want to run parallel dumps, then the "directory" format will be your only choice.
If you are weighing the trade-offs before you commit to one, we go through them side by side in [custom vs plain export](/blog/postgresql-backup-formats).
### PostgreSQL statistics collector
The PostgreSQL statistics collector is a subsystem within PostgreSQL designed to collect and provide information about server activity.
This includes a wide range of data, such as the number of rows fetched or affected by queries, the number of index scans, tables scans, the number of tuples inserted, updated, or deleted, and more.
If `pg_dump` has been run, be sure to take a look at the output of any standard errors that get printed.
Running `pg_dump` will internally execute "select" statements. You will have to be able to select information from the database using psql for the operations to work properly. Any front-end library variables, like for libpq, will continue to be turned on when running the utility.
The statistics collector in PostgreSQL typically gathers information about the activities performed by `pg_dump`. However, if you prefer not to have this data collected, you can disable it by setting the `track_counts` parameter to false. This can be done either through the `PGOPTIONS` environment variable or by using the `ALTER USER` command.
### pg_dump command structure
A standard command will follow this format:
```shell
pg_dump [connection-option…] [option…] [dbname]
```
Postgresql has online [documentation that covers](https://www.postgresql.org/docs/current/app-pgdump.html) all of the options available for `pg_dump`, you'll find a few of the most common options below.
The `pg_dump` command in PostgreSQL offers a variety of options to control the content and format of the output when backing up a database. Here are some of the key options available:
1. **Basic Options**:
- `dbname`: Specifies the name of the database to be dumped.
- `-a`, `--data-only`: Dump only the data, not the schema.
- `-b`, `--large-objects`, `--blobs` (deprecated): Include large objects in the dump.
- `-B`, `--no-large-objects`, `--no-blobs` (deprecated): Exclude large objects in the dump.
- `-c`, `--clean`: Output commands to `DROP` all the dumped database objects before creating them.
2. **Formatting and Filtering Options**:
- `-C`, `--create`: Begin the output with a command to create the database itself.
- `-e pattern`, `--extension=pattern`: Dump only extensions matching the pattern.
- `-E encoding`, `--encoding=encoding`: Set the character set encoding for the dump.
- `-F format`, `--format=format`: Selects the format of the output (plain, custom, directory, tar).
- `-j njobs`, `--jobs=njobs`: Run the dump in parallel by dumping multiple tables simultaneously.
3. **Schema and Table Selection**:
- `-n pattern`, `--schema=pattern`: Dump only schemas matching the pattern.
- `-N pattern`, `--exclude-schema=pattern`: Exclude schemas matching the pattern.
- `-t pattern`, `--table=pattern`: Dump only tables with names matching the pattern.
- `-T pattern`, `--exclude-table=pattern`: Exclude tables matching the pattern.
4. **Advanced and Specialized Options**:
- `--inserts`, `--column-inserts`: Dump data as `INSERT` commands with explicit column names.
- `--disable-triggers`: Include commands to temporarily disable triggers on the target tables.
- `--enable-row-security`: Dump the contents of a table with row security enabled.
- `--include-foreign-data=foreignserver`: Dump the data for foreign tables with a matching foreign server.
### Backing a single PostgreSQL database
Dumping a database called `dangerousdb` into an SQL file:
```shell
pg_dump dangerousdb > db.sql
```
Backing up `dangerousdb` **in custom format**, which is the compressed archive `pg_restore` reads:
```shell
pg_dump -U postgres -F c dangerousdb > dangerousdb.dump
```
For the **tar format** instead, use `-F t`:
```shell
pg_dump -U postgres -F t dangerousdb > dangerousdb.tar
```
Saving `dangerousdb` **in directory format** requires `-f`, because directory format writes a directory rather than a stream and cannot be redirected:
```shell
pg_dump -U postgres -F d -f db1_backup dangerousdb
```
Large databases that want smaller file formats may use the utility **with a compression tool like gzip** when running the backup.
```shell
pg_dump -U postgres dangerousdb | gzip > dangerousdb.gz
```
Reloading a script into a newly created database called `nowdb`:
```shell
psql -d nowdb -f db.sql
```
**Dumping a single PostgreSQL table** is possible by using the -t option and specifying the database and tab name (here: dangerousdb; tallytab)
```shell
pg_dump -t tallytab dangerousdb > db.sql
```
**Dumping selected PostgreSQL tables by putting in conditions**. Here the command will dump all tables that start with "sam" in the "ple" schema, but will exclude the table "samson."
```shell
pg_dump -t 'ple.sam*' -T ple.samson dangerousdb > db.sql
```
## The PostgreSQL pg_restore command
```shell
pg_restore
```
The `pg_restore` command takes an archive file created by a `pg_dump` command and restores the selected PostgreSQL database.
When `pg_dump` is used with one of the non-plain text formats, the restore command will bring the database back. The utility knows how to issue commands in the proper order to make sure the database is reconstructed to the exact state it was in when the save occurred.
For the full restore path, including the errors that stop people cold, see [how to restore a PostgreSQL backup](/blog/how-to-restore-a-postgresql-backup).
Since this format is supposed to be portable across architectures, the user may select what is restored and in what order.
The options for what can be done with the data depends on how the source file was generated. The command can't regenerate data that isn't there, and it can't change the nature of commands used to create the file.
The `pg_restore` command in PostgreSQL is used to restore databases from an archive created by `pg_dump`. Here are some of the most important options for this command:
1. **Basic Options**:
- `filename`: Specifies the location of the archive file to be restored.
- `-a`, `--data-only`: Restore only the data, not the schema.
- `-c`, `--clean`: Drop all objects before restoring them, useful for overwriting an existing database.
- `-C`, `--create`: Create the database before restoring into it.
- `-d dbname`, `--dbname=dbname`: Connect to a specific database and restore directly into it.
2. **Performance Options**:
- `-j number-of-jobs`, `--jobs=number-of-jobs`: Run the most time-consuming steps concurrently, reducing the time to restore a large database.
3. **Filtering Options**:
- `-n schema`, `--schema=schema`: Restore only objects in the specified schema.
### pg_restore modes
There are two modes the utility uses. If the user specifies a database name, `pg_restore` connects to that database and restores content directly on it. If the name is left out, the process creates a script with the SQL commands to rebuild the database.
For the second choice, the result is a file with a standard output and will look similar to the standard text script that `pg_dump` would generate.
### pg_restore command structure and format
The command will follow this format:
```shell
pg_restore [connection-option…] [option…] [filename]
```
For a full list of options, for these commands, you may check out the [PostgreSQL documentation](https://www.postgresql.org/docs/current/app-pgrestore.html).
### Restoring a backup with pg_restore
Restoring a backup with a .tar file name requires that the user consider whether the database already exists, and what the format of the backup is.
If the database dbcooper already exists, the following command will restore it:
```shell
pg_restore -U postgres -Ft -d dbcooper < dbcooper.tar
```
If the database doesn't yet exist, add `-C` to create it. Note that `-d` must name a database that already exists, because `pg_restore` connects there first in order to issue the `CREATE DATABASE`:
```shell
pg_restore -U postgres -Ft -C -d postgres < dbcooper.tar
```
The following command will restore a backup from a backup file i.e. name: `back_it_on_up.sql`
```shell
psql -f back_it_on_up.sql
```
## The PostgreSQL pg_dumpall command
```shell
pg_dumpall
```
The PostgreSQL utility extracts a database cluster into a script file
Using `pg_dumpall`, one command allows the user to back up an entire cluster of databases and dump them out into one script file. The file works the same as the `pg_dump` command, meaning that the script will use SQL commands to restore all databases.
In fact, this command will call `pg_dump` for each database in the cluster. Some parts of the architecture, like global objects, are saved too. Database roles, tablespaces, and any information that is common to all databases will be saved by `pg_dumpall`, something that `pg_dump` will never touch.
**Requirements**
To effectively use the tool, you will likely have to be logged into the database as a superuser to get a complete dump. Superuser privileges will also be useful to execute the saved script so that you can add roles and create databases.
The final file will use the standard SQL script output. Running this utility will require connecting to the PostgreSQL server once per database while performing the dump. If you use password authentication, you will have to provide the password for each database in the cluster.
### pg_dumpall structure and format
The command for the `pg_dumpall` utility will be structured like the following:
`pg_dumpall [connection-option…] [option…]`
PostgreSQL has [extensive documentation](https://www.postgresql.org/docs/current/app-pg-dumpall.html) that covers all options available for using the tool if you are looking for something specific.
### Backup all databases with pg_dumpall
The following command will dump all databases:
```shell
pg_dumpall > db.out
```
This command will reload databases from file:
```shell
psql -f db.out postgres
```
This command will dump all files and create a single file called `back_it_on_up.sql`
```shell
pg_dumpall -f back_it_on_up.sql
```
### pg_dumpall error messages
Many of the error messages that pop up will refer to `pg_dump` because the command runs this utility internally. Some errors will inevitably come up, but won't mean anything. The script will "create roles" for every role existing in the cluster you are using.
Roles like the bootstrap superuser, will likely get an error that says, "role already exists."
### Using the --clean option with pg_dumpall
Databases will retain any previous contents and database-level properties. If you want to be sure that the databases are restored exactly as they are, using the `--clean` option may be useful.
The option authorized the script to recreate the built-in databases, and makes sure that each database will have the same properties they had previously in the cluster. Using this option will kick back some errors about non-existent objects, but these errors can be ignored.
### Using the --if-exists option with pg_dumpall
Adding the `--if-exists` option suppresses those errors by making each `DROP` conditional.
One thing neither option does is refresh planner statistics: `pg_dump` does not carry them, so run `ANALYZE` on each database after a restore or the first queries will use bad plans.
## Conclusion
By using these utilities many of the backup features for a PostgreSQL can be accomplished with little effort.
The command that is right depends on whether the user wants to dump or restore a file and whether they want to back up everything or just a single database. Adding in the options that are available for the database system allows the user to customize how the backup happens and what the final result looks like.
Running these commands by hand covers the first day. Wrapping them in a script and a cron entry covers the first month, and [the ultimate PostgreSQL backup script](/blog/the-ultimate-postgresql-database-backup-script) walks through that build. If your database runs inside a container, the commands are the same but reaching them is not, which is what [backing up Postgres in Docker](/blog/docker-postgres-backup-restore-guide-with-examples) covers. And if you would rather not own the wrapper at all, [PostgreSQL backup tools compared](/blog/top-5-postgresql-backup-tools) puts pgBackRest, Barman, WAL-G and the managed options side by side.
## Automated PostgreSQL Backup as a Service
The part a script never covers is the operational half: nothing alerts you when the nightly job stops running, nothing checks the dump still restores, and nothing moves it off the database host. If you would rather not build and maintain that yourself, SimpleBackups runs [automated PostgreSQL backups](/postgresql-backup) on a schedule and sends them to storage you own.
## FAQ
---
*This article is part of [The complete guide to PostgreSQL backup](/learn/postgresql-backup#pg-dump), an honest, practical reference from the team that backs up PostgreSQL every day.*
---
# How to Import an SQL File in MySQL
Source: https://simplebackups.com/blog/how-to-import-sql-file-in-mysql
Published: 2020-11-21
Summary: So you already have your backup and decided to restore this on your MySQL database? In this article, we will tackle how to import SQL files in MySQL using a couple of methods.
Have you just begun to learn how to work with SQL files using MySQL?
Maybe you feel a bit lost on how to import files with this tool?
Luckily, importing and exporting files via MySQL is actually quite simple.
Learn how to use MySQL to import SQL files by following the step-by-step guide below. If the file you are importing is a backup rather than a fresh schema, our guide to [restoring a MySQL dump](/blog/how-to-restore-a-mysql-backup) covers the cases this one skips, including partial restores.
## Table of Contents
## Import an SQL file using XAMPP and PHPMyAdmin
XAMPP is bundled with MySQL and phpMyAdmin, which makes it easy to import and export databases.
To import an SQL file using XAMPP, follow these steps:
1. Open XAMPP.
2. Launch Apache Server and MySQL Database.
3. Create a database via phpMyAdmin.
4. Select your database and click on the **Import** tab.
5. Select the SQL file you want to import and click on "open"
Note that you can use the [command line MySQL import](#command-line-mysql-import) method with XAMPP if you prefer.
## Import an SQL File using XAMPP and MySQL CLI
Certainly, here are the steps to import an SQL file in XAMPP using the MySQL command-line client (mysql CLI):
1. **Ensure XAMPP is Running:**
Start XAMPP and confirm that the Apache and MySQL modules are running. You can check this in the XAMPP Control Panel.
2. **Open a Command Prompt or Terminal:**
Open a command prompt or terminal window on your computer. You can find the command prompt in Windows, or use Terminal in macOS and Linux.
3. **Navigate to the MySQL Bin Directory:**
In your command prompt or terminal, navigate to the MySQL bin directory in XAMPP. The path may vary depending on your XAMPP installation. For a typical installation, you can use a command like this (but make sure to verify the path):
```bash
cd C:\xampp\mysql\bin # For Windows
```
4. **Use the MySQL CLI to Import the SQL File:**
Run the following command to import your SQL file into MySQL. Replace the placeholders with your specific information:
```bash
mysql -u username -p database_name < path_to_mysql_file.sql
```
`username`: Your MySQL username (often "root" by default).
`database_name`: The name of the target database where you want to import the SQL file.
`path_to_mysql_file.sql`: The complete path to the SQL dump file you want to import.
5. **Enter the MySQL Password:**
After executing the command, you'll be prompted to enter your MySQL password. Type it and press Enter.
6. **Import Completion:**
The SQL file will be imported into your MySQL database. Once the process is complete, you should see a confirmation message.
That's it! You've successfully imported an SQL file into your XAMPP MySQL database using the MySQL command-line client (mysql CLI).
## Import an SQL file using WAMP and MySQL CLI
If you're working with the offline WAMP server, follow these steps:
1. Launch the WAMP server.
2. Click the WAMP icon in the taskbar.
3. Look for the "MySQL" link under "Default DBMS: MySQL" in the displayed menu.
4. Find your MySQL version on the right.
5. Open the command prompt and execute this command to import the SQL file into your database:
```bash
C:\wamp64\bin\mysql\mysql8.1.00\bin\mysql -u username -p db_name < mysql_backup.sql
```
Remember to make the following substitutions:
- Replace `mysql8.1.00` with your specific MySQL version.
- Change `username` to your database login username.
- Replace `db_name` with the name of your target database for the SQL import.
- Substituting `mysql_backup.sql` with the full path to the SQL dump file you intend to import.
## Import an SQL file using command line MySQL CLI
In order to import an SQL file using the MySQL command-line client (mysql CLI), you'll need the destination database to be created first. You can do this by using the `CREATE DATABASE` command.
**Step 1:** Create the destination database
```shell script
mysql -u root -pYOUR_PASSWORD -e "CREATE DATABASE destination_db
```
**Step 2:** Import the SQL file into the database you've just created.
```shell script
mysql -u root -pYOUR_PASSWORD destination_db < db_backup.sql
```
## Import a mysql dump file using mysqlimport
**⚠️ You cannot use `mysqlimport` to import an SQL dump file`. You can only use it to import data from external files, such as CSV files.**
`mysqlimport` is a command-line utility in MySQL that is used for efficiently importing data from various text-based file formats, such as CSV (Comma-Separated Values), TSV (Tab-Separated Values), and other delimited or fixed-length formats, into MySQL tables. This tool allows you to populate database tables with data from external files, making it a valuable tool for data migration, data loading, and bulk data insertion tasks.
**Example: Import data from a CSV file:**
```bash
mysqlimport --fields-terminated-by=, --columns=id,name,date destination_db people.csv
```
While `mysqlimport` is a powerful tool for importing data into MySQL, it's important to note that it primarily focuses on data loading and does not handle other SQL operations, such as database schema modifications or data manipulation. It's commonly used in scenarios where the goal is to efficiently populate MySQL tables with large amounts of data from external files, such as data migration, data warehousing, and data integration tasks.
**Notes:**
- After entering this command, you may be asked to enter the password for the MySQL user that you used.
- Please be careful when using an existing database that has records as this command will overwrite your existing database and end up losing your records.
## How to export a MySQL database to a file?
We have written an extensive guide on [how to backup your database using mysqldump](/blog/the-complete-mysqldump-guide-with-examples#backup-specific-mysql-tables-via-mysqldump), but here's a quick summary. If you are not sure which database you want to export, start by [listing all MySQL databases](/blog/how-to-show-all-mysql-databases) on the server.
1. To export a MySQL database to a test file, start by using the `mysqldump` command.
2. Log in to MySQL.
3. Enter the `mysqldump` command using the following flags and options: `$ mysqldump -u my_username -p database_name > output_file_path`
4. The `-u` flag specifies the MySQL username.
5. The `-p` flag specifies a password prompt associated with the above username.
6. `database_name` is the name of the database you want to export.
7. The `>` symbol is a Unix directive for STDOUT, which will make it possible for Unix commands to output the subsequent results of the output command to another location. These locations are usually file paths.
8. Be sure to input the completely qualified path and its filename to your output file path, so that your file will be placed exactly where you want it to be.
9. Once the command is executed, you'll be prompted to enter your password. This will then create your exported backup file with a .sql extension.
## How to automate your MySQL backups?
Making MySQL backups and restoring a MySQL dump (like addressed in this article) is not a complicated task but comes a moment when you'll want to automate it in a way where you can trust your data is secure 100% of the time.
When you have to manage multiple backups, on multiple servers and want a solution you can trust with orchestrating it all in an optimized way, this is what we built our [automated MySQL backups](/mysql-backup) for.
We run the dump on a schedule and send the file offsite to the cloud storage you pick.
---
# How to restore a PostgreSQL backup
Source: https://simplebackups.com/blog/how-to-restore-a-postgresql-backup
Published: 2020-10-23
Author: Laurent
Summary: How to restore a PostgreSQL backup with psql or pg_restore, which one your dump file needs, and how to fix the errors that stop a restore part-way through.
If you are here with a dump file and a database that needs it back, the first thing to settle is which restore command your file needs. PostgreSQL has two, they are not interchangeable, and picking the wrong one produces an error that looks like corruption but is not.
This guide covers both paths, `psql` and `pg_restore`, and the errors that stop a restore part-way through.

## Prerequisites
- PostgreSQL installed
- PostgreSQL user credentials
- A PostgreSQL backup file; if you don't already have one, SimpleBackups provides a [managed PostgreSQL backup service](/postgresql-backup) that produces one on a schedule
- An existing PostgreSQL database
## Understanding Backup Types:
PostgreSQL backups can be generated in different formats using pg_dump. Understanding these formats is crucial for choosing the correct restoration method:
1. SQL script file: Plain text file containing SQL commands.
2. TAR file, Directory, or Custom format: These formats require a different approach for restoration.
Which one you are holding was decided when the backup was taken, so if you are not sure, [custom vs plain export](/blog/postgresql-backup-formats) explains how to tell them apart and why the choice matters at restore time. The flags that produced each one are covered in the [pg_dump and pg_restore guide](/blog/postgresql-pgdump-and-pgrestore-guide-examples).
## How to restore a PostgreSQL backup
There are two ways to restore a PostgreSQL database:
1. `psql` - for restoring from a plain SQL script file that is created using `pg_dump`
2. `pg_restore` for restoring from a .tar file, directory, or custom format created using `pg_dump`
If you prefer a GUI, pgAdmin 4 runs both paths and is covered below.
### Restore a database with psql
1. Create a new database where you will restore your backup, or use an existing database.
2. Run the following command in your terminal:
```bash
psql -U db_user db_name < dump_name.sql
```
where `db_user `is the database user, `db_name` is the database name, and `dump_name.sql` is the name of your backup file.
### Restore a database with pg_restore
If you choose custom, directory, or archive format when creating a backup file, then you will need to use pg_restore in order to restore your database.
To restore your backup, run the following command in your terminal:
```bash
pg_restore -d db_name /path/to/your/file/dump_name.tar -c -U db_user
```
where `db_user `is the database user, `db_name` is the database name, and `/path/to/your/file/dump_name.tar` is the full path of your backup file.
Using `pg_restore` provides you various options, for example:
- `-c` to drop database objects before recreating them,
- `-C` to create a database before restoring into it,
- `-e` exit if an error has encountered,
- `-F format` to specify the format of the archive.
Use `pg_restore --help` if you want to get the full list of available options.
### Restore a database with pgAdmin
If you would rather not touch the command line, pgAdmin 4 can drive the same restore. The thing to know before you start is that **pgAdmin's Restore dialog is a wrapper around `pg_restore`**, so the format rule above still decides what you can do:
- **Custom, directory or tar archive:** use the Restore dialog.
- **Plain SQL file:** the Restore dialog will not take it. Open the Query Tool instead, load the file, and execute it.
To restore an archive:
1. Create the target database if it does not exist yet. Right-click **Databases**, then **Create**, then **Database**.
2. Right-click the target database and choose **Restore**.
3. Set **Format** to match your file, `Custom or tar` for a `.dump` or `.tar`, `Directory` for a directory dump.
4. Pick the file in **Filename**, and set **Role name** to the user that should own the restored objects.
5. Open the **Restore options** tab if you need the GUI equivalents of the flags above. `Clean before restore` is `-c`, and `Single transaction` rolls the whole restore back if any statement fails, which is what you want when restoring over a live database.
6. Click **Restore**, then open the **Process Watcher** to read the output. A failed restore reports there, not in a popup.
One error catches most people the first time:
- **Error:** `Please configure the PostgreSQL Binary Path in the Preferences dialog.`
- **Description:** pgAdmin cannot find the `pg_restore` binary it needs to shell out to. It is a configuration problem, not a problem with your backup.
- **Solution:** Go to **File**, then **Preferences**, then **Paths**, then **Binary paths**, and point the entry for your PostgreSQL version at the directory holding `pg_restore`.
### Common Issues and Solutions in PostgreSQL Backup Restoration
These are the errors you are most likely to hit part-way through a restore, with the exact strings PostgreSQL prints and what each one actually means:
#### Issue: Permission Denied Error
- **Error:** `psql: FATAL: permission denied for database "db_name"`
- **Description:** This error occurs when the user does not have the necessary permissions to access the database or the backup file.
- **Solution:** Ensure the user specified in the `psql` or `pg_restore` command has appropriate permissions. For file access issues, verify the file permissions and adjust them as needed using `chmod`.
#### Issue: Database Does Not Exist
- **Error:** `psql: error: could not connect to server: FATAL: database "db_name" does not exist`
- **Description:** An error indicating that the specified database does not exist on your PostgreSQL server.
- **Solution:** Before restoring, create the database using `CREATE DATABASE [db_name];` or use the `-C` flag with `pg_restore` to create it automatically. Note that with `-C`, the database you pass to `-d` must already exist, because `pg_restore` connects to it in order to issue the `CREATE DATABASE`. Pass `-d postgres` and let `-C` create the target.
#### Issue: Corrupt Backup File
- **Error:** `pg_restore: [archiver] could not read from input file: end of file`
- **Description:** Restoration fails due to corruption in the backup file.
- **Solution:** Verify the integrity of your backup file. If possible, generate a new backup and attempt restoration again. Regularly testing backups is crucial to ensure their reliability.
#### Issue: Version Mismatch
- **Error:** `pg_restore: [archiver] unsupported version (1.13) in file header`
- **Description:** Occurs when there's a mismatch between the PostgreSQL version used for backup and restoration.
- **Solution:** Ideally, use the same PostgreSQL version for both backup and restoration. If that's not possible, consider upgrading the database or using tools designed to handle version discrepancies.
#### Issue: Insufficient Disk Space
- **Error:** `pg_restore: [tar archiver] could not write to output file: No space left on device`
- **Description:** Restoration fails because there is not enough disk space on the server.
- **Solution:** Free up disk space or add more storage to your server before attempting to restore the backup again.
#### Issue: Connection Timeouts
- **Error:** `psql: error: could not connect to server: Connection timed out`
- **Description:** The restoration process is interrupted due to connection timeouts.
- **Solution:** Check the network stability and server load. Adjust the timeout settings if necessary and ensure a stable network connection during the restoration process.
#### Issue: Wrong Restore Tool for the Format
- **Error:** `pg_restore: [archiver] input file appears to be a text format dump. Please use psql.`
- **Description:** The file is a plain SQL dump, and `pg_restore` only reads archive formats. This one reads like corruption and is not: the backup is fine, the command is wrong.
- **Solution:** Restore it with `psql -U db_user db_name < dump_name.sql` instead. If you are unsure which format you have, `pg_restore -l dump_name` lists the contents of an archive and fails on a plain file.
#### Issue: Encoding Mismatches
- **Error:** `ERROR: invalid byte sequence for encoding "UTF8"`
- **Description:** The dump contains bytes that are not valid in the target database's encoding, which usually means the source and target databases were created with different encodings.
- **Solution:** Create the target database with the same encoding as the source, for example `CREATE DATABASE db_name WITH ENCODING 'UTF8';`. Check the source encoding with `\l` in `psql` before you take the dump.
Working through these covers most of what stops a restore. The one that catches people out is the last one on this list only in hindsight: none of these errors appear until you actually attempt a restore, which is the argument for testing one on a schedule rather than the day you need it.
If the database you are restoring into runs in a container, the same commands apply but you have to reach them through Docker first, which [backing up and restoring Postgres in Docker](/blog/docker-postgres-backup-restore-guide-with-examples) covers step by step.
## FAQ
---
*This article is part of [The complete guide to PostgreSQL backup](/learn/postgresql-backup#restore-backup), an honest, practical reference from the team that backs up PostgreSQL every day.*
---
# How to Restore a MySQL Dump
Source: https://simplebackups.com/blog/how-to-restore-a-mysql-backup
Published: 2020-10-20
Author: Laurent
Summary: Learn how to restore a MySQL backup (dump) using a simple command, a different database, a different server, a different MySQL version, or a web-based tool.
A MySQL backup is a copy of your database data (also known as MySQL dump) that you can use to restore your database in case of data loss, corruption, or migration. Restoring a MySQL backup is the process of importing the backup data into your database, replacing the existing data. This can help you recover from a disaster, test your backup, or move your data to a new location.
## Prerequisites
- MySQL installed
- MySQL user credentials
- A MySQL backup file aka MySQL dump; if you don't already have one, [the complete mysqldump guide](/blog/the-complete-mysqldump-guide-with-examples) walks through producing one
- An existing database. If you are not sure of its name, start by [listing all MySQL databases](/blog/how-to-show-all-mysql-databases) on the server
## How to verify your MySQL dump integrity
Before restoring a MySQL backup, it is a good practice to verify the backup file and make sure it is not corrupted or incomplete. You can use the mysqlcheck command to check the integrity and validity of the backup file. The syntax is:
```bash
mysqlcheck -u [user] -p --databases [database_name] < [filename].sql
```
- **mysqlcheck** - this is a utility program that checks and repairs MySQL tables
- **\-u \[user]** - this flag is used to specify which user we will use to access the database
- **\-p** - this flag signals that our user uses a password
- **\--databases \[database_name]** - this flag tells mysqlcheck to check all the tables in the specified database
- **< \[filename].sql** - this means that we will input(import) the contents of **\[filename].sql** file into mysqlcheck
If the backup file is valid, you will see a message like this:
`[database_name].[table_name] OK`
If the backup file is corrupted or invalid, you will see an error message like this:
```
[database_name].[table_name]
Error : Table '\[database_name].\[table_name]' doesn't exist
status : Operation failed
```
In this case, you should not restore the backup file and try to fix it or use another backup file.
## How to restore a MySQL backup/dump
The following steps assume you already have a MySQL backup:
1. Create a new MySQL database where you will restore your backup, or use an existing database.
2. To restore the backup, use the command:
```
mysql -u [user] -p [database_name] < [filename].sql
```
- **mysql** - this is our main mysql program
- **\-u \[user]** - this flag is used to specify which user we will use to access the database
- **\-p** - this flag signals that our user uses a password
- **\[database_name]** - this will be our database's name where we will restore our backup
- **< \[filename].sql** - this means that we will input(import) the contents of **\[filename].sql** file into our **\[database_name]** database
**Notes:**
- After entering this command, you may be asked to enter the password for the MySQL user that you used.
- Please be careful when using an existing database that has records as this command will overwrite your existing database and end up losing your records.
- If you prefer phpMyAdmin or a GUI to the command line, we cover those routes in [how to import an SQL file in MySQL](/blog/how-to-import-sql-file-in-mysql).
## How to restore a MySQL backup/dump to a different database
If you want to restore a MySQL backup to a different database than the one it was created from, you need to modify the backup file and replace the original database name with the new one. You can use a text editor or a command-line tool like `sed` to do this. For example, if you want to restore a backup file named `old_db.sql` to a new database named `new_db`, you can use the following command:
`scp backup.sql [user]@192.168.0.1:~`
This command will replace all occurrences of old_db with new_db in the backup file. Then, you can use the same command as before to restore the backup:
`mysql -u [user] -p [database_name] < backup.sql`
## How to restore a MySQL backup/dump to a different MySQL version
If you want to restore a MySQL backup to a different MySQL version than the one it was created from, you need to make sure that the backup file is compatible with the new version. You can use the `mysqldump` command to create a backup file that is compatible with any MySQL version. The syntax is:
```shell
mysqldump -u [user] -p --compatible=[version] [database_name] > [filename].sql
```
- **mysqldump** - this is a utility program that dumps MySQL database data
- **\-u \[user]** - this flag is used to specify which user we will use to access the database
- **\-p** - this flag signals that our user uses a password
- **\--compatible=\[version]** - this flag tells mysqldump to produce output that is compatible with the specified MySQL version. You can use values like `ansi`, `mysql323`, `mysql40`, `mysql41`, `mysql50`, `mysql51`, `mysql56`, `mysql57`, `mysql80`, or `maxdb`
- **\[database_name]** - this will be our database’s name that we will backup
- **\> \[filename].sql** - this means that we will output(export) the contents of **\[database_name]** database into **\[filename].sql** file
For example, if you want to create a backup file named `backup.sql` that is compatible with MySQL 8.0, you can use the following command:
```shell
mysqldump -u [user] -p --compatible=mysql80 [database_name] > backup.sql
```
Then, you can use the same command as before to restore the backup:
```shell
mysql -u [user] -p [database_name] < backup.sql
```
On a large dump this is where the import tends to die with `Error 2013: Lost connection to MySQL server during query`. That is a server setting, not a corrupt file, and we cover the fix in [how to fix a MySQL lost connection](/blog/how-to-fix-mysql-lost-connection).
## Bonus: How to backup and restore a MySQL backup using SimpleRestore & SimpleBackups
If you want to restore a MySQL backup without using the command line, you can use [SimpleRestore](https://simplerestore.io), a web-based tool that simplifies the backup and restore process. [SimpleRestore](https://simplerestore.io) allows you to upload your backup file, select your database, and restore your backup with a few clicks. A restore is only as good as the dump behind it, so if you are still running the export by hand, our [automated MySQL backups](/mysql-backup) schedule it and alert you when a run fails.
---
# Extensive MySQL Common Errors List
Source: https://simplebackups.com/blog/extensive-mysql-common-errors-list
Published: 2020-10-08
Summary: We review the most commond MySQL errors and how to fix them.
Errors or mistakes are common in any aspects, especially in development. Using MySQL or any database can't guarantee you an error-free environment.
In this article, we will discuss the structure or anatomy of MySQL errors and how to read them. We've also picked the top 10 most common MySQL errors and their description.
## Table of Contents
## The anatomy of MySQL errors
Each MySQL errors consists of the following parts that identify the error:
- **ERROR NUMBER** is a unique number that identifies each error.
- **SQLSTATE** is a code which identifies SQL error conditions.
- **ERROR MESSAGE** describes the error in human readable format.
Here's an example MySQL error:
```shell
ERROR 1146 (42S02): Table 'test.no_such_table' doesn't exist
```
In this example above:
- **1146** is the **ERROR NUMBER**
- **42S02** is the **SQLSTATE**
- **Table 'test.no_such_table' doesn't exist** is the **ERROR MESSAGE**
## Access denied for user 'root'@'localhost' (using password: YES)
```shell
ERROR 1045: Access denied for user 'root'@'localhost'
```
This one is probably encountered at least once by anyone using MySQL.
This error can have many causes, such as wrong username and/or password, or lacks of permission to the database.
This error indicates that the MySQL server denied access to the 'root' user when attempting to connect from the 'localhost' server using the provided password.
💡To fix this, **double-check the password** and ensure that the [**user has the necessary privileges**](/blog/how-to-create-and-grant-permissions-to-a-mysql-user).
You can reset the password or grant the required permissions to resolve this issue.
## Lost connection to MySQL server during query
```shell
ERROR 2013: Lost connection to MySQL server during query
```
This error happens when the connection between your MySQL client and database server times out.
Essentially, it took too long for the query to return data so the connection gets dropped.
This can occur due to various reasons, such as network issues or server timeouts.
💡 To resolve it, consider adjusting your MySQL server configuration to **increase the connection timeout** values or investigating network stability.
## Too many connections
```shell
ERROR 1040: Too many connections
```
This error occurs when the MySQL server reaches its maximum allowed connections limit.
💡 To address this, you can either **increase the max_connections** setting in your MySQL configuration file or **optimize your application** to use fewer connections.
## MySQL server has gone away
```shell
ERROR 2006 (HY000): MySQL server has gone away
```
This error indicates that the MySQL server terminated the connection unexpectedly.
It can happen due to various reasons, including long-running queries or server timeouts.
💡 To prevent it, you can adjust the **wait_timeout** and **interactive_timeout** settings in your MySQL configuration.
## ERROR 2008: MySQL client ran out of memory
```shell
ERROR 2008: MySQL client ran out of memory
```
This error occurs when the MySQL client consumes more memory than available.
💡 To resolve it, you may need to **optimize your queries**, **limit result sets**, or **allocate more memory** to the MySQL client.
## The table is full
```shell
ERROR 1114 (HY000): The table is full
```
If a table-full error occurs, it may be that the disk is full or that the table has reached its maximum size.
The effective maximum table size for MySQL databases is usually determined by operating system constraints on file sizes, not by MySQL internal limits.
💡 To address it, you can either:
1. Increase the maximum allowed size for MEMORY table
```shell
[mysqld]
max_heap_table_size = 2G
tmp_table_size = 2G
```
2. Switch to the InnoDB storage engine
3. Check disk space and increase available space:
## You have an error in your SQL syntax
```shell
ERROR 1064 (42000): You have an error in your SQL syntax
```
This means that MySQL does not understand your query because of a syntax issue. Usually the cause of the issue is forgetting to enclose some literals or values in backticks or quotes. For example, instead of having the name of your database in a MySQL query as `my-database` it should be `` `my-database` ``.
The error message will even go further and pinpoint where the syntax start to be invalid, and you can use that as a starting point to hunt the issue.
💡 Carefully **review your query** and ensure that all SQL statements are correctly formatted and follow MySQL's syntax rules.
## Packet too large
```shell
ERROR: Packet too large
```
When a MySQL client or the **mysqld** server gets a packet bigger than **max_allowed_packet** bytes, it issues a **Packet too large** error and closes the connection.
A 1 GB packet size is the largest possible packet size that can be transmitted to or from the MySQL server or client. The MySQL server or client issues an **ER_NET_PACKET_TOO_LARGE** error and closes the connection if it receives a packet bigger than **max_allowed_packet** bytes.
💡 You can resolve it by **adjusting the max_allowed_packet** setting in your MySQL configuration file.
## Communication Errors and Aborted Connections
```shell
ERROR: Communication Errors and Aborted Connections
```
If you find errors like the following in your error log.
```
010301 14:38:23 Aborted connection 854 to db: 'users' user: 'simplebackups'
```
This means that something of the following has happened:
- The client program did not call **mysql_close()** before exit.
- The client had been sleeping more than **wait_timeout** or **interactive_timeout** without doing any requests.
- The client program ended abruptly in the middle of the transfer.
## Can’t create/write to file
```shell
ERROR: Can’t create/write to file
```
This error typically occurs when MySQL is unable to create or write to a file, often due to insufficient permissions or lack of disk space.
💡 Ensure that the MySQL user has the necessary **file permissions**, and check **available disk space** to resolve this issue.
## Commands out of sync
```shell
ERROR: Commands out of sync
```
If you get this error in your client code, you are calling client functions in the wrong order.
For example, if you are using **mysql_use_result()** and try to execute a new query before you have called **mysql_free_result()**.
💡 Ensure that your application follows the **correct sequence** of executing and fetching query results to avoid this error.
A fair share of the errors above show up during a nightly dump rather than in application code. If that is where you are hitting them, our [automated MySQL backups](/mysql-backup) run the export and alert you on the failure instead of leaving it in a log nobody reads.
---
# Hourly Amazon RDS MySQL Backups
Source: https://simplebackups.com/blog/hourly-amazon-rds-mysql-backups
Published: 2020-09-21
Summary: How to easily backup Amazon RDS database using SimpleBackups. You can schedule your first hourly backup in just 1 minute and store it where you want.
In this article, you will learn why you should do a frequent backup of your Amazon RDS database and how to do it using SimpleBackups.
## Table of Contents
## Why you should do a frequent backup of your Amazon RDS database
Having backups is a crucial part especially on high-traffic websites, where new records or data are being added every hour or minute. Nobody wants to lose their data, and having an hourly backup of your database can solve this problem.
Amazon is one of the most popular cloud infrastructure on the Internet, and Amazon RDS is one of its service for a relational database.
Amazon RDS provides a snapshot backup. Amazon RDS create a storage volume snapshot of your DB instance, backing up the entire DB instance and not just individual databases. This results in high backup size that can last a few minutes to backup and restore depending on your database size.
Snapshot backups also do not give a flat SQL file that you can quickly restore outside of Amazon RDS. Luckily, SimpleBackups provides you an easy setup for an automated backup process. Below are the steps on how you can create an hourly Amazon RDS MySQL backups using SimpleBackups.
## What you will need:
- A [whitelisted IP address](https://simplebackups.com/blog/allow-a-remote-ip-to-connect-to-your-amazon-rds-mysql-instance) to connect to your RDS instance.
- A [connected server to SimpleBackups](/docs/database-backup/dbaas-providers/amazon-rds-database)
- A [connected storage to SimpleBackups](/docs/getting-started/features/backup-storage)
## How to create an RDS backup using SimpleBackups
The following steps assume that you have a connected server called "Database Backup Server" and a connected storage.
1. On your SimpleBackups dashboard, click on **[Create Database Backup](https://my.simplebackups.com/backup/create?type=db)**
2. Select your connected server.
3. Select the schedule to **Custom** and set it to **Hourly**. (Custom Schedule is available for **Standard** plan and above, [click here](https://simplebackups.com/pricing) for more details.)
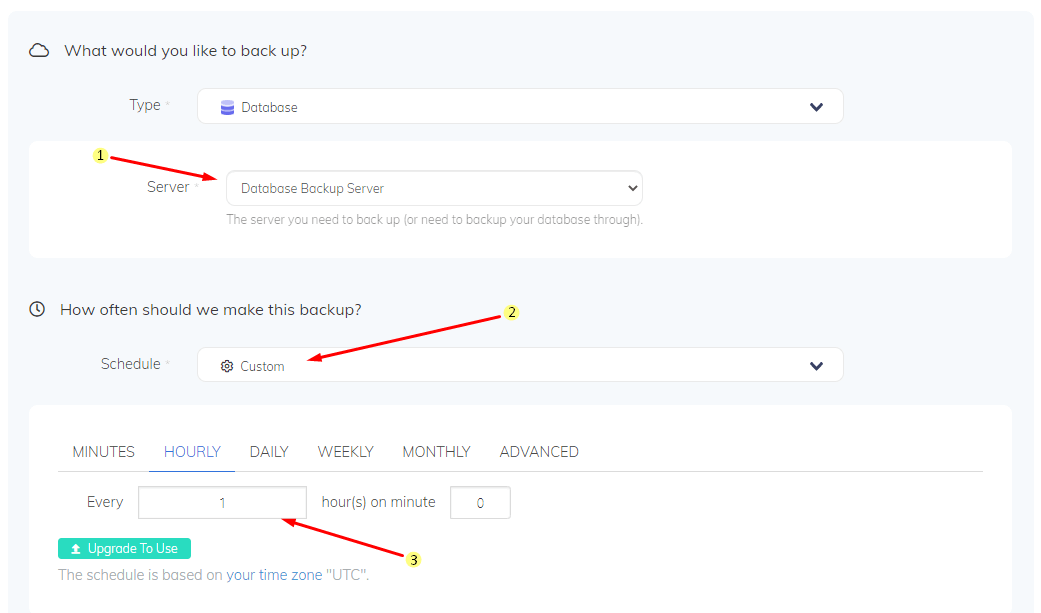
4. Under **Choose the database you need to back up**, select **MySQL** and enter your Amazon RDS credentials.
5. Pick the name of your backup and the storage you want to store your backup. Then finally click on the **Save New Backup** button
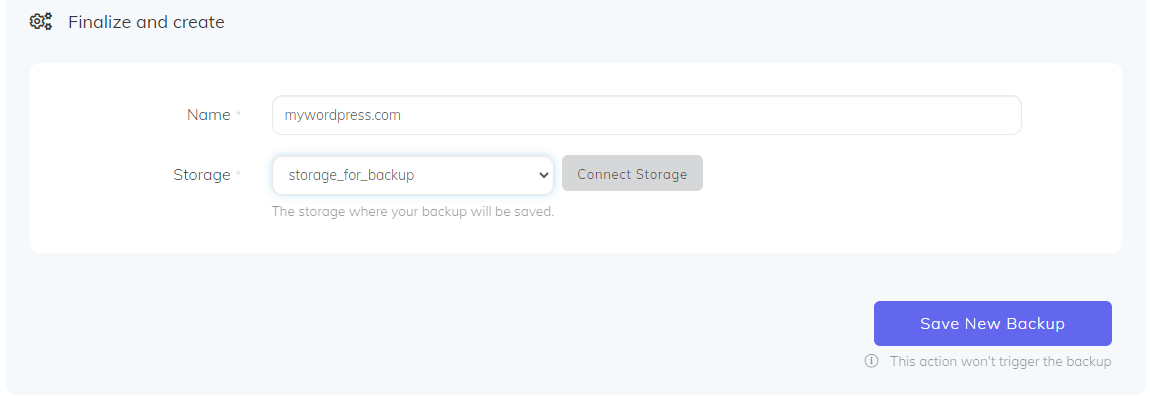
---
# How to back up WordPress websites
Source: https://simplebackups.com/blog/how-to-backup-wordpress-websites
Published: 2020-09-18
Summary: How to easily backup WordPress websites and database, using SimpleBackups. You can schedule your first backup in just 1 minute and store it where you want.
Backing up your sites, not just WordPress sites, is vital. Many WordPress users skip this process because they think that everything will be okay, until something happens. Having no regular backups can cost you more than what you think. Whether it is customers or important data.
In this article, we are going to learn why and how to back up your WordPress sites using SimpleBackups.
## Table of Contents
## Why do you need to back up your WordPress sites?
WordPress is one of the most used content management system so far. This is why it is targeted by most hackers, resulting to losing access to your WordPress site. Having a backup will save you time and effort of recovering your site.
Mistakes can also happen, either by a faulty plugin, an accidentally deleted file or record in a database, or a simple mistake in your database query can break your site down. You will never know when this mistakes will happen, so having a regular backup to save you from these scenarios is essential.
These are just a few of many reasons why you should back up your WordPress sites. But backing up can also be tiring or boring. Luckily, SimpleBackups offers an automated and simplified backup solution. Below are the components you need to backup on your WordPress site, and how you can backup them using SimpleBackups
## Components you need to back up WordPress site
Here are the lists of components you need to back up:
- `WordPress database` - this contains information, configuration, users, posts, and other data of your WordPress site
- `/wp-content` — this folder includes all themes, plugins, images and other media assets.
- `/wp-config.php` — this file contains settings such as database credentials and other variables.
- `.htaccess` — this file contains the server configurations specific on your WordPress site.
- other webmaster tool identification files such as `googleCODE.html` and `BingSiteAuth.xml`.
- any other files you’ve added.
## How to backup WordPress using SimpleBackups
Here is the step-by-step tutorial on how to backup your WordPress site using SimpleBackups:
1. Add your **server** in SimpleBackups where your WordPress site is located (skip this if your server is already connected)
- [Get your server configured for your first backup, the simple way.](/docs/getting-started/architecture/connecting-your-workerserver)
2. Add your **storage** in SimpleBackups where you want to store your WordPress site's backup (skip this if your storage is already connected)
- [Get started with cloud storage for backups](/docs/getting-started/features/backup-storage)
3. Now on your SimpleBackups account, click on **Backups** then **Create Backup** button or access the [create backup page directly with this link](https://my.simplebackups.com/backup/create).
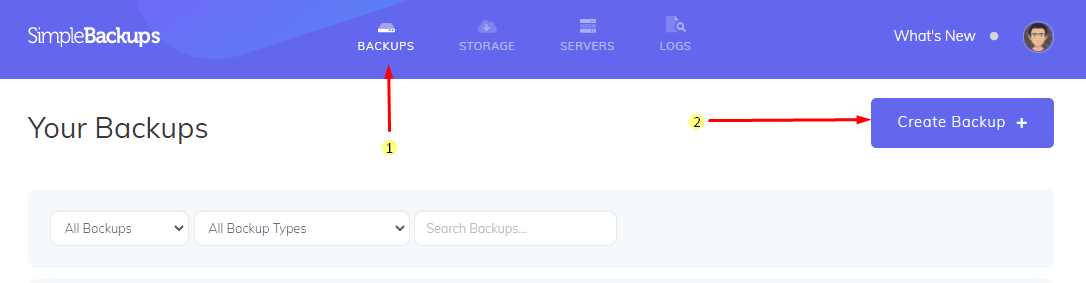
4. Choose what would you like to backup (File, Database, Full)
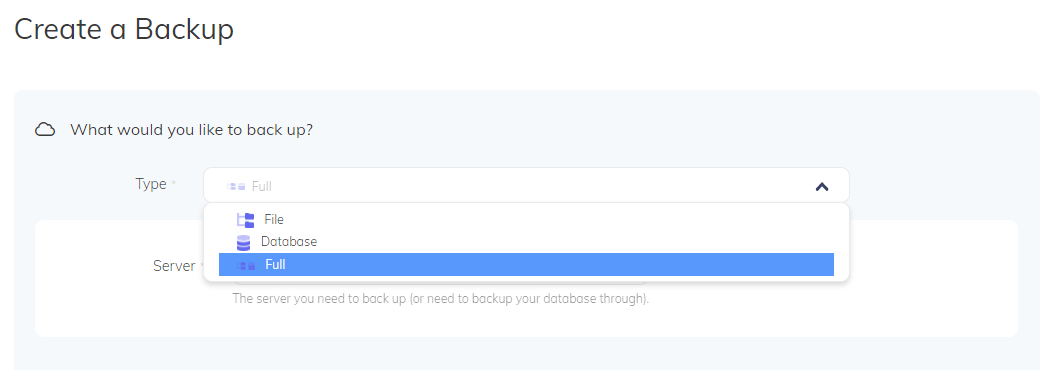
- `File` — you can choose which files and folders to backup
- `Database` — your whole WordPress database, you will need to provide your database credentials (you can find these inside your **wp-config.php** file)
- `Full` — this will backup both files and database (Recommended)
5. Choose the server where your WordPress site is located
6. Choose the backup schedule of your preference.
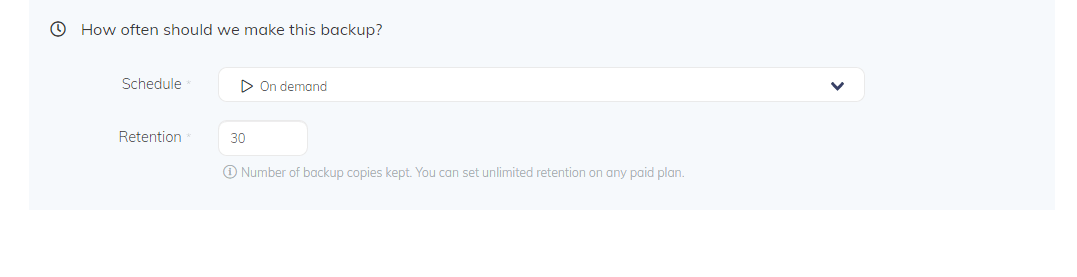
7. Configure your backup (backup files/folders and database)
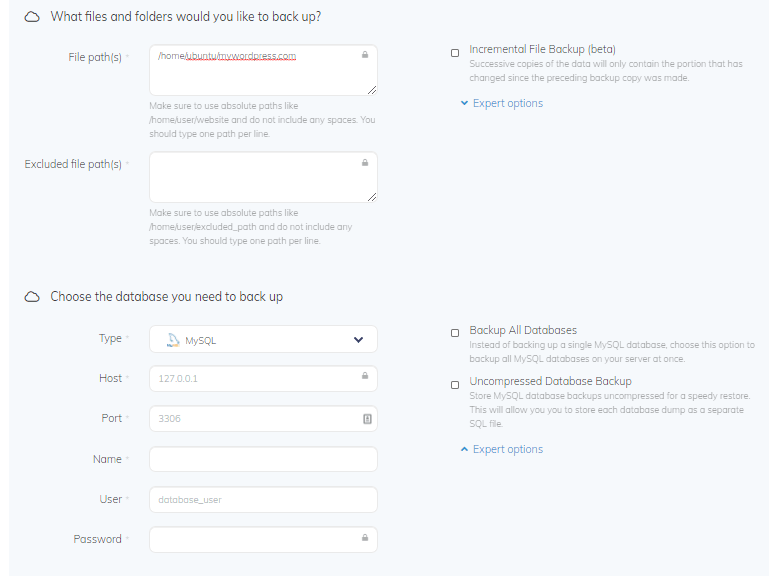
8. Pick the name of your backup and the storage you want to store your backup. Then finally click on the **Save New Backup** button

You can either wait for your backup schedule to run or you can trigger the backup to run manually. That's it. Now your WordPress site has its own automated backup with your own storage. Don't hesitate to reach out if you have any questions.
---
# Product update - Backups the nice way!
Source: https://simplebackups.com/blog/product-update-backups-the-nice-way
Published: 2020-09-11
Summary: Product update - Website and database backups are becoming even easier to use! We released a new version of our backup solution including MysSQL, PostgreSQL, MongoDB and file backups improvements.
In our effort to make SimpleBackups the easiest and most pleasing solution when it comes to websites & database backups, we've gathered your feedback and have (finally) released a first version of what you guys have requested.
So this version is 100% powered by our user's feedback, so thanks to all of you who have participated!
In this release, we focused on UI/UX and paved the way for more cool features.
**✨ New look**\
Thanks to all your feedback (special thanks to Jason) we've refreshed our UI with an easier navigation, less bloat and more consistency across all pages. This also paves the way for us to add more useful features down the road.
**🎯 Quick actions & redesigned drop-downs**\
We simplified the way to trigger any action and made it accessible from any listing as well as from the backup page.
**📌 You now have a dashboard**\
Quickly access main sections, create backups, view last activity and get a quick view on your plan usage.
**🔎 Refreshed backup page**\
We've rebuilt this page from the ground up! All backup info with less click, and a clear action menu.
We have a lot more to release soon, this includes features as well as user experience improvements.
Stay tuned!
---
# How to connect Wasabi
Source: https://simplebackups.com/blog/how-to-connect-wasabi
Published: 2020-07-14
Summary: How to connect Wasabi to SimpleBackups and use it as a storage for database and website backups.
## 1. Create your Wasabi Bucket
- Sign in your Wasabi account at https://console.wasabisys.com
- Go to [https://console.wasabisys.com/#/file_manager/](https://console.wasabisys.com/#/file_manager/) and click on "Create Bucket"
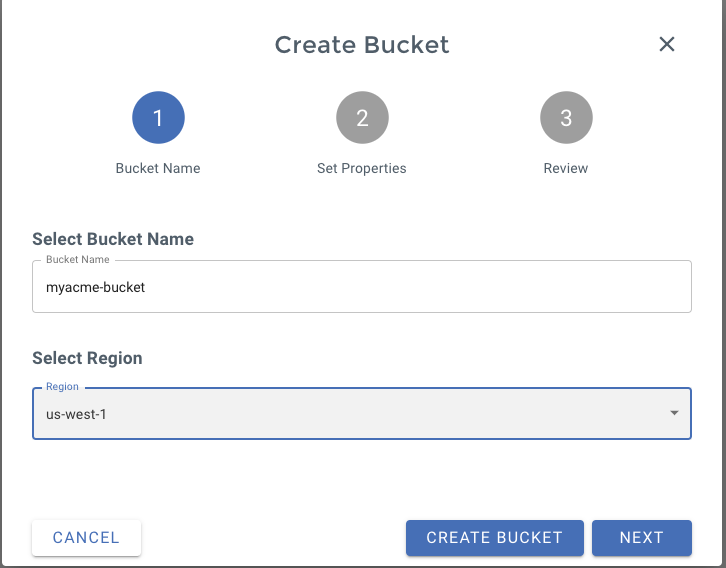
- On step 1 of the form, define the **name of your bucket** (we like to use our company name here)
- Pick the **region** you need (think about GDPR rules, if you're an EU company)
You can keep default options on step 2 and finally confirm your Bucket creation on step 3.
And that's one good thing done, **your Wasabi bucket is created!**
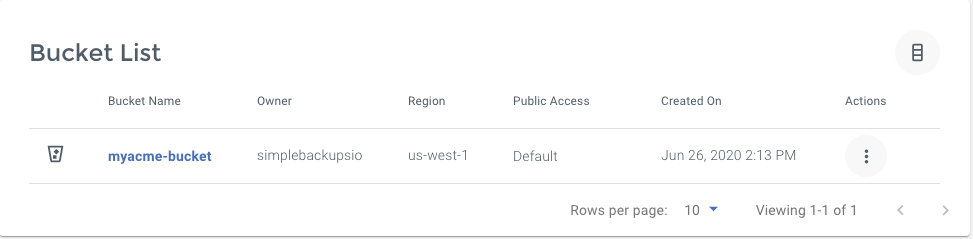
_Don't leave the Wasabi interface, we'll now have to create your credentials._
**Information you'll need in step 3:**
- Your **"Bucket" name**, in this case "myacme-bucket"
- Your **"Bucket" Region**, in this case "us-west-1"
## 2. Create your Wasabi Credentials/Access Key
In order to grant access to your bucket, we'll need to create an Access Key.
- Go to [https://console.wasabisys.com/#/access_keys](https://console.wasabisys.com/#/access_keys) and click on **"Create New Access Key"**
- You can go with the default options and pick a **"Root User"**
That's it you **Access Key** and **Secret Key** will be generated, make sure to write them down.
**Information you'll need in step 3:**
- **Access Key**
- **Secret Key**
## 3. Connect your Bucket to SimpleBackups
- Log into SimpleBackups and head to the [connect your storage](https://my.simplebackups.com/storage/create) page
- Pick **"Wasabi"** as storage provider and fill in the "Connect your storage" form with the information from step 1 and 2.
You'll have to input :
- **Key**: Access Key described in (step 2)
- **Secret**: Secret Key described in (step 2)
- **Region**: Bucket region described in (step 1)
- **Bucket**: Bucket name described in (step 1)
- Give your storage a **name** (usually we like to use the Bucket name) and click on "Save new storage".
You'll be redirected to the list of storage where you'll find your newly connected storage.

---
# How to connect DigitalOcean Spaces
Source: https://simplebackups.com/blog/how-to-connect-digitalocean-spaces
Published: 2020-07-14
Summary: How to connect DigitalOcean Spaces to SimpleBackups and use it as a storage for database and website backups.
## 1. Create your DigitalOcean Spaces
- [Sign in your DigitalOcean account](https://cloud.digitalocean.com/login)
- [Create a new "Spaces"](https://cloud.digitalocean.com/spaces/new) using the create menu at the top right
- Fill in the "Create Spaces" form
- Pick the region you need (think about GDPR rules, if you're an EU company)
- Select "Restrict File Listing"
- Pick a name you like and link it to your DigitalOcean project (doesn't really affect us)
That's it! Your DigitalOcean Spaces is now created.

*Don't leave the DigitalOcean interface, we'll now have to create your credentials.*
**Information you'll need in step 3:**
- Your **"Spaces" name**, in this case "myacme-space"
- Your **"Spaces" Region**, in this case "San Francisco 2", which you can also see in your DO Space url
## 2. Create your DigitalOcean Credentials
Getting your DigitalOcean Spaces setup, was easy, ... and so will be getting your credentials!
We've covered how to get this done in a [how to create a DigitalOcean Spaces credentials](/docs/storage-providers/wasabi).
Follow this simple article and you'll get the access created in ... less than 2 minutes.
**Information you'll need in step 3:**
- **Key**
- **Secret**
## 3. Connect your Space to SimpleBackups
- Log into SimpleBackups and head to the [connect your storage](https://my.simplebackups.com/storage/create) page
- Pick **"DigitalOcean Spaces"** as storage provider and fill in the "Connect your storage" form with the information from step 1 and 2.
You'll have to input :
- **Key**: Key described in (step 2)
- **Secret**: Secret described in (step 2)
- **Region**: Spaces region described in (step 1)
- **Bucket**: Spaces name described in (step 1)
- Give your storage a **name** (usually we like to use the Spaces name) and click on "Save new storage".
You'll be redirected to the list of storage where you'll find your newly connected storage.
---
# How to connect Backblaze
Source: https://simplebackups.com/blog/how-to-connect-backblaze
Published: 2020-07-14
Summary: How to connect Backblaze B2 to SimpleBackups and use it as a storage for database and website backups.
## 1. Create your Backblaze Bucket
* [Log into your Backblaze account](https://secure.backblaze.com/user_signin.htm)
* Go to the [Bucket page](https://secure.backblaze.com/b2_buckets.htm)[](https://cloud.digitalocean.com/spaces/new) create a new Bucket

* Fill in your Bucket name and create the Bucket
Good job! Your bucket is created.
*Don't leave the Backblaze interface yet, we'll now have to create your credentials.*
**Information you'll need in step 3:**
* Your **Bucket name**, in this case "myacme-bucket"
* Your **Bucket region**, in this case "us-west-002"
## 2. Create your Bucket credentials
Great! Now that we have a Bucket, we need to create the credentials required to access it.
* Go to the ["App Keys" page](https://secure.backblaze.com/app_keys.htm?) and click on "Add a new Application Key" button
**Fill in the form by defining:**
* Name of the Key: we like to use a reference of the Bucket we're creating the credentials for
* Allow access to Bucket(s): Access to "All Buckets" is less secure, we strongly recommend that you select the bucket you want to use only.
Leave the rest of the option empty and create your key.
You'll get a confirmation message including your **KeyID** and **applicationKey**, which is what we need to connect your storage to SimpleBackups.
**Information you'll need in step 3:**
* **applicationKey**
* **KeyID**
## 3. Connect your Bucket to SimpleBackups
So far we have created a Bucket and have created the required credentials to get access to this it.
The only remaining step is connecting this new storage to SimpleBackups.
* Log into SimpleBackups and head to the [connect your storage](https://my.simplebackups.com/storage/create) page
* Select **"Backblaze B2"** as storage provider and fill in the "Connect your storage" form with the information from step 1 and 2.
You'll have to input :
* **Key**: KeyID described in (step 2)
* **Secret**: applicationKey described in (step 2)
* **Region**: Bucket region described in (step 1)
* **Bucket**: Bucket name described in (step 1)
* Give your storage a **name** (usually we like to use the Bucket name) and click on "Save new storage".
You'll be redirected to the list of storage where you'll find your newly connected storage.

---
# How to connect to Microsoft Azure Blob Storage
Source: https://simplebackups.com/blog/create-azure-blob-storage-credentials-key-secret
Published: 2020-07-14
Summary: How to connect Microsoft Azure Blob Storage to SimpleBackups and use it as a storage for database and website backups.
## 1. Create your Microsoft Azure Blob Storage
* Sign in to your [Microsoft Azure Portal](https://portal.azure.com/).
* Under **Azure services**, choose **Storage Accounts**. Your storage account list will be displayed. Choose the storage account you want to connect with.
* On the left menu, under **Blob Service**, choose **Containers**
* Click **+ Container** to add a Container. Input the name you want for the container and click the **Create** button
* Your container has been created.
**Information you'll need in step 3:**
* **Container Name**
* **Storage Endpoint**, in this case is **core.windows.net**
## 2. Get your Storage Access Keys
In order to give access to your newly created storage, you'll need to provide credentials to SimpleBackups.
* On the left menu, under **Settings**, choose Access Keys.
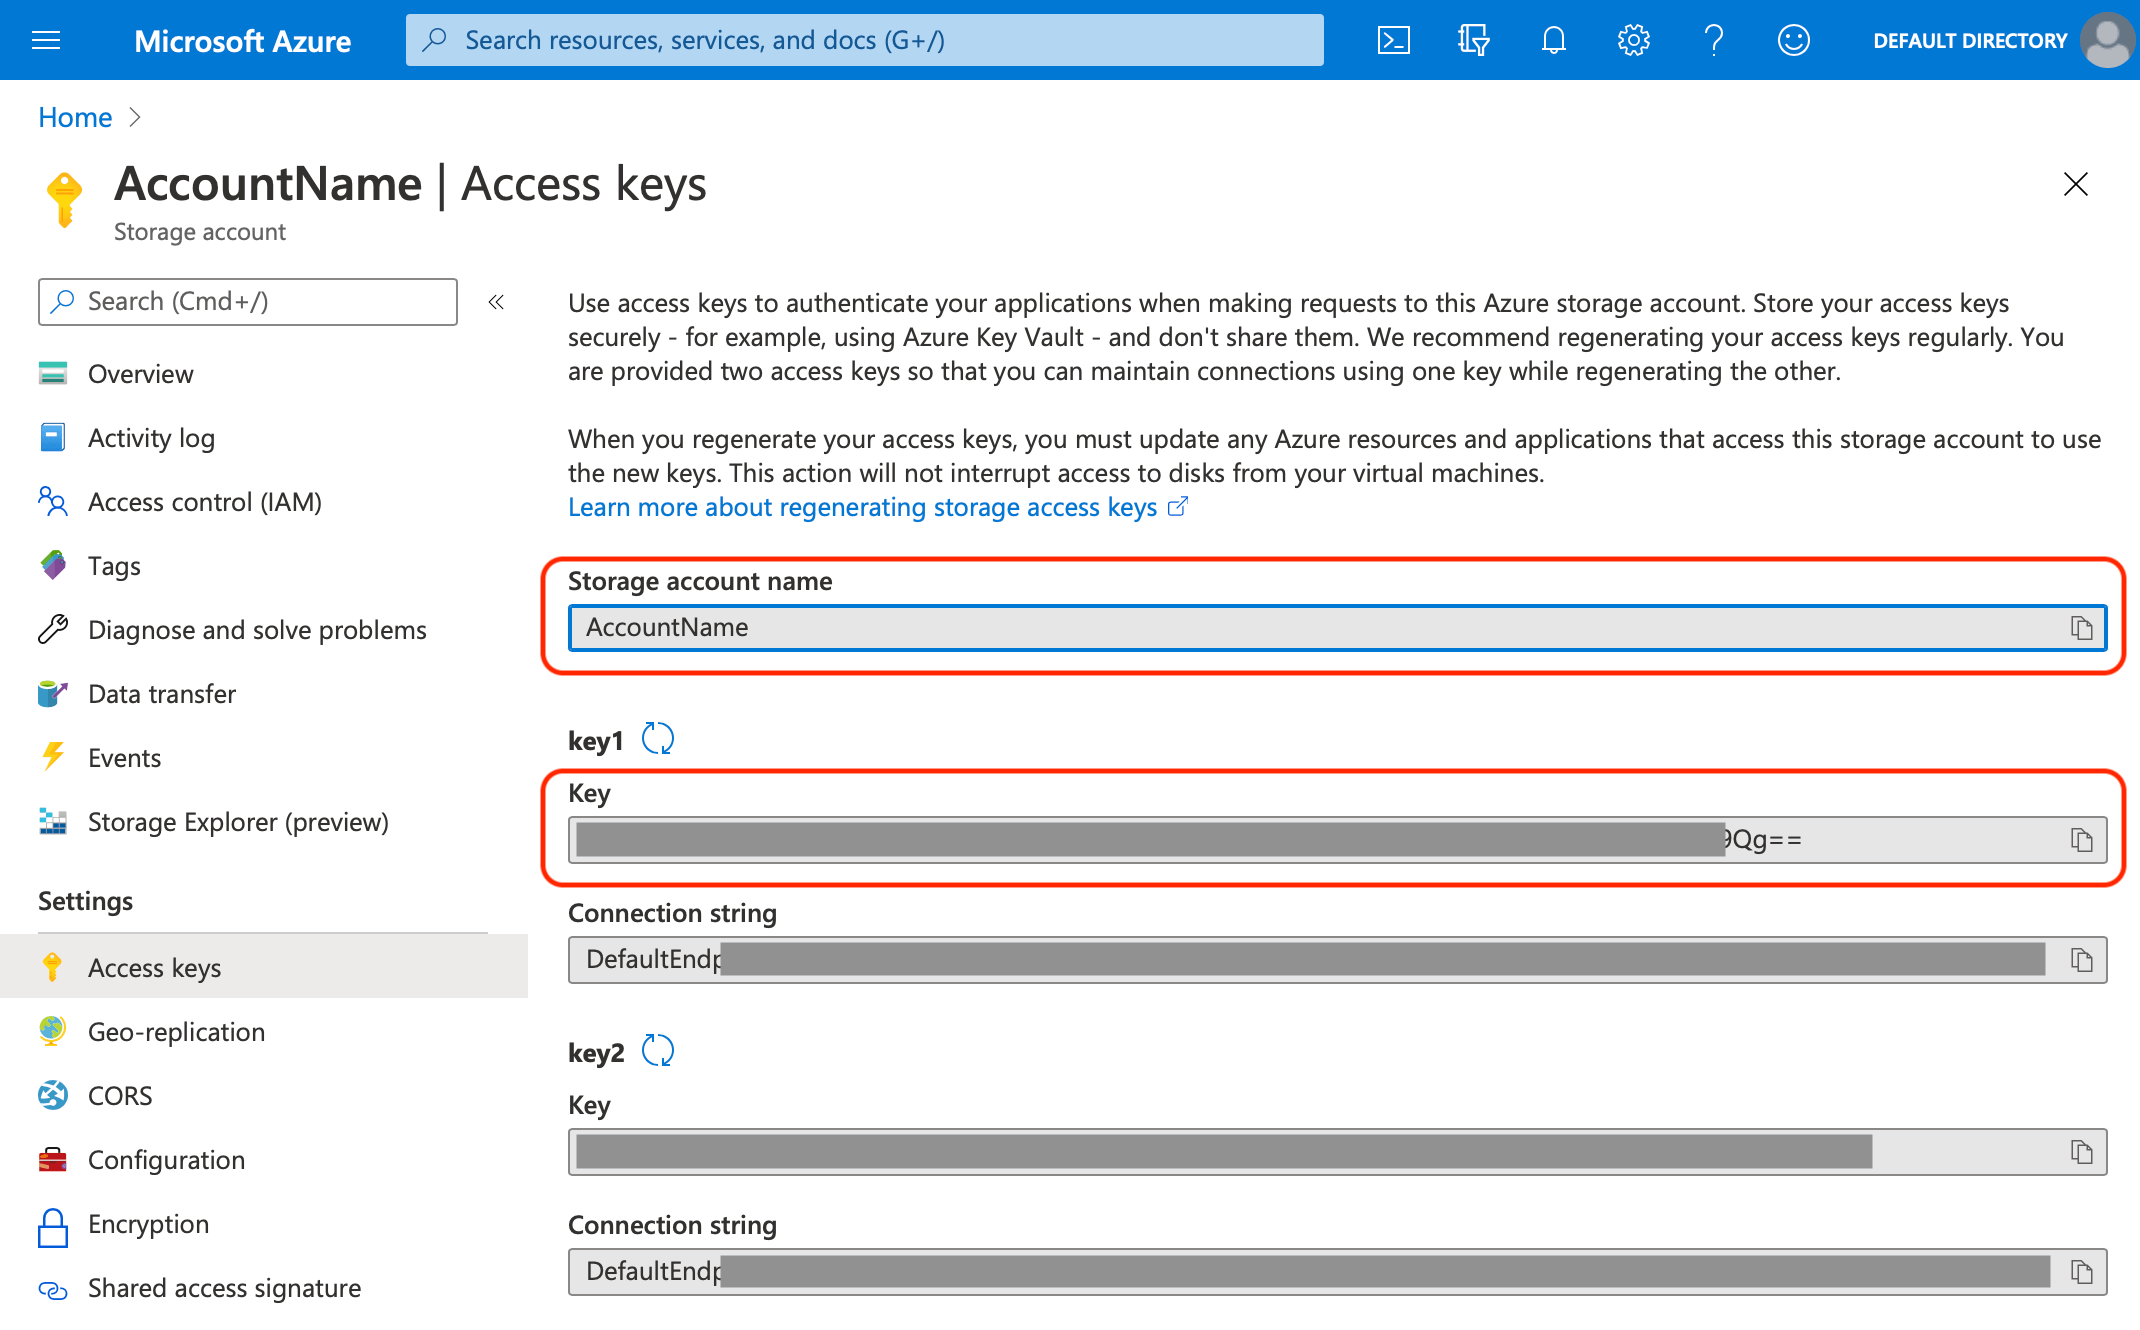
* Please use the **Key** value under **key1** as your access key.
**Information you'll need in step 3:**
* **Access Key**
* **Storage Account Name**
## 3. Connect your Bucket to SimpleBackups
* Log into SimpleBackups and head to the [connect your storage](https://my.simplebackups.com/storage/create) page
* In the storage provider list select **"Azure Blob Storage"**, and fill in the form with the information from step 1 and step 2
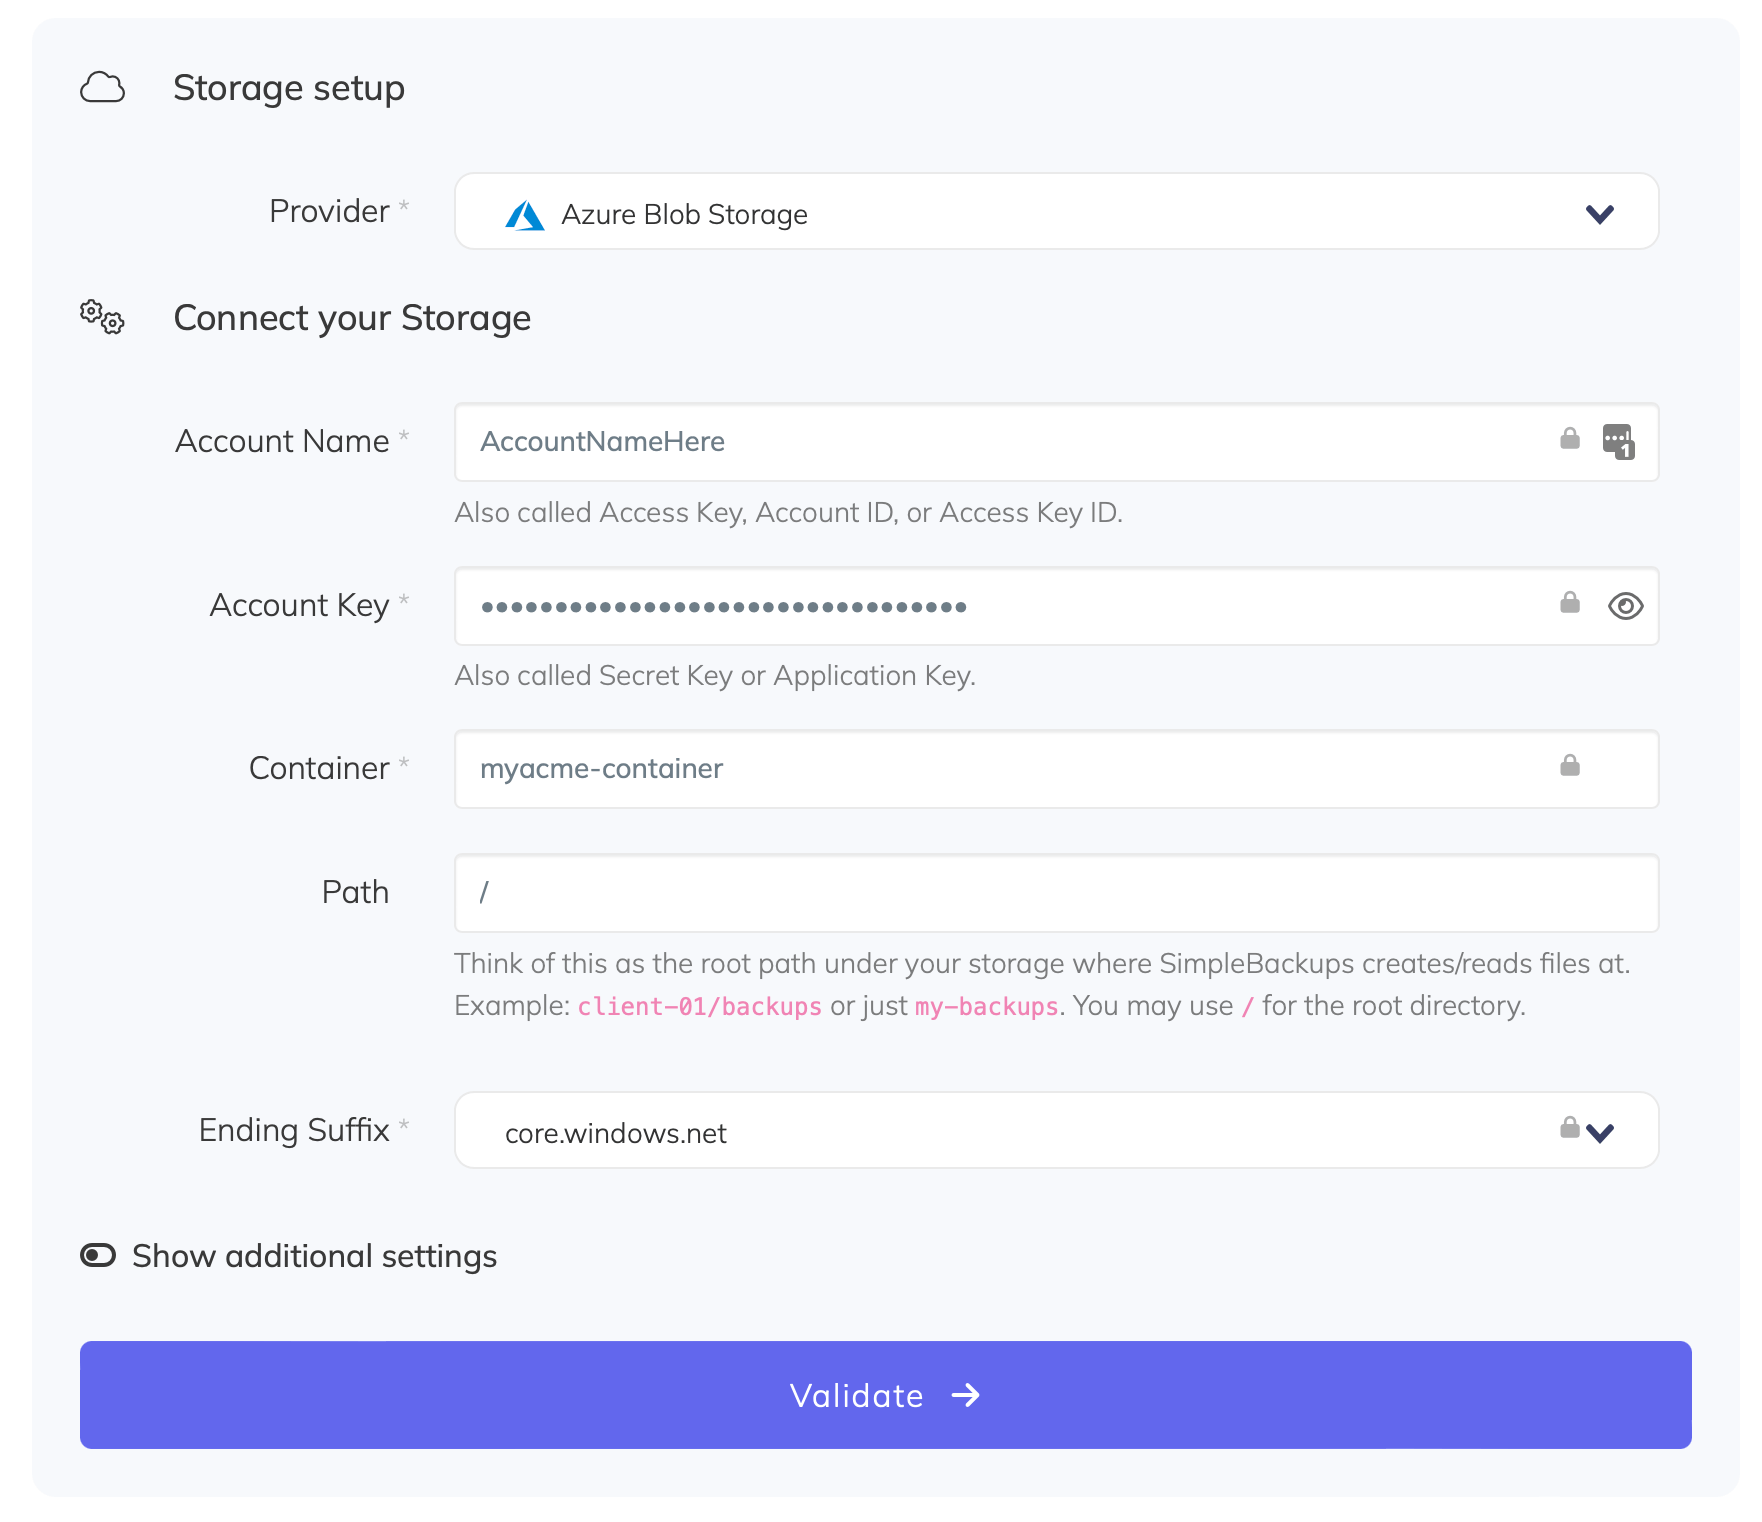
You'll have to input :
* **Account Name**: Account Name described in (step 2)
* **Access Key**: Secret Key described in (step 2)
* **Container**: Container name described in (step 1)
* **Ending Suffix**: your storage endpoint described in (step 1)
* Give your storage a **name** (usually we like to use the storage name) and click on "Save new storage".
And your storage is now connected!

---
# How to connect Filebase
Source: https://simplebackups.com/blog/how-to-connect-filebase
Published: 2020-07-14
Summary: How to connect Filebase to SimpleBackups and use it as a storage for database and website backups.
## 1. Create your Filebase Bucket
* **Sign in** to your Filebase account: [https://console.filebase.com/users/sign_in](https://console.filebase.com/users/sign_in?ref=simplebackups)
* Once logged in, click on **"Create bucket"**
* Define a **name for your bucket**

**Information you'll need in step 3:**
* Your **"Bucket" name**, in this case "myacme-bucket"
* Your **"Bucket" Region**, in this case "us-east-1"
## 2. Retrieve your Bucket credentials
Now that your bucket is created, we'll need to get the credentials required to access it.
Like everything with Filebase (and we like this!) it's super easy.
* Simply go to your Settings: [https://console.filebase.com/users/edit](https://console.filebase.com/users/edit?ref=simplebackups) and copy your **Access Key** and **Secret**.
**Information you'll need in step 3:**
* **Access Key**
* **Secret**
## 3. Connect your Bucket to SimpleBackups
* Log into SimpleBackups and head to the [connect your storage](https://my.simplebackups.com/storage/create) page
* In the storage provider list select **"Filebase"**, and fill in the form with the information from step 1 and step 2
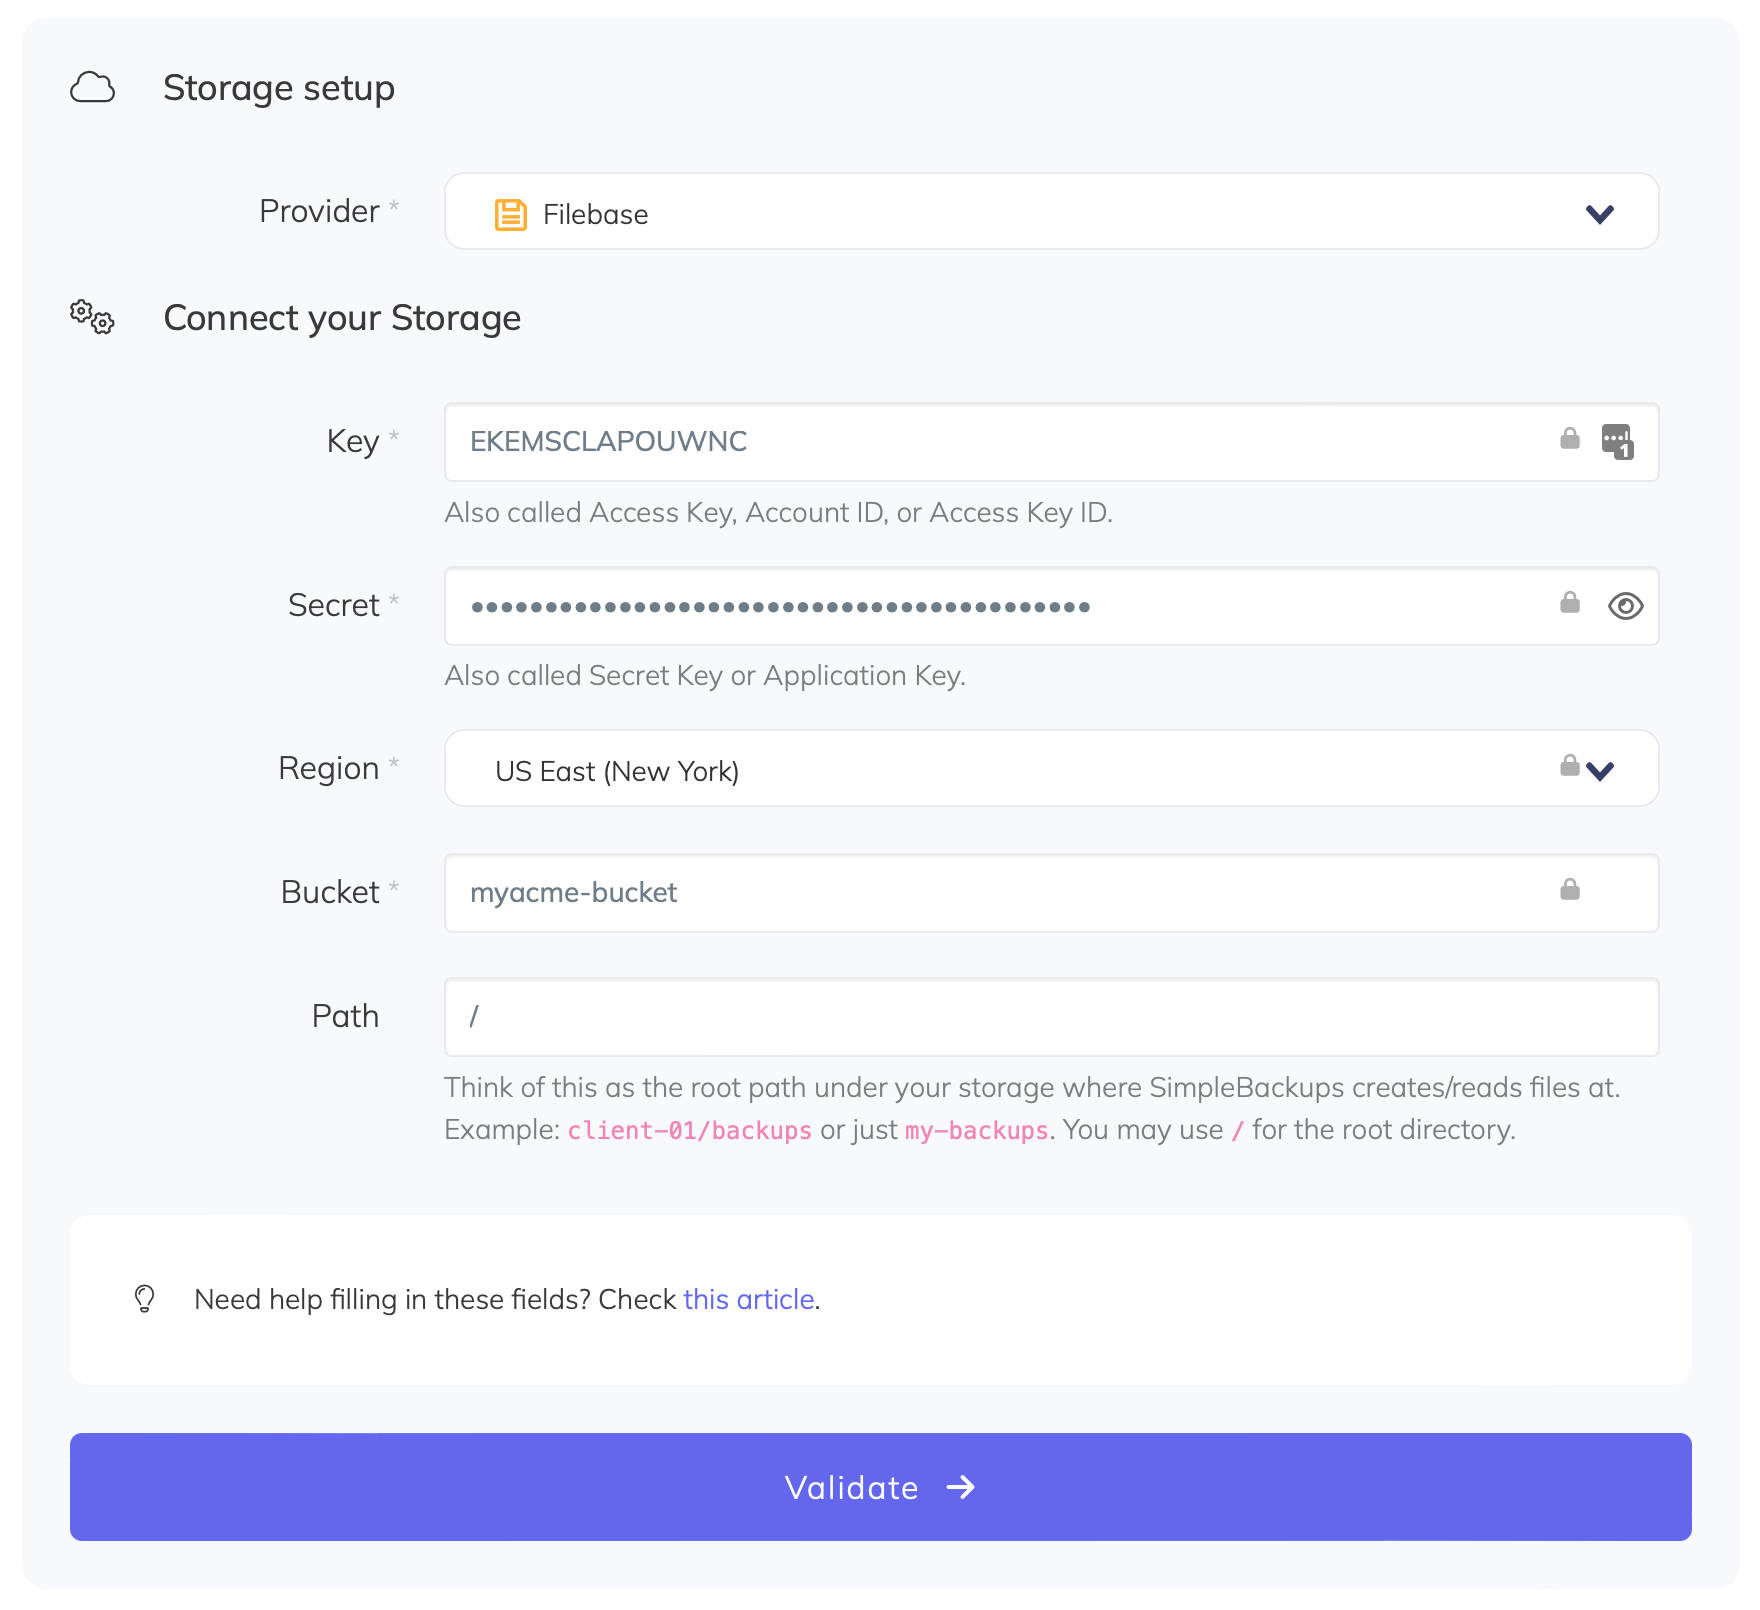
You'll have to input :
* **Key**: Access Key described in (step 2)
* **Secret**: Secret described in (step 2)
* **Region**: Region described in (step 1)
* **Bucket**: Bucket name described in (step 1)
* Give your storage a **name** (the bucket name is usually a good pick, but you can be creative) and click on "Save new storage".
And your storage is now connected!

---
# How to connect Google Cloud Storage
Source: https://simplebackups.com/blog/how-to-connect-google-cloud-storage
Published: 2020-07-14
Summary: How to connect Google Cloud Storage to SimpleBackups and use it as a storage for database and website backups.
## 1. Create your Google Cloud Storage Bucket
* Sign in to your [Google Cloud Console](https://console.cloud.google.com), and then [select an existing Google Cloud project](https://console.cloud.google.com/projectselector2) or [create a new one](https://console.cloud.google.com/projectcreate)
* Open the [Cloud Storage browser](https://console.cloud.google.com/storage/browser) in the Google Cloud Console
* Click on **"Create bucket"** to open the bucket creation form. First define a globally unique permanent **name for your bucket**, and then click Continue.
* And the select the region for your bucket
* Click Create. Your new bucket will be created.
**Information you'll need in step 3:**
* Your **"Bucket" name**
* Your **"Bucket" Region**
## 2. Retrieve your Bucket credentials
In order to give access to your newly created bucket, you'll need to provide credentials to SimpleBackups.
Follow this [simple article](/docs/storage-providers/google-cloud-storage) on how to get your Google Cloud Storage Credentials.
**Information you'll need in step 3:**
* **Access Key**
* **Secret Key**
## 3. Connect your Bucket to SimpleBackups
* Log into SimpleBackups and head to the [connect your storage](https://my.simplebackups.com/storage/create) page
* In the storage provider list select **"Google Cloud Storage"**, and fill in the form with the information from step 1 and step 2
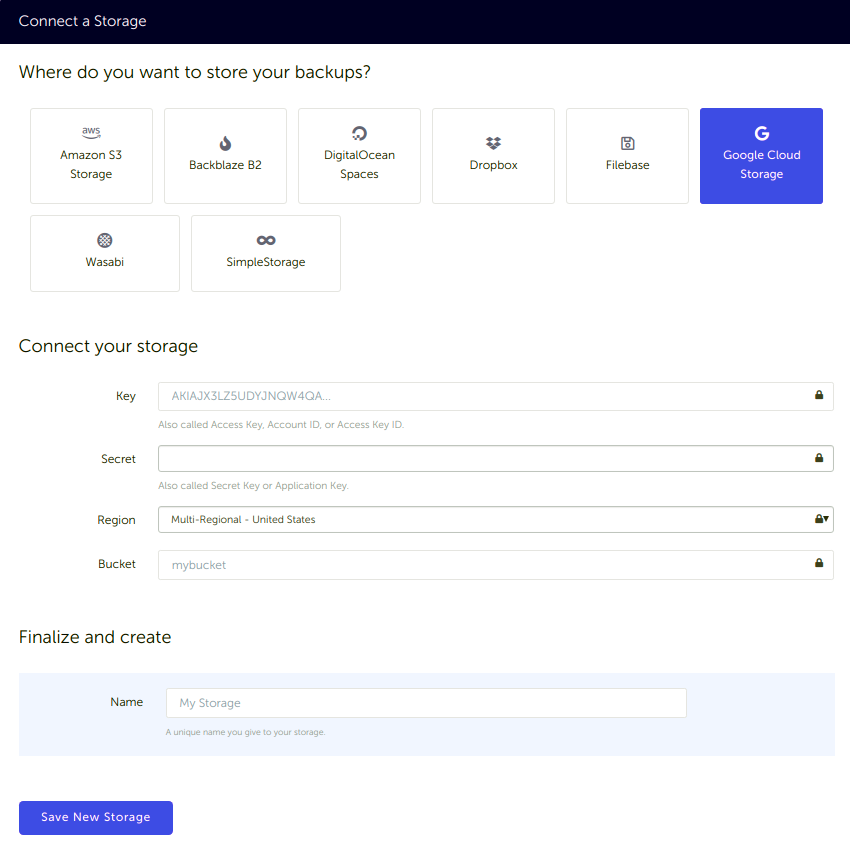
You'll have to input :
* **Key**: Access Key described in (step 2)
* **Secret**: Secret Key described in (step 2)
* **Region**: Bucket Region described in (step 1)
* **Bucket**: Bucket name described in (step 1)
* Give your storage a **name** (the bucket name is usually a good pick, but you can be creative) and click on "Save New storage".
The next step is to authorize SimpleBackups to your Google account. Click on the **Connect Your Google Account** button.
Grant access to your Google Account by clicking Allow.
On the next screen click Save Changes, and now your Google Cloud Storage is already connected.

---
# How to connect AWS S3
Source: https://simplebackups.com/blog/how-to-connect-aws-s3
Published: 2020-07-14
Summary: How to connect AWS S3 to SimpleBackups and use it as a storage for database and website backups.
## 1. Create your AWS S3 Bucket
Skip this step if you already have an AWS S3 bucket.
* **Sign in** to your [AWS Management Console](https://console.aws.amazon.com)
* Go to your [AWS S3 bucket list](https://s3.console.aws.amazon.com/s3/) and create a new bucket
Keep default options for (2) Configure options, (3) Set Permission, review and create your bucket.
**Information you'll need in step 3:**
* Your **"Bucket" name**, in this case "myacme-backups"
* Your **"Bucket" Region**, in this case "US West - N. California"

## 2. Create your AWS credentials
In order to give access to your newly created bucket, you'll need to provide credentials to SimpleBackups. Follow this simple article on how to get your [AWS S3 Credentials](/docs/storage-providers/aws-s3).
**Information you'll need in step 3:**
* **Access Key**
* **Secret**
## 3. Connect your S3 bucket to SimpleBackups
* Log into SimpleBackups and head to the [connect your storage](https://my.simplebackups.com/storage/create) page
* In the storage provider list select **"Amazon S3 Storage"**, and fill in the form with your AWS credentials and newly created bucket information
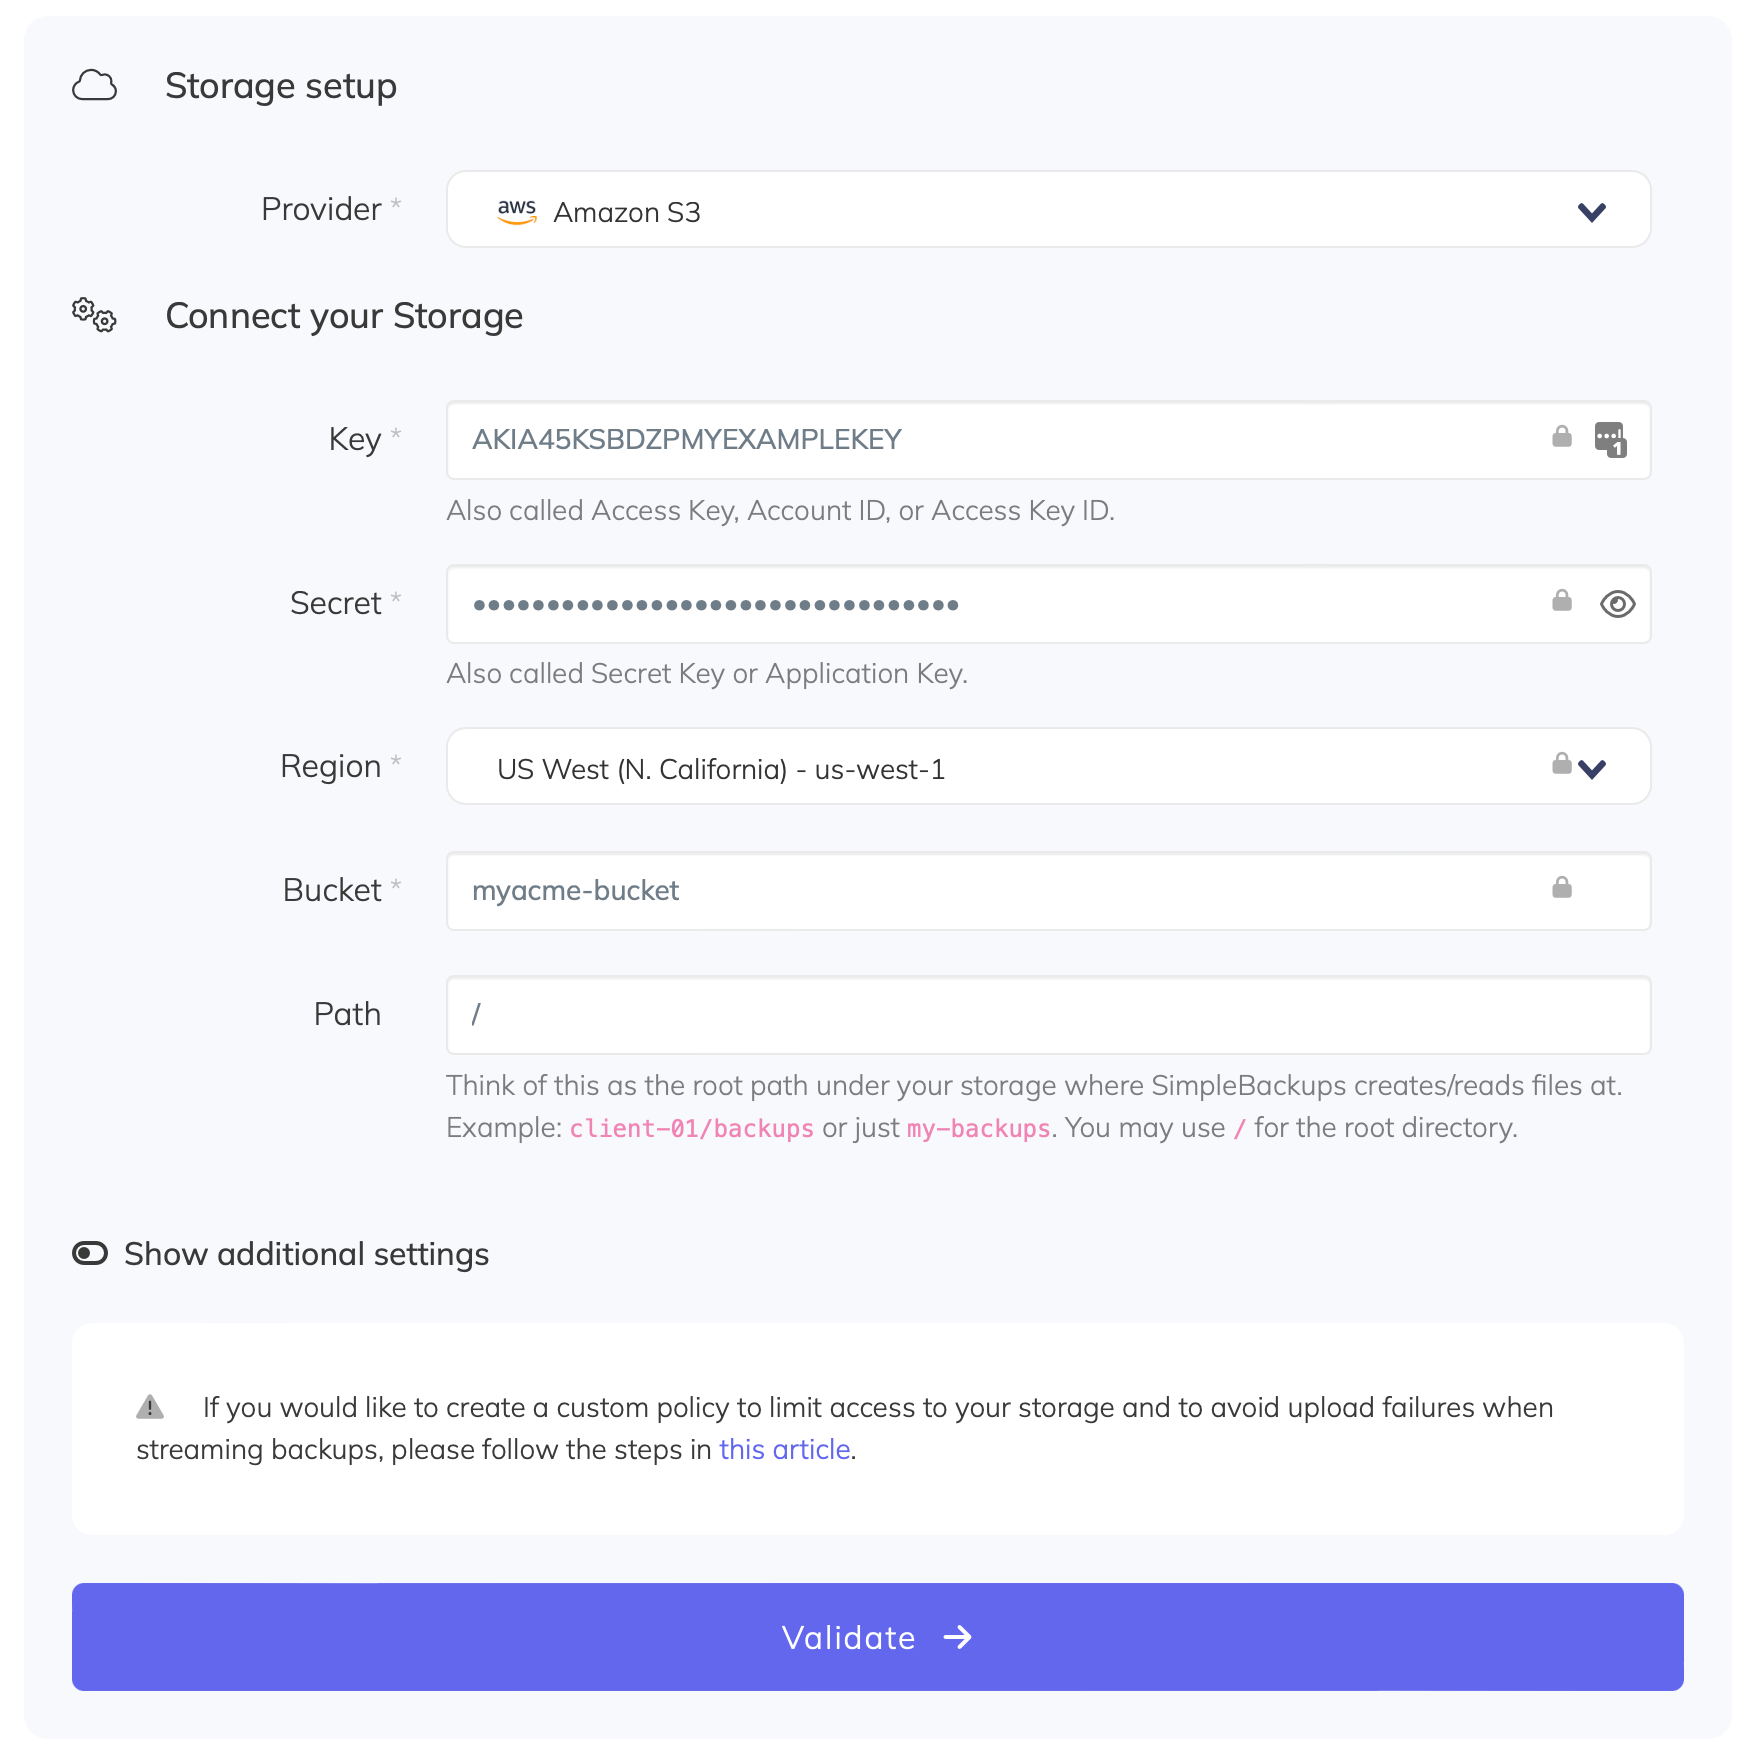
You'll have to input :
* **Key**: Access Key described in (step 2)
* **Secret**: Secret described in (step 2)
* **Region**: Bucket Region described in (step 1)
* **Bucket**: Bucket name described in (step 1)
* Give your storage a **name** (the bucket name is usually a good pick, but you can be creative) and click on "Save new storage".
You'll be redirected to the list of storage where you'll find your newly connected storage.
---
# How to connect your storage to SimpleBackups
Source: https://simplebackups.com/blog/how-to-connect-your-storage-to-simplebackups
Published: 2020-07-14
Summary: How to connect cloud storage as a backup storage
We've prepared guides showing you exactly how to get your preferred storage connected to SimpleBackups:
* [Connect AWS S3](/docs/storage-providers/aws-s3)
* [Connect Azure Blob Storage](/docs/storage-providers/azure-blob)
* [Connect Backblaze B2](/docs/storage-providers/backblaze-b2)
* [Connect DigitalOcean Spaces](/docs/storage-providers/digitalocean-spaces)
* [Connect Filebase](/docs/storage-providers/filebase)
* [Connect Google Cloud Storage](/docs/storage-providers/google-cloud-storage)
* [Connect Wasabi](https://simplebackups.com/blog/how-to-connect-wasabi/)
---
# Filebase integration with SimpleBackups and the Blockchain
Source: https://simplebackups.com/blog/filebase-integration-with-simplebackups-and-the-blockchain
Published: 2020-07-01
Summary: Filebase integration and partnership with SimpleBackups opens the door to store backups on the blockchain
> **SimpleBackups** is an all-in-one website and database backups solution that stores your backups on your preferred cloud storage.
> **Filebase** provides S3-compatible object storage that’s encrypted and geo-redundant. Backed by blockchain technology, no fees for ingress or API requests.
We have been working on getting [Filebase](/storage-backup/filebase/) integrated with SimpleBackups as a storage provider for your websites and databases backups.
Below, we will describe how to get your Filebase Blockchain bucket connected to SimpleBackups in just 3 simple steps.
## Prerequisites
Make sure to have your **[SimpleBackups](https://my.simplebackups.com/register)** and a **[Filebase account](https://console.filebase.com/users/sign_up)** ready.
## Create your Filebase Blockchain Bucket
- **Sign in** to your Filebase account
- Once logged in, click on **"Create bucket"**

- Define a **name for your bucket**

**Information you'll need later:**
- Your **"Bucket" name**, in this case "myacme-bucket"
- Your **"Bucket" Region**, in this case "us-east-1"
## Retrieve your Bucket credentials
With the bucket created we can now get the credentials required to connect it to SimpleBackups.
- Go to your settings (https://console.filebase.com/users/edit) and copy your **Access Key** and **Secret**

**Information you'll need later:**
- **Access Key**
- **Secret**
## Connect your Bucket to SimpleBackups
- Log into SimpleBackups and head to the [connect your storage](https://my.simplebackups.com/storage/create) page
- In the storage providers list select **"Filebase"**, and fill in the form with the information from previous steps

You should enter your:
- **Key**: Access Key described above
- **Secret**: Secret described above
- **Region**: Region described above
- **Bucket**: Bucket name described above
- Give your storage a **name** (the bucket name is usually a good pick, but you can be creative) and click on "Save new storage".
And your storage is now connected!

Now that your storage is configured you can start automating your websites and databases backups directly and have them securely stored on your Filebase Blockchain bucket!
If you need more information on how to configure your backups, you'll find helpful articles on [SimpleBackups website](/docs/storage-providers/filebase).
---
# How to backup MongoDB to Backblaze
Source: https://simplebackups.com/blog/how-to-backup-mongodb-to-backblaze
Published: 2020-06-26
Summary: How to automate MongoDB backups and store them on Backblaze bucket. Tutorial for SimpleBackups and Backblaze.
> Automate MongoDB database backup directly to your Backblaze storage.
At SimpleBackups, we started looking into Backblaze for their B2 cloud solution and I must say we've been very positively surprised by their solution. When you start with Backblaze, and already know about S3, you're not in a foreign territory. Everything is easy to setup and getting your first backup stored there is super easy.
Let's get ready, and get this this done in under 5 minutes (you'll see, it's really easy to get your first **MongoDB database backup** automated).
## Prerequisites
* Create a **[SimpleBackups account](https://my.simplebackups.com/register)**
* Make sure you have your server connected to your account (the one on which your MongoDB database is hosted)
* Have a **Backblaze account** (we'll cover how to create your Blackblaze Bucket below)
## 1. Create your Backblaze Bucket
* [Log into your Backblaze account](https://secure.backblaze.com/user_signin.htm)
* Go to the [Bucket page](https://secure.backblaze.com/b2_buckets.htm) create a new Bucket

* Fill in your Bucket name and create the Bucket
Good job! Your bucket is created.
**Information you'll need in step 3:**
* Your **"Bucket" name**, in this case "myacme-bucket"
* Your **"Bucket" Region**, in this case "us-west-002"
## 2. Create your Bucket credentials
Great! Now that we have a Bucket, we need to create the credentials required to access it.
- Go to the ["App Keys" page](https://secure.backblaze.com/app_keys.htm?) and click on "Add a new Application Key" button
**Fill in the form by defining:**
- Name of the Key: we like to use a reference of the Bucket we're creating the credentials for
- Allow access to Bucket(s): select your Bucket (step 1)
Leave the rest of the option empty and create your key.
You'll get a confirmation message including your **KeyID** and **applicationKey**, which is what we need to connect your storage to SimpleBackups.
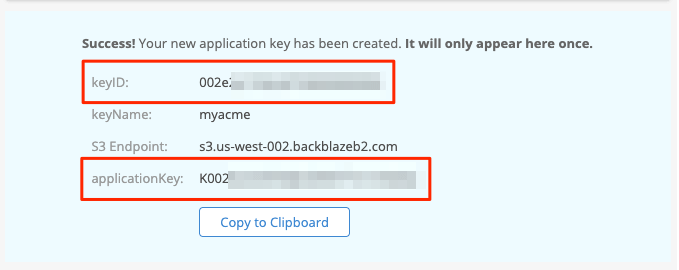
**Information you'll need in step 3:**
* **applicationKey**
* **KeyID**
## 3. Connect your Backblaze bucket to SimpleBackups
So far we have created a Bucket and have created the required credentials to get access to this it.
The only remaining step is connecting this new storage to SimpleBackups.
- Log into SimpleBackups and head to the [connect your storage](https://my.simplebackups.com/storage/create) page
- Select **"Backblaze B2"** as storage provider and fill in the "Connect your storage" form with the information from step 1 and 2.
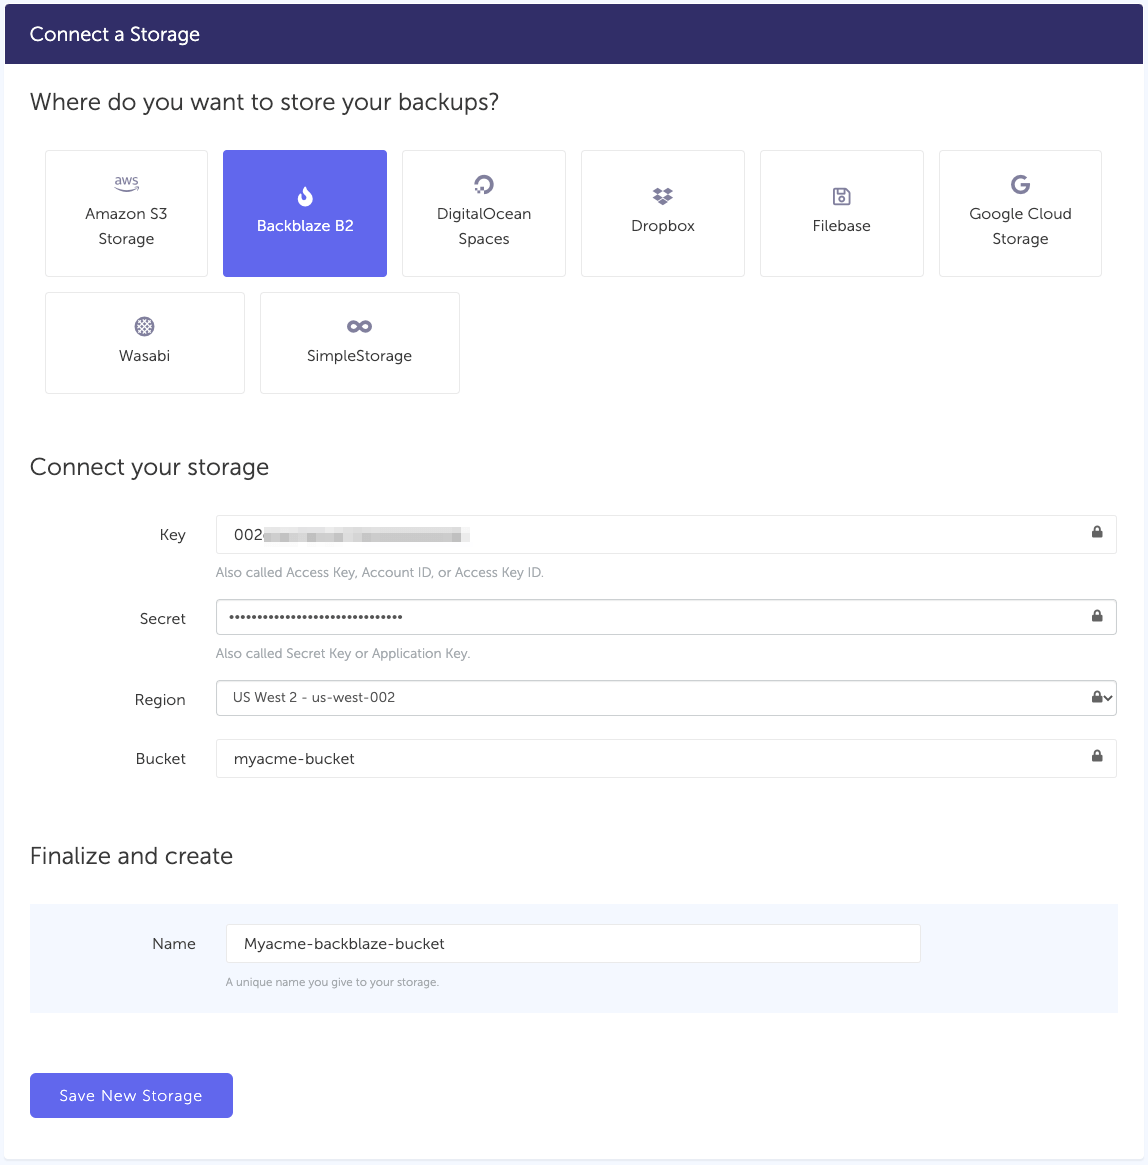
You'll have to input :
- **Key**: KeyID described in (step 2)
- **Secret**: applicationKey described in (step 2)
- **Region**: Bucket region described in (step 1)
- **Bucket**: Bucket name described in (step 1)
- Give your storage a **name** (usually we like to use the Bucket name) and click on "Save new storage".
You'll be redirected to the list of storage where you'll find your newly connected storage.

...Yes, that's all it takes !
## 4. Final step: Create your MongoDB backup
Now it's time to head to the [create backup page](https://my.simplebackups.com/backup/create).
From this screen you'll be able to configure what data you're backing up (MongoDB in this case), where you want it to be saved (in this case your Backblaze Bucket), and how often you want this to be done.
*FYI this section will be the same, no matter what storage you pick.*
*And that's the beauty of it, if you want to change storage, just select another one from the list (Backblaze, AWS, or whatever you might prefer) and you'll be good to go.*
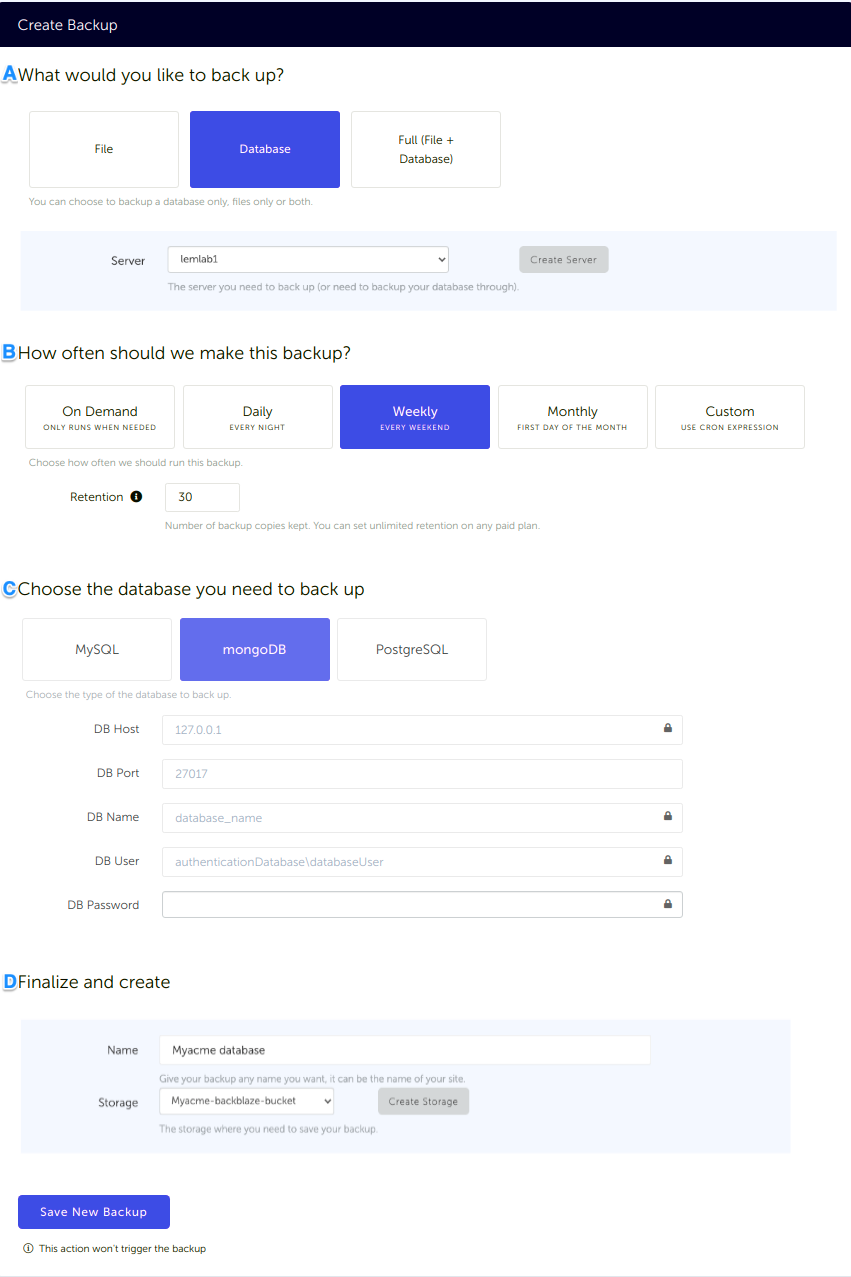
### What would you like to back up? (A)
* Select "**Database**" (in this article we're creating a MongoDB backup only)
* **Select the server** on which your database is hosted
### How often should we make this backup? (B)
* Select your **schedule** option (here we picked a daily schedule)
You can select a pre-defined schedule (daily, weekly, monthly) or a custom option allowing you to schedule it whenever you want to use CRON syntax.
* Example of CRON schedule for "20:00 every Tuesday" = `0 22 * * 2`
Finally, the "On demand" option won't schedule anything but will allow you to trigger the backup manually or using our API.
* Define the [**backup retention**,](/docs/getting-started/features/retention) which is the number of backups you want to keep (kind of the history length of your backup if you prefer)
### Choose the database you need to backup (C)
* Select the type of your database, in this case "**MongoDB**"
* Fill in the database connection form
## Finalize and create (D)
* Pick the **name of your backup** (this is how it will be displayed in SimpleBackups interface) and where you want to store it.
* Select your **Storage** (step 3)
That's it, your MongoDB backup is now ready and connected to your Backblaze bucket.
[Let us know](https://simplebackups.com/contact-us/) how long it took you to get your backup fully configured (current record is 4 minutes) :-)
Run it once manually (using the "Run" backup button from the backups list) and you'll trigger your first backup!
---
# How to backup MongoDB to DigitalOcean Spaces
Source: https://simplebackups.com/blog/how-to-backup-mongodb-to-digitalocean
Published: 2020-06-26
Summary: How to automate MongoDB backups and store them on DigitalOcean Spaces bucket. Tutorial for SimpleBackups and DigitalOcean Spaces.
> Automate MongoDB database backup directly to your DigitalOcean Spaces.
In this article, we will find out how to **configure your MongoDB backup and store it on DigitalOcean Spaces.**
## Prerequisites
- Create a **[SimpleBackups account](https://my.simplebackups.com/register)**
- Make sure you have your server connected to your account (the one on which your MongoDB database is hosted)
- Have a **DigitalOcean account** (I'll show you how to create your DigitalOcean Space below
## 1. Create your DigitalOcean Spaces
- [Sign in your DigitalOcean account](https://cloud.digitalocean.com/login)
- [Create a new "Spaces"](https://cloud.digitalocean.com/spaces/new) using the create menu at the top right
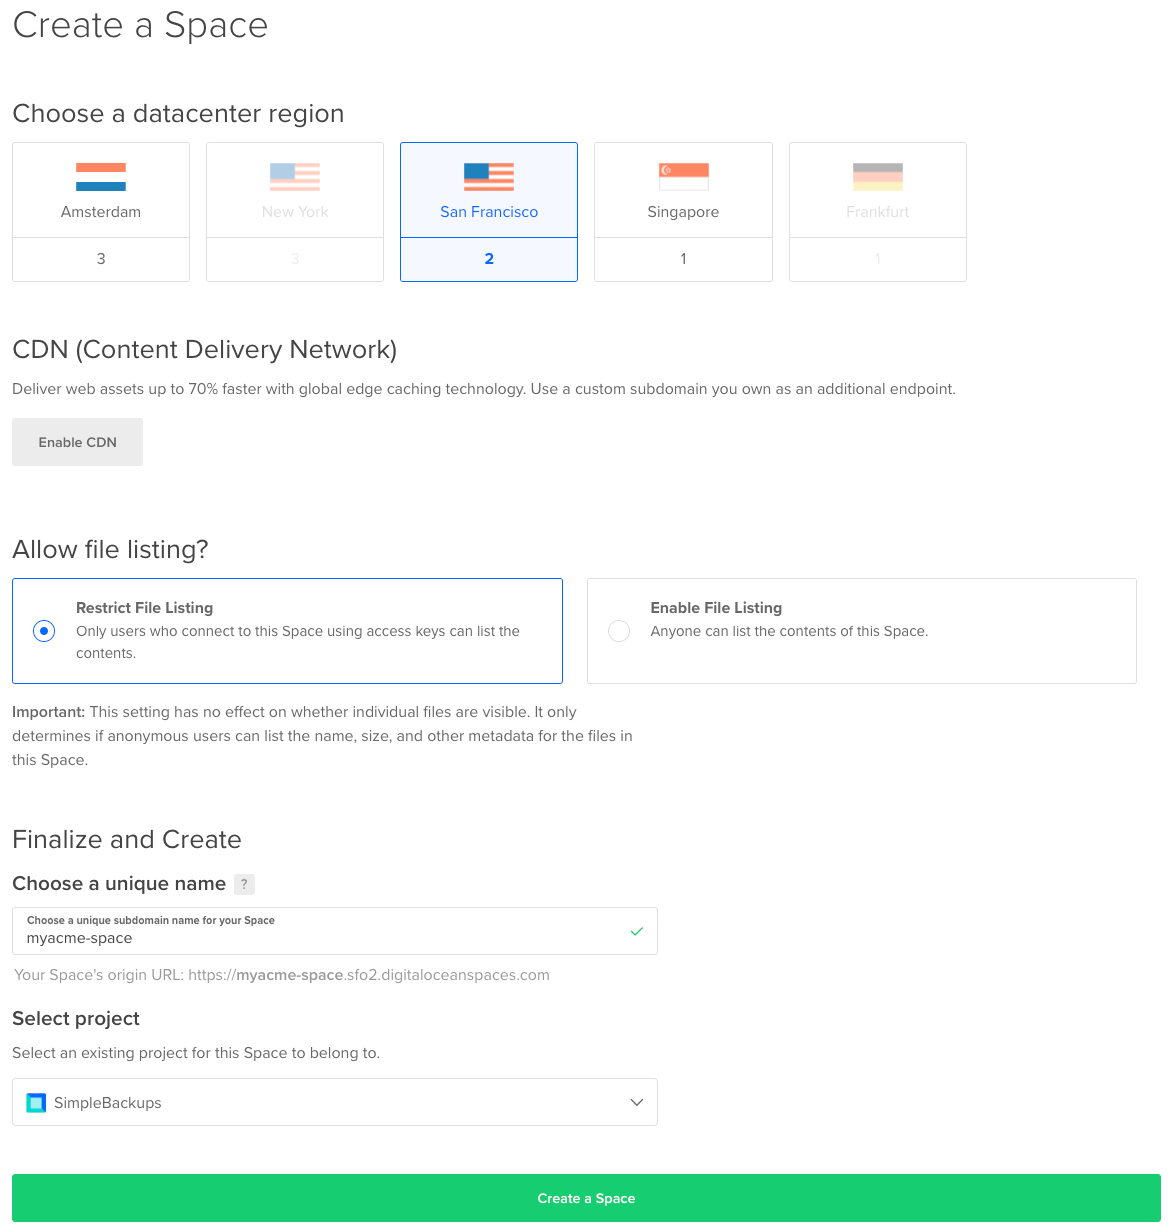
- Fill in the "Create Spaces" form
- Pick the region you need (think about GDPR rules, if you're an EU company)
- Select "Restrict File Listing"
- Pick a name you like and link it to your DigitalOcean project (doesn't really affect us)
That's it! Your DigitalOcean Spaces is now created.

*Don't leave the DigitalOcean interface, we'll now have to create your credentials.*
**Information you'll need in step 3:**
- Your **"Spaces" name**, in this case "myacme-space"
- Your **"Spaces" Region**, in this case "San Francisco 2", which you can also see in your DO Space url
## 2. Create your DigitalOcean Credentials
Getting your DigitalOcean Spaces setup, was easy, ... and so will be getting your credentials!
We've covered how to get this done in a [how to create a DigitalOcean Spaces credentials](/docs/storage-providers/wasabi).
Follow this simple article and you'll get the access created in ... less than 2 minutes.
**Information you'll need in step 3:**
- **Key**
- **Secret**
## 3. Connect your Space to SimpleBackups
- Log into SimpleBackups and head to the [connect your storage](https://my.simplebackups.com/storage/create) page
- Pick **"DigitalOcean Spaces"** as storage provider and fill in the "Connect your storage" form with the information from step 1 and 2.
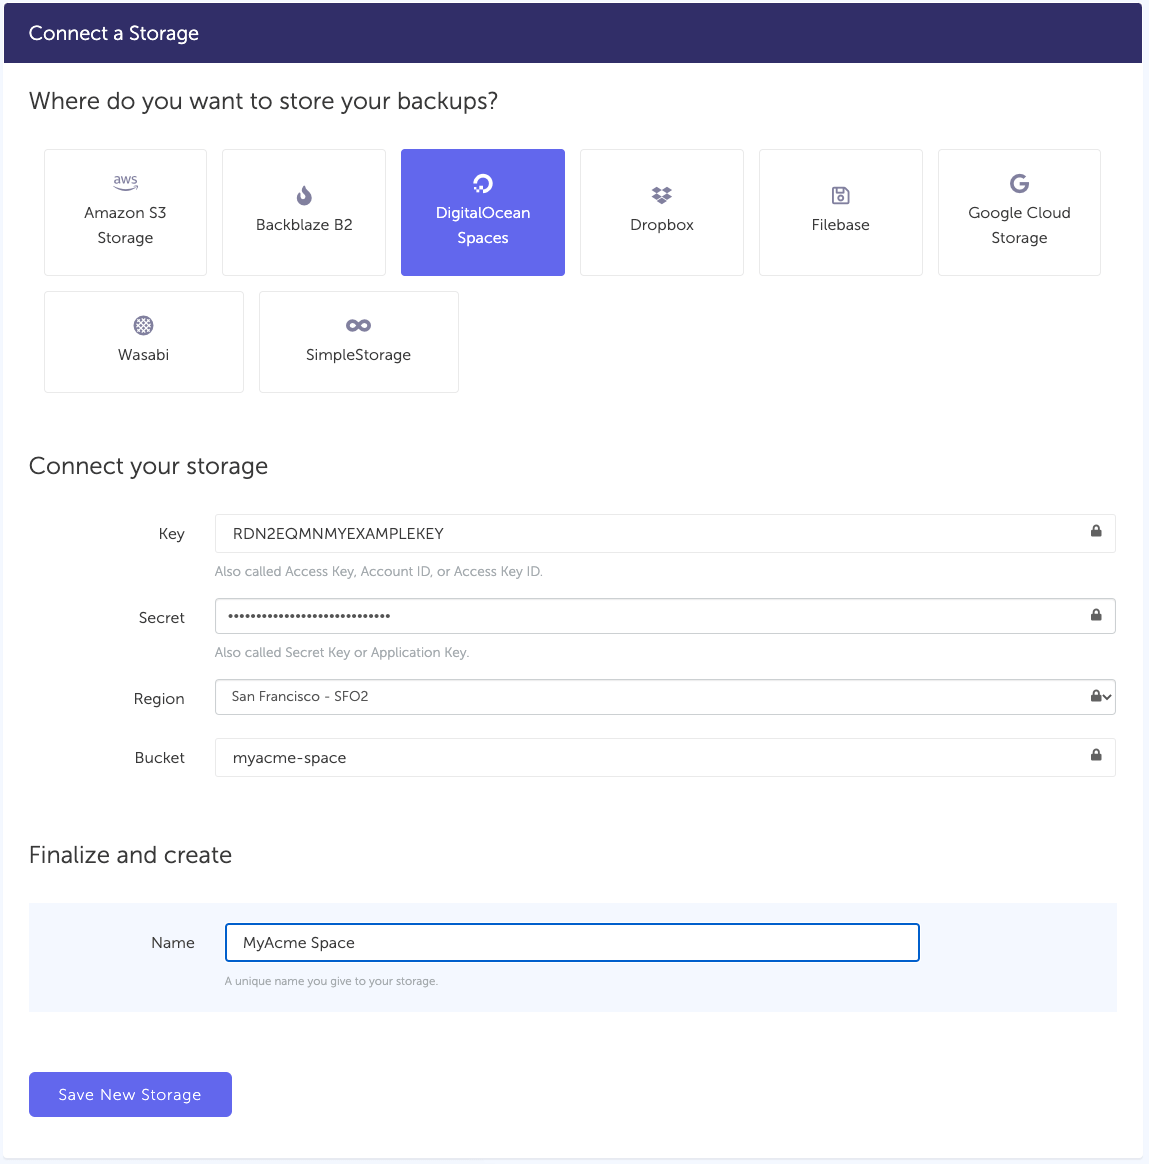
You'll have to input :
- **Key**: Key described in (step 2)
- **Secret**: Secret described in (step 2)
- **Region**: Spaces region described in (step 1)
- **Bucket**: Spaces name described in (step 1)
- Give your storage a **name** (usually we like to use the Spaces name) and click on "Save new storage".
You'll be redirected to the list of storage where you'll find your newly connected storage.

## 4. Final step: Create your MongoDB backup
Now it's time to head to the [create backup page](https://my.simplebackups.com/backup/create).
From this screen you'll be able to configure what data you're backing up (MongoDB in this case), where you want it to be saved (in this case your DigitalOcean Bucket), and how often you want this to be done.
*FYI this section will be the same, no matter what storage you pick.*
*And that's the beauty of it, if you want to change storage, just select another one from the list (DigitalOcean, AWS, or whatever you might prefer) and you'll be good to go.*
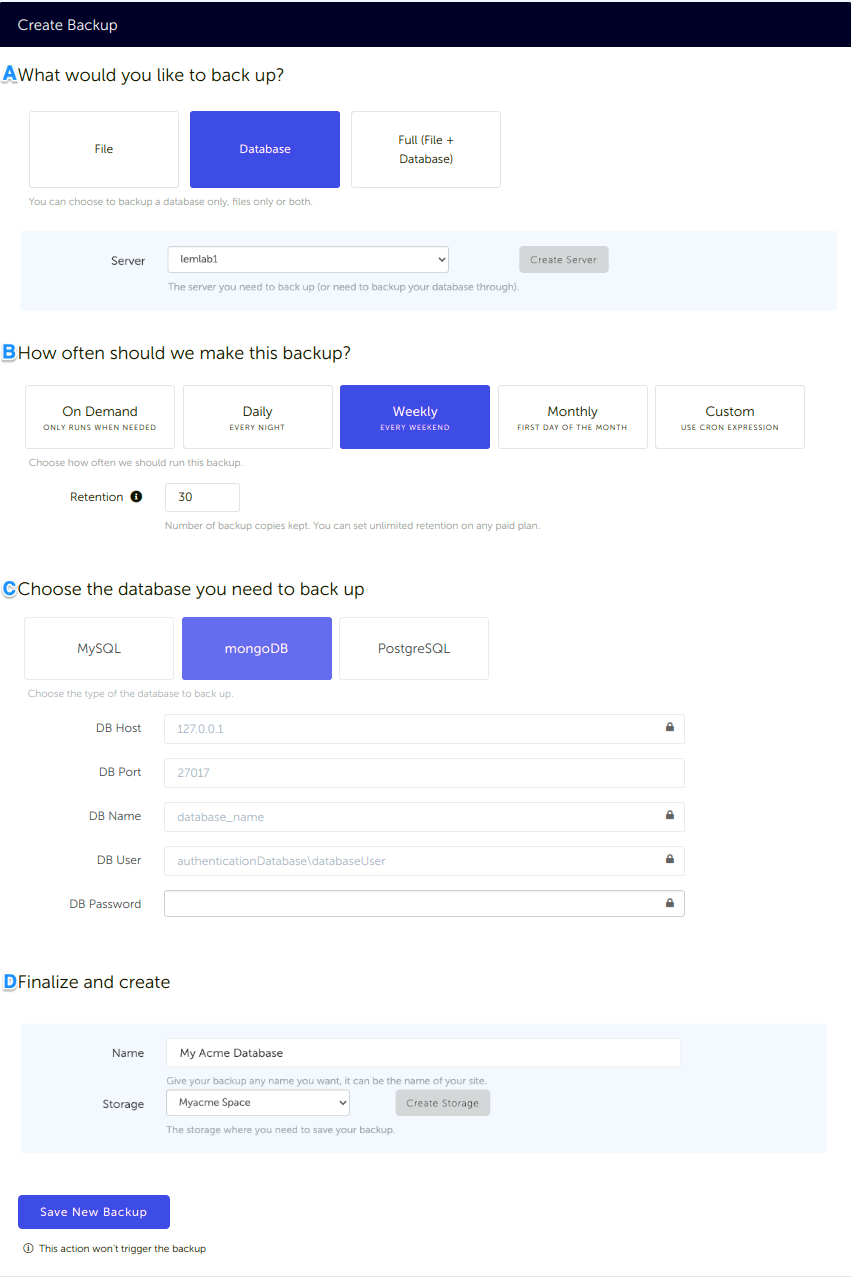
### What would you like to back up? (A)
* Select "**Database**" (in this article we're creating a MongoDB backup only)
* **Select the server** on which your database is hosted
### How often should we make this backup? (B)
* Select your **schedule** option (here we picked a daily schedule)
You can select a pre-defined schedule (daily, weekly, monthly) or a custom option allowing you to schedule it whenever you want to use CRON syntax.
* Example of CRON schedule for "20:00 every Tuesday" = `0 22 * * 2`
Finally, the "On demand" option won't schedule anything but will allow you to trigger the backup manually or using our API.
* Define the [**backup retention**,](/docs/getting-started/features/retention) which is the number of backups you want to keep (kind of the history length of your backup if you prefer)
### Choose the database you need to backup (C)
* Select the type of your database, in this case "**MongoDB**"
* Fill in the database connection form
## Finalize and create (D)
* Pick the **name of your backup** (this is how it will be displayed in SimpleBackups interface) and where you want to store it.
* Select your **Storage** (step 3)
Congratulations, you now have your MongoDB database, backed up on DigitalOcean Spaces.
*Run it once manually (using the "Run" backup button from the backups list) and you'll trigger your first backup!*
---
# How to backup MongoDB to Dropbox
Source: https://simplebackups.com/blog/how-to-backup-mongodb-to-dropbox
Published: 2020-06-26
Summary: How to automate MongoDB backups and store them on Dropbox account. Tutorial for SimpleBackups and Dropbox.
> MongoDB database backup stored in your Dropbox account.
Let's see how we can easily schedule **MongoDB backups** and store them on **Dropbox**.
Dropbox lets anyone upload and transfer files to the cloud, and share them with anyone. Back up photos, videos, docs, and other files to cloud storage, and access files synced with any of your computers or mobile devices—from anywhere.
## Prerequisites
* Create a **[SimpleBackups account](https://my.simplebackups.com/register)**
* Make sure you have your (the one on which your MongoDB database is hosted)
* Have a **Dropbox account**
## 1. Connect your Dropbox Account to SimpleBackups
* Log into SimpleBackups and head to the [Connect a Storage](https://my.simplebackups.com/storage/create) page
* In the storage provider list select **"Dropbox"**, and click on the **Connect Dropbox** button.
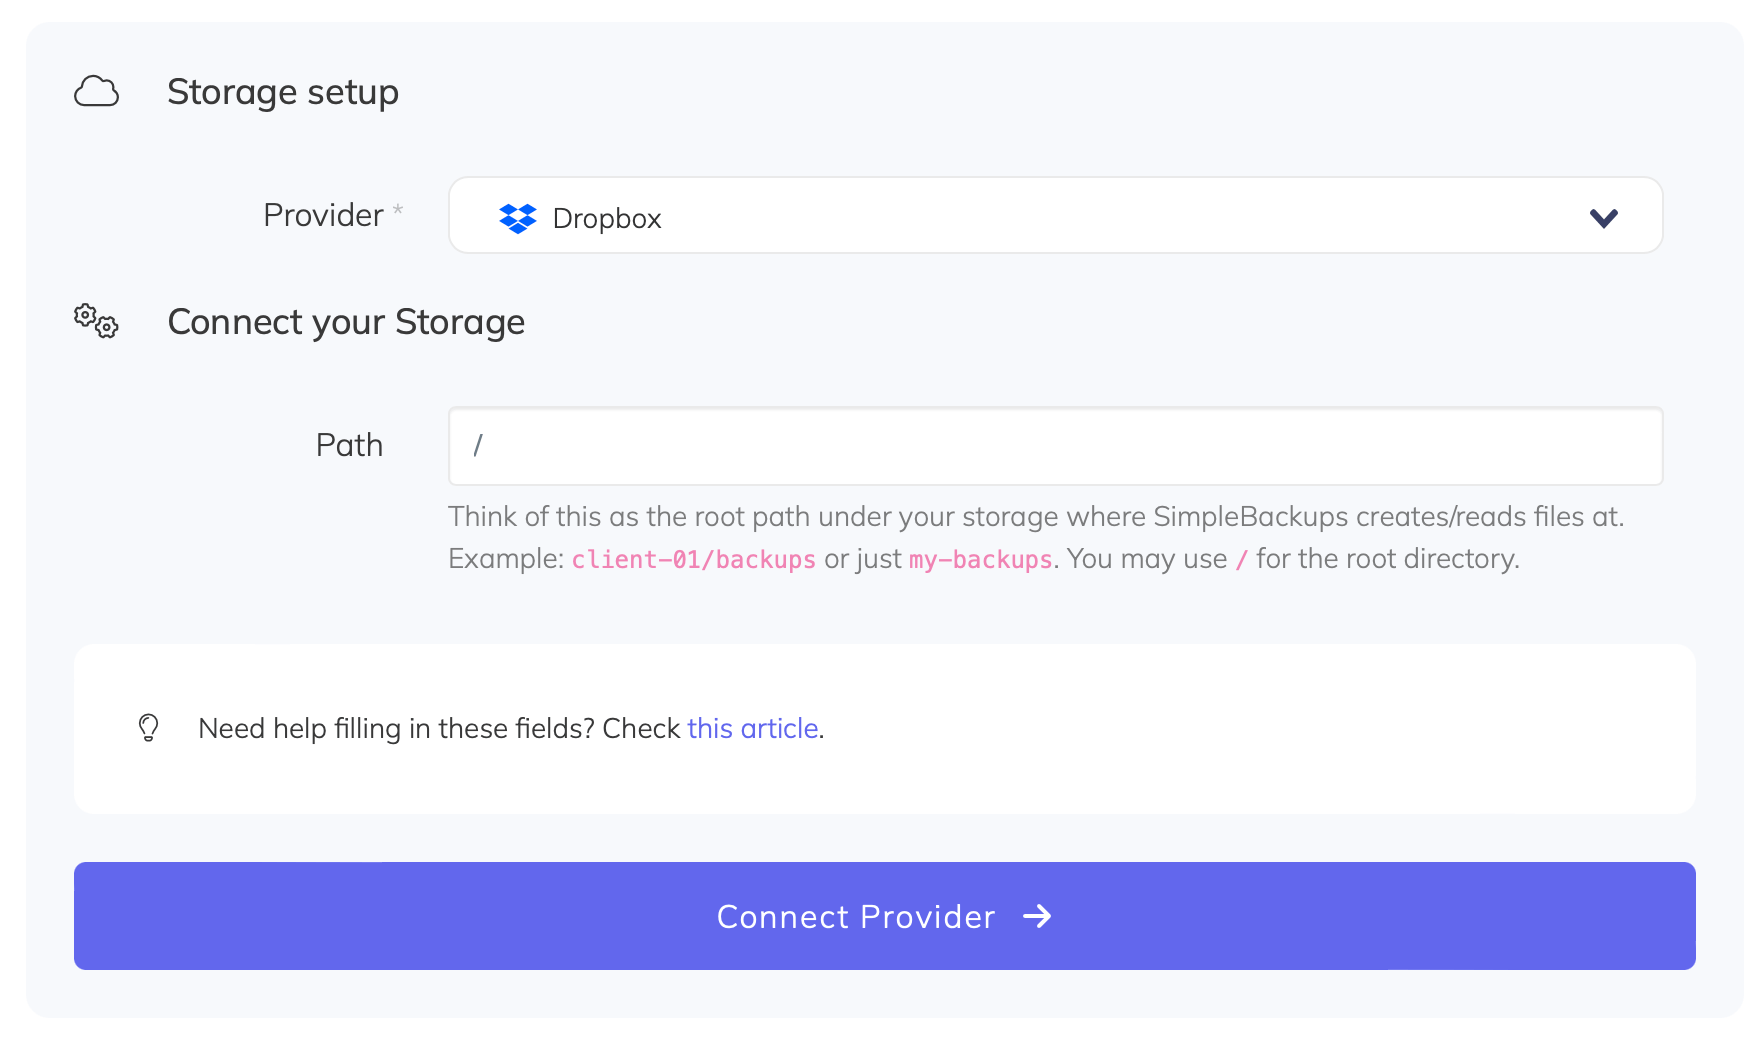
You'll then be redirected to a Dropbox page asking you to grant access to your storage and create a folder named **Apps > SimpleBackus.io**. Sign in and hit Allow.
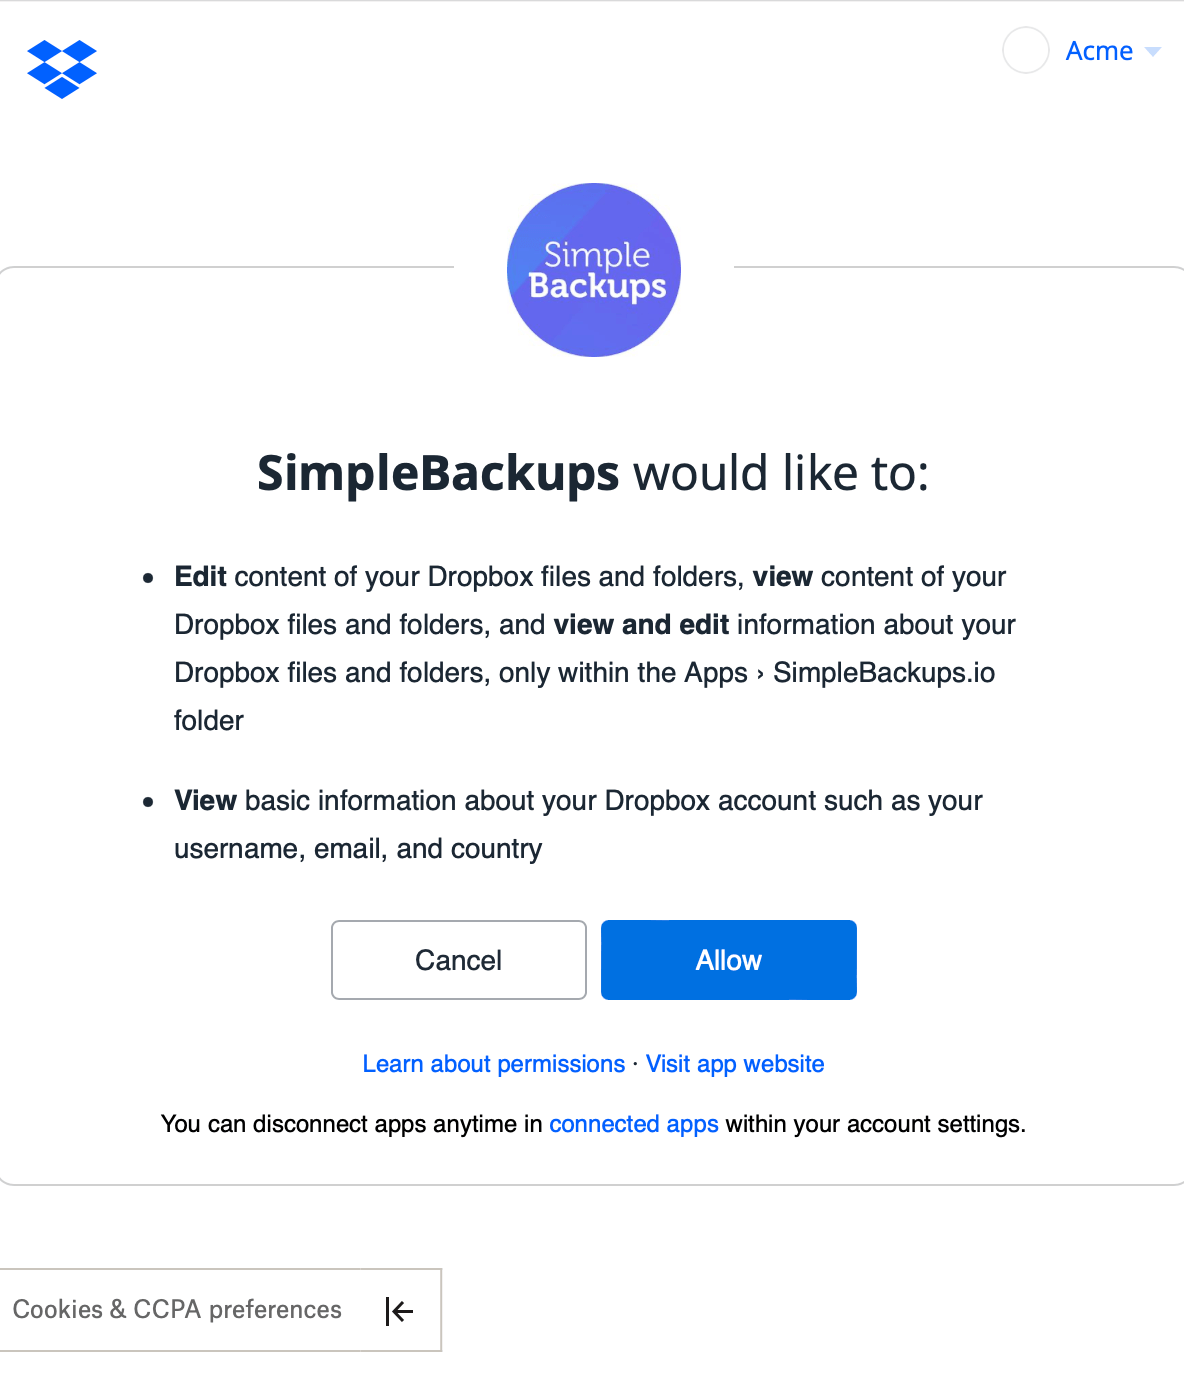
And your storage is now connected!
## 2. Final step: Create your MongoDB backup
Last step is obviously to [schedule your backup](https://my.simplebackups.com/backup/create).
From this screen you'll be able to configure what data you're backing up (MongoDB in this case), where you want it to be saved (in this case your Dropbox storage), and how often you want this to be done.
*FYI this section will be the same, no matter what storage you pick.*
*And that's the beauty of it, if you want to change storage, just select another one from the list (Backblaze, AWS, or whatever you might prefer) and you'll be good to go.*
### What would you like to back up? (A)
* Select "**Database**" (in this article we're creating a MongoDB backup only)
* **Select the server** on which your database is hosted
### How often should we make this backup? (B)
* Select your **schedule** option (here we picked a daily schedule)
You can select a pre-defined schedule (daily, weekly, monthly) or a custom option allowing you to schedule it whenever you want to use CRON syntax.
* Example of CRON schedule for "20:00 every Tuesday" = `0 22 * * 2`
Finally, the "On demand" option won't schedule anything but will allow you to trigger the backup manually or using our API.
* Define the [**backup retention**,](/docs/getting-started/features/retention) which is the number of backups you want to keep (kind of the history length of your backup if you prefer)
### Choose the database you need to backup (C)
* Select the type of your database, in this case "**MongoDB**"
* Fill in the database connection form
## Finalize and create
* Pick the **name of your backup** (this is how it will be displayed in SimpleBackups interface) and where you want to store it.
* Select your **Storage** (step 3)
That's it, your MongoDB backup is now ready and connected to your Dropbox account.
Run it once manually (using the "Run" backup button from the backups list) and you'll trigger your first backup!
---
# How to backup MongoDB to Filebase
Source: https://simplebackups.com/blog/how-to-backup-mongodb-to-filebase
Published: 2020-06-26
Summary: How to automate MongoDB backups and store them on Filebase bucket. Tutorial for SimpleBackups and Filebase.
> MongoDB database backup stored in your Filebase Bucket.
Let's see how we can easily schedule **MongoDB backups** and store them on **Filebase**.
Filebase is a S3-compatible solution powered by Blockchain technology, offering storage at a very affordable price.
It leverages multiple decentralized cloud storage networks, consisting of thousands of servers all around the world.
With 5GB of free storage, no fees for ingress or API calls, it's a perfect pick for your backup storage.
## Prerequisites
* Create a **[SimpleBackups account](https://my.simplebackups.com/register)**
* Make sure you have your **server connected to your account** (the one on which your MongoDB database is hosted)
* Have a **Filebase account** (we'll cover how to get your bucket created below)
## 1. Create your Filebase Bucket
* [**Sign in** to your Filebase account: https://console.filebase.com/users/sign_in
* Once logged in, click on **"Create bucket"**
* Define a **name for your bucket**

**Information you'll need in step 3:**
* Your **"Bucket" name**, in this case "myacme-bucket"
* Your **"Bucket" Region**, in this case "us-east-1"
## 2. Retrieve your Bucket credentials
Now that your bucket is created, we'll need to get the credentials required to access it.
Like everything with Filebase (and we like this!) it's super easy.
* Simply go to your Settings: https://console.filebase.com/users/edit and copy your **Access Key** and **Secret**.
**Information you'll need in step 3:**
* **Access Key**
* **Secret**
## 3. Connect your Space to SimpleBackups
* Log into SimpleBackups and head to the [connect your storage](https://my.simplebackups.com/storage/create) page
* In the storage provider list select **"Filebase"**, and fill in the form with the information from step 1 and step 2

You'll have to input :
* **Key**: Access Key described in (step 2)
* **Secret**: Secret described in (step 2)
* **Region**: Region described in (step 1)
* **Bucket**: Bucket name described in (step 1)
* Give your storage a **name** (the bucket name is usually a good pick, but you can be creative) and click on "Save new storage".
And your storage is now connected!

## 4. Final step: Create your MongoDB backup
Last step is obviously to [schedule your backup](https://my.simplebackups.com/backup/create).
From this screen you'll be able to configure what data you're backing up (MongoDB in this case), where you want it to be saved (in this case your Filebase Bucket), and how often you want this to be done.
*FYI this section will be the same, no matter what storage you pick.*
*And that's the beauty of it, if you want to change storage, just select another one from the list (Backblaze, AWS, or whatever you might prefer) and you'll be good to go.*
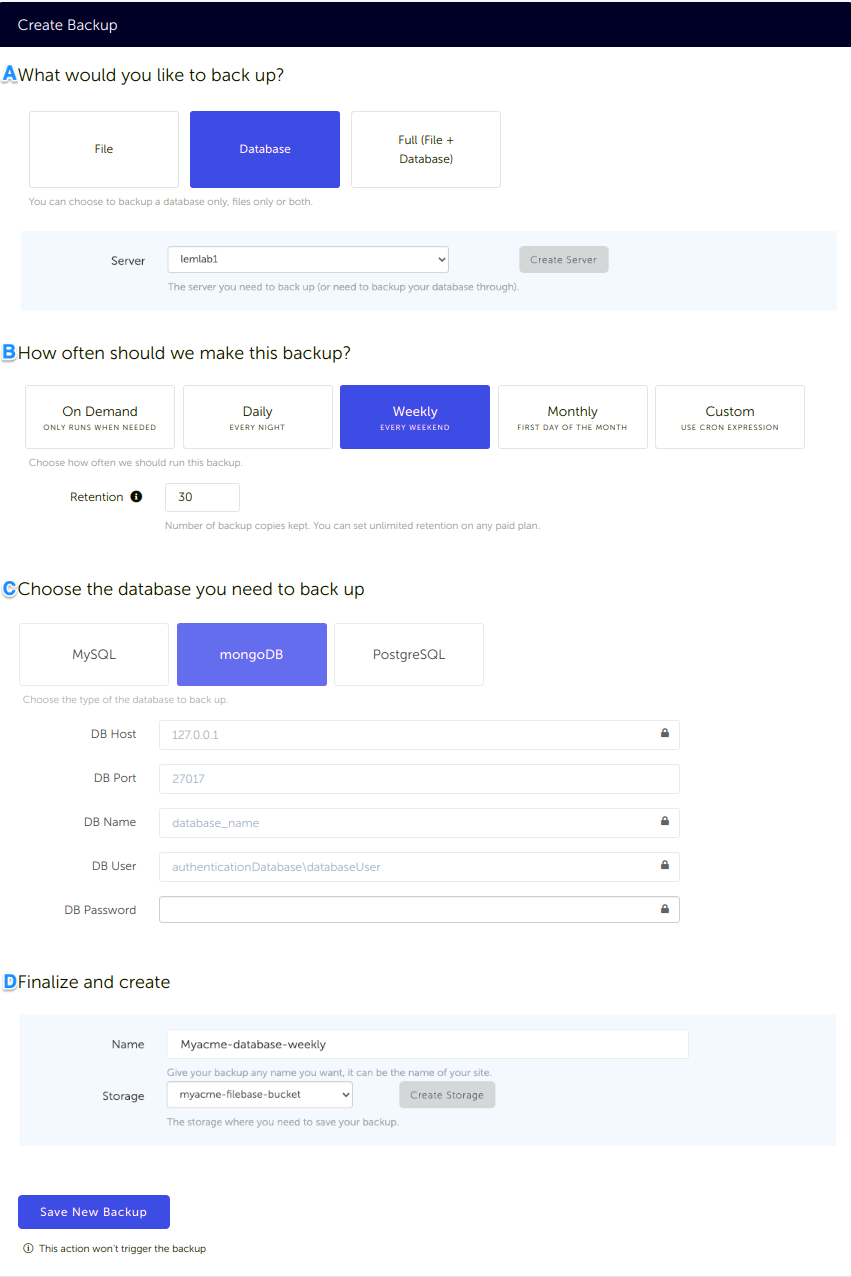
### What would you like to back up? (A)
* Select "**Database**" (in this article we're creating a MongoDB backup only)
* **Select the server** on which your database is hosted
### How often should we make this backup? (B)
* Select your **schedule** option (here we picked a daily schedule)
You can select a pre-defined schedule (daily, weekly, monthly) or a custom option allowing you to schedule it whenever you want to use CRON syntax.
* Example of CRON schedule for "20:00 every Tuesday" = `0 22 * * 2`
Finally, the "On demand" option won't schedule anything but will allow you to trigger the backup manually or using our API.
* Define the [**backup retention**,](/docs/getting-started/features/retention) which is the number of backups you want to keep (kind of the history length of your backup if you prefer)
### Choose the database you need to backup (C)
* Select the type of your database, in this case "**MongoDB**"
* Fill in the database connection form
## Finalize and create (D)
* Pick the **name of your backup** (this is how it will be displayed in SimpleBackups interface) and where you want to store it.
* Select your **Storage** (step 3)
That's it, your MongoDB backup is now ready and connected to your Filebase Bucket.
Run it once manually (using the "Run" backup button from the backups list) and you'll trigger your first backup!
---
# How to backup MongoDB to Google Cloud Storage
Source: https://simplebackups.com/blog/how-to-backup-mongodb-to-google-cloud-storage-gcs
Published: 2020-06-26
Summary: How to automate MongoDB backups and store them on Google Cloud Storage bucket. Tutorial for SimpleBackups and Google Cloud Storage.
> MongoDB database backup stored in your Google Cloud Storage Bucket.
Let's see how we can schedule **MongoDB backups** and store them on your **Google Cloud Storage** bucket.
Google Cloud Storage is a RESTful online file storage web service for storing and accessing data on Google Cloud Platform infrastructure. The service combines the performance and scalability of Google's cloud with advanced security and sharing capabilities. It is an Infrastructure as a Service (IaaS), comparable to Amazon S3 online storage service.simplebackups_filebase_connect-storage.png
## Prerequisites
* Create a **[SimpleBackups account](https://my.simplebackups.com/register)**
* Make sure you have your server connected to your account (the one on which your MongoDB database is hosted)
* Have a **Google account** and make sure that billing is enabled for your Google Cloud Project (we'll cover how to get your bucket created below)
## 1. Create your Google Cloud Storage Bucket
* Sign in to your [Google Cloud Console](https://console.cloud.google.com), and then [select an existing Google Cloud project](https://console.cloud.google.com/projectselector2) or [create a new one](https://console.cloud.google.com/projectcreate)
* Open the [Cloud Storage browser](https://console.cloud.google.com/storage/browser) in the Google Cloud Console
* Click on **"Create bucket"** to open the bucket creation form. First define a globally unique permanent **name for your bucket**, and then click Continue.

* And the select the region for your bucket

* Click Create. Your new bucket will be created.
**Information you'll need in step 3:**
* Your **"Bucket" name**
* Your **"Bucket" Region**
## 2. Retrieve your Bucket credentials
In order to give access to your newly created bucket, you'll need to create a service account key that gives read/write or read-only access to your bucket.
**Information you'll need in step 3:**
* **Service Account Key**
## 3. Connect your Bucket to SimpleBackups
* Log into SimpleBackups and head to the [connect your storage](https://my.simplebackups.com/storage/create) page
* In the storage provider list select **"Google Cloud Storage"**, and fill in the form with the information from step 1 and step 2

You'll have to input :
* **Service Account Key**: Service Account Key described in (step 2)
* **Region**: Bucket Region described in (step 1)
* **Bucket**: Bucket name described in (step 1)
* Give your storage a **name** (the bucket name is usually a good pick, but you can be creative) and click on "Save New storage".
## 4. Final step: Create your MongoDB backup
Last step is obviously to [schedule your backup](https://my.simplebackups.com/backup/create).
From this screen you'll be able to configure what data you're backing up (MongoDB in this case), where you want it to be saved (in this case your Google Cloud Storage Bucket), and how often you want this to be done.
*FYI this section will be the same, no matter what storage you pick.*
*And that's the beauty of it, if you want to change storage, just select another one from the list (Backblaze, AWS, or whatever you might prefer) and you'll be good to go.*
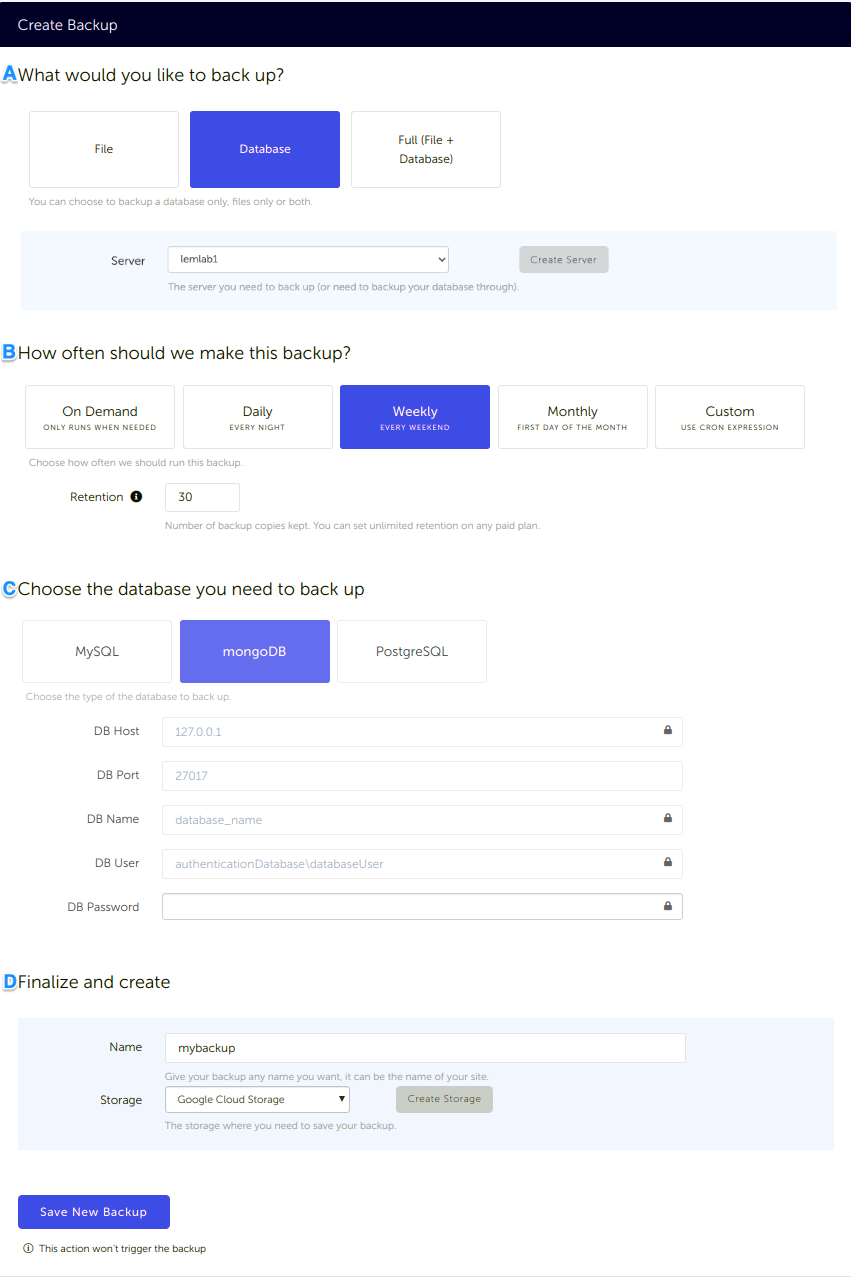
### What would you like to back up? (A)
* Select "**Database**" (in this article we're creating a MongoDB backup only)
* **Select the server** on which your database is hosted
### How often should we make this backup? (B)
* Select your **schedule** option (here we picked a daily schedule)
You can select a pre-defined schedule (daily, weekly, monthly) or a custom option allowing you to schedule it whenever you want to use CRON syntax.
* Example of CRON schedule for "20:00 every Tuesday" = `0 22 * * 2`
Finally, the "On demand" option won't schedule anything but will allow you to trigger the backup manually or using our API.
* Define the [**backup retention**,](/docs/getting-started/features/retention) which is the number of backups you want to keep (kind of the history length of your backup if you prefer)
### Choose the database you need to back up (C)
* Select the type of your database, in this case "**MongoDB**"
* Fill in the database connection form
## Finalize and create (D)
* Pick the **name of your backup** (this is how it will be displayed in SimpleBackups interface) and where you want to store it.
* Select your **Storage** (step 3)
That's it, your MongoDB backup is now ready and connected to your Google Cloud Storage Bucket.
Run it once manually (using the "Run" backup button from the backups list) and you'll trigger your first backup!
---
# How to backup MongoDB to AWS S3
Source: https://simplebackups.com/blog/how-to-backup-mongodb-to-s3
Published: 2020-06-26
Summary: How to automate MongoDB backups and store them on AWS S3 bucket. Tutorial for SimpleBackups and AWS S3.
> Automate MongoDB database backup directly to your AWS S3 storage.
With SimpleBackups, you can **backup MongoDB database** to any cloud storage provider.
In this article, I'll go through the entire process of **setting up your backup and store it on AWS S3** specifically.
## Prerequisites
* Create a **[SimpleBackups account](https://my.simplebackups.com/register)**
* Make sure you have your server connected to your account (the one on which your MongoDB database is hosted)
* Have a **AWS S3 account** (it can be empty, we'll cover how to get your S3 bucket created below)
## 1. Create your AWS S3 Bucket
* **Sign in** to your [AWS Management Console](https://console.aws.amazon.com)
* Go to your [AWS S3 bucket list](https://s3.console.aws.amazon.com/s3/) and create a new bucket

Keep default options for (2) Configure options, (3) Set Permission, review and create your bucket.
**Information you'll need in step 3:**
* Your **"Bucket" name**, in this case "myacme-backups"
* Your **"Bucket" Region**, in this case "US West - N. California"

## 2. Create your AWS credentials
In order to give access to your newly created bucket, you'll need to provide credentials to SimpleBackups. Follow this simple article on how to get your [AWS S3 Credentials](/docs/storage-providers/aws-s3).
**Information you'll need in step 3:**
* **Access Key**
* **Secret**
## 3. Connect your S3 bucket to SimpleBackups
* Log into SimpleBackups and head to the [connect your storage](https://my.simplebackups.com/storage/create) page
* In the storage provider list select **"Amazon S3 Storage"**, and fill in the form with your AWS credentials and newly created bucket information

You'll have to input :
* **Key**: Access Key described in (step 2)
* **Secret**: Secret described in (step 2)
* **Region**: Bucket Region described in (step 1)
* **Bucket**: Bucket name described in (step 1)
* Give your storage a **name** (the bucket name is usually a good pick, but you can be creative) and click on "Save new storage".
You'll be redirected to the list of storage where you'll find your newly connected storage.

## 4. Final step: Create your MongoDB backup
Now it's time to head to the [create backup page](https://my.simplebackups.com/backup/create).
From this screen you'll be able to configure what data you're backing up (MongoDB in this case), where you want it to be saved (in this case your AWS S3 Bucket), and how often you want this to be done.
*FYI this section will be the same, no matter what storage you pick.*
*And that's the beauty of it, if you want to change storage, just select another one from the list (Backblaze, AWS, or whatever you might prefer) and you'll be good to go.*
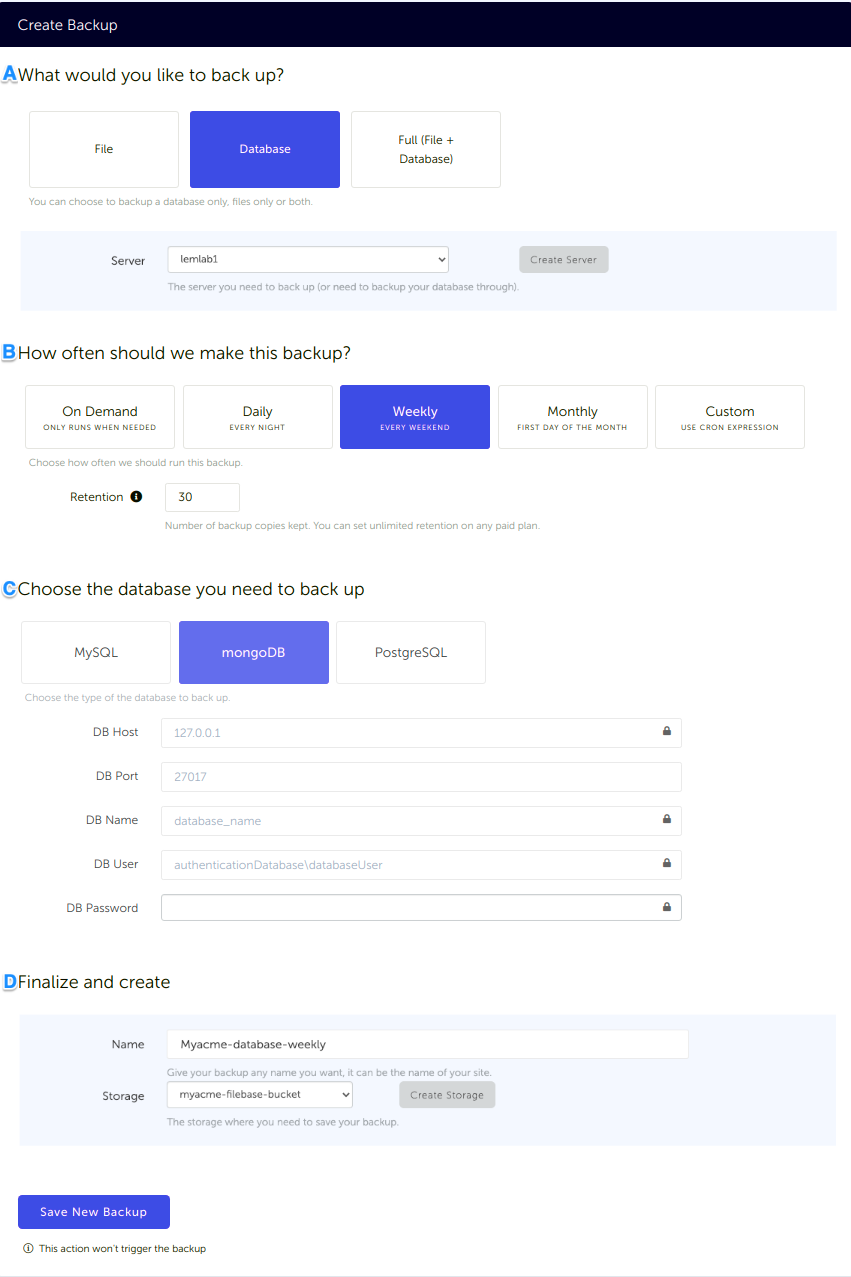
### What would you like to back up? (A)
* Select "**Database**" (in this article we're creating a MongoDB backup only)
* **Select the server** on which your database is hosted
### How often should we make this backup? (B)
* Select your **schedule** option (here we picked a daily schedule)
You can select a pre-defined schedule (daily, weekly, monthly) or a custom option allowing you to schedule it whenever you want to use CRON syntax.
* Example of CRON schedule for "20:00 every Tuesday" = `0 22 * * 2`
Finally, the "On demand" option won't schedule anything but will allow you to trigger the backup manually or using our API.
* Define the [**backup retention**,](/docs/getting-started/features/retention) which is the number of backups you want to keep (kind of the history length of your backup if you prefer)
### Choose the database you need to backup (C)
* Select the type of your database, in this case "**MongoDB**"
* Fill in the database connection form
## Finalize and create (D)
* Pick the **name of your backup** (this is how it will be displayed in SimpleBackups interface) and where you want to store it.
* Select your **Storage** (step 3)
That's it, your MongoDB backup is now ready. Run it once manually (using the "Run" backup button from the backups list) and you'll trigger your first backup!
---
# How to backup MongoDB to SimpleStorage
Source: https://simplebackups.com/blog/how-to-backup-mongodb-to-simplestorage
Published: 2020-06-26
Summary: How to automate MongoDB backups and store them on SimpleStorage account. Tutorial for SimpleBackups and SimpleStorage.
> MongoDB database backup stored in your SimpleStorage account.
Let's see how we can easily schedule **MongoDB backups** and store them on **SimpleStorage**.
SimpleStorage is our built-in backup storage solution included in all our paid plan. SimpleStorage leverage AWS S3 behind the scene, so your data will be hosted on Amazon data centers (you have the choice between the US and Europe for where to store your backups).
## Prerequisites
* Create a **[SimpleBackups account](https://my.simplebackups.com/register)** and choose one of our paid plan.
* Make sure you have your server connected to your account (the one on which your MongoDB database is hosted)
## Create your MongoDB backup
First step is to [schedule your backup](https://my.simplebackups.com/backup/create).
From this screen you'll be able to configure what data you're backing up (MongoDB in this case), where you want it to be saved (in this case your SimpleStorage storage), and how often you want this to be done.
*FYI this section will be the same, no matter what storage you pick.*
*And that's the beauty of it, if you want to change storage, just select another one from the list (Backblaze, AWS, or whatever you might prefer) and you'll be good to go.*
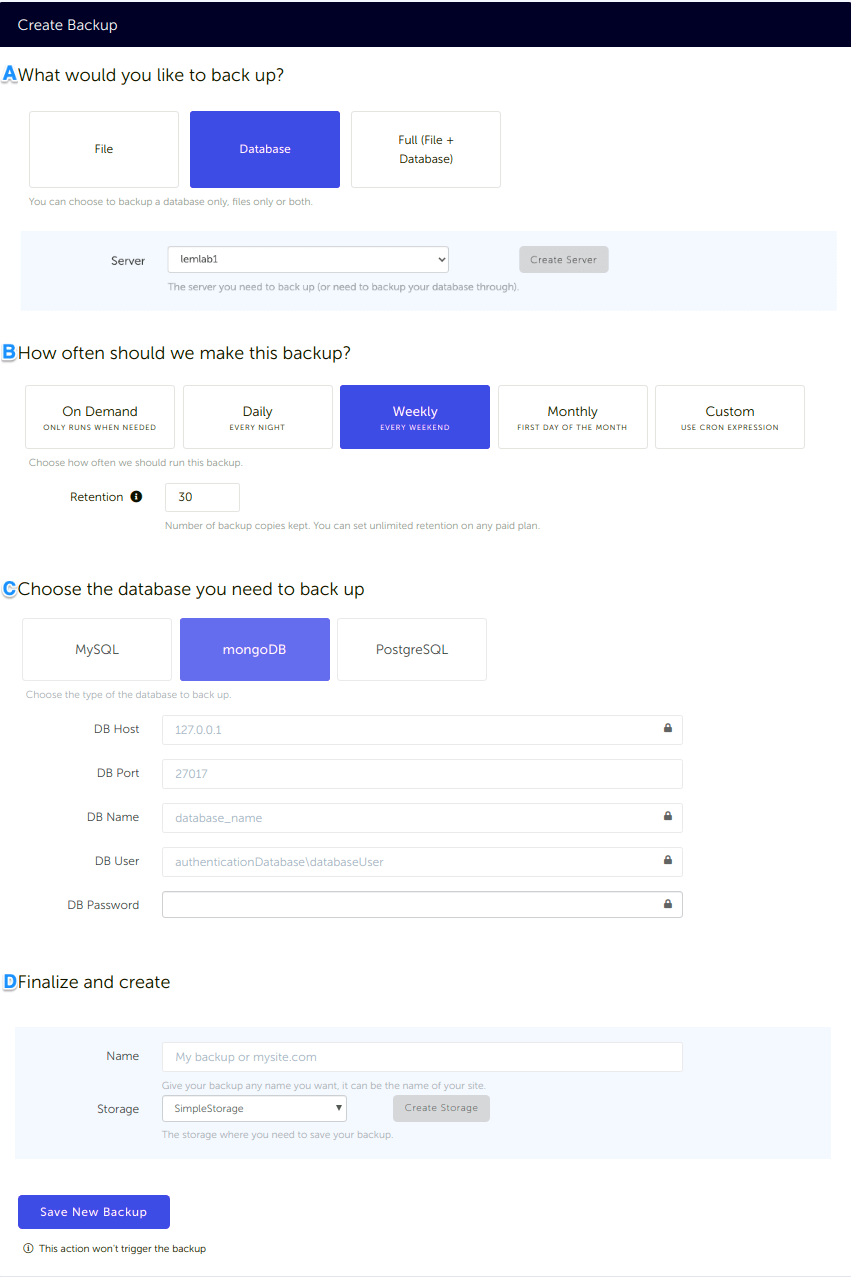
### What would you like to back up? (A)
* Select "**Database**" (in this article we're creating a MongoDB backup only)
* **Select the server** on which your database is hosted
### How often should we make this backup? (B)
* Select your **schedule** option (here we picked a daily schedule)
You can select a pre-defined schedule (daily, weekly, monthly) or a custom option allowing you to schedule it whenever you want to use CRON syntax.
* Example of CRON schedule for "20:00 every Tuesday" = `0 22 * * 2`
Finally, the "On demand" option won't schedule anything but will allow you to trigger the backup manually or using our API.
* Define the [**backup retention**,](/docs/getting-started/features/retention) which is the number of backups you want to keep (kind of the history length of your backup if you prefer)
### Choose the database you need to back up (C)
* Select the type of your database, in this case "**MongoDB**"
* Fill in the database connection form
## Finalize and create (D)
* Pick the **name of your backup** (this is how it will be displayed in SimpleBackups interface) and where you want to store it.
* Select your **Storage**
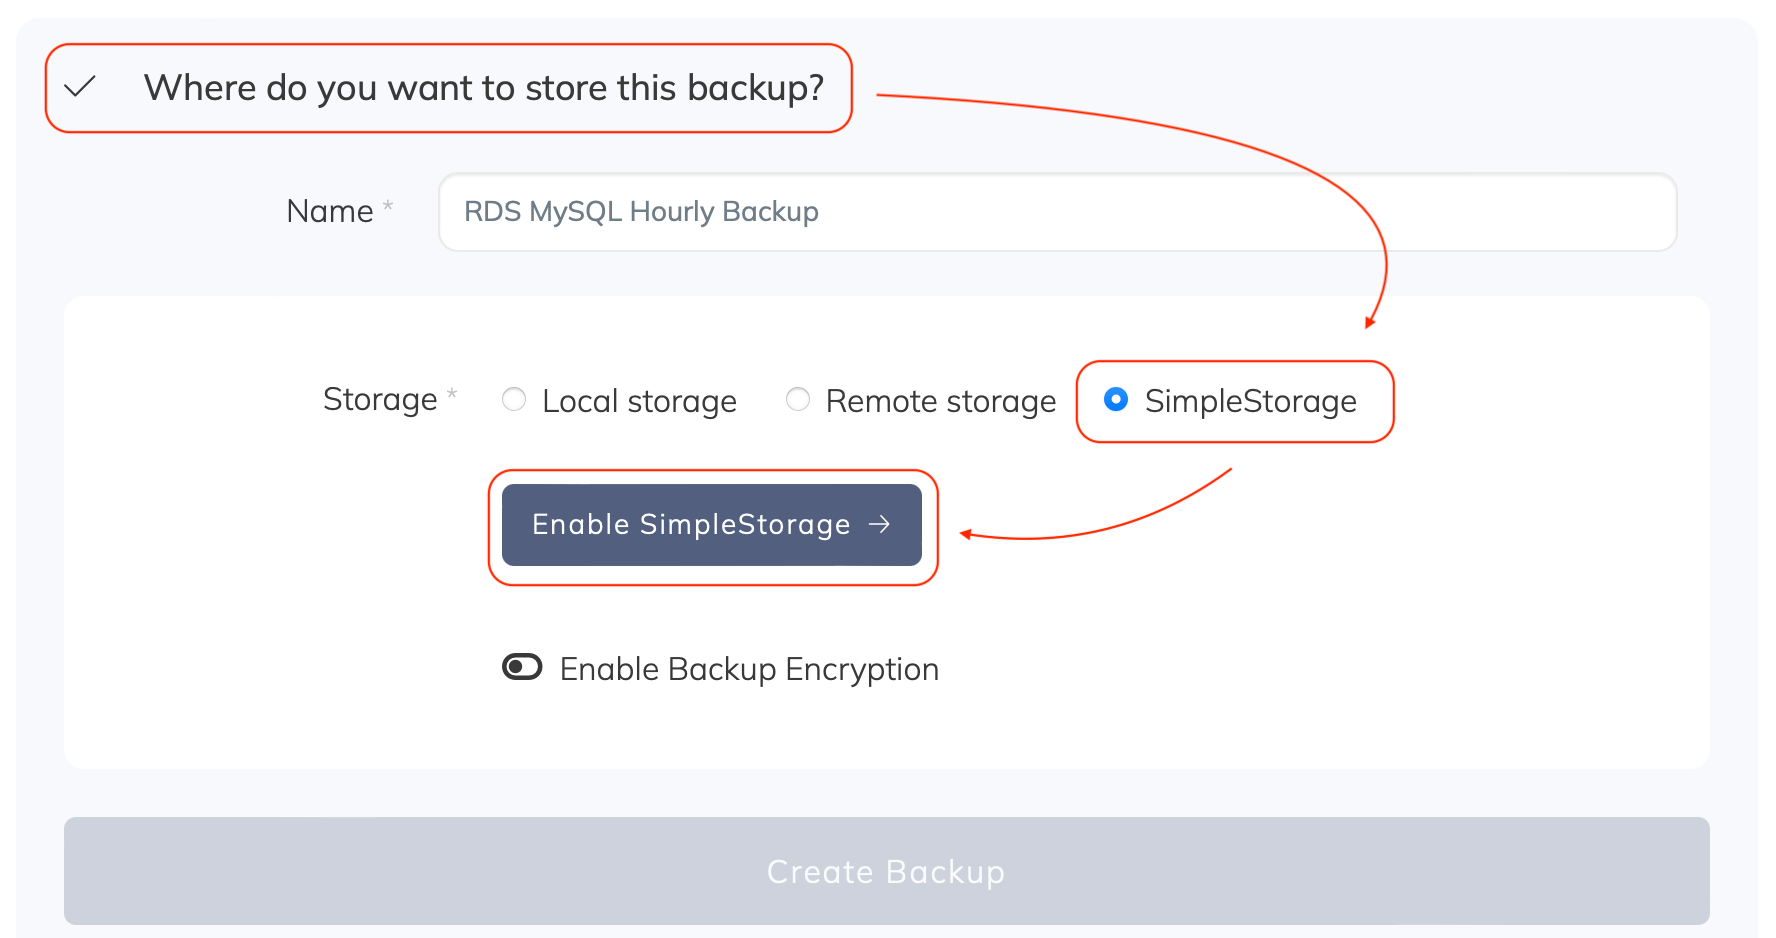
That's it, your MongoDB backup is now ready and connected to SimpleStorage.
Run it once manually (using the "Run" backup button from the backups list) and you'll trigger your first backup!
---
# How to backup MongoDB to Wasabi
Source: https://simplebackups.com/blog/how-to-backup-mongodb-to-wasabi
Published: 2020-06-26
Summary: How to automate MongoDB backups and store them on Wasabi bucket. Tutorial for SimpleBackups and Wasabi.
> Automate MongoDB database backup directly to your Wasabi storage.
Wasabi is Cloud Storage is a famous option in the storage industry. They provide an S3-compliant storage for a very affordable price. In addition to being 80% less expensive than AWS S3, they don't charge any egress cost and claim to be faster than the competition.
Well, this starts pretty well!
## Prerequisites
* Create a **[SimpleBackups account](https://my.simplebackups.com/register)**
* Make sure you have your server connected to your account (the one on which your MongoDB database is hosted)
* Have a **Wasabi account** (we'll cover how to create your Wasabi Bucket below)
## 1. Create your Wasabi Bucket
* Sign in your Wasabi account at [https://console.wasabisys.com](https://console.wasabisys.com/)
* Go to https://console.wasabisys.com/#/file_manager/ and click on "Create Bucket"
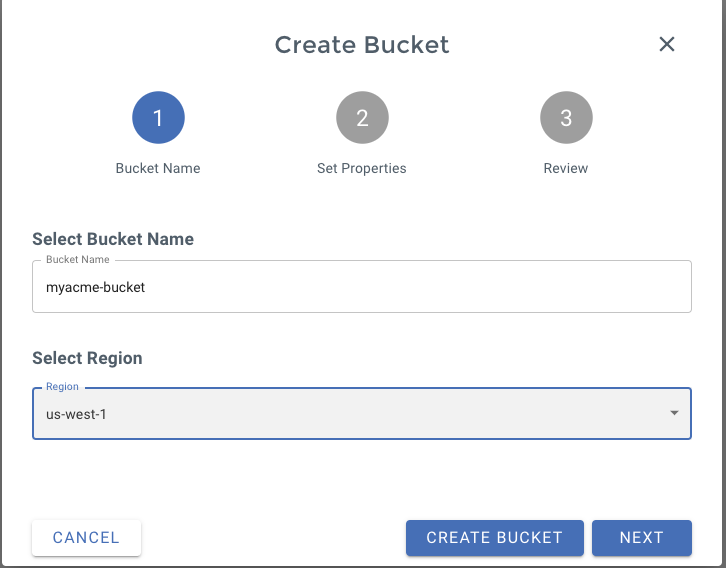
* On step 1 of the form, define the **name of your bucket** (we like to use our company name here)
* Pick the **region** you need (think about GDPR rules, if you're an EU company)
You can keep default options on step 2 and finally confirm your Bucket creation on step 3.
And that's one good thing done, **your Wasabi bucket is created!**
**Information you'll need in step 3:**
* Your **"Bucket" name**, in this case "myacme-bucket"
* Your **"Bucket" Region**, in this case "us-west-1"
## 2. Create your Wasabi Credentials/Access Key
In order to grant access to your bucket, we'll need to create an Access Key.
- Go to https://console.wasabisys.com/#/access_keys and click on **"Create New Access Key"**
- You can go with the default options and pick a **"Root User"**
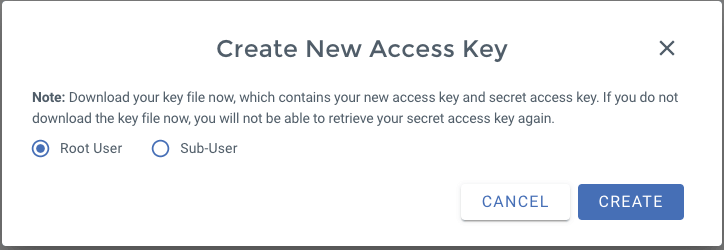
That's it you **Access Key** and **Secret Key** will be generated, make sure to write them down.
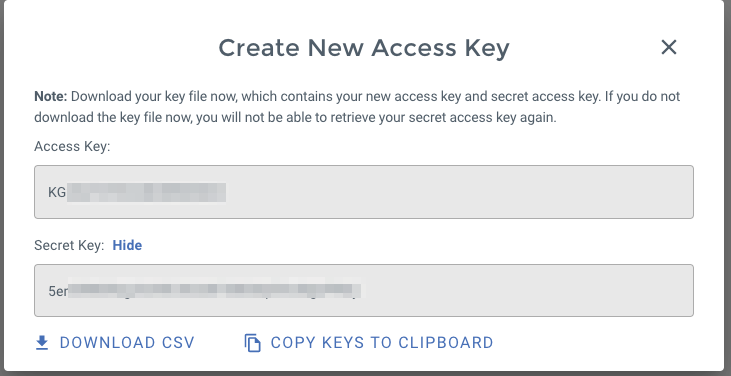
**Information you'll need in step 3:**
* **Access Key**
* **Secret Key**
## 3. Connect your Wasabi bucket to SimpleBackups
- Log into SimpleBackups and head to the [connect your storage](https://my.simplebackups.com/storage/create) page
- Select **"Wasabi"** as storage provider and fill in the "Connect your storage" form with the information from step 1 and 2.

You'll have to input :
- **Key**: Access Key described in (step 2)
- **Secret**: Secret Key described in (step 2)
- **Region**: Bucket region described in (step 1)
- **Bucket**: Bucket name described in (step 1)
- Give your storage a **name** (usually we like to use the Bucket name) and click on "Save new storage".
You'll be redirected to the list of storage where you'll find your newly connected storage.

## 4. Final step: Create your MongoDB backup
Let's now go to SimpleBackups and [get that backup configured](https://my.simplebackups.com/backup/create).
From this screen you'll be able to configure what data you're backing up (MongoDB in this case), where you want it to be saved (in this case your Wasabi Bucket), and how often you want this to be done.
*FYI this section will be the same, no matter what storage you pick.* *And that's the beauty of it, if you want to change storage, just select another one from the list (Backblaze, AWS, or whatever you might prefer) and you'll be good to go.*
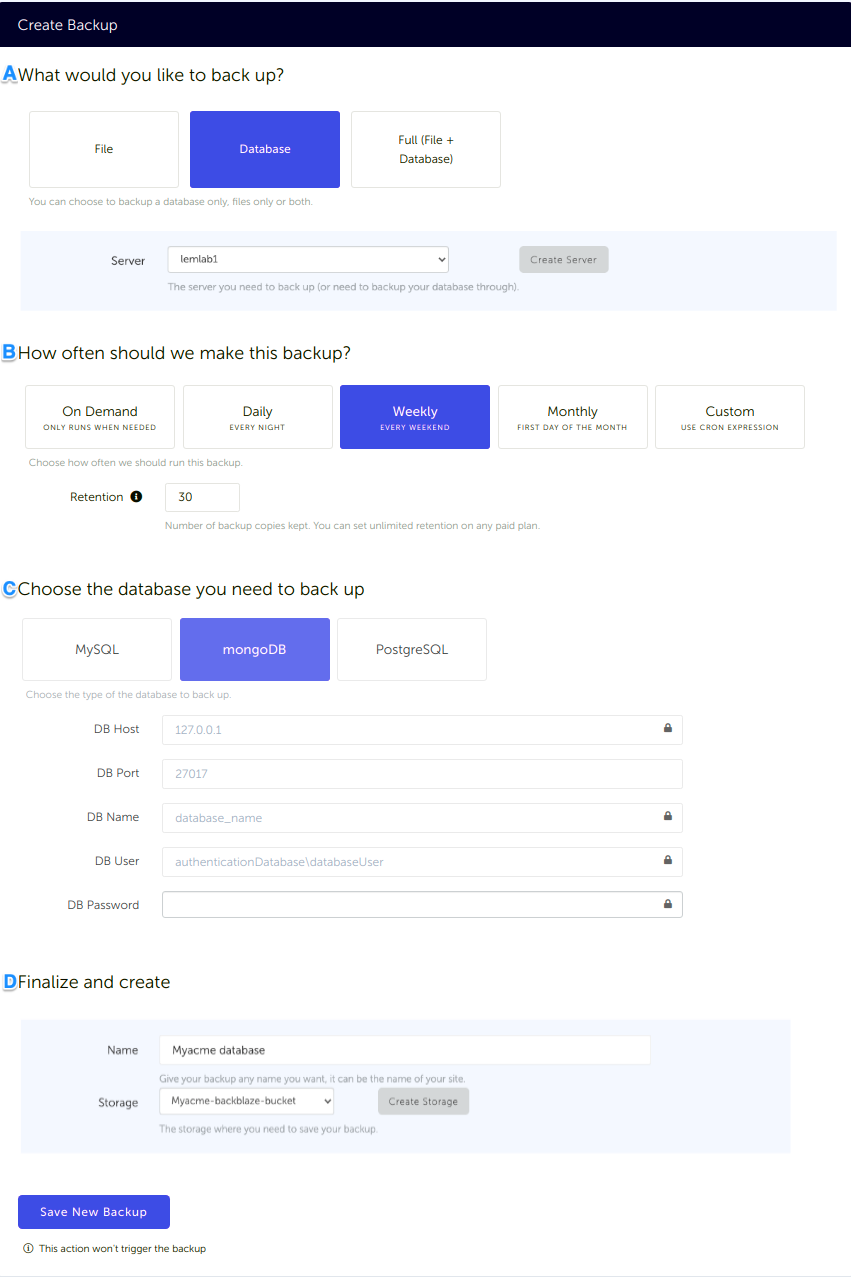
### What would you like to back up? (A)
* Select "**Database**" (in this article we're creating a MongoDB backup only)
* **Select the server** on which your database is hosted
### How often should we make this backup? (B)
* Select your **schedule** option (here we picked a daily schedule)
You can select a pre-defined schedule (daily, weekly, monthly) or a custom option allowing you to schedule it whenever you want to use CRON syntax.
* Example of CRON schedule for "20:00 every Tuesday" = `0 22 * * 2`
Finally, the "On demand" option won't schedule anything but will allow you to trigger the backup manually or using our API.
* Define the [**backup retention**,](/docs/getting-started/features/retention) which is the number of backups you want to keep (kind of the history length of your backup if you prefer)
### Choose the database you need to backup (C)
* Select the type of your database, in this case "**MongoDB**"
* Fill in the database connection form
## Finalize and create (D)
* Pick the **name of your backup** (this is how it will be displayed in SimpleBackups interface) and where you want to store it.
* Select your **Storage** (step 3)
That's it, your MongoDB backup is now ready and connected to your Wasabi bucket.
[Let us know](https://simplebackups.com/contact-us/) how long it took you to get your backup fully configured (current record is 4 minutes) :-)
Run it once manually (using the "Run" backup button from the backups list) and you'll trigger your first backup!
---
# How to backup MySQL to Dropbox
Source: https://simplebackups.com/blog/how-to-backup-mysql-to-dropbox
Published: 2020-06-26
Summary: How to automate MySQL backups and store them on Dropbox account. Tutorial for SimpleBackups and Dropbox.
> MySQL database backup stored in your Dropbox account.
Let's see how we can easily schedule **MySQL backups** and store them on **Dropbox**.
Dropbox lets anyone upload and transfer files to the cloud, and share them with anyone. Back up photos, videos, docs, and other files to cloud storage, and access files synced with any of your computers or mobile devices—from anywhere.
## Prerequisites
- Create a **[SimpleBackups account](https://my.simplebackups.com/register)**
- Make sure you have your \*\*server connected to your account (the one on which your MySQL database is hosted)
- Have a **Dropbox account**
## 1. Connect your Dropbox Account to SimpleBackups
- Log into SimpleBackups and head to the [Connect a Storage](https://my.simplebackups.com/storage/create) page
- In the storage provider list select **"Dropbox"**, and click on the **Connect Dropbox** button.

You'll then be redirected to a Dropbox page asking you to grant access to your storage and create a folder named **Apps > SimpleBackus.io**. Sign in and hit Allow.

And your storage is now connected!
## 2. Final step: Create your MySQL backup
Last step is obviously to [schedule your backup](https://my.simplebackups.com/backup/create).
From this screen you'll be able to configure what data you're backing up (MySQL in this case), where you want it to be saved (in this case your Dropbox storage), and how often you want this to be done.
_FYI this section will be the same, no matter what storage you pick._
_And that's the beauty of it, if you want to change storage, just select another one from the list (Backblaze, AWS, or whatever you might prefer) and you'll be good to go._
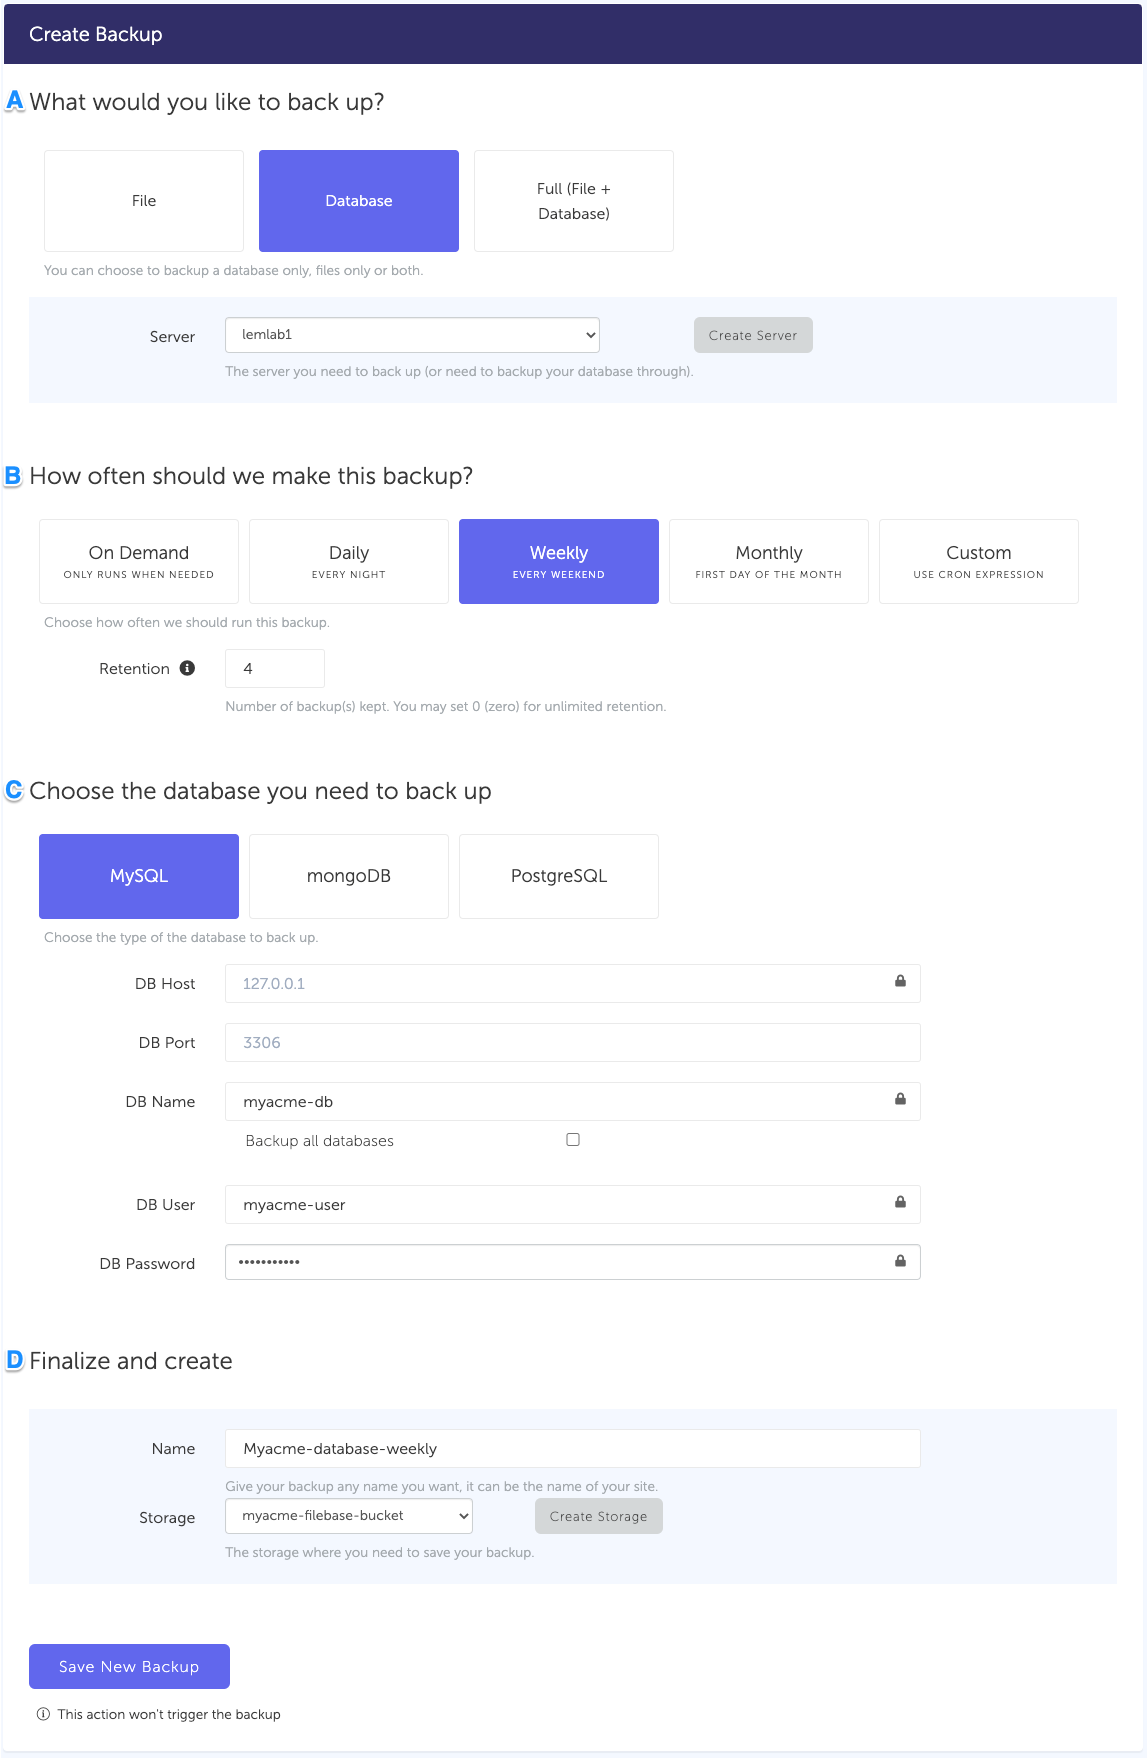
### What would you like to back up? (A)
- Select "**Database**" (in this article we're creating a MySQL backup only)
- **Select the server** on which your database is hosted
### How often should we make this backup? (B)
- Select your **schedule** option (here we picked a daily schedule)
You can select a pre-defined schedule (daily, weekly, monthly) or a custom option allowing you to schedule it whenever you want to use CRON syntax.
- Example of CRON schedule for "20:00 every Tuesday" = `0 22 * * 2`
Finally, the "On demand" option won't schedule anything but will allow you to trigger the backup manually or using our API.
- Define the [**backup retention**,](/docs/getting-started/features/retention) which is the number of backups you want to keep (kind of the history length of your backup if you prefer)
### Choose the database you need to backup (C)
- Select the type of your database, in this case "**MySQL**"
- Fill in the database connection form
## Finalize and create
- Pick the **name of your backup** (this is how it will be displayed in SimpleBackups interface) and where you want to store it.
- Select your **Storage** (step 3)
That's it, your MySQL backup is now ready and connected to your Dropbox account.
Setting up backups with SimpleBackups and storing them on Dropbox is very easy.
Run it once manually (using the "Run" backup button from the backups list) and you'll trigger your first backup!
---
# How to backup MySQL to Filebase
Source: https://simplebackups.com/blog/how-to-backup-mysql-to-filebase
Published: 2020-06-26
Summary: How to automate MySQL backups and store them on Filebase bucket. Tutorial for SimpleBackups and Filebase.
> MySQL database backup stored in your Filebase Bucket.
Let's see how we can easily schedule **MySQL backups** and store them on **Filebase**.
[Filebase](https://filebase.com) is a S3-compatible solution powered by Blockchain technology, offering storage at a very affordable price.
It leverages multiple decentralized cloud storage networks, consisting of thousands of servers all around the world.
With 5GB of free storage, no fees for ingress or API calls, it's a perfect pick for your backup storage.
## Prerequisites
- Create a **[SimpleBackups account](https://my.simplebackups.com/register)**
- Make sure you have your **server connected to your account** (the one on which your MySQL database is hosted)
- Have a **Filebase account** (we'll cover how to get your bucket created below)
## 1. Create your Filebase Bucket
- **Sign in** to your Filebase account: [https://console.filebase.com/users/sign_in](https://console.filebase.com/users/sign_in?ref=simplebackups)
- Once logged in, click on **"Create bucket"**

- Define a **name for your bucket**

**Information you'll need in step 3:**
- Your **"Bucket" name**, in this case "myacme-bucket"
- Your **"Bucket" Region**, in this case "us-east-1"
## 2. Retrieve your Bucket credentials
Now that your bucket is created, we'll need to get the credentials required to access it.
Like everything with Filebase (and we like this!) it's super easy.
- Simply go to your Settings: [https://console.filebase.com/users/edit](https://console.filebase.com/users/edit?ref=simplebackups) and copy your **Access Key** and **Secret**.

**Information you'll need in step 3:**
- **Access Key**
- **Secret**
## 3. Connect your Bucket to SimpleBackups
- Log into SimpleBackups and head to the [connect your storage](https://my.simplebackups.com/storage/create) page
- In the storage provider list select **"Filebase"**, and fill in the form with the information from step 1 and step 2

You'll have to input :
- **Key**: Access Key described in (step 2)
- **Secret**: Secret described in (step 2)
- **Region**: Region described in (step 1)
- **Bucket**: Bucket name described in (step 1)
- Give your storage a **name** (the bucket name is usually a good pick, but you can be creative) and click on "Save new storage".
And your storage is now connected!

## 4. Final step: Create your MySQL backup
Last step is obviously to [schedule your backup](https://my.simplebackups.com/backup/create).
From this screen you'll be able to configure what data you're backing up (MySQL in this case), where you want it to be saved (in this case your Filebase Buckets), and how often you want this to be done.
_FYI this section will be the same, no matter what storage you pick._
_And that's the beauty of it, if you want to change storage, just select another one from the list (Backblaze, AWS, or whatever you might prefer) and you'll be good to go._
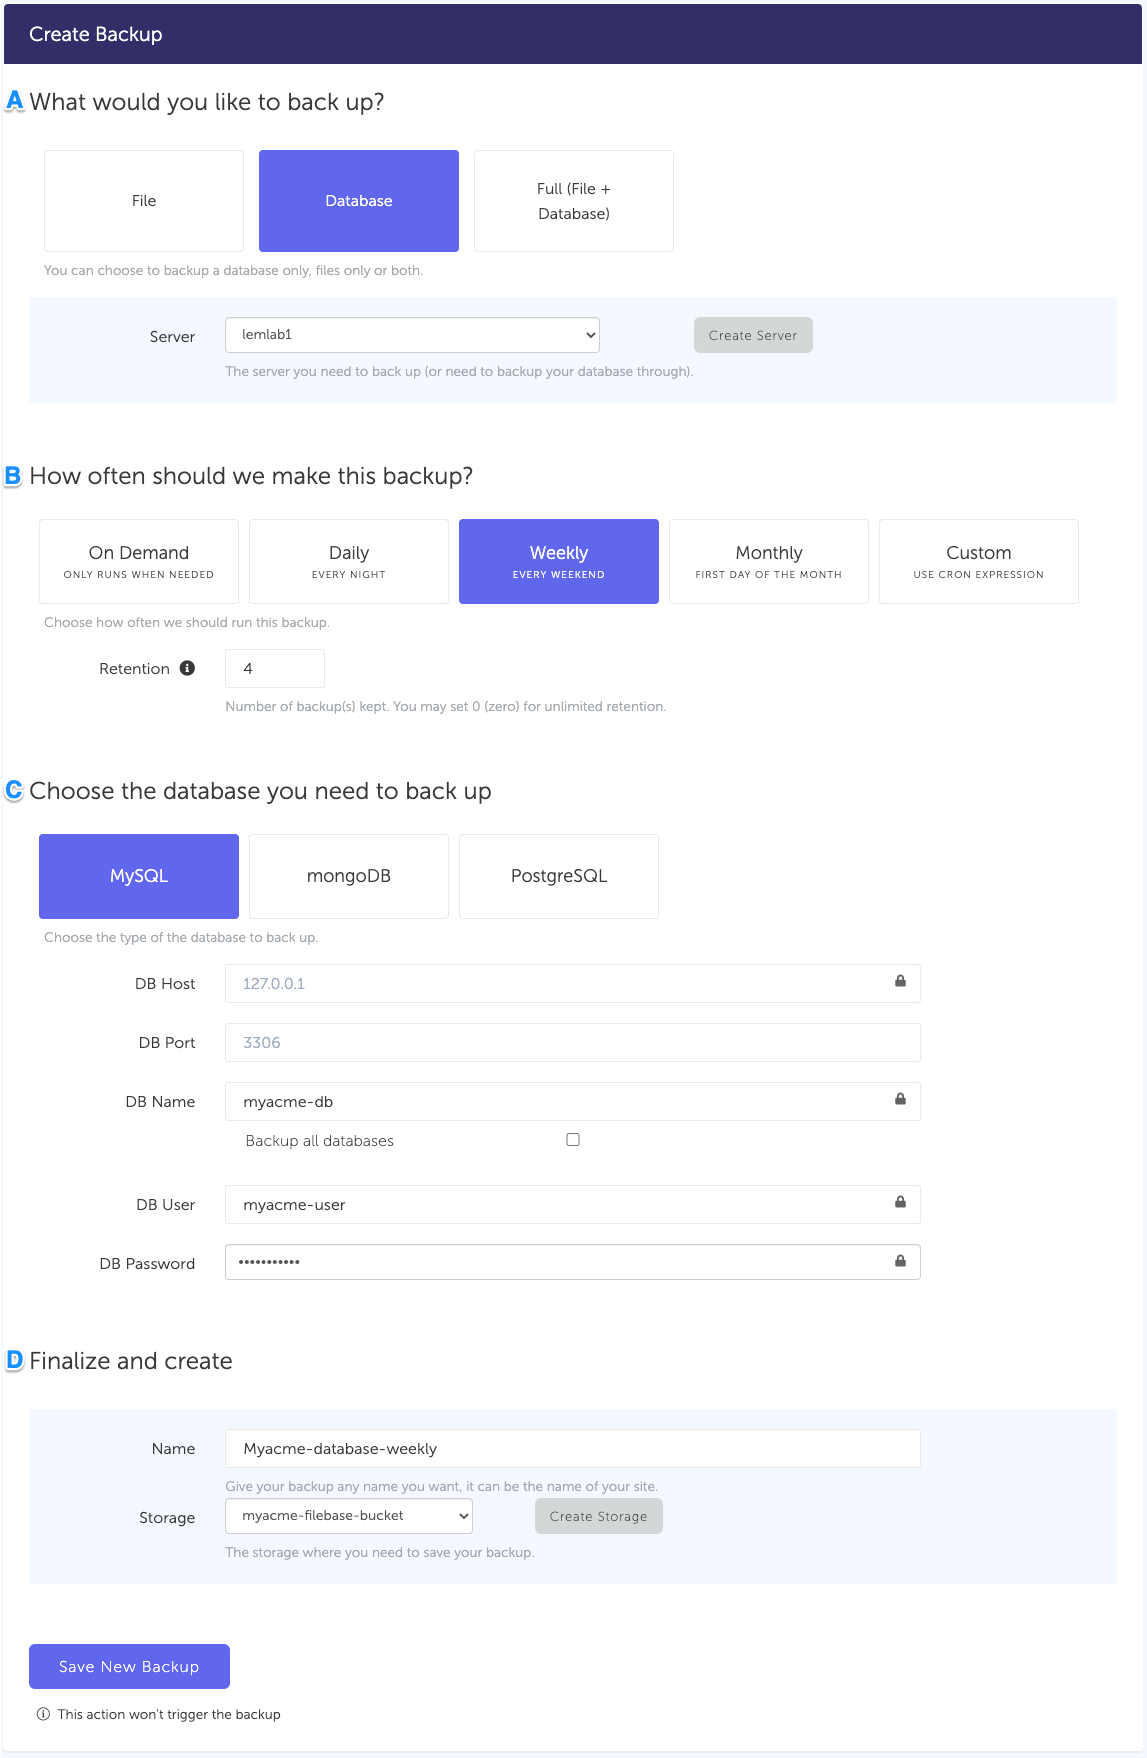
### What would you like to back up? (A)
- Select "**Database**" (in this article we're creating a MySQL backup only)
- **Select the server** on which your database is hosted
### How often should we make this backup? (B)
- Select your **schedule** option (here we picked a daily schedule)
You can select a pre-defined schedule (daily, weekly, monthly) or a custom option allowing you to schedule it whenever you want to use CRON syntax.
- Example of CRON schedule for "20:00 every Tuesday" = `0 22 * * 2`
Finally, the "On demand" option won't schedule anything but will allow you to trigger the backup manually or using our API.
- Define the [**backup retention**,](/docs/getting-started/features/retention) which is the number of backups you want to keep (kind of the history length of your backup if you prefer)
### Choose the database you need to backup (C)
- Select the type of your database, in this case "**MySQL**"
- Fill in the database connection form
## Finalize and create
- Pick the **name of your backup** (this is how it will be displayed in SimpleBackups interface) and where you want to store it.
- Select your **Storage** (step 3)
That's it, your MySQL backup is now ready and connected to your Filebase Bucket.
Setting up backups with SimpleBackups and storing them on Filebase is very easy.
Run it once manually (using the "Run" backup button from the backups list) and you'll trigger your first backup!
---
# How to backup MySQL to Google Cloud Storage
Source: https://simplebackups.com/blog/how-to-backup-mysql-to-google-cloud-storage-gcs
Published: 2020-06-26
Summary: How to automate MySQL backups and store them on Google Cloud Storage bucket. Tutorial for SimpleBackups and Google Cloud Storage.
> MySQL database backup stored in your Google Cloud Storage Bucket.
Let's see how we can schedule **MySQL backups** and store them on your **Google Cloud Storage** bucket.
Google Cloud Storage is a RESTful online file storage web service for storing and accessing data on Google Cloud Platform infrastructure. The service combines the performance and scalability of Google's cloud with advanced security and sharing capabilities. It is an Infrastructure as a Service (IaaS), comparable to Amazon S3 online storage service.
## Prerequisites
- Create a **[SimpleBackups account](https://my.simplebackups.com/register)**
- Make sure you have your **server connected to your account** (the one on which your MySQL database is hosted)
- Have a **Google account** and make sure that billing is enabled for your Google Cloud Project (we'll cover how to get your bucket created below)
## 1. Create your Google Cloud Storage Bucket
- Sign in to your [Google Cloud Console](https://console.cloud.google.com), and then [select an existing Google Cloud project](https://console.cloud.google.com/projectselector2) or [create a new one](https://console.cloud.google.com/projectcreate)
- Open the [Cloud Storage browser](https://console.cloud.google.com/storage/browser) in the Google Cloud Console
- Click on **"Create bucket"** to open the bucket creation form. First define a globally unique permanent **name for your bucket**, and then click Continue.
- And the select the region for your bucket
- Click Create. Your new bucket will be created.
**Information you'll need in step 3:**
- Your **"Bucket" name**
- Your **"Bucket" Region**
## 2. Retrieve your Bucket credentials
In order to give access to your newly created bucket, you'll need to provide credentials to SimpleBackups.
Follow this [simple article](/docs/storage-providers/google-cloud-storage) on how to get your Google Cloud Storage Credentials.
**Information you'll need in step 3:**
- **Access Key**
- **Secret Key**
## 3. Connect your Bucket to SimpleBackups
- Log into SimpleBackups and head to the [connect your storage](https://my.simplebackups.com/storage/create) page
- In the storage provider list select **"Google Cloud Storage"**, and fill in the form with the information from step 1 and step 2
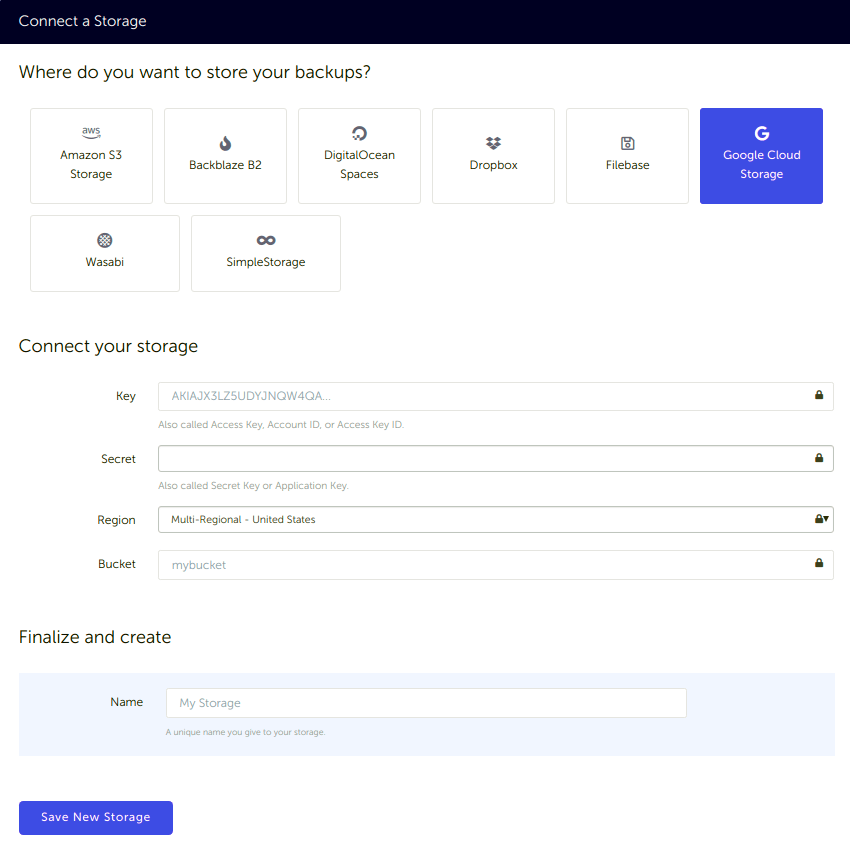
You'll have to input :
- **Key**: Access Key described in (step 2)
- **Secret**: Secret Key described in (step 2)
- **Region**: Bucket Region described in (step 1)
- **Bucket**: Bucket name described in (step 1)
- Give your storage a **name** (the bucket name is usually a good pick, but you can be creative) and click on "Save New storage".
The next step is to authorize SimpleBackups to your Google account. Click on the **Connect Your Google Account** button.
Grant access to your Google Account by clicking Allow.
On the next screen click Save Changes, and now your Google Cloud Storage is already connected.

## 4. Final step: Create your MySQL backup
Last step is obviously to [schedule your backup](https://my.simplebackups.com/backup/create).
From this screen you'll be able to configure what data you're backing up (MySQL in this case), where you want it to be saved (in this case your Google Cloud Storage Bucket), and how often you want this to be done.
_FYI this section will be the same, no matter what storage you pick._
_And that's the beauty of it, if you want to change storage, just select another one from the list (Backblaze, AWS, or whatever you might prefer) and you'll be good to go._
### What would you like to back up? (A)
- Select "**Database**" (in this article we're creating a MySQL backup only)
- **Select the server** on which your database is hosted
### How often should we make this backup? (B)
- Select your **schedule** option (here we picked a daily schedule)
You can select a pre-defined schedule (daily, weekly, monthly) or a custom option allowing you to schedule it whenever you want to use CRON syntax.
- Example of CRON schedule for "20:00 every Tuesday" = `0 22 * * 2`
Finally, the "On demand" option won't schedule anything but will allow you to trigger the backup manually or using our API.
- Define the [**backup retention**,](/docs/getting-started/features/retention) which is the number of backups you want to keep (kind of the history length of your backup if you prefer)
### Choose the database you need to backup (C)
- Select the type of your database, in this case "**MySQL**"
- Fill in the database connection form
## Finalize and create
- Pick the **name of your backup** (this is how it will be displayed in SimpleBackups interface) and where you want to store it.
- Select your **Storage** (step 3)
That's it, your MySQL backup is now ready and connected to your Google Cloud Storage Bucket.
Run it once manually (using the "Run" backup button from the backups list) and you'll trigger your first backup!
---
# How to backup MySQL to SimpleStorage
Source: https://simplebackups.com/blog/how-to-backup-mysql-to-simplestorage
Published: 2020-06-26
Summary: How to automate MySQL backups and store them on SimpleStorage account. Tutorial for SimpleBackups and SimpleStorage.
> MySQL database backup stored in your SimpleStorage account.
Let's see how we can easily schedule **MySQL backups** and store them on **SimpleStorage**.
SimpleStorage is our built-in backup storage solution included in all our paid plan. SimpleStorage leverage AWS S3 behind the scene, so your data will be hosted on Amazon data centers (you have the choice between the US and Europe for where to store your backups).
## Prerequisites
- Create a **[SimpleBackups account](https://my.simplebackups.com/register)** and choose one of our paid plan.
- Make sure you have your **server connected to your account** (the one on which your MySQL database is hosted)
## 1. Create your MySQL backup
First step is to [schedule your backup](https://my.simplebackups.com/backup/create).
From this screen you'll be able to configure what data you're backing up (MySQL in this case), where you want it to be saved (in this case your SimpleStorage storage), and how often you want this to be done.
_FYI this section will be the same, no matter what storage you pick._
_And that's the beauty of it, if you want to change storage, just select another one from the list (Backblaze, AWS, or whatever you might prefer) and you'll be good to go._
### What would you like to back up? (A)
- Select "**Database**" (in this article we're creating a MySQL backup only)
- **Select the server** on which your database is hosted
### How often should we make this backup? (B)
- Select your **schedule** option (here we picked a daily schedule)
You can select a pre-defined schedule (daily, weekly, monthly) or a custom option allowing you to schedule it whenever you want to use CRON syntax.
- Example of CRON schedule for "20:00 every Tuesday" = `0 22 * * 2`
Finally, the "On demand" option won't schedule anything but will allow you to trigger the backup manually or using our API.
- Define the [**backup retention**,](/docs/getting-started/features/retention) which is the number of backups you want to keep (kind of the history length of your backup if you prefer)
### Choose the database you need to back up (C)
- Select the type of your database, in this case "**MySQL**"
- Fill in the database connection form
## Finalize and create (D)
- Pick the **name of your backup** (this is how it will be displayed in SimpleBackups interface) and where you want to store it.
- Select your **Storage**

That's it, your MySQL backup is now ready and connected to SimpleStorage.
Run it once manually (using the "Run" backup button from the backups list) and you'll trigger your first backup!
---
# How to backup Postgres to Backblaze
Source: https://simplebackups.com/blog/how-to-backup-postgres-to-backblaze
Published: 2020-06-26
Author: Laurent
Summary: How to automate PostgreSQL backups and store them in a Backblaze B2 bucket. Step-by-step setup with SimpleBackups, from bucket and app key to your first backup.
> Automate PostgreSQL database backup directly to your Backblaze storage.
Backblaze B2 is S3-compatible, so if you already know your way around an S3 bucket and an access key pair, nothing here will surprise you. The bucket, the application key and the storage connection are the three things you need, and they map one to one onto what SimpleBackups asks for.
Below we walk through all three, then schedule your first automated **PostgreSQL database backup** into the bucket.
## Prerequisites
* Create a **[SimpleBackups account](https://my.simplebackups.com/register)**
* Make sure you have your **server connected to your account** (the one on which your PostgreSQL database is hosted)
* Have a **Backblaze account** (we'll cover how to create your Blackblaze Bucket below)
## 1. Create your Backblaze Bucket
* [Log into your Backblaze account](https://secure.backblaze.com/user_signin.htm)
* Go to the [Bucket page](https://secure.backblaze.com/b2_buckets.htm) create a new Bucket

* Fill in your Bucket name and create the Bucket
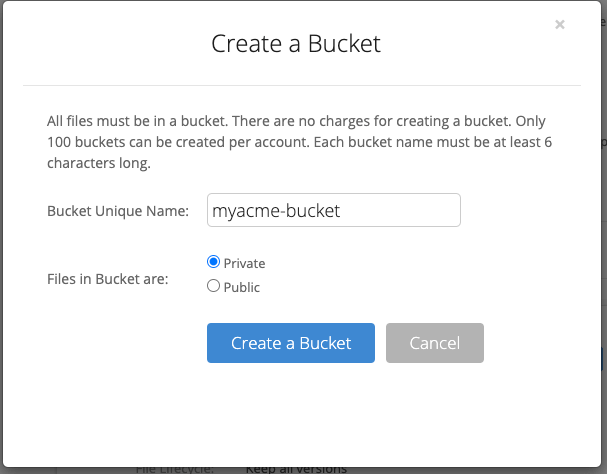
Good job! Your bucket is created.
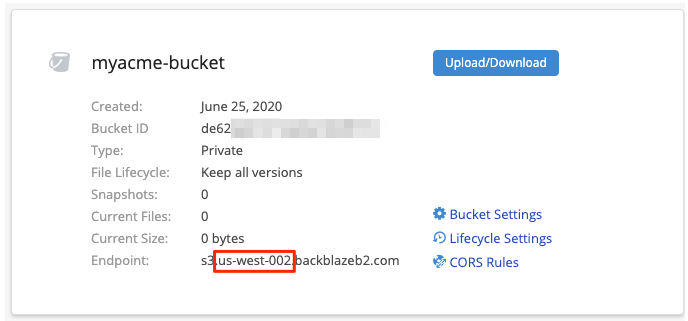
**Information you'll need in step 3:**
* Your **"Bucket" name**, in this case "myacme-bucket"
* Your **"Bucket" Region**, in this case "us-west-002"
## 2. Create your Bucket credentials
Great! Now that we have a Bucket, we need to create the credentials required to access it.
- Go to the ["App Keys" page](https://secure.backblaze.com/app_keys.htm?) and click on "Add a new Application Key" button
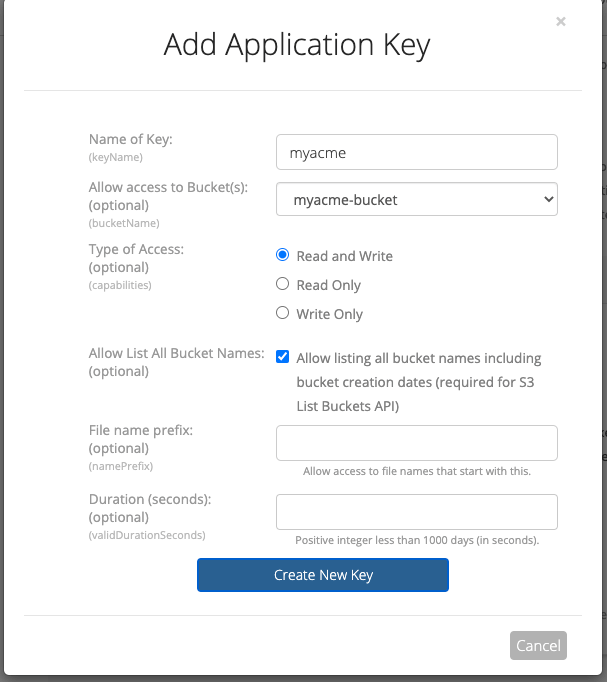
**Fill in the form by defining:**
* Name of the Key: we like to use a reference of the Bucket we're creating the credentials for
* Allow access to Bucket(s): Access to "All Buckets" is less secure, we strongly recommend that you select the bucket you want to use only.
Leave the rest of the option empty and create your key.

You'll get a confirmation message including your **KeyID** and **applicationKey**, which is what we need to connect your storage to SimpleBackups.
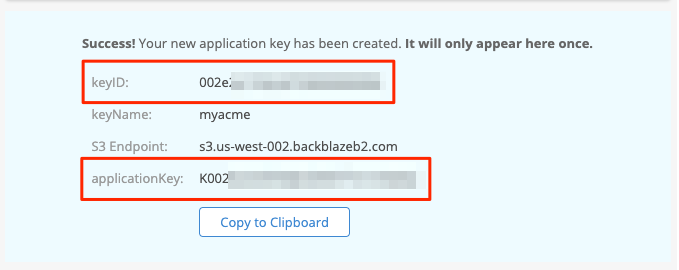
**Information you'll need in step 3:**
* **applicationKey**
* **KeyID**
## 3. Connect your Backblaze bucket to SimpleBackups
So far we have created a Bucket and have created the required credentials to get access to this it.
The only remaining step is connecting this new storage to SimpleBackups.
- Log into SimpleBackups and head to the [connect your storage](https://my.simplebackups.com/storage/create) page
- Select **"Backblaze B2"** as storage provider and fill in the "Connect your storage" form with the information from step 1 and 2.
You'll have to input :
- **Key**: KeyID described in (step 2)
- **Secret**: applicationKey described in (step 2)
- **Region**: Bucket region described in (step 1)
- **Bucket**: Bucket name described in (step 1)
- Give your storage a **name** (usually we like to use the Bucket name) and click on "Save new storage".
You'll be redirected to the list of storage where you'll find your newly connected storage.

...Yes, that's all it takes !
## 4. Final step: Create your PostgreSQL backup
Now it's time to head to the [create backup page](https://my.simplebackups.com/backup/create).
From this screen you'll be able to configure what data you're backing up (PostgreSQL in this case), where you want it to be saved (in this case your Backblaze Bucket), and how often you want this to be done.
*FYI this section will be the same, no matter what storage you pick.*
*And that's the beauty of it, if you want to change storage, just select another one from the list (Backblaze, AWS, or whatever you might prefer) and you'll be good to go.*
### What would you like to back up? (A)
* Select "**Database**" (in this article we're creating a PostgreSQL backup only)
* **Select the server** on which your database is hosted
### How often should we make this backup? (B)
* Select your **schedule** option (here we picked a daily schedule)
You can select a pre-defined schedule (daily, weekly, monthly) or a custom option allowing you to schedule it whenever you want to use CRON syntax.
* Example of CRON schedule for "20:00 every Tuesday" = `0 22 * * 2`
Finally, the "On demand" option won't schedule anything but will allow you to trigger the backup manually or using our API.
* Define the [**backup retention**,](/docs/getting-started/features/retention) which is the number of backups you want to keep (kind of the history length of your backup if you prefer)
### Choose the database you need to backup (C)
* Select the type of your database, in this case "**PostgreSQL**"
* Fill in the database connection form
## Finalize and create (D)
* Pick the **name of your backup** (this is how it will be displayed in SimpleBackups interface) and where you want to store it.
* Select your **Storage** (step 3)
That's it, your PostgreSQL backup is now ready and connected to your Backblaze bucket.
Run it once manually (using the "Run" backup button from the backups list) and you'll trigger your first backup. If anything in the setup did not match what you saw, [let us know](/contact-us).
## FAQ
## Keep learning
- [The ultimate PostgreSQL backup script](/blog/the-ultimate-postgresql-database-backup-script), if you would rather own the `pg_dump` and upload pipeline yourself.
- [pg_dump and pg_restore guide](/blog/postgresql-pgdump-and-pgrestore-guide-examples), for the dump options behind whichever route you pick.
- [How to restore a PostgreSQL backup](/blog/how-to-restore-a-postgresql-backup), because a backup you have never restored is an assumption.
Scheduling, retention and restores across every destination are covered on the [managed PostgreSQL backup](/postgresql-backup) page.
---
*This article is part of [The complete guide to PostgreSQL backup](/learn/postgresql-backup#offsite-storage), an honest, practical reference from the team that backs up PostgreSQL every day.*
---
# How to backup Postgres to DigitalOcean Spaces
Source: https://simplebackups.com/blog/how-to-backup-postgres-to-digitalocean-spaces
Published: 2020-06-26
Author: Laurent
Summary: How to automate PostgreSQL backups and store them in a DigitalOcean Spaces bucket. Step-by-step setup with SimpleBackups, from Space to first backup.
> Automate PostgreSQL database backup directly to your DigitalOcean Spaces.
In this article, we will find out how to **configure your PostgreSQL backup and store it on DigitalOcean Spaces.**
## Prerequisites
- Create a **[SimpleBackups account](https://my.simplebackups.com/register)**
- Make sure you have your **server connected to your account** (the one on which your PostgreSQL database is hosted)
- Have a **DigitalOcean account** (we'll cover how to create your DigitalOcean Space below)
## 1. Create your DigitalOcean Spaces
- [Sign in your DigitalOcean account](https://cloud.digitalocean.com/login)
- [Create a new "Spaces"](https://cloud.digitalocean.com/spaces/new) using the create menu at the top right

- Fill in the "Create Spaces" form
- Pick the region you need (think about GDPR rules, if you're an EU company)
- Select "Restrict File Listing"
- Pick a name you like and link it to your DigitalOcean project (doesn't really affect us)
That's it! Your DigitalOcean Spaces is now created.

*Don't leave the DigitalOcean interface, we'll now have to create your credentials.*
**Information you'll need in step 3:**
- Your **"Spaces" name**, in this case "myacme-space"
- Your **"Spaces" Region**, in this case "San Francisco 2", which you can also see in your DO Space url
## 2. Create your DigitalOcean Credentials
Creating the Space was the long part. The credentials are quicker.
We've covered the steps in [how to create DigitalOcean Spaces credentials](/docs/storage-providers/digitalocean-spaces). Note that a Spaces key is not the same thing as a DigitalOcean personal access token: only the Spaces key pair works here.
**Information you'll need in step 3:**
- **Key**
- **Secret**
## 3. Connect your Space to SimpleBackups
- Log into SimpleBackups and head to the [connect your storage](https://my.simplebackups.com/storage/create) page
- Pick **"DigitalOcean Spaces"** as storage provider and fill in the "Connect your storage" form with the information from step 1 and 2.

You'll have to input :
- **Key**: Key described in (step 2)
- **Secret**: Secret described in (step 2)
- **Region**: Spaces region described in (step 1)
- **Bucket**: Spaces name described in (step 1)
- Give your storage a **name** (usually we like to use the Spaces name) and click on "Save new storage".
You'll be redirected to the list of storage where you'll find your newly connected storage.

## 4. Final step: Create your PostgreSQL backup
Now it's time to head to the [create backup page](https://my.simplebackups.com/backup/create).
From this screen you'll be able to configure what data you're backing up (PostgreSQL in this case), where you want it to be saved (in this case your DigitalOcean Bucket), and how often you want this to be done.
*FYI this section will be the same, no matter what storage you pick.*
*And that's the beauty of it, if you want to change storage, just select another one from the list (DigitalOcean, AWS, or whatever you might prefer) and you'll be good to go.*
### What would you like to back up? (A)
* Select "**Database**" (in this article we're creating a PostgreSQL backup only)
* **Select the server** on which your database is hosted
### How often should we make this backup? (B)
* Select your **schedule** option (here we picked a daily schedule)
You can select a pre-defined schedule (daily, weekly, monthly) or a custom option allowing you to schedule it whenever you want to use CRON syntax.
* Example of CRON schedule for "20:00 every Tuesday" = `0 22 * * 2`
Finally, the "On demand" option won't schedule anything but will allow you to trigger the backup manually or using our API.
* Define the [**backup retention**,](/docs/getting-started/features/retention) which is the number of backups you want to keep (kind of the history length of your backup if you prefer)
### Choose the database you need to backup (C)
* Select the type of your database, in this case "**PostgreSQL**"
* Fill in the database connection form
## Finalize and create (D)
* Pick the **name of your backup** (this is how it will be displayed in SimpleBackups interface) and where you want to store it.
* Select your **Storage** (step 3)
Congratulations, you now have your PostgreSQL database, backed up on DigitalOcean Spaces.
*Run it once manually (using the "Run" backup button from the backups list) and you'll trigger your first backup!*
## FAQ
## Keep learning
- [The ultimate PostgreSQL backup script](/blog/the-ultimate-postgresql-database-backup-script), if you would rather own the `pg_dump` and upload pipeline yourself.
- [pg_dump and pg_restore guide](/blog/postgresql-pgdump-and-pgrestore-guide-examples), for the dump options behind whichever route you pick.
- [How to restore a PostgreSQL backup](/blog/how-to-restore-a-postgresql-backup), because a backup you have never restored is an assumption.
Scheduling, retention and restores across every destination are covered on the [managed PostgreSQL backup](/postgresql-backup) page.
---
*This article is part of [The complete guide to PostgreSQL backup](/learn/postgresql-backup#offsite-storage), an honest, practical reference from the team that backs up PostgreSQL every day.*
---
# How to backup Postgres to Filebase
Source: https://simplebackups.com/blog/how-to-backup-postgres-to-filebase
Published: 2020-06-26
Summary: How to automate PostgreSQL backups and store them on Filebase bucket. Tutorial for SimpleBackups and Filebase.
> PostgreSQL database backup stored in your Filebase Bucket.
Let's see how we can easily schedule **PostgreSQL backups** and store them on **Filebase**.
Filebase is a S3-compatible solution powered by Blockchain technology, offering storage at a very affordable price.
It leverages multiple decentralized cloud storage networks, consisting of thousands of servers all around the world.
With 5GB of free storage, no fees for ingress or API calls, it's a perfect pick for your backup storage.
## Prerequisites
* Create a **[SimpleBackups account](https://my.simplebackups.com/register)**
* Make sure you have your **server connected to your account** (the one on which your PostgreSQL database is hosted)
* Have a **Filebase account** (we'll cover how to get your bucket created below)
## 1. Create your Filebase Bucket
* [**Sign in** to your Filebase account: https://console.filebase.com/users/sign_in
* Once logged in, click on **"Create bucket"**
* Define a **name for your bucket**

**Information you'll need in step 3:**
* Your **"Bucket" name**, in this case "myacme-bucket"
* Your **"Bucket" Region**, in this case "us-east-1"
## 2. Retrieve your Bucket credentials
Now that your bucket is created, we'll need to get the credentials required to access it.
Like everything with Filebase (and we like this!) it's super easy.
* Simply go to your Settings: https://console.filebase.com/users/edit and copy your **Access Key** and **Secret**.
**Information you'll need in step 3:**
* **Access Key**
* **Secret**
## 3. Connect your Space to SimpleBackups
* Log into SimpleBackups and head to the [connect your storage](https://my.simplebackups.com/storage/create) page
* In the storage provider list select **"Filebase"**, and fill in the form with the information from step 1 and step 2

You'll have to input :
* **Key**: Access Key described in (step 2)
* **Secret**: Secret described in (step 2)
* **Region**: Region described in (step 1)
* **Bucket**: Bucket name described in (step 1)
* Give your storage a **name** (the bucket name is usually a good pick, but you can be creative) and click on "Save new storage".
And your storage is now connected!

## 4. Final step: Create your PostgreSQL backup
Last step is obviously to [schedule your backup](https://my.simplebackups.com/backup/create).
From this screen you'll be able to configure what data you're backing up (PostgreSQL in this case), where you want it to be saved (in this case your Filebase Bucket), and how often you want this to be done.
*FYI this section will be the same, no matter what storage you pick.*
*And that's the beauty of it, if you want to change storage, just select another one from the list (Backblaze, AWS, or whatever you might prefer) and you'll be good to go.*
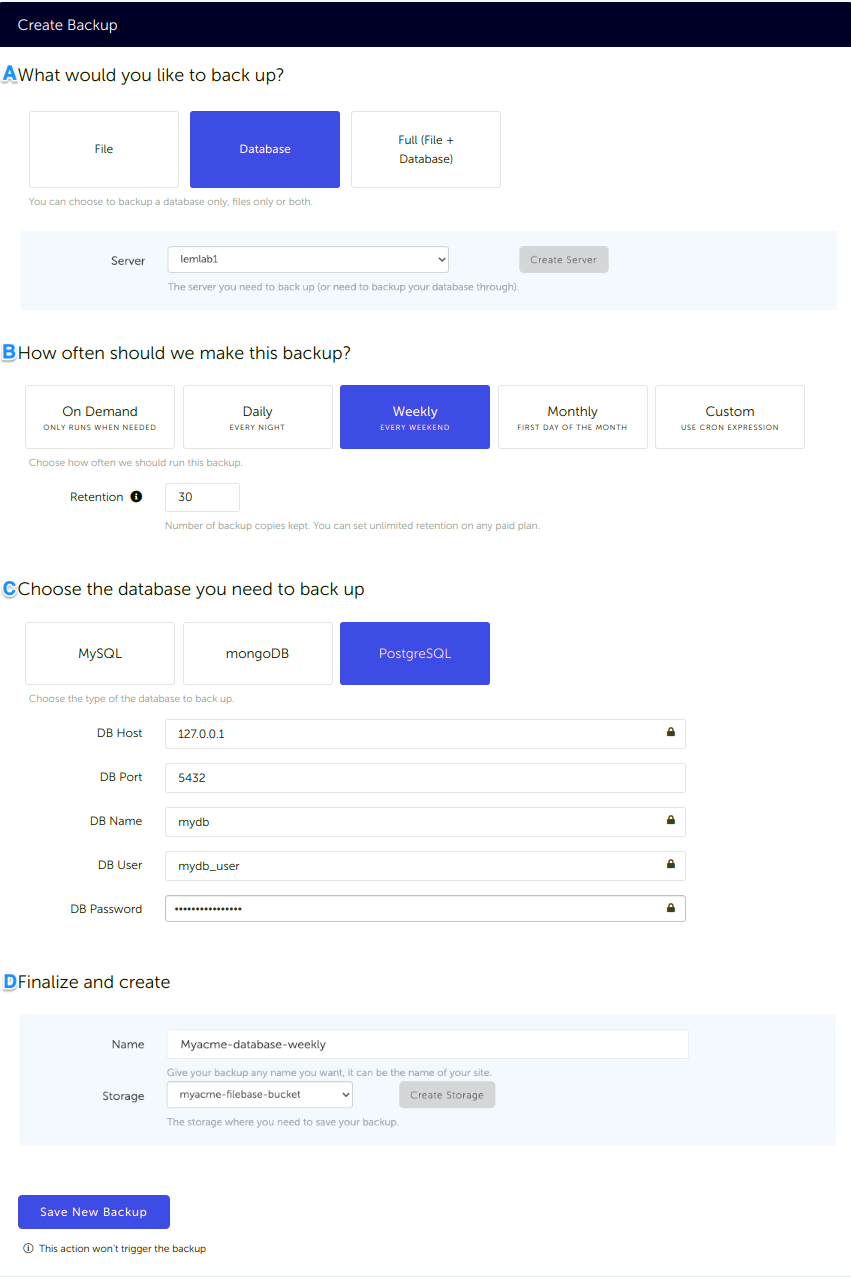
### What would you like to back up? (A)
* Select "**Database**" (in this article we're creating a PostgreSQL backup only)
* **Select the server** on which your database is hosted
### How often should we make this backup? (B)
* Select your **schedule** option (here we picked a daily schedule)
You can select a pre-defined schedule (daily, weekly, monthly) or a custom option allowing you to schedule it whenever you want to use CRON syntax.
* Example of CRON schedule for "20:00 every Tuesday" = `0 22 * * 2`
Finally, the "On demand" option won't schedule anything but will allow you to trigger the backup manually or using our API.
* Define the [**backup retention**,](/docs/getting-started/features/retention) which is the number of backups you want to keep (kind of the history length of your backup if you prefer)
### Choose the database you need to backup (C)
* Select the type of your database, in this case "**PostgreSQL**"
* Fill in the database connection form
## Finalize and create (D)
* Pick the **name of your backup** (this is how it will be displayed in SimpleBackups interface) and where you want to store it.
* Select your **Storage** (step 3)
That's it, your PostgreSQL backup is now ready and connected to your Filebase Bucket.
Setting up backups with SimpleBackups and storing them on Filebase is pretty easy.
Run it once manually (using the "Run" backup button from the backups list), and you'll trigger your first backup!
---
# How to backup Postgres to AWS S3
Source: https://simplebackups.com/blog/how-to-backup-postgres-to-s3
Published: 2020-06-26
Author: Laurent
Summary: How to automate PostgreSQL backups and store them in an AWS S3 bucket. Step-by-step setup with SimpleBackups, from bucket and IAM keys to your first backup.
> Automate PostgreSQL database backup directly to your AWS S3 storage.
With SimpleBackups, you can **backup a PostgreSQL database** to any cloud storage provider.
Below we go through the entire process of **setting up your backup and storing it on AWS S3** specifically.
## Prerequisites
* Create a **[SimpleBackups account](https://my.simplebackups.com/register)**
* Make sure you have your **server connected to your account** (the one on which your PostgreSQL database is hosted)
* Have a **AWS S3 account** (it can be empty, we'll cover how to get your S3 bucket created below)
## 1. Create your AWS S3 Bucket
* **Sign in** to your [AWS Management Console](https://console.aws.amazon.com)
* Go to your [AWS S3 bucket list](https://s3.console.aws.amazon.com/s3/) and create a new bucket

Keep default options for (2) Configure options, (3) Set Permission, review and create your bucket.
**Information you'll need in step 3:**
* Your **"Bucket" name**, in this case "myacme-backups"
* Your **"Bucket" Region**, in this case "US West - N. California"

## 2. Create your AWS credentials
In order to give access to your newly created bucket, you'll need to provide credentials to SimpleBackups. Follow this simple article on how to get your [AWS S3 Credentials](/docs/storage-providers/aws-s3).
**Information you'll need in step 3:**
* **Access Key**
* **Secret**
## 3. Connect your S3 bucket to SimpleBackups
* Log into SimpleBackups and head to the [connect your storage](https://my.simplebackups.com/storage/create) page
* In the storage provider list select **"Amazon S3 Storage"**, and fill in the form with your AWS credentials and newly created bucket information

You'll have to input :
* **Key**: Access Key described in (step 2)
* **Secret**: Secret described in (step 2)
* **Region**: Bucket Region described in (step 1)
* **Bucket**: Bucket name described in (step 1)
* Give your storage a **name** (the bucket name is usually a good pick, but you can be creative) and click on "Save new storage".
You'll be redirected to the list of storage where you'll find your newly connected storage.
## 4. Final step: Create your PostgreSQL backup
Now it's time to head to the [create backup page](https://my.simplebackups.com/backup/create).
From this screen you'll be able to configure what data you're backing up (PostgreSQL in this case), where you want it to be saved (in this case your AWS S3 Bucket), and how often you want this to be done.
*FYI this section will be the same, no matter what storage you pick.*
*And that's the beauty of it, if you want to change storage, just select another one from the list (Backblaze, AWS, or whatever you might prefer) and you'll be good to go.*
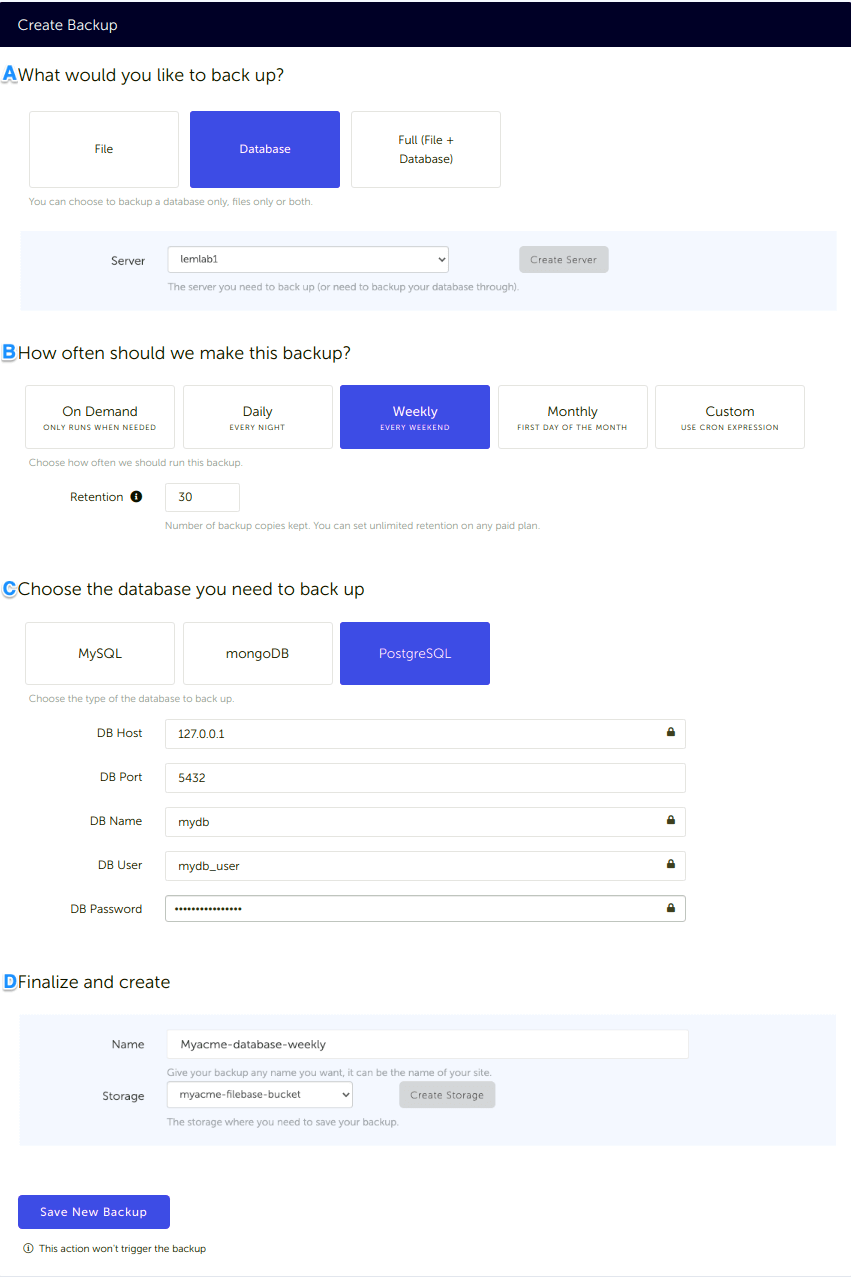
### What would you like to back up? (A)
* Select "**Database**" (in this article we're creating a PostgreSQL backup only)
* **Select the server** on which your database is hosted
### How often should we make this backup? (B)
* Select your **schedule** option (here we picked a daily schedule)
You can select a pre-defined schedule (daily, weekly, monthly) or a custom option allowing you to schedule it whenever you want to use CRON syntax.
* Example of CRON schedule for "20:00 every Tuesday" = `0 22 * * 2`
Finally, the "On demand" option won't schedule anything but will allow you to trigger the backup manually or using our API.
* Define the [**backup retention**,](/docs/getting-started/features/retention) which is the number of backups you want to keep (kind of the history length of your backup if you prefer)
### Choose the database you need to backup (C)
* Select the type of your database, in this case "**PostgreSQL**"
* Fill in the database connection form
## Finalize and create (D)
* Pick the **name of your backup** (this is how it will be displayed in SimpleBackups interface) and where you want to store it.
* Select your **Storage** (step 3)
That's it, your PostgreSQL backup is now ready. Run it once manually (using the "Run" backup button from the backups list) and you'll trigger your first backup!
If you would rather script this yourself, [the ultimate PostgreSQL backup script](/blog/the-ultimate-postgresql-database-backup-script) walks through the `pg_dump` and `aws s3 sync` version of the same pipeline, and the [pg_dump and pg_restore guide](/blog/postgresql-pgdump-and-pgrestore-guide-examples) covers the dump options in full. For a wider view of what else is available, [PostgreSQL backup tools compared](/blog/top-5-postgresql-backup-tools) puts the main options side by side.
You can see the whole picture, including scheduling and restores, on the [managed PostgreSQL backup](/postgresql-backup) page.
## FAQ
---
*This article is part of [The complete guide to PostgreSQL backup](/learn/postgresql-backup#offsite-storage), an honest, practical reference from the team that backs up PostgreSQL every day.*
---
# How to backup Postgres database to SimpleStorage
Source: https://simplebackups.com/blog/how-to-backup-postgres-to-simplestorage
Published: 2020-06-26
Summary: How to automate PostgreSQL backups and store them on SimpleStorage account. Tutorial for SimpleBackups and SimpleStorage.
> PostgreSQL database backup stored in your SimpleStorage account.
Let's see how we can easily schedule **PostgreSQL backups** and store them on **SimpleStorage**.
SimpleStorage is our built-in backup storage solution included in all our paid plan. SimpleStorage leverage AWS S3 behind the scene, so your data will be hosted on Amazon data centers (you have the choice between the US and Europe for where to store your backups).
## Prerequisites
* Create a **[SimpleBackups account](https://my.simplebackups.com/register)** and choose one of our paid plan.
* Make sure you have your **server connected to your account** (the one on which your PostgreSQL database is hosted)
## Create your PostgreSQL backup
First step is to [schedule your backup](https://my.simplebackups.com/backup/create).
From this screen you'll be able to configure what data you're backing up (PostgreSQL in this case), where you want it to be saved (in this case your SimpleStorage storage), and how often you want this to be done.
*FYI this section will be the same, no matter what storage you pick.*
*And that's the beauty of it, if you want to change storage, just select another one from the list (Backblaze, AWS, or whatever you might prefer) and you'll be good to go.*
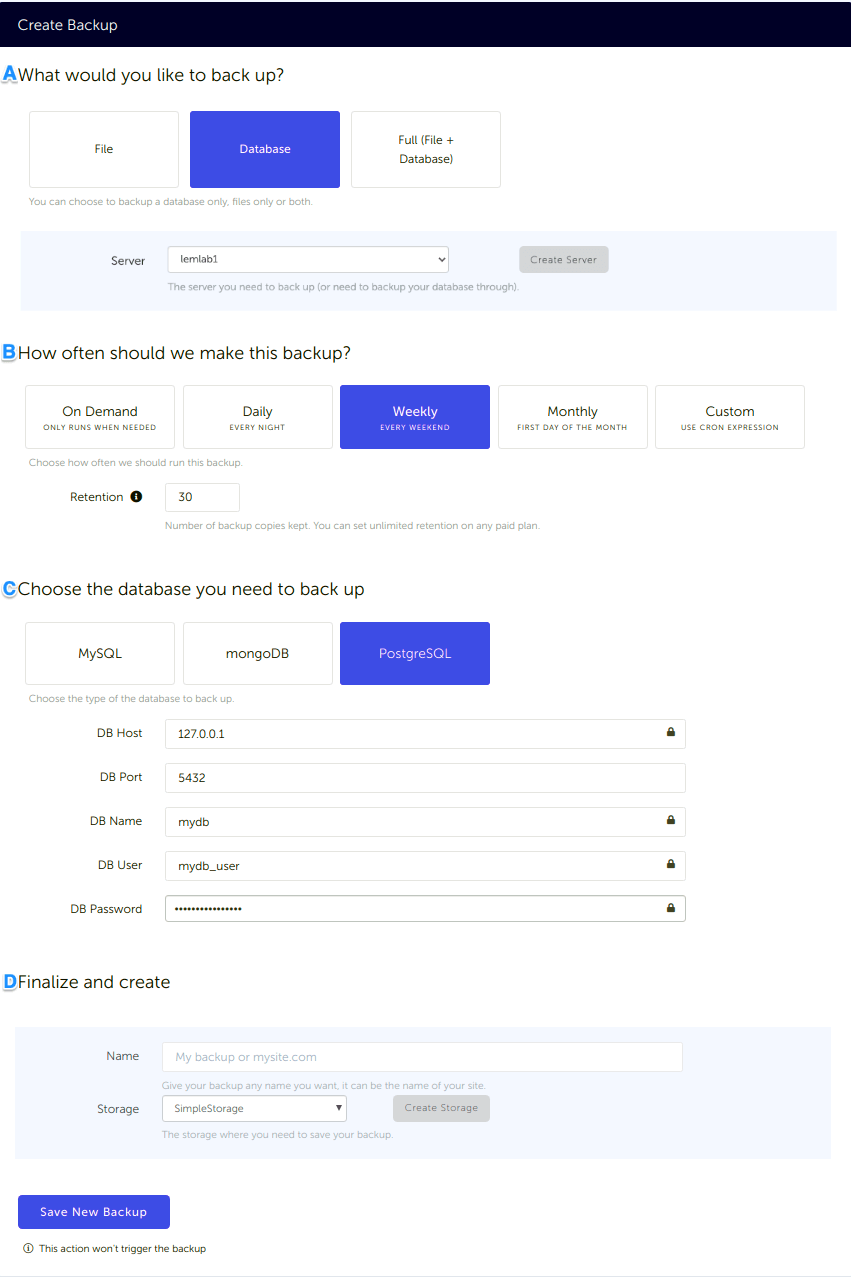
### What would you like to back up? (A)
* Select "**Database**" (in this article we're creating a PostgreSQL backup only)
* **Select the server** on which your database is hosted
### How often should we make this backup? (B)
* Select your **schedule** option (here we picked a daily schedule)
You can select a pre-defined schedule (daily, weekly, monthly) or a custom option allowing you to schedule it whenever you want to use CRON syntax.
* Example of CRON schedule for "20:00 every Tuesday" = `0 22 * * 2`
Finally, the "On demand" option won't schedule anything but will allow you to trigger the backup manually or using our API.
* Define the [**backup retention**,](/docs/getting-started/features/retention) which is the number of backups you want to keep (kind of the history length of your backup if you prefer)
### Choose the database you need to back up (C)
* Select the type of your database, in this case "**PostgreSQL**"
* Fill in the database connection form
## Finalize and create (D)
* Pick the **name of your backup** (this is how it will be displayed in SimpleBackups interface) and where you want to store it.
* Select your **Storage**

That's it, your PostgreSQL backup is now ready and connected to SimpleStorage.
Run it once manually (using the "Run" backup button from the backups list) and you'll trigger your first backup!
---
# How to backup Postgres database to Wasabi
Source: https://simplebackups.com/blog/how-to-backup-postgres-to-wasabi
Published: 2020-06-26
Author: Laurent
Summary: How to automate PostgreSQL backups and store them in a Wasabi bucket. Step-by-step setup with SimpleBackups, from bucket and access key to your first backup.
> Automate PostgreSQL database backup directly to your Wasabi storage.
Wasabi provides S3-compatible object storage, which means the bucket, access key and region you create below drop straight into the same fields SimpleBackups uses for AWS S3. Check Wasabi's own [pricing page](https://wasabi.com/cloud-object-storage/pricing) for current rates and egress terms before you commit a destination to it.
## Prerequisites
* Create a **[SimpleBackups account](https://my.simplebackups.com/register)**
* Make sure you have your **server connected to your account** (the one on which your PostgreSQL database is hosted)
* Have a **Wasabi account** (we'll cover how to create your Wasabi Bucket below)
## 1. Create your Wasabi Bucket
* [Sign into your Wasabi account](https://console.wasabisys.com/)
* Go to the [Wasabi file manager](https://console.wasabisys.com/#/file_manager/) and click on "Create Bucket"
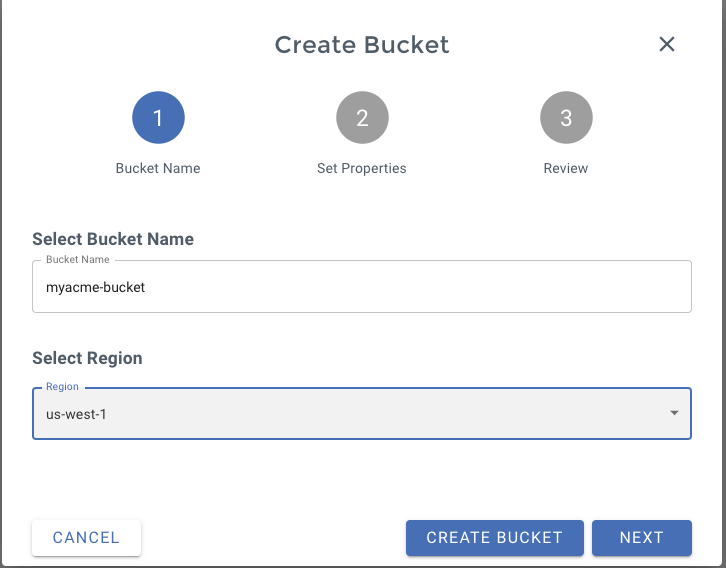
- On step 1 of the form, define the **name of your bucket** (we like to use our company name here)
- Pick the **region** you need (think about GDPR rules, if you're an EU company)
You can keep default options on step 2 and finally confirm your Bucket creation on step 3.
And that's one good thing done, **your Wasabi bucket is created!**
Don't leave the Wasabi interface, we'll now have to create your credentials.
**Information you'll need in step 3:**
- Your **"Bucket" name**, in this case "myacme-bucket"
- Your **"Bucket" Region**, in this case "us-west-1"
## 2. Create your Wasabi Credentials/Access Key
In order to grant access to your bucket, we'll need to create an Access Key.
- Go to the [Wasabi access keys page](https://console.wasabisys.com/#/access_keys) and click on **"Create New Access Key"**
- You can go with the default options and pick a **"Root User"**
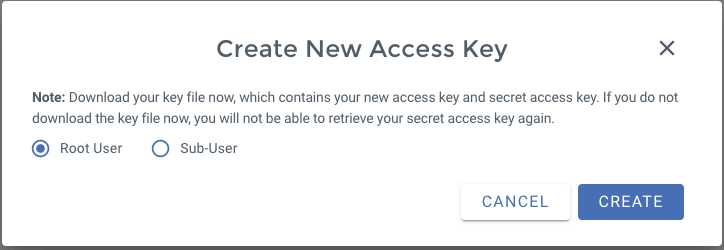
That's it you **Access Key** and **Secret Key** will be generated, make sure to write them down.
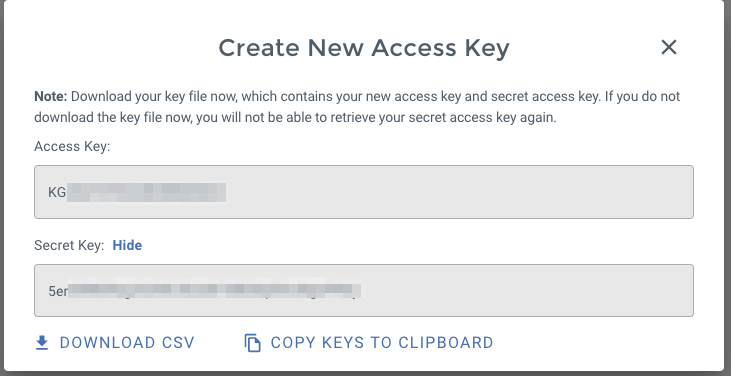
**Information you'll need in step 3:**
- **Access Key**
- **Secret Key**
## 3. Connect your Wasabi bucket to SimpleBackups
- Log into SimpleBackups and head to the [connect your storage](https://my.simplebackups.com/storage/create) page
- Pick **"Wasabi"** as storage provider and fill in the "Connect your storage" form with the information from step 1 and 2.

You'll have to input :
- **Key**: Access Key described in (step 2)
- **Secret**: Secret Key described in (step 2)
- **Region**: Bucket region described in (step 1)
- **Bucket**: Bucket name described in (step 1)
- Give your storage a **name** (usually we like to use the Bucket name) and click on "Save new storage".
You'll be redirected to the list of storage where you'll find your newly connected storage.

## 4. Final step: Create your PostgreSQL backup
Now it's time to head to the [create backup page](https://my.simplebackups.com/backup/create).
From this screen you'll be able to configure what data you're backing up (PostgreSQL in this case), where you want it to be saved (in this case your Wasabi Bucket), and how often you want this to be done.
*FYI this section will be the same, no matter what storage you pick.*
*And that's the beauty of it, if you want to change storage, just select another one from the list (Wasabi, AWS, or whatever you might prefer) and you'll be good to go.*
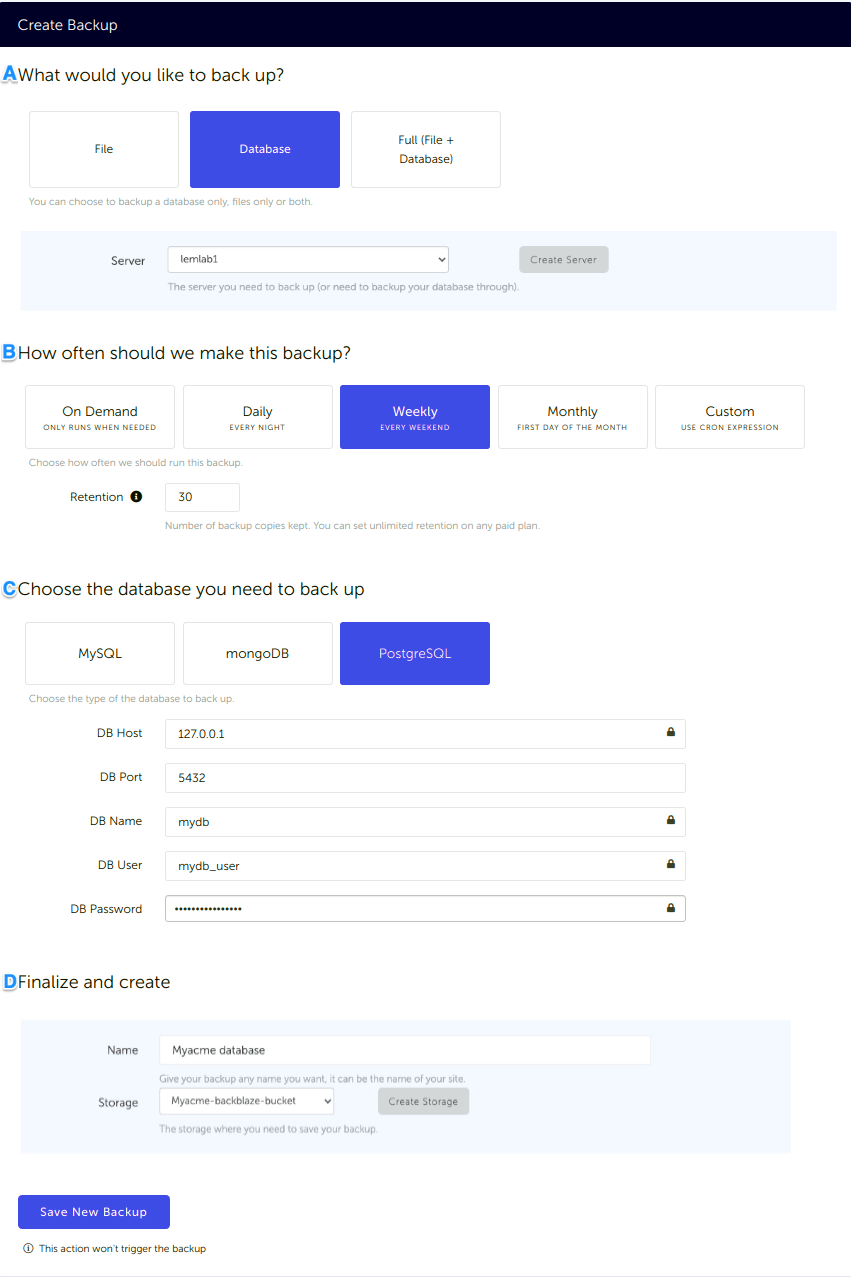
### What would you like to back up? (A)
* Select "**Database**" (in this article we're creating a PostgreSQL backup only)
* **Select the server** on which your database is hosted
### How often should we make this backup? (B)
* Select your **schedule** option (here we picked a daily schedule)
You can select a pre-defined schedule (daily, weekly, monthly) or a custom option allowing you to schedule it whenever you want to use CRON syntax.
* Example of CRON schedule for "20:00 every Tuesday" = `0 22 * * 2`
Finally, the "On demand" option won't schedule anything but will allow you to trigger the backup manually or using our API.
* Define the [**backup retention**,](/docs/getting-started/features/retention) which is the number of backups you want to keep (kind of the history length of your backup if you prefer)
### Choose the database you need to backup (C)
* Select the type of your database, in this case "**PostgreSQL**"
* Fill in the database connection form
## Finalize and create (D)
* Pick the **name of your backup** (this is how it will be displayed in SimpleBackups interface) and where you want to store it.
* Select your **Storage** (step 3)
Congratulations, you now have your PostgreSQL database, backed up on Wasabi!
*Run it once manually (using the "Run" backup button from the backups list) and you'll trigger your first backup!*
## FAQ
## Keep learning
- [The ultimate PostgreSQL backup script](/blog/the-ultimate-postgresql-database-backup-script), if you would rather own the `pg_dump` and upload pipeline yourself.
- [pg_dump and pg_restore guide](/blog/postgresql-pgdump-and-pgrestore-guide-examples), for the dump options behind whichever route you pick.
- [How to restore a PostgreSQL backup](/blog/how-to-restore-a-postgresql-backup), because a backup you have never restored is an assumption.
Scheduling, retention and restores across every destination are covered on the [managed PostgreSQL backup](/postgresql-backup) page.
---
*This article is part of [The complete guide to PostgreSQL backup](/learn/postgresql-backup#offsite-storage), an honest, practical reference from the team that backs up PostgreSQL every day.*
---
# How to backup PostgreSQL to Dropbox
Source: https://simplebackups.com/blog/how-to-backup-postgresql-to-dropbox
Published: 2020-06-26
Author: Laurent
Summary: How to automate PostgreSQL backups and store them in your Dropbox account. Step-by-step setup with SimpleBackups, from connecting Dropbox to your first backup.
> PostgreSQL database backup stored in your Dropbox account.
Let's see how we can easily schedule **PostgreSQL backups** and store them on **Dropbox**.
Dropbox is the quickest destination to wire up, because it uses an OAuth connection instead of an access key and secret pair. There is nothing to copy between two consoles: you authorise once and SimpleBackups writes into an app folder it creates for you.
## Prerequisites
* Create a **[SimpleBackups account](https://my.simplebackups.com/register)**
* Make sure you have your **server connected to your account** (the one on which your PostgreSQL database is hosted)
* Have a **Dropbox account**
## 1. Connect your Dropbox Account to SimpleBackups
* Log into SimpleBackups and head to the [Connect a Storage](https://my.simplebackups.com/storage/create) page
* In the storage provider list select **"Dropbox"**, and click on the **Connect Dropbox** button.

You'll then be redirected to a Dropbox page asking you to grant access to your storage and create a folder named **Apps > SimpleBackus.io**. Sign in and hit Allow.

And your storage is now connected!
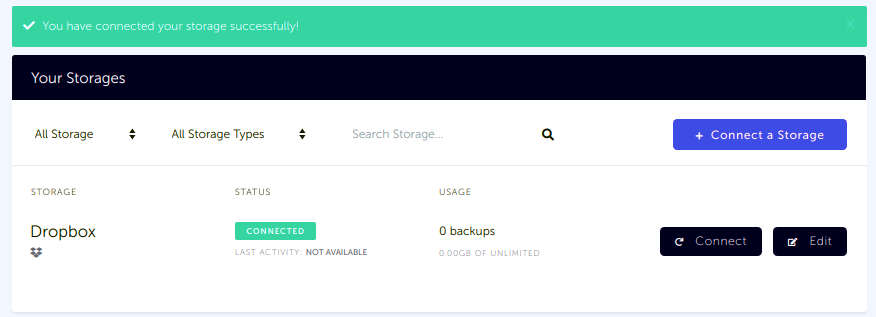
## 2. Final step: Create your PostgreSQL backup
Last step is obviously to [schedule your backup](https://my.simplebackups.com/backup/create).
From this screen you'll be able to configure what data you're backing up (PostgreSQL in this case), where you want it to be saved (in this case your Dropbox storage), and how often you want this to be done.
*FYI this section will be the same, no matter what storage you pick.*
*And that's the beauty of it, if you want to change storage, just select another one from the list (Backblaze, AWS, or whatever you might prefer) and you'll be good to go.*
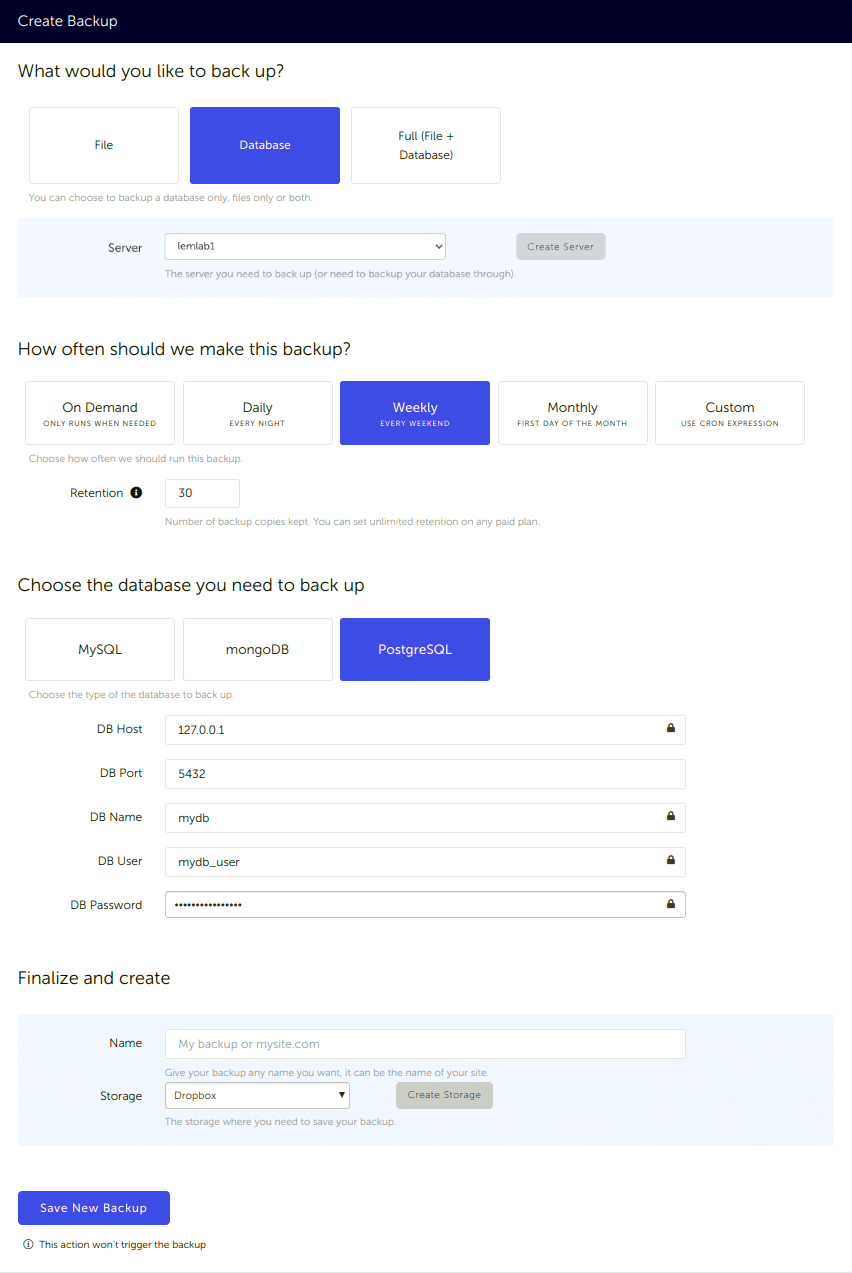
### What would you like to back up? (A)
* Select "**Database**" (in this article we're creating a PostgreSQL backup only)
* **Select the server** on which your database is hosted
### How often should we make this backup? (B)
* Select your **schedule** option (here we picked a daily schedule)
You can select a pre-defined schedule (daily, weekly, monthly) or a custom option allowing you to schedule it whenever you want to use CRON syntax.
* Example of CRON schedule for "20:00 every Tuesday" = `0 22 * * 2`
Finally, the "On demand" option won't schedule anything but will allow you to trigger the backup manually or using our API.
* Define the [**backup retention**,](/docs/getting-started/features/retention) which is the number of backups you want to keep (kind of the history length of your backup if you prefer)
### Choose the database you need to back up (C)
* Select the type of your database, in this case "**PostgreSQL**"
* Fill in the database connection form
## Finalize and create
* Pick the **name of your backup** (this is how it will be displayed in SimpleBackups interface) and where you want to store it.
* Select your **Storage** (step 1)
That's it, your PostgreSQL backup is now ready and connected to your Dropbox account.
Run it once manually (using the "Run" backup button from the backups list), and you'll trigger your first backup!
## FAQ
## Keep learning
- [The ultimate PostgreSQL backup script](/blog/the-ultimate-postgresql-database-backup-script), if you would rather own the `pg_dump` and upload pipeline yourself.
- [pg_dump and pg_restore guide](/blog/postgresql-pgdump-and-pgrestore-guide-examples), for the dump options behind whichever route you pick.
- [How to restore a PostgreSQL backup](/blog/how-to-restore-a-postgresql-backup), because a backup you have never restored is an assumption.
Scheduling, retention and restores across every destination are covered on the [managed PostgreSQL backup](/postgresql-backup) page.
---
*This article is part of [The complete guide to PostgreSQL backup](/learn/postgresql-backup#offsite-storage), an honest, practical reference from the team that backs up PostgreSQL every day.*
---
# How to backup Postgres to Google Cloud Storage
Source: https://simplebackups.com/blog/how-to-backup-postgresql-to-google-cloud-storage-gcs
Published: 2020-06-26
Author: Laurent
Summary: How to automate PostgreSQL backups and store them in a Google Cloud Storage bucket. Step-by-step setup with SimpleBackups, from bucket to first backup.
> PostgreSQL database backup stored in your Google Cloud Storage Bucket.
Let's see how we can schedule **PostgreSQL backups** and store them on your **Google Cloud Storage** bucket.
Google Cloud Storage is object storage on Google Cloud Platform, and it exposes an S3-compatible interface through HMAC keys. That is what makes it a drop-in destination here: the bucket, region, key and secret map onto the same four fields used for AWS S3.
## Prerequisites
* Create a **[SimpleBackups account](https://my.simplebackups.com/register)**
* Make sure you have your **server connected to your account** (the one on which your PostgreSQL database is hosted)
* Have a **Google account** and make sure that billing is enabled for your Google Cloud Project (we'll cover how to get your bucket created below)
## 1. Create your Google Cloud Storage Bucket
* Sign in to your [Google Cloud Console](https://console.cloud.google.com), and then [select an existing Google Cloud project](https://console.cloud.google.com/projectselector2) or [create a new one](https://console.cloud.google.com/projectcreate)
* Open the [Cloud Storage browser](https://console.cloud.google.com/storage/browser) in the Google Cloud Console
* Click on **"Create bucket"** to open the bucket creation form. First define a globally unique permanent **name for your bucket**, and then click Continue.
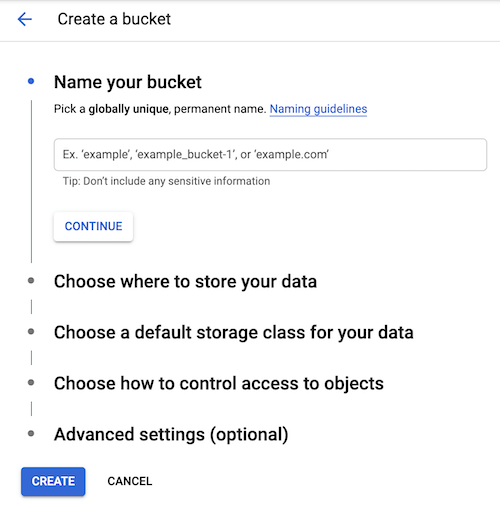
* And the select the region for your bucket
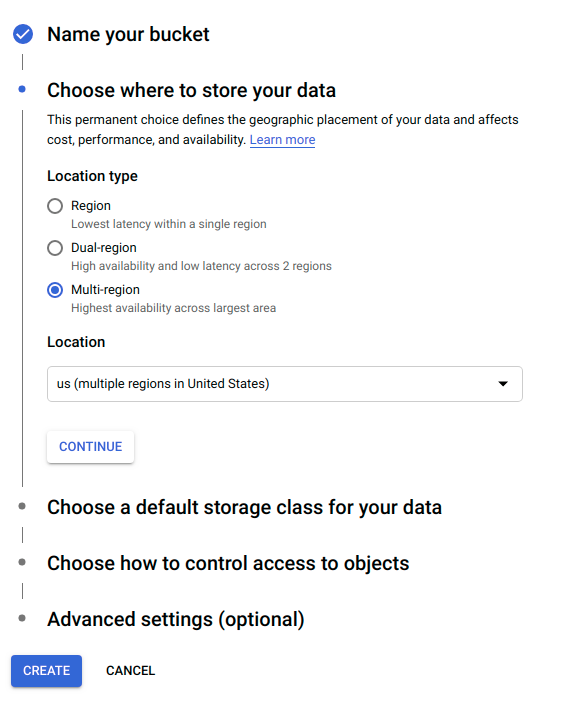
* Click Create. Your new bucket will be created.
**Information you'll need in step 3:**
* Your **"Bucket" name**
* Your **"Bucket" Region**
## 2. Retrieve your Bucket credentials
In order to give access to your newly created bucket, you'll need to provide credentials to SimpleBackups.
Follow this [simple article](/docs/storage-providers/google-cloud-storage) on how to get your Google Cloud Storage Credentials.
**Information you'll need in step 3:**
* **Access Key**
* **Secret Key**
## 3. Connect your Bucket to SimpleBackups
* Log into SimpleBackups and head to the [connect your storage](https://my.simplebackups.com/storage/create) page
* In the storage provider list select **"Google Cloud Storage"**, and fill in the form with the information from step 1 and step 2
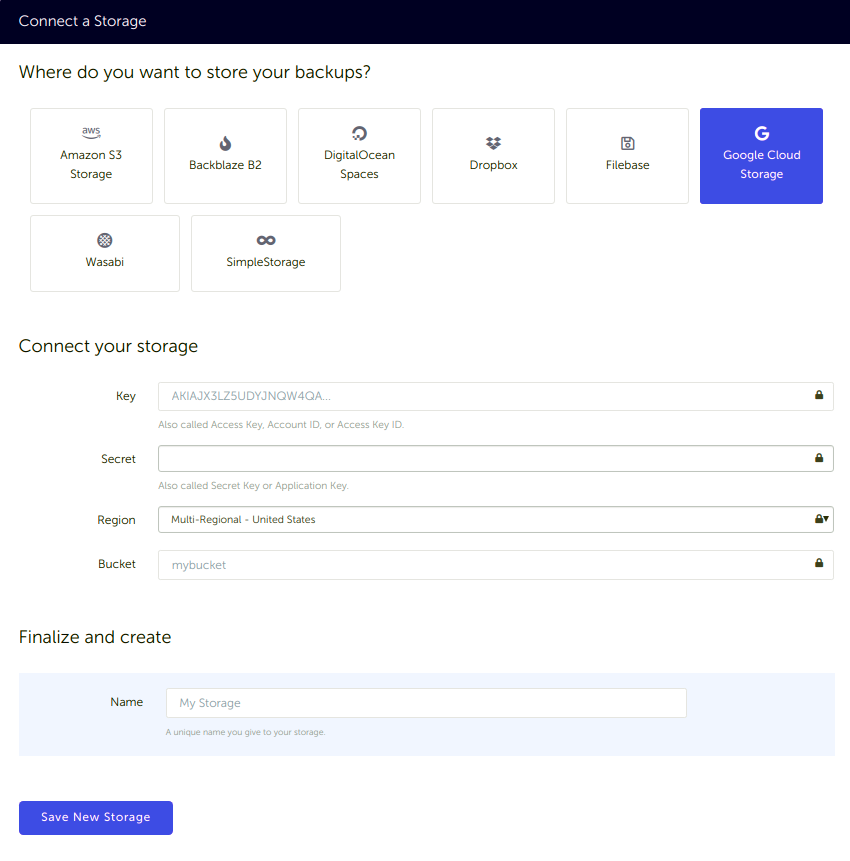
You'll have to input :
* **Key**: Access Key described in (step 2)
* **Secret**: Secret Key described in (step 2)
* **Region**: Bucket Region described in (step 1)
* **Bucket**: Bucket name described in (step 1)
* Give your storage a **name** (the bucket name is usually a good pick, but you can be creative) and click on "Save New storage".
The next step is to authorize SimpleBackups to your Google account. Click on the **Connect Your Google Account** button.
Grant access to your Google Account by clicking Allow.
On the next screen click Save Changes, and now your Google Cloud Storage is already connected.

## 4. Final step: Create your PostgreSQL backup
Last step is obviously to [schedule your backup](https://my.simplebackups.com/backup/create).
From this screen you'll be able to configure what data you're backing up (PostgreSQL in this case), where you want it to be saved (in this case your Google Cloud Storage Bucket), and how often you want this to be done.
*FYI this section will be the same, no matter what storage you pick.*
*And that's the beauty of it, if you want to change storage, just select another one from the list (Backblaze, AWS, or whatever you might prefer) and you'll be good to go.*
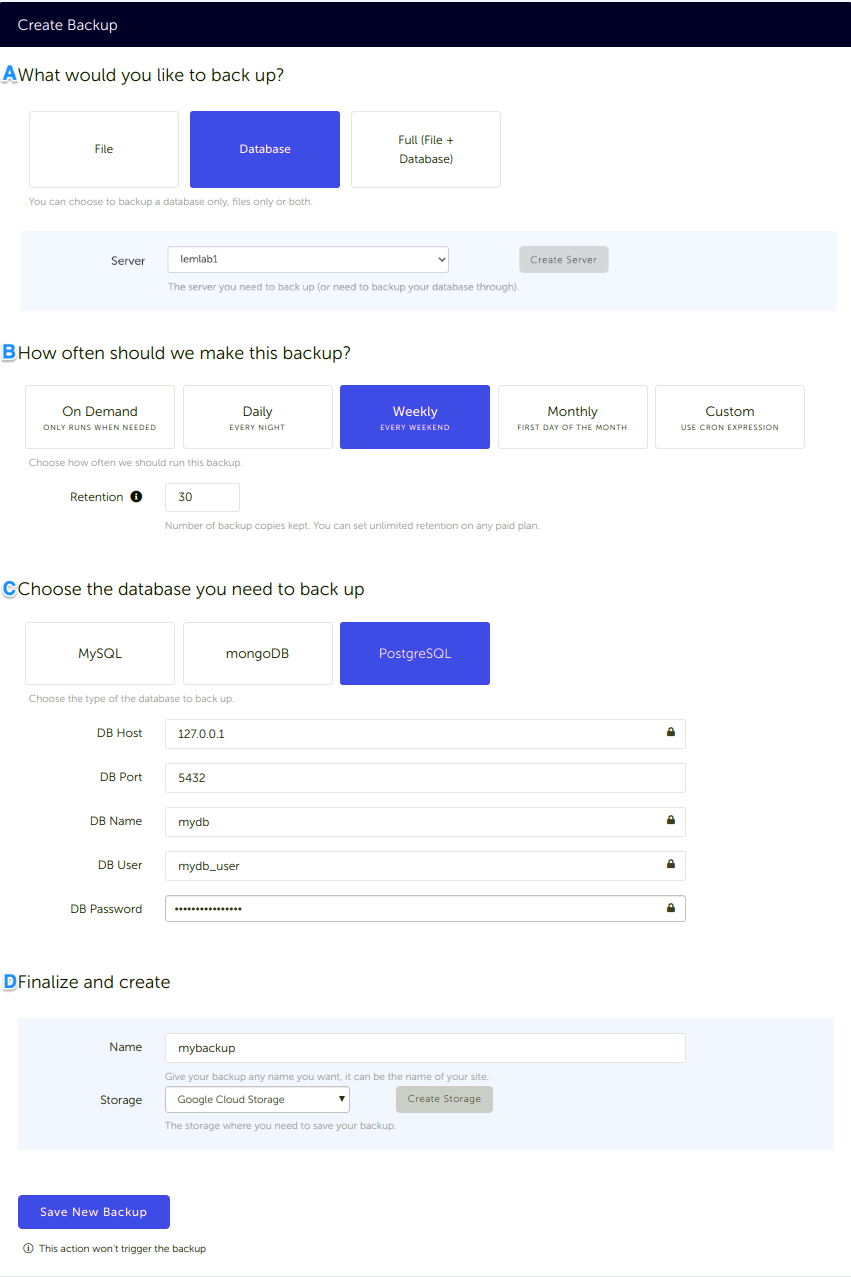
### What would you like to back up? (A)
* Select "**Database**" (in this article we're creating a PostgreSQL backup only)
* **Select the server** on which your database is hosted
### How often should we make this backup? (B)
* Select your **schedule** option (here we picked a daily schedule)
You can select a pre-defined schedule (daily, weekly, monthly) or a custom option allowing you to schedule it whenever you want to use CRON syntax.
* Example of CRON schedule for "20:00 every Tuesday" = `0 22 * * 2`
Finally, the "On demand" option won't schedule anything but will allow you to trigger the backup manually or using our API.
* Define the [**backup retention**,](/docs/getting-started/features/retention) which is the number of backups you want to keep (kind of the history length of your backup if you prefer)
### Choose the database you need to backup (C)
* Select the type of your database, in this case "**PostgreSQL**"
* Fill in the database connection form
## Finalize and create (D)
* Pick the **name of your backup** (this is how it will be displayed in SimpleBackups interface) and where you want to store it.
* Select your **Storage** (step 3)
That's it, your PostgreSQL backup is now ready and connected to your Google Cloud Storage Bucket.
Run it once manually (using the "Run" backup button from the backups list) and you'll trigger your first backup!
## FAQ
## Keep learning
- [The ultimate PostgreSQL backup script](/blog/the-ultimate-postgresql-database-backup-script), if you would rather own the `pg_dump` and upload pipeline yourself.
- [pg_dump and pg_restore guide](/blog/postgresql-pgdump-and-pgrestore-guide-examples), for the dump options behind whichever route you pick.
- [How to restore a PostgreSQL backup](/blog/how-to-restore-a-postgresql-backup), because a backup you have never restored is an assumption.
Scheduling, retention and restores across every destination are covered on the [managed PostgreSQL backup](/postgresql-backup) page.
---
*This article is part of [The complete guide to PostgreSQL backup](/learn/postgresql-backup#offsite-storage), an honest, practical reference from the team that backs up PostgreSQL every day.*
---
# How to back up files to Exoscale
Source: https://simplebackups.com/blog/how-to-backup-files-to-exoscale
Published: 2020-06-26
Summary: How to automate file backups and store them on Exoscale bucket. Tutorial for SimpleBackups and Exoscale.
> Backup your files using SimpleBackups and store it on Exoscale Object Storage.
Exoscale is one of the leading cloud European Cloud Hosting provider.
They provide fast and secure infrastructure that now, can be connected with SimpleBackups.
In this article we'll focus on their S3-compliant storage that can be used as storage for all your backups.
## Prerequisites
* Create a **[SimpleBackups account](https://my.simplebackups.com/register)**
* Have an **Exoscale account** (I'll show you how to create your Exoscale Bucket below)
## 1. Create your Exoscale Bucket
* Sign in your Exoscale account at https://portal.exoscale.com/login
* Navigate to "Object Storage" and click on **"Add"**
* **Name** your bucket 
* Select the **zone** for your bucket

Good job, **your Exoscale bucket is created!**
## 2. Create your Exoscale credentials
You'll now need to create Exoscale credentials that will be used to connect to you newly created storage from SimpleBackups.
* Click on **"IAM"** on the left menu and then **"Add"** on the top right

* Create a new Key


**Information you'll need in step 3:**
* Your **Bucket name**
* Your **Bucket region**
* Your **Bucket key**
* Your **Bucket secret**
## 3. Create your "Files backup"
When backing up your data you have the option to back up database(s), files/directories or both.
Let's now go to SimpleBackups and [get that backup configured](https://my.simplebackups.com/backup/create).
From this screen you'll be able to configure what data you're backing up, where you want it to be saved (in this case your Exoscale Bucket), and how often you want this to be done.
> *FYI this section will be the same, no matter what storage you pick.*
*And that's the beauty of it, if you want to change storage, just select another one from the list (Backblaze, DigitalOcean, or whatever you might prefer), and you'll be good to go.*
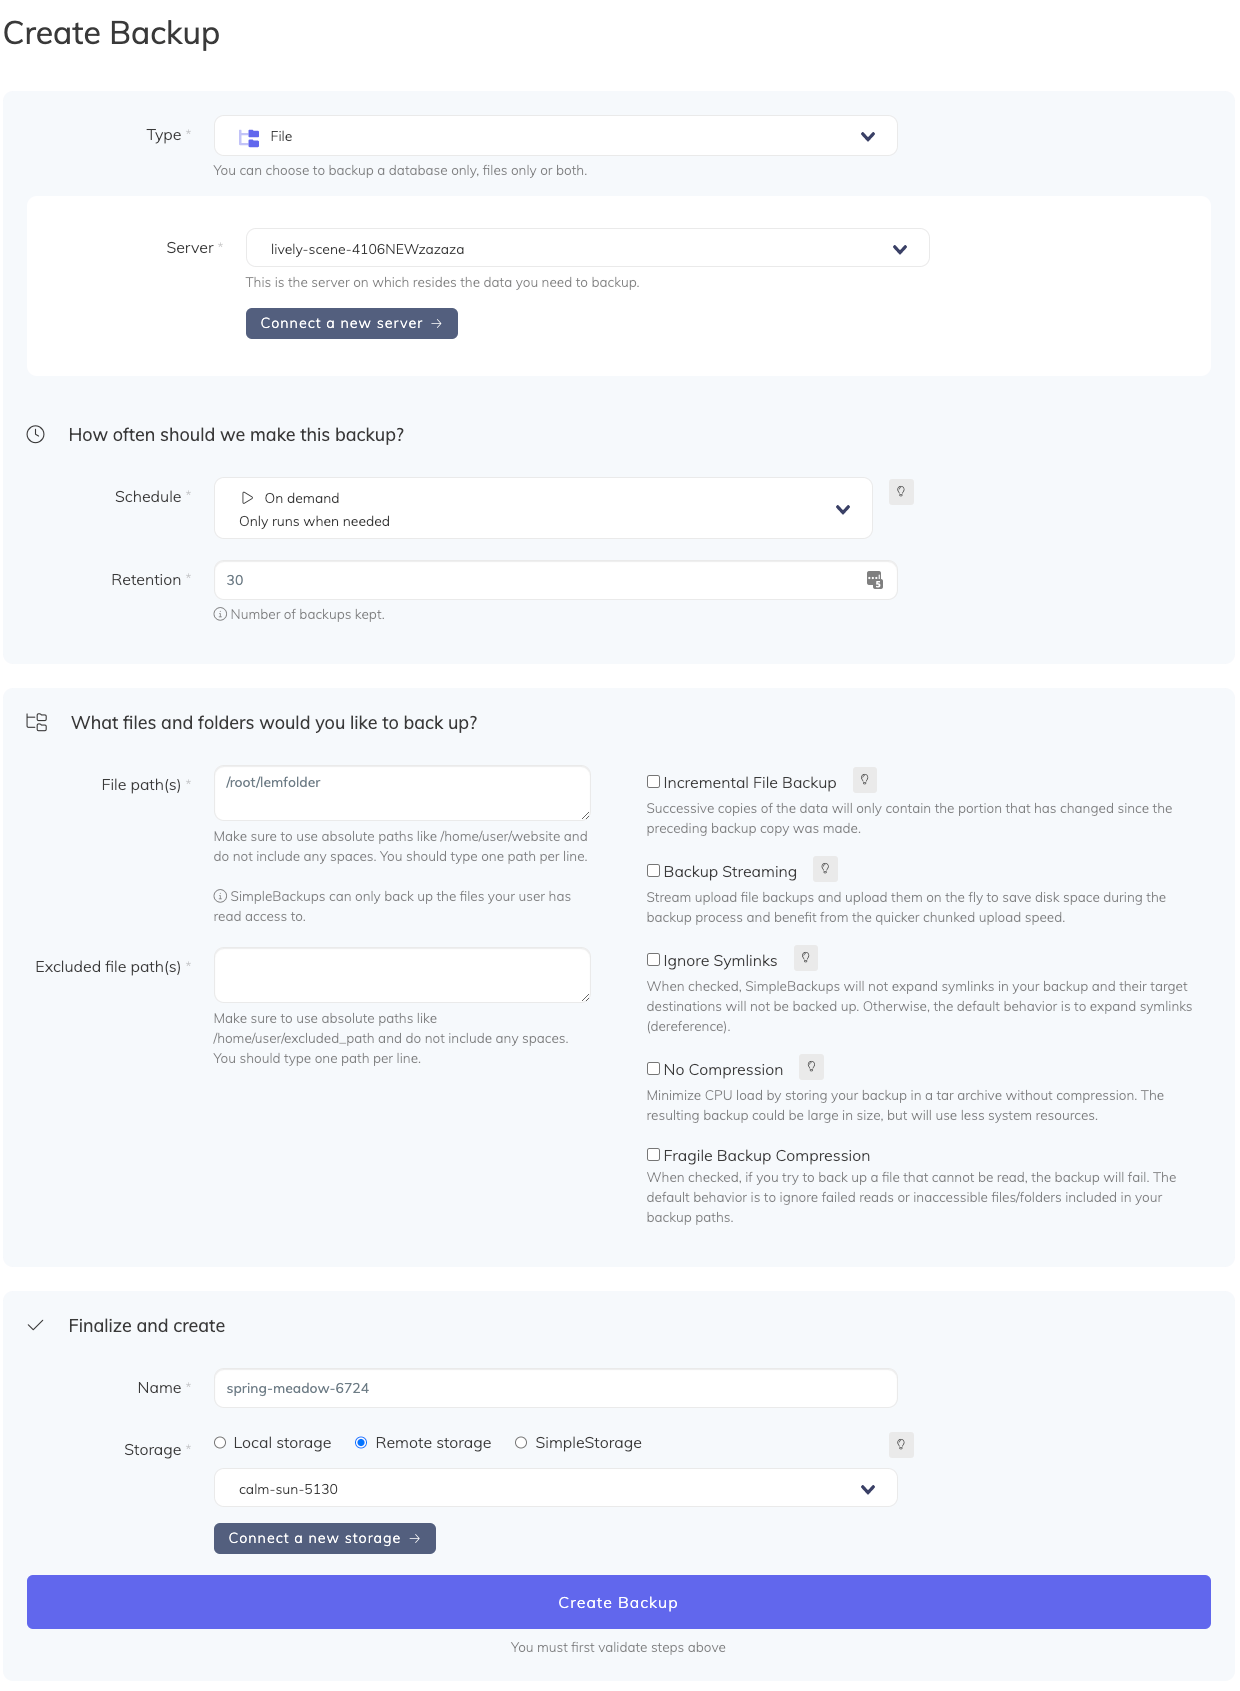
### What would you like to back up?
* Select "**Files**" (in this article we're creating a Files backup only)
* **Select the server** on which your files are stored
### How often should we make this backup?
* Select your **schedule** option (here we picked a daily schedule)
You can select a pre-defined schedule (daily, weekly, monthly) or a custom option allowing you to schedule it whenever you want to use CRON syntax.
* Example of CRON schedule for "20:00 every Tuesday" = `0 22 * * 2`
Finally, the "On demand" option won't schedule anything but will allow you to trigger the backup manually or using our API.
* Define the [**backup retention**,](/docs/getting-started/features/retention) which is the number of backups you want to keep (kind of the history length of your backup if you prefer)
### Choose the files you need to back up
* Define the files & folder you want to **include** or **exclude**
* Validate this step (we'll make sure we can access to these folders before moving to the next step)
## Finalize and create
* Pick the **name of your backup** (this is how it will be displayed in SimpleBackups interface) and where you want to store it.
* Select your **Storage** (see below)
## Connect your Exoscale Bucket
* In the "Finalize and create" step, select **"Remote storage"** and click on **"Connect a new storage"**.
* Select **"Exoscale"** as storage provider and fill in the "Connect your storage" form with the information from step 1.

You'll have to input :
* **Key**: Access Key described in step 1
* **Secret**: Secret Key described in step 1
* **Region**: Bucket location described in step 1
* **Bucket**: Bucket name described in step 1
Congratulations, you now have your files backed up on Exoscale!
*Run it once manually (using the "Run" backup button from the backups list), and you'll trigger your first backup!*
---
# How to back up files to Google Drive
Source: https://simplebackups.com/blog/how-to-backup-files-to-google-drive
Published: 2020-06-26
Summary: How to automate file backups and store them on Google Drive. Tutorial for SimpleBackups and Google Drive.
> Backup your files using SimpleBackups and store it on Google Drive.
If you're already using Google Drive, leveraging it to store your backups is one of the easiest integration.
In this article we'll focus on how to connect your Google Drive account to store file backups, but this can work for any kind of backups as well.
## Prerequisites
* Create a **[SimpleBackups account](https://my.simplebackups.com/register)**
* Have an **Google Drive account**
## 1. Create your "Files backup"
When backing up your data you have the option to back up database(s), files/directories or both.
Let's now go to SimpleBackups and [get that backup configured](https://my.simplebackups.com/backup/create).
From this screen you'll be able to configure what data you're backing up, where you want it to be saved (in this case your Google Drive Bucket), and how often you want this to be done.
> *FYI this section will be the same, no matter what storage you pick.*
*And that's the beauty of it, if you want to change storage, just select another one from the list (Backblaze, DigitalOcean, or whatever you might prefer), and you'll be good to go.*
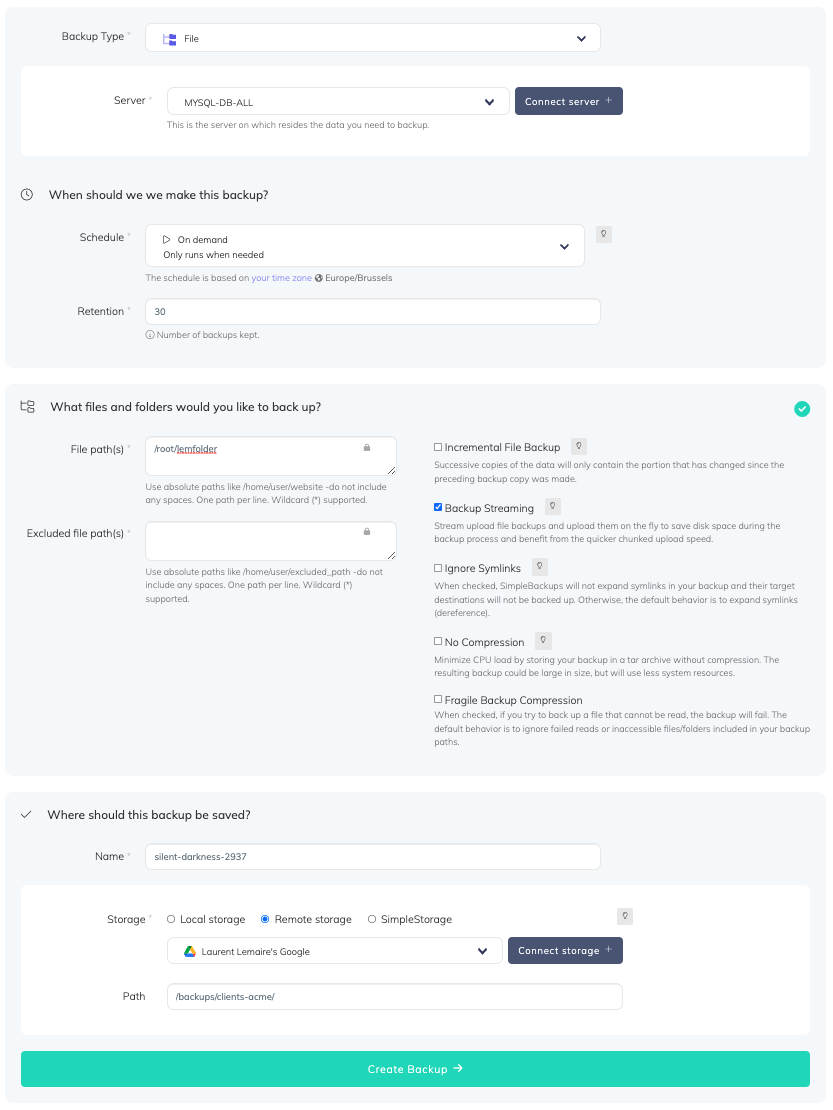
### What would you like to back up?
* Select "**Files**" (in this article we're creating a Files backup only)
* **Select the server** on which your files are store
### How often should we make this backup?
* Select your **schedule** option (here we picked a daily schedule)
You can select a pre-defined schedule (daily, weekly, monthly) or a custom option allowing you to schedule it whenever you want to use CRON syntax.
* Example of CRON schedule for "20:00 every Tuesday" = `0 22 * * 2`
Finally, the "On demand" option won't schedule anything but will allow you to trigger the backup manually or using our API.
* Define the [**backup retention**,](/docs/getting-started/features/retention) which is the number of backups you want to keep (kind of the history length of your backup if you prefer)
### Choose the files you need to back up
* Define the files & folder you want to **include** or **exclude**
* Validate this step (we'll make sure we can access to these folders before moving to the next step)
## Finalize and create
* Pick the **name of your backup** (this is how it will be displayed in SimpleBackups interface) and where you want to store it.
* Select your **Storage** (see below)
## Connect your Google Drive Account
* In the "Finalize and create" step, select **"Remote storage"** and click on **"Connect a new storage"**.
* Select **"Google Drive"** as storage provider and fill in the "Connect your storage" form with the information from step 1.
* Select the folder where your backup will be stored (relative to the root of your Google Drive).
*Note that SimpleBackups will only have access to the folders created from a backup.*


Congratulations, you now have your files backed up on Google Drive!
*Run it once manually (using the "Run" backup button from the backups list), and you'll trigger your first backup!*
---
# How to back up files to UpCloud
Source: https://simplebackups.com/blog/how-to-backup-files-to-upcloud
Published: 2020-06-26
Summary: How to automate file backups and store them on UpCloud bucket. Tutorial for SimpleBackups and UpCloud.
> Backup your file backups using SimpleBackups and store it on UpCloud Object Storage.
UpCloud is one of the leading cloud providers around.
They provide fast and secure infrastructure that now, can be connected with SimpleBackups.
In this article we'll focus on their S3-compliant object storage that can be used as storage for all your backups.
## Prerequisites
- Create a **[SimpleBackups account](https://my.simplebackups.com/register)**
- Have an **UpCloud account** (I'll show you how to create your UpCloud Bucket below)
## 1. Create your Upcloud Object Storage
- Sign in your UpCloud account at https://hub.upcloud.com/
- Go to [https://hub.upcloud.com/login?next=/object-storage/2.0](https://hub.upcloud.com/login?next=/object-storage/2.0) or navigate to "Object Storage" and click on **"Get Started"**
- Select the **location** for your storage (think about GDPR rules, if you're an EU company)
- Make sure to keep **"Public network access"** option enabled
- **Name** your Object storage
- Click **"Create Object Storage"**.
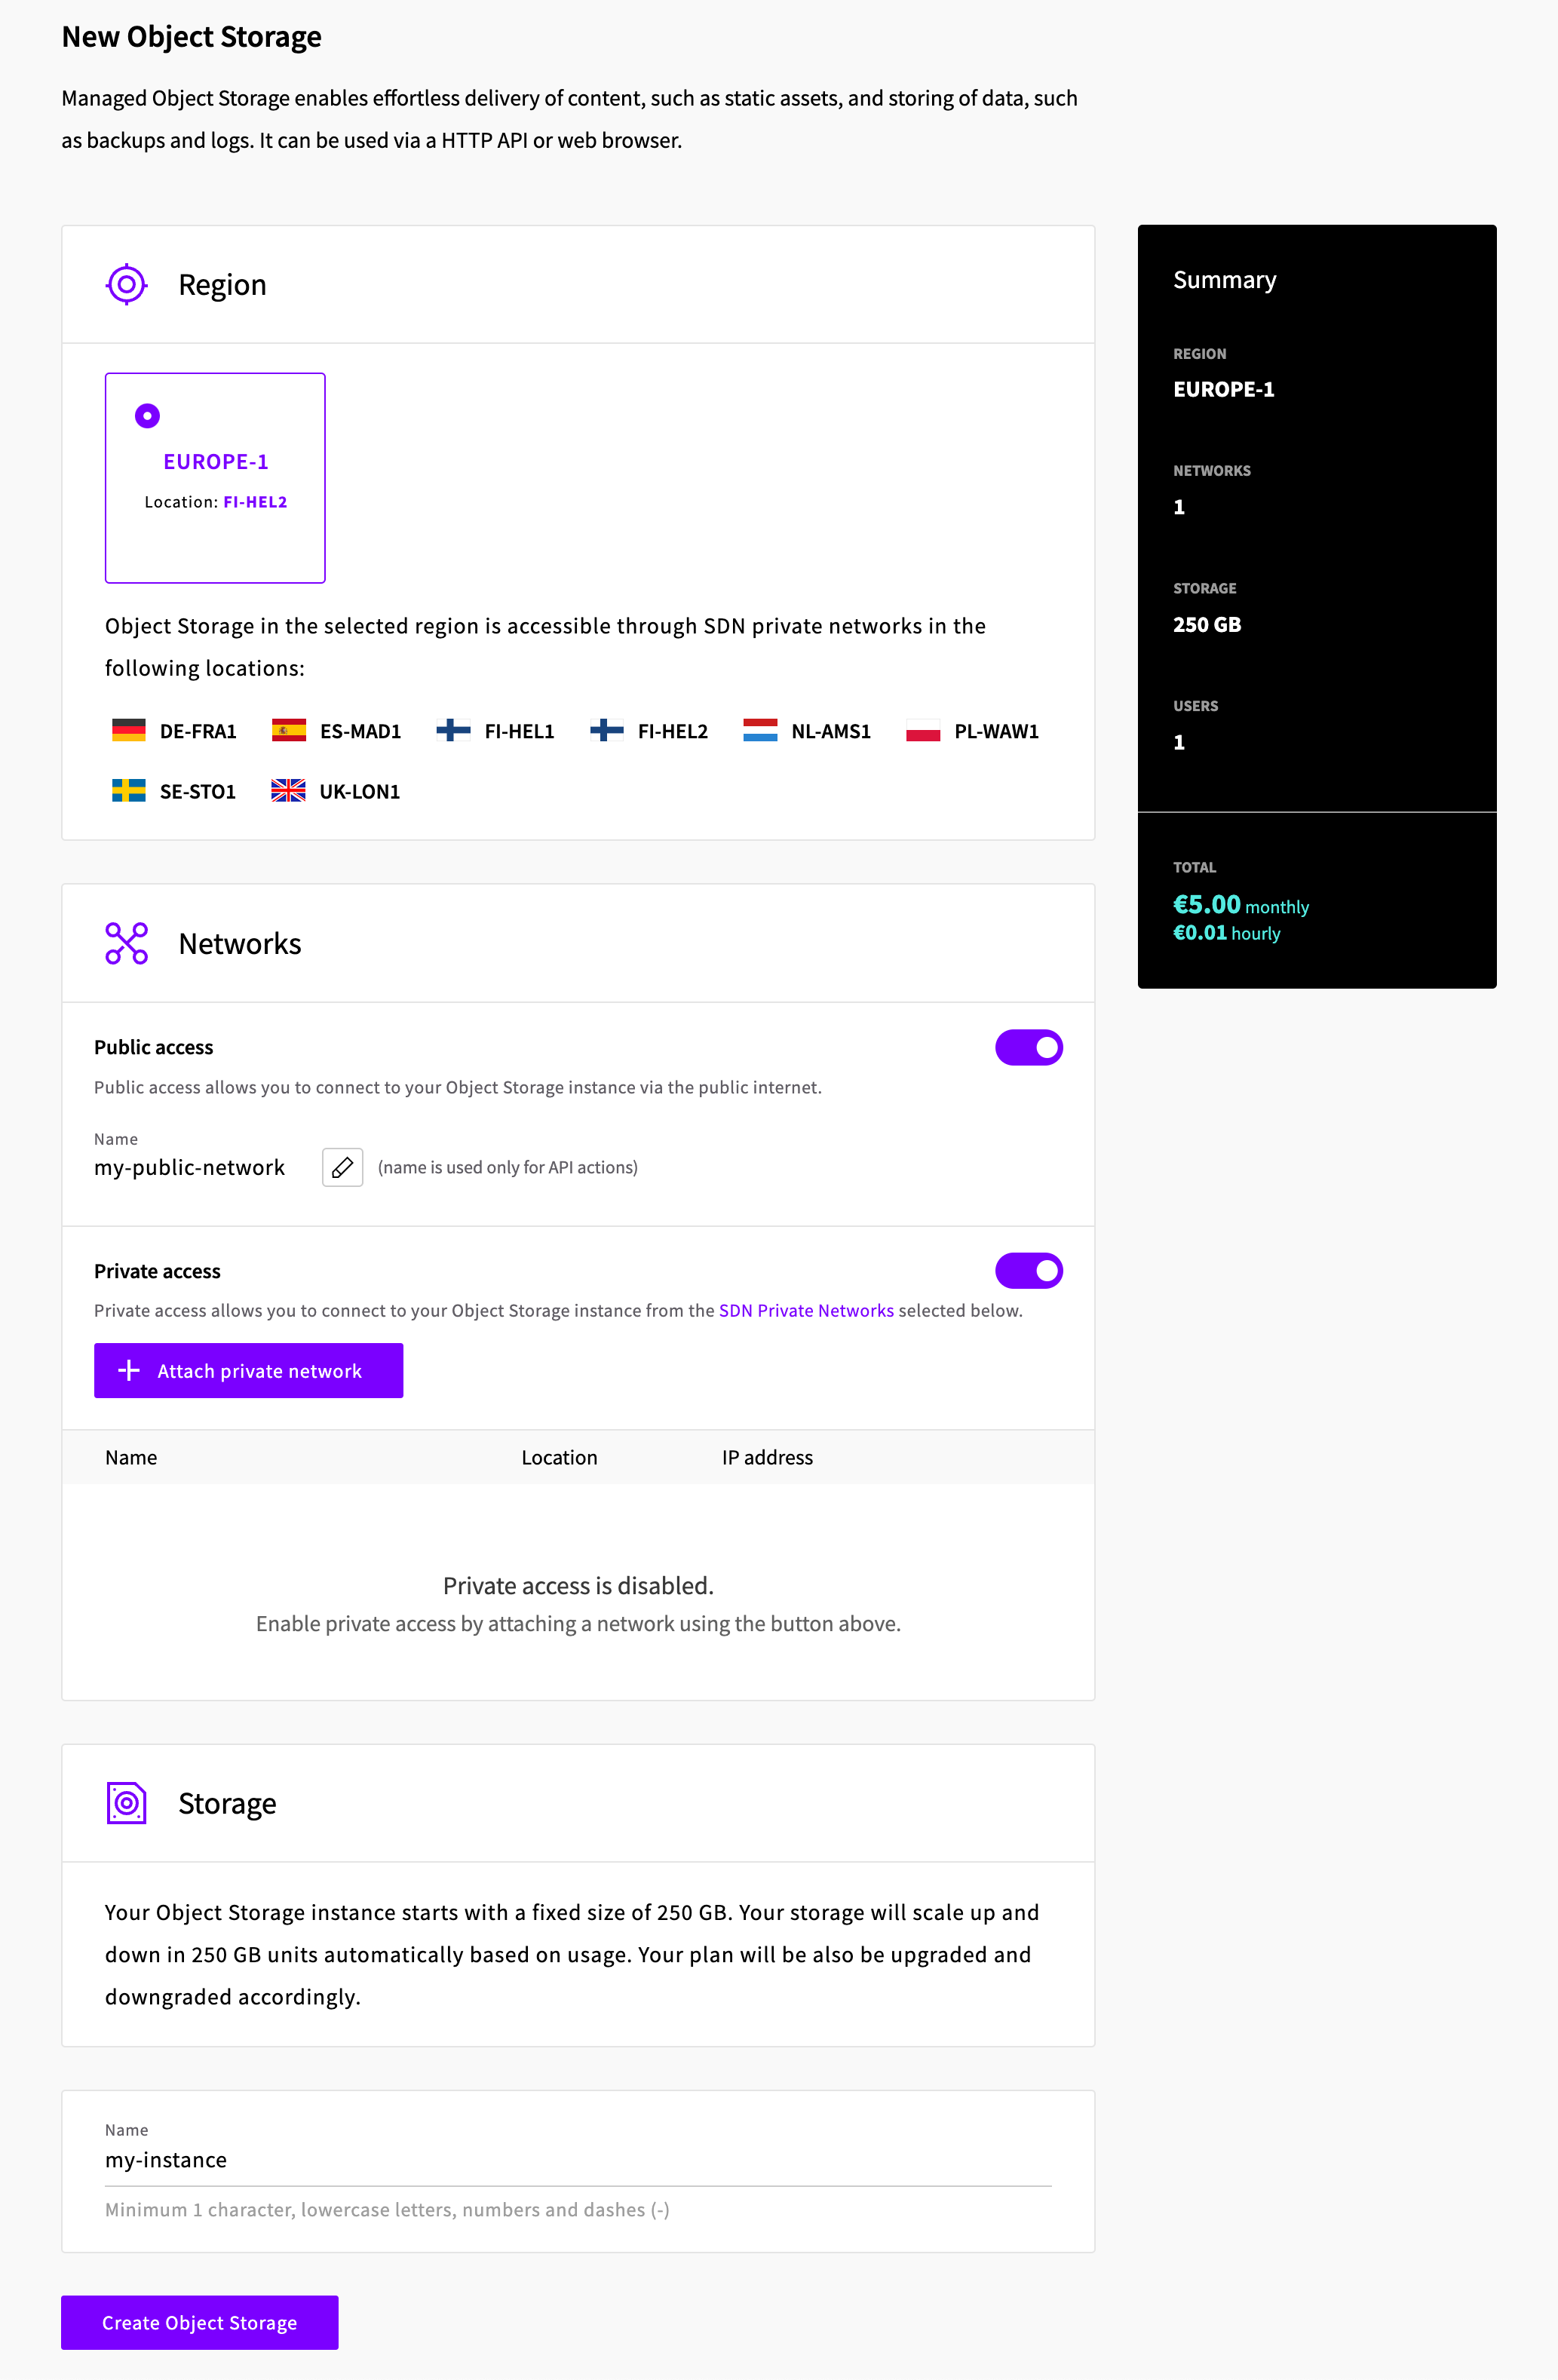
After a few seconds, your Object Storage will be created and you'll be able to see it in your list of Object Storages.
Click on the name of your Object Storage to see the details.
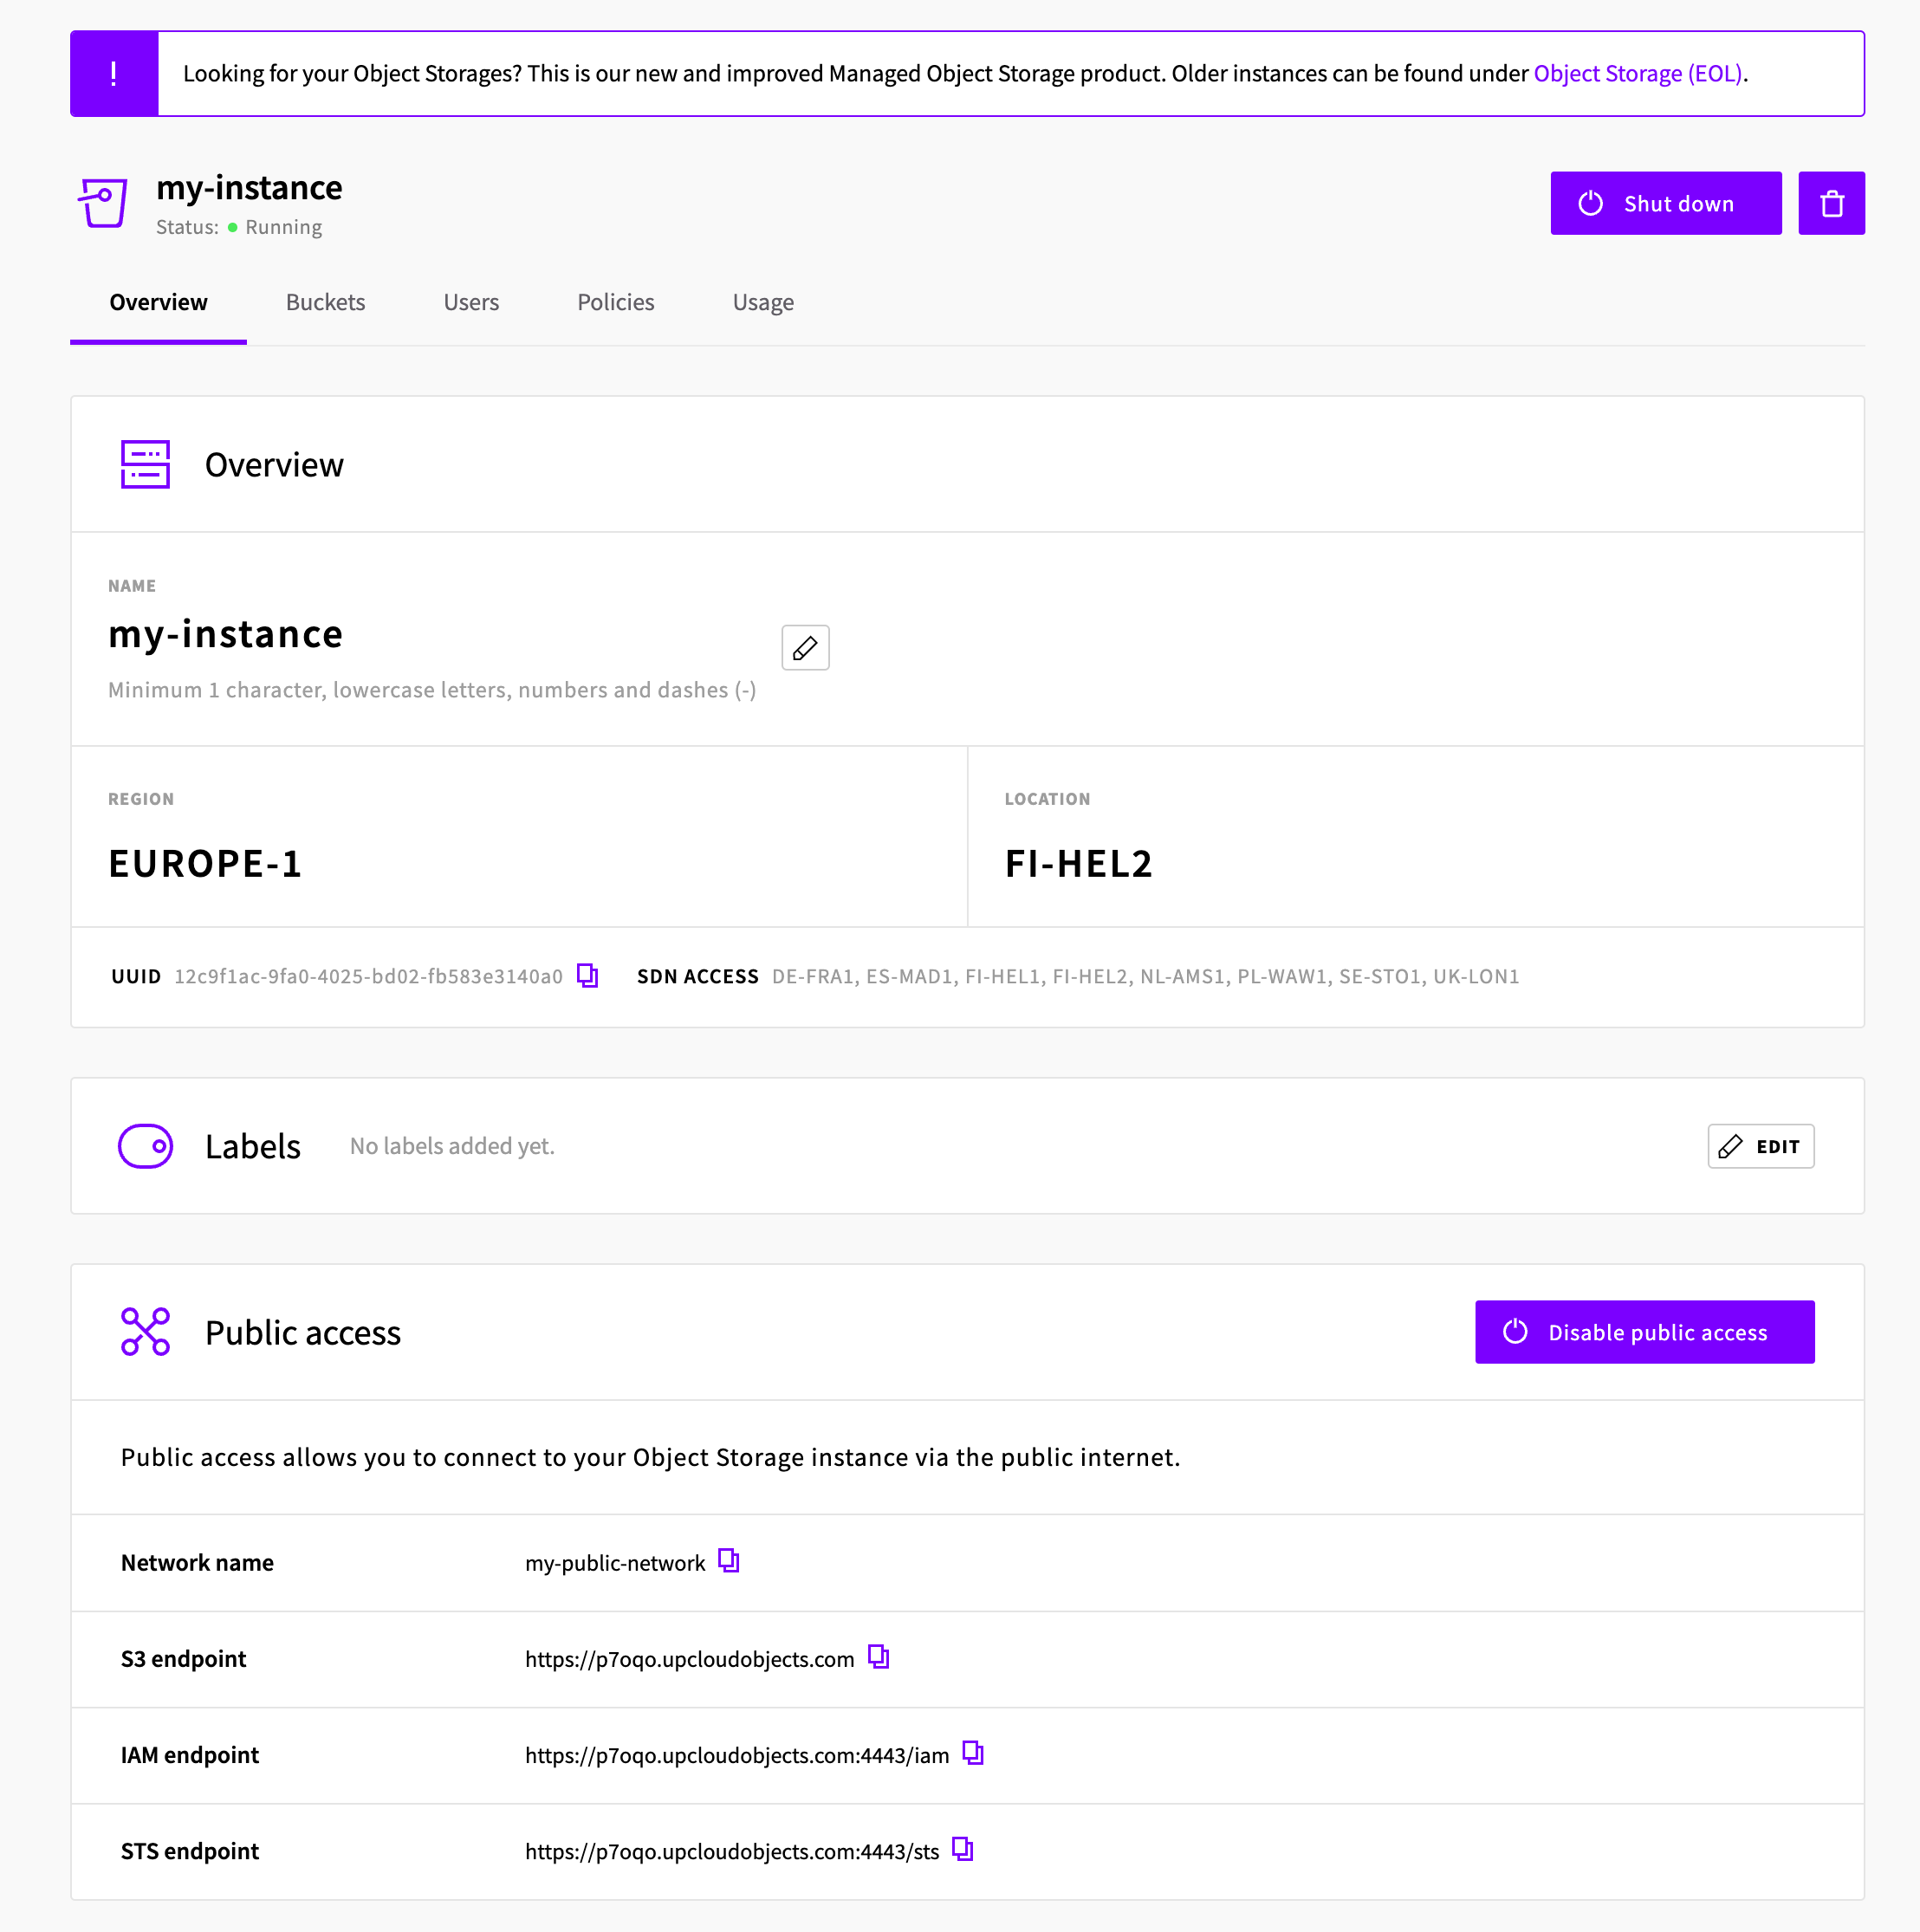
Click on Users, add a new User so we can create a new access key.
After you've created your user, click on the **"+ ACCESS KEY"** to generate and display your access key and secret key.
Make sure to keep these keys safe, as you won't be able to see the secret key again. If you lose it, you'll have to create a new one.
## 2. Create your UpCloud Bucket
With the Access Key and Secret Key, you can now create a new bucket using the `aws` CLI or any S3-compatible client.
Here's an example using the `aws` CLI:
```bash
aws s3api create-bucket --bucket {bucket-name} --profile={profile}
```
```json
{
"Location": "/bucket-sbio"
}
```
Replace `{bucket-name}` with the name of your bucket and `{profile}` with the name of your Upcloud profile.
You can read more about getting started with UpCloud Object Storage using the `aws` CLI client in UpCloud's documentation.
### What would you like to back up?
- Select "**Files**" (in this article we're creating a Files backup only)
- **Select the server** on which your files are stored
### How often should we make this backup?
- Select your **schedule** option (here we picked a daily schedule)
You can select a pre-defined schedule (daily, weekly, monthly) or a custom option allowing you to schedule it whenever you want to use CRON syntax.
- Example of CRON schedule for "20:00 every Tuesday" = `0 22 * * 2`
Finally, the "On demand" option won't schedule anything but will allow you to trigger the backup manually or using our API.
- Define the [**backup retention**,](/docs/getting-started/features/retention) which is the number of backups you want to keep (kind of the history length of your backup if you prefer)
### Choose the files you need to back up
- Define the files & folder you want to **include** or **exclude**
- Validate this step (we'll make sure we can access to these folders before moving to the next step)
## Finalize and create
- Pick the **name of your backup** (this is how it will be displayed in SimpleBackups interface) and where you want to store it.
- Select your **Storage** (see below)
## Connect your UpCloud Bucket
- In the "Finalize and create" step, select **"Remote storage"** and click on **"Connect a new storage"**.
- Select **"UpCloud"** as storage provider and fill in the "Connect your storage" form with the information from step 1.

You'll have to input :
- **Key**: Access Key described in step 1
- **Secret**: Secret Key described in step 1
- **Region**: Bucket location described in step 2
- **Bucket**: Bucket name described in step 2
- **Endpoint**: Storage endpoint described in step 1. Make sure not to include the bucket name but only the storage (as described in the helper).
- Give your storage a **name** (usually we like to use the Bucket name) and click on "Save new storage".
Congratulations, you now have your files backed up on UpCloud!
_Run it once manually (using the "Run" backup button from the backups list), and you'll trigger your first backup!_
---
# How to back up MySQL to Exoscale
Source: https://simplebackups.com/blog/how-to-backup-mysql-to-exoscale
Published: 2020-06-26
Summary: How to automate MySQL backups and store them on Exoscale bucket. Tutorial for SimpleBackups and Exoscale.
> Backup your MySQL database(s) using SimpleBackups and store it on Exoscale Object Storage.
Exoscale is one of the leading cloud European Cloud Hosting provider.
They provide fast and secure infrastructure that can now be connected with SimpleBackups.
In this article we'll focus on their S3-compliant storage that can be used as storage for all your backups.
## Prerequisites
- Create a **[SimpleBackups account](https://my.simplebackups.com/register)**
- Have an **Exoscale account** (I'll show you how to create your Exoscale Bucket below)
## 1. Create your Exoscale Bucket
- Sign in your Exoscale account at https://portal.exoscale.com/login
- Navigate to "Object Storage" and click on **"Add"**
- **Name** your bucket 
- Select the **zone** for your bucket

Good job, **your Exoscale bucket is created!**
## 2. Create your Exoscale credentials
You'll now need to create Exoscale credentials that will be used to connect to you newly created storage from SimpleBackups.
- Click on **"IAM"** on the left menu and then **"Add"** on the top right

- Create a new Key


**Information you'll need in step 3:**
- Your **Bucket name**
- Your **Bucket region**
- Your **Bucket key**
- Your **Bucket secret**
## 3. Create your MySQL backup
Let's now go to SimpleBackups and [get that backup configured](https://my.simplebackups.com/backup/create).
From this screen you'll be able to configure what data you're backing up (MySQL in this case), where you want it to be saved (in this case your Exoscale Bucket), and how often you want this to be done.
> _FYI this section will be the same, no matter what storage you pick._ > _And that's the beauty of it, if you want to change storage, just select another one from the list (Backblaze, AWS, or whatever you might prefer), and you'll be good to go._

### What would you like to back up?
- Select "**Database**" (in this article we're creating a MySQL backup only)
- **Select the server** on which your database is hosted
### How often should we make this backup?
- Select your **schedule** option (here we picked a daily schedule)
You can select a pre-defined schedule (daily, weekly, monthly) or a custom option allowing you to schedule it whenever you want to use CRON syntax.
- Example of CRON schedule for "20:00 every Tuesday" = `0 22 * * 2`
Finally, the "On demand" option won't schedule anything but will allow you to trigger the backup manually or using our API.
- Define the [**backup retention**,](/docs/getting-started/features/retention) which is the number of backups you want to keep (kind of the history length of your backup if you prefer)
### Choose the database you need to back up
- Select the type of your database, in this case "**MySQL**"
- Fill in the database connection form
- Validate this step (we'll make sure we can access to your database(s) before moving to the next step)
## Finalize and create
- Pick the **name of your backup** (this is how it will be displayed in SimpleBackups interface) and where you want to store it.
- Select your **Storage** (see below)
## Connect your Exoscale Bucket
- In the "Finalize and create" step, select **"Remote storage"** and click on **"Connect a new storage"**.
- Select **"Exoscale"** as storage provider and fill in the "Connect your storage" form with the information from step 1.

You'll have to input :
- **Key**: Access Key described in step 2
- **Secret**: Secret Key described in step 2
- **Region**: Bucket location described in step 1
- **Bucket**: Bucket name described in step 1
- **Endpoint**: Storage endpoint described in step 1.
- Give your storage a **name** (usually we like to use the Bucket name) and click on "Save new storage".
Congratulations, you now have your MySQL database backed up on Exoscale!
_Run it once manually (using the "Run" backup button from the backups list), and you'll trigger your first backup!_
---
# How to backup MySQL to UpCloud
Source: https://simplebackups.com/blog/how-to-backup-mysql-to-upcloud
Published: 2020-06-26
Summary: How to automate MySQL backups and store them on UpCloud bucket. Tutorial for SimpleBackups and UpCloud.
> Backup your MySQL database(s) using SimpleBackups and store it on UpCloud Object Storage.
UpCloud is one of the leading cloud providers around.
They provide fast and secure infrastructure that can now be connected with SimpleBackups.
In this article we'll focus on their S3-compliant storage that can be used as storage for all your backups.
## Prerequisites
- Create a **[SimpleBackups account](https://my.simplebackups.com/register)**
- Have an **UpCloud account** (I'll show you how to create your UpCloud Bucket below)
## 1. Create your UpCloud Bucket
- Sign in your UpCloud account at [https://hub.upcloud.com/](https://hub.upcloud.com/)
- Go to [https://hub.upcloud.com/login?next=/object-storage/new](https://hub.upcloud.com/login?next=/object-storage/new) or navigate to "Object Storage" and click on **"New Object Storage"**

- Select the **location** for your storage (think about GDPR rules, if you're an EU company)
- Make sure to keep **"Public network access"** option enabled
- **Name** your storage
- Select **"Yes, create a bucket now"** and finally give your bucket a name
Good job, **your UpCloud bucket is created!**

**Information you'll need in step 3:**
- Your **Bucket name**, in this example "bucket-sbio"
- Your **Bucket region**, in this example "nl-ams1"
- Your **Bucket endpoint**, in this example "my-sbio-storage.nl-ams1.upcloudobjects.com"
- Your **Bucket access key**
- Your **Bucket secret key**
## 2. Create your MySQL backup
Let's now go to SimpleBackups and [get that backup configured](https://my.simplebackups.com/backup/create).
From this screen you'll be able to configure what data you're backing up (MySQL in this case), where you want it to be saved (in this case your UpCloud Bucket), and how often you want this to be done.
> _FYI this section will be the same, no matter what storage you pick._ > _And that's the beauty of it, if you want to change storage, just select another one from the list (Backblaze, AWS, or whatever you might prefer), and you'll be good to go._
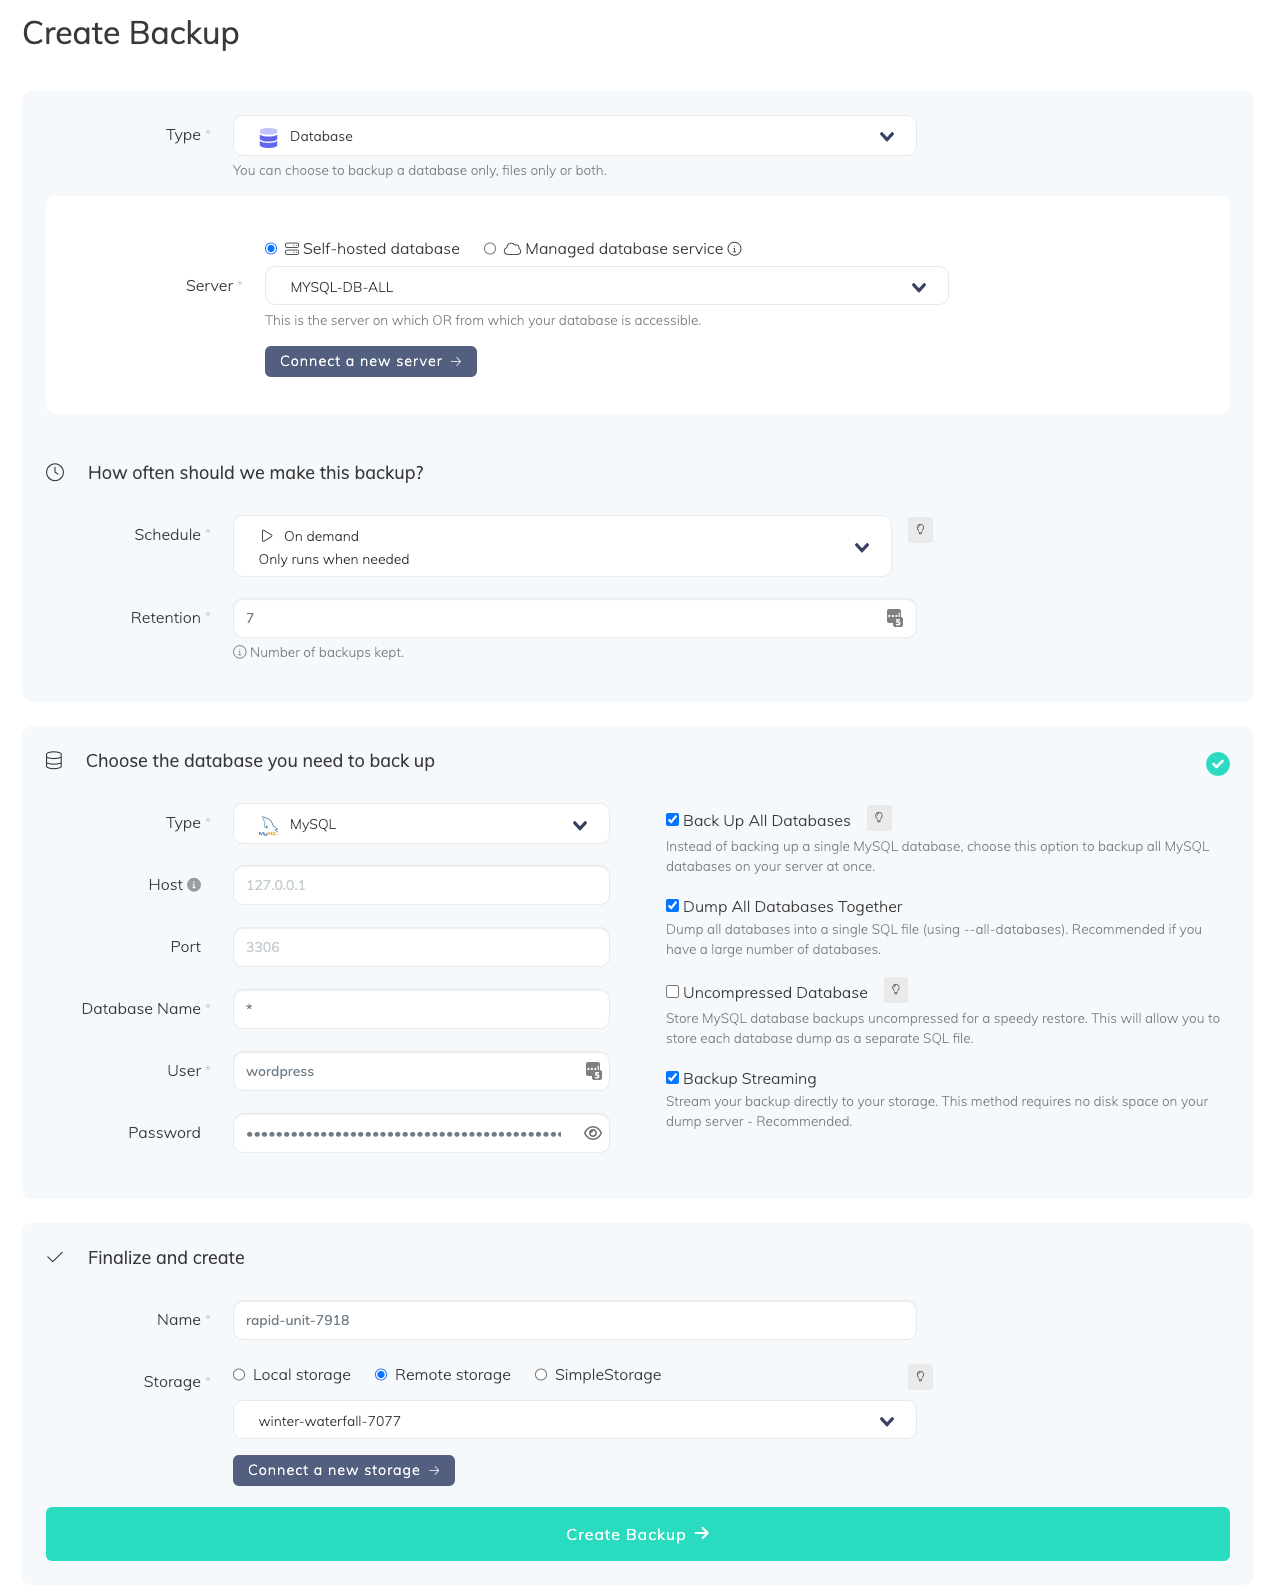
### What would you like to back up?
- Select "**Database**" (in this article we're creating a MySQL backup only)
- **Select the server** on which your database is hosted
### How often should we make this backup?
- Select your **schedule** option (here we picked a daily schedule)
You can select a pre-defined schedule (daily, weekly, monthly) or a custom option allowing you to schedule it whenever you want to use CRON syntax.
- Example of CRON schedule for "20:00 every Tuesday" = `0 22 * * 2`
Finally, the "On demand" option won't schedule anything but will allow you to trigger the backup manually or using our API.
- Define the [**backup retention**,](/docs/getting-started/features/retention) which is the number of backups you want to keep (kind of the history length of your backup if you prefer)
### Choose the database you need to backup
- Select the type of your database, in this case "**MySQL**"
- Fill in the database connection form
- Validate this step (we'll make sure we can access to your database(s) before moving to the next step)
## Finalize and create
- Pick the **name of your backup** (this is how it will be displayed in SimpleBackups interface) and where you want to store it.
- Select your **Storage** (see below)
## Connect your UpCloud Bucket
- In the "Finalize and create" step, select **"Remote storage"** and click on **"Connect a new storage"**.
- Select **"UpCloud"** as storage provider and fill in the "Connect your storage" form with the information from step 1.

You'll have to input :
- **Key**: Access Key described in step 1
- **Secret**: Secret Key described in step 1
- **Region**: Bucket location described in step 1
- **Bucket**: Bucket name described in step 1
- **Endpoint**: Storage endpoint described in step 1, make sure not to include the bucket name but only the storage (as described in the helper).
- Give your storage a **name** (usually we like to use the Bucket name) and click on "Save new storage".
Congratulations, you now have your MySQL database backed up on UpCloud!
_Run it once manually (using the "Run" backup button from the backups list), and you'll trigger your first backup!_
---
# How to backup MySQL to Wasabi
Source: https://simplebackups.com/blog/how-to-backup-mysql-to-wasabi
Published: 2020-06-26
Summary: How to automate MySQL backups and store them on Wasabi bucket. Tutorial for SimpleBackups and Wasabi.
> MySQL database backup stored in your Hot Wasabi storage.
Wasabi is Cloud Storage is now part of the big names in the industry.
They provide an S3-compliant storage for a very affordable price.
In addition to being 80% less expensive than AWS S3, they don't charge any egress cost and claim to be faster than the competition.
Well, this starts pretty well!
## Prerequisites
- Create a **[SimpleBackups account](https://my.simplebackups.com/register)**
- Make sure you have your **server connected to your account** (the one on which your MySQL database is hosted)
- Have a **Wasabi account** (I'll show you how to create your Wasabi Bucket below)
## 1. Create your Wasabi Bucket
- Sign in your Wasabi account at https://console.wasabisys.com
- Go to [https://console.wasabisys.com/#/file_manager/](https://console.wasabisys.com/#/file_manager/) and click on "Create Bucket"

- On step 1 of the form, define the **name of your bucket** (we like to use our company name here)
- Pick the **region** you need (think about GDPR rules, if you're an EU company)
You can keep default options on step 2 and finally confirm your Bucket creation on step 3.
And that's one good thing done, **your Wasabi bucket is created!**

_Don't leave the Wasabi interface, we'll now have to create your credentials._
**Information you'll need in step 3:**
- Your **"Bucket" name**, in this case "myacme-bucket"
- Your **"Bucket" Region**, in this case "us-west-1"
## 2. Create your Wasabi Credentials/Access Key
In order to grant access to your bucket, we'll need to create an Access Key.
- Go to [https://console.wasabisys.com/#/access_keys](https://console.wasabisys.com/#/access_keys) and click on **"Create New Access Key"**
- You can go with the default options and pick a **"Root User"**

That's it you **Access Key** and **Secret Key** will be generated, make sure to write them down.

**Information you'll need in step 3:**
- **Access Key**
- **Secret Key**
## 3. Connect your Bucket to SimpleBackups
- Log into SimpleBackups and head to the [connect your storage](https://my.simplebackups.com/storage/create) page
- Pick **"Wasabi"** as storage provider and fill in the "Connect your storage" form with the information from step 1 and 2.

You'll have to input :
- **Key**: Access Key described in (step 2)
- **Secret**: Secret Key described in (step 2)
- **Region**: Bucket region described in (step 1)
- **Bucket**: Bucket name described in (step 1)
- Give your storage a **name** (usually we like to use the Bucket name) and click on "Save new storage".
You'll be redirected to the list of storage where you'll find your newly connected storage.

## 4. Final step: Create your MySQL backup
Let's now go to SimpleBackups and [get that backup configured](https://my.simplebackups.com/backup/create).
From this screen you'll be able to configure what data you're backing up (MySQL in this case), where you want it to be saved (in this case your Wasabi Bucket), and how often you want this to be done.
_FYI this section will be the same, no matter what storage you pick._
_And that's the beauty of it, if you want to change storage, just select another one from the list (Backblaze, AWS, or whatever you might prefer) and you'll be good to go._
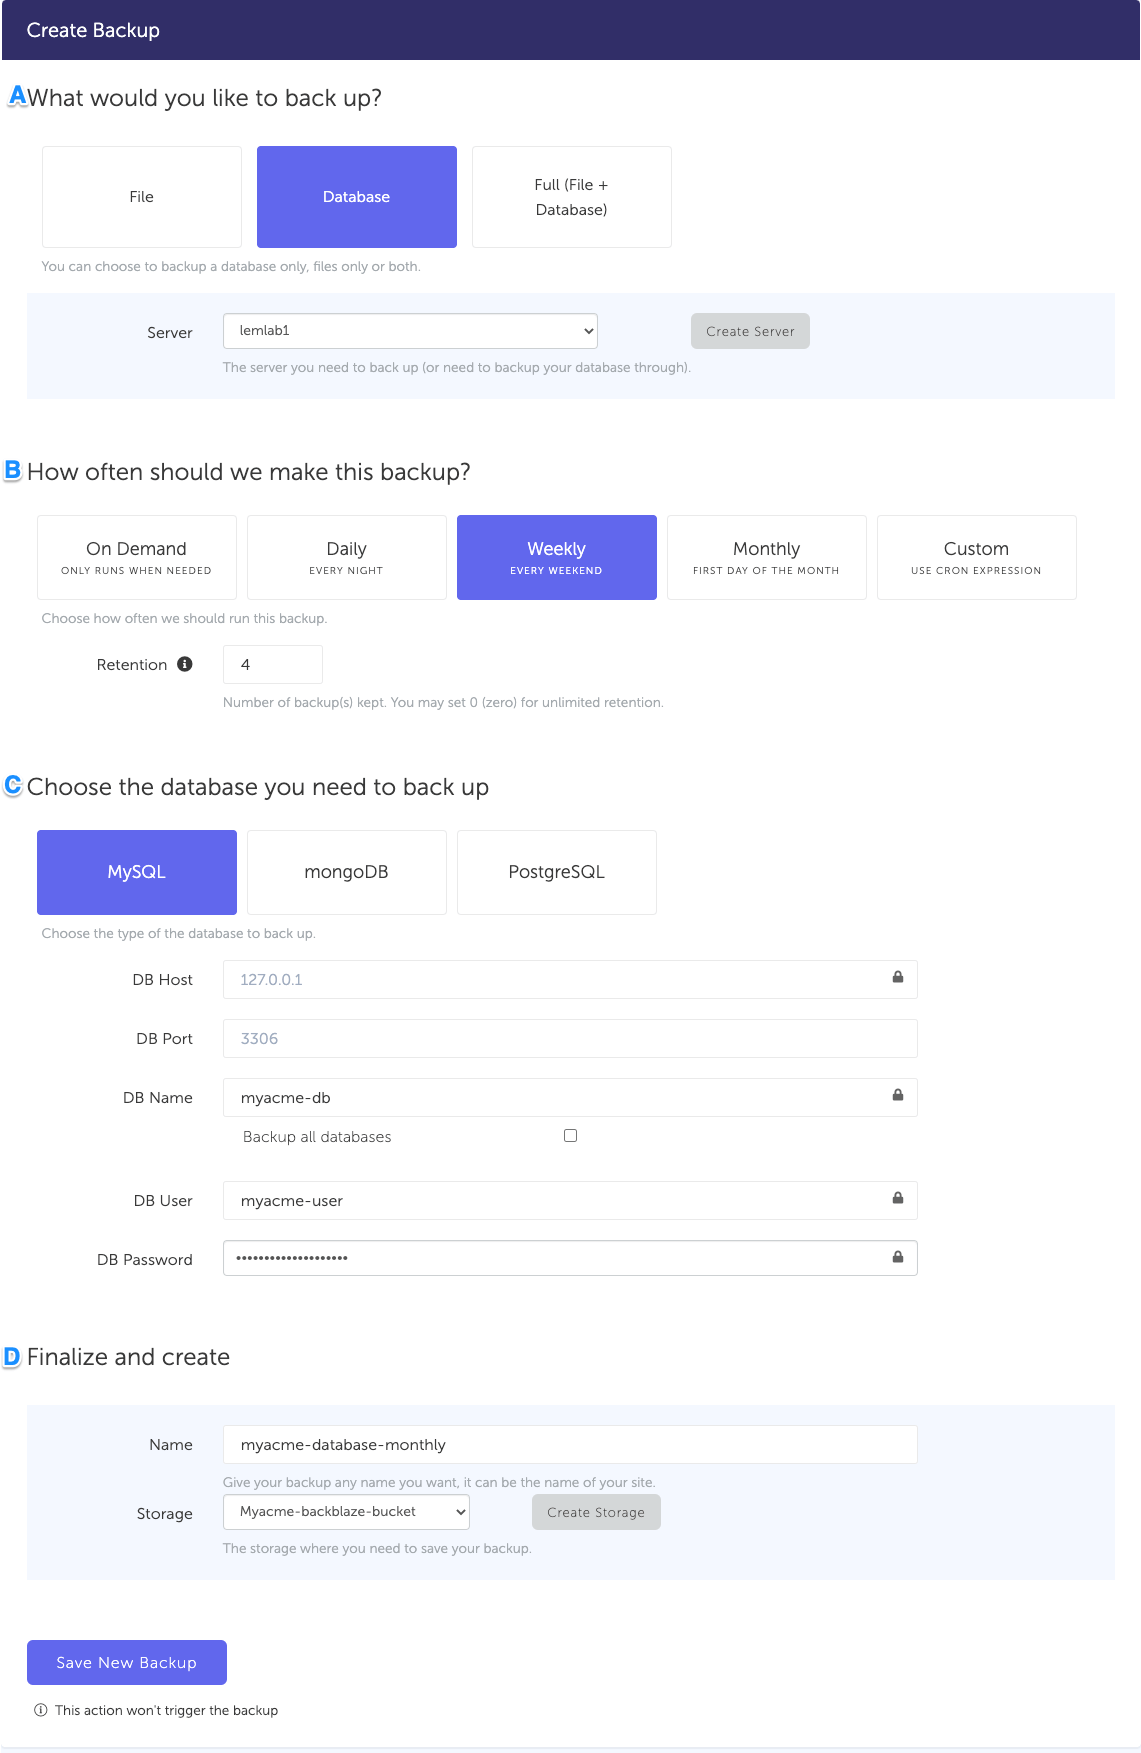
### What would you like to back up? (A)
- Select "**Database**" (in this article we're creating a MySQL backup only)
- **Select the server** on which your database is hosted
### How often should we make this backup? (B)
- Select your **schedule** option (here we picked a daily schedule)
You can select a pre-defined schedule (daily, weekly, monthly) or a custom option allowing you to schedule it whenever you want to use CRON syntax.
- Example of CRON schedule for "20:00 every Tuesday" = `0 22 * * 2`
Finally, the "On demand" option won't schedule anything but will allow you to trigger the backup manually or using our API.
- Define the [**backup retention**,](/docs/getting-started/features/retention) which is the number of backups you want to keep (kind of the history length of your backup if you prefer)
### Choose the database you need to backup (C)
- Select the type of your database, in this case "**MySQL**"
- Fill in the database connection form
## Finalize and create
- Pick the **name of your backup** (this is how it will be displayed in SimpleBackups interface) and where you want to store it.
- Select your **Storage** (step 3)
Congratulations, you now have your MySQL database, backed up on Wasabi!
_Run it once manually (using the "Run" backup button from the backups list) and you'll trigger your first backup!_
---
# How to backup MySQL to DigitalOcean Spaces
Source: https://simplebackups.com/blog/how-to-backup-mysql-to-digitalocean-spaces
Published: 2020-06-25
Summary: How to automate MySQL backups and store them on DigitalOcean Spaces bucket. Tutorial for SimpleBackups and Digital Ocean Spaces.
> MySQL database backup stored in your personal DigitalOcean Spaces.
With SimpleBackups, you can **backup MySQL database** to any cloud storage provider. In this article, we will find out how to **configure your MySQL backup and store it on DigitalOcean Spaces.**
## Prerequisites
- Create a **[SimpleBackups account](https://my.simplebackups.com/register)**
- Make sure you have your **server connected to your account** (the one on which your MySQL database is hosted)
- Have a **DigitalOcean account** (I'll show you how to create your DigitalOcean Space below)
## 1. Create your DigitalOcean Spaces
- [Sign in your DigitalOcean account](https://cloud.digitalocean.com/login)
- [Create a new "Spaces"](https://cloud.digitalocean.com/spaces/new) using the create menu at the top right
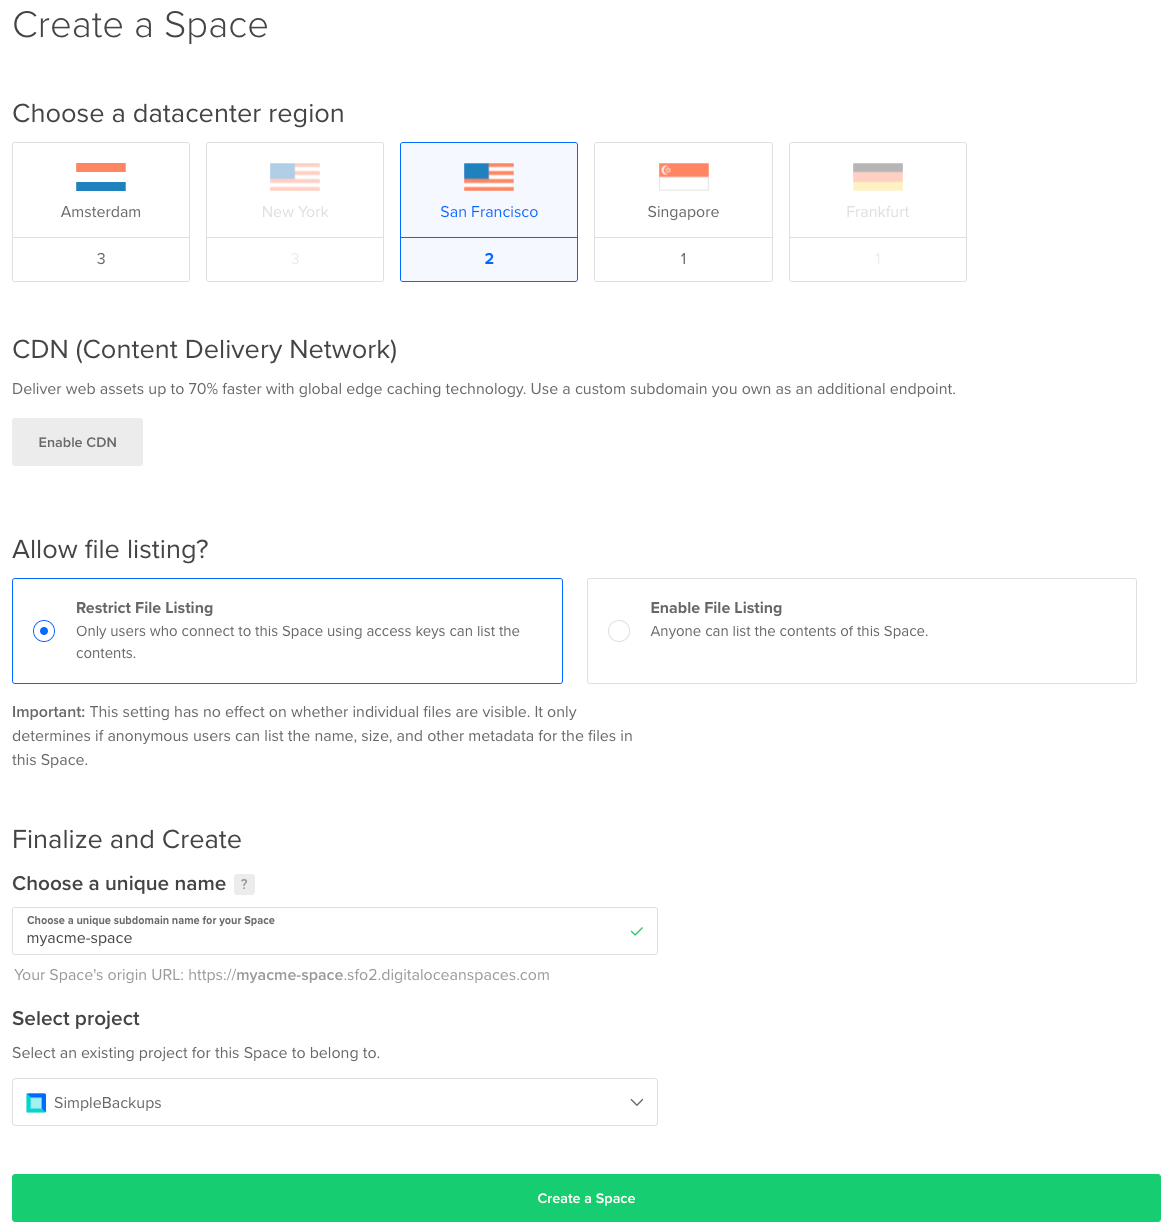
- Fill in the "Create Spaces" form
- Pick the region you need (think about GDPR rules, if you're an EU company)
- Select "Restrict File Listing"
- Pick a name you like and link it to your DigitalOcean project (doesn't really affect us)
That's it! Your DigitalOcean Spaces is now created.

_Don't leave the DigitalOcean interface, we'll now have to create your credentials._
**Information you'll need in step 3:**
- Your **"Spaces" name**, in this case "myacme-space"
- Your **"Spaces" Region**, in this case "San Francisco 2", which you can also see in your DO Space url
---
## 2. Create your DigitalOcean Credentials
Getting your DigitalOcean Spaces setup, was easy, ... and so will be getting your credentials!
We've covered how to get this done in a [how to create a DigitalOcean Spaces credentials](/docs/storage-providers/wasabi).
Follow this simple article and you'll get the access created in ... less than 2 minutes.
**Information you'll need in step 3:**
- **Key**
- **Secret**
---
## 3. Connect your Space to SimpleBackups
- Log into SimpleBackups and head to the [connect your storage](https://my.simplebackups.com/storage/create) page
- Pick **"DigitalOcean Spaces"** as storage provider and fill in the "Connect your storage" form with the information from step 1 and 2.

You'll have to input :
- **Key**: Key described in (step 2)
- **Secret**: Secret described in (step 2)
- **Region**: Spaces region described in (step 1)
- **Bucket**: Spaces name described in (step 1)
- Give your storage a **name** (usually we like to use the Spaces name) and click on "Save new storage".
You'll be redirected to the list of storage where you'll find your newly connected storage.

---
## 4. Final step: Create your MySQL backup
Let's now go to SimpleBackups and [get that backup configured](https://my.simplebackups.com/backup/create).
From this screen you'll be able to configure what data you're backing up (MySQL in this case), where you want it to be saved (in this case your DigitalOcean Space), and how often you want this to be done.
_FYI this section will be the same, no matter what storage you pick._
_And that's the beauty of it, if you want to change storage, just select another one from the list (Backblaze, AWS, or whatever you might prefer) and you'll be good to go._
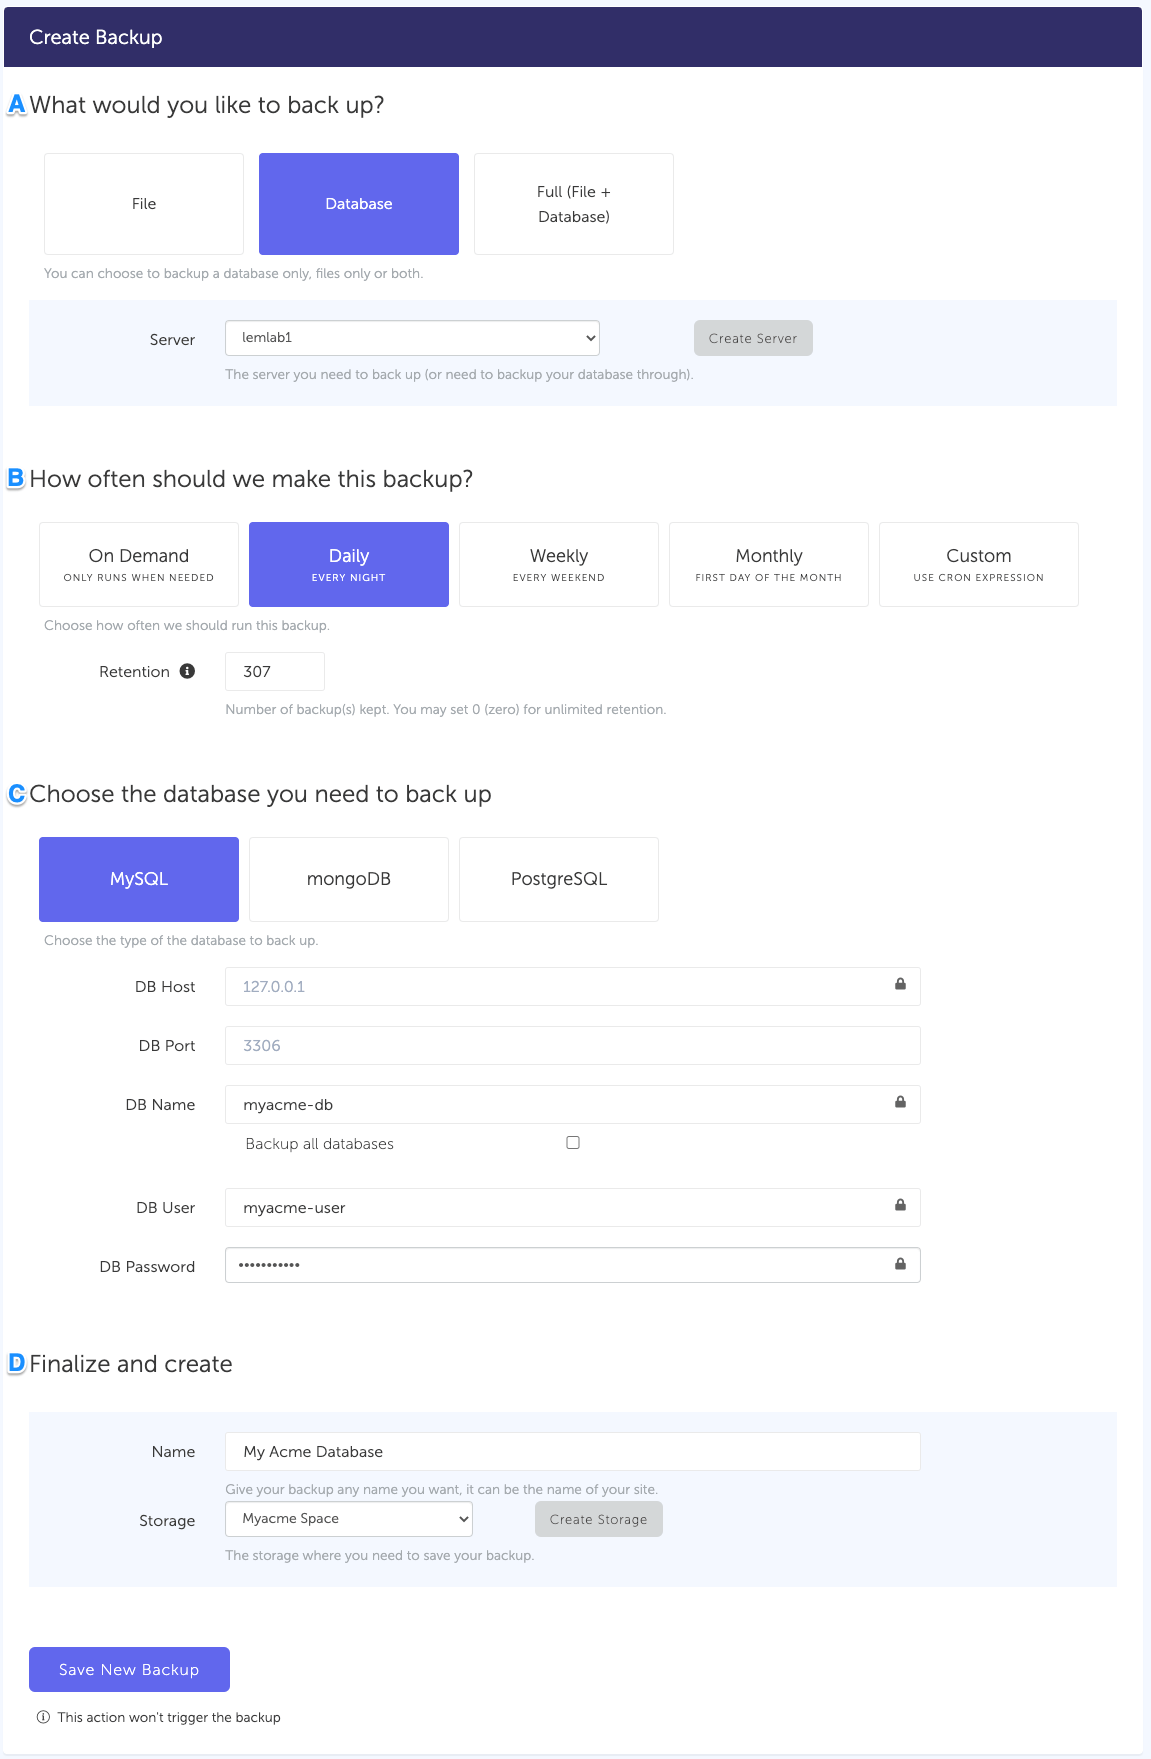
### What would you like to back up? (A)
- Select "**Database**" (in this article we're creating a MySQL backup only)
- **Select the server** on which your database is hosted
### How often should we make this backup? (B)
- Select your **schedule** option (here we picked a daily schedule)
You can select a pre-defined schedule (daily, weekly, monthly) or a custom option allowing you to schedule it whenever you want to use CRON syntax.
- Example of CRON schedule for "20:00 every Tuesday" = `0 22 * * 2`
Finally, the "On demand" option won't schedule anything but will allow you to trigger the backup manually or using our API.
- Define the [**backup retention**,](/docs/getting-started/features/retention) which is the number of backups you want to keep (kind of the history length of your backup if you prefer)
### Choose the database you need to backup (C)
- Select the type of your database, in this case "**MySQL**"
- Fill in the database connection form
## Finalize and create
- Pick the **name of your backup** (this is how it will be displayed in SimpleBackups interface) and where you want to store it.
- Select your **Storage** (step 3)
That's it, your MySQL backup is now ready and connected to your DigitalOcean Spaces.
Run it once manually (using the "Run" backup button from the backups list) and you'll trigger your first backup!
---
# Create Filebase Storage Credentials (Access Key / Secret Key)
Source: https://simplebackups.com/blog/create-filebase-storage-credentials-access-key-secret-key
Published: 2020-06-23
Summary: How to create and locate Filebase storage Access Key and Secret Key. Add Filebase storage to your SimpleBackups account to store your website and database backups on the blockchain-powered provider.
## Create and locate your Access Key and Secret Key for Filebase storage.
[Filebase](https://filebase.com/) is the easiest S3-compliant storage method you could pair SimpleBackups.
I will highlight the steps to follow and also provide some screenshots afterwards for additional help.
**Simply do the following:**
1. Log in to your **_Filebase_** account or go directly to [https://console.filebase.com/users/edit](https://console.filebase.com/users/edit)
2. You could also click the settings cog at the top, on the right-hand side and click **Settings**
3. You will find your access key under **S3 API Access Key ID** and your secret key under **S3 API Secret Access Key**. That's it!
Use these two values when adding your **Filebase** bucket to SimpleBackups.
An overview of the selections made in the previous steps:
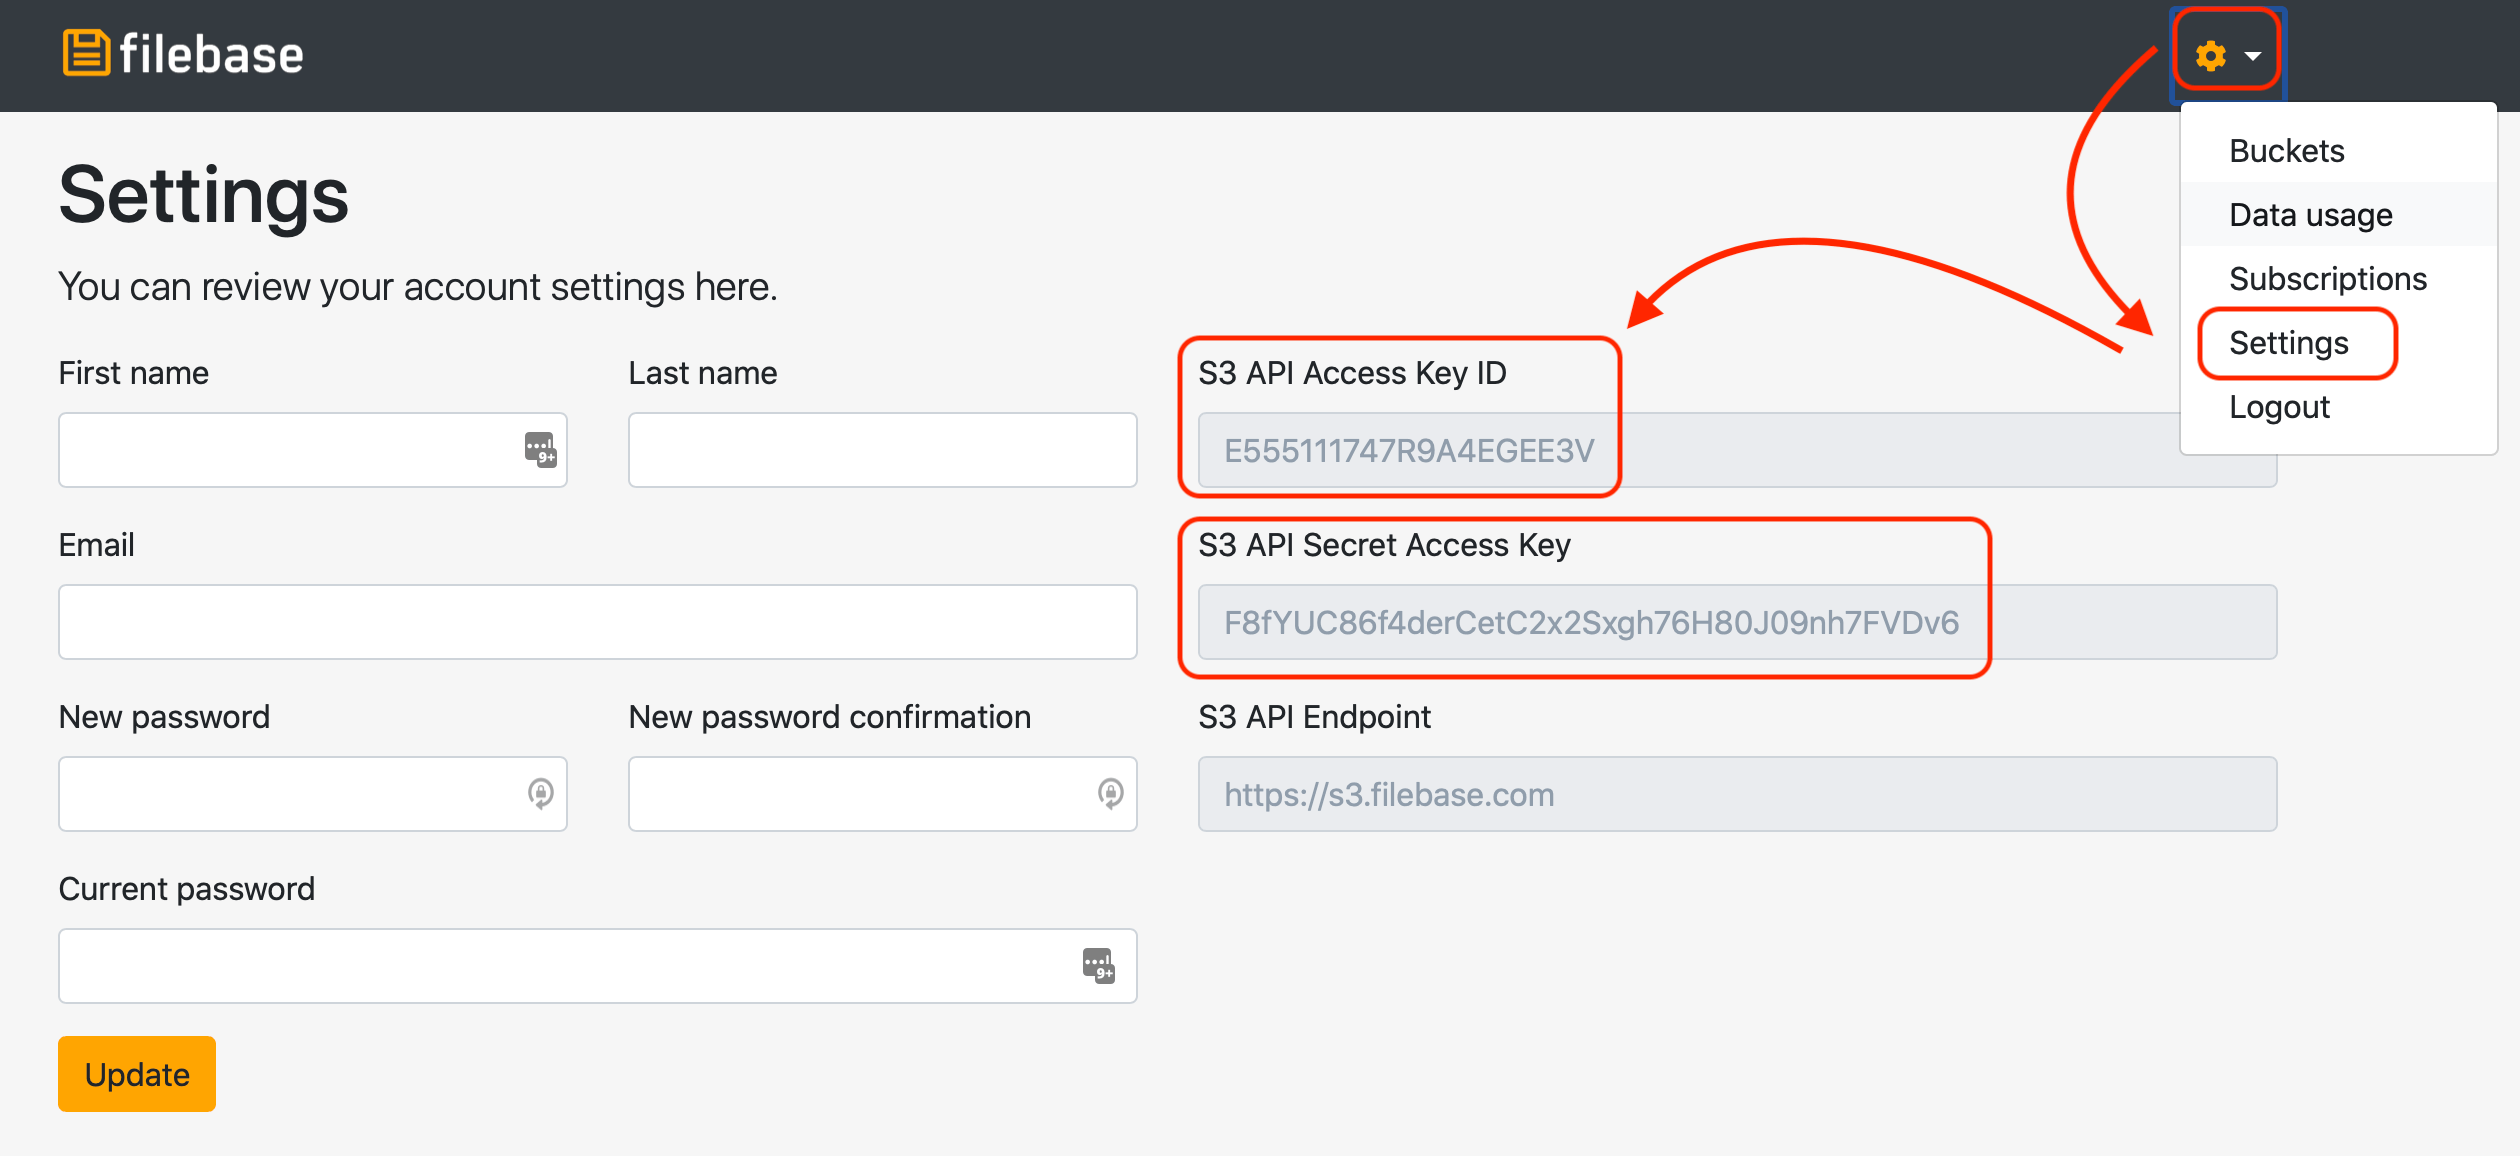
---
Has any of the information on this page changed or need help? Don't hesitate to [contact us](/contact-us/).
---
# How to backup MongoDB to Microsoft Azure
Source: https://simplebackups.com/blog/how-to-backup-mongodb-to-azure-blob-storage
Published: 2020-06-23
Summary: How to automate MongoDB backups and store them on Microsoft Azure blob storage. Tutorial for SimpleBackups and Microsoft Azure.
> Automate MongoDB database backup directly to your Microsoft Azure Blob Storage.
With SimpleBackups, you can **backup MongoDB database** to any cloud storage provider.
In this article, I'll go through the entire process of **setting up your backup and store it on Microsoft Azure Blob Storage** specifically.
## Prerequisites
* Have a [SimpleBackups account](https://my.simplebackups.com/register)
* Have a server connected to your account (the one on which your MongoDB database is hosted)
* Have a Microsoft Azure Storage Account (it can be empty, we'll cover how to create your Azure blob storage below)
## 1. Create your Microsoft Azure Blob Storage
* Sign in to your [Microsoft Azure Portal](https://portal.azure.com/).
* Under **Azure services**, choose **Storage Accounts**. Your storage account list will be displayed. Choose the storage account you want to connect with.

* On the left menu, under **Blob Service**, choose **Containers**

* Click **+ Container** to add a Container. Input the name you want for the container and click the **Create** button
* Your container has been created.
**Information you'll need in step 3:**
* **Container Name**
* **Storage Endpoint**, in this case is **core.windows.net**
## 2. Get your Storage Access Keys
In order to give access to your newly created storage, you'll need to provide credentials to SimpleBackups.
* On the left menu, under **Settings**, choose Access Keys.

* Please use the **Key** value under **key1** as your access key.
**Information you'll need in step 3:**
* **Access Key**
* **Storage Account Name**
## 3. Connect your Azure Blob Storage to SimpleBackups
* Log into SimpleBackups and head to the [connect your storage](https://my.simplebackups.com/storage/create) page
* Select "**Azure Blob Storage**" in the storage providers list and fill in the "Connect your storage" form with your Microsoft Azure credentials and newly created container information

You'll have to input :
* **Account Name**: Account Name described in (step 2)
* **Access Key**: Secret Key described in (step 2)
* **Container**: Container name described in (step 1)
* **Ending Suffix**: your storage endpoint described in (step 1)
* Give your storage a **name** (usually we like to use the storage name) and click on "Save new storage".
You'll be redirected to the list of storage where you'll find your newly connected storage.

## 4. Final step: Create your MongoDB backup
Now it's time to head to the [create backup page](https://my.simplebackups.com/backup/create).
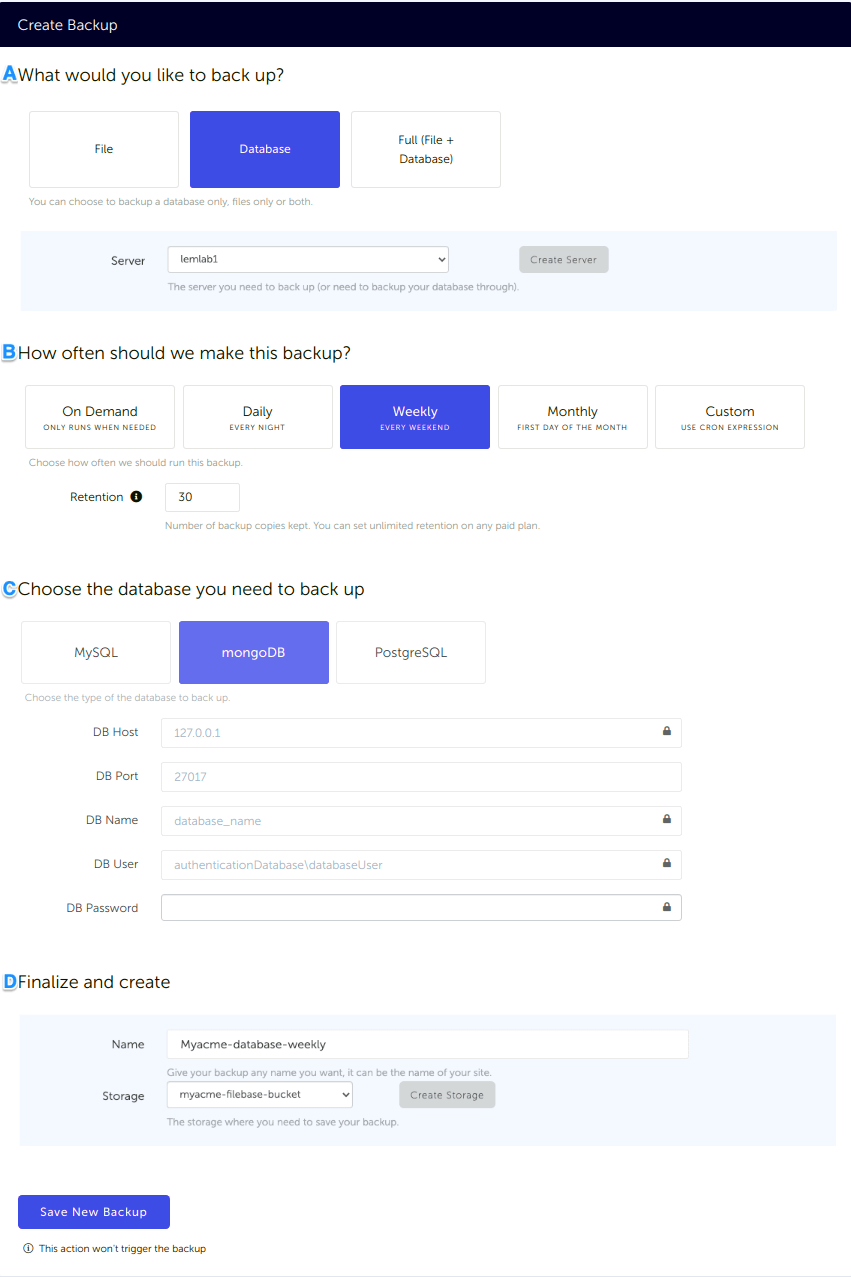
### What would you like to back up? (A)
* Select "**Database**" (in this article we're creating a MongoDB backup only)
* **Select the server** on which your database is hosted
### How often should we make this backup? (B)
* Select your **schedule** option (here we picked a daily schedule)
You can select a pre-defined schedule (daily, weekly, monthly) or a custom option allowing you to schedule it whenever you want to use CRON syntax.
* Example of CRON schedule for "20:00 every Tuesday" = `0 22 * * 2`
Finally, the "On demand" option won't schedule anything but will allow you to trigger the backup manually or using our API.
* Define the [**backup retention**,](/docs/getting-started/features/retention) which is the number of backups you want to keep (kind of the history length of your backup if you prefer)
### Choose the database you need to backup (C)
* Select the type of your database, in this case "**MongoDB**"
* Fill in the database connection form.
*Note: Backing up all databases on your server at once, requires a paid plan*
## Finalize and create
* Pick the **name of your backup** (this is how it will be displayed in SimpleBackups interface) and where you want to store it.
* Select your **storage** (step 3)
That's it, your MongoDB backup is now ready.
Run it once manually (using the "Run" backup button from the backups list) and you'll trigger your first backup!
---
# How to backup MySQL to AWS S3
Source: https://simplebackups.com/blog/how-to-backup-mysql-to-aws-s3
Published: 2020-06-23
Summary: How to automate MySQL backups and store them on AWS S3 bucket. Tutorial for SimpleBackups and Amazon S3.
> Automate MySQL database backup directly to your AWS S3 storage.
With SimpleBackups, you can **backup MySQL database** to any cloud storage provider.
In this article, I'll go through the entire process of **setting up your backup and store it on AWS S3** specifically.
## Prerequisites
- Have a [SimpleBackups account](https://my.simplebackups.com/register)
- Have a server connected to your account (the one on which your MySQL database is hosted)
- Have a AWS account (it can be empty, we'll cover how to create your S3 bucket below)
## 1. Create your AWS S3 Bucket
- Sign in your [AWS Management Console](https://console.aws.amazon.com/).
- Go to your [AWS S3 bucket list](https://s3.console.aws.amazon.com/s3/) and create a new bucket

Keep default options for (2) Configure options, (3) Set Permission, review and create your bucket.
**Information you'll need in step 3:**
- **Bucket name**, in this case "myacme-backups"
- **Bucket Region**, in this case "US West - N. California"

## 2. Create your AWS credentials
In order to give access to your newly created bucket, you'll need to provide credentials to SimpleBackups.
Follow this simple article on how to get your [AWS S3 Credentials](/docs/storage-providers/aws-s3).
**Information you'll need in step 3:**
- **Access Key**
- **Secret Key**
## 3. Connect your S3 bucket to SimpleBackups
- Log into SimpleBackups and head to the [connect your storage](https://my.simplebackups.com/storage/create) page
- Select "**AWS S3**" in the storage providers list and fill in the "Connect your storage" form with your AWS credentials and newly created bucket information
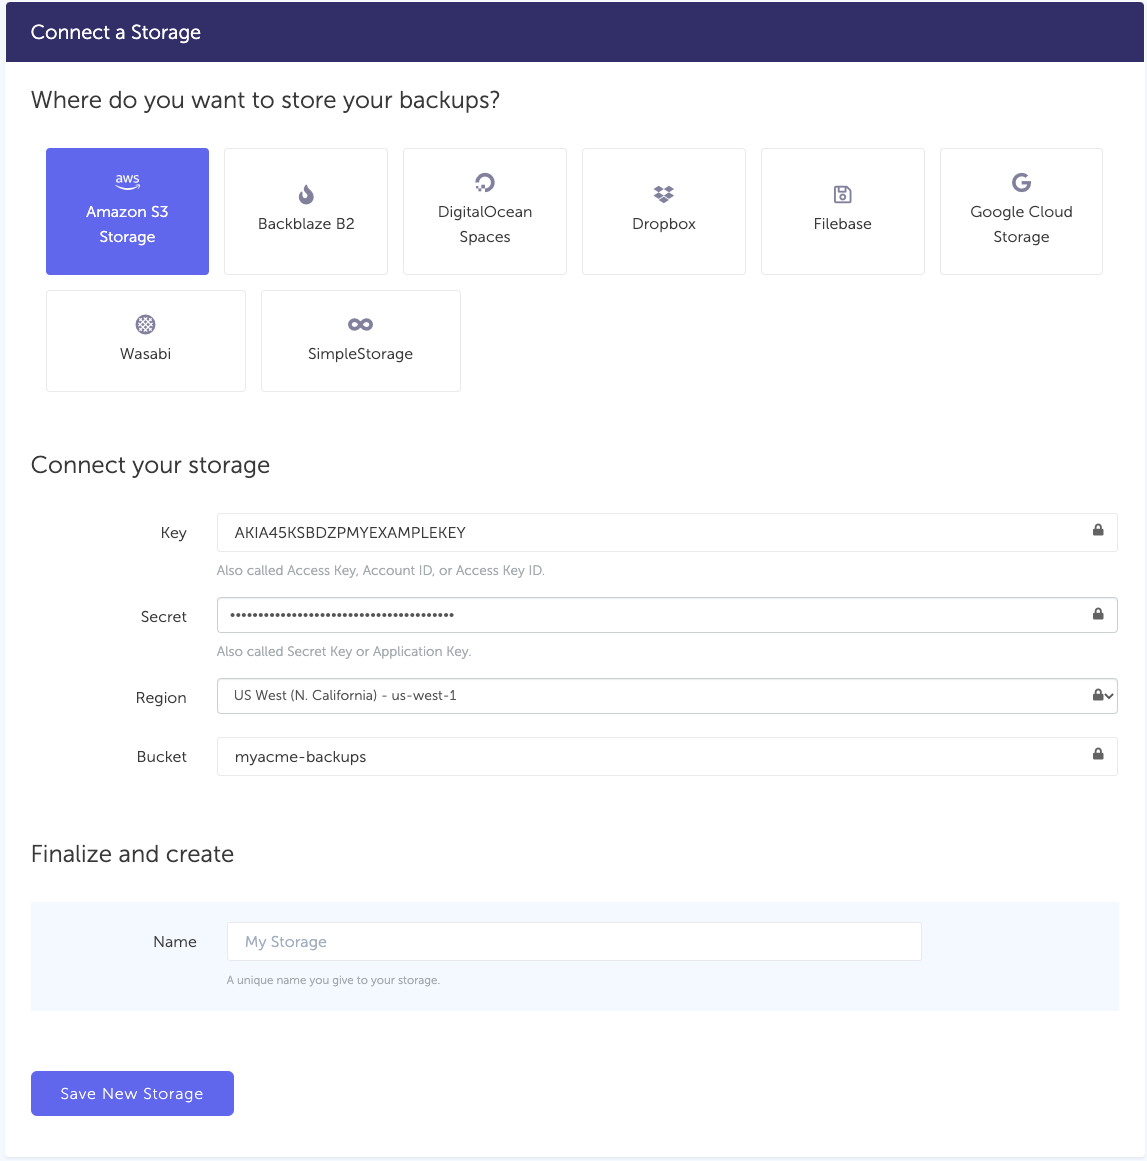
You'll have to input :
- **Key**: Access Key described in (step 2)
- **Secret**: Secret Key described in (step 2)
- **Region**: Bucket region described in (step 1)
- **Bucket**: Bucket name described in (step 1)
- Give your storage a **name** (usually we like to use the bucket name) and click on "Save new storage".
You'll be redirected to the list of storage where you'll find your newly connected storage.
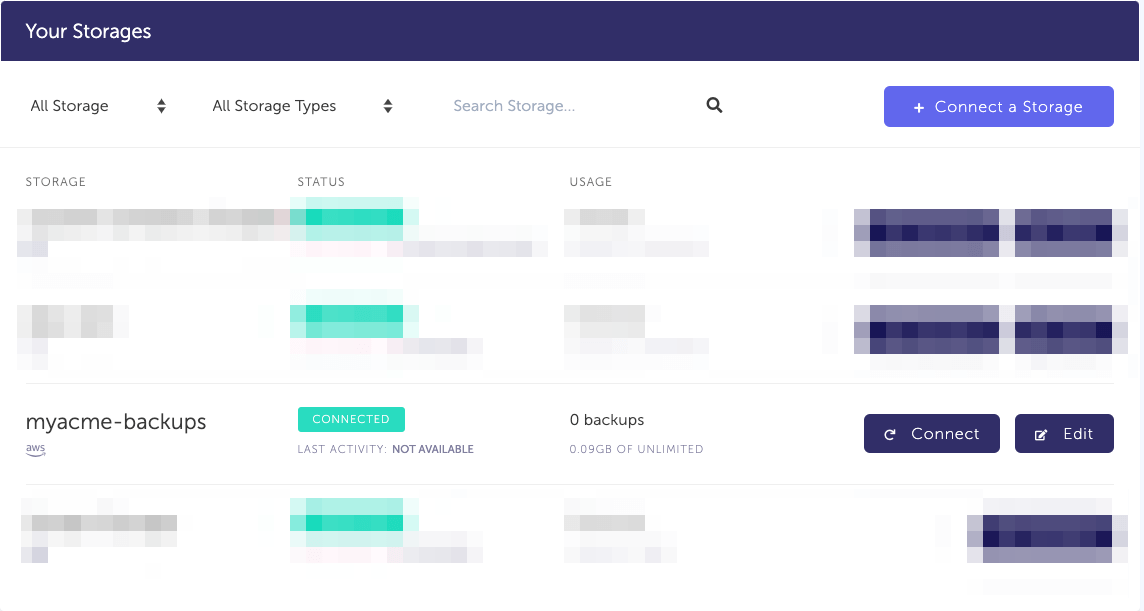
## 4. Final step: Create your MySQL backup
Now it's time to head to the [create backup page](https://my.simplebackups.com/backup/create).
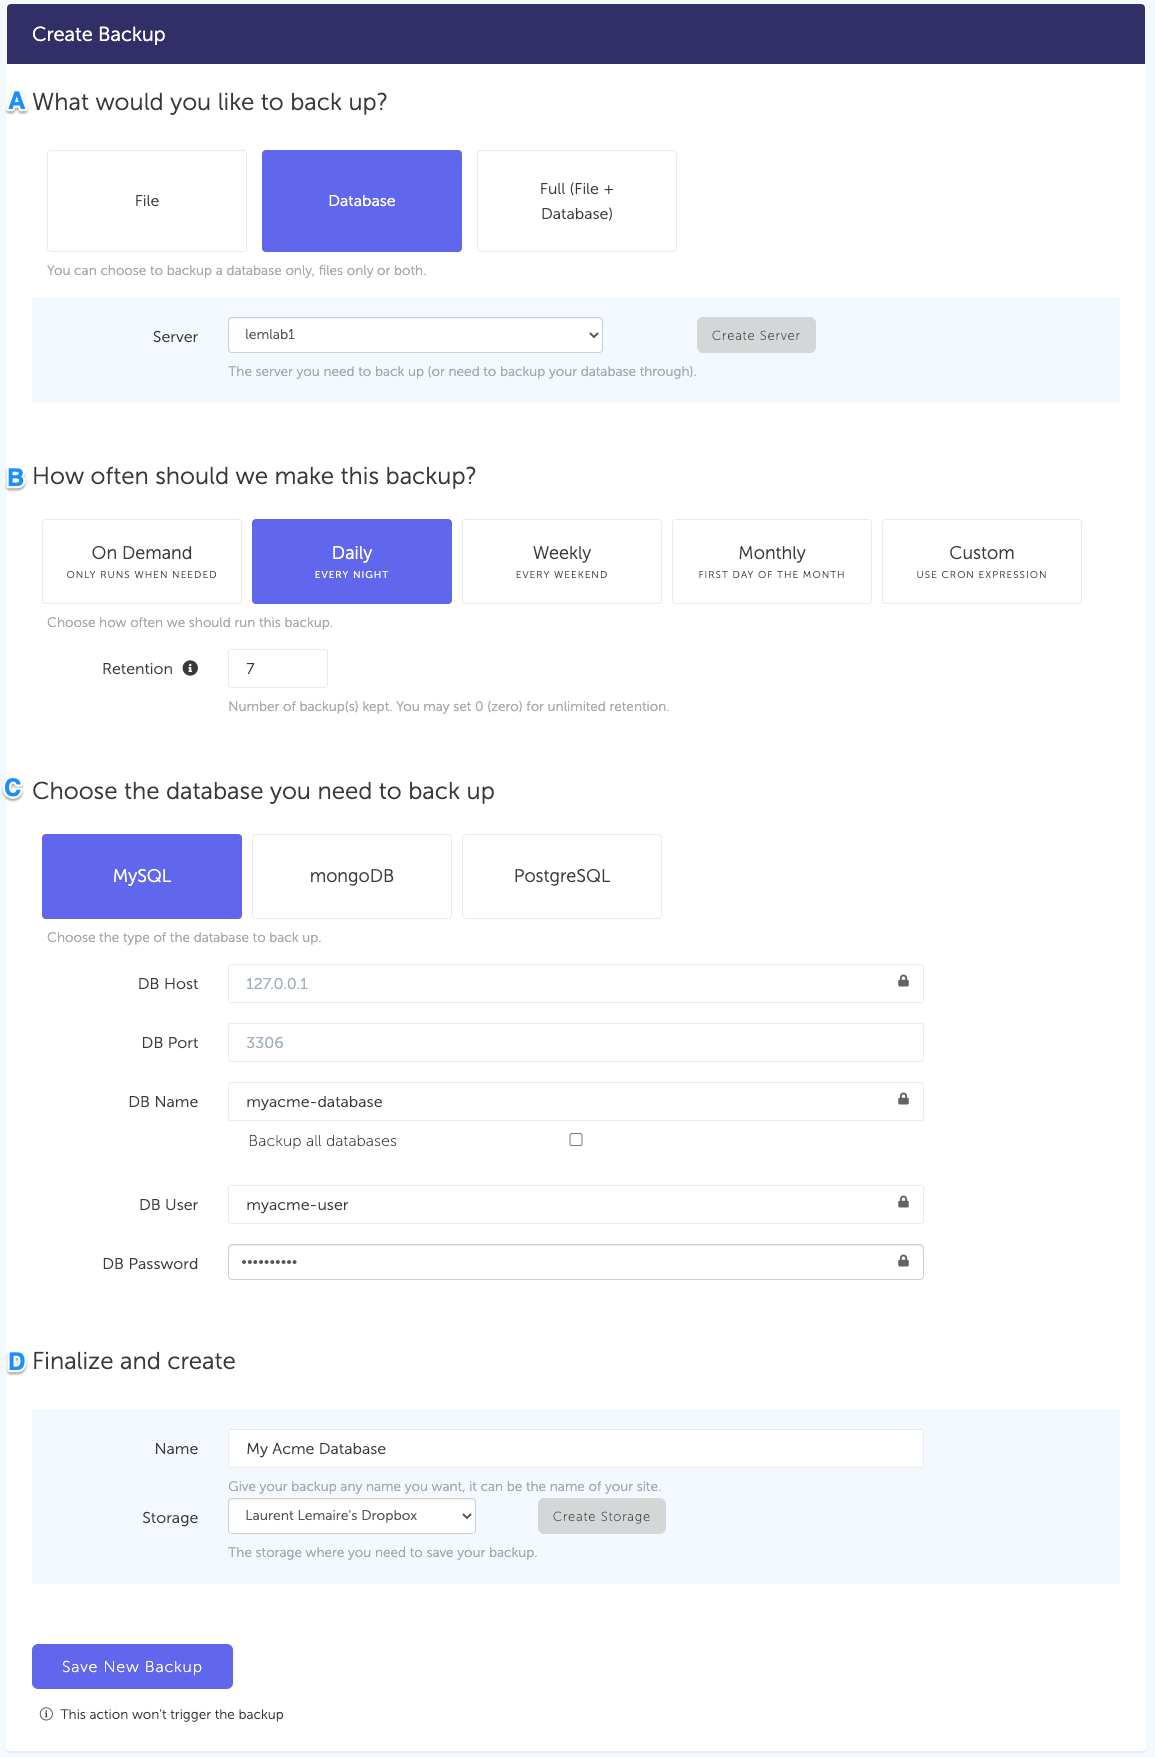
### What would you like to back up? (A)
- Select "**Database**" (in this article we're creating a MySQL backup only)
- **Select the server** on which your database is hosted
### How often should we make this backup? (B)
- Select your **schedule** option (here we picked a daily schedule)
You can select a pre-defined schedule (daily, weekly, monthly) or a custom option allowing you to schedule it whenever you want to use CRON syntax.
- Example of CRON schedule for "20:00 every Tuesday" = `0 22 * * 2`
Finally, the "On demand" option won't schedule anything but will allow you to trigger the backup manually or using our API.
- Define the [**backup retention**,](/docs/getting-started/features/retention) which is the number of backups you want to keep (kind of the history length of your backup if you prefer)
### Choose the database you need to backup (C)
- Select the type of your database, in this case "**MySQL**"
- Fill in the database connection form.
_Note: Backing up all databases on your server at once, requires a paid plan_
## Finalize and create
- Pick the **name of your backup** (this is how it will be displayed in SimpleBackups interface) and where you want to store it.
- Select your **storage** (step 3)
That's it, your MySQL backup is now ready.
Run it once manually (using the "Run" backup button from the backups list) and you'll trigger your first backup!
---
# How to backup MySQL to Microsoft Azure
Source: https://simplebackups.com/blog/how-to-backup-mysql-to-azure-blob-storage
Published: 2020-06-23
Summary: How to automate MySQL backups and store them on Microsoft Azure blob storage. Tutorial for SimpleBackups and Microsoft Azure.
**Last Update: May 23, 2022**
> Automate MySQL database backup directly to your Microsoft Azure Blob Storage.
Where your MySQL database is hosted doesn't matter!
This article covers how to backup MySQL databases no matter where they are hosted.
With SimpleBackups, you can **backup MySQL database** to any cloud storage provider.
In this article, I'll go through the entire process of **setting up your backup and store it on Microsoft Azure Blob Storage** specifically.
## Prerequisites
- Have a [SimpleBackups account](https://my.simplebackups.com/register)
- Have a server connected to your account (the one on which your MySQL database is hosted)
- Have a Microsoft Azure Storage Account (it can be empty, we'll cover how to create your Azure blob storage below)
## 1. Create your Microsoft Azure Blob Storage
- Sign in to your [Microsoft Azure Portal](https://portal.azure.com/).
- Under **Azure services**, choose **Storage Accounts**. Your storage account list will be displayed. Choose the storage account you want to connect with.

- On the left menu, under **Blob Service**, choose **Containers**

- Click **+ Container** to add a Container. Input the name you want for the container and click the **Create** button
- Your container has been created.
**Information you'll need in step 3:**
- **Container Name**
- **Storage Endpoint**, in this case is **core.windows.net**
## 2. Get your Storage Access Keys
In order to give access to your newly created storage, you'll need to provide credentials to SimpleBackups.
- On the left menu, under **Settings**, choose Access Keys.

- Please use the **Key** value under **key1** as your access key.
**Information you'll need in step 3:**
- **Access Key**
- **Storage Account Name**
## 3. Connect your Azure Blob Storage to SimpleBackups
- Log into SimpleBackups and head to the [connect your storage](https://my.simplebackups.com/storage/create) page
- Select "**Azure Blob Storage**" in the storage providers list and fill in the "Connect your storage" form with your Microsoft Azure credentials and newly created container information

You'll have to input :
- **Account Name**: Account Name described in (step 2)
- **Access Key**: Secret Key described in (step 2)
- **Container**: Container name described in (step 1)
- **Ending Suffix**: your storage endpoint described in (step 1)
- Give your storage a **name** (usually we like to use the storage name) and click on "Save new storage".
You'll be redirected to the list of storage where you'll find your newly connected storage.

## 4. Final step: Create your MySQL backup
Now it's time to head to the [create backup page](https://my.simplebackups.com/backup/create).
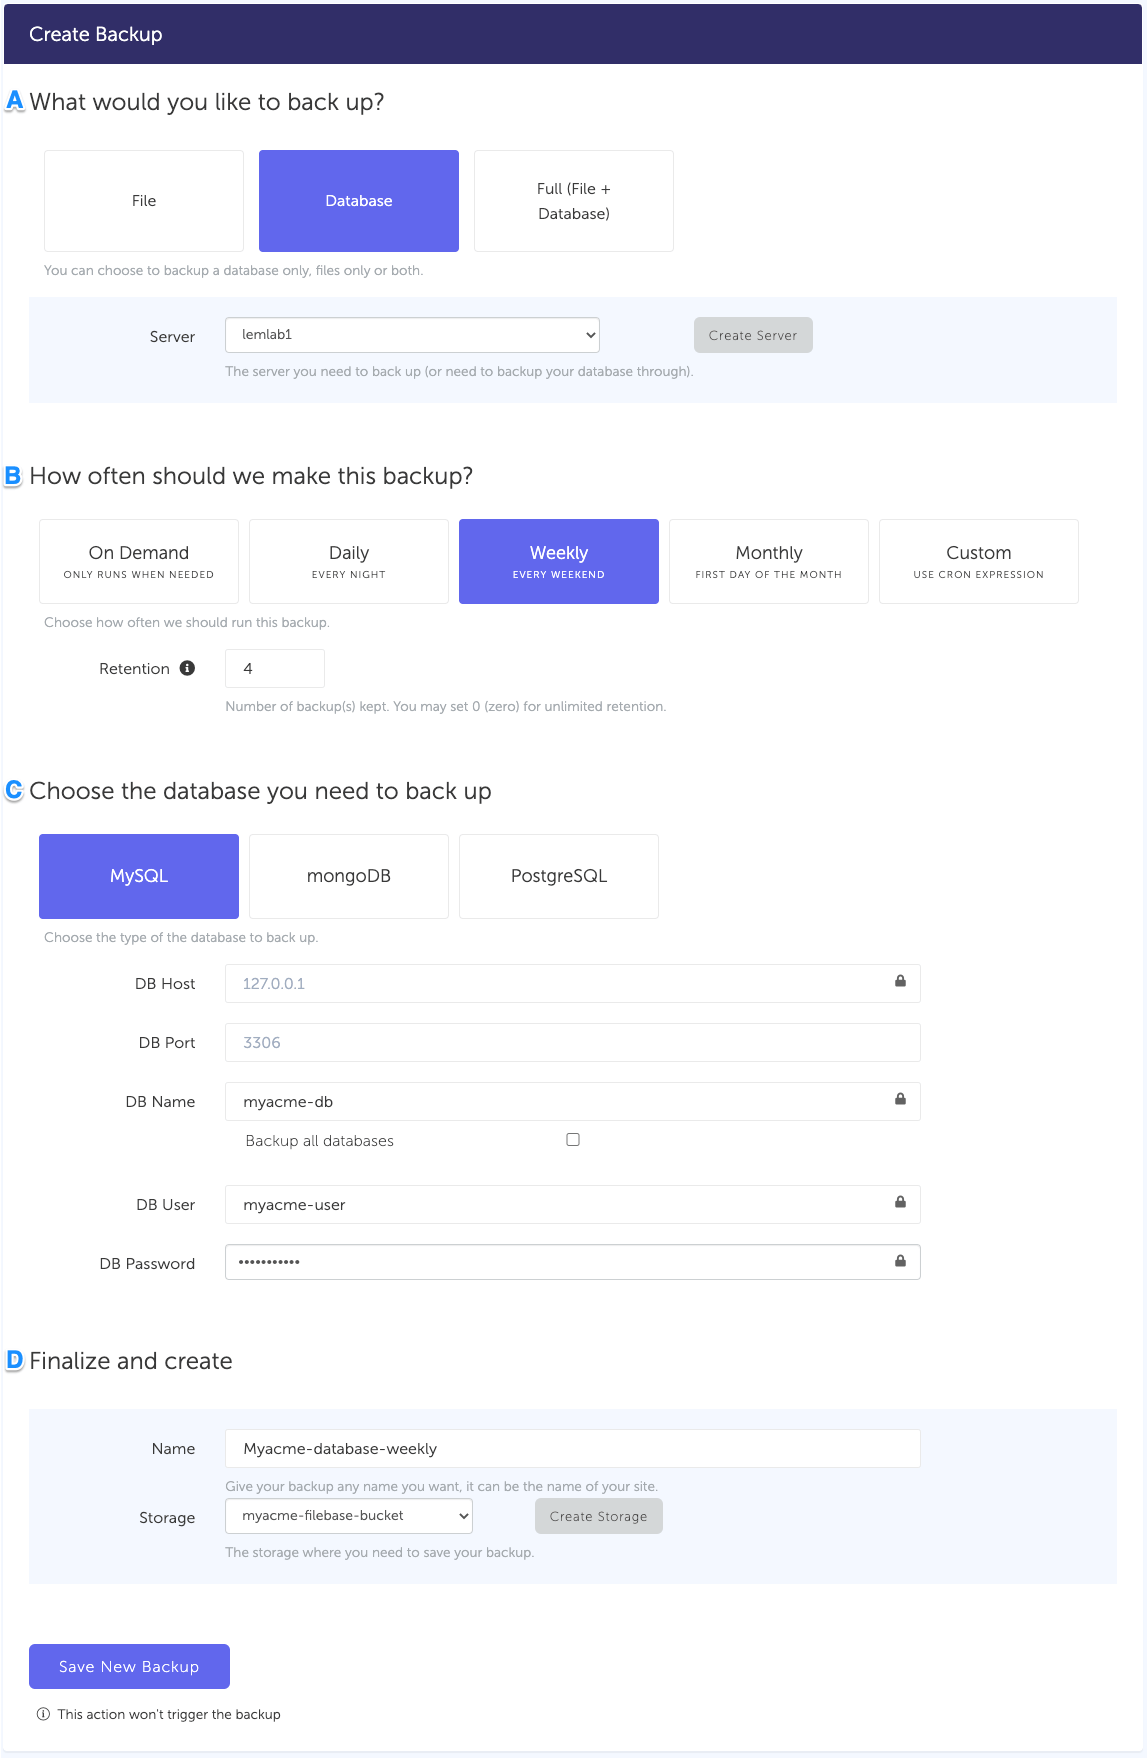
### What would you like to back up? (A)
- Select "**Database**" (in this article we're creating a MySQL backup only)
- **Select the server** on which your database is hosted
### How often should we make this backup? (B)
- Select your **schedule** option (here we picked a daily schedule)
You can select a pre-defined schedule (daily, weekly, monthly) or a custom option allowing you to schedule it whenever you want to use CRON syntax.
- Example of CRON schedule for "20:00 every Tuesday" = `0 22 * * 2`
Finally, the "On demand" option won't schedule anything but will allow you to trigger the backup manually or using our API.
- Define the [**backup retention**,](/docs/getting-started/features/retention) which is the number of backups you want to keep (kind of the history length of your backup if you prefer)
### Choose the database you need to backup (C)
- Select the type of your database, in this case "**MySQL**"
- Fill in the database connection form.
_Note: Backing up all databases on your server at once, requires a paid plan_
## Finalize and create
- Pick the **name of your backup** (this is how it will be displayed in SimpleBackups interface) and where you want to store it.
- Select your **storage** (step 3)
That's it, your MySQL backup is now ready.
Run it once manually (using the "Run" backup button from the backups list) and you'll trigger your first backup!
---
# How to backup PostgreSQL to Microsoft Azure
Source: https://simplebackups.com/blog/how-to-backup-postgres-to-azure-blob-storage
Published: 2020-06-23
Author: Laurent
Summary: How to automate PostgreSQL backups and store them in Microsoft Azure Blob Storage. Step-by-step setup with SimpleBackups, from container to first backup.
> Automate PostgreSQL database backup directly to your Microsoft Azure Blob Storage.
With SimpleBackups, you can **backup a PostgreSQL database** to any cloud storage provider.
Below we go through the entire process of **setting up your backup and storing it on Microsoft Azure Blob Storage** specifically.
## Prerequisites
* Have a [SimpleBackups account](https://my.simplebackups.com/register)
* Have a server connected to your account (the one on which your PostgreSQL database is hosted)
* Have a Microsoft Azure Storage Account (it can be empty, we'll cover how to create your Azure blob storage below)
## 1. Create your Microsoft Azure Blob Storage
* Sign in to your [Microsoft Azure Portal](https://portal.azure.com/).
* Under **Azure services**, choose **Storage Accounts**. Your storage account list will be displayed. Choose the storage account you want to connect with.

* On the left menu, under **Blob Service**, choose **Containers**

* Click **+ Container** to add a Container. Input the name you want for the container and click the **Create** button
* Your container has been created.
**Information you'll need in step 3:**
* **Container Name**
* **Storage Endpoint**, in this case is **core.windows.net**
## 2. Get your Storage Access Keys
In order to give access to your newly created storage, you'll need to provide credentials to SimpleBackups.
* On the left menu, under **Settings**, choose Access Keys.

* Please use the **Key** value under **key1** as your access key.
**Information you'll need in step 3:**
* **Access Key**
* **Storage Account Name**
## 3. Connect your Azure Blob Storage to SimpleBackups
* Log into SimpleBackups and head to the [connect your storage](https://my.simplebackups.com/storage/create) page
* Select "**Azure Blob Storage**" in the storage providers list and fill in the "Connect your storage" form with your Microsoft Azure credentials and newly created container information

You'll have to input :
* **Account Name**: Account Name described in (step 2)
* **Access Key**: Secret Key described in (step 2)
* **Container**: Container name described in (step 1)
* **Ending Suffix**: your storage endpoint described in (step 1)
* Give your storage a **name** (usually we like to use the storage name) and click on "Save new storage".
You'll be redirected to the list of storage where you'll find your newly connected storage.

## 4. Final step: Create your PostgreSQL backup
Now it's time to head to the [create backup page](https://my.simplebackups.com/backup/create).
### What would you like to back up? (A)
* Select "**Database**" (in this article we're creating a PostgreSQL backup only)
* **Select the server** on which your database is hosted
### How often should we make this backup? (B)
* Select your **schedule** option (here we picked a daily schedule)
You can select a pre-defined schedule (daily, weekly, monthly) or a custom option allowing you to schedule it whenever you want to use CRON syntax.
* Example of CRON schedule for "20:00 every Tuesday" = `0 22 * * 2`
Finally, the "On demand" option won't schedule anything but will allow you to trigger the backup manually or using our API.
* Define the [**backup retention**,](/docs/getting-started/features/retention) which is the number of backups you want to keep (kind of the history length of your backup if you prefer)
### Choose the database you need to backup (C)
* Select the type of your database, in this case "**PostgreSQL**"
* Fill in the database connection form.
*Note: Backing up all databases on your server at once, requires a paid plan*
## Finalize and create
* Pick the **name of your backup** (this is how it will be displayed in SimpleBackups interface) and where you want to store it.
* Select your **storage** (step 3)
That's it, your PostgreSQL backup is now ready.
Run it once manually (using the "Run" backup button from the backups list) and you'll trigger your first backup!
## FAQ
## Keep learning
- [The ultimate PostgreSQL backup script](/blog/the-ultimate-postgresql-database-backup-script), if you would rather own the `pg_dump` and upload pipeline yourself.
- [pg_dump and pg_restore guide](/blog/postgresql-pgdump-and-pgrestore-guide-examples), for the dump options behind whichever route you pick.
- [How to restore a PostgreSQL backup](/blog/how-to-restore-a-postgresql-backup), because a backup you have never restored is an assumption.
Scheduling, retention and restores across every destination are covered on the [managed PostgreSQL backup](/postgresql-backup) page.
---
*This article is part of [The complete guide to PostgreSQL backup](/learn/postgresql-backup#offsite-storage), an honest, practical reference from the team that backs up PostgreSQL every day.*
---
# How to backup MySQL to Backblaze
Source: https://simplebackups.com/blog/how-to-backup-mysql-to-backblaze
Published: 2020-06-23
Summary: How to automate MySQL backups and store them on Backblaze bucket. Tutorial for SimpleBackups and Backblaze B2.
> MySQL database backup stored in your Backblaze B2 Bucket.
At SimpleBackups, we started looking into Backblaze for their B2 cloud solution and I must say we've been very positively surprised by their solution.
When you start with Backblaze, and already know about S3, you're not in a foreign territory. Everything is easy to set up and getting your first backup stored there is super easy.
Let's get ready, and get this this done in under 5 minutes (you'll see, it's really easy to get your first **MySQL database backup** automated).
## Prerequisites
- Create a **[SimpleBackups account](https://my.simplebackups.com/register)**
- Connect your server to SimpleBackups (the one on which your MySQL database is hosted)
- Have a Backblaze account (I'll show you how to create your Backblaze Bucket below)
## 1. Create your Backblaze Bucket
- [Log into your Backblaze account](https://secure.backblaze.com/user_signin.htm)
- Go to the [Bucket page](https://secure.backblaze.com/b2_buckets.htm)[](https://cloud.digitalocean.com/spaces/new) create a new Bucket

- Fill in your Bucket name and create the Bucket

Good job! Your bucket is created.

_Don't leave the Backblaze interface yet, we'll now have to create your credentials._
**Information you'll need in step 3:**
- Your **Bucket name**, in this case "myacme-bucket"
- Your **Bucket region**, in this case "us-west-002"
## 2. Create your Bucket credentials
Great! Now that we have a Bucket, we need to create the credentials required to access it.
- Go to the ["App Keys" page](https://secure.backblaze.com/app_keys.htm?) and click on "Add a new Application Key" button
**Fill in the form by defining:**
- Name of the Key: we like to use a reference of the Bucket we're creating the credentials for
- Allow access to Bucket(s): Access to "All Buckets" is less secure, we strongly recommend that you select the bucket you want to use only.
Leave the rest of the option empty and create your key.

You'll get a confirmation message including your **KeyID** and **applicationKey**, which is what we need to connect your storage to SimpleBackups.
**Information you'll need in step 3:**
- **applicationKey**
- **KeyID**
## 3. Connect your Bucket to SimpleBackups
So far we have created a Bucket and have created the required credentials to get access to this it.
The only remaining step is connecting this new storage to SimpleBackups.
- Log into SimpleBackups and head to the [connect your storage](https://my.simplebackups.com/storage/create) page
- Select **"Backblaze B2"** as storage provider and fill in the "Connect your storage" form with the information from step 1 and 2.

You'll have to input :
- **Key**: KeyID described in (step 2)
- **Secret**: applicationKey described in (step 2)
- **Region**: Bucket region described in (step 1)
- **Bucket**: Bucket name described in (step 1)
- Give your storage a **name** (usually we like to use the Bucket name) and click on "Save new storage".
You'll be redirected to the list of storage where you'll find your newly connected storage.

... Yes that's all it takes !
## 4. Final step: Create your MySQL backup
Alright, let's now move on to our last step and get that MySQL backup created!
With SimpleBackups you can backup MySQL databases as well as PostgreSQL and MongoDB, but also any files.
In this step I'll cover how to get a MySQL backup created but you'll quickly understand this applies to any kind of backups you might need.
### What would you like to back up? (A)
- Select "**Database**" (in this article we're creating a MySQL backup only)
- **Select your database server**
### How often should we make this backup? (B)
- Select your **schedule** option (here we picked a daily schedule)
You can select a pre-defined schedule (daily, weekly, monthly) or a custom option allowing you to schedule it whenever you want to use CRON syntax.
- Example of CRON schedule for "20:00 every Tuesday" = `0 22 * * 2`
Finally, the "On demand" option won't schedule anything but will allow you to trigger the backup manually or using our API.
- Define the [**backup retention**,](/docs/getting-started/features/retention) which is the number of backups you want to keep (kind of the history length of your backup if you prefer)
### Choose the database you need to backup (C)
- Select the type of your database, in this case "**MySQL**"
- Fill in the database connection form
## Finalize and create
- Pick the **name of your backup** (this is how it will be displayed in SimpleBackups interface) and where you want to store it.
- Select your **Storage** (step 3)
That's it, your MySQL backup is now ready and connected to your Backblaze bucket.
[Let us know](https://simplebackups.com/contact-us/) how long it took you to get your backup fully configured (current record is 4 minutes) :-)
Run it once manually (using the "Run" backup button from the backups list) and you'll trigger your first backup!
---
# SimpleStorage - Cloud Backup Storage
Source: https://simplebackups.com/blog/protect-your-data-and-store-your-backups-on-simplestorage
Published: 2020-06-12
Summary: Store your backups remotely for free. Bring the power of AWS on your backups without worrying about setting anything up.
> Our goal is to make sure our users do not have any excuses not to move forward with setting up their backups. That's why we offer all the main cloud storage providers and even a free storage quota included with all paid plans.
## What is SimpleStorage?
SimpleStorage is our built-in backup storage solution included in all our paid plan.
You can store any of your backups in SimpleStorage, like you'd be able to do it on any other provider (DigitalOcean, AWS S3, Google, Dropbox, Wasabi, Filebase, Backblaze...).
## How much storage is included in my plan?
The storage included depends on your plan.
Find more about this on our [pricing page](/pricing/).
## Where is my data stored?
SimpleStorage leverage AWS S3 behind the scene, so your data will be hosted on Amazon data centers (you have the choice between the US and Europe for where to store your backups).
---
# Mounting DigitalOcean Spaces and Access Bucket From Droplet
Source: https://simplebackups.com/blog/mounting-digitalocean-spaces-and-access-bucket-from-droplet
Published: 2020-06-11
Summary: Step by step how to mount a DigitalOcean Spaces Bucket, and access it as how you normally access folders on Linux. The instructions will pretty much work for other S3-compatible storage providers and of course, S3 as well
In this post, I will show you step by step in the easiest way possible how to mount a DigitalOcean Spaces Bucket. Afterwards, you can access it as how you normally access folders on Linux.
The instructions will pretty much work for other S3-compatible storage providers and of course, S3 as well (just some substitutions will be needed).
**Note #1:** This tutorial assumes that you have a DigitalOcean Spaces bucket, and a Linux server/droplet.
**Note #2:** If you already have the access & secret keys of your bucket, skip to **Step 4.**
## Table of Contents
### Step 1: Obtain Storage Access Key
From the **Spaces** tab on DigitalOcean, click “**_Manage Keys_”**
### Step 2: Generate a New Key For Spaces
Now click “**_Generate New Key_**” from the “**_Tokens/Keys_**” tab as shown below:
### Step 3: Copy your Access and Secret Keys
Set a name for your key, then copy the resulting values highlighted below (the `ACCESS_KEY_ID` and the `SECRET_ACCESS_KEY` respectively):
### Step 4: Install S3FS-Fuse
On your Linux machine, install the tool **[s3fs-fuse](https://github.com/s3fs-fuse/s3fs-fuse)** (Ubuntu example below)**:**
```shell
sudo apt install s3fs
```
### Step 5: Configure your Spaces Key
Use the following command to install your DigitalOcean Spaces key on your machine:
```shell
echo ACCESS_KEY_ID:SECRET_ACCESS_KEY > ${HOME}/.passwd-s3fs && chmod 600 ${HOME}/.passwd-s3fs
```
In this example, using the values in **Step 3**, replace `ACCESS_KEY_ID:SECRET_ACCESS_KEY` by `LBIQ652YZFSGJWKWXFKR:XXgVybv8x7Sphgx+42pZtaT5qRrCrseiCCtopagXouo`
### Step 6: Create your Mount Directory
Create the folder where you want to access your bucket:
```shell
mkdir -p /media/my-local-bucket
```
### Step 7: Mount Your Bucket
Now we just need to mount the bucket on the chosen folder using this single command:
```shell
s3fs my-awesome-space /media/my-local-bucket
-o passwd_file=${HOME}/.passwd-s3fs
-o url=https://nyc3.digitaloceanspaces.com/
-o use_path_request_style
```
This command mounts our DigitalOcean Spaces bucket named `my-awesome-space` on the folder `/media/my-local-bucket` in Linux.
**Note:** in our example, the bucket is located in `nyc3` region. If your bucket is in another region, make sure you replace `nyc3` by the correct region. You can find the region and the bucket name as shown below:
### Verify That It Works
Finally, you can check the local folder `/media/my-local-bucket` to verify that it has your DigitalOcean Spaces bucket files and folders! 👏
```shell
ls -lah /media/my-local-bucket
```
### Step 8 — Confirmation
In the screenshot above, we locally see the same files and folders seen earlier in **Step 7** — this verifies that we can access the bucket as a local folder.
\*If you are still unable to make it work repeat the steps and make sure you set the right Bucket **region / name.\***
---
_You can create a free [SimpleBackups](https://simplebackups.com/) account and effortlessly back up your databases, servers and websites with the ability to choose DigitalOcean Spaces and other storage providers as a storage option! Try it out._
---
# Create DigitalOcean Spaces credentials
Source: https://simplebackups.com/blog/create-digitalocean-spaces-credentials
Published: 2020-06-11
Summary: create an access key and a secret key for your DigitalOcean Spaces In this tutorial I will highlight the steps to follow and also provide some…
Generate Access Key and Secret Key for DigitalOcean Spaces.
It is easy to create an access key and a secret key for your ***DigitalOcean Spaces*** to access them programmatically, for example, when you are creating backups or uploading assets to your buckets.
In this tutorial I will highlight the steps to follow and also provide some screenshots afterwards for additional help.
**Simply do the following:**
1. Log in to your ***DigitalOcean Spaces*** account or go directly to https://cloud.digitalocean.com/spaces
2. Click **Manage Keys** on the right hand side of the **Spaces** screen or directly go to https://cloud.digitalocean.com/account/api/tokens
3. Next to **Spaces access keys**, click **Generate New Key** then add a name for your key and click the check mark.
4. A new **Key** and **Secret** will be generated. The shorter one is the Access Key and the longer one is the Secret Key. Use these two values when adding your*DigitalOcean Spaces*account to SimpleBackups.
An overview of the selections made in the previous steps:
Step 1, 2 and 3
Step 4
---
# Allow Remote MySQL Connections in cPanel
Source: https://simplebackups.com/blog/allow-remote-mysql-connections-in-cpanel
Published: 2020-06-10
Summary: Find out how to allow a remote IP to connect to your MySQL instance in cPanel.
By default, cPanel does not allow remote MySQL connections, which is a good thing as long as you don't need to.
If you are using cPanel and want to allow a remote IP to access your MySQL databases, then you will need to whitelist that IP (Enable Remote MySQL Connections).
## How to set up Remote Access to MySQL Server in cPanel
**Log in to cPanel.**
First, let's log in to cPanel. You can do so by going to yourdomain.com/cpanel or yourdomain.com:2083.
Head to your cPanel dashboard and follow the steps below.
Go to **Databases**, and click the **Remote MySQL** icon shown below.
From that section you'll be able to define whichy IP address should be allowed to access your MySQL Databases.
### Allow access to MySQL from a specific IP address
In the **Host field**, type in the **IP address** then click **Add Host**.
Repeat this step for each IP address you want to whitelist.
Once you have added the IP address to **Remote MySQL**, you will be able to connect.
### Allow access to MySQL from any IP address
To do this, you will need to add a wildcard (%) in the **Host field**. You can also use the wildcard for a specific IP range, like 192.168.1.%.
The usual reason to open MySQL to a remote IP is so something outside the server can read the database, and more often than not that something is a backup job. If that is your case, our [automated MySQL backups](/mysql-backup) connect over the whitelisted IP and send the dump to storage you control.
---
# Allow Remote MySQL Connections in WHM
Source: https://simplebackups.com/blog/allow-remote-mysql-connections-in-whm
Published: 2020-06-10
Summary: You could allow a remote IP to connect to your MySQL instance, let's say for backup or to access your database from your local machine. Remote connections to MySQL are disabled in WHM.
By default, remote connections to MySQL are disabled in WHM. If you would like to allow a remote IP to connect to your MySQL instance, let's say for backup or to access your database from your local machine, you could do the following.
## Enabling Remote MySQL in the WHM panel
- **Log in** to your server’s WHM panel
- Find the left-side navigation bar labeled **SQL Services,** or type ‘mysql’ in the search box as shown below.
- Click **Additional MySQL Access Hosts**
On the following page, **enter the IP address you would like to whitelist** in the text box as shown.
- Click the **Save** button
Whitelisting an IP is usually step one of pointing something at the database from outside the server. If that something is a backup job, our [automated MySQL backups](/mysql-backup) run the dump over that connection and store it off the machine.
---
# Restore a Linux File Backup
Source: https://simplebackups.com/blog/restore-a-linux-file-backup
Published: 2020-06-10
Summary: Download and restore a Linux file backup from a tar archive into a specific directory.
This tutorial explains how you can restore a linux file backup of, for example the `/var/www` directory on your server.
#### Step 1
Assuming you have a link of the tar archive you want to restore for `/var/www`.
#### Step 2 (optional)
If you are using SimpleBackups, you can go to your backup page, under the "**Backup History**" section click the little "**i**" on the right, then click "**Raw Download Link**" and copy the output.
#### Step 3
On your server, run the following command, replace the raw download link you obtained in the previous step:
```shell
wget "TarBackupLinkHereBetweenTheQuotes" -O "backup.tar.gz"
```
#### Step 4
Now that you downloaded the backup on your server, restore it as shown below by running:
```shell
tar --overwrite -xvf backup.tar.gz --directory /var/www
```
**\
*Note:*** this will overwrite your `/var/www` directory by the one in the backup archive. It is a good practice to extract the backup in a temp folder first and inspect it.
---
# AWS RDS MySQL Backup to S3
Source: https://simplebackups.com/blog/aws-rds-mysql-backup-to-s3
Published: 2020-06-10
Summary: How to back up Amazon RDS MySQL databases to AWS S3 automatically.
You can back up your MySQL Amazon RDS databases using SimpleBackups similar to how you back up MySQL databases and have it uploaded automatically to your Amazon S3 storage.
This will allow you to create automated SQL dumps hourly, daily or based on your preferred schedule. The dumps are just the standard SQL files which you can import/restore to any MySQL database or locally. Unlike the snapshot feature offered by AWS.
#### You will need to:
1. Obtain the database credentials and the endpoint (hostname) shown below
2. Allow SimpleBackups to connect to your Amazon RDS database
#### Step 1. Obtain the database credentials and the endpoint (hostname)
#### Step 2. Allow SimpleBackups to connect to your Amazon RDS database
To do this, you can either add your server to SimpleBackups assuming that your server is whitelisted and can connect to your RDS instance, or you can use one of our cool features which is the Stand-alone Database Backup Server.
You can add the **Database Backup Server** by going to the [database backup creation page](https://my.simplebackups.com/backup/create?type=db) and clicking "Enable Remote Database Backups". Afterwards you will find a server added under your account which you can use when creating database backups.
Afterwards, all you need to do is enter your RDS endpoint, database name, username, and password then you are all set.
---
# DigitalOcean Supported Regions
Source: https://simplebackups.com/blog/digitalocean-supported-regions
Published: 2020-06-10
Summary: DigitalOcean supported datacenter regions and locations.
**Last Update: May 29, 2023**
At the moment, DigitalOcean has 13 data centers across the globe:
* **New York City**, The US: NYC1, NYC2, NYC3
* **San Francisco**, The US: SFO1, SFO2, SFO3
* **Toronto**, Canada: TOR1
* **London**, United Kingdom: LON1
* **Frankfurt**, Germany: FRA1
* **Amsterdam**, the Netherlands: AMS2, AMS3
* **Singapore**: SGP1
* **Bangalore**, India: BLR1
* **Sydney**, Australia: SYD1
## DigitalOcean Supported Regions & Locations
DigitalOcean also has 4 datacenters they considered as legacy: AMS2, NYC2, SFO1, SFO2.
Note that some location availability might depend on the Droplet Plan you select:
| Droplet Plan | NYC1 | NYC3 | AMS3 | SFO3 | SGP1 | LON1 | FRA1 | TOR1 | BLR1 | SYD1 |
| --- | --- | --- | --- | --- | --- | --- | --- | --- | --- | --- |
| Basic with Regular CPU | ◆ | ⬖ | ◆ | ◆ | ◆ | ⬖ | ◆ | ⬖ | ⬖ | ◆ |
| Basic with Premium CPU | ◆ | ◆ | ◆ | ◆ | ◆ | ◆ | ◆ | ◆ | ◆ | ◆ |
| General Purpose | ◆ | ◆ | ◆ | ◆ | ◆ | ◆ | ◆ | ◆ | ◆ | ◆ |
| CPU-Optimized with Regular CPU | ◆ | ◆ | ◆ | ◆ | ◆ | ◆ | ◆ | ◆ | ◆ | ◆ |
| CPU-Optimized with Premium CPU | ◆ | ◆ | ◆ | ◆ | | | ◆ | ◆ | ◆ | ◆ |
| Memory-Optimized | ◆ | ◆ | ◆ | ◆ | ◆ | ◆ | ◆ | ◆ | ◆ | ◆ |
| Storage-Optimized | ◆ | ◆ | ◆ | ◆ | ◆ | ◆ | ◆ | ◆ | ◆ | ◆ |
## Connecting your DigitalOcean droplet to SimpleBackups
When connecting your DigitalOcean server to SimpleBackups, you'll simply have to select which location/region it is part of. We support every location.
You can always have a look at the [realtime status of these datacenters.](https://status.digitalocean.com/)
We have help articles explaining you [how to get started with DigitalOcean Droplet backups.](/blog/create-digitalocean-droplets-daily-backups/)
Specific DigitalOcean backup needs? Don't hesitate to [contact us](/contact-us/).
---
# The Ultimate MySQL Database Backup Script
Source: https://simplebackups.com/blog/the-ultimate-mysql-database-backup-script
Published: 2020-06-09
Summary: Automate MySQL backups and send them offsite to Amazon S3 daily via scripts.
This article and video are part of **“The Ultimate Backup Script”** serie we are creating to provide you with MySQL database backup scripts that not only allow you to create database backups, but also upload the backup dumps to a remote storage and automate the process daily.
## Table of Contents
## Why do you need a MySQL database backup?
One might think why backup is necessary for my database? The answer is simple, backup creates a copy of your physical, logical, and operational data. Which you can store at any safe place such as Amazon S3. This copy comes into use if the running database gets corrupted. Database backup can include files like control files, datafiles, and archived redo logs.
The script below is built around `mysqldump`, so if you want to understand every flag it passes, read [the complete mysqldump guide](/blog/the-complete-mysqldump-guide-with-examples) alongside it.
If you're looking for a no-code solution to set up and automate your MySQL database backups instead, we do exactly this as [automated MySQL backups](/mysql-backup).
## What are we going to do cover this article?
We're going to write a simple script that backup your MySQL database and store it on your Amazon S3 bucket. We will also automate the process using Cron.
**Few points to explain before we start:**
> **Why Amazon S3?**
For this tutorial, we have chosen **Amazon S3** as it is a very common choice.
You can do the same thing if you would like to use another cloud storage provider. The instructions won’t differ a lot as long as the cloud provider is S3-compatible.
> **What is Cron?**
Cron is a software utility that offers time-based job scheduling. It supports Unix computer operating systems. To set up software environments, the developer uses Cron. He/she schedules commands or shell scripts so that they run at chosen times. It could be daily, once a week, or any interval as desired.
> **What is Chmod?**
The chmod a short command of ‘change mode’ enables the admin to set rules for file handling. In other words, with the help of a “chmod” system call. An administrator can change the access permissions of file system objects.
🧑💻 You can **automate the creation of backup and storing it to Amazon S3** within a few minutes. Below bullets brief about what you are going to learn in this part of the article:
1. Create a script that automates the MySQL backup directory creation
2. Upload/sync the backups with Amazon S3
3. Cron will run this command every day (to back up)
### 1. Creating a Shell Script for MySQL Database Backup
To streamline the process of generating a shell script for MySQL database backup, follow these steps:
**Navigate to Your Home Directory:**
```shell
cd ~
```
**Create a Directory for Your Scripts:**
```shell
mkdir scripts
cd scripts
```
**Create a New Script File:**
```shell
nano db_backup.sh
```
**Paste the Following Script into db_backup.sh:**
```shell
#!/bin/bash
# Set the backup directory with the current date as the subfolder name
DIR=$(date +%d-%m-%y)
DEST=~/db_backups/$DIR
mkdir -p $DEST
# Replace the placeholders with your MySQL server details
MYSQL_HOST="mysql_hostname"
MYSQL_USER="mysql_user"
MYSQL_PASSWORD="mysql_password"
DATABASE_NAME="database_name"
# Use mysqldump to create a SQL backup file
mysqldump -h $MYSQL_HOST -u $MYSQL_USER -p$MYSQL_PASSWORD $DATABASE_NAME > $DEST/dbbackup.sql
```
Be sure to replace the placeholders (`mysql_hostname`, `mysql_user`, `mysql_password`, `database_name`) with your specific MySQL server information.
**Make the Script Executable:**
```shell
chmod +x ~/scripts/db_backup.sh
```
Now, you have a fully functional shell script that automates the process of MySQL database backup. Simply run this script to create regular backups of your MySQL database for added data security and peace of mind.
### 2. Configure the AWS CLI
We'll use the AWS CLI to sync the backup files with Amazon S3.
Before installing the AWS CLI you need to **install `python-pi`**. Type the following commands:
```shell
apt-get update
apt-get -y install python-pip
curl "https://bootstrap.pypa.io/get-pip.py" -o "get-pip.py"
```
**Install the AWS CLI**
Type the following command:
```shell
pip install awscli
```
**Set up AWS key & Secret**
Configuration and credential file settings
```shell
cd ~
mkdir .aws
nano ~/.aws/config
```
Paste in `key_id `and `secret_access_key` as shown below
```shell
[default]
aws_access_key_id=AKIAIOSFODNN7EXAMPLE
aws_secret_access_key=wJalrXUtnFEMI/K7MDENG/bPxRfiCYEXAMPLEKEY
```
### 3. Create a script to sync the backup with Amazon S3
Now, let's build the script that will allow you **to sync your MySQL database backups with Amazon S3**.
This script will be used in conjunction with the script you created in the previous section.
Copy and paste the script into `db_sync.sh`.
```shell
#!/bin/bash
# Set your AWS CLI path (update with your actual path if needed)
AWS_CLI_PATH="/usr/local/bin/aws"
# Set your Amazon S3 bucket name
S3_BUCKET="my-bucket-name"
# Specify the source directory where your backups are stored
SOURCE_DIR="~/db_backups"
# Synchronize the backups with Amazon S3
$AWS_CLI_PATH s3 sync $SOURCE_DIR s3://$S3_BUCKET
```
Save the file and exit the text editor.
**Make the script executable:**
```shell
chmod +x ~/scripts/db_sync.sh
```
Now, you have a shell script that can be executed to sync your MySQL database backups with your specified Amazon S3 bucket. Don't forget to replace `"my-bucket-name"` with your actual S3 bucket name and update the `AWS_CLI_PATH` if necessary to point to your AWS CLI installation location.
## Automate your MySQL database backup with CRON
The last step is to automate the process of MySQL database backup with CRON. To do this, follow these steps:
```shell
crontab -e
```
Paste the below commands at the bottom to automate the process
```shell
0 0 * * * ~/scripts/db_backup.sh # take a backup every midnight
0 2 * * * ~/scripts/db_sync.sh # upload the backup at 2am
```
This way the backup script will run and also sync with Amazon S3 daily.
On a large database a nightly full dump gets expensive in both time and storage. [Incremental MySQL backups](/blog/how-to-create-an-incremental-mysql-backup-with-simplebackups) are the alternative there, and if the database sits on another machine, [remote MySQL backup via SSH tunneling](/blog/remote-mysql-database-backup-via-ssh-tunneling) covers reaching it.
Two things worth doing before you call it done. Test the other half of the job by [restoring a MySQL dump](/blog/how-to-restore-a-mysql-backup) from one of these files, because a backup you have never restored is a guess. And if maintaining the script is not how you want to spend your time, we compare the alternatives in our roundup of [MySQL backup tools](/blog/5-best-mysql-backup-tools-in-2023-free-and-paid).
---
---
# Create DigitalOcean Droplets Daily Backups
Source: https://simplebackups.com/blog/create-digitalocean-droplets-daily-backups
Published: 2020-06-06
Summary: Setting up a website and database daily backup using SimpleBackups using DigitalOcean Droplets, with hourly database backups if needed.
Setting up a website and database daily backup using SimpleBackups using [DigitalOcean Droplets](https://simplebackups.com/digitalocean-backup/).
In this step by step tutorial, I am going to show how easy it is to create a daily file and database backup for a website or web application hosted on DigitalOcean.
These steps are almost the same for any other web host or cloud provider as well.
## Requirements:
1. A DigitalOcean server (IP address, username and password).
2. A website, web application or anything on that server to back up.
3. Credentials of your database (IP, username, password, port, name) and the directory you need to back up.
**Step 1.** Obtain the server host/IP address, username and password. These are sent to you by email when you create your DigitalOcean server (aka *Droplet or Instance*) as shown below:
**Step 2a.** [Log in](https://my.simplebackups.com/) to your SimpleBackups dashboard and click **[Servers](https://my.simplebackups.com/server)**, then give your server a name and fill-in the form with the credentials we obtained in step 1 as shown:
**Step 2b.** Click **Validate Server Connection**
**Step 2c.** If the previous step was successful, you will be able to see your server with a *Connected* status as shown at the bottom of the page — this means that your server is ready to be backed up
**Step 3a.** Click **Backups*,*** then **[Create Backup](https://my.simplebackups.com/backup/create).** Afterwards give your backup a name and fill-in the form as shown by selecting the *storage* you want to store your backups on, the *server* you want to backup and the backup *schedule* and *retention*
**Step 3b.** Choose the backup type and enter the directories/paths you want to back up on the server
**Step 3c.** Fill-in your database credentials
**Finally**, you can run your backup by clicking **Back Up Now**:

Once backups run successfully, you will see their logs and will be able to download them:
If you are having any problems, we are a few clicks away. Let us know if you need any help.
---
# Create a DigitalOcean server backup in style.
Source: https://simplebackups.com/blog/create-a-digitalocean-server-backup-in-style
Published: 2019-10-21
Summary: We call it a ‘stylish’ method because it eliminates the manual steps you need to do in order to create a backup.
One of the awesome features of SimpleBackups is ‘Rapid Server Setup’ — which allows you to magically connect SimpleBackups to newly provisioned servers on AWS EC2, Amazon Lightsail, DigitalOcean, Laravel Forge, … etc.
We call it a ‘stylish’ method because it eliminates the manual steps you need to do in order to create a backup.
It also opens the possibilities of automating backups for your servers on-the-fly once they are created. That allows managed web-hosting providers to use SimpleBackups as a backup provider since they can run a single command on all their servers at once to add them to the SimpleBackups dashboard and schedule backups.
**To see ‘Rapid Server Setup’ in action, check out the video below:**
---
# Add SSH key after creating a DigitalOcean droplet
Source: https://simplebackups.com/blog/add-ssh-key-after-creating-a-digitalocean-droplet
Published: 2019-10-06
Summary: here is a workaround to regain access to your server data on a DigitalOcean droplet
If you got locked out and cannot access your DigitalOcean server but still have access to your DigitalOcean account, then here is a workaround to regain access to your server data.

Photo by lalesh aldarwish from Pexels
**Step 1**
Take a snapshot of your droplet from DigitalOcean
**Step 2**
Create a droplet from the snapshot taken – right here you will be given the option to add an SSH key, add your new one or even choose password auth.
**Step 3**
After the new droplet is created, you can SSH using your chosen key to the new droplet and access your old data.
**Finally**
You may delete the old droplet and update your DNS and apps to use the new IP address – or if you are using a floating IP then just let it point to the new droplet!
---
# Pros/Cons of Storing Customers' Files in S3 Buckets for your SaaS
Source: https://simplebackups.com/blog/pros-cons-of-storing-customers-files-in-s3-buckets-for-your-saas
Published: 2019-04-11
Summary: If you are building an application that needs to store customers' data in the cloud, you have a few options to think about.
If you are building an application that needs to store customers' data in the cloud, you have a few options to think about.
In this post I will be comparing two common options we analyzed in the past and list their pros and cons based on our trials. I will be using AWS S3 and DigitalOcean Spaces as reference.

Photo by Robert V. Ruggiero on Unsplash
**👉 The options we compared were:**
**A.**Separate buckets for customers. Where each bucket represents a customer's folder.\
**B.**Separate customer folders in one bucket (recommended most of the time).
### A. Separate buckets
**👍 The pros of using separate buckets:**
1. More organization, security and data separation since every customer has his/her own data in a particular bucket.
2. The ability to allow customers to access their data by giving them access to their own buckets.
3. Easily block access, delete or know the size of a customer's bucket.
**👎 The cons of using separate buckets:**
1. If your app relies on a naming convention for each customer's bucket and for some reason the name of the bucket is taken or unavailable then you have to break the naming convention.
2. It is extremely complex if you ever think of backing up customer data (may have to back up hundreds or thousands of buckets).
3. It is almost impossible to migrate to another storage provider (migrate hundreds or thousands of customers' buckets from S3 to DigitalOcean Spaces for example) if you decide you need to migrate to another provider.
4. High overhead if you need to make global changes to the buckets' settings (change the storage class for example of buckets).
### B. Separate folders in one bucket
**👍 The pros of using separate folders all in one bucket:**
1. Very easy to manage the bucket settings for all customers, no overhead.
2. Easy to migrate data and easy to back up the whole bucket into another bucket or even back it up on another storage provider (back up an S3 bucket into DigitalOcean Spaces).
3. You can fully control the naming convention of customer folders, no worries about unavailable names (bucket-name/customer-01, bucket-name/customer-02).
**👎 The cons of using separate folders all in one bucket:**
1. You need to depend on the app layer to block access or know the size of a customer's folder. Can be done but not as easy as option ‘A'.
2. Full access to the bucket means full access to all customers' folders.
**⚠️ Notes:**
* On AWS S3, you can create credentials that give access to a particular folder in a bucket. Making it function as a virtual bucket (pro for option B if you are using S3).
* On DigitalOcean Spaces, in the time being, any credentials you create give access to all DigitalOcean Spaces buckets and all their folders (con for option A if you are using DigitalOcean).
Let me know if that's helpful and what you end up doing!
---
# Don’t put all your eggs (servers/backups) in one basket (cloud)
Source: https://simplebackups.com/blog/dont-put-all-your-eggs-servers-backups-in-one-basket-cloud
Published: 2019-01-13
Summary: Just like you diversify income sources, diversify your cloud infrastructure providers!
#### Just like you diversify income sources, diversify your cloud infrastructure providers!
### Intro
We are always taught that we “**should not put all our eggs in one basket**” (🥚🥚🥚 + 🧺 = ☠) to avoid the risk of losing everything at once. This can be applied to many verticals, whether it’s applied to skills, investing, income sources, etc… We always need to diversify.
Should we also apply the rule and diversify when it comes to cloud providers? We will figure out.

Photo by Autumn Mott Rodeheaver on Unsplash
### Story
Last December, on Christmas Day (*disasters usually happen on the holidays for some reason*🧐 when everyone is off) one of our clients had their AWS account suspended. Because of the suspension — which we had no idea why it happened in the first place — their production servers, databases and storage completely stopped. Connections to the servers or the databases were timing out, nothing could be reached.
#### Quick Background
They were using the compute service (**EC2**) for multiple load-balanced servers, a central caching server, the relational database service (**RDS**) as a central database serving all applications and the storage service (**S3**) as a CDN plus an object store for everything else. Luckily the DNS was not managed by Route53 — so that gave some hope in restoring backups on another cloud until the issue is resolved…
#### More Digging…
We wanted to dig into the AWS account suspension issue deeper to see why it happened and if it was possible to resolve it and get everything up and running quickly. While checking the account billing (since that’s the only thing you can do for a suspended AWS account) we noticed high usage of massively large Windows instances that incurred tremendous charges we know nothing about.
The server instances that we saw on the bill were the most powerful ones to date (Windows running on**p3dn.24xlarge**) — these were actually just unveiled by Amazon[the same month](https://aws.amazon.com/about-aws/whats-new/2018/12/introducing-amazon-ec2-p3dn-instances-our-most-powerful-gpu-instance-yet/):
> “p3dn.24xlarge has 2.5 GHz (base) and 3.1 GHz (sustained all-core turbo) Intel Xeon P-8175M processors and supports Intel AVX-512.”
Amazon states the following use cases for these machines:
> “Machine/Deep learning, high performance computing, computational fluid dynamics, computational finance, seismic analysis, speech recognition, autonomous vehicles, drug discovery.”
The mentioned instances ran for a couple of days on the client’s AWS account before the suspension. What the client knows for sure is that they have not launched these instances by themselves or anyone who has authorized access to the account. Which leaves us thinking about two possible scenarios:
1. The AWS account was hacked and someone created these server instances
2. It could be -but unlikely- that it’s a billing error where AWS mistakenly added these charges to the bill
Unfortunately, solving the problem was taking some time, so it made sense to take more than one action in the same time.
#### Temporary Solution / Hope
The client has always had regular file and database backups 👍 taken hourly, daily and weekly. We concluded that it was time to temporarily deploy all servers and databases on another cloud provider from the most recent backups.
It all looked good until we realized that all backups were stored on Amazon S3 😱 — and that was the exact moment when the last hope vanished since we could not even restore backups because S3 was suspended and practically learned that we should apply this saying:
> “Don’t put all your eggs in one basket”
### Lesson
It’s just not enough to have regular backups, you are still not safe!
You need to have**regular backups**stored in**more than one cloud basket**since a single cloud account can simply disappear for a reason or two.
Looking at some of the possible options to see if they were going to be sufficient for a quick recovery:
* ❌ Raw backups stored on a single provider (S3) only — insufficient if the account is suspended
* ❌ Full server snapshots/images at your cloud provider — insufficient if the account is suspended
* ✅ Parallel cloud (servers, database, CDN, storage) running on another provider in addition to AWS (or on stand-by) — more expensive and higher overhead, but mostly sufficient
* ✅ Raw backups stored on multiple storage providers, say S3 and another storage (Google Cloud Storage, DigitalOcean Spaces, etc…) — sufficient in restoring application files and databases in case one account is suspended
### Tips
* Expect the worst — be prepared
* Enable two-factor authentication for all your accounts
* Deploy your web infrastructure on more than one cloud if possible
* Always have regular backups of your application files, databases and static resources (assets, user content and uploads) stored on more than one storage provider — or at least on a different provider than your cloud infrastructure
- - -
*If setting up backups for every project is too much manual work -and indeed it can be- then give[SimpleBackups](https://simplebackups.com/)a try.*
*[SimpleBackups](https://simplebackups.com/)makes it a breeze to schedule automated backups of all your website files and databases in a simple dashboard. You will get alerts if any of your backups fail and you can store your backups on different storage providers like AWS S3, Google Cloud Storage, DigitalOcean Spaces and more.*
---
# Allow a remote IP to connect to your Amazon RDS MySQL Instance
Source: https://simplebackups.com/blog/allow-a-remote-ip-to-connect-to-your-amazon-rds-mysql-instance
Published: 2018-11-08
Summary: How to whitelist IP addresses and allow them to connect to your MySQL RDS database.
### Allowing certain IP addresses to access to RDS
By default, if you create an Amazon RDS MySQL database you won’t be able to connect to it unless you specifically whitelist inbound traffic sources.
In this post, I will show you step by step in the easiest way possible how to allow an IP to connect to your RDS instance (in other words, open port 3306). I am assuming this will be helpful for developers using RDS for the first time and wondering why they can’t**just**connect! 🤯
The instructions will pretty much work to open firewall ports for your AWS EC2 instances.
**Note:** when creating your RDS instance, make sure you choose to make it publicly accessible (it’s an option that pops up to you when creating the database).

### How to allow certain IP addresses to access to RDS
**Step 1**
Choose your RDS database from the list of instances.
**Step 2**
Scroll to the “***Details***” section then find the “***Security groups***” and click on the active security group link. This will directly redirect you to the security group you need to whitelist the IP address at.
**Step 3**
Make sure the security group that belongs to your RDS database is selected/highlighted. If you are not sure which one it is, you can match them by the VPC ID (in this case it’s the one ending in***0bc0***) or the GROUP IP (ending in***6cbf***).
**Step 4**
Click on “***Inbound***” at the bottom (you can also right-click the highlighted item and click “***Edit inbound rules***”). Then click “Edit”.
**Step 5**
In this last step you will just need to select the port to whitelist. If you are using the default MySQL port then selecting the “***MYSQL/Aurora***” option works. If you are using a custom port for your database, then under the “***Type***” dropdown select “***Custom TCP Rule***” and type the port number in the “***Port Range***” field.
**Step 6**
Under the “***Source***” we finally add the IP address or IP range we need to whitelist. Note: The IP addresses you enter here must be not he range format, which means that you need to append***/32***to the end of your IP address.
**Example: **to whitelist***8.8.8.8***you need to enter***8.8.8.8/32***in the source field.
Don’t forget to click “***Save***” then you are done ✅
**Verify You Can Connect**
Personally, I like using`telnet`to check for open ports. In our case we can do the following to check if we can connect to the database instance after whitelisting the IP:
```shell
telnet hostname_or_endpoint_or_database_ip port
```

In the screenshot above, seeing the “Connected….” means that we can successfully connect to the RDS instance. If you only see the “Trying ….” line then you are still unable to access the instance.
## Still not able to connce to to your MySQL RDS?
* Repeat the steps and make sure you followed all instructions
* Make sure that your RDS instance is set to “Publicly Accessible”
* Verify you are trying to connect from the same IP address you whitelisted
---
# Google Cloud Storage Signed URLs — The Easy Way
Source: https://simplebackups.com/blog/google-cloud-storage-signed-urls-the-easy-way
Published: 2018-11-03
Summary: One of the cool things that Google Cloud Storage supports is the AWS S3 interoperability mode. This mode allows you to use almost the same API used for AWS S3 to deal with Google Cloud Storage
One of the cool things that Google Cloud Storage supports is the AWS S3 interoperability mode. This mode allows you to use almost the same API used for AWS S3 to deal with Google Cloud Storage including authentication.
**It relies on the same variables needed for S3:**
* Access Key
* Secret Key
* Bucket
* Region
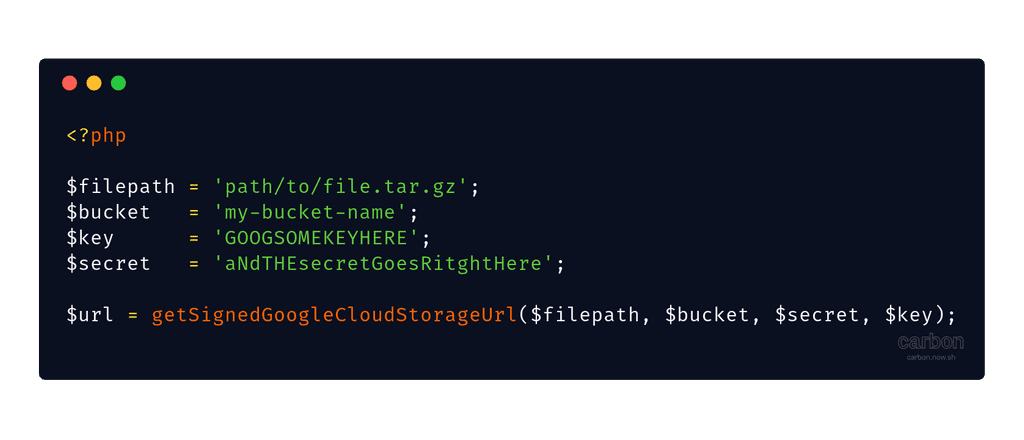
While pretty much of the operations work fine in an S3-like way, signing URLs won’t, since Google uses a different URL signing method. This becomes problematic if you want to use Google Cloud Storage as a Laravel filesystem using the S3 driver.
I am going to show how you can create a signed URL using a PHP function that has no dependencies, no service account needed, and no key file.
### Creating a signed download URL
```php
format('U');
$objectPieces = explode('/', $filepath);
array_walk($objectPieces, function (&$piece) {
$piece = rawurlencode($piece);
});
$objectName = implode('/', $objectPieces);
$resource = sprintf(
'/%s/%s',
$bucket,
$objectName
);
$headers = []; // you may add any headers needed here
$toBeSignedArray = [
'GET',
'', // contentMd5, can be left blank
'', // contentType, can be left blank
$seconds,
implode("n", $headers) . $resource,
];
$toBeSignedString = implode("n", $toBeSignedArray);
$encodedSignature = urlencode(base64_encode(hash_hmac('sha1', $toBeSignedString, $secret, true)));
$query = [];
$query[] = 'GoogleAccessId=' . $key;
$query[] = 'Expires=' . $seconds;
$query[] = 'Signature=' . $encodedSignature;
return "https://storage.googleapis.com/{$bucket}/{$filepath}?" . implode('&', $query);
}
```
This is the same signing function used by Google’s PHP SDK but simplified to only support the GET method for file downloads. Additionally, it utilizes the hidden fact that you can replace the **GoogleAccessId** with the **Key** and use the**Secret Key** to sign the payload.
*You can create a free [SimpleBackups](https://simplebackups.com/) account and effortlessly back up your databases, servers and websites with the ability to choose Google Cloud Storage and other providers as a storage option! Try it out.*
---
# Why do server and website backups fail sometimes?
Source: https://simplebackups.com/blog/why-do-server-and-website-backups-fail-sometimes
Published: 2018-10-28
Summary: In this little piece I am going to highlight some reasons of why backups may fail.
In this little piece I am going to highlight some reasons of why backups may fail.
While many of the reasons below are common and apply to a wide range of different backup methods, I am specifically assuming you are using a backup service like [simplebackups.com](https://simplebackups.com/) to back up your servers and databases.
## Server-related causes:
* Not enough disk space
* Server runs out of memory
* Server has been placed behind a firewall and cannot be accessed
* The backup is taking too long to be created and eventually times out
* Trying to back up a non-existent directory or one that has been deleted
* Trying to back up a directory which you don’t have permissions to read
* Invalid/changed server credentials (host, port, username, ssh key, or password)
## Storage-related causes:
* A problem uploading backup to remote storage
* Invalid/changed storage credentials (key, secret, region, or bucket)
## Database-related causes:
* Trying to back up an empty database
* Invalid/changed database credentials (db host, db port, db username, db password, or db name)
---
# He thought he had backups…
Source: https://simplebackups.com/blog/he-thought-he-had-backups
Published: 2018-08-07
Summary: A few months ago a friend of mine called me and I could hear in his voice that he was in trouble..
A few months ago a friend of mine called me and I could hear in his voice that he was in trouble:
> I’m \*\*\*\*\*\* I thought we had backups running but we didn’t … really.\
> – Mister Smith, Web Agency Manager
>
> 
He was managing a Web Agency in Bordeaux and had everything in place to manage web projects from their creation to their long term maintenance.
**Part of the maintenance job is to handle website’s potential crash and be ready to deploy a backup quickly.**\
As probably a lot of other agencies and developers **he was relying on hosting company systems** that are supposed to handle those backups without ever really testing them.
And what had to happen, happened: **one server got deleted together with all its backups**… that’s it… not turning back.\
They were using a Digital Ocean (which btw we love) server together with the paid option ($4/month) to have daily droplet backups and CloudWays to manage their servers and deployments .\
A simple click on a button got the entire droplet deleted and with it all its backups.
I was surprised to hear that **removing a droplet actually deletes all its backups** too but that’s what happened.
This is the kind of things that is usually not tested and that’s why having **a third party solution dedicated to websites backups on a separated server** is a must-have for any professional agencies.
### The moral of the story:
* Don’t simply rely on your hosting backups (don’t put all your eggs in the same basket)
* Have an actual recovery process in place with simple instructions (we’re working on a simple “recovery procedure” that’ll be released soon)
* Test your backups on regular base (go through your recovery process and validate each and every step)
If you’re looking for a simple backups solution for web agencies, visit [simplebackups.com](https://simplebackups.com/) and try our tool, we have a free plan.
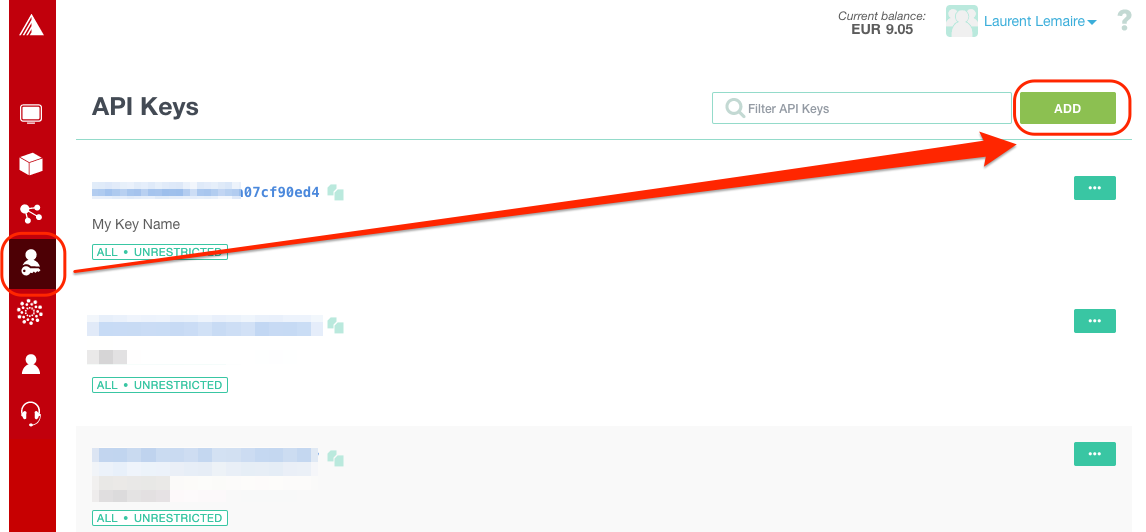 ](/images/uploads/simplebackups-exoscale-create-api-key1.png "simplebackups-exoscale-create-api-key1")
[
](/images/uploads/simplebackups-exoscale-create-api-key1.png "simplebackups-exoscale-create-api-key1")
[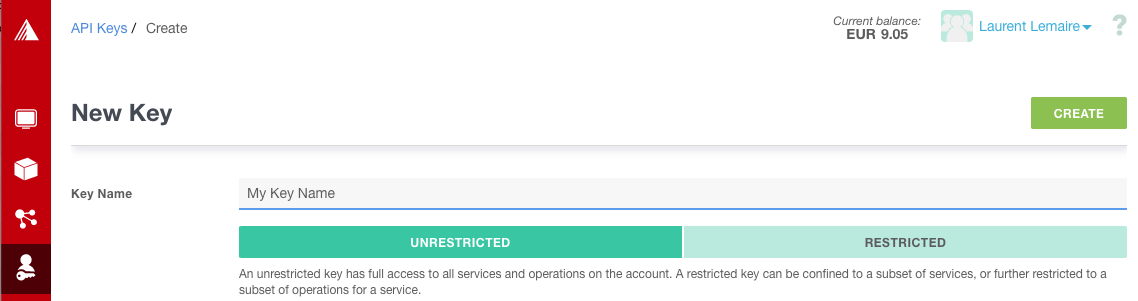 ](/images/uploads/simplebackups-exoscale-create-api-key2.png "simplebackups-exoscale-create-api-key2")
[
](/images/uploads/simplebackups-exoscale-create-api-key2.png "simplebackups-exoscale-create-api-key2")
[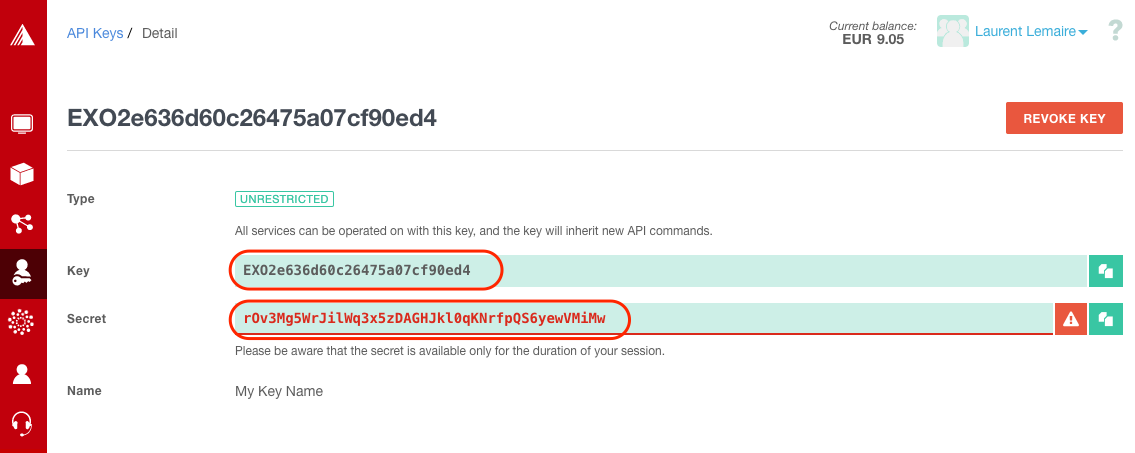 ](/images/uploads/simplebackups-exoscale-create-api-key3.png "simplebackups-exoscale-create-api-key3")
Afterwards, create a new provider on SimpleBackups with your Exoscale API Key by going to the [snapshot creation section](https://my.simplebackups.com/snapshot/create) and click **Connect a new provider** as shown.
[
](/images/uploads/simplebackups-exoscale-create-api-key3.png "simplebackups-exoscale-create-api-key3")
Afterwards, create a new provider on SimpleBackups with your Exoscale API Key by going to the [snapshot creation section](https://my.simplebackups.com/snapshot/create) and click **Connect a new provider** as shown.
[ ](/images/uploads/simplebackups-exoscale-connect-add-provider-step1.png "ssimplebackups-exoscale-connect-add-provider-step1")
Select Exoscale from the **Provider** dropdown list, enter a name for your Exoscale account, then paste the **Token** we obtained in the previous step and click **save provider**.
[
](/images/uploads/simplebackups-exoscale-connect-add-provider-step1.png "ssimplebackups-exoscale-connect-add-provider-step1")
Select Exoscale from the **Provider** dropdown list, enter a name for your Exoscale account, then paste the **Token** we obtained in the previous step and click **save provider**.
[ ](/images/uploads/simplebackups-exoscale-connect-add-provider-step2.png "simplebackups-exoscale-connect-add-provider-step2")
## Step 3: Create a Exoscale snapshot backup job
In this step, and after connecting our Exoscale account, we will simply create the snapshot backup job and select the needed server or volume.
[
](/images/uploads/simplebackups-exoscale-connect-add-provider-step2.png "simplebackups-exoscale-connect-add-provider-step2")
## Step 3: Create a Exoscale snapshot backup job
In this step, and after connecting our Exoscale account, we will simply create the snapshot backup job and select the needed server or volume.
[ ](/images/uploads/simplebackups-exoscale-connect-add-provider-step3.png "simplebackups-exoscale-connect-add-provider-step3")
### Step 3a: Choose your Exoscale account
From the list, choose the Exoscale account you need to take its snapshots. You may add as many Exoscale accounts as you need under your SimpleBackups account.
### Step 3b: Choose Exoscale an instance resource
Select "Instance" (Compute Instance) under the **Resource Type**. The **Resource** dropdown will be populated by all the Exoscale Instances (Cloud Compute) accessible under your Exoscale account.
### Step 3c: Set the retention you need
The **Retention** is a number of snapshots we will keep, anything more than this number will be pruned/rotated automatically for you.
### Step 3d: Save the snapshot backup job
Finally, give your snapshot backup job a friendly name, then click **Create Snapshot**.
[
](/images/uploads/simplebackups-exoscale-connect-add-provider-step3.png "simplebackups-exoscale-connect-add-provider-step3")
### Step 3a: Choose your Exoscale account
From the list, choose the Exoscale account you need to take its snapshots. You may add as many Exoscale accounts as you need under your SimpleBackups account.
### Step 3b: Choose Exoscale an instance resource
Select "Instance" (Compute Instance) under the **Resource Type**. The **Resource** dropdown will be populated by all the Exoscale Instances (Cloud Compute) accessible under your Exoscale account.
### Step 3c: Set the retention you need
The **Retention** is a number of snapshots we will keep, anything more than this number will be pruned/rotated automatically for you.
### Step 3d: Save the snapshot backup job
Finally, give your snapshot backup job a friendly name, then click **Create Snapshot**.
[ ](/images/uploads/simplebackups-exoscale-create-snapshot.png "simpleBackups-exoscale-create-snapshot")
> Congratulations, you now have an automated Exoscale snapshot backup.
_Run it once manually (using the "Run" snapshot button from the snapshots list) and you'll trigger your first snapshot backup!_
---
# How to automate Scaleway Server and Volume Backups
Source: https://simplebackups.com/blog/how-to-automate-scaleway-server-backups
Published: 2021-03-22
Summary: Step by step guide to automate Scaleway server and volume and back them up on a custom schedule, daily, hourly, weekly, etc.
The following guide will help you, step by step, automate your Scaleway server backups.
These exact steps can be followed to configure your volume backups as well.
The steps are very easy and will only involve minimal effort.
Afterwards, you will be able to take snapshots, automatically on your own terms, whether you need to take them daily, weekly, every couple of hours or on-demand using our API.
You will also have the option to choose the number of snapshots to keep on your provider to save snapshot storage cost.
](/images/uploads/simplebackups-exoscale-create-snapshot.png "simpleBackups-exoscale-create-snapshot")
> Congratulations, you now have an automated Exoscale snapshot backup.
_Run it once manually (using the "Run" snapshot button from the snapshots list) and you'll trigger your first snapshot backup!_
---
# How to automate Scaleway Server and Volume Backups
Source: https://simplebackups.com/blog/how-to-automate-scaleway-server-backups
Published: 2021-03-22
Summary: Step by step guide to automate Scaleway server and volume and back them up on a custom schedule, daily, hourly, weekly, etc.
The following guide will help you, step by step, automate your Scaleway server backups.
These exact steps can be followed to configure your volume backups as well.
The steps are very easy and will only involve minimal effort.
Afterwards, you will be able to take snapshots, automatically on your own terms, whether you need to take them daily, weekly, every couple of hours or on-demand using our API.
You will also have the option to choose the number of snapshots to keep on your provider to save snapshot storage cost.
 ](/images/uploads/simplebackups-scaleway-1.png "simplebackups-scaleway-1")
## Connect your Scaleway account
1. Go to SimpleBackup and [create a new Snapshot](https://my.simplebackups.com/snapshot/create)
2. Click on **Connect a new provider**
3. Give a name to your provider, enter your API key and secret, generated on previous step and select your region
4. Once saved, this Scaleway account, will be available in SimpleBackups and will allow you to create many snapshots
[
](/images/uploads/simplebackups-scaleway-1.png "simplebackups-scaleway-1")
## Connect your Scaleway account
1. Go to SimpleBackup and [create a new Snapshot](https://my.simplebackups.com/snapshot/create)
2. Click on **Connect a new provider**
3. Give a name to your provider, enter your API key and secret, generated on previous step and select your region
4. Once saved, this Scaleway account, will be available in SimpleBackups and will allow you to create many snapshots
[ ](/images/uploads/simplebackups-scaleway-2.png "ssimplebackups-scalewaye-connect-add-provider-step1")
## Create a Snapshot job
In this step, and after connecting our Scaleway account, we will simply create the snapshot backup job.
1. Select your newly created Scaleway provider
2. Select the type of resource & the resource you want to backup (server or volume). _Note that a server backup will trigger a snapshot of all its connected volume as well_
3. Define the schedule at which your backup should run
4. Define your retention policy (number of backup that will be kept)
5. Save
[
](/images/uploads/simplebackups-scaleway-2.png "ssimplebackups-scalewaye-connect-add-provider-step1")
## Create a Snapshot job
In this step, and after connecting our Scaleway account, we will simply create the snapshot backup job.
1. Select your newly created Scaleway provider
2. Select the type of resource & the resource you want to backup (server or volume). _Note that a server backup will trigger a snapshot of all its connected volume as well_
3. Define the schedule at which your backup should run
4. Define your retention policy (number of backup that will be kept)
5. Save
[ ](/images/uploads/simplebackups-scaleway-3.png "simplebackups-scaleway-3")
> Congratulations, you now have an automated Scaleway snapshot backup.
_Run it once manually (using the "Run" snapshot button from the snapshots list) and you'll trigger your first snapshot backup!_
---
# How to automate Vultr Instance Snapshots
Source: https://simplebackups.com/blog/how-to-automate-vultr-instance-snapshots
Published: 2021-03-22
Summary: Step by step guide to automate Vultr instance and back them up on a custom schedule, daily, hourly, weekly, etc.
The following guide will help you, step by step, automate your Vultr instance (Cloud Computing) snapshots. The steps are very easy and will only involve minimal effort.
Afterwards, you will be able to take snapshots, automatically on your own terms, whether you need to take them daily, weekly, every couple of hours or on-demand using our API. You will also have the option to choose the number of snapshots to keep on your provider to save snapshot storage cost.
## Table of Contents
](/images/uploads/simplebackups-scaleway-3.png "simplebackups-scaleway-3")
> Congratulations, you now have an automated Scaleway snapshot backup.
_Run it once manually (using the "Run" snapshot button from the snapshots list) and you'll trigger your first snapshot backup!_
---
# How to automate Vultr Instance Snapshots
Source: https://simplebackups.com/blog/how-to-automate-vultr-instance-snapshots
Published: 2021-03-22
Summary: Step by step guide to automate Vultr instance and back them up on a custom schedule, daily, hourly, weekly, etc.
The following guide will help you, step by step, automate your Vultr instance (Cloud Computing) snapshots. The steps are very easy and will only involve minimal effort.
Afterwards, you will be able to take snapshots, automatically on your own terms, whether you need to take them daily, weekly, every couple of hours or on-demand using our API. You will also have the option to choose the number of snapshots to keep on your provider to save snapshot storage cost.
## Table of Contents
 ](/images/uploads/simplebackups-vultr-create-api-token.png "SimpleBackups-Vultr-Create-API-Token-Credentials-Step1")
> Afterwards, create a new provider on SimpleBackups with your Vultr API Key by going to the [snapshot creation section](https://my.simplebackups.com/snapshot/create) and click **Connect a new provider** as shown.
> [
](/images/uploads/simplebackups-vultr-create-api-token.png "SimpleBackups-Vultr-Create-API-Token-Credentials-Step1")
> Afterwards, create a new provider on SimpleBackups with your Vultr API Key by going to the [snapshot creation section](https://my.simplebackups.com/snapshot/create) and click **Connect a new provider** as shown.
> [ ](/images/uploads/simplebackups-vultr-connect-add-provider-step1.png "simplebackups-vultr-connect-add-provider-step1")
> Select Vultr from the **Provider** dropdown list, enter a name for your Vultr account, then paste the **Token** we obtained in the previous step and click **save provider**.
> [
](/images/uploads/simplebackups-vultr-connect-add-provider-step1.png "simplebackups-vultr-connect-add-provider-step1")
> Select Vultr from the **Provider** dropdown list, enter a name for your Vultr account, then paste the **Token** we obtained in the previous step and click **save provider**.
> [ ](/images/uploads/simplebackups-vultr-connect-add-provider-step2.png "simplebackups-vultr-connect-add-provider-step2")
## Step 3: Create a Vultr snapshot backup job
> In this step, and after connecting our Vultr account, we will simply create the snapshot backup job and select the needed server or volume.
> [
](/images/uploads/simplebackups-vultr-connect-add-provider-step2.png "simplebackups-vultr-connect-add-provider-step2")
## Step 3: Create a Vultr snapshot backup job
> In this step, and after connecting our Vultr account, we will simply create the snapshot backup job and select the needed server or volume.
> [ ](/images/uploads/simplebackups-vultr-create-snapshot-instance-backup-job.png "simplebackups-vultr-create-snapshot-instance-backup-job")
### Step 3a: Choose your Vultr account
From the list, choose the Vultr account you need to take its snapshots. You may add as many Vultr accounts as you need under your SimpleBackups account.
### Step 3b: Choose Vultr an instance resource
Select "Instance" (Cloud Compute) under the **Resource Type**. The **Resource** dropdown will be populated by all the Vultr Instances (Cloud Compute) accessible under your Vultr account / project.
### Step 3c: Set the retention you need
The **Retention** is a number of snapshots we will keep, anything more than this number will be pruned/rotated automatically for you.
### Step 3d: Save the snapshot backup job
Finally, give your snapshot backup job a friendly name, then click **Create Snapshot**.
[
](/images/uploads/simplebackups-vultr-create-snapshot-instance-backup-job.png "simplebackups-vultr-create-snapshot-instance-backup-job")
### Step 3a: Choose your Vultr account
From the list, choose the Vultr account you need to take its snapshots. You may add as many Vultr accounts as you need under your SimpleBackups account.
### Step 3b: Choose Vultr an instance resource
Select "Instance" (Cloud Compute) under the **Resource Type**. The **Resource** dropdown will be populated by all the Vultr Instances (Cloud Compute) accessible under your Vultr account / project.
### Step 3c: Set the retention you need
The **Retention** is a number of snapshots we will keep, anything more than this number will be pruned/rotated automatically for you.
### Step 3d: Save the snapshot backup job
Finally, give your snapshot backup job a friendly name, then click **Create Snapshot**.
[ ](/images/uploads/simplebackups-vultr-create-snapshot.png "simpleBackups-vultr-create-snapshot")
> Congratulations, you now have an automated Vultr snapshot backup.
_Run it once manually (using the "Run" snapshot button from the snapshots list) and you'll trigger your first snapshot backup!_
---
# Docker Postgres Backup/Restore Guide (with examples)
Source: https://simplebackups.com/blog/docker-postgres-backup-restore-guide-with-examples
Published: 2021-02-18
Author: Laurent
Summary: Learn how to back up and restore docker postgres databases, with plenty of examples and commands. Dump docker PostgreSQL db with ease and restore it.
Backing up a Postgres database running in Docker uses the same `pg_dump` and `pg_restore` commands as anywhere else. The difference is that they live inside the container, so every command has to be routed through `docker exec`, and the dump file lands in a place the host cannot always see.
This guide covers the Docker Postgres backup and restore commands for both directions, with the two mistakes that account for most failed restores: copying the dump to the wrong volume, and using `pg_restore` on a file that needs `psql`.

## Before you begin
Two container facts drive everything below.
First, you run commands inside a container from the host with `docker exec`:
```bash
docker exec
](/images/uploads/simplebackups-vultr-create-snapshot.png "simpleBackups-vultr-create-snapshot")
> Congratulations, you now have an automated Vultr snapshot backup.
_Run it once manually (using the "Run" snapshot button from the snapshots list) and you'll trigger your first snapshot backup!_
---
# Docker Postgres Backup/Restore Guide (with examples)
Source: https://simplebackups.com/blog/docker-postgres-backup-restore-guide-with-examples
Published: 2021-02-18
Author: Laurent
Summary: Learn how to back up and restore docker postgres databases, with plenty of examples and commands. Dump docker PostgreSQL db with ease and restore it.
Backing up a Postgres database running in Docker uses the same `pg_dump` and `pg_restore` commands as anywhere else. The difference is that they live inside the container, so every command has to be routed through `docker exec`, and the dump file lands in a place the host cannot always see.
This guide covers the Docker Postgres backup and restore commands for both directions, with the two mistakes that account for most failed restores: copying the dump to the wrong volume, and using `pg_restore` on a file that needs `psql`.

## Before you begin
Two container facts drive everything below.
First, you run commands inside a container from the host with `docker exec`:
```bash
docker exec  ](/images/uploads/SimpleBackups-DigitalOcean-Connect-Add-Provider-Step1.png "SimpleBackups-DigitalOcean-Connect-Add-Provider-Step1")
> Select DigitalOcean from the **Provider** dropdown list, enter a name for your DigitalOcean account, then click **Connect DigitalOcean**.
> [
](/images/uploads/SimpleBackups-DigitalOcean-Connect-Add-Provider-Step1.png "SimpleBackups-DigitalOcean-Connect-Add-Provider-Step1")
> Select DigitalOcean from the **Provider** dropdown list, enter a name for your DigitalOcean account, then click **Connect DigitalOcean**.
> [ ](/images/uploads/SimpleBackups-DigitalOcean-Connect-Add-Provider-Step2.png "SimpleBackups-DigitalOcean-Connect-Add-Provider-Step2")
### Step 2a: Authorize SimpleBackups to Connect to DigitalOcean
You will be redirected to login screen of DigitalOcean.
> ✅ Make sure you are logged in to the DigitalOcean account you would like to connect
>
> ✅ Make sure you leave the checkbox next to your account email address checked
>
> ✅ Click **Authorize application** to complete the connection step
> [
](/images/uploads/SimpleBackups-DigitalOcean-Connect-Add-Provider-Step2.png "SimpleBackups-DigitalOcean-Connect-Add-Provider-Step2")
### Step 2a: Authorize SimpleBackups to Connect to DigitalOcean
You will be redirected to login screen of DigitalOcean.
> ✅ Make sure you are logged in to the DigitalOcean account you would like to connect
>
> ✅ Make sure you leave the checkbox next to your account email address checked
>
> ✅ Click **Authorize application** to complete the connection step
> [ ](/images/uploads/SimpleBackups-DigitalOcean-Connect-Add-Provider-Step3.png "SimpleBackups-DigitalOcean-Connect-Add-Provider-Step3")
## Step 3: Create a DigitalOcean snapshot backup job
> In this step, and after connecting our DigitalOcean account, we will simply create the snapshot backup job and select the needed server or volume.
> [
](/images/uploads/SimpleBackups-DigitalOcean-Connect-Add-Provider-Step3.png "SimpleBackups-DigitalOcean-Connect-Add-Provider-Step3")
## Step 3: Create a DigitalOcean snapshot backup job
> In this step, and after connecting our DigitalOcean account, we will simply create the snapshot backup job and select the needed server or volume.
> [ ](/images/uploads/SimpleBackups-DigitalOcean-Create-Snapshot-Volume-Backup-Job.png "SimpleBackups-DigitalOcean-Create-Snapshot-Volume-Backup-Job")
### Step 3a: Choose your DigitalOcean account
From the list, choose the DigitalOcean account you need to take its snapshots. You may add as many DigitalOcean accounts as you need under your SimpleBackups account.
### Step 3b: Choose DigitalOcean server or volume resource
You could either choose a server under the **Resource Type** or choose a volume. The **Resource** dropdown will be populated by all the DigitalOcean resources accessible under your DigitalOcean account / project.
### Step 3c: Set the retention you need
The **Retetion** is a number of snapshots we will keep, anything more than this number will be pruned/rotated automatically for you.
### Step 3d: Save the snapshot backup job
Finally, give your snapshot backup job a friendly name, then click **Create Snapshot**.
[
](/images/uploads/SimpleBackups-DigitalOcean-Create-Snapshot-Volume-Backup-Job.png "SimpleBackups-DigitalOcean-Create-Snapshot-Volume-Backup-Job")
### Step 3a: Choose your DigitalOcean account
From the list, choose the DigitalOcean account you need to take its snapshots. You may add as many DigitalOcean accounts as you need under your SimpleBackups account.
### Step 3b: Choose DigitalOcean server or volume resource
You could either choose a server under the **Resource Type** or choose a volume. The **Resource** dropdown will be populated by all the DigitalOcean resources accessible under your DigitalOcean account / project.
### Step 3c: Set the retention you need
The **Retetion** is a number of snapshots we will keep, anything more than this number will be pruned/rotated automatically for you.
### Step 3d: Save the snapshot backup job
Finally, give your snapshot backup job a friendly name, then click **Create Snapshot**.
[ ](/images/uploads/SimpleBackups-DigitalOcean-Create-Snapshot.png "SimpleBackups-DigitalOcean-Create-Snapshot")
> Congratulations, you now have an automated DigitalOcean snapshot backup.
_Run it once manually (using the "Run" snapshot button from the snapshots list) and you'll trigger your first snapshot backup!_
---
# How to automate Hetzner Server Snapshots
Source: https://simplebackups.com/blog/how-to-automate-hetzner-server-snapshots
Published: 2021-02-14
Summary: Step by step guide to automate Hetzner server snapshots backups then back them up on a custom schedule, daily, hourly, weekly, etc.
Hetzner is one of the leading cloud providers. The following guide will help you, step by step, automate your Hetzner server snapshots backups. The steps are very easy and will only involve minimal effort.
Afterwards, you will be able to take snapshots, automatically on your own terms, whether you need to take them daily, weekly, every couple of hours or on-demand using our API. You will also have the option to choose the number of snapshots to keep on your provider to save snapshot storage cost.
## Table of Contents
](/images/uploads/SimpleBackups-DigitalOcean-Create-Snapshot.png "SimpleBackups-DigitalOcean-Create-Snapshot")
> Congratulations, you now have an automated DigitalOcean snapshot backup.
_Run it once manually (using the "Run" snapshot button from the snapshots list) and you'll trigger your first snapshot backup!_
---
# How to automate Hetzner Server Snapshots
Source: https://simplebackups.com/blog/how-to-automate-hetzner-server-snapshots
Published: 2021-02-14
Summary: Step by step guide to automate Hetzner server snapshots backups then back them up on a custom schedule, daily, hourly, weekly, etc.
Hetzner is one of the leading cloud providers. The following guide will help you, step by step, automate your Hetzner server snapshots backups. The steps are very easy and will only involve minimal effort.
Afterwards, you will be able to take snapshots, automatically on your own terms, whether you need to take them daily, weekly, every couple of hours or on-demand using our API. You will also have the option to choose the number of snapshots to keep on your provider to save snapshot storage cost.
## Table of Contents
 ](/images/uploads/SimpleBackups-Hetzner-Create-API-Token-Credentials-Step1.png "SimpleBackups-Hetzner-Create-API-Token-Credentials-Step1")
> Choose the **Read & Write** permission, enter a name for your token, then click **Generate API Token** > [
](/images/uploads/SimpleBackups-Hetzner-Create-API-Token-Credentials-Step1.png "SimpleBackups-Hetzner-Create-API-Token-Credentials-Step1")
> Choose the **Read & Write** permission, enter a name for your token, then click **Generate API Token** > [ ](/images/uploads/SimpleBackups-Hetzner-Generate-API-Token-Credentials-Step2.png "SimpleBackups-Hetzner-Generate-API-Token-Credentials-Step2")
> Your token will be shown once. Make sure you copy it and immediately add it to SimpleBackups.
> [
](/images/uploads/SimpleBackups-Hetzner-Generate-API-Token-Credentials-Step2.png "SimpleBackups-Hetzner-Generate-API-Token-Credentials-Step2")
> Your token will be shown once. Make sure you copy it and immediately add it to SimpleBackups.
> [ ](/images/uploads/SimpleBackups-Hetzner-Create-API-Token-Credentials-Step3.png "SimpleBackups-Hetzner-Generate-API-Token-Credentials-Step3")
> Afterwards, create a new provider on SimpleBackups with your Hetzner API Token by going to the [snapshot creation section](https://my.simplebackups.com/snapshot/create) and click **Connect a new provider** as shown.
> [
](/images/uploads/SimpleBackups-Hetzner-Create-API-Token-Credentials-Step3.png "SimpleBackups-Hetzner-Generate-API-Token-Credentials-Step3")
> Afterwards, create a new provider on SimpleBackups with your Hetzner API Token by going to the [snapshot creation section](https://my.simplebackups.com/snapshot/create) and click **Connect a new provider** as shown.
> [ ](/images/uploads/SimpleBackups-Hetzner-Connect-Add-Provider-Step1.png "SimpleBackups-Hetzner-Connect-Add-Provider-Step1")
> Select Hetzner from the **Provider** dropdown list, enter a name for your Hetzner account, then paste the **Token** we obtained in the previous step and click **save provider**.
> [
](/images/uploads/SimpleBackups-Hetzner-Connect-Add-Provider-Step1.png "SimpleBackups-Hetzner-Connect-Add-Provider-Step1")
> Select Hetzner from the **Provider** dropdown list, enter a name for your Hetzner account, then paste the **Token** we obtained in the previous step and click **save provider**.
> [ ](/images/uploads/SimpleBackups-Hetzner-Connect-Add-Provider-Step2.png "SimpleBackups-Hetzner-Connect-Add-Provider-Step2")
## Step 3: Create a Hetzner snapshot backup job
> In this step, and after connecting our Hetzner account, we will simply create the snapshot backup job and select the needed server.
> [
](/images/uploads/SimpleBackups-Hetzner-Connect-Add-Provider-Step2.png "SimpleBackups-Hetzner-Connect-Add-Provider-Step2")
## Step 3: Create a Hetzner snapshot backup job
> In this step, and after connecting our Hetzner account, we will simply create the snapshot backup job and select the needed server.
> [ ](/images/uploads/SimpleBackups-Hetzner-Create-Snapshot-Volume-Backup-Job.png "SimpleBackups-Hetzner-Create-Snapshot-Backup-Job")
### Step 3a: Choose your Hetzner account
From the list, choose the Hetzner account you need to take its snapshots. You may add as many Hetzner accounts as you need under your SimpleBackups account.
### Step 3b: Choose Hetzner server resource
You can choose a server under the **Resource Type**. The **Resource** dropdown will be populated by all the Hetzner resources accessible under your Hetzner account / project.
### Step 3c: Set the retention you need
The **Retention** is a number of snapshots we will keep, anything more than this number will be pruned/rotated automatically for you.
### Step 3d: Save the snapshot backup job
Finally, give your snapshot backup job a friendly name, then click **Create Snapshot**.
[
](/images/uploads/SimpleBackups-Hetzner-Create-Snapshot-Volume-Backup-Job.png "SimpleBackups-Hetzner-Create-Snapshot-Backup-Job")
### Step 3a: Choose your Hetzner account
From the list, choose the Hetzner account you need to take its snapshots. You may add as many Hetzner accounts as you need under your SimpleBackups account.
### Step 3b: Choose Hetzner server resource
You can choose a server under the **Resource Type**. The **Resource** dropdown will be populated by all the Hetzner resources accessible under your Hetzner account / project.
### Step 3c: Set the retention you need
The **Retention** is a number of snapshots we will keep, anything more than this number will be pruned/rotated automatically for you.
### Step 3d: Save the snapshot backup job
Finally, give your snapshot backup job a friendly name, then click **Create Snapshot**.
[ ](/images/uploads/SimpleBackups-Hetzner-Create-Snapshot.png "SimpleBackups-Hetzner-Create-Snapshot")
> Congratulations, you now have an automated Hetzner snapshot backup.
_Run it once manually (using the "Run" snapshot button from the snapshots list) and you'll trigger your first snapshot backup!_
---
# How to automate UpCloud Storage Backups
Source: https://simplebackups.com/blog/how-to-automate-upcloud-storage-backups
Published: 2021-02-14
Summary: Step by step guide to automate UpCloud storage snapshots and back them up on a custom schedule, daily, hourly, weekly, etc.
UpCloud is one of the leading cloud providers.
The following guide will help you, step by step, automate your UpCloud storage snapshots.
The steps are very easy and will only involve minimal effort.
Afterwards, you will be able to take snapshots, automatically on your own terms, whether you need to take them daily, weekly, every couple of hours or on-demand using our API. You will also have the option to choose the number of snapshots to keep on your provider to save snapshot storage cost.
## Table of Contents
](/images/uploads/SimpleBackups-Hetzner-Create-Snapshot.png "SimpleBackups-Hetzner-Create-Snapshot")
> Congratulations, you now have an automated Hetzner snapshot backup.
_Run it once manually (using the "Run" snapshot button from the snapshots list) and you'll trigger your first snapshot backup!_
---
# How to automate UpCloud Storage Backups
Source: https://simplebackups.com/blog/how-to-automate-upcloud-storage-backups
Published: 2021-02-14
Summary: Step by step guide to automate UpCloud storage snapshots and back them up on a custom schedule, daily, hourly, weekly, etc.
UpCloud is one of the leading cloud providers.
The following guide will help you, step by step, automate your UpCloud storage snapshots.
The steps are very easy and will only involve minimal effort.
Afterwards, you will be able to take snapshots, automatically on your own terms, whether you need to take them daily, weekly, every couple of hours or on-demand using our API. You will also have the option to choose the number of snapshots to keep on your provider to save snapshot storage cost.
## Table of Contents