The following guide will help you, step by step, automate your Vultr instance (Cloud Computing) snapshots. The steps are very easy and will only involve minimal effort.
Afterwards, you will be able to take snapshots, automatically on your own terms, whether you need to take them daily, weekly, every couple of hours or on-demand using our API. You will also have the option to choose the number of snapshots to keep on your provider to save snapshot storage cost.
Table of Contents
Now, let's get started!
Prerequisites
- Create a SimpleBackups account
- Create a Vultr account
Step 1: Create a SimpleBackups Account
Create or login to your SimpleBackups account, then head to the snapshot creation section.
Step 2: Add Vultr to SimpleBackups
In this step, we will generate a unique API Token on Vultr that will allow us to automate Vultr snapshots from SimpleBackups dashboard.
Step 2a: Obtain Vultr API credentials
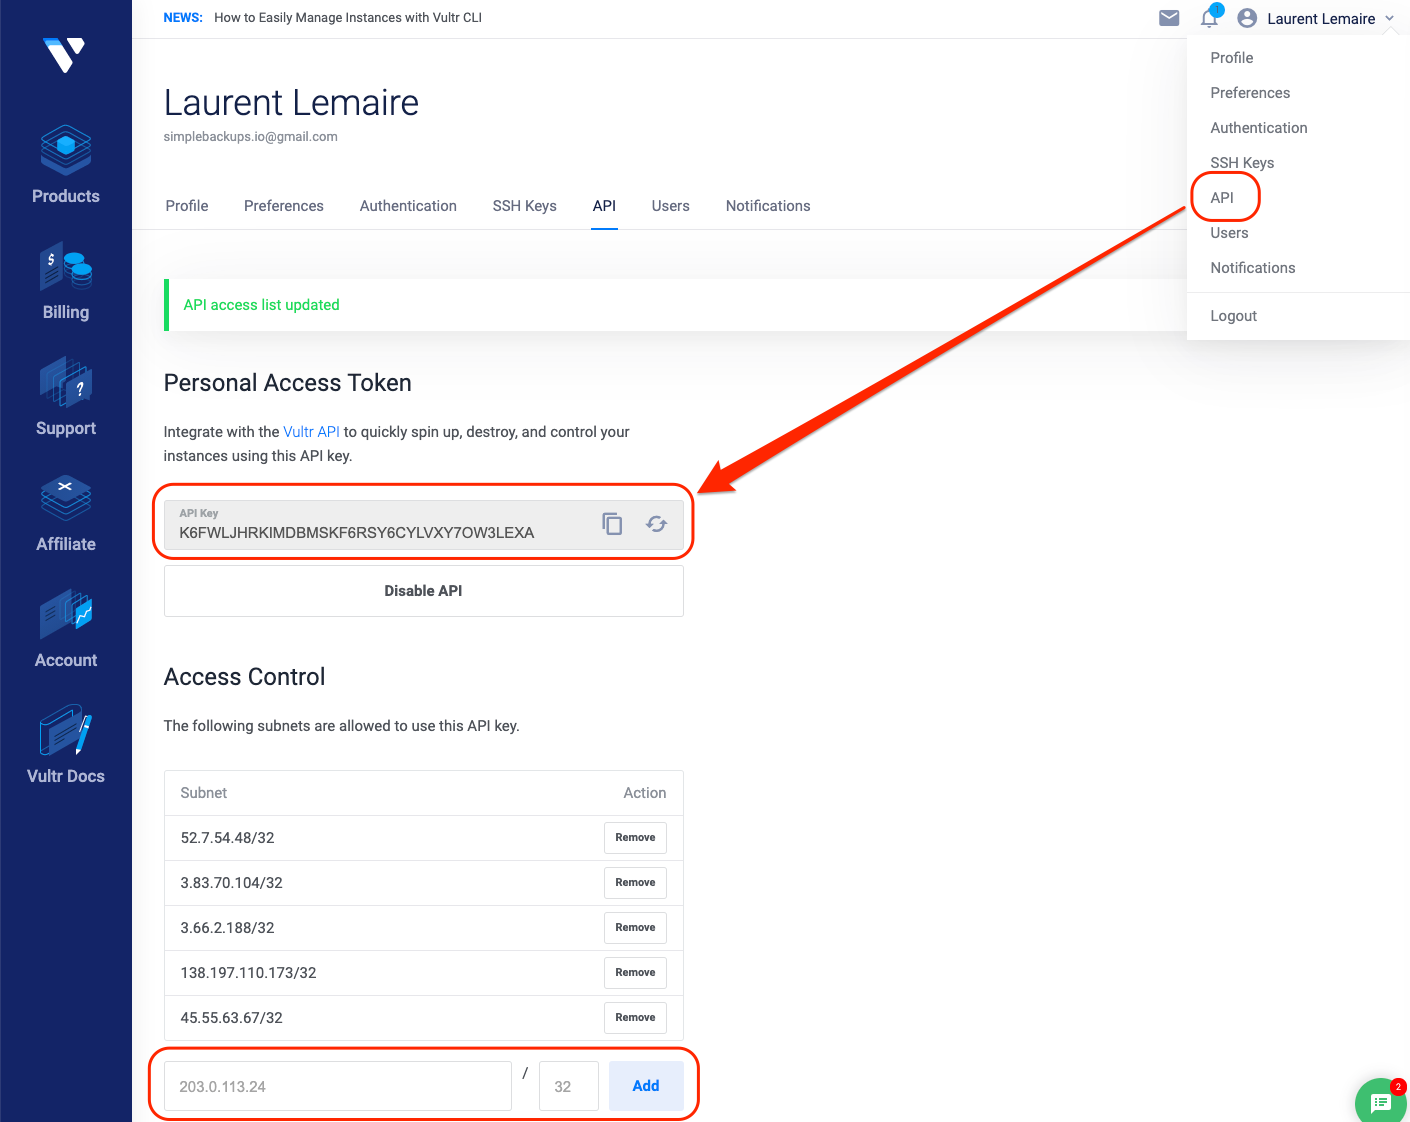
- Go to https://my.vultr.com/settings/#settingsapi,
- Click API
- White-list SimpleBackups IP addresses or allow access from all IPV4 ()
- Then click Copy API Key to Clipboard
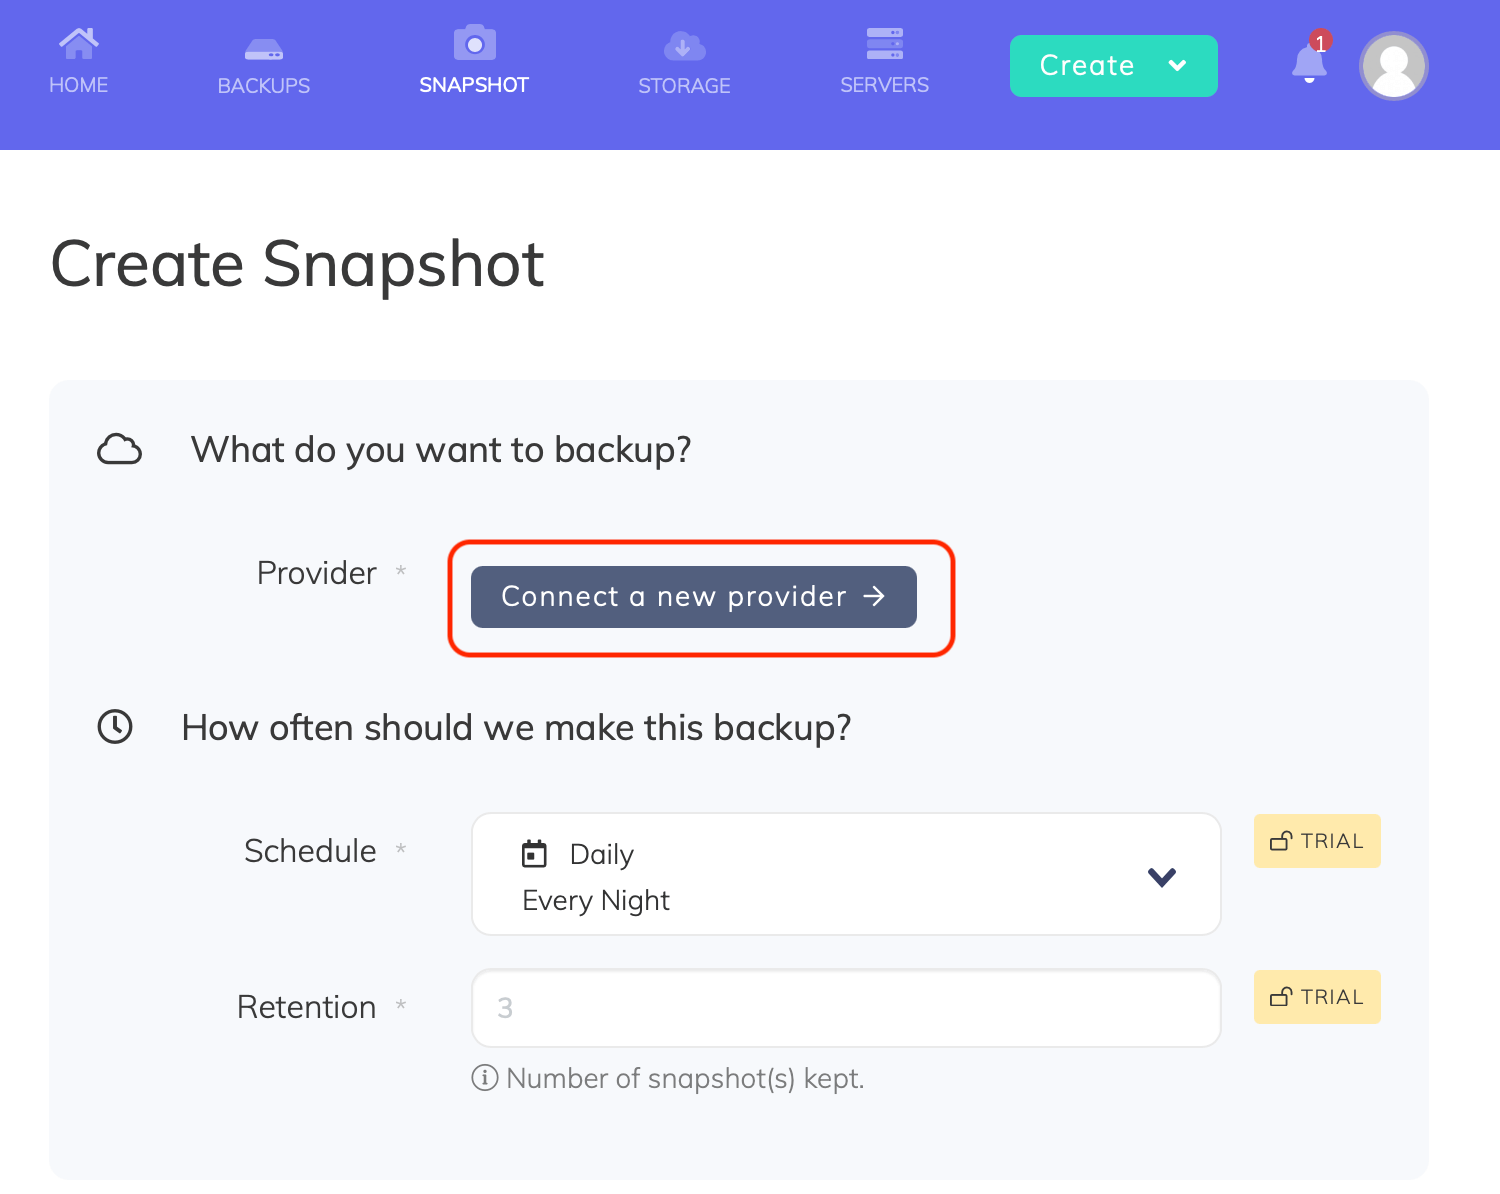
Afterwards, create a new provider on SimpleBackups with your Vultr API Key by going to the snapshot creation section and click Connect a new provider as shown.
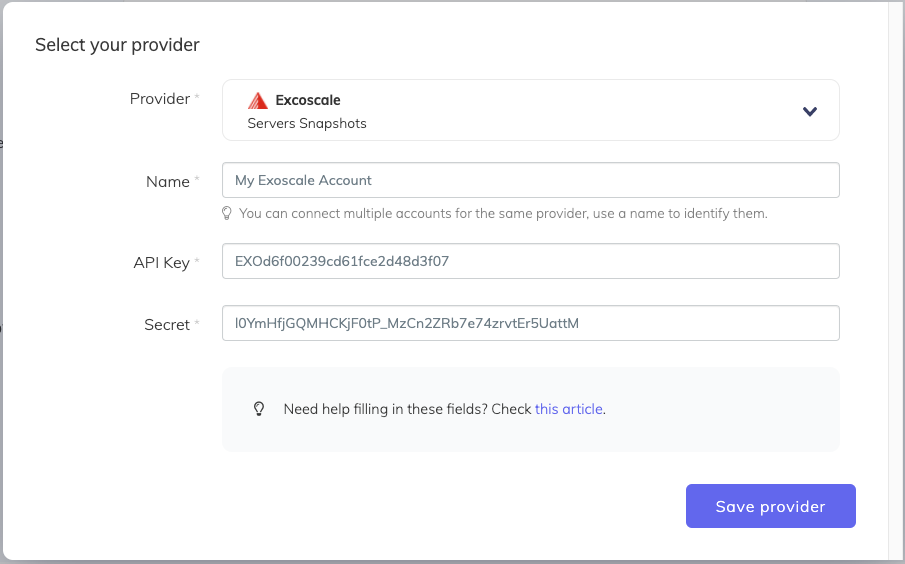
Select Vultr from the Provider dropdown list, enter a name for your Vultr account, then paste the Token we obtained in the previous step and click save provider.
Step 3: Create a Vultr snapshot backup job
In this step, and after connecting our Vultr account, we will simply create the snapshot backup job and select the needed server or volume.
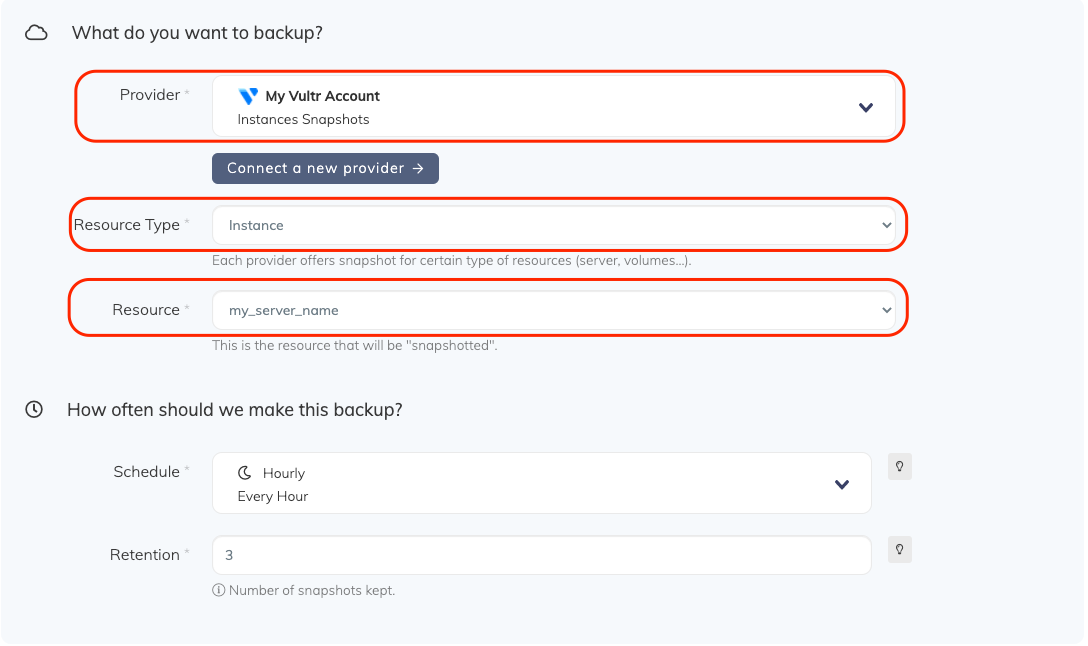
Step 3a: Choose your Vultr account
From the list, choose the Vultr account you need to take its snapshots. You may add as many Vultr accounts as you need under your SimpleBackups account.
Step 3b: Choose Vultr an instance resource
Select "Instance" (Cloud Compute) under the Resource Type. The Resource dropdown will be populated by all the Vultr Instances (Cloud Compute) accessible under your Vultr account / project.
Step 3c: Set the retention you need
The Retention is a number of snapshots we will keep, anything more than this number will be pruned/rotated automatically for you.
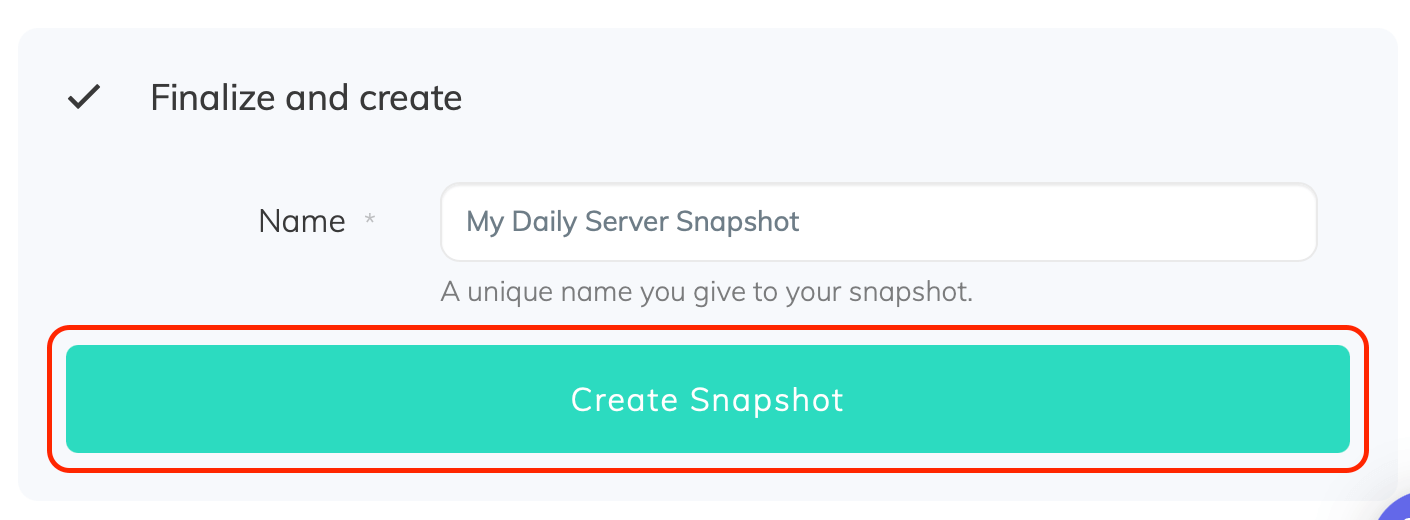
Step 3d: Save the snapshot backup job
Finally, give your snapshot backup job a friendly name, then click Create Snapshot.
Congratulations, you now have an automated Vultr snapshot backup.
Run it once manually (using the "Run" snapshot button from the snapshots list) and you'll trigger your first snapshot backup!