Let’s face it, GitHub is the most popular and arguably one of the best git services available today. As such, thousands of development teams worldwide use the platform to host their code, improve productivity, and ensure they stay efficient.
However, things can go wrong. And, sometimes, they will. In these situations, you’ll need backups of your GitHub data to ensure that you have access to your code and that your team can keep working.
In this post, we’ll show you how to back up your GitHub data with SimpleBackups.
Why Backing up Your GitHub Data is Important
GitHub is a popular platform for hosting and collaborating on code.
It provides a range of features, including version control, issue tracking, and project management.
GitHub is an important tool for developers and businesses alike. However, as with any platform, there is always a risk of data loss due to hardware failure, hacking, or other disasters.
To ensure that your data is properly protected, it is essential to back up your GitHub data.
Backing up your data means that you have a copy of all your code, issues, pull requests, and other data in case of any unforeseen events.
If you do not have a backup of your data, you risk losing all your code and project data.
This is especially true for businesses where data loss can lead to significant financial losses.
What GitHub Data Should You Back up?
To ensure proper protection of your data, you should back up all your repositories along with their related metadata.
Before looking at the backup process in more detail, let’s first look at what data you should back up. Ideally, to ensure your data is properly protected, you should back up all your repositories, including their related metadata.
This means you should back up:
- Repositories
- Wikis
- Issues
- Issue comments
- Pull requests
- Pull request comments
- Gists
- Assets
- Releases
Apart from backing up these, you should also consider your needs and requirements, and schedule your backups to meet these needs. Combined, this will ensure you have the complete data available should disaster strike.
Benefits of Backing up Your GitHub Data
Backing up your GitHub data has several benefits:
- Ensuring that your data is always available in case of any unforeseen events.
- Protecting your data against hardware failure, hacking, or other disasters.
- Saving time and effort by not having to manually back up your data.
- Providing peace of mind, knowing that your data is properly protected.
Backing up your GitHub data is essential to ensure that your code and project data are properly protected. SimpleBackups is an easy-to-use tool that allows you to back up your GitHub data effortlessly. By following the steps outlined above, you can ensure that your data is always available and properly protected.
How to Back up Your GitHub Data with SimpleBackups
Step 1: GitHub Setup
Before you can back up your data with GitHub, you’ll need to create a personal access token that you’ll use to connect GitHub to SimpleBackups. These tokens allow you to access your GitHub resources when using the GitHub API or command line.
Currently, GitHub supports two types of personal access tokens - fine-grained personal access tokens and classic personal access tokens.
Note: SimpleBackups currently supports the classic token, which can be going to generate a new classic token.
To create a classic personal access token, you can follow the steps provided by GitHub here.
Once you’re done, you should copy the token to use later to set up the connection with SimpleBackups.
Step 2: Getting Started With Your Backup Recipe
Now that your token is saved, you can create your backup on SimpleBackups by configuring a GitHub recipe.
To do this, you’ll first log into your SimpleBackups account. You’ll have a few options for creating your GitHub backup on your dashboard.
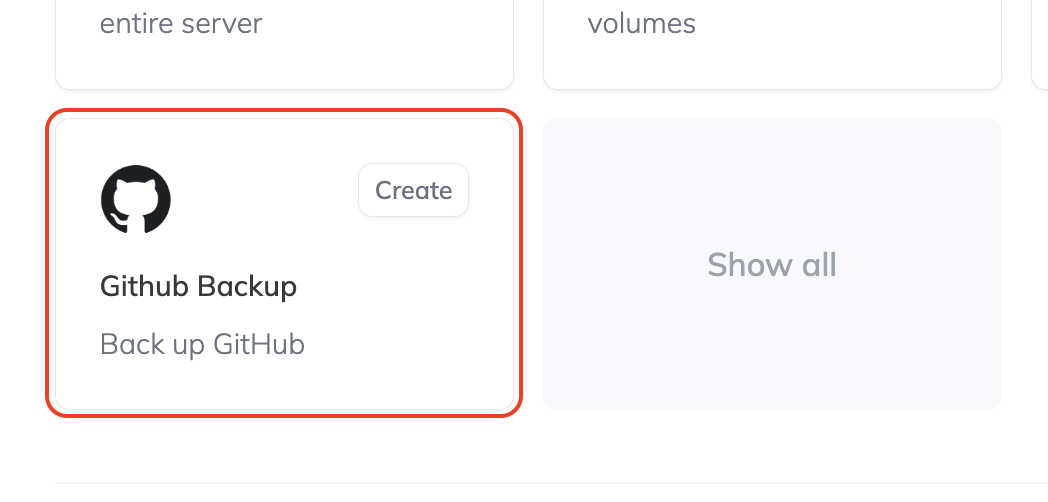
Firstly, you can scroll down the page and click on the GitHub Backup tile. If the tile doesn’t appear on your dashboard, click Show all.
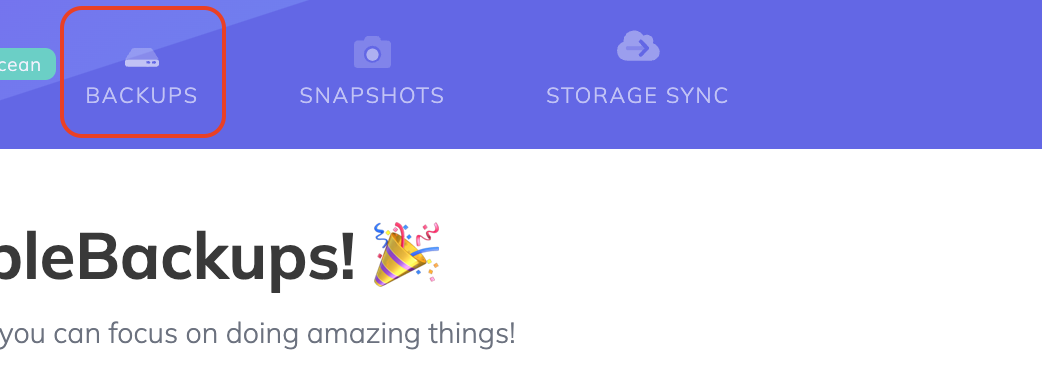
Another way to create your backup is to click on Backups in the top menu.
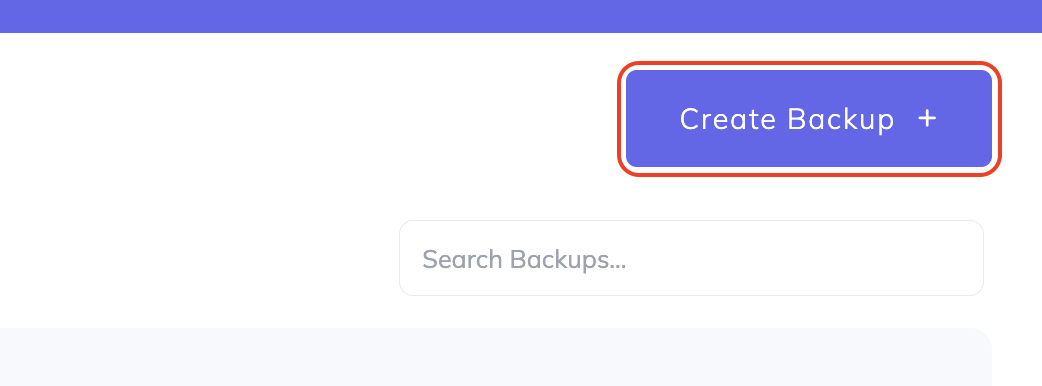
On the page that opens, click on Create Backup +.
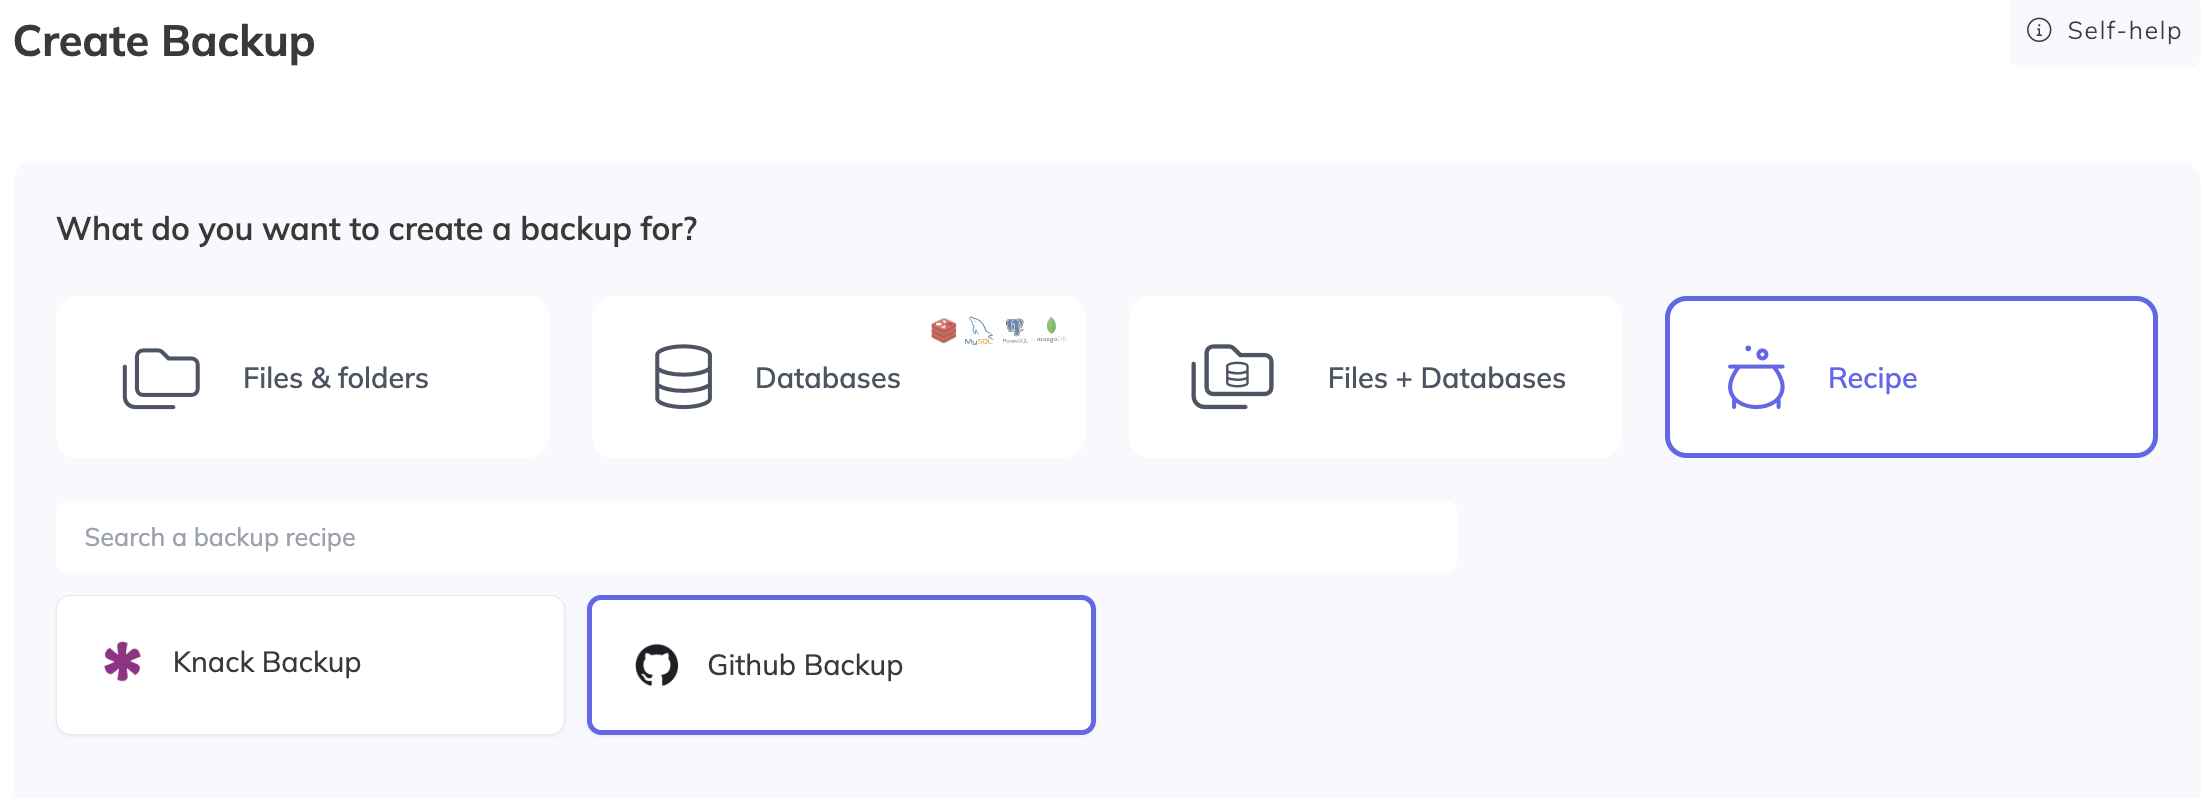
Once done, you’ll get to the same screen you would have had you used the first method.
Here, it’s essential to ensure that both the Recipe and GitHub Backup tiles are selected.
Step 3: Configuring Your Backup Recipe
For the next step, you’ll need to configure your backup recipe.
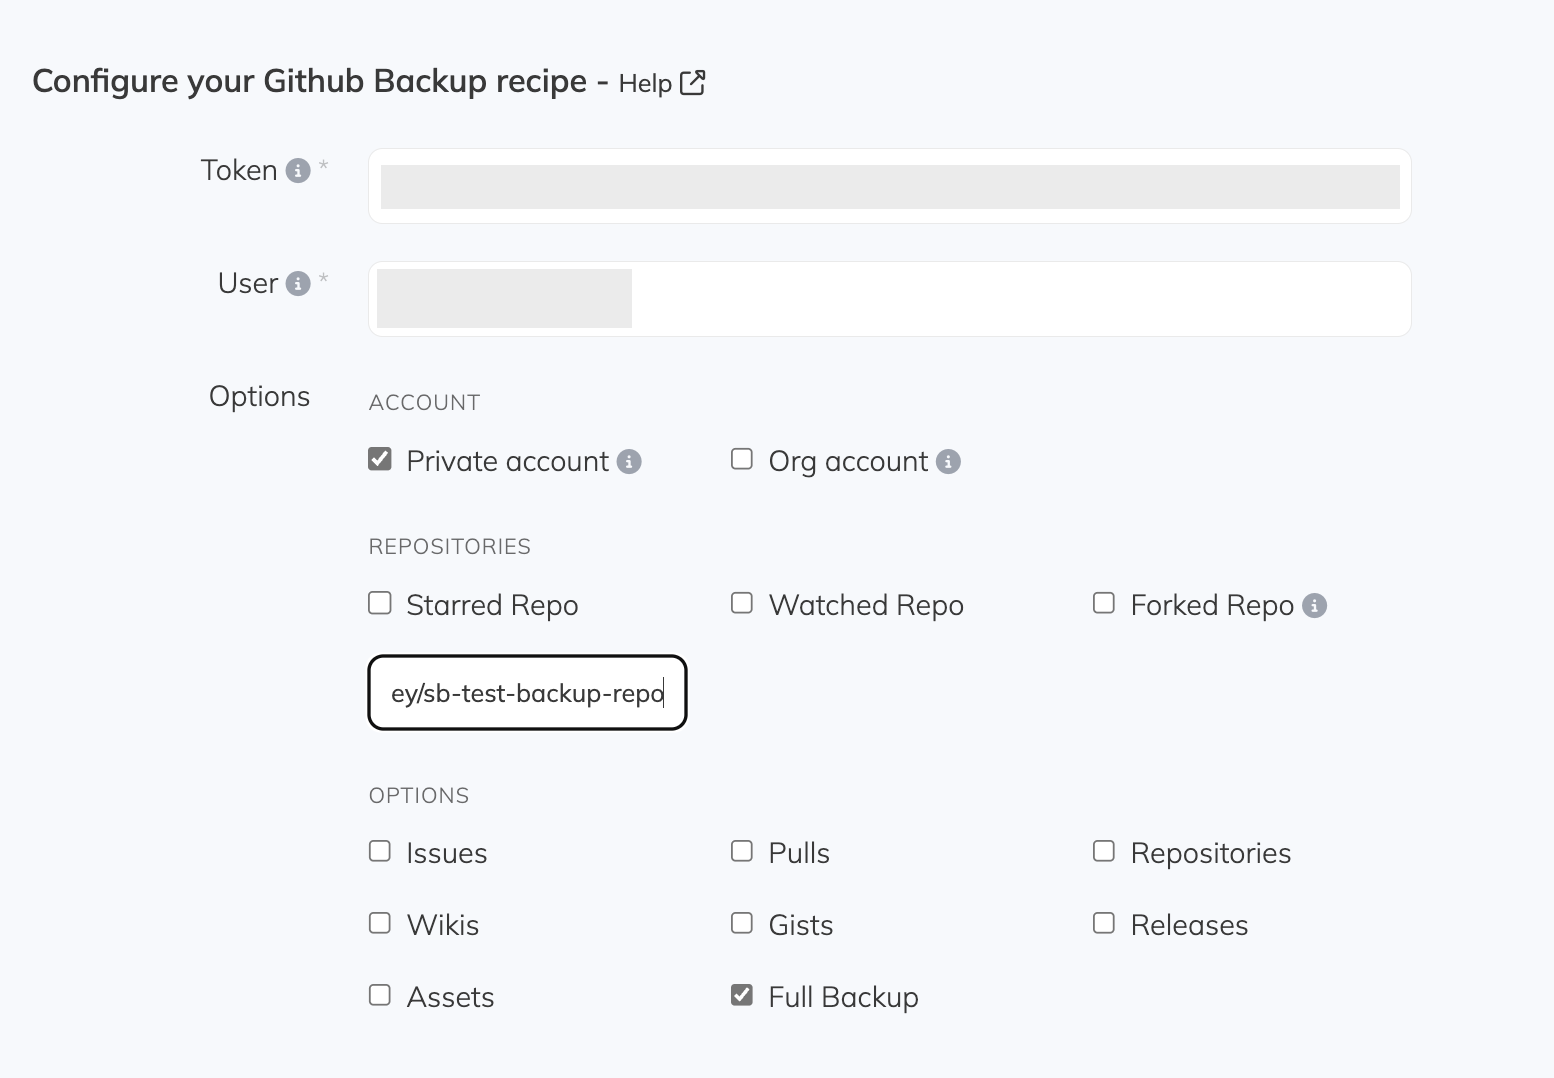
Here, you’ll paste the token you generated earlier and enter your GitHub username.
You’ll also select several options based on your unique circumstances:
- Whether the backup is for a private or organizational account. When you select the private account option, the backup will also include private repositories.
- You can also select which repositories you’d like to back up. You can choose between Starred Repos, Watched Repos, and Forked Repos. You can also choose to back up a specific repo.
- Finally, you can also choose what you’d like to back up. Based on your needs, you can run full backups, or back up only issues, pulls, wikis, gists, releases, or assets.
In this example, we’ve pasted the token into the relevant text box, entered our GitHub username, and selected to perform a full backup of a specific repository.
Step 4: Choose a Server
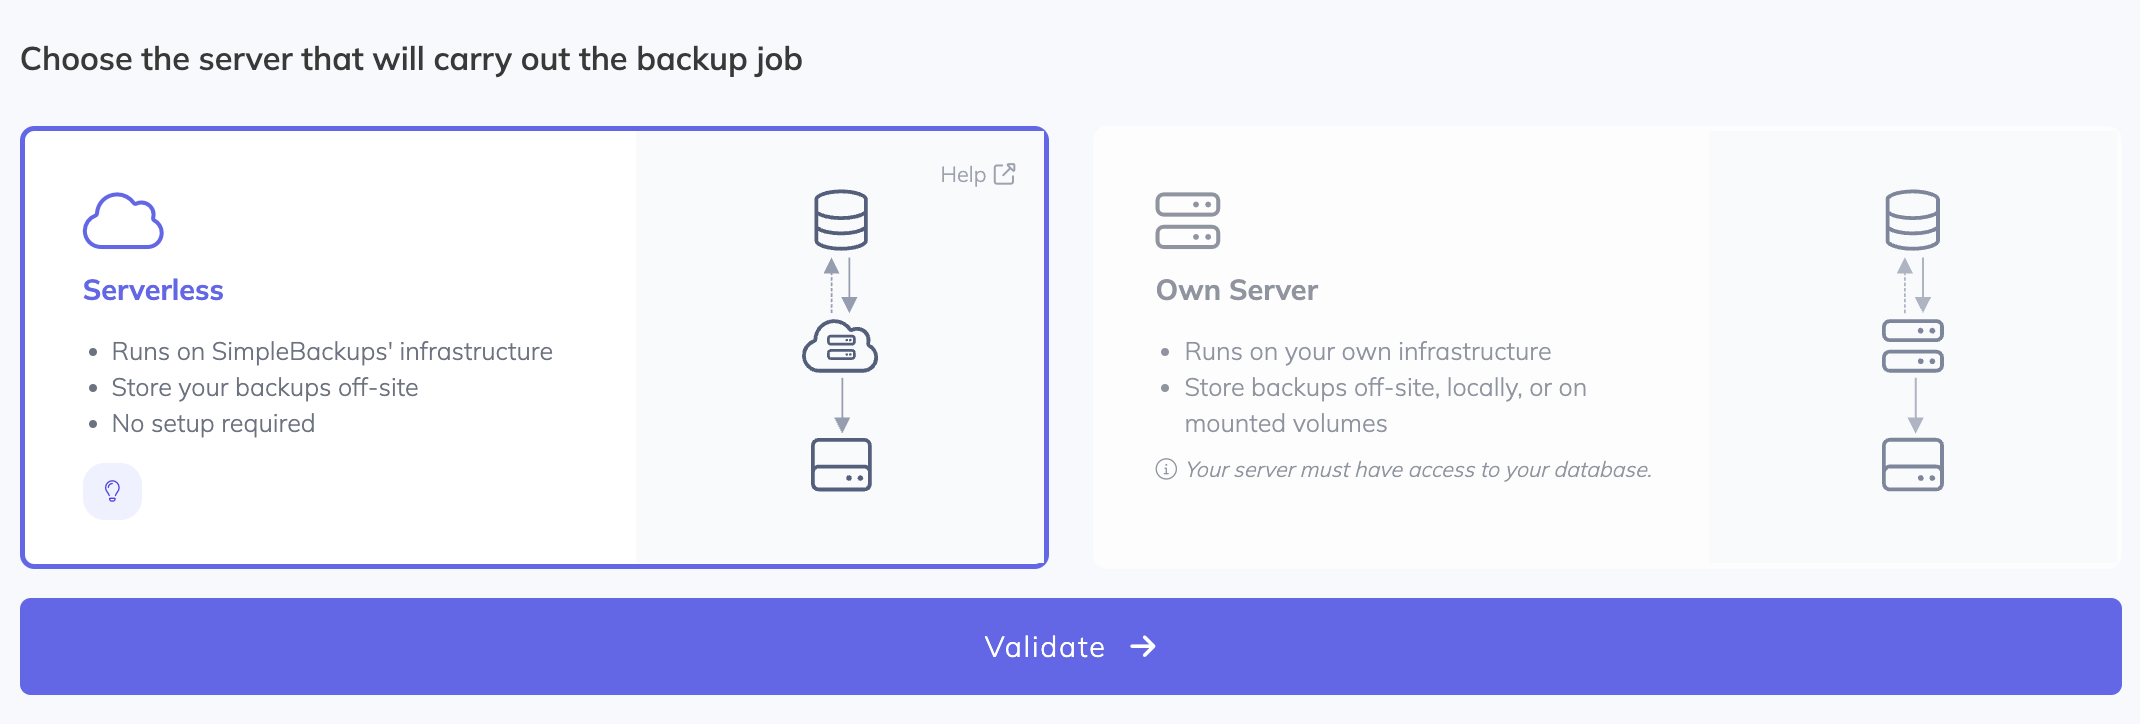
For the next step, you’ll need to choose the server that will run the backup. You have two options:
- Serverless. This option allows you to run the backup on SimpleBackups’ infrastructure and store your backups off-site. There is no setup required, and you’ll save on resources.
- Own Server. As the name implies, this option allows you to run the backup using your own infrastructure. This option will enable you to store your backups off-site, locally, or on mounted volumes.
In this example, we’ll use the Serverless option. So, we’ll make sure that the correct tile is selected.
You can then click Validate to confirm the connection.
Step 5: Finishing Up and Creating Your Backup
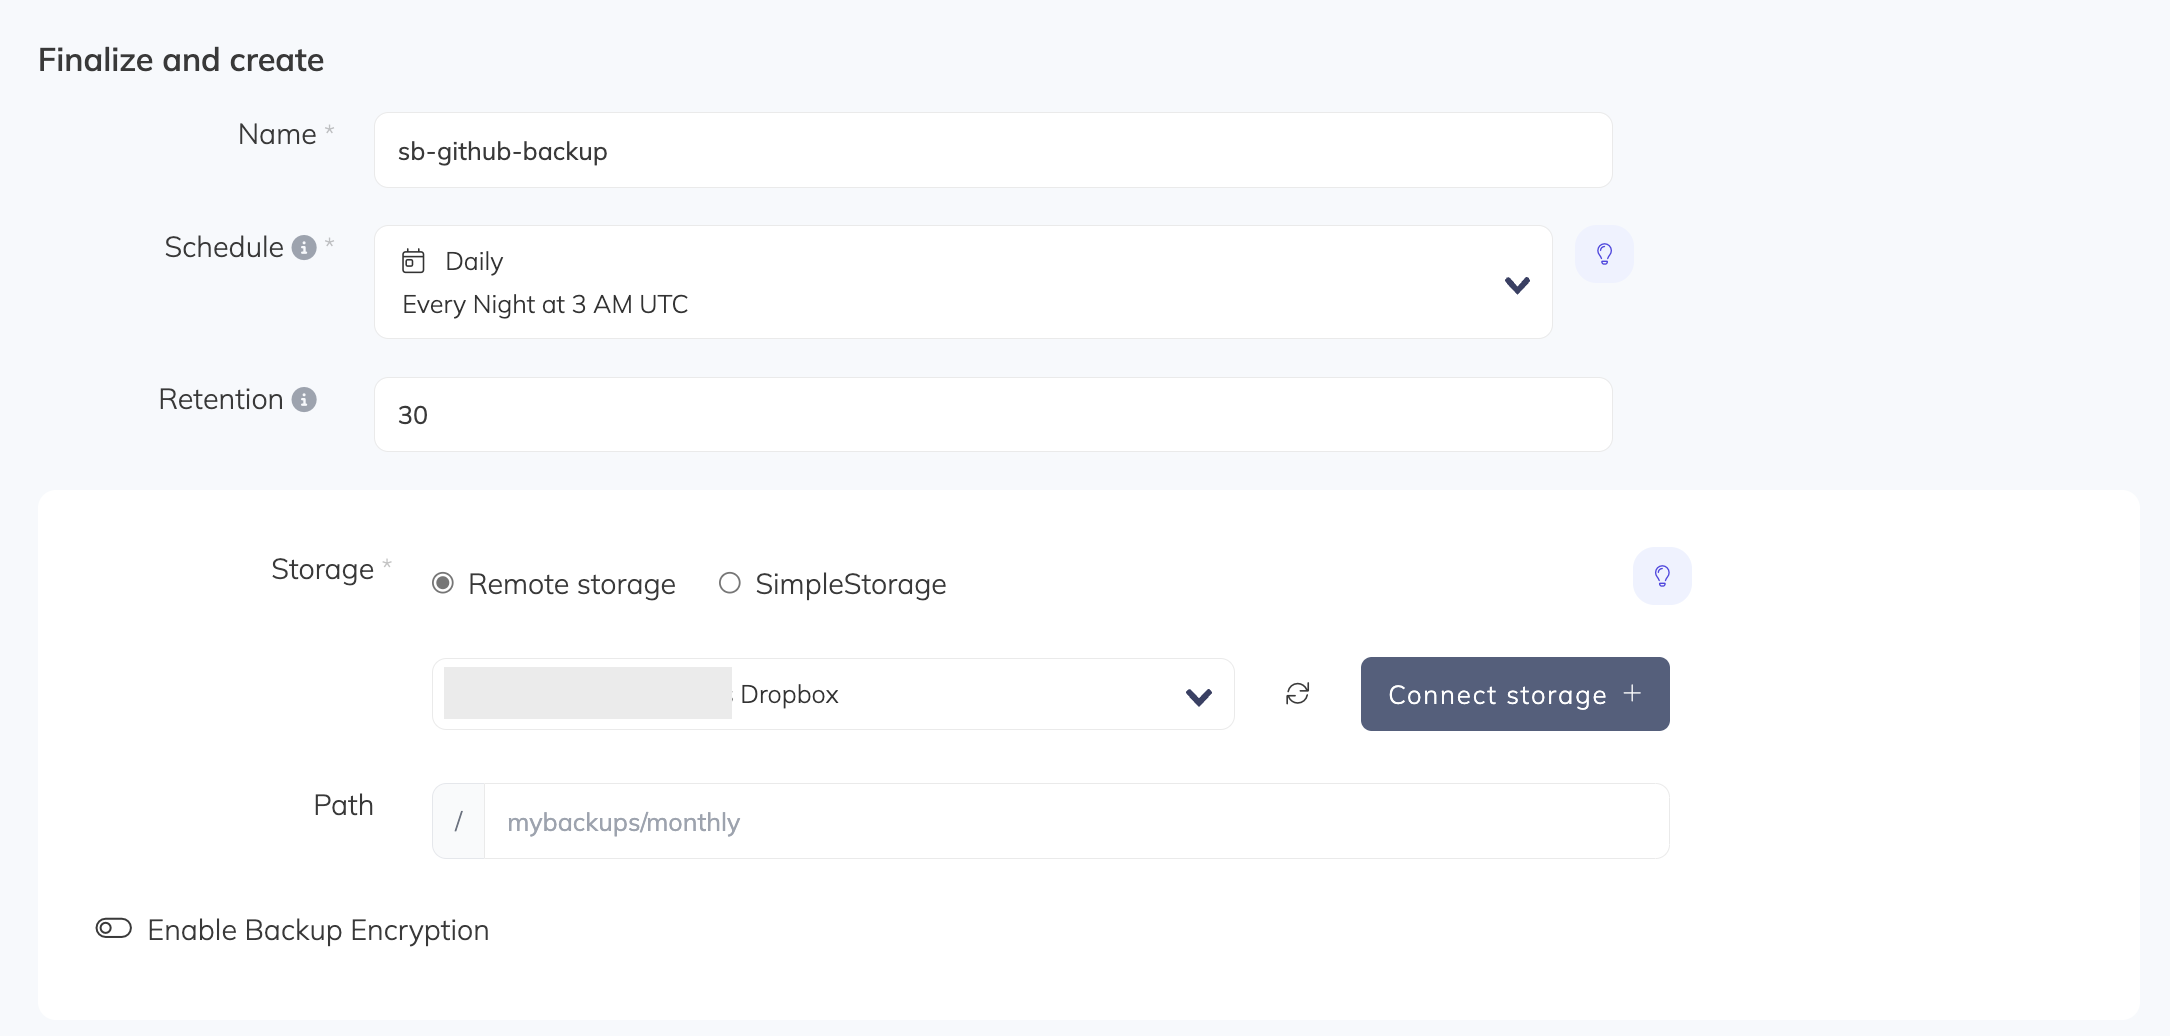
The final step, after you’ve validated the connection, is to choose:
- Your storage. Choose one of several options, including Amazon S3, DigitalOcean Spaces, Google Cloud Storage, and more. In this example, we’ll use the same Dropbox we used in an earlier post.
- Retention schedule. Set your retention schedule to determine how long you’ll keep your backups. Earlier backups will be deleted once the maximum is reached.
- Backup frequency. Choose daily, weekly, monthly, on-demand, or even create a custom backup schedule based on your needs and requirements. In this example, we’ll use daily backups.
It’s Time You Backed Up Your GitHub Data Quickly and Easily
There you go; now you know how easy it is to back up your GitHub data with SimpleBackups!
But why should you use SimpleBackups?
Well, for one, when using SimpleBackups, you can connect almost any storage you’d prefer. You’ll be in complete control of your data and won't depend on the SimpleBackups platform to recover your data.
When using the platform, you’ll have access to the SimpleBackups notification system. This, in turn, gives you access to email and Slack notifications, task summaries, and even advanced audit logs relating to your backups. You’ll never be in the dark about your GitHub backups.
To learn more about SimpleBackups, our range of innovative features, and how our platform can help you, get started for free today.