Discover how to effectively manage user permissions in MySQL with our step-by-step guide. Learn to create, grant, and display MySQL permissions with ease.
🧑💻 All the code in this article is bundled in this Gist.

- How to Access MySQL command line
- How to create a MySQL User
- How to show the list of users in MySQL
- Show currently logged MySQL users
- Understanding MySQL Privileges
- How to show all MySQL users
- How to grant ALL privileges to a MySQL User
- How to grant specific privileges to a MySQL User
- How to show MySQL user permissions
- Remove privileges from a MySQL User
How to Access MySQL command line
In order to perform these actions you'll need to access MySQL command line with root access.
sudo mysql
If your administrator account requires a password you'll need to use the below command:
mysql -u YOUR_USER_NAME -p
Now that you're logged in, you'll be able to perform below actions from MySQL command line.
How to create a MySQL User
You need to consider 3 elements while creating a user:
usernamepasswordhostname- If you only need to access this database locally use the value "localhost"
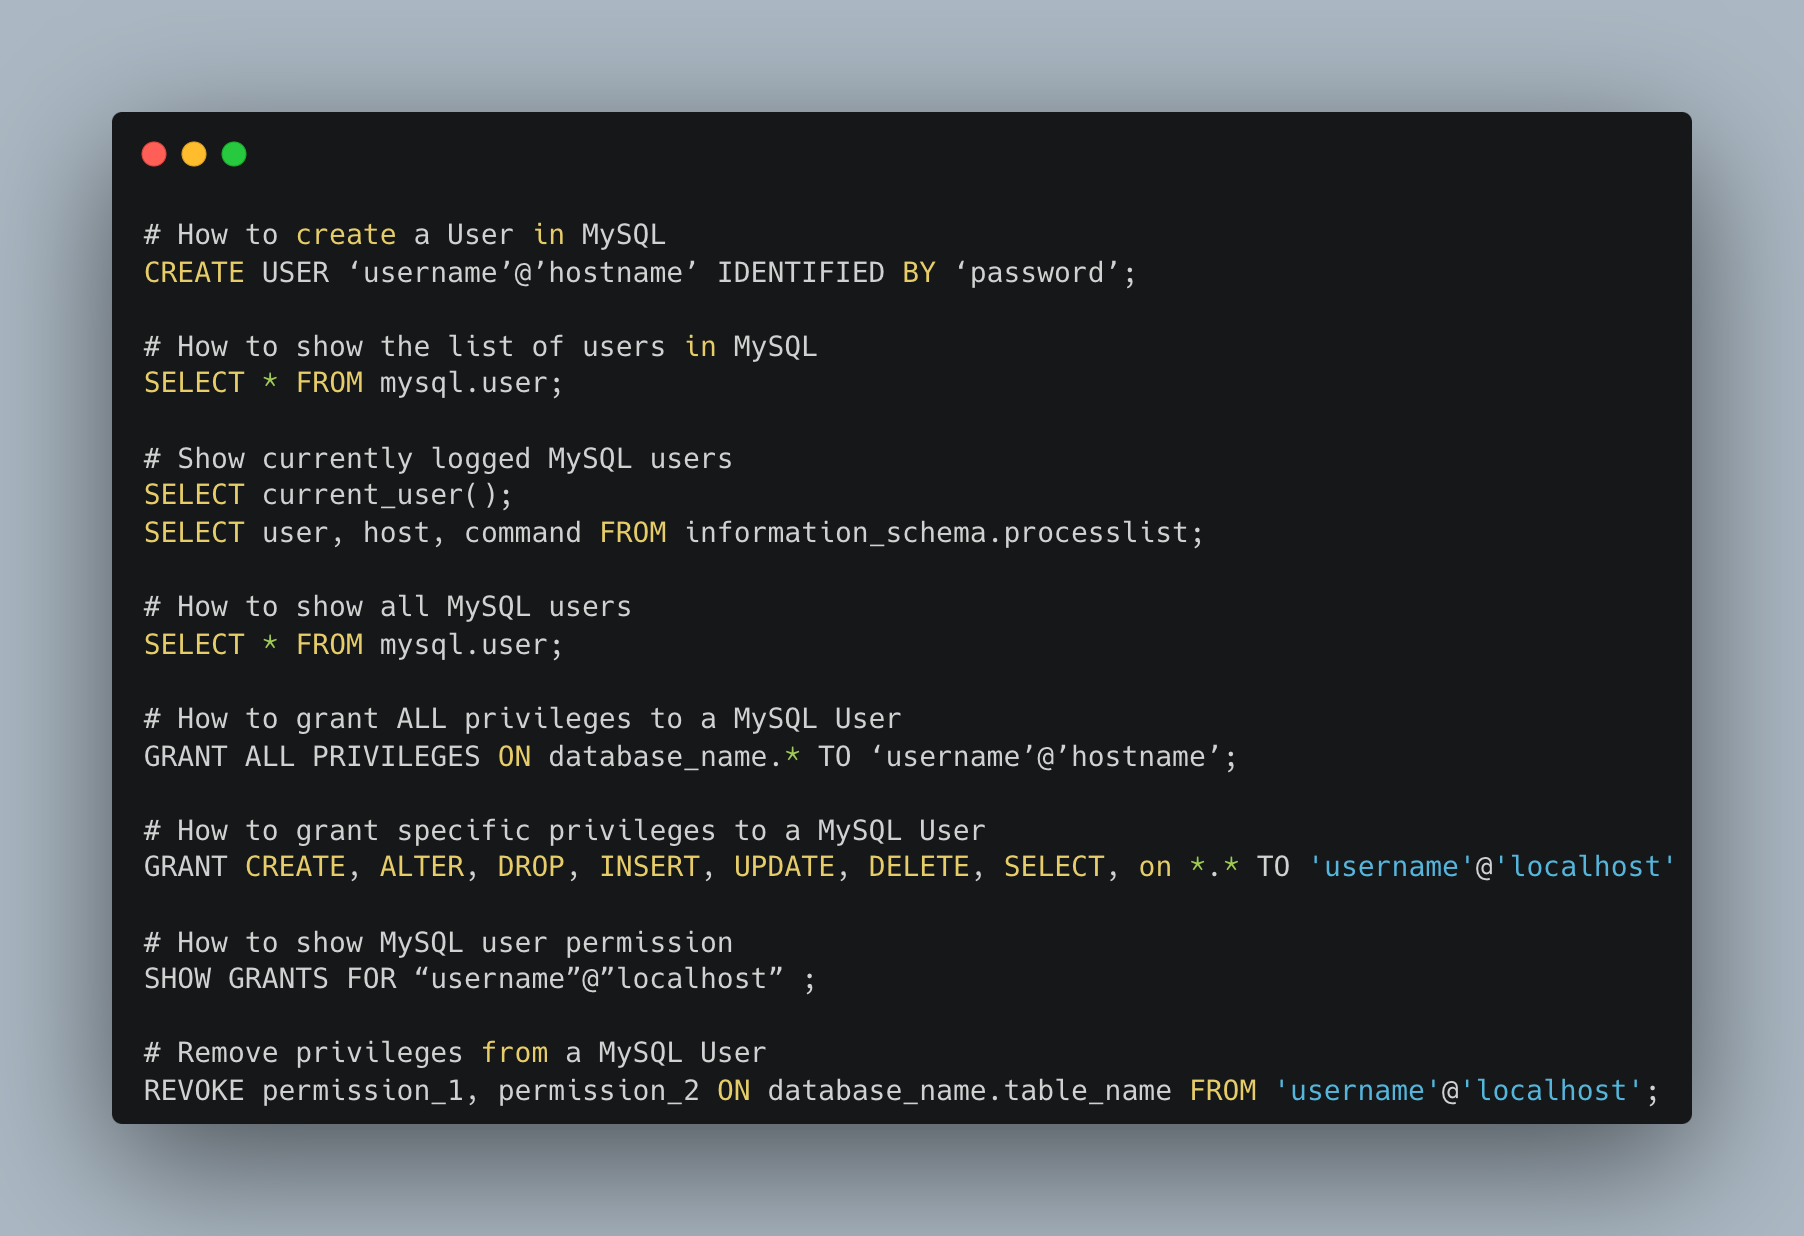
CREATE USER ‘username’@’hostname’ IDENTIFIED BY ‘password’;
If you need a user to only have access to your database from a certain I, use the following:
CREATE USER ‘username’@’10.0.0.3’ IDENTIFIED BY ‘password’;
Where 10.0.0.3 is the IP the user will be able to access the database.
How to show the list of users in MySQL
To display the list of users in a MySQL database, you can query the mysql.user table, which contains information about all users and their privileges. Here's how you can retrieve the list of users:
SELECT * FROM mysql.user;
Note that this will return all user attributes, a shorter output can be obtained with the below statement:
SELECT User, Host FROM mysql.user;
Show currently logged MySQL users
Show the list of users currently connected to your MySQL instance with the following command:
SELECT current_user();
To gain additional insights, you can tailor your query to show users who are presently connected to the server along with their activity status. This is particularly useful for identifying idle users who may be consuming excessive resources.
Execute the following SQL command to achieve this:
SELECT user, host, command FROM information_schema.processlist;
Understanding MySQL Privileges
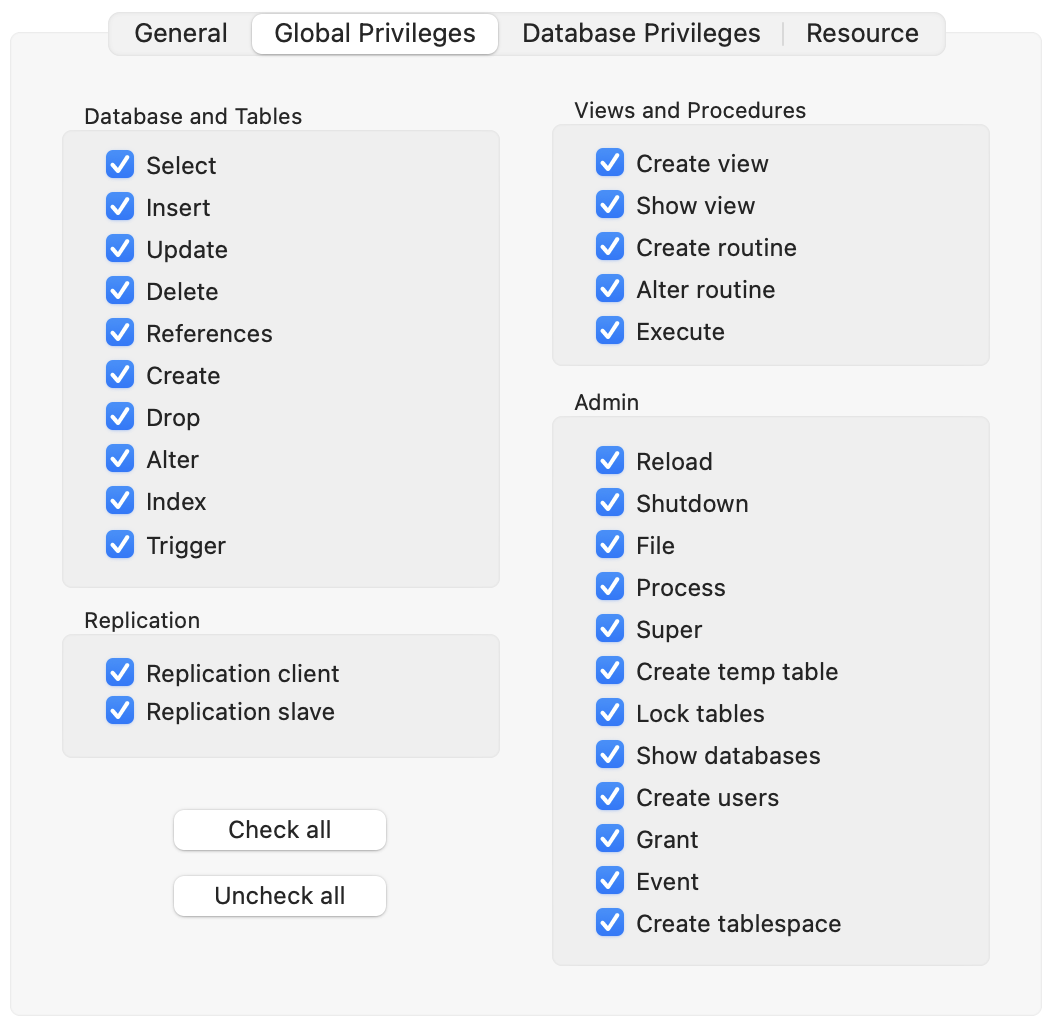
MySQL privileges allow you to define the rights given to a user to perform certain actions on your MySQL instance. You'll see in the screenshot below that these rights can be scoped down with granularity on some specific actions and resources.

You can define MySQL privileges on 2 levels:
- Global Privileges: Administrative privileges and privileges applied to all databases
- Database Privileges: Privileges applied to specific databases
MySQL offers a large granularity of privileges some of which are: ALL PRIVILEGES, INSERT, SELECT, UPDATE, DELETE, CREATE, ALTER.
The most common permissions are:
- CREATE – Allows users to create databases/tables
- SELECT – Allows users to read data
- INSERT – Allows users to insert data
- UPDATE – Allows users to update existing data
- DELETE – Allows users to delete data
- DROP – Allows users to drop databases/tables
How to show all MySQL users
To list all users of your MySQL instance, use the following statement:
SELECT * FROM mysql.user;
How to grant ALL privileges to a MySQL User
In some cases you might want to provide full access to a MySQL User, which can be done as follow:
GRANT ALL PRIVILEGES ON database_name.* TO ‘username’@’hostname’;
Make sure to replace database_name with your database name, username with your user name and hostname with your hostname or IP address (as described above).
Note that in most cases, and for obvious security reasons, you'll need to grant only specific privileges to a given user on a specific database.
How to grant specific privileges to a MySQL User
You can grant one or multiple privileges to a user using the below statement:
GRANT CREATE, ALTER, DROP, INSERT, UPDATE, DELETE, SELECT, on *.* TO 'username'@'localhost'
How to show MySQL user permissions
You can list all permissions/privileges granted to a user running the SHOW GRANTS statement:
SHOW GRANTS FOR “username”@”localhost” ;
This will output something like:
+-----------------------------------------------------------------------------+
| Grants for username@localhost                                         |
+-----------------------------------------------------------------------------+
| GRANT USAGE ON *.* TO 'username'@'localhost'                          |
| GRANT ALL PRIVILEGES ON 'database'.* TO 'username'@'localhost'.|
| REVOKE ALL PRIVILEGES ON * . * FROM 'username'@'localhost';  |
+-----------------------------------------------------------------------------+
3 rows in set (0.00 sec)
Remove privileges from a MySQL User
You can remove privileges from a MySQL User using the below command:
REVOKE permission_1, permission_2 ON database_name.table_name FROM 'username'@'localhost';
Replace permission_1, permission_2 with the permissions you want to revoke (like INSERT, SELECT).
You can remove all privileges with one simple statement, like below:
REVOKE ALL PRIVILEGES ON *.* FROM 'usernale'@'localhost';