Appearance
Notion
Back up and restore your Notion workspace to your own cloud storage.
Notion is a collaborative workspace for notes, documents, and databases. SimpleBackups connects to Notion through its API to take snapshots of your workspace resources on a schedule. This guide covers how to add a Notion connection, create a backup, and restore it.
Create a Notion backup
Create a new Notion backup in SimpleBackups
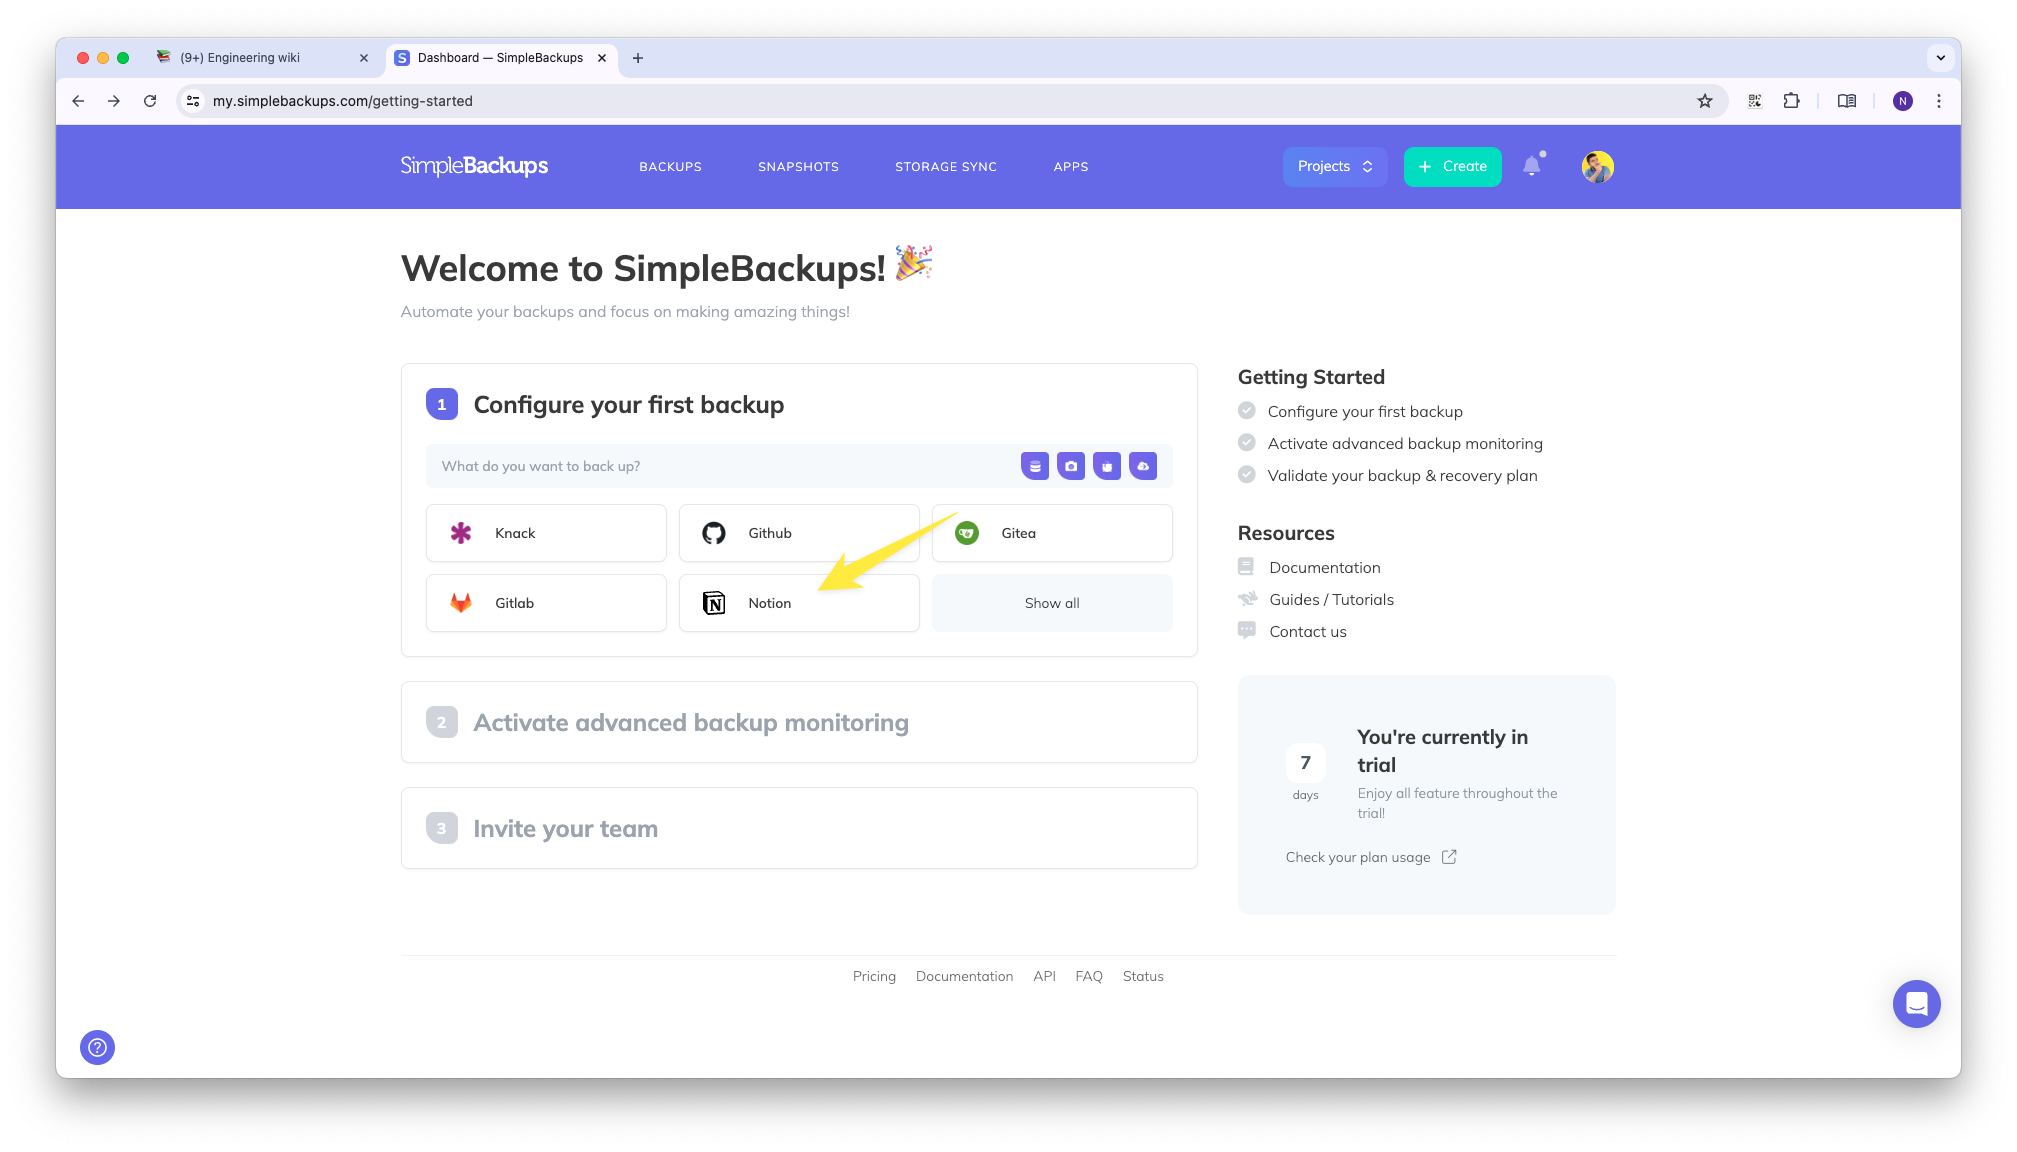
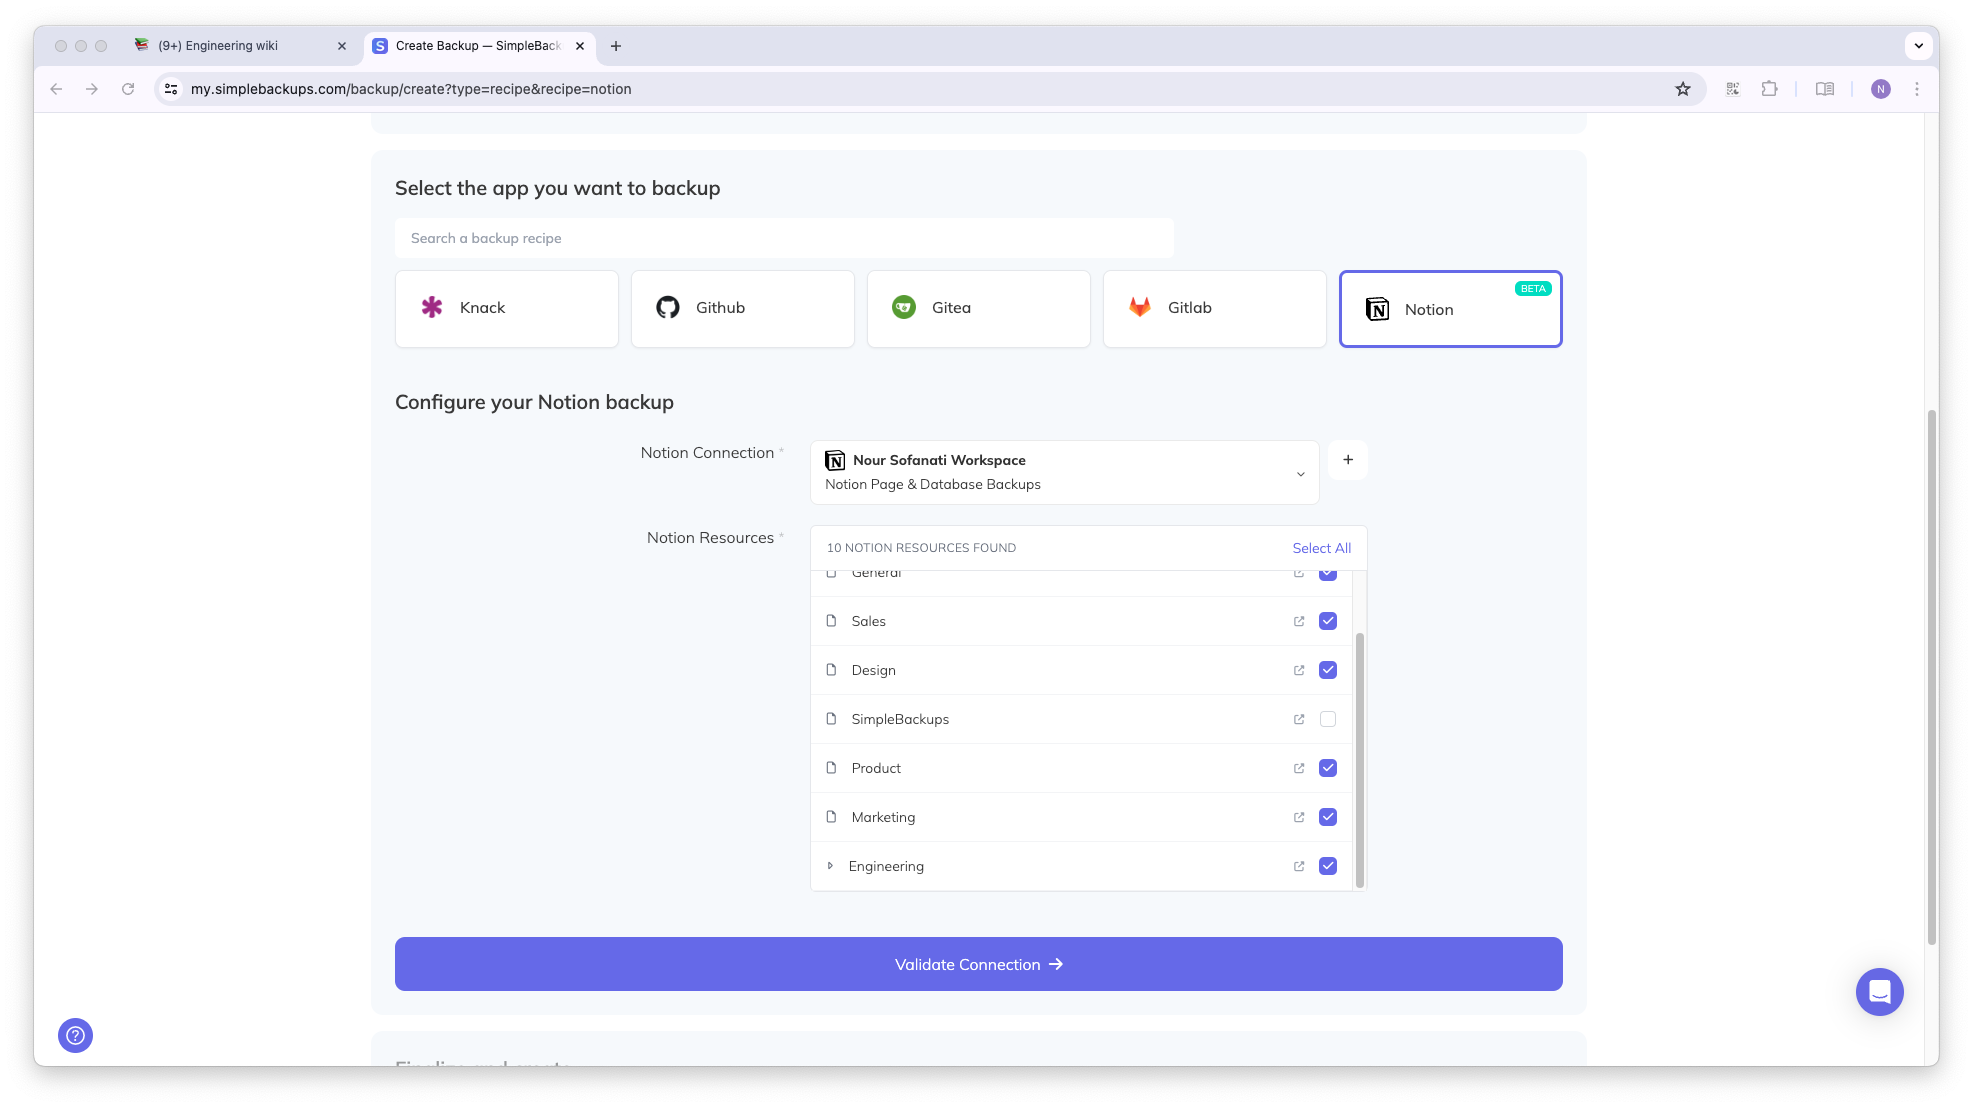
From your SimpleBackups dashboard, search for Notion in the Quick Access section and click on the Notion tile.
Configure your Notion connection
Click the Add button next to the dropdown, name your connection, and select the resources you want to make available to SimpleBackups.
Exclude resources (optional)
SimpleBackups backs up all resources it has access to unless you exclude them. To exclude a resource, select it from the exclusion list during configuration.
Configure schedule, storage, and name
Set your backup name to something you can distinguish from other Notion backups. Choose your preferred schedule and storage destination.
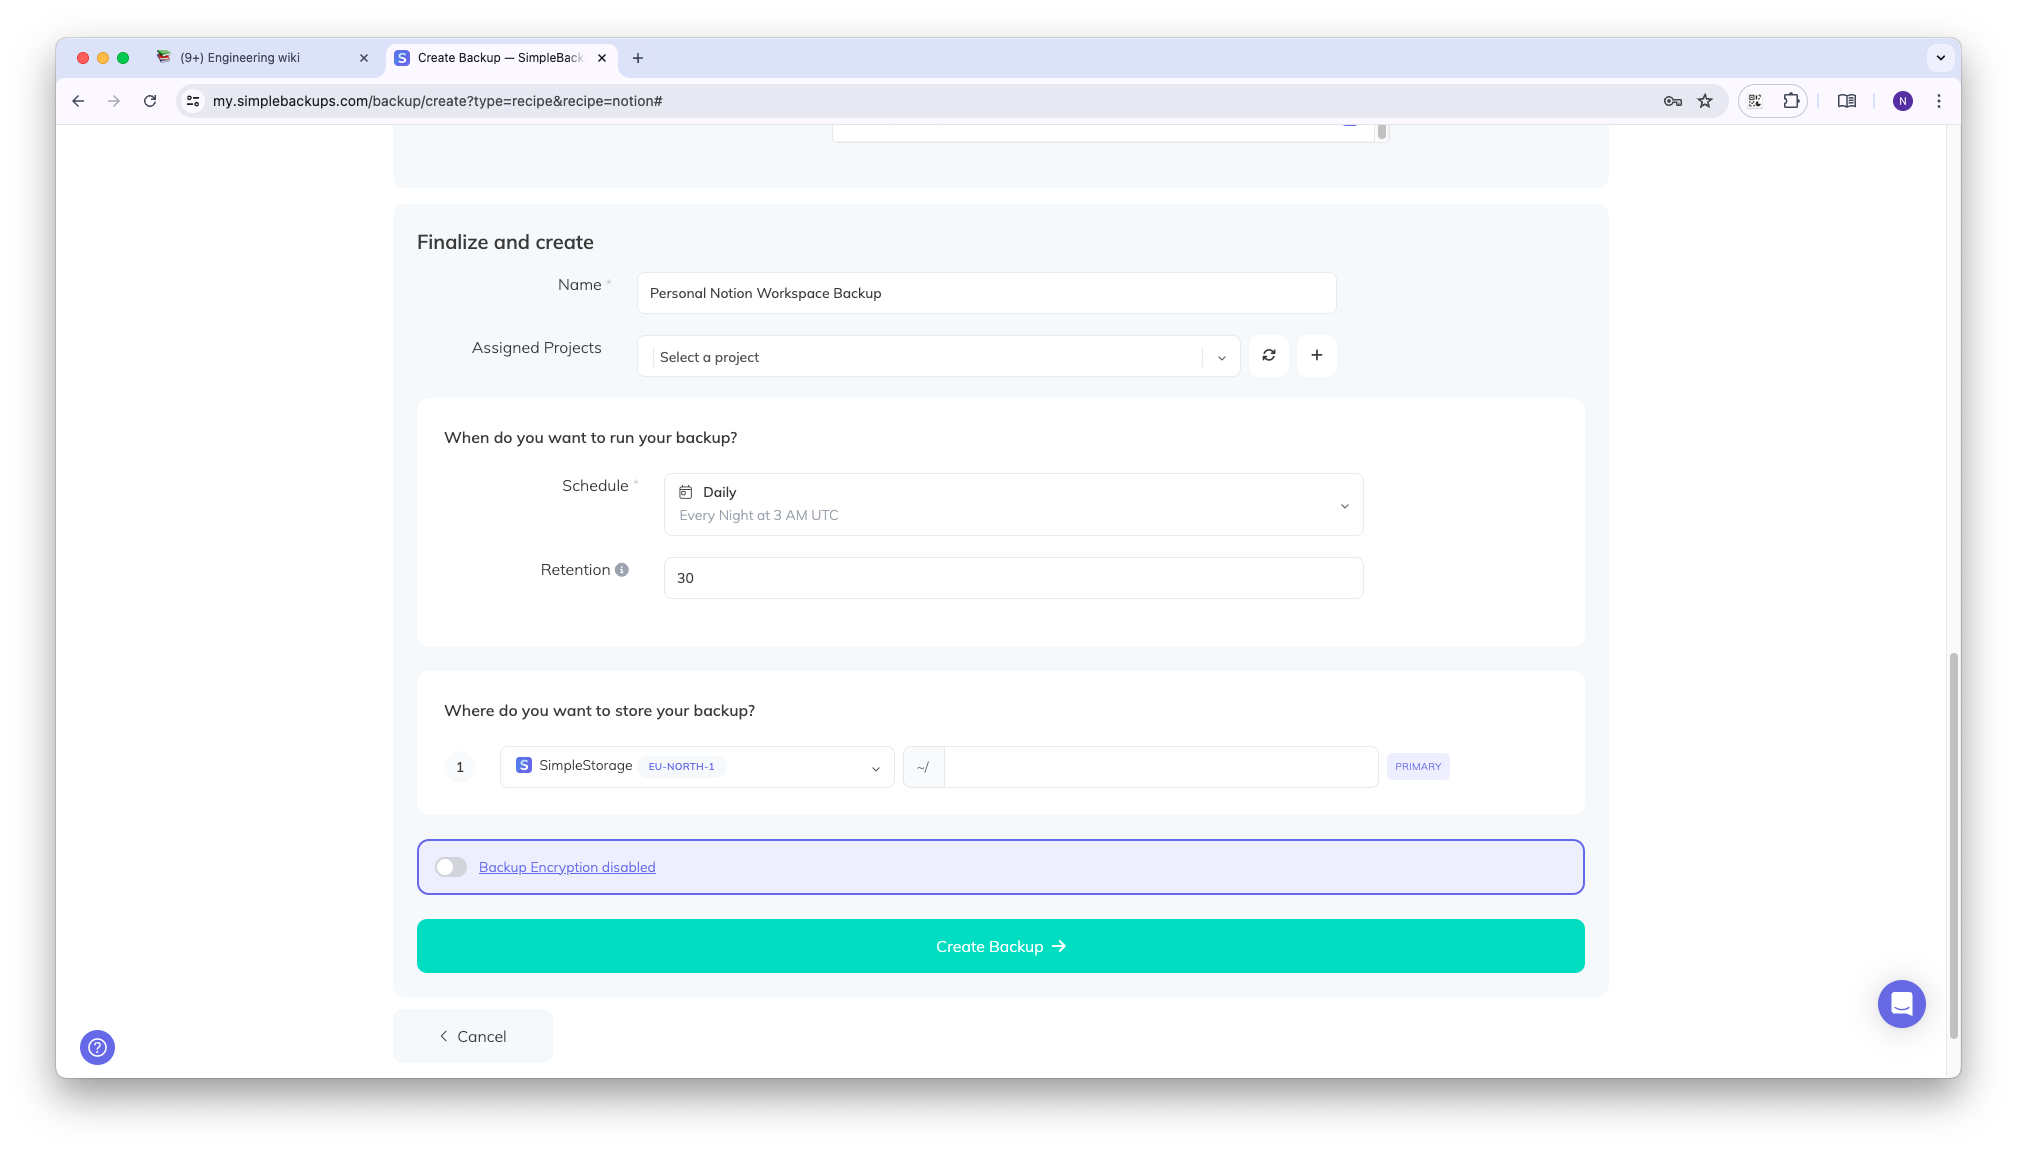
Test and run your backup (optional)
After creating your backup, you are redirected to the backup summary page. You can run your backup on demand by clicking the Run Now button.
Restore a Notion backup
Prerequisites
Before you can restore a Notion backup, your workspace must contain a dedicated destination page that SimpleBackups can use to host restored content. Notion does not allow integrations to write at the workspace root, so all restored pages, databases, and blocks are created as children of this page.
Create a top-level page in your Notion workspace (any title works, for example SimpleBackups Restores) and grant the SimpleBackups integration access to it from the page's Connections menu. When you configure your Notion connection in SimpleBackups, make sure this page is included in the selected resources so it is available as a destination at restore time.
Add the destination page to an existing connection
If your Notion connection was created without a destination page, for example because the page did not exist yet, you can add it after the fact without recreating the connection or the backup. Create the page in Notion as described above, then click on "..." on the top right of the page and add "SimpleBackups" in the "connections" options. The page becomes available as a restore destination on the next restore.
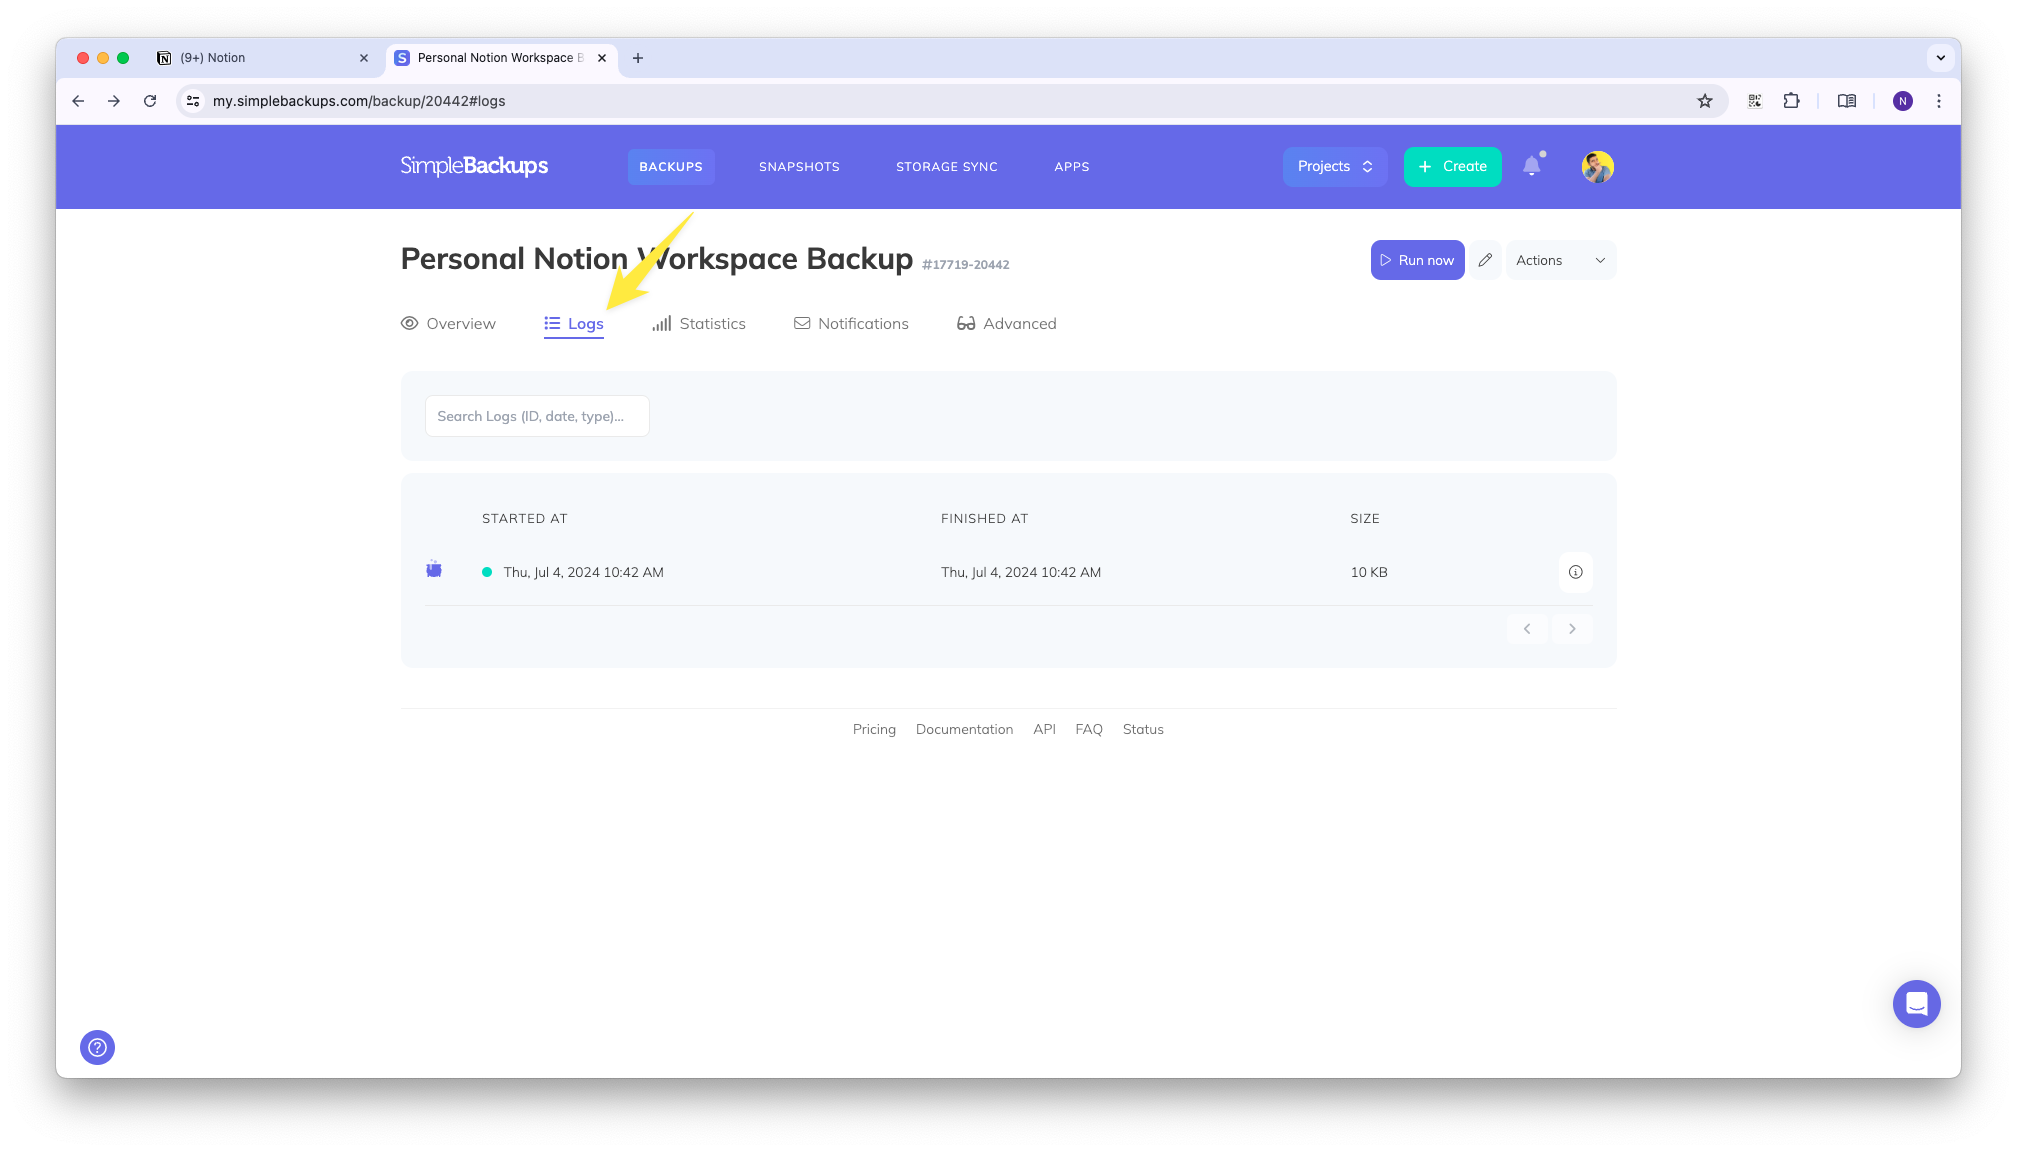
Find the backup log to restore
Navigate to your backup summary page and click on Logs. Select the log entry for the point in time you want to restore.
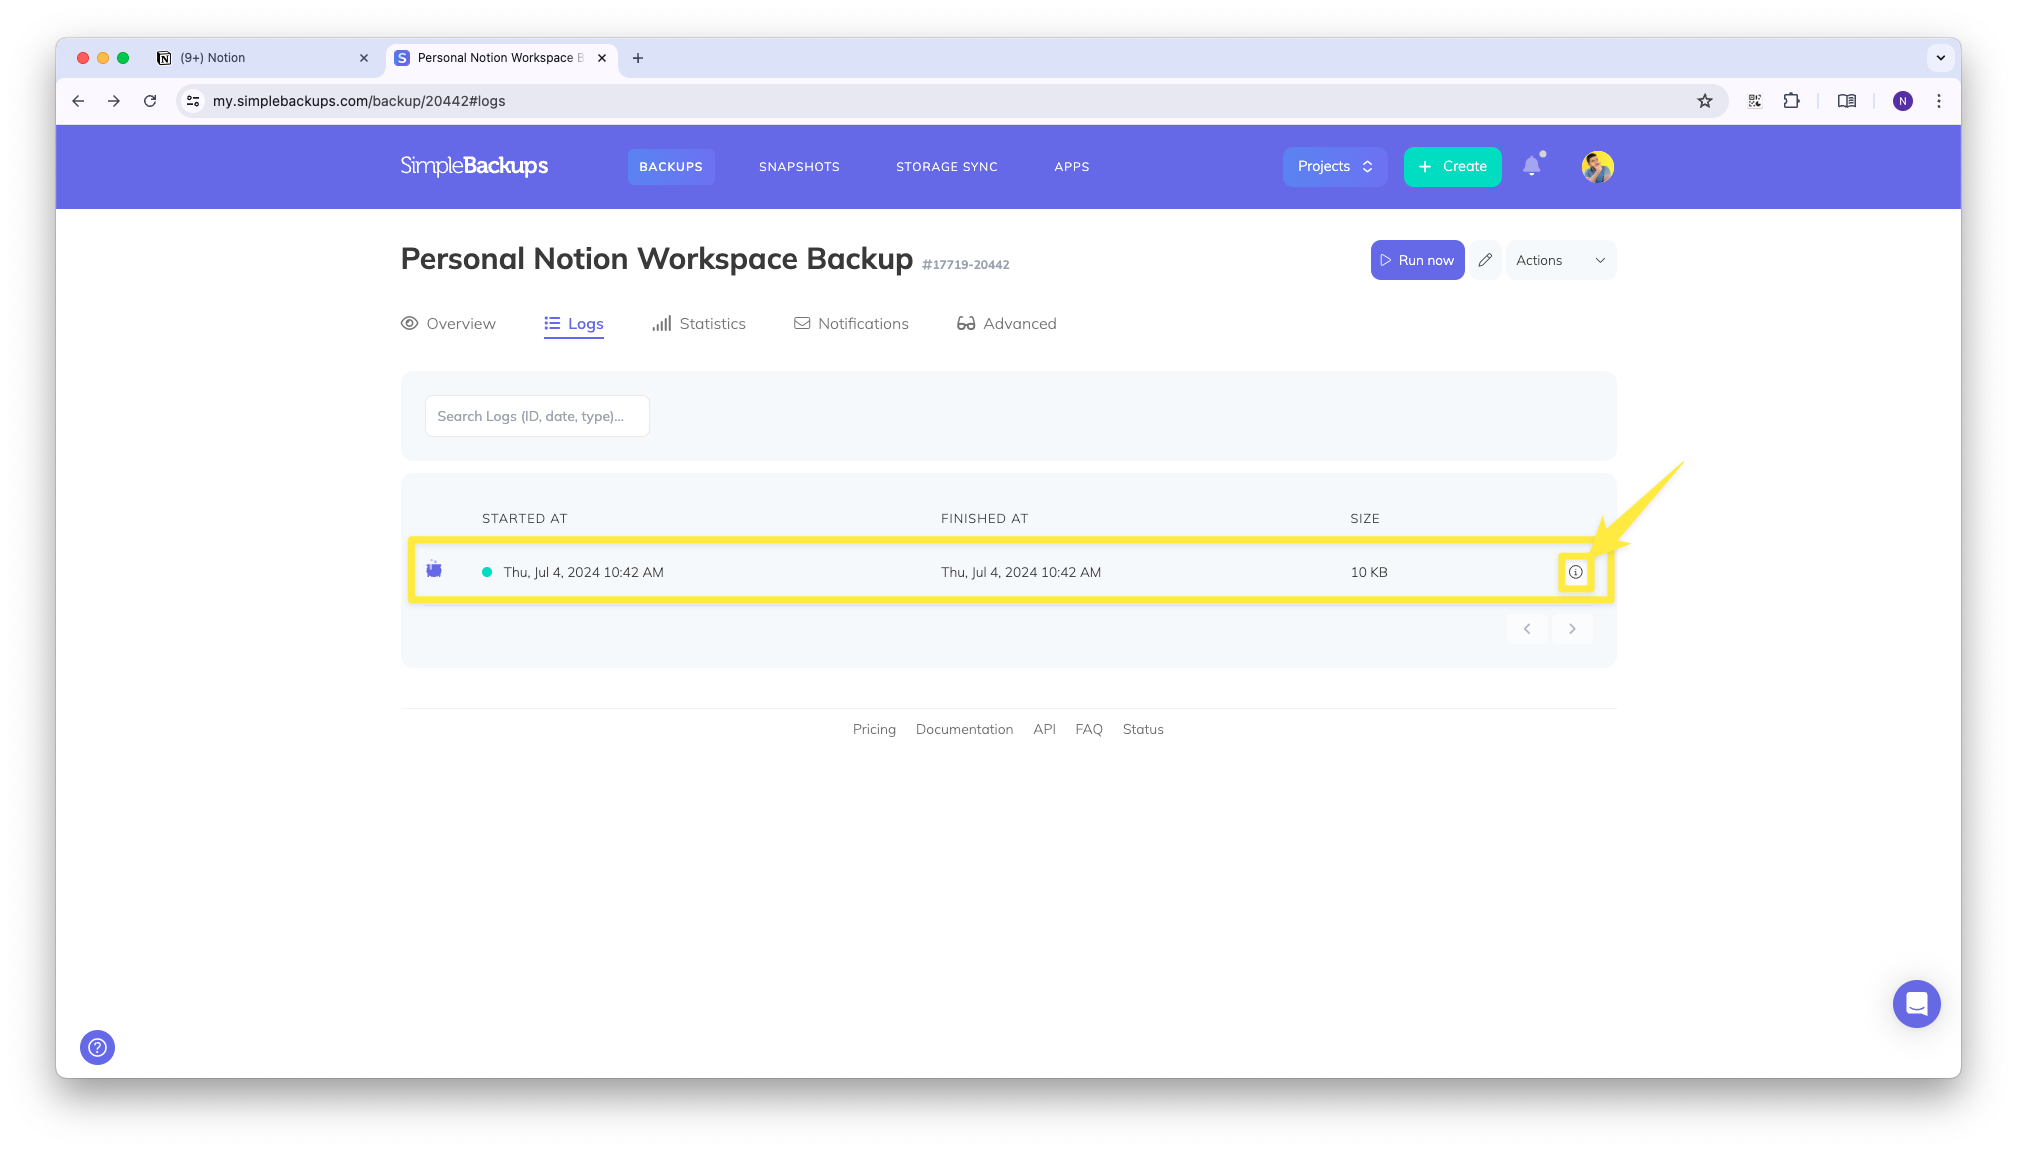
Click on the log entry to open the log summary popup.
Start the restore
Click the Restore tab and then click Restore Workspace.
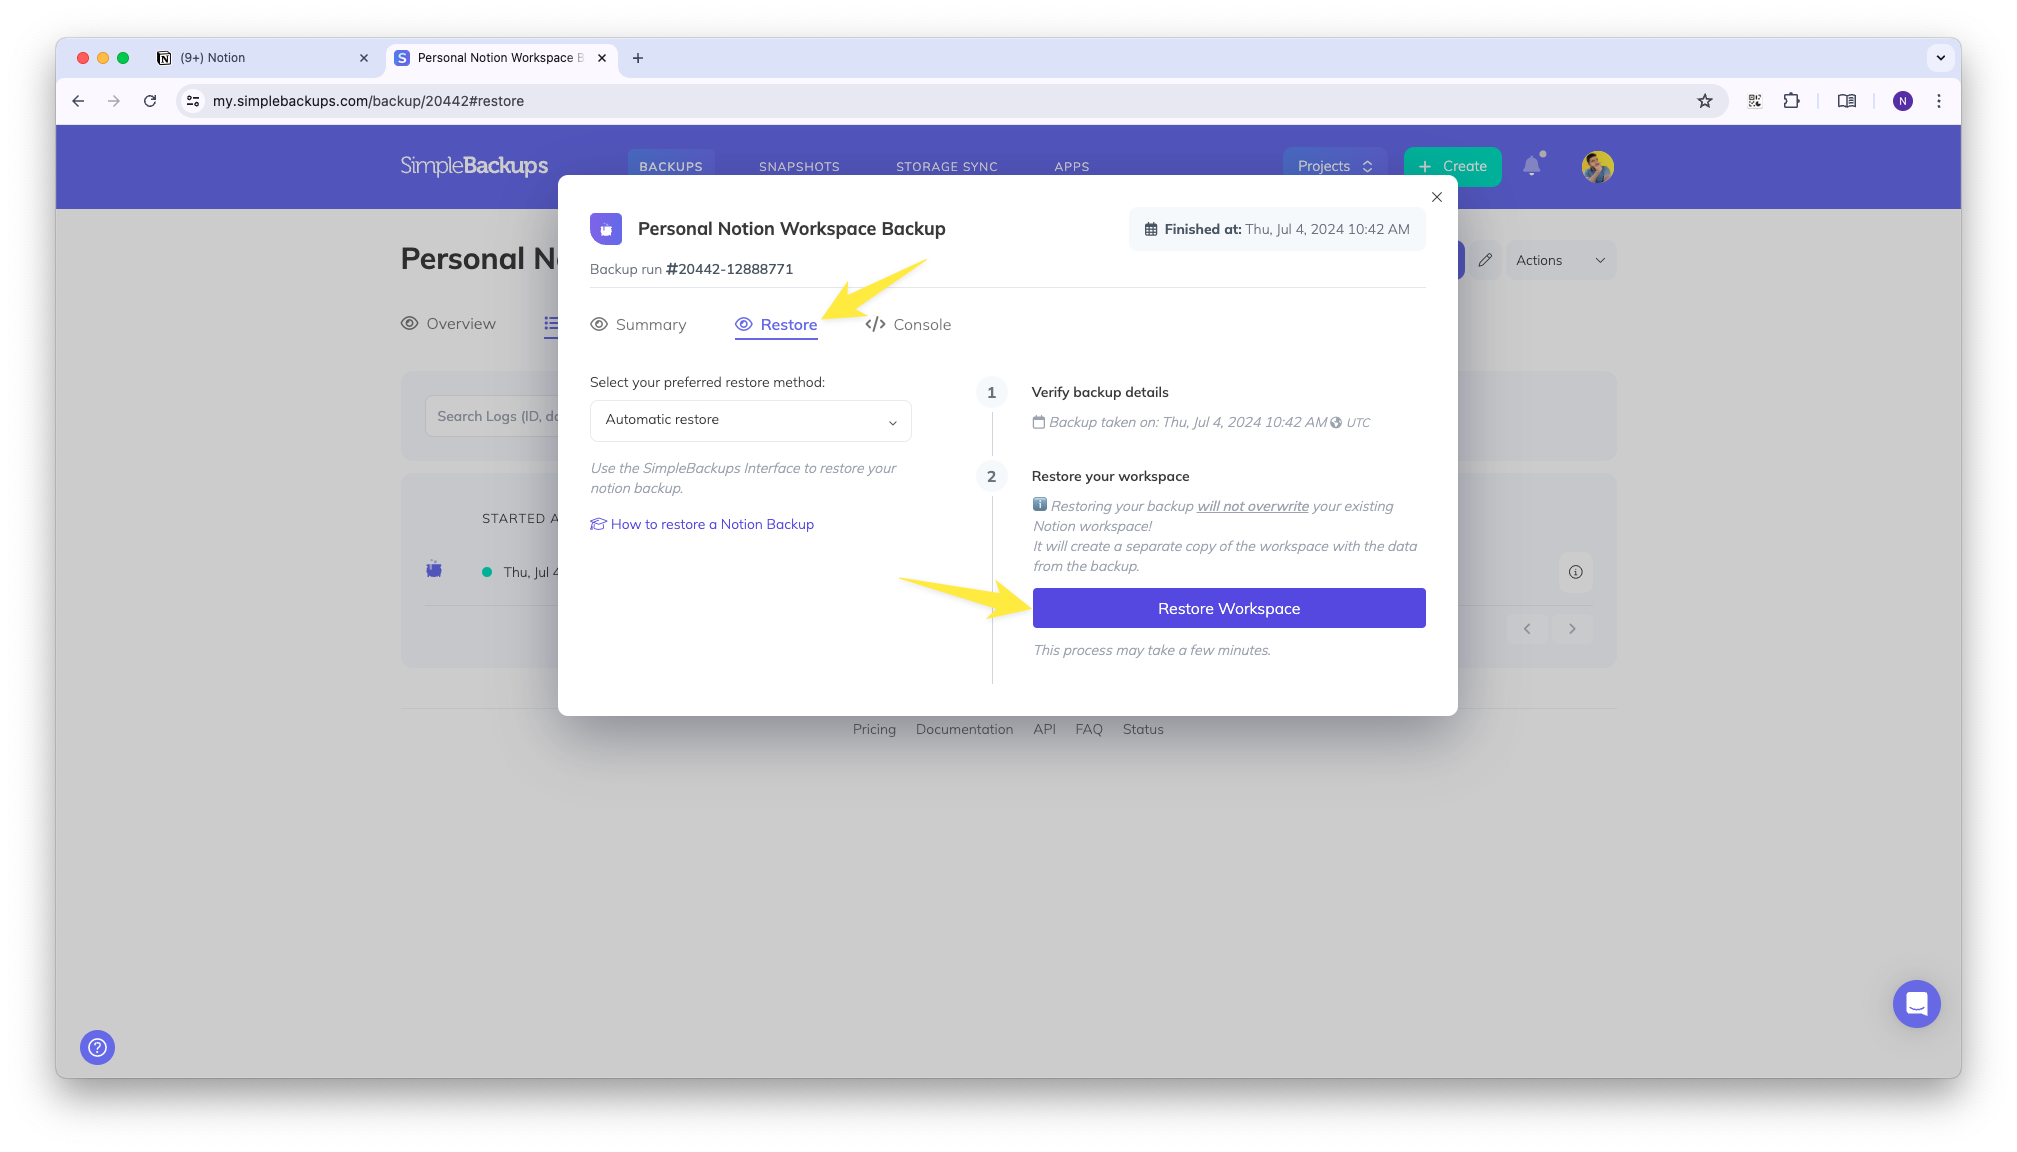
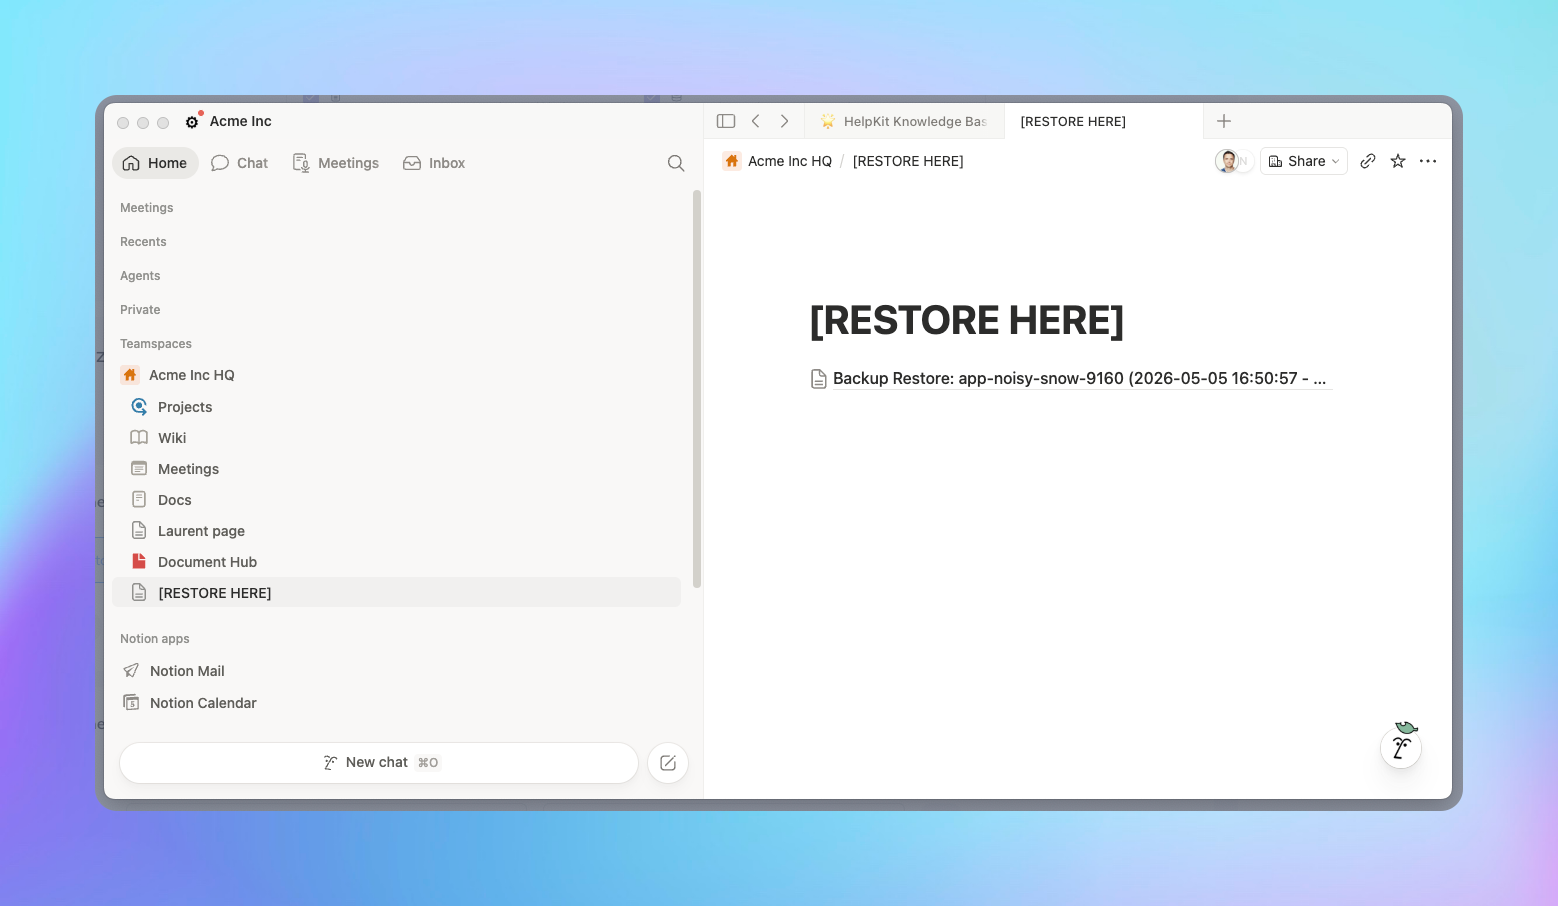
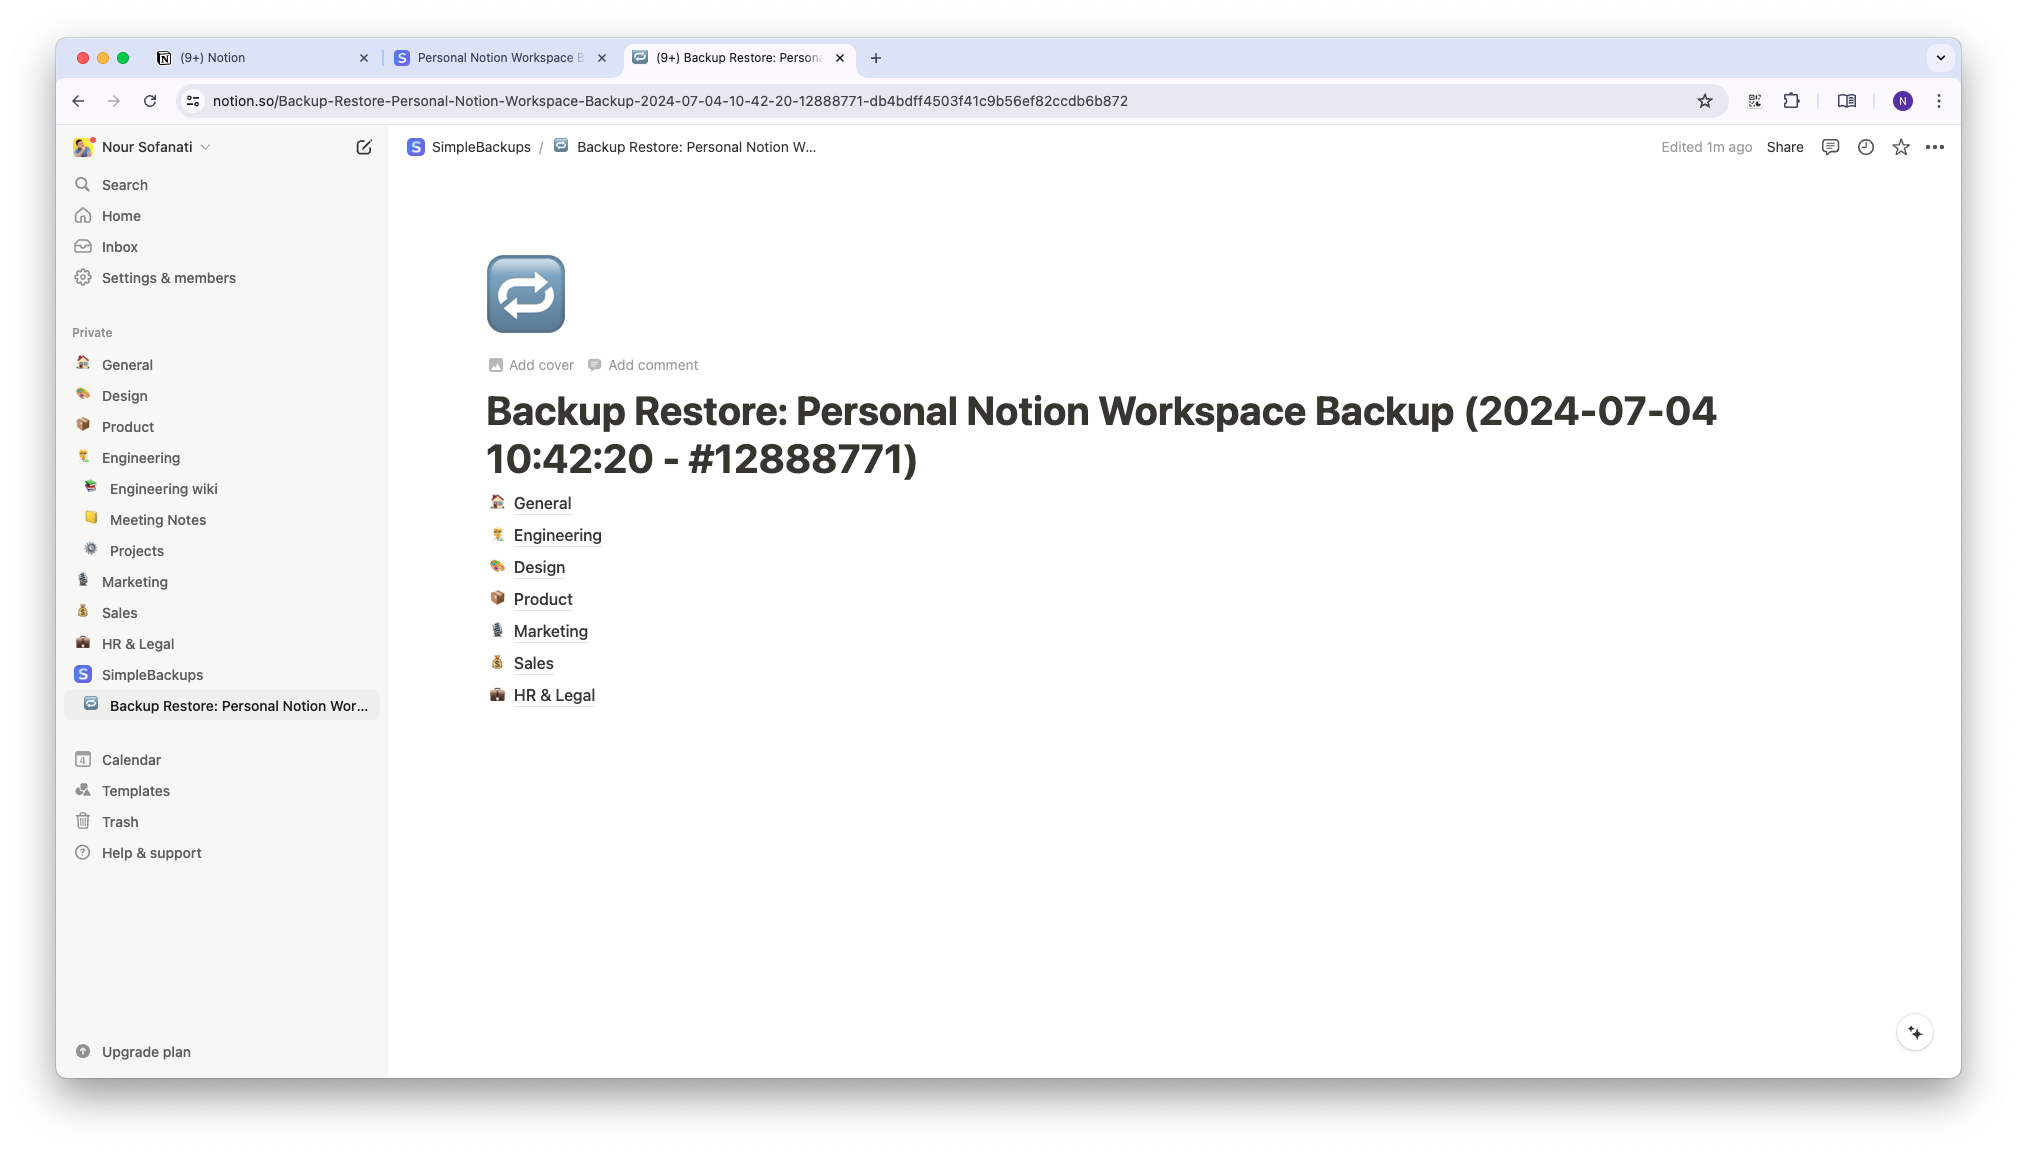
The restore process runs in the background, so you can safely close the window. Once complete, the restored content appears in your workspace nested under a page titled:
Backup Restore: <BACKUP_NAME> (<BACKUP_DATE> - #<LOG_ID>)
The placeholders are replaced with your actual backup and log information.
Database properties, including formulas, relations, rollups, and unique IDs, are preserved when you restore. Formulas and rollups are recreated and recompute against the restored database's schema, and relations are relinked when the related database is part of the same backup or still present in the destination workspace.
Known limitations
Due to current Notion API limitations, some content types may not be fully recreated when restoring into a new workspace.
Coverage at a glance
| Content | Backup | Restore | Notes |
|---|---|---|---|
| Pages | ✅ | ✅ | Restored under a destination page |
| Databases and data sources | ✅ | ✅ | |
| Database views | ✅ | ⚠️ | Restored by name and layout only; filters, sorts, and grouping not preserved |
| Blocks | ✅ | ✅ | Live AI blocks (such as AI summaries) can't be captured; a few other block types are kept in the backup but recreated differently on restore |
| Standard properties (e.g. Status) | ✅ | ✅ | |
| Formula property | ✅ | ✅ | Column and expression restored; Notion recomputes the values |
| Rollup property | ✅ | ✅ | Recreated once its relation is restored; a rollup of another rollup can't be created through the API |
| Unique ID property | ✅ | ⚠️ | Column and prefix restored; Notion renumbers the rows (the original order is kept where possible), and the prefix is dropped if it's already in use in the destination workspace |
| Relation property | ✅ | ⚠️ | Relinked when the related database is in the same backup, or still exists in the same workspace; a relation to a database in another workspace that wasn't backed up is dropped |
| Verification property | ✅ | ❌ | Wiki-only; the API cannot create it |
| Comments | Optional | ❌ | Off by default; page-level only unless inline block comments are also enabled; not recreated on restore |
| File attachments | Optional | ✅ | Off by default; 5 GB per-file limit; restored if captured |
| People | Optional | ❌ | Off by default; workspace member directory (incl. emails when permitted); not recreated on restore |
| Metadata (created/edited time, author) | ✅ | ❌ | Notion sets these on the restored copy |
| Embeds | ✅ | ⚠️ | May not render correctly after restore |
| External or unshared pages | ❌ | N/A | Cannot be accessed through the Notion API |
✅ supported · ⚠️ partial · ❌ not supported
What's captured and what isn't
SimpleBackups captures everything in your workspace that Notion makes available through its API: pages, databases, blocks, properties, and (optionally) files, comments, and people. Two limitations are worth knowing.
Some content is recreated differently on restore. Notion's API doesn't allow every block and property to be written back exactly as it was. When you restore into a new workspace, a few of these are recreated in a simpler form or left out, including certain preview and embedded blocks, links to sub-pages and sub-databases, and metadata that Notion sets automatically (such as created and edited timestamps). This content is always kept in full in your backup; only the restored copy is affected.
Live AI blocks can't be backed up. Notion keeps one element out of reach of third-party integrations: the interactive AI block, such as a live AI summary that stays linked to Notion AI. That element can't be included in a backup, and it is a Notion restriction that applies to every integration, not a SimpleBackups limitation. The ordinary content around it is unaffected, so the text Notion AI writes onto a page, including the notes and transcript in an AI meeting-notes page, is captured like any other content.
Backup
- Every part of your workspace that Notion exposes to integrations is captured. The only exception is Notion's interactive AI block, such as a live AI summary, which Notion withholds from all integrations; the text it writes onto a page is still captured normally (see What's captured and what isn't above).
- Databases and their data sources are backed up, including saved views (name, filters, sorts, and layout).
- External pages cannot be backed up.
- Access to new root-level pages must be explicitly granted and cannot be automatically included (see Grant access to new Notion pages below).
- AI meeting-notes pages are backed up as part of your normal pages. SimpleBackups also runs an extra sweep to catch any that aren't reachable through your pages, and Notion's API caps that at up to 50 meetings notes per workspace.
Restore
- Root workspace and private pages can only be restored under a destination page (see the restore prerequisites above).
- Comments are not recreated on restore.
- People are not recreated on restore.
- Metadata such as created and last-edited timestamps and the original author cannot be restored; Notion sets these itself on the new copy.
- Database views are restored by name and layout type only; filters, sorts, and grouping are not preserved.
- Some block types cannot be recreated through Notion's API. They are skipped or simplified on restore but remain captured in full in your backup (see What's captured and what isn't above).
- File attachments are re-uploaded into the restored workspace when they were captured at backup time (file backup is opt-in; see Optional content below).
- Encrypted backups can be restored; you are prompted for your private key at restore time. The key is used transiently and never stored.
- Embed blocks may not render correctly.
- The order of restored blocks may not match the original, and large blocks may be split into smaller chunks.
Database property types on restore
The Notion API can recreate most, but not all, database property types. Property values and definitions are always captured in your backup; this limit applies only to rebuilding the columns in a freshly restored workspace.
- Restored: most standard types, including Status, Formula (the column and its expression are recreated; Notion recomputes the values), and database views/layouts.
- Relation: relinked when the related database is included in the same backup, or when it still exists in the same workspace as the restore destination. A relation that points to a database in a different workspace that was not included in the backup cannot be reconnected, so it is dropped and listed in the restore output. To preserve these links, include the related database in your backup selection.
- Verification: cannot be recreated (a wiki-only property that the API cannot create).
Optional content
Some content is off by default and must be enabled on the backup configuration:
- Comments are not included unless you enable comment backup. When enabled, SimpleBackups captures page-level comments — the discussion threads on each page. To also capture inline comments attached to individual blocks, enable Inline block comments; this is off by default because it adds an API call for every block and is significantly slower on large workspaces. Comments are backed up but not recreated on restore.
- File attachments are not included unless you enable file backup, which has a 5 GB per-file limit. When enabled, files are backed up and re-uploaded on restore.
- People are not included unless you enable people backup. When enabled, SimpleBackups captures the workspace member directory (names, and emails when your Notion connection is permitted to read user information). People are read-only in Notion's API, so they are backed up but cannot be recreated on restore.
One connection per workspace
Notion enforces a rate limit per integration, so SimpleBackups runs operations on the same connection one at a time. If a backup or restore starts while another is already running on that connection, the new run waits and retries automatically rather than failing — you don't need to stagger your schedules manually.
Backup status
Individual items can occasionally fail; for example, a transient rate limit can affect a few pages, blocks, or files. These are recorded in a per-run list of skipped items shown in the log's Content tab, so you can see exactly what was skipped. Significant failures flag the whole run as incomplete rather than reporting a clean success.
Grant access to new Notion pages
When you create new root-level pages in Notion, you need to grant the SimpleBackups integration access for them to be included in backups.
- Navigate to the page in your Notion workspace.
- Click the three-dot menu in the top-right corner.
- Scroll down to Connections.
- Search for SimpleBackups and grant access.