Appearance
Vultr
How to back up and restore Vultr managed databases via SimpleBackups.
Vultr offers managed database clusters supporting MySQL, PostgreSQL, and Redis. Connecting a Vultr database to SimpleBackups requires configuring trusted sources, copying your connection credentials, and optionally providing a CA certificate. SimpleBackups also supports automatic discovery through the Vultr API. This guide covers both approaches.
Connecting your database
Step 1: Configure IP filtering
- Log in to your Vultr account and navigate to the databases section under Products.
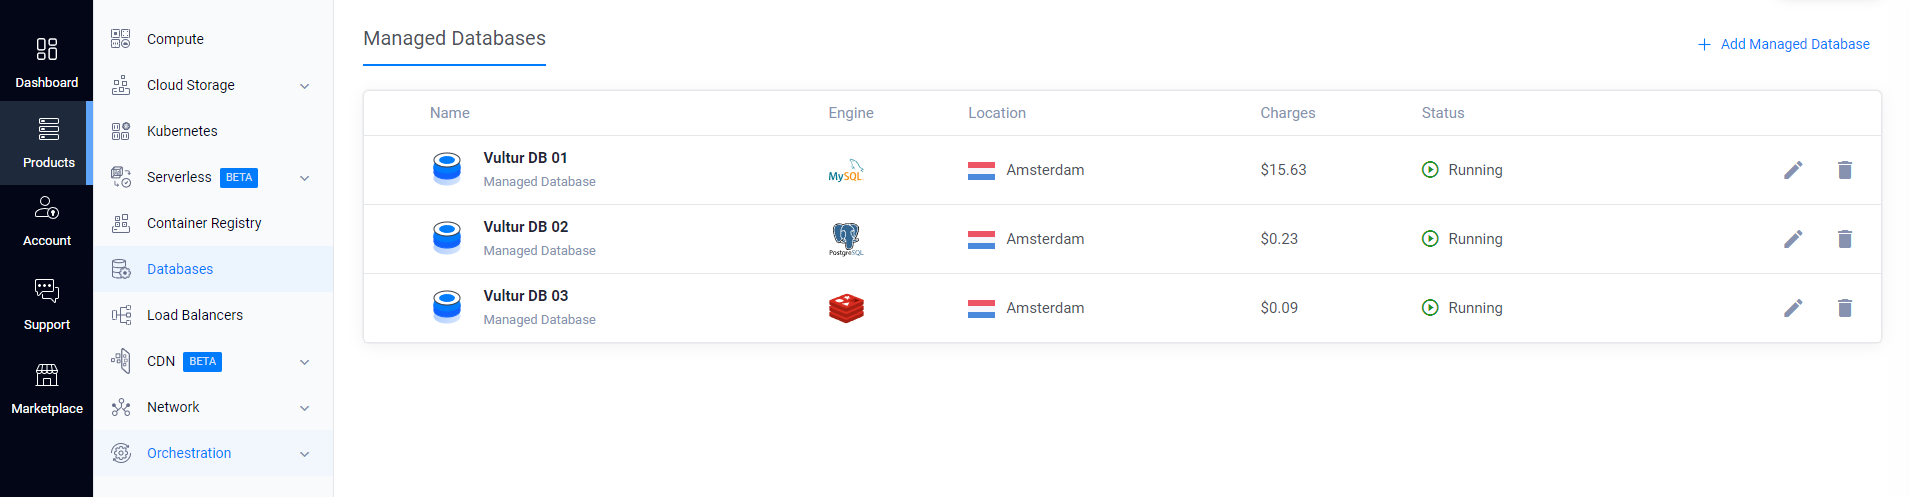
- Select the database you want to back up.
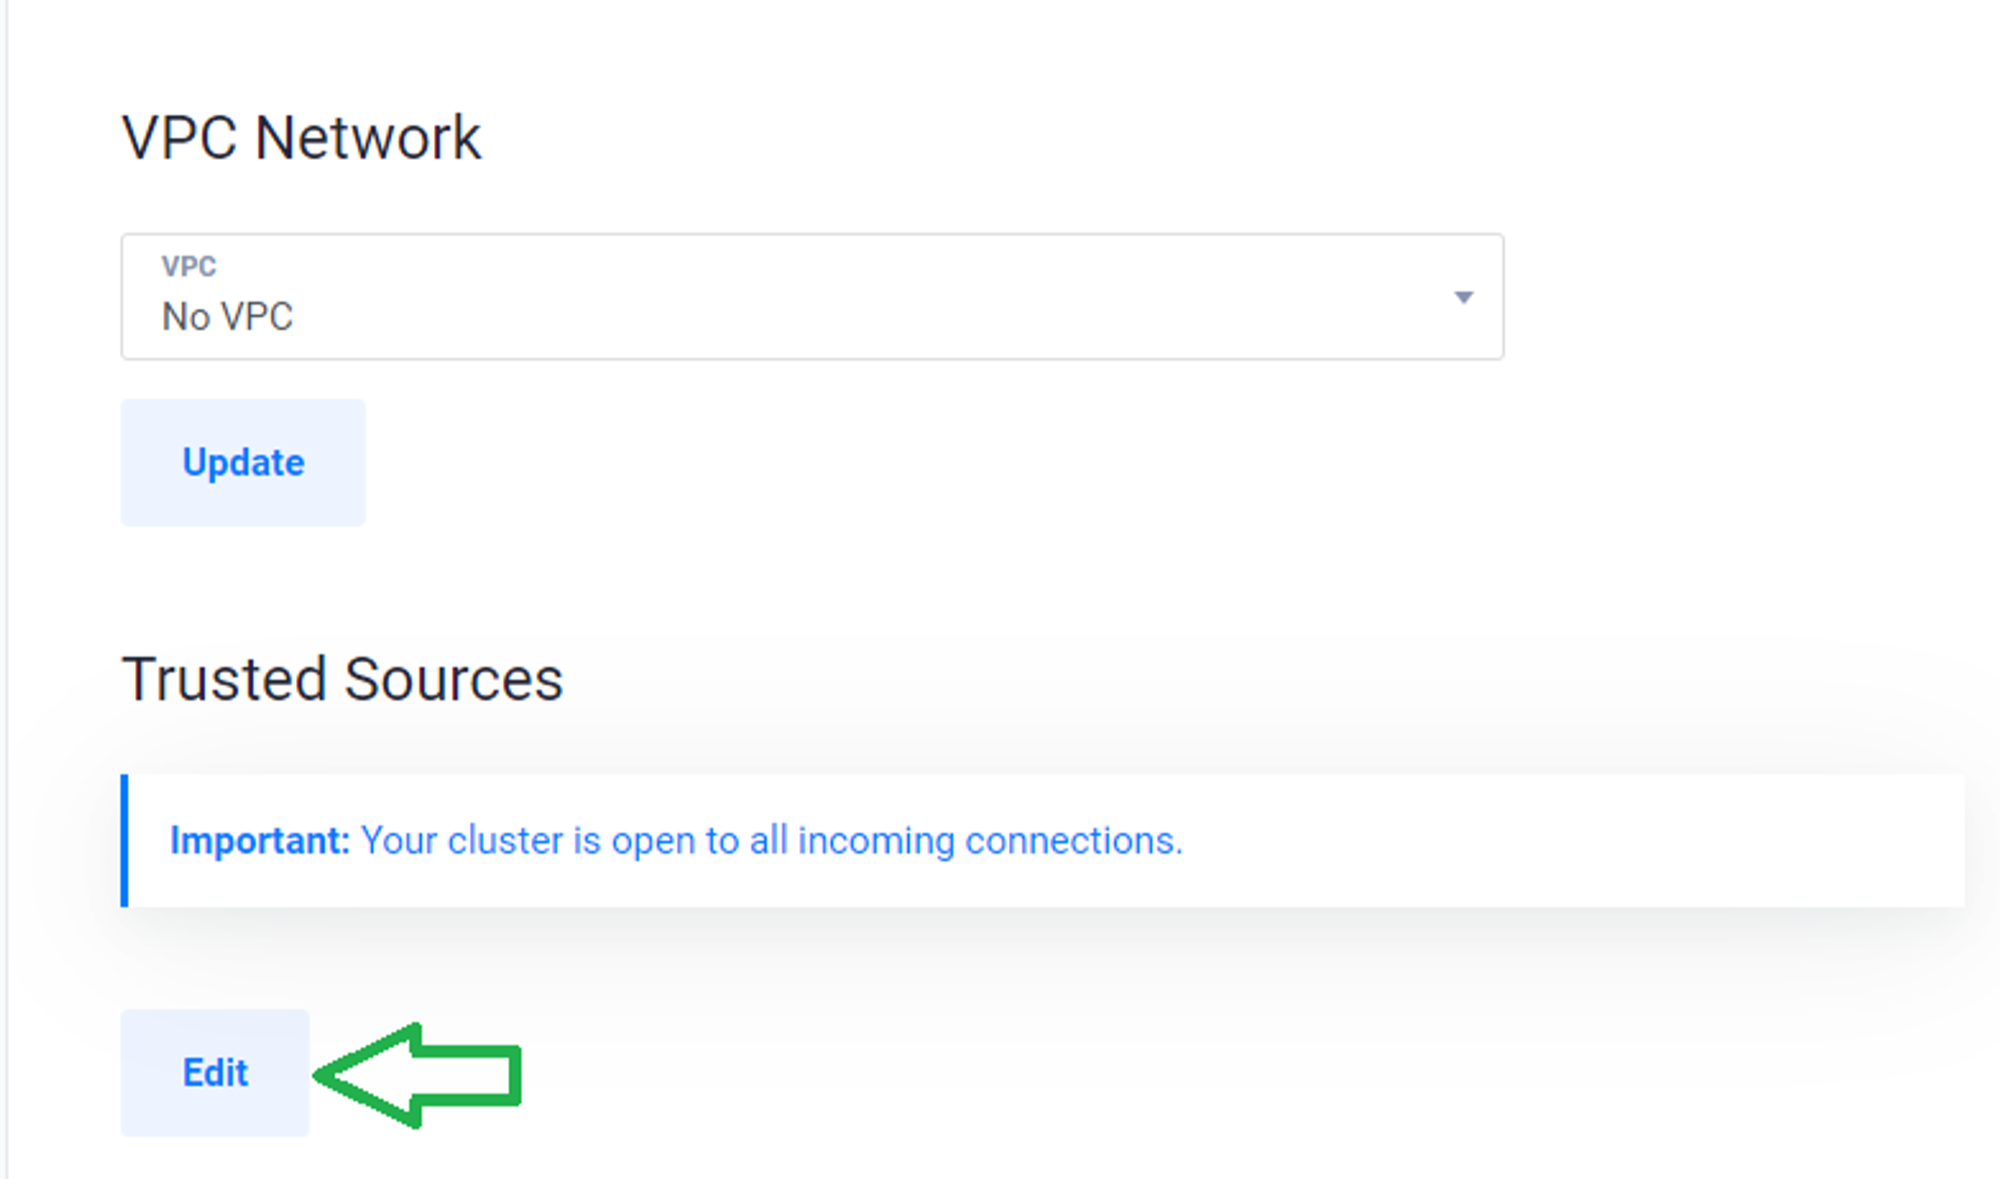
- Go to the Trusted Sources section.
- Add the SimpleBackups IP addresses to the allowlist.
Step 2: Copy your connection credentials
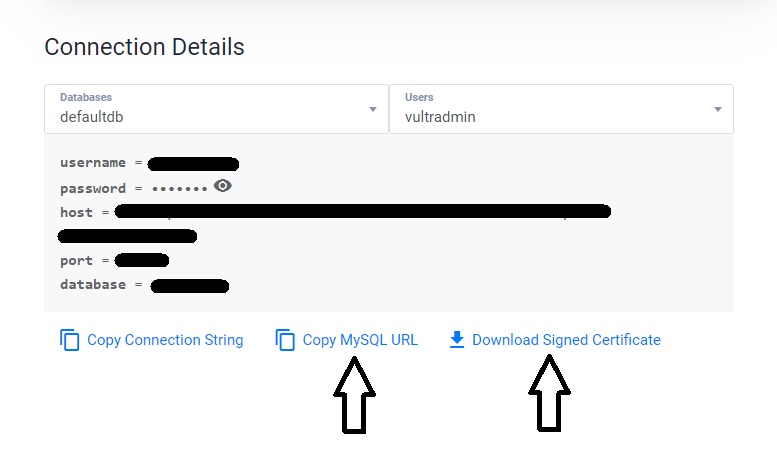
- Navigate to the Connection Details section.
- Copy the connection details or the full service URI (for example, Copy MySQL URL).
- Download the CA Certificate.
Step 3: Set up a database backup in SimpleBackups
Navigate to creating a new database backup and choose Serverless. You can connect using either manual form fill or automatic import:
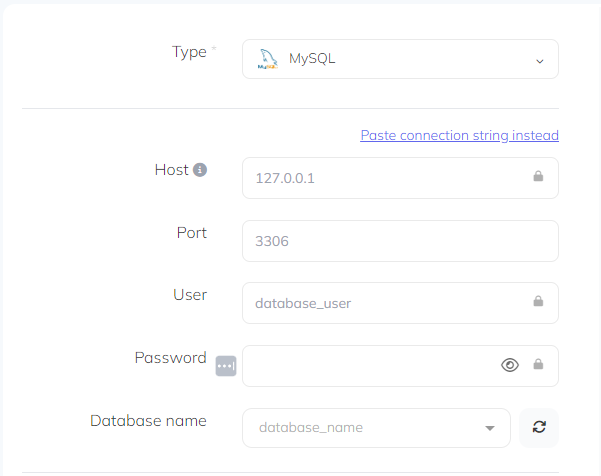
Manual connection
Select the database Type and fill in the connection details, or click Paste connection string and enter the full service URI.
Automatic import via DBaaS provider
- Click Connect your DBaaS Provider.
- Choose a Vultr provider.
- Select the managed database you want to back up.
- Click Validate.

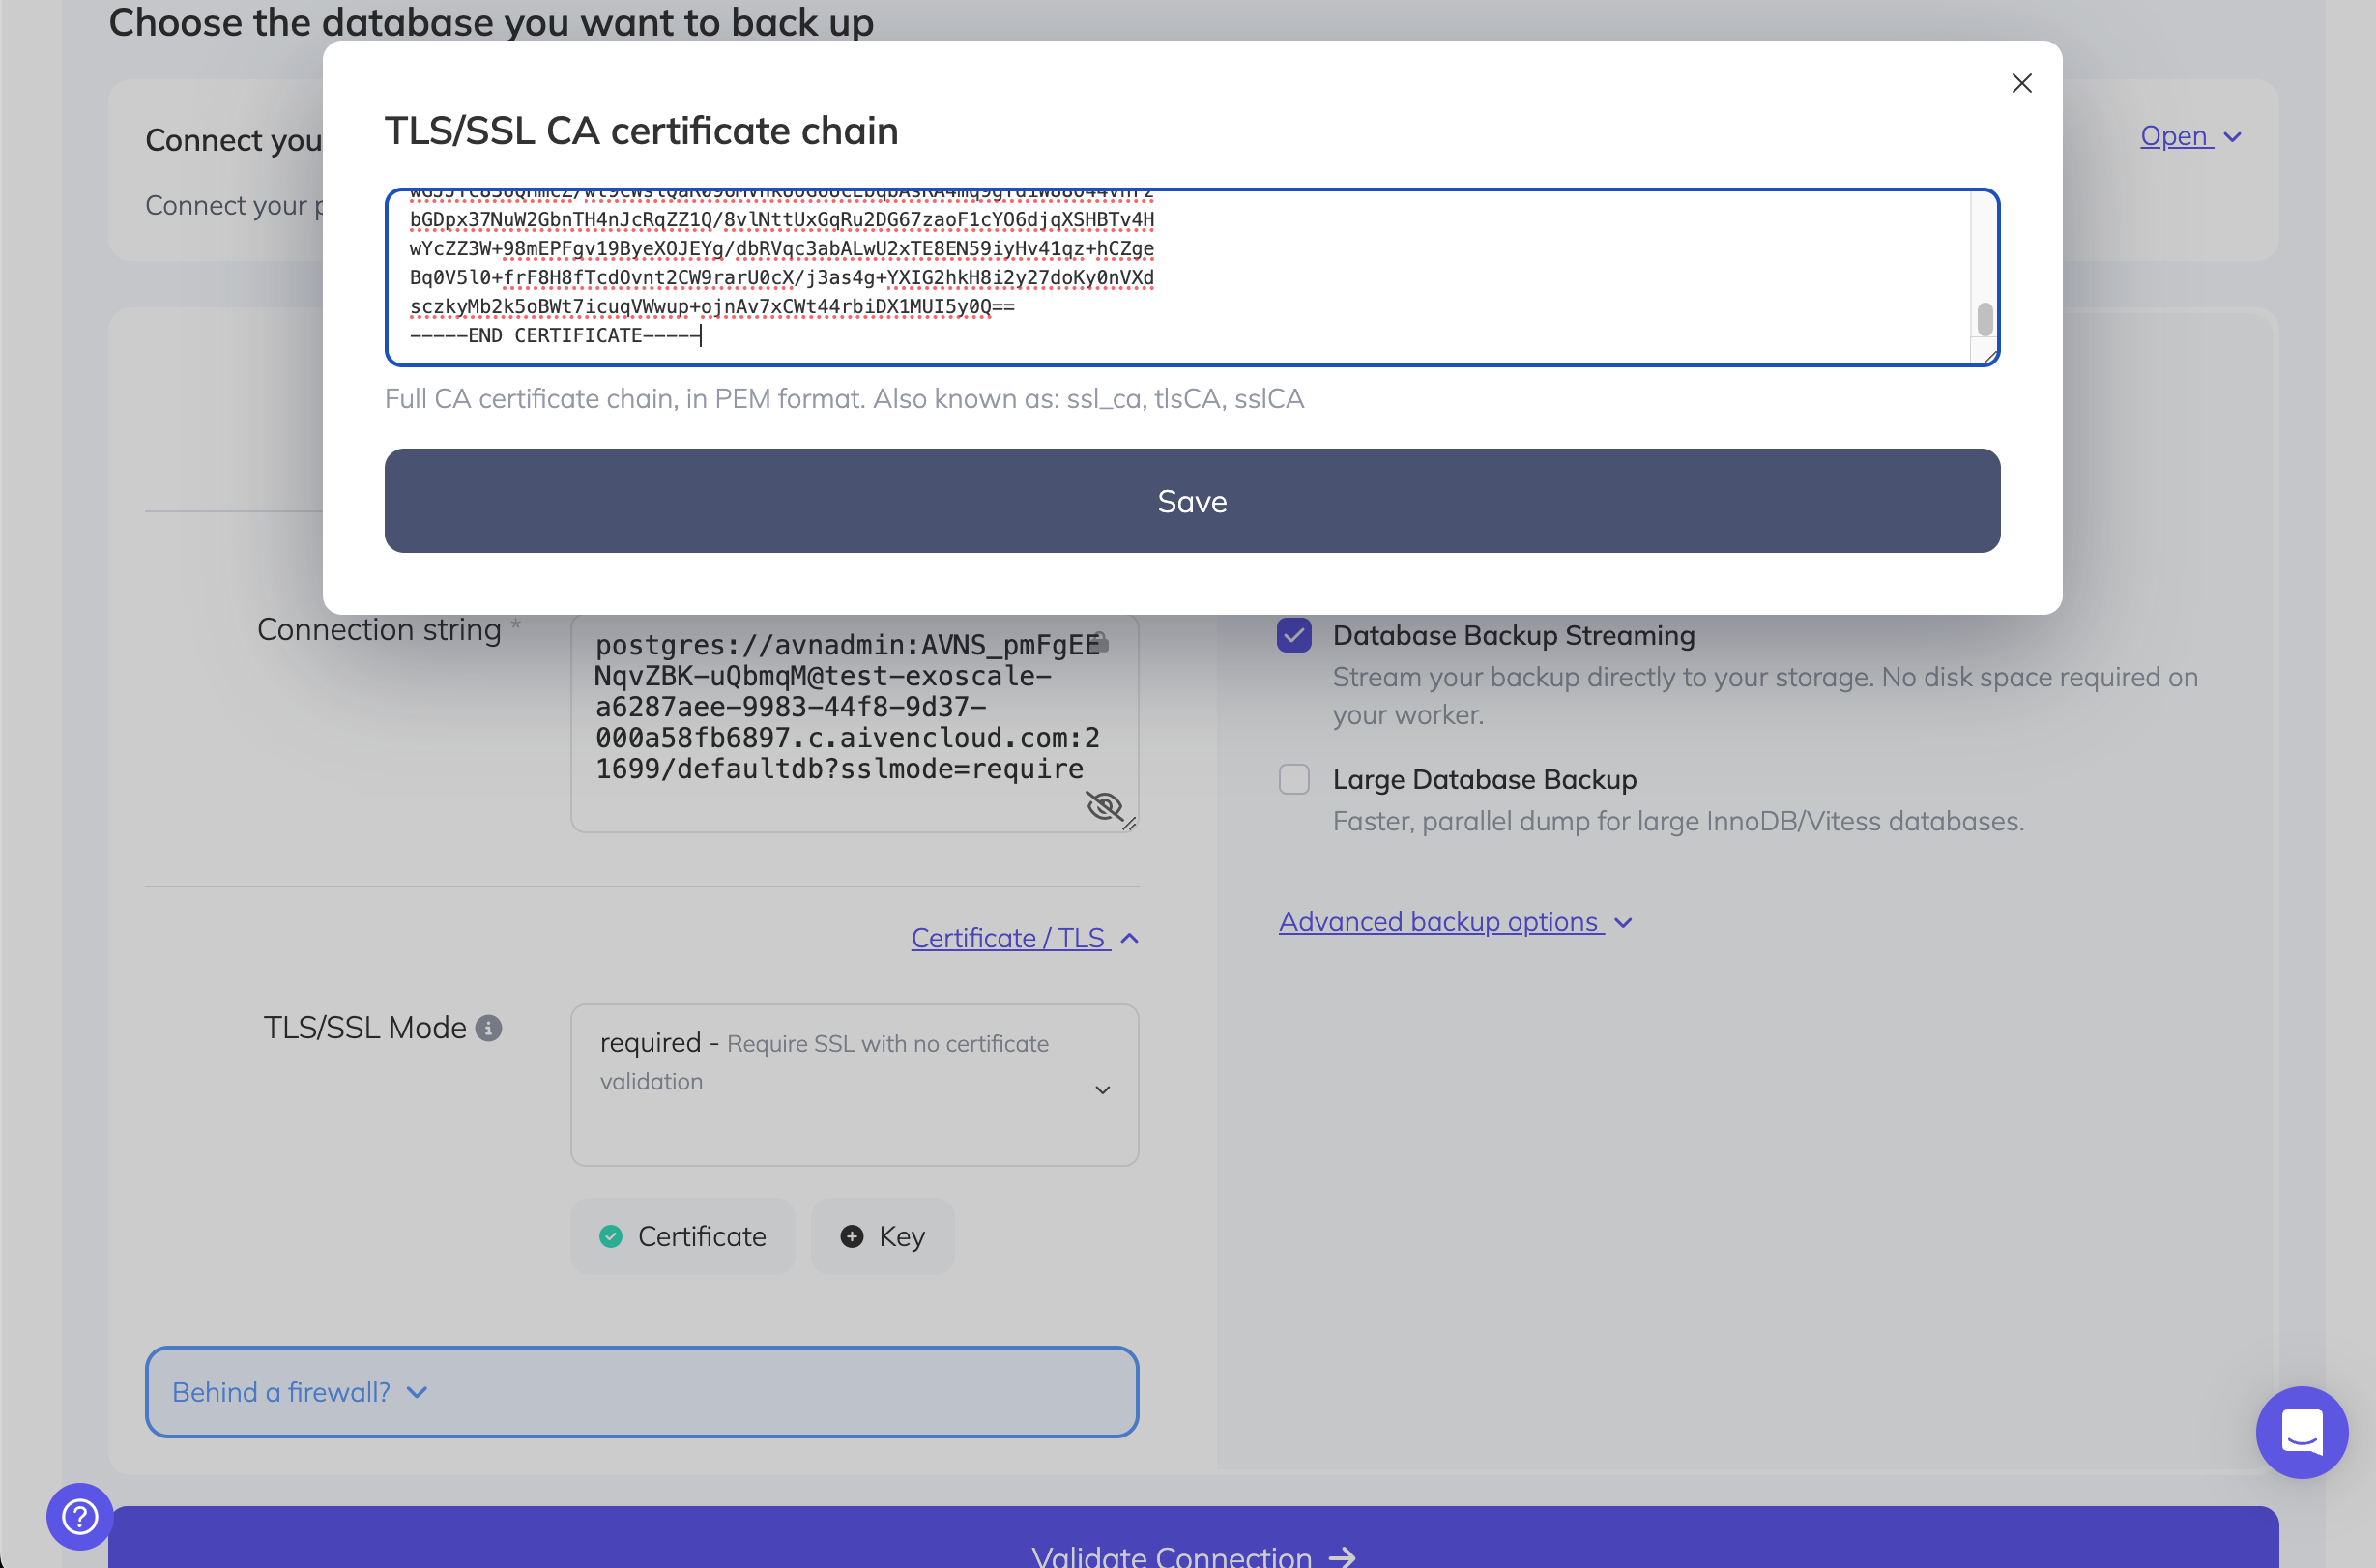
For both methods, under Certificate / TLS, select REQUIRED mode and paste the CA certificate you downloaded.
Step 4: Validate and activate
Click Validate connection to confirm that SimpleBackups can reach your database. Once validated, configure your schedule and activate the backup.
Restoring a backup
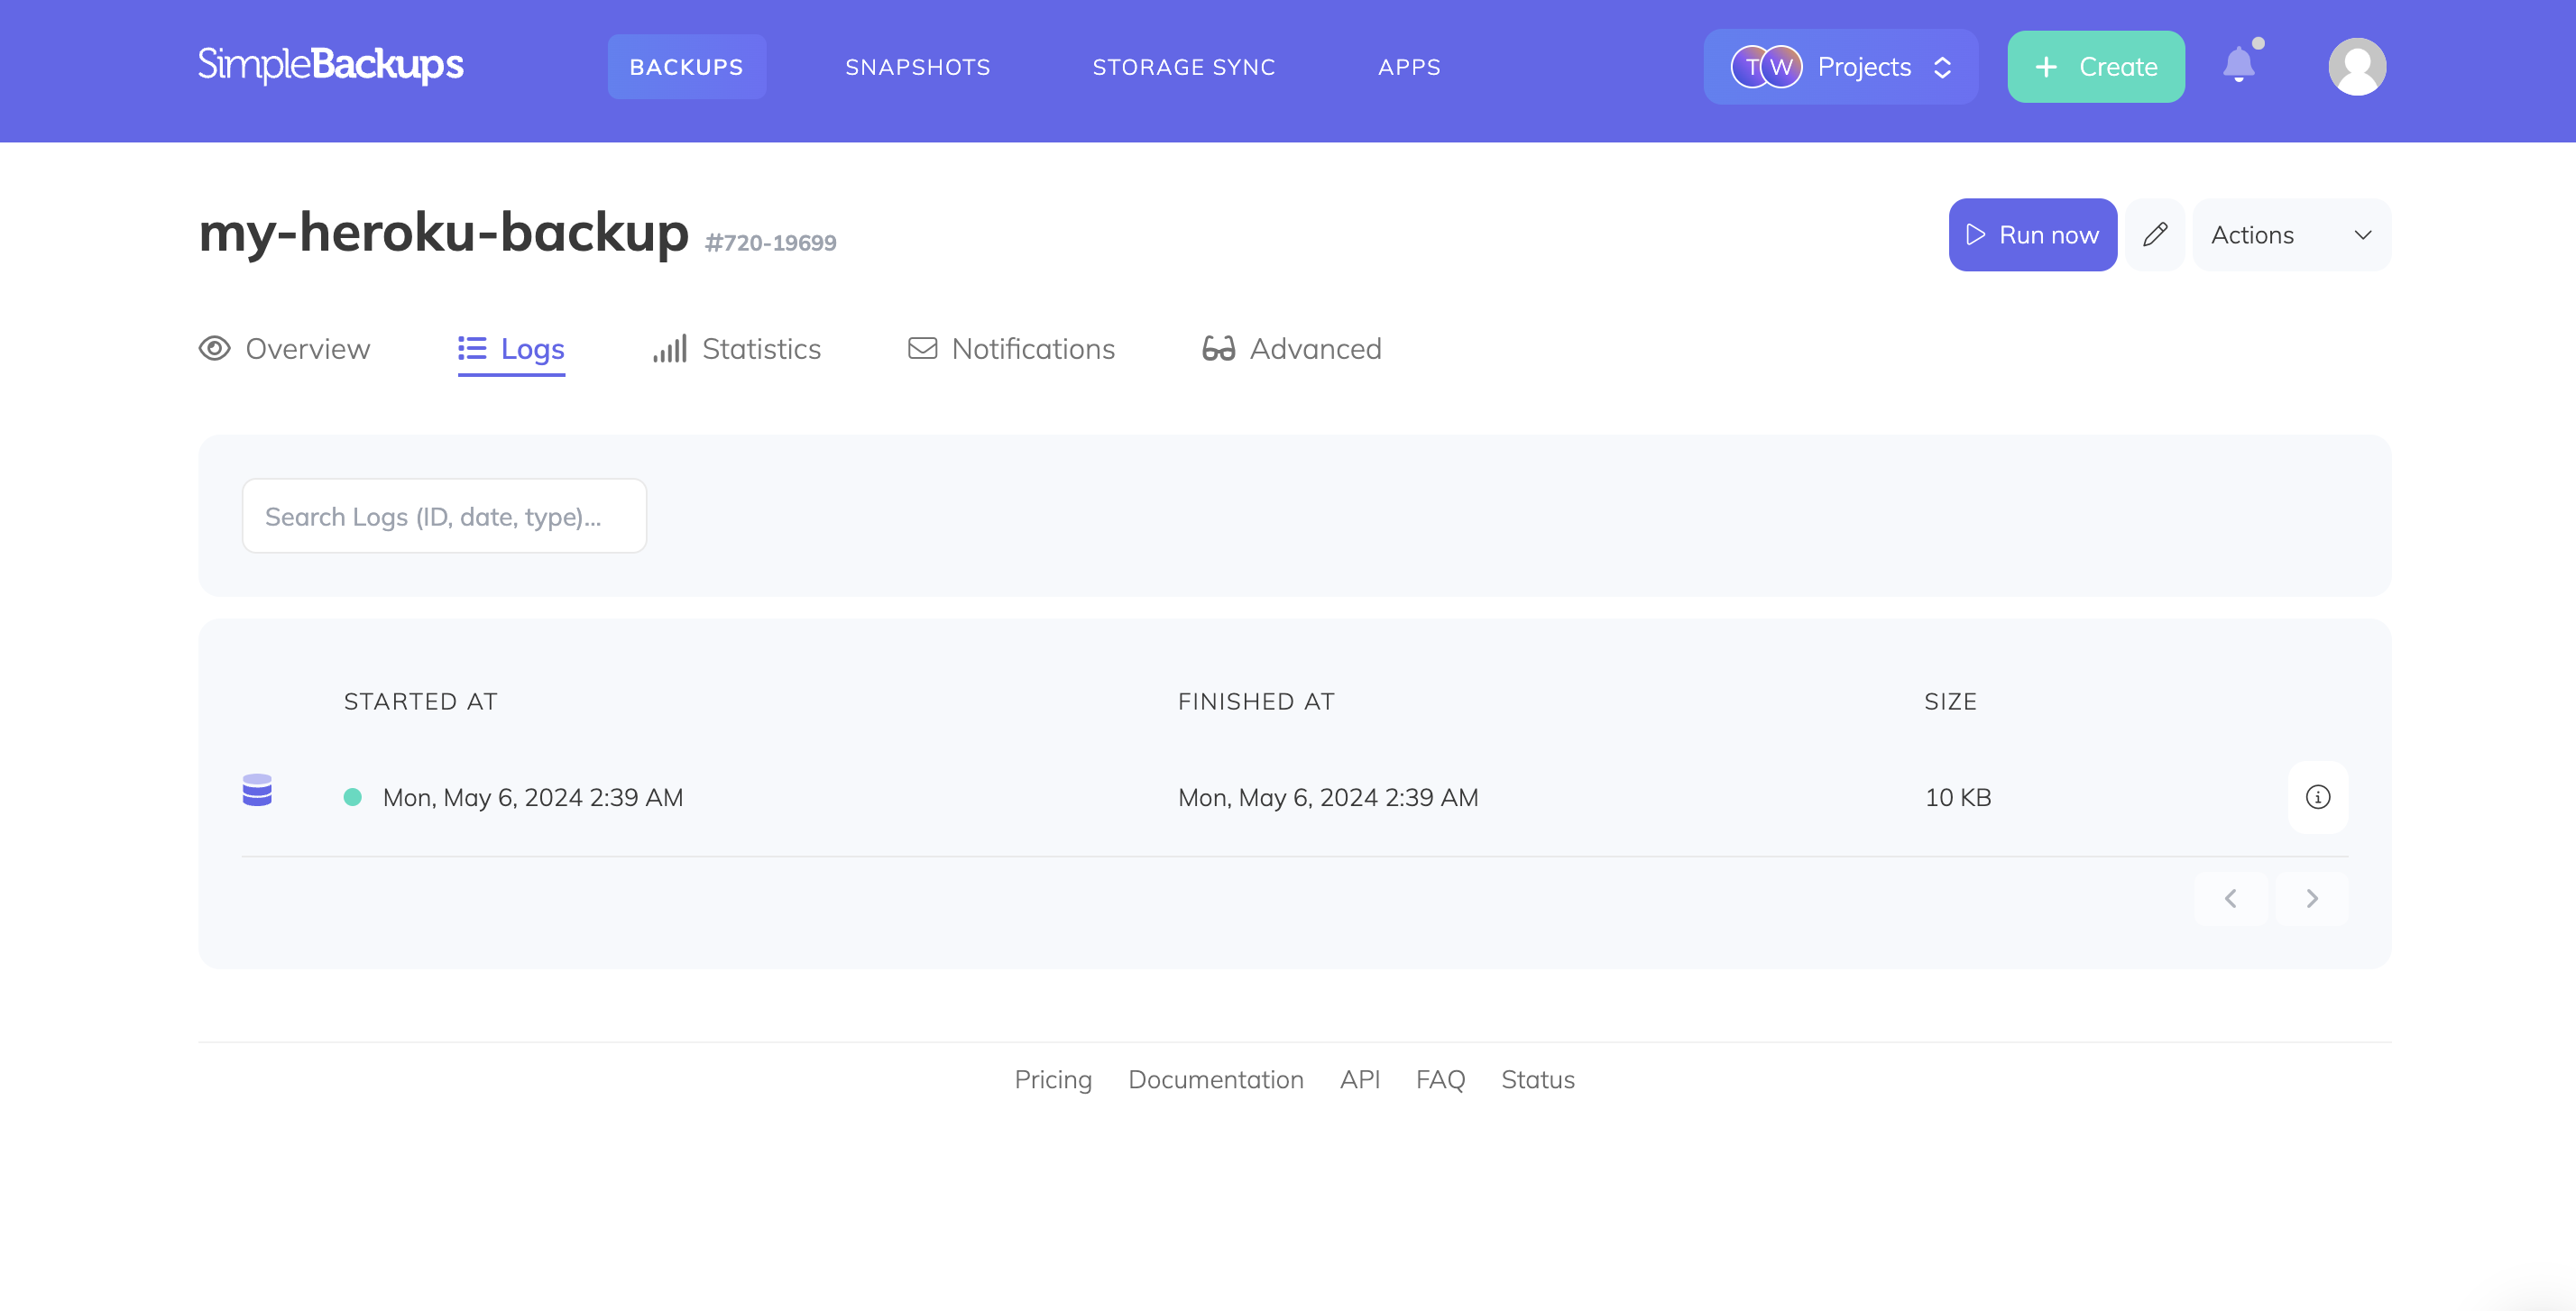
To restore a backup, navigate to your backup page and open the Logs tab. Click the detail icon on the backup you want to restore from, then open the Restore tab. Generate a download link and copy it.
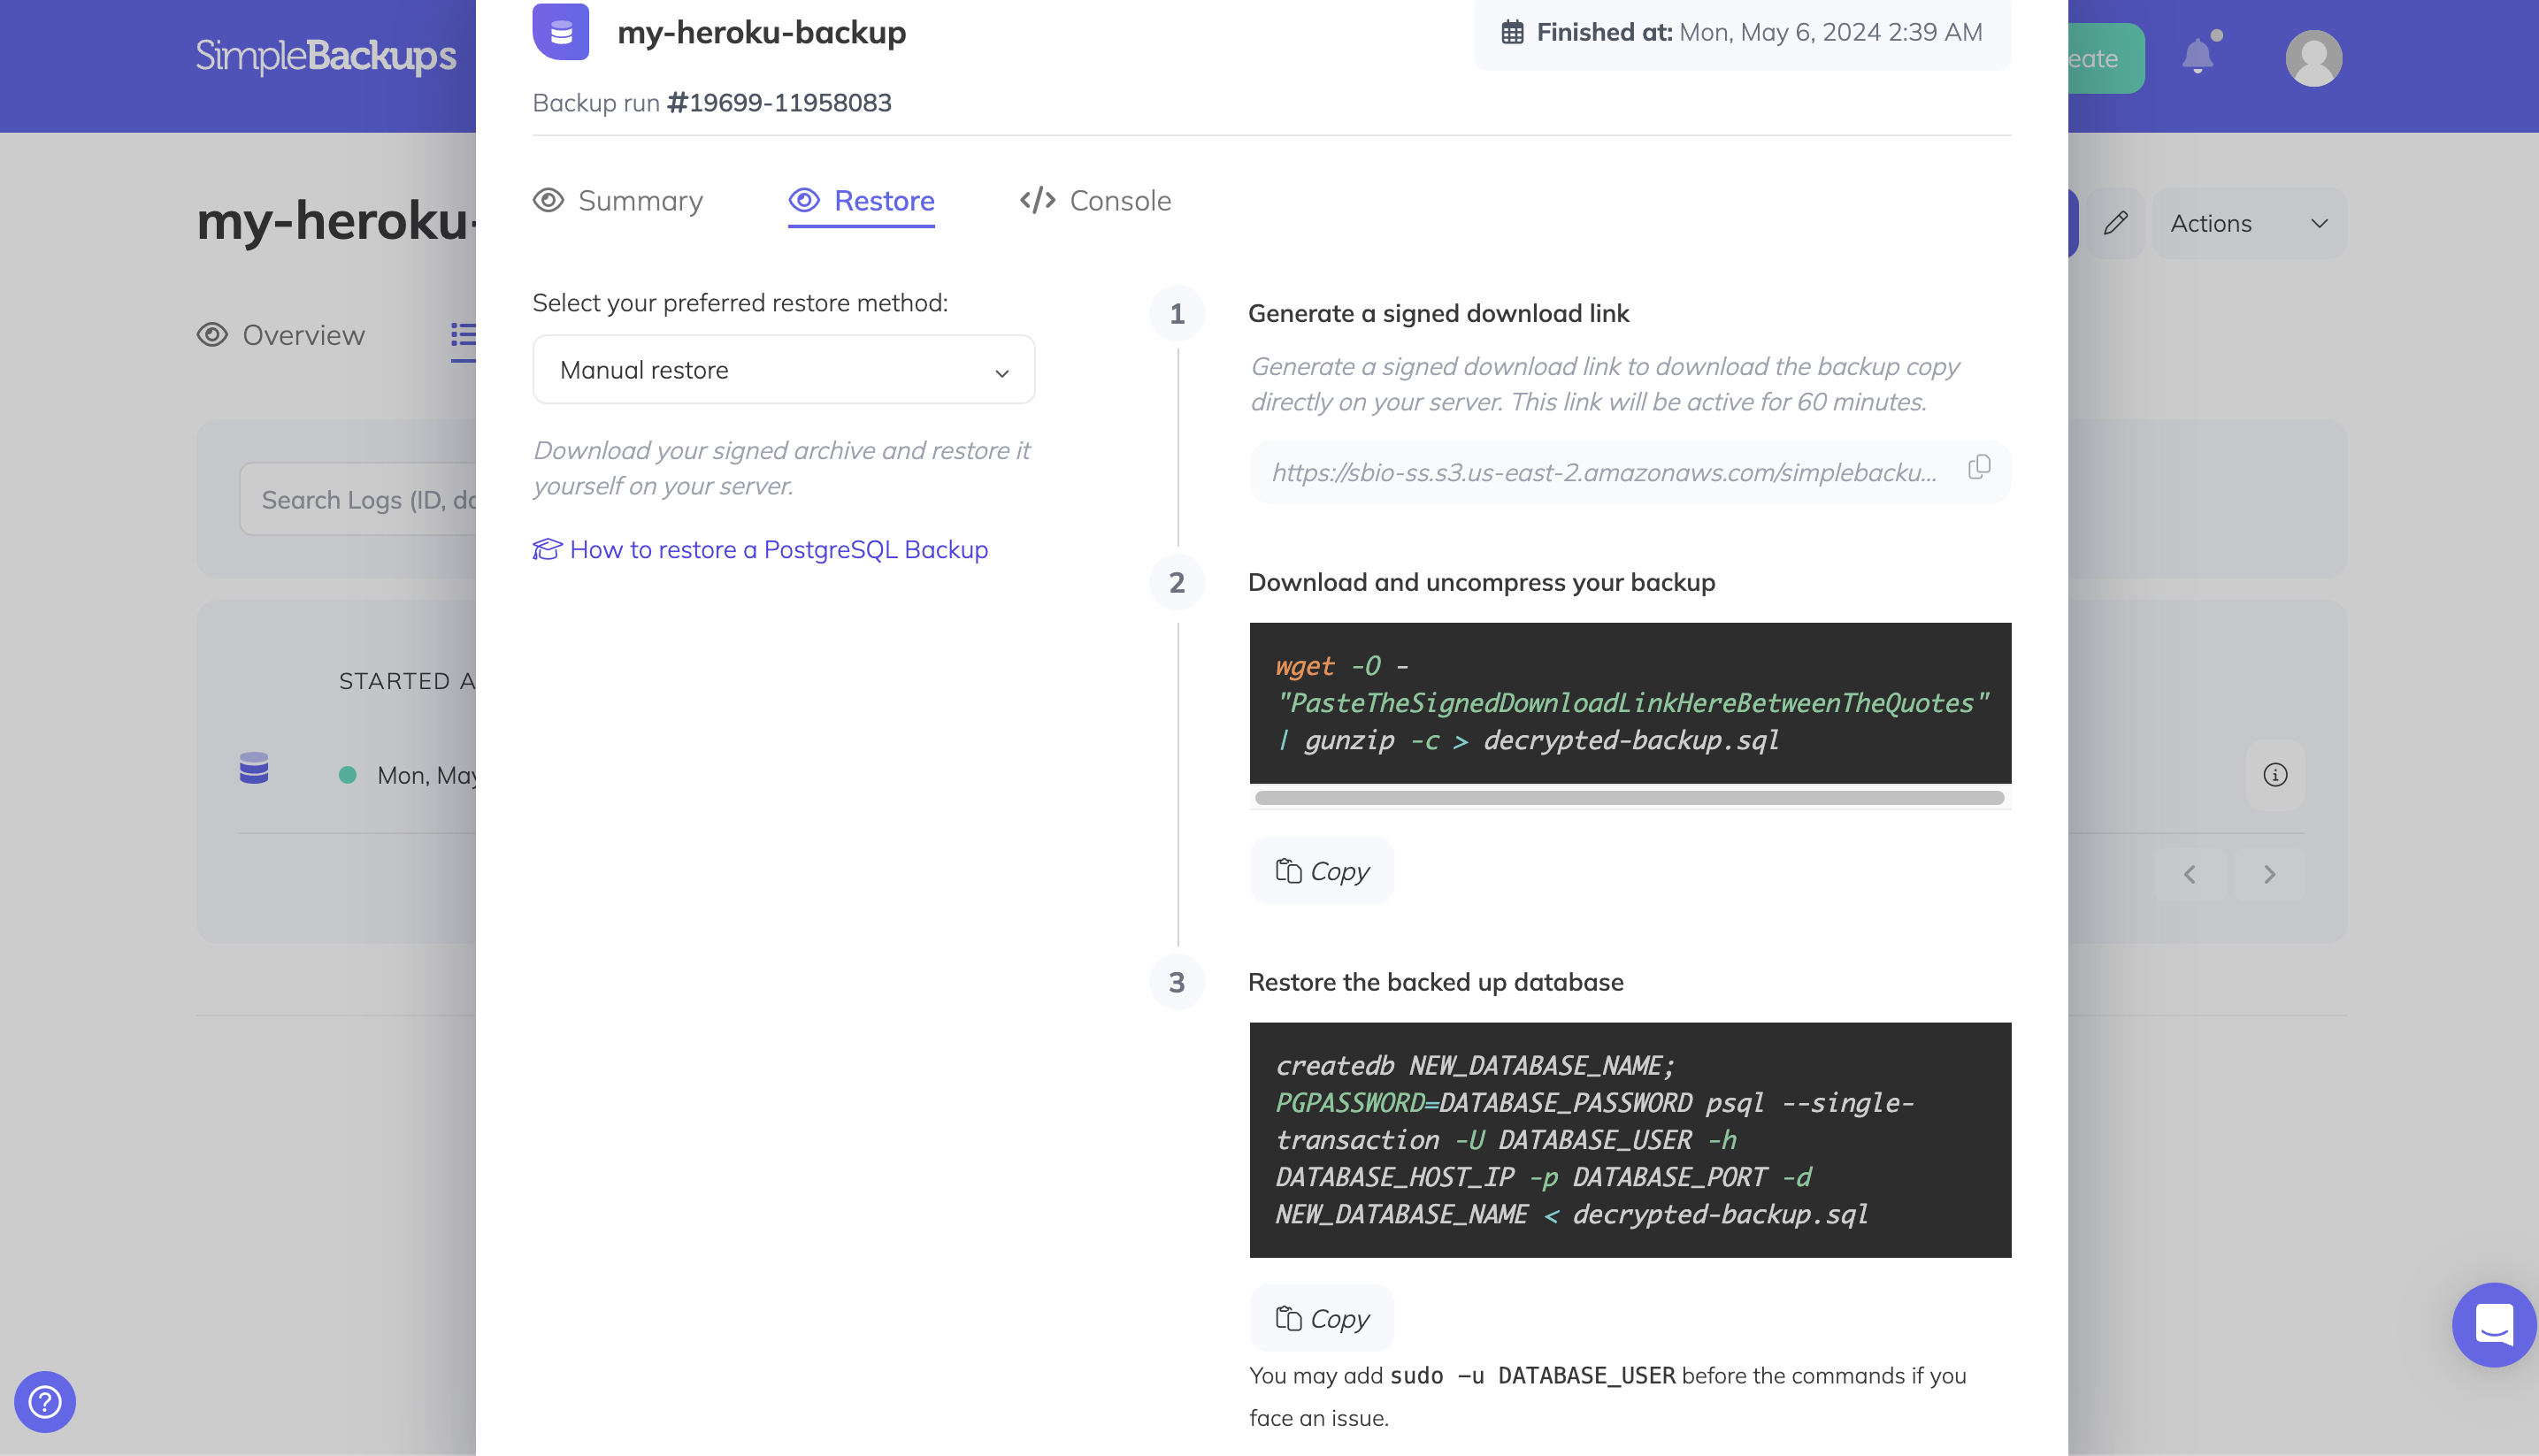
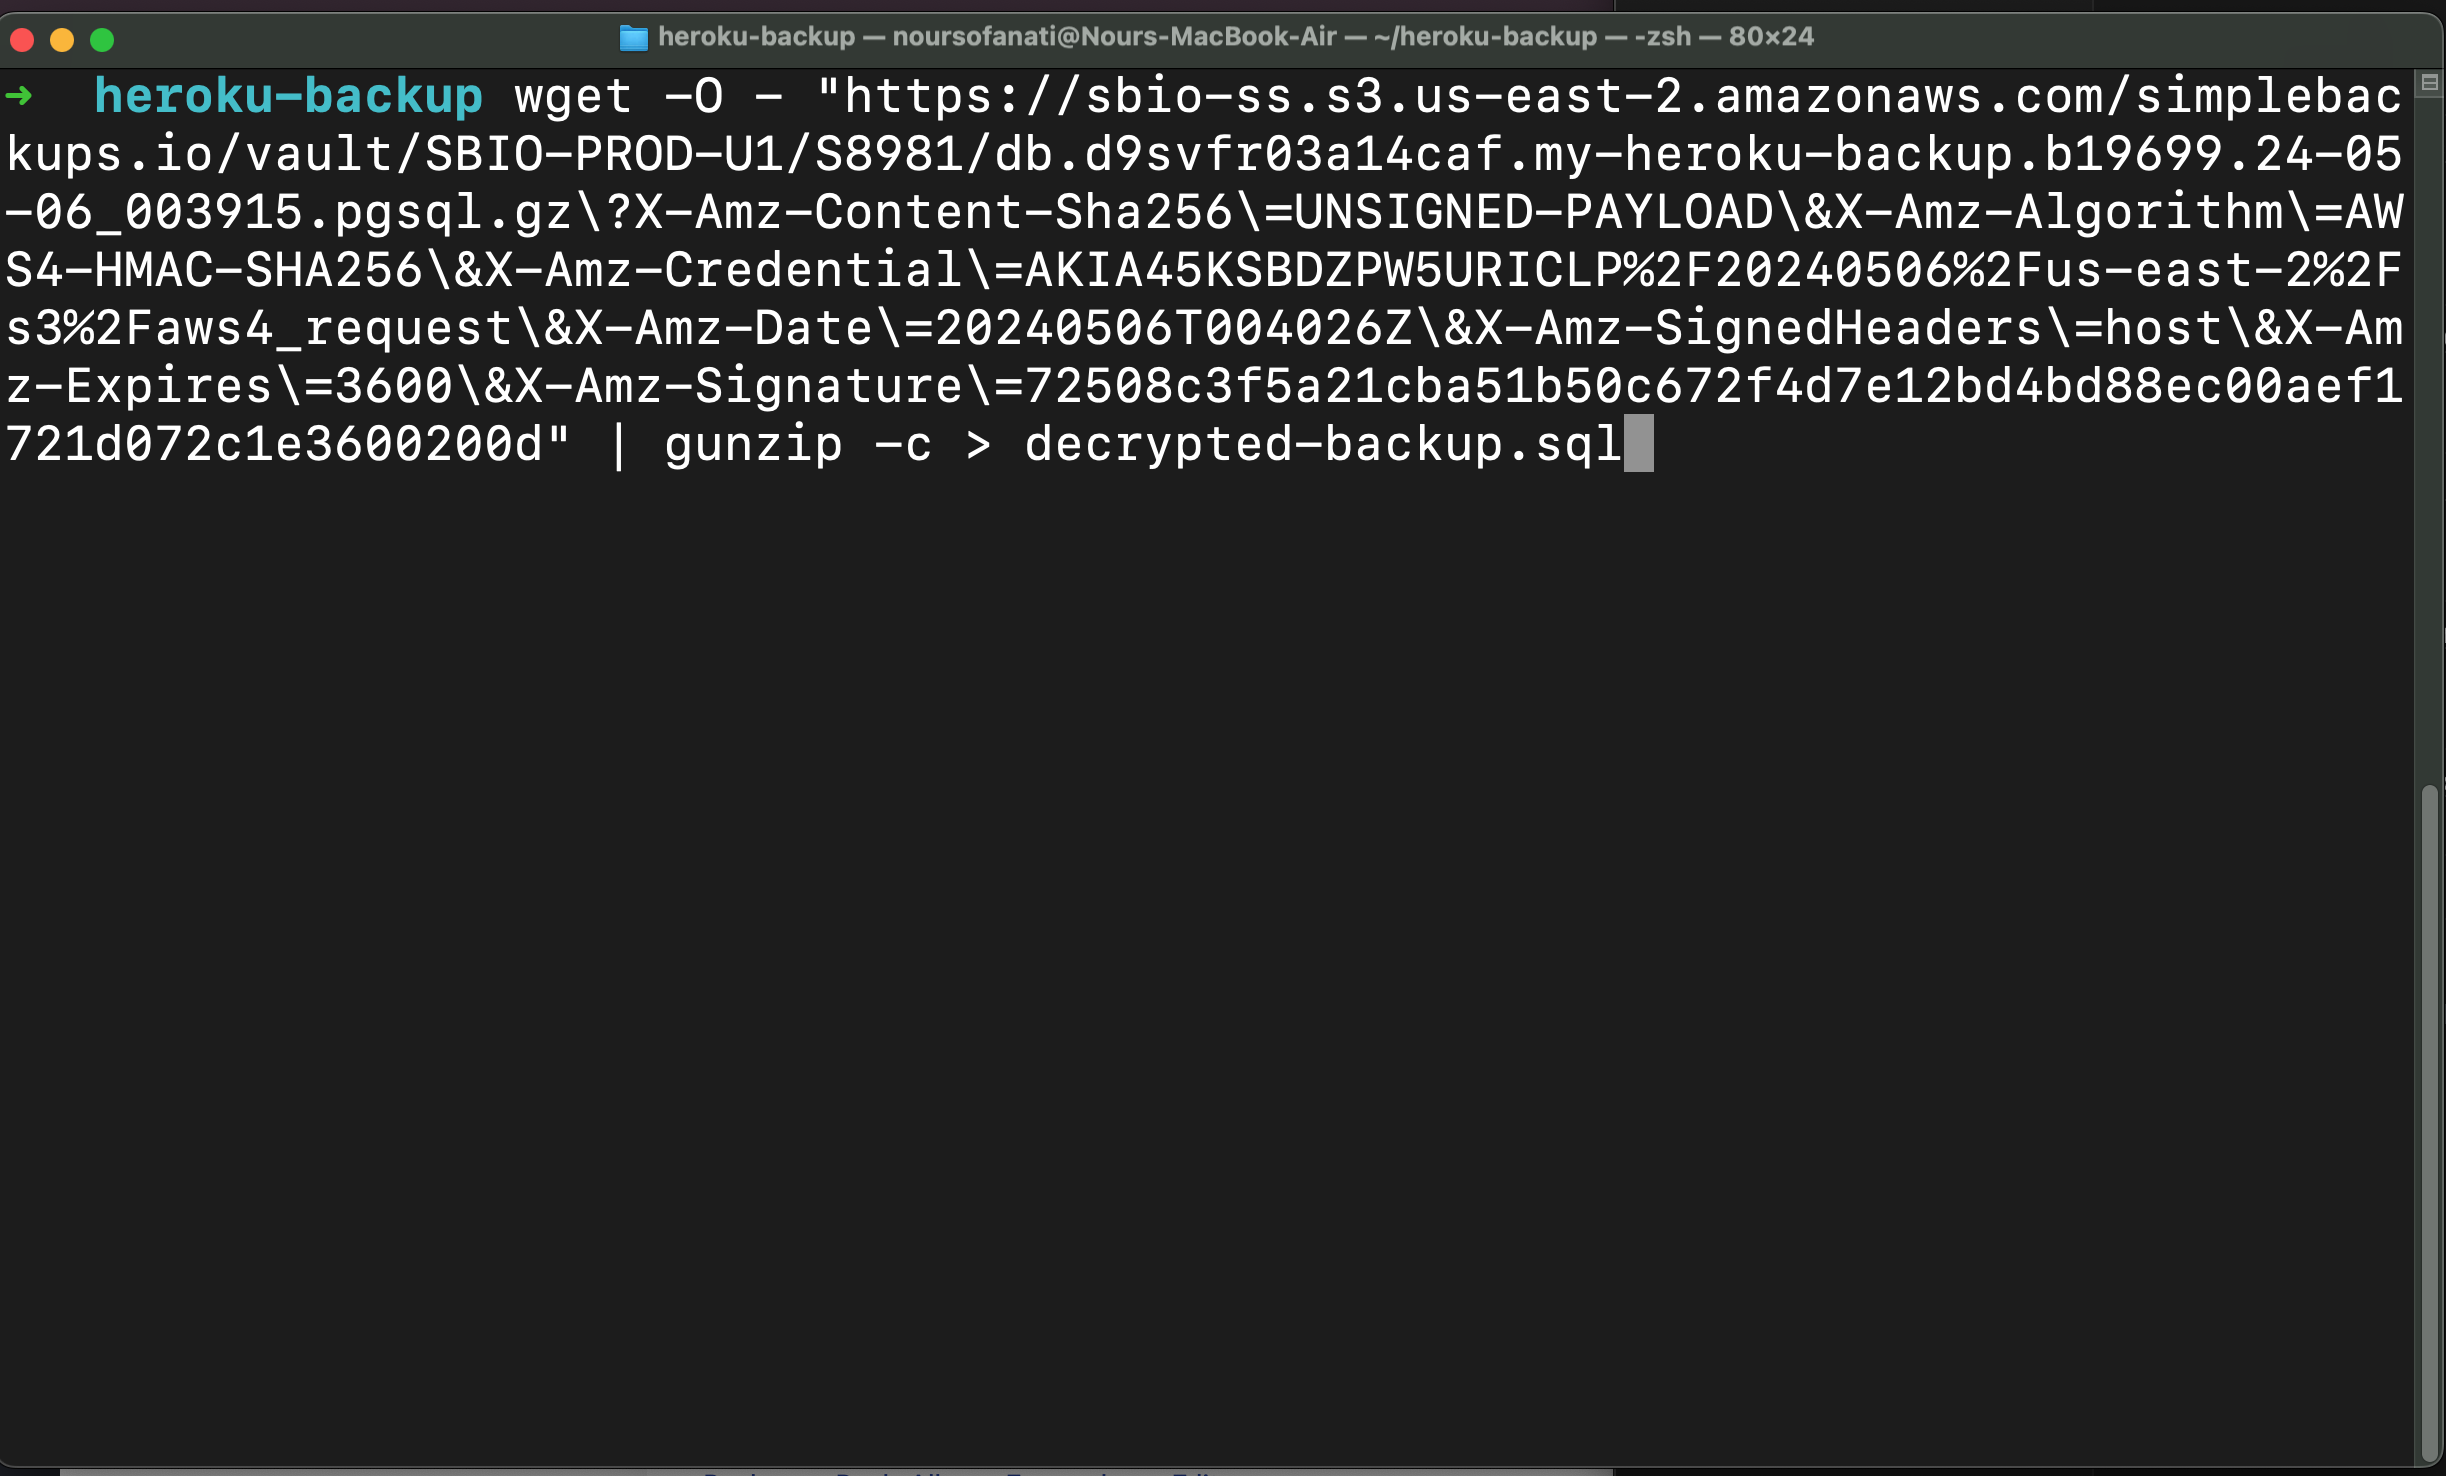
Run the following command to download and decompress your backup (replace the URL with your signed download link):
bash
wget -O - "<signed-download-url>" | gunzip -c > backup.pgsqlThen restore using pg_restore, replacing <your-database-uri> with your full database connection string:
bash
pg_restore -d "<your-database-uri>" ./backup.pgsql