Appearance
Create a file/server backup
Set up an automated backup for your server's files and directories.
This guide walks you through connecting a server to SimpleBackups and creating your first file backup. You will need a server with SSH access (or the Backup Agent installed) and the file paths you want to protect.
Requirements
- A server with its IP address, SSH username, and password or key
- The file paths you want to back up (web application files, configuration directories, or any other data)
Connect your server
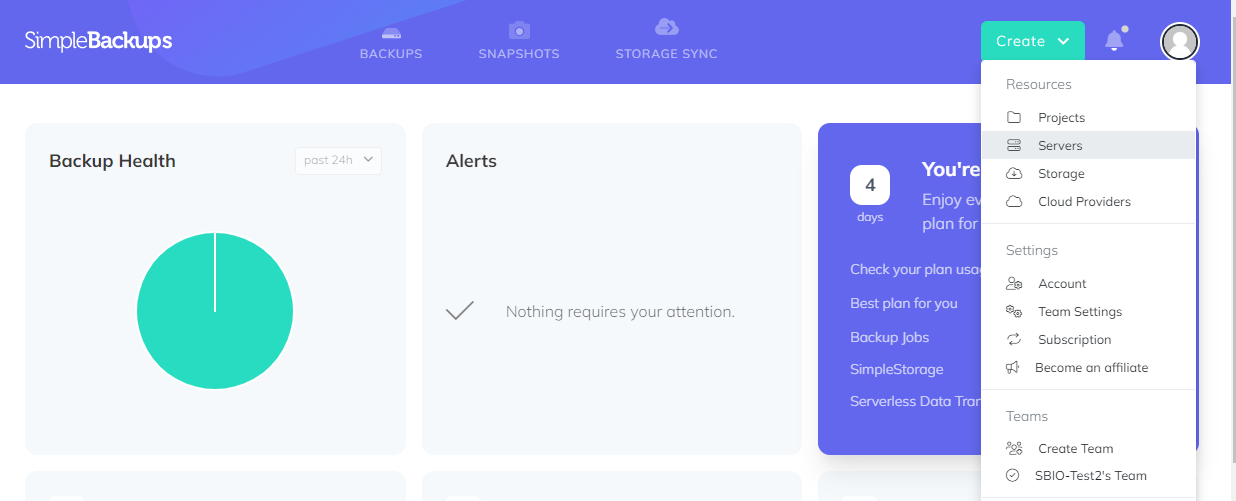
To back up files, you first need to connect your server to SimpleBackups. Go to your dashboard, click on your profile picture, and select Servers. Then click Connect Server.
You have three options for connecting your server:
Automatic (SSH key) — recommended
Copy the command shown on screen, connect to your server via SSH, and paste the command into the terminal. This creates an SSH key and registers your server with SimpleBackups automatically.
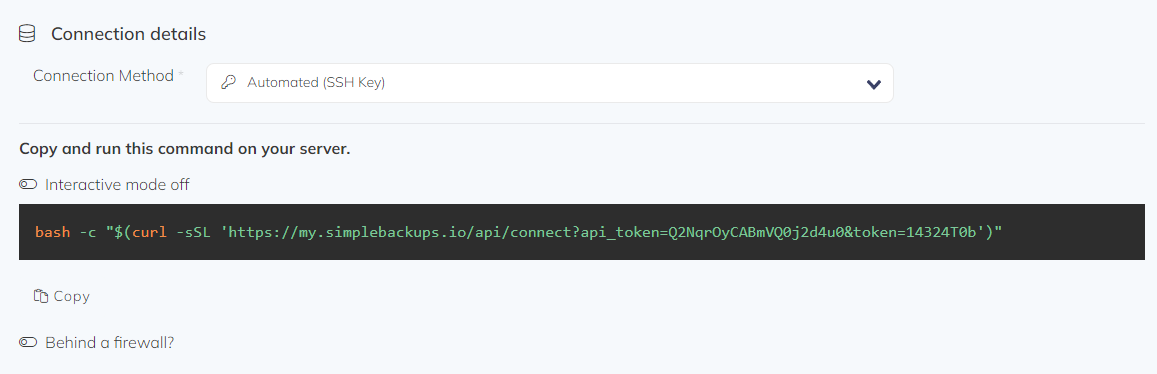
Once the command completes, you should see a success message in your terminal.

Click Validate on SimpleBackups to confirm the connection. Your server will appear on the Servers page.
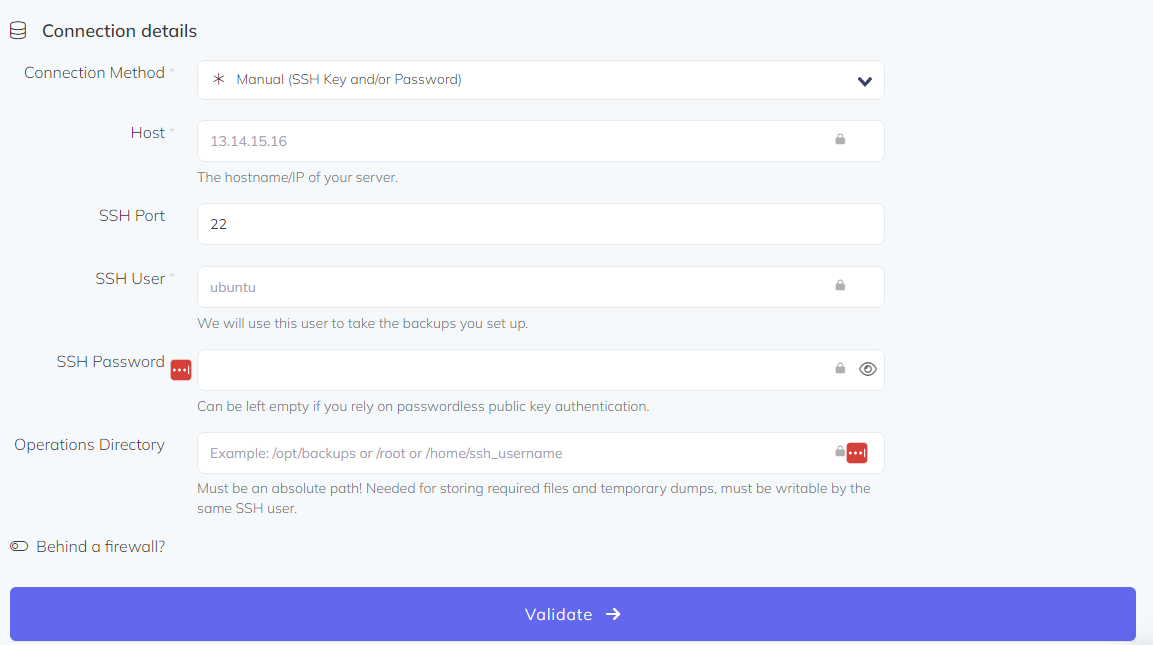
Manual (SSH key or password)
Enter your server's Host/IP address, SSH port, SSH user, and password. Specify the operations directory where SimpleBackups will perform backup operations, then click Validate.
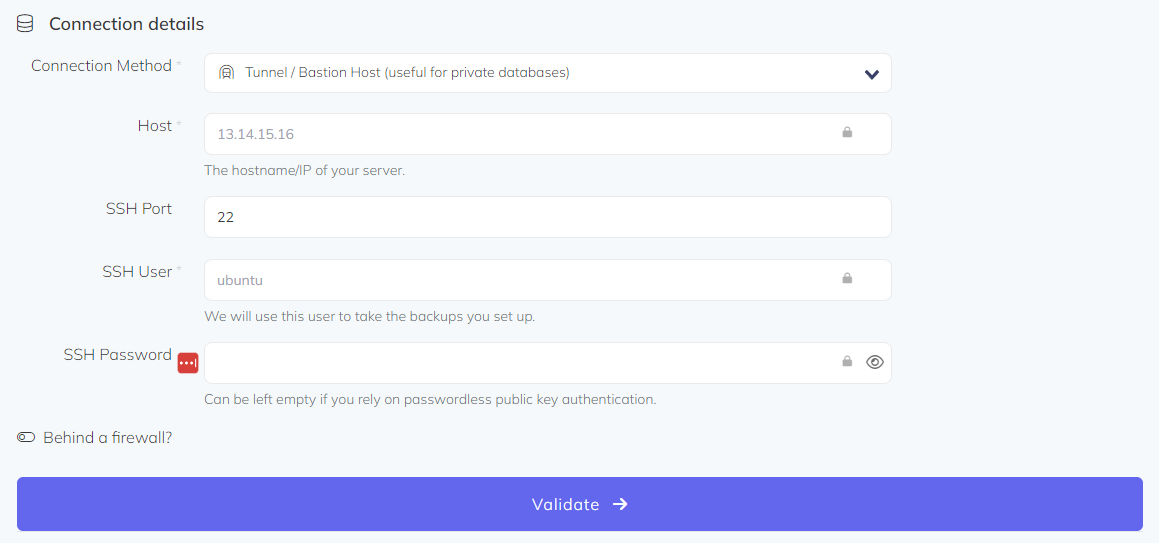
Tunnel / bastion host
If your server is behind a private network, you can connect through a bastion host. Enter the bastion host's IP address, SSH port, user, and password, then click Validate.
Create the backup
Once your server is connected, you can create a file backup:
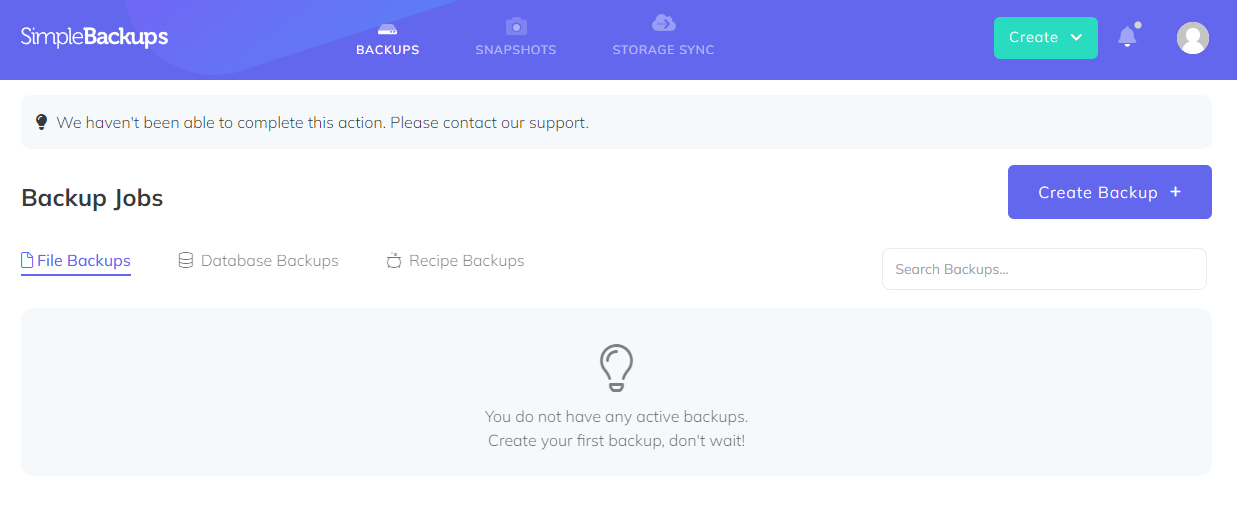
- Click Backups in the navigation bar, then click Create Backup
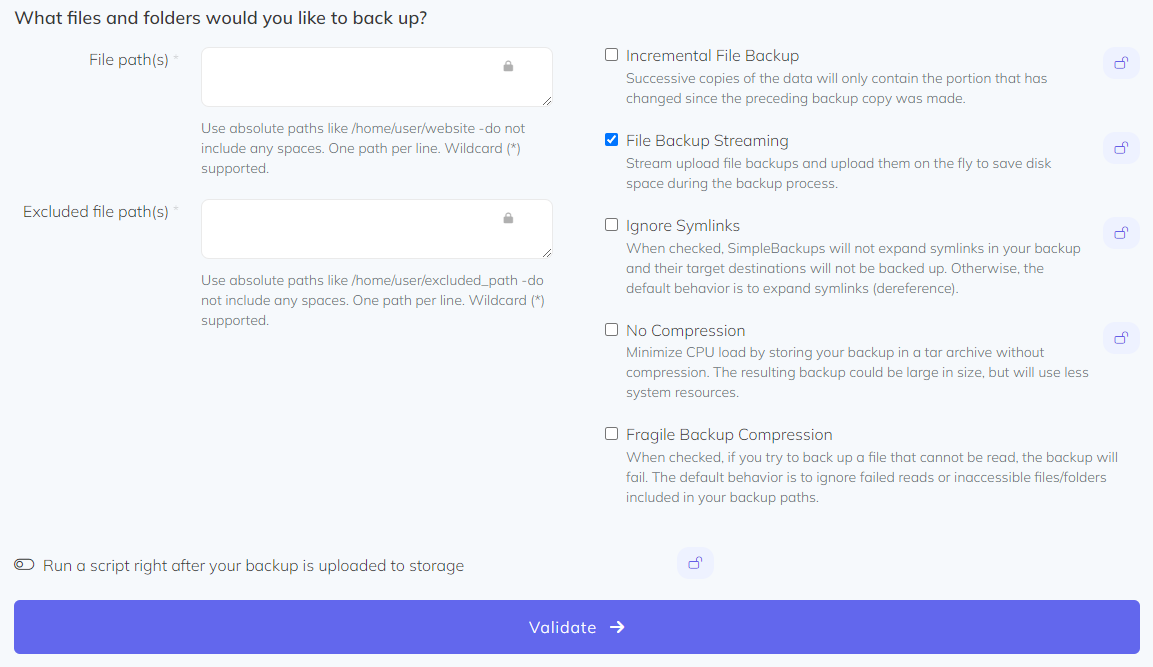
- Select Files & Folders as the backup type and choose the server you connected

- Enter the file path you want to back up (for example,
/var/www) and click Validate
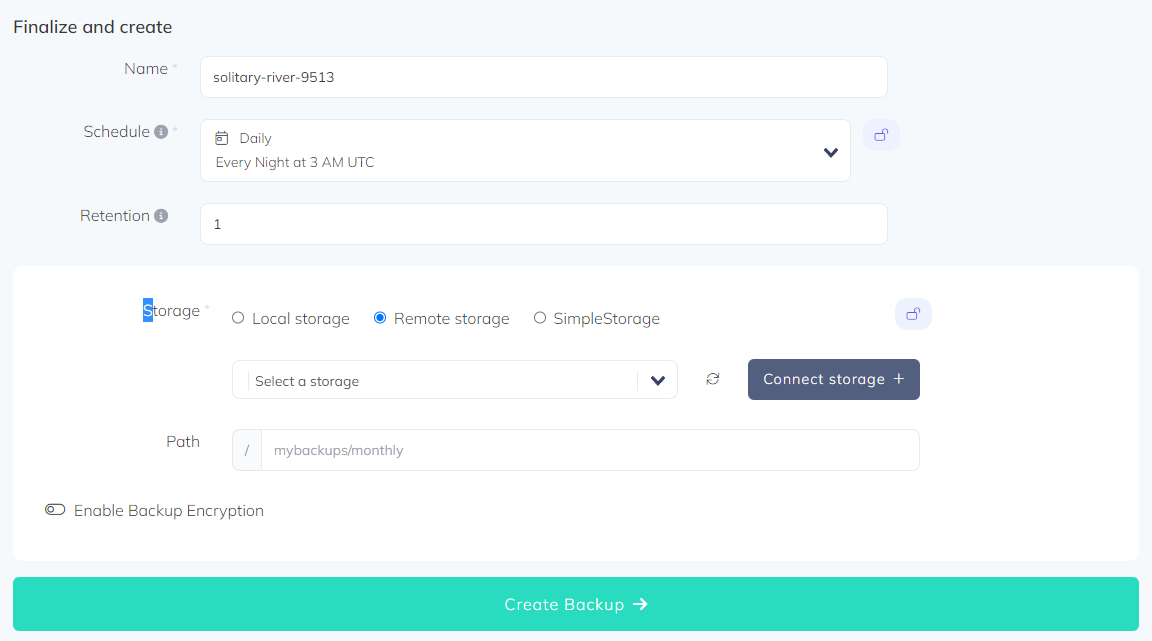
- Give your backup a name, set a schedule and retention policy, select your storage destination, and click Create Backup
- Click Run Now to run your first backup immediately
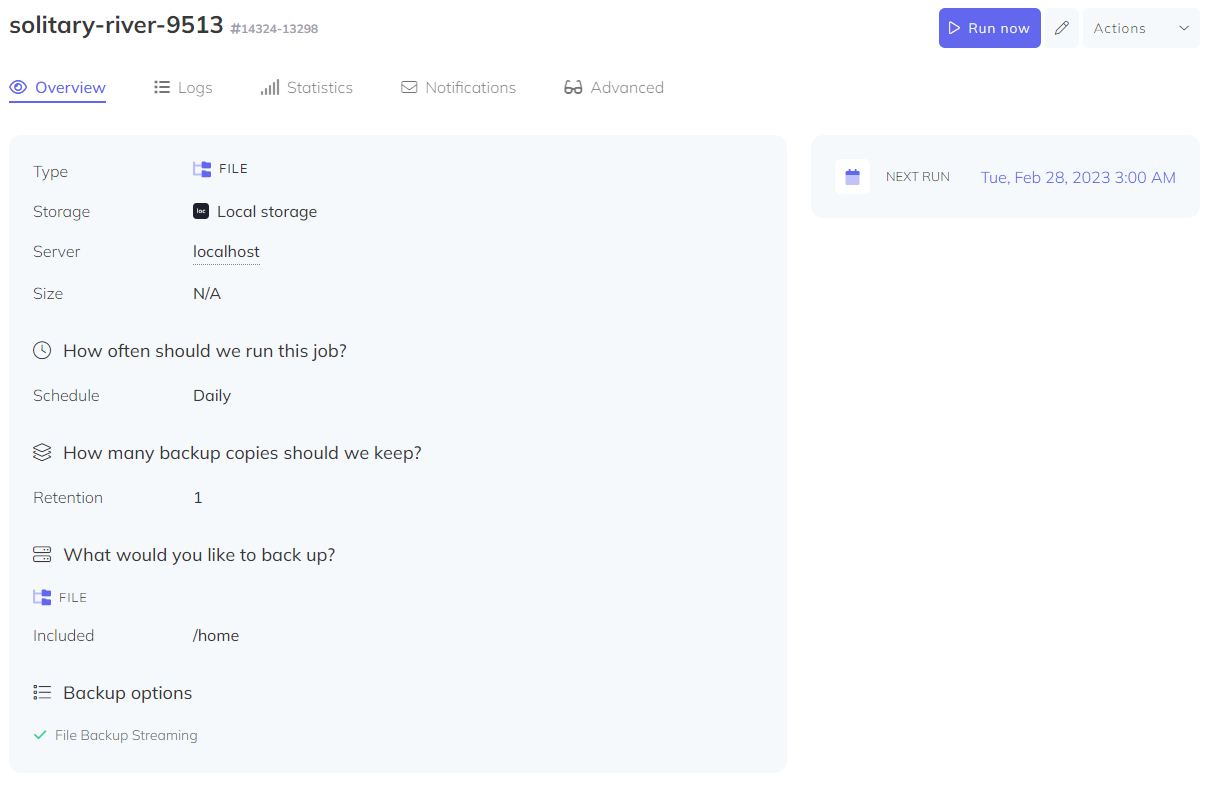
Once the backup completes, you can view the logs and download the backup archive from the Logs tab.
Restore a file/server backupHow to download and restore your file backups.Incremental file backupsBack up only changed files to save storage and speed up backups.